Sign-In With Ethereum
# Sign-In With Ethereum
Sign-In With Ethereum is an open standard for authentication that enables users to control their digital identity with their Ethereum (opens new window) account. The integration uses the open-source OIDC Provider built by Login.xyz (opens new window) which is hosted under oidc.signinwithethereum.org (opens new window).
Follow this guide for instructions on how to set up Sign-In With Ethereum in Asgardeo.
# Register Asgardeo in Sign-In With Ethereum
You need to register Asgardeo as an OIDC client application in oidc.signinwithethereum.org.
Follow the Sign-In With Ethereum documentation (opens new window) for detailed instructions.
To do so,
Use the following curl command to register a new OIDC client.
curl -X POST https://oidc.signinwithethereum.org/register -H 'Content-Type: application/json' -d '{"redirect_uris": ["https://api.asgardeo.io/t/<organization_name>/commonauth"]}'1Take note of the
client_idandclient_secretreturned from the response.The following is an example response:
{
    "client_id": "9b49de48-d198-47e7-afff-7ee26cbcbc95",
    "client_secret": "{secret}",
    "registration_access_token": "{access_token}",
    "registration_client_uri": "https://oidc.signinwithethereum.org/client/9b49de48-d198-47e7-afff-7ee26cbcbc95",
    "redirect_uris": ["https://api.asgardeo.io/t/<organization_name>/commonauth"]
}
1
2
3
4
5
6
7
# Register the Sign-In With Ethereum IdP
Follow the steps below to register the Sign-In With Ethereum IdP in Asgardeo.
On the Asgardeo Console, go to Connections.
Click Create Connection and select Sign-In With Ethereum.
Enter the following details of the Sign-In With Ethereum identity provider and click Finish:
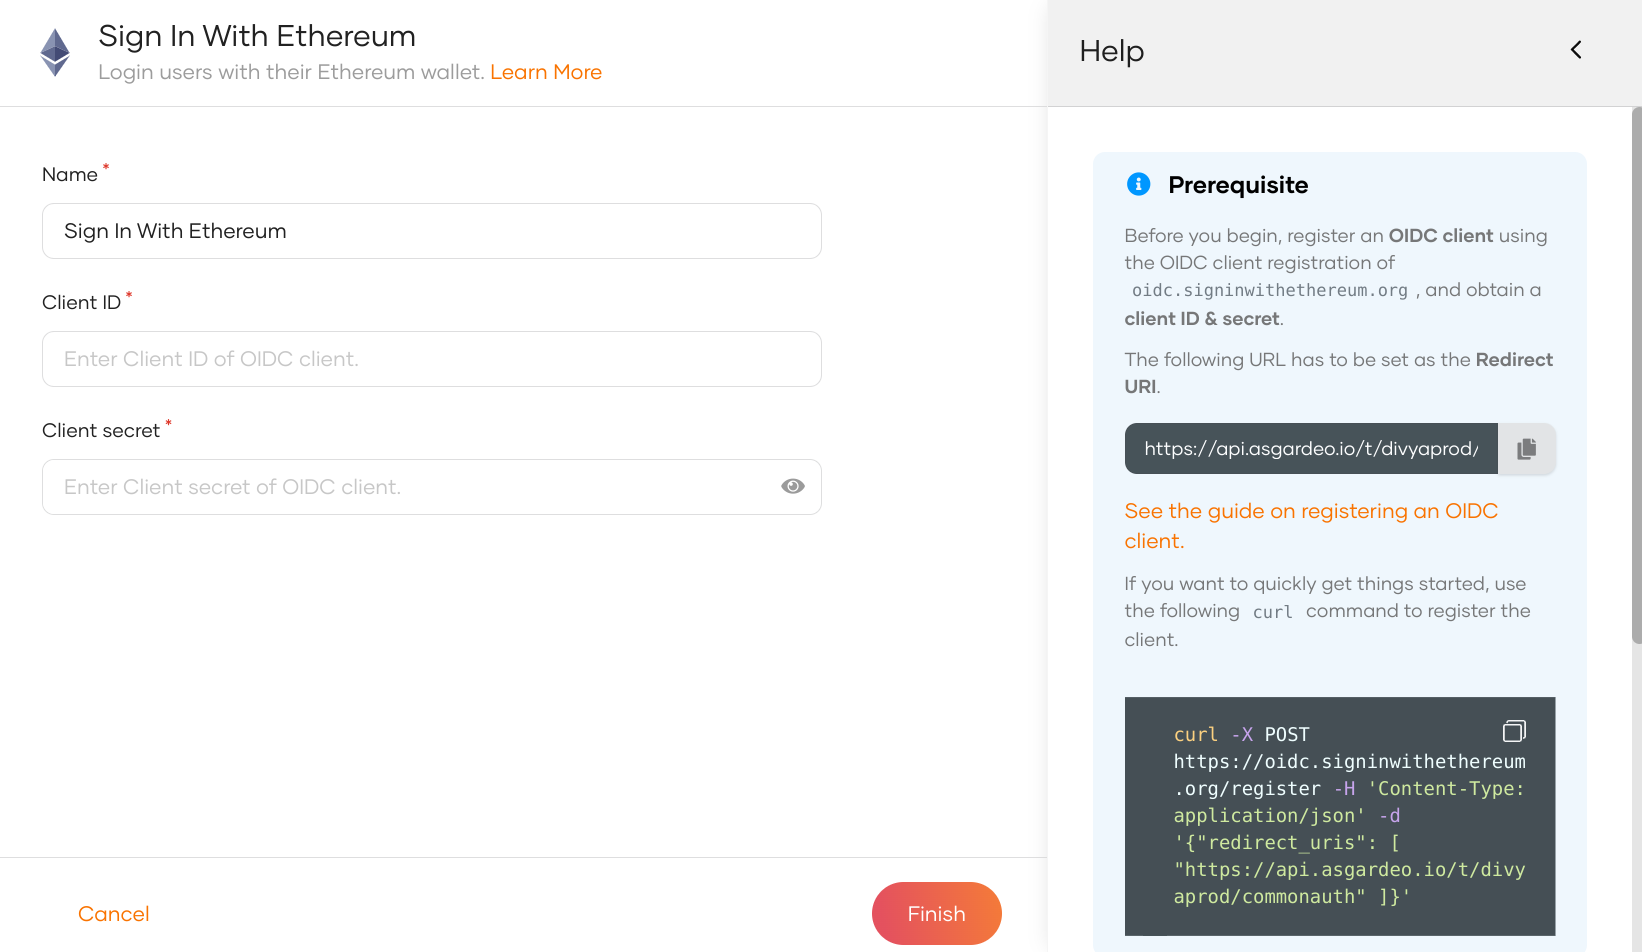
Parameter Description Name A unique name for this Sign-In With Ethereum identity provider. Client ID The client ID obtained from oidc.signinwithethereum.org. Client secret The client secret obtained from oidc.signinwithethereum.org.
Claim syncing for JIT-provisioned users
JIT user provisioning is enabled by default for your external identity provider. If required, you can disable JIT user provisioning.
When a user with a local Asgardeo account uses the same email address to log in through an external identity provider, Asgardeo syncs the claims from the JIT-provisioned user account and the local account.
According to the default behavior of Asgardeo, when JIT user provisioning is enabled, the user claims of the local user account are overridden by the user claims received from the external identity provider.
You can use Asgardeo's identity provider APIs to configure claim syncing between the external identity provider and the local user accounts. This gives you the flexibility to customize the claim syncing behavior according to your specific requirements.
In the created connection, go to the Settings tab and see the list of scopes to which Sign-In With Ethereum has granted permissions.
- openid: Engages the OpenID flow.
- profile: Allows to view the user's basic profile data.
Asgardeo needs these scopes to get user information. Asgardeo checks the attribute configurations of the application and sends the relevant attributes received from Sign-In With Ethereum to the app.
# Enable Sign-In With Ethereum
The following guide shows you how to enable Sign-In With Ethereum in an application.
Before you begin
You need to register an application with Asgardeo. You can register your own application or use one of the sample applications provided.
On the Asgardeo Console, go to Applications.
Select your application, go to its Login Flow tab and enable Sign-In With Ethereum using your preferred editor:
Using the Classic Editor
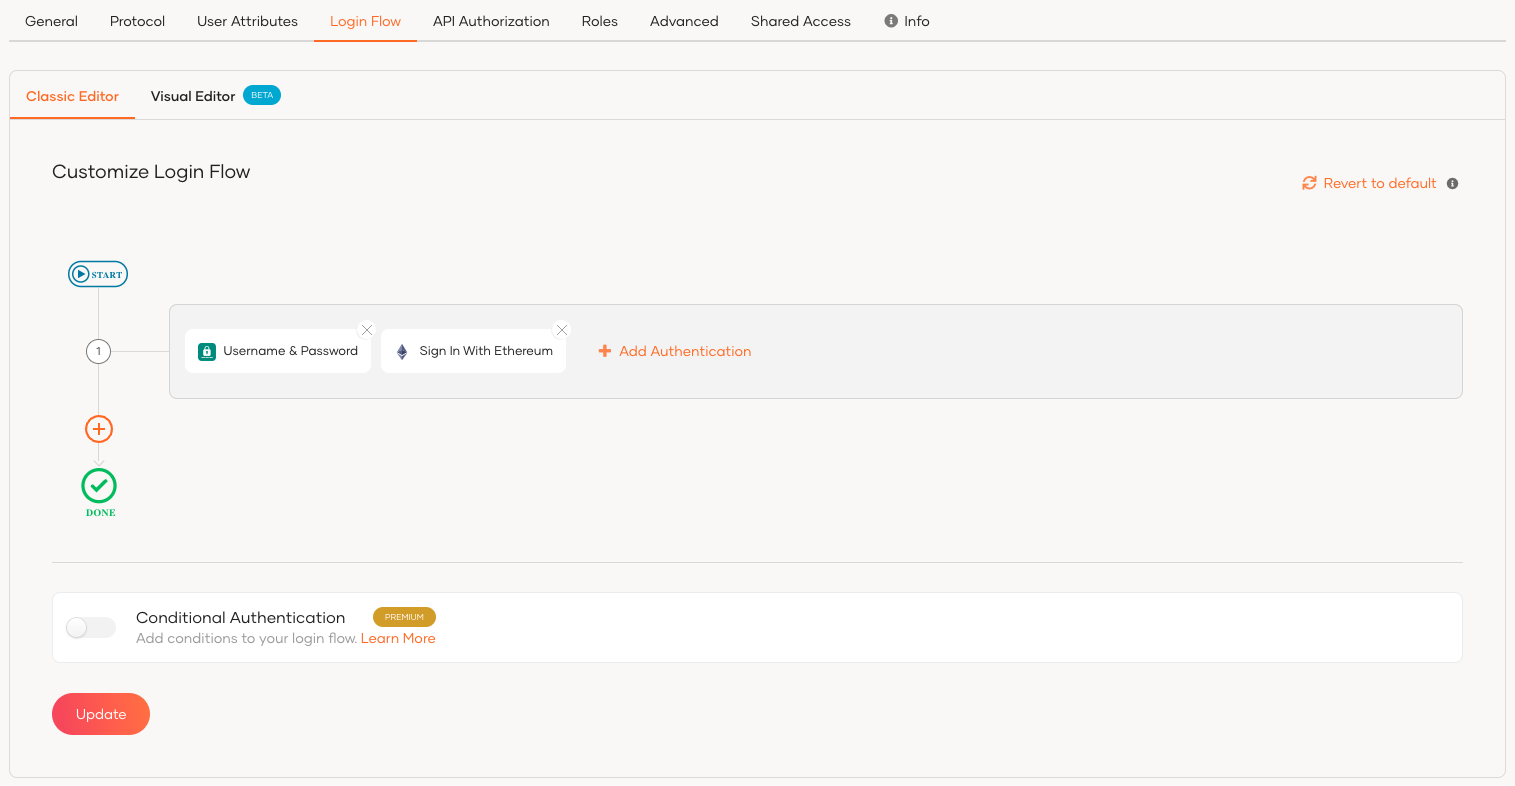
To add enable Sign-In With Ethereum using the classic editor:
If you haven't defined a sign-in flow for the application, click Start with Default configuration to define a login flow with a username and a password.
Click Add Authentication in the same step as the default configuration.
From the list of connections that appear, select the Sign-In With Ethereum connection that you created and click Add.
Using the Visual Editor
To add enable Sign-In With Ethereum using the Visual Editor:
Switch to the Visual Editor tab, by default the
Username & Passwordlogin flow will be added onto the Visual Editor's workspace.Click on
+ Add Sign In Optionto add a new authenticator to the same step and select the Sign-In With Ethereum connection that you created.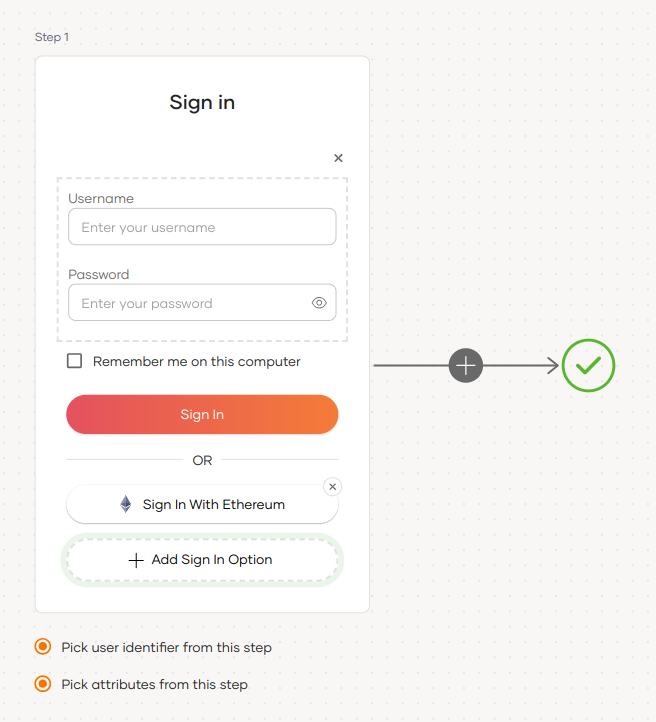
Click Update to save the changes.
# Try it out
Follow the steps given below.
Access the application that you previously registered with Asgardeo.
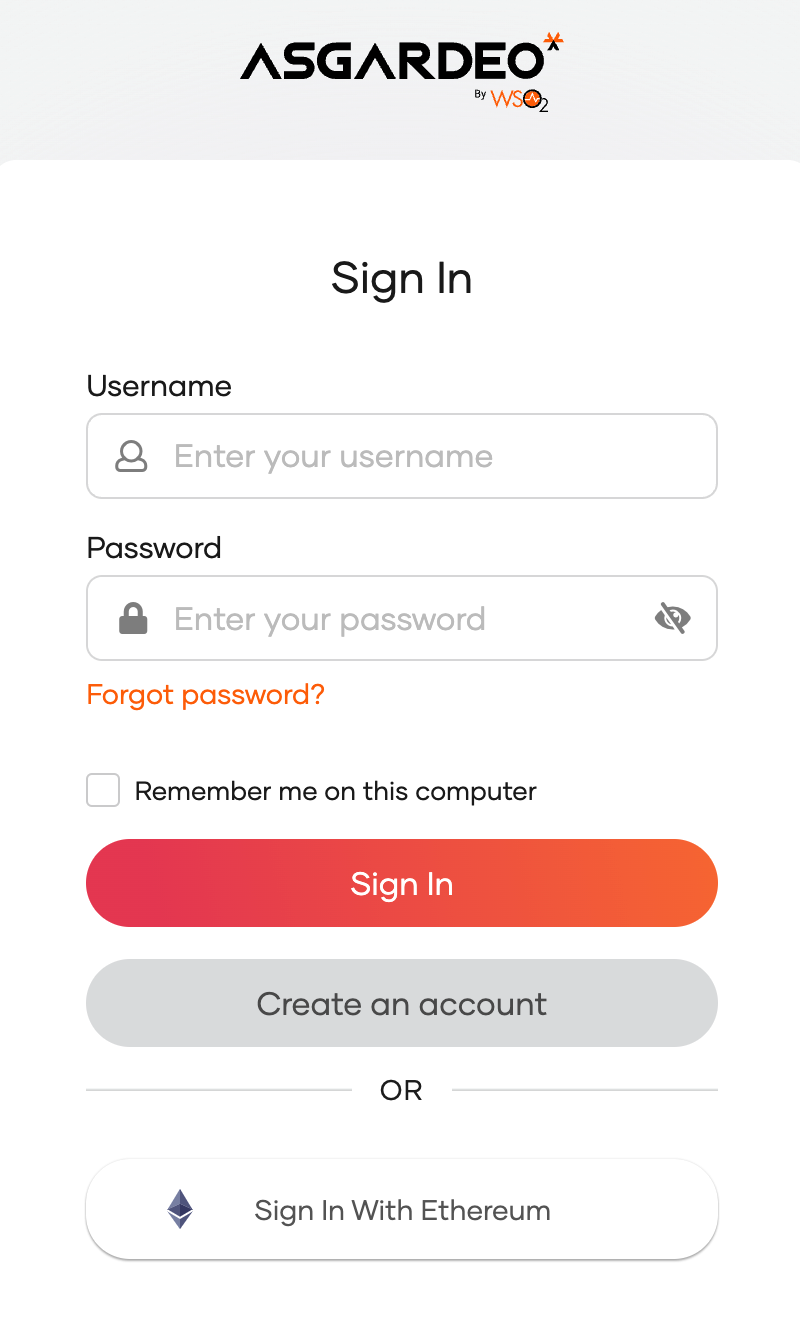
Click Login to redirect to the Asgardeo login page.
On the Asgardeo login page, choose the Sign-In With Ethereum IdP to log in.
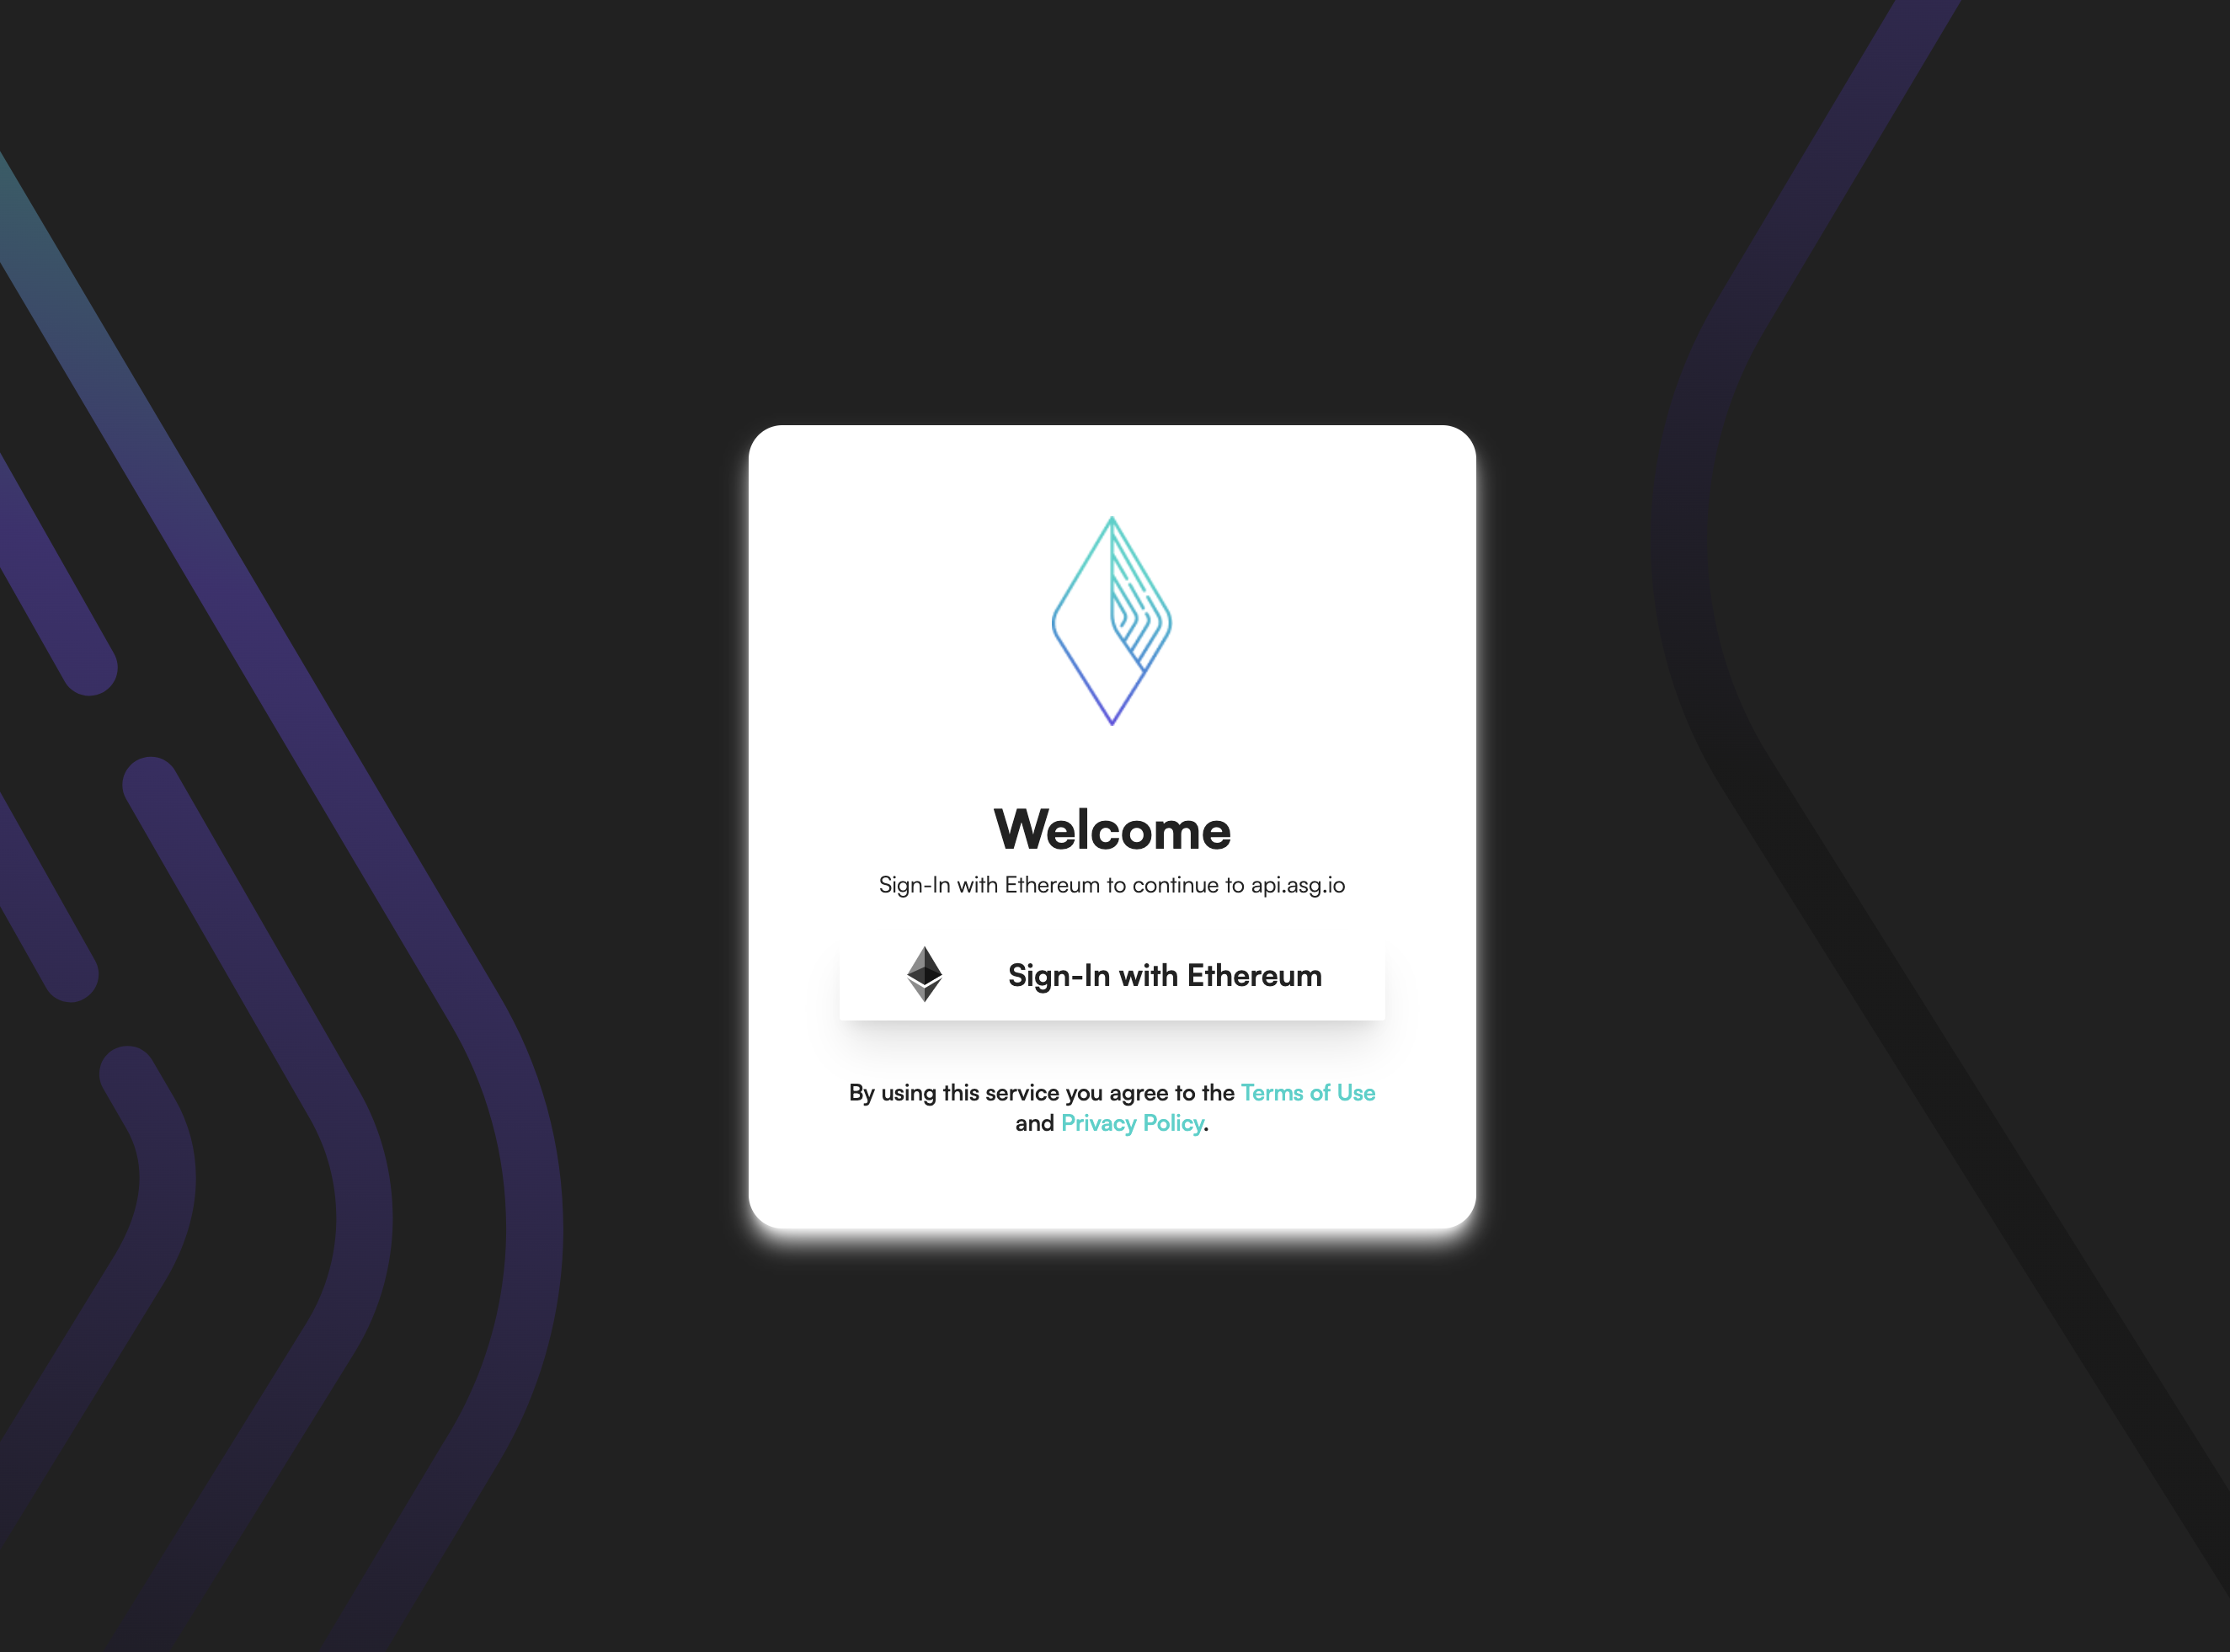
You will be redirected to the login interface of Sign-In With Ethereum.
Click Sign-In With Ethereum again to log in.
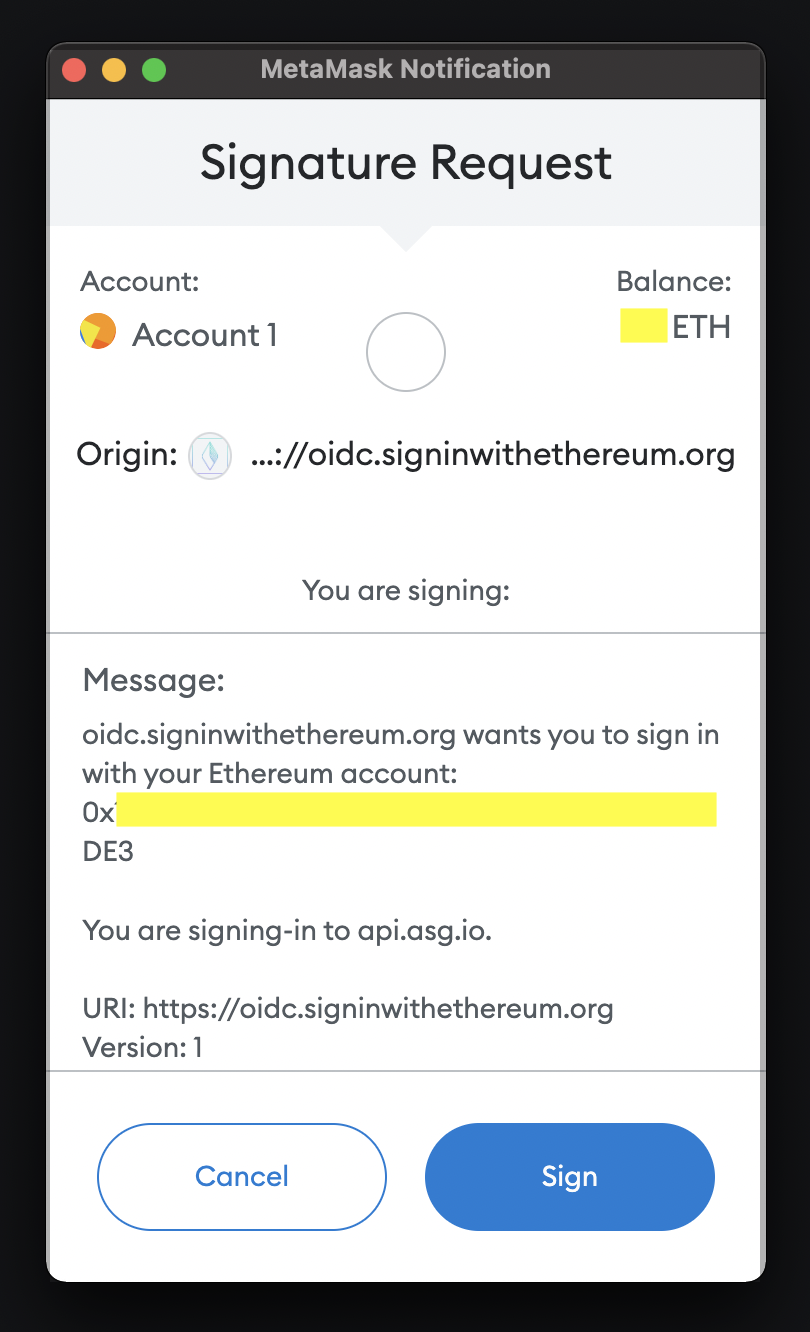
Select a preferred Ethereum wallet.

Sign the login request to log in to the application.
# Delete a connection
Before you begin
If your connection has applications associated with it, you will not be able to delete the connection.
Before deleting such connections:
- Check the associated applications from the Connected Apps tab of the connection.
- Click on an application that uses the connection and you will be redirected to the Sign-in Method tab of the respective application.
- Remove the connection from the sign-in flow of the associated applications.
- Repeat steps 2 and 3 for all listed applications.
- Proceed to delete the connection.
To delete a connection that does not have any applications using it:
On the Asgardeo Console, go to Connections.
Click Set up and navigate to the General tab.
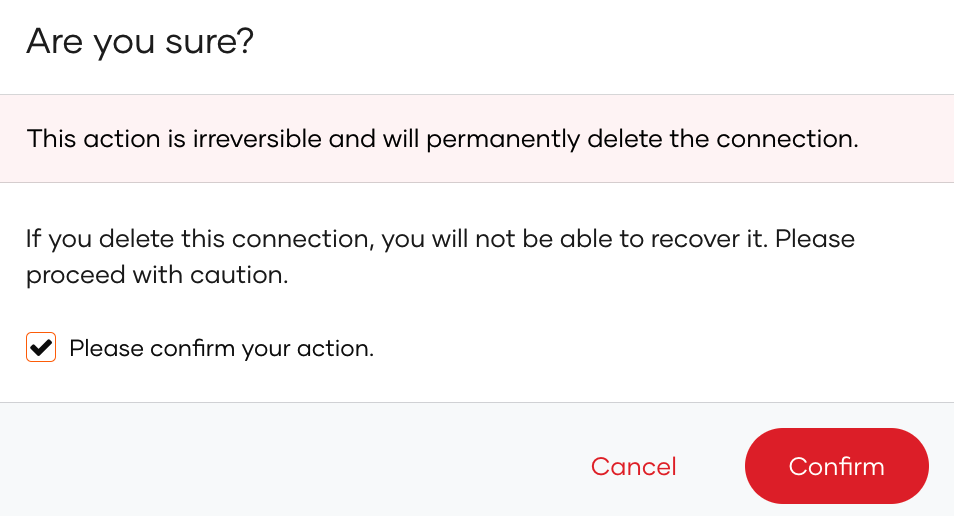
At the bottom of the page, click the button in the Delete connection.
You cannot delete connections that are available by default.
Select the checkbox and confirm your action.