Approval workflows
Create a workflow
To create a workflow, visit the Workflows section in the admin console and go to the Approval Workflows section. Now you can create a new workflow by clicking on the New Approval Workflow button. You will be prompted to provide a name and description for the workflow.
Configure workflow operations
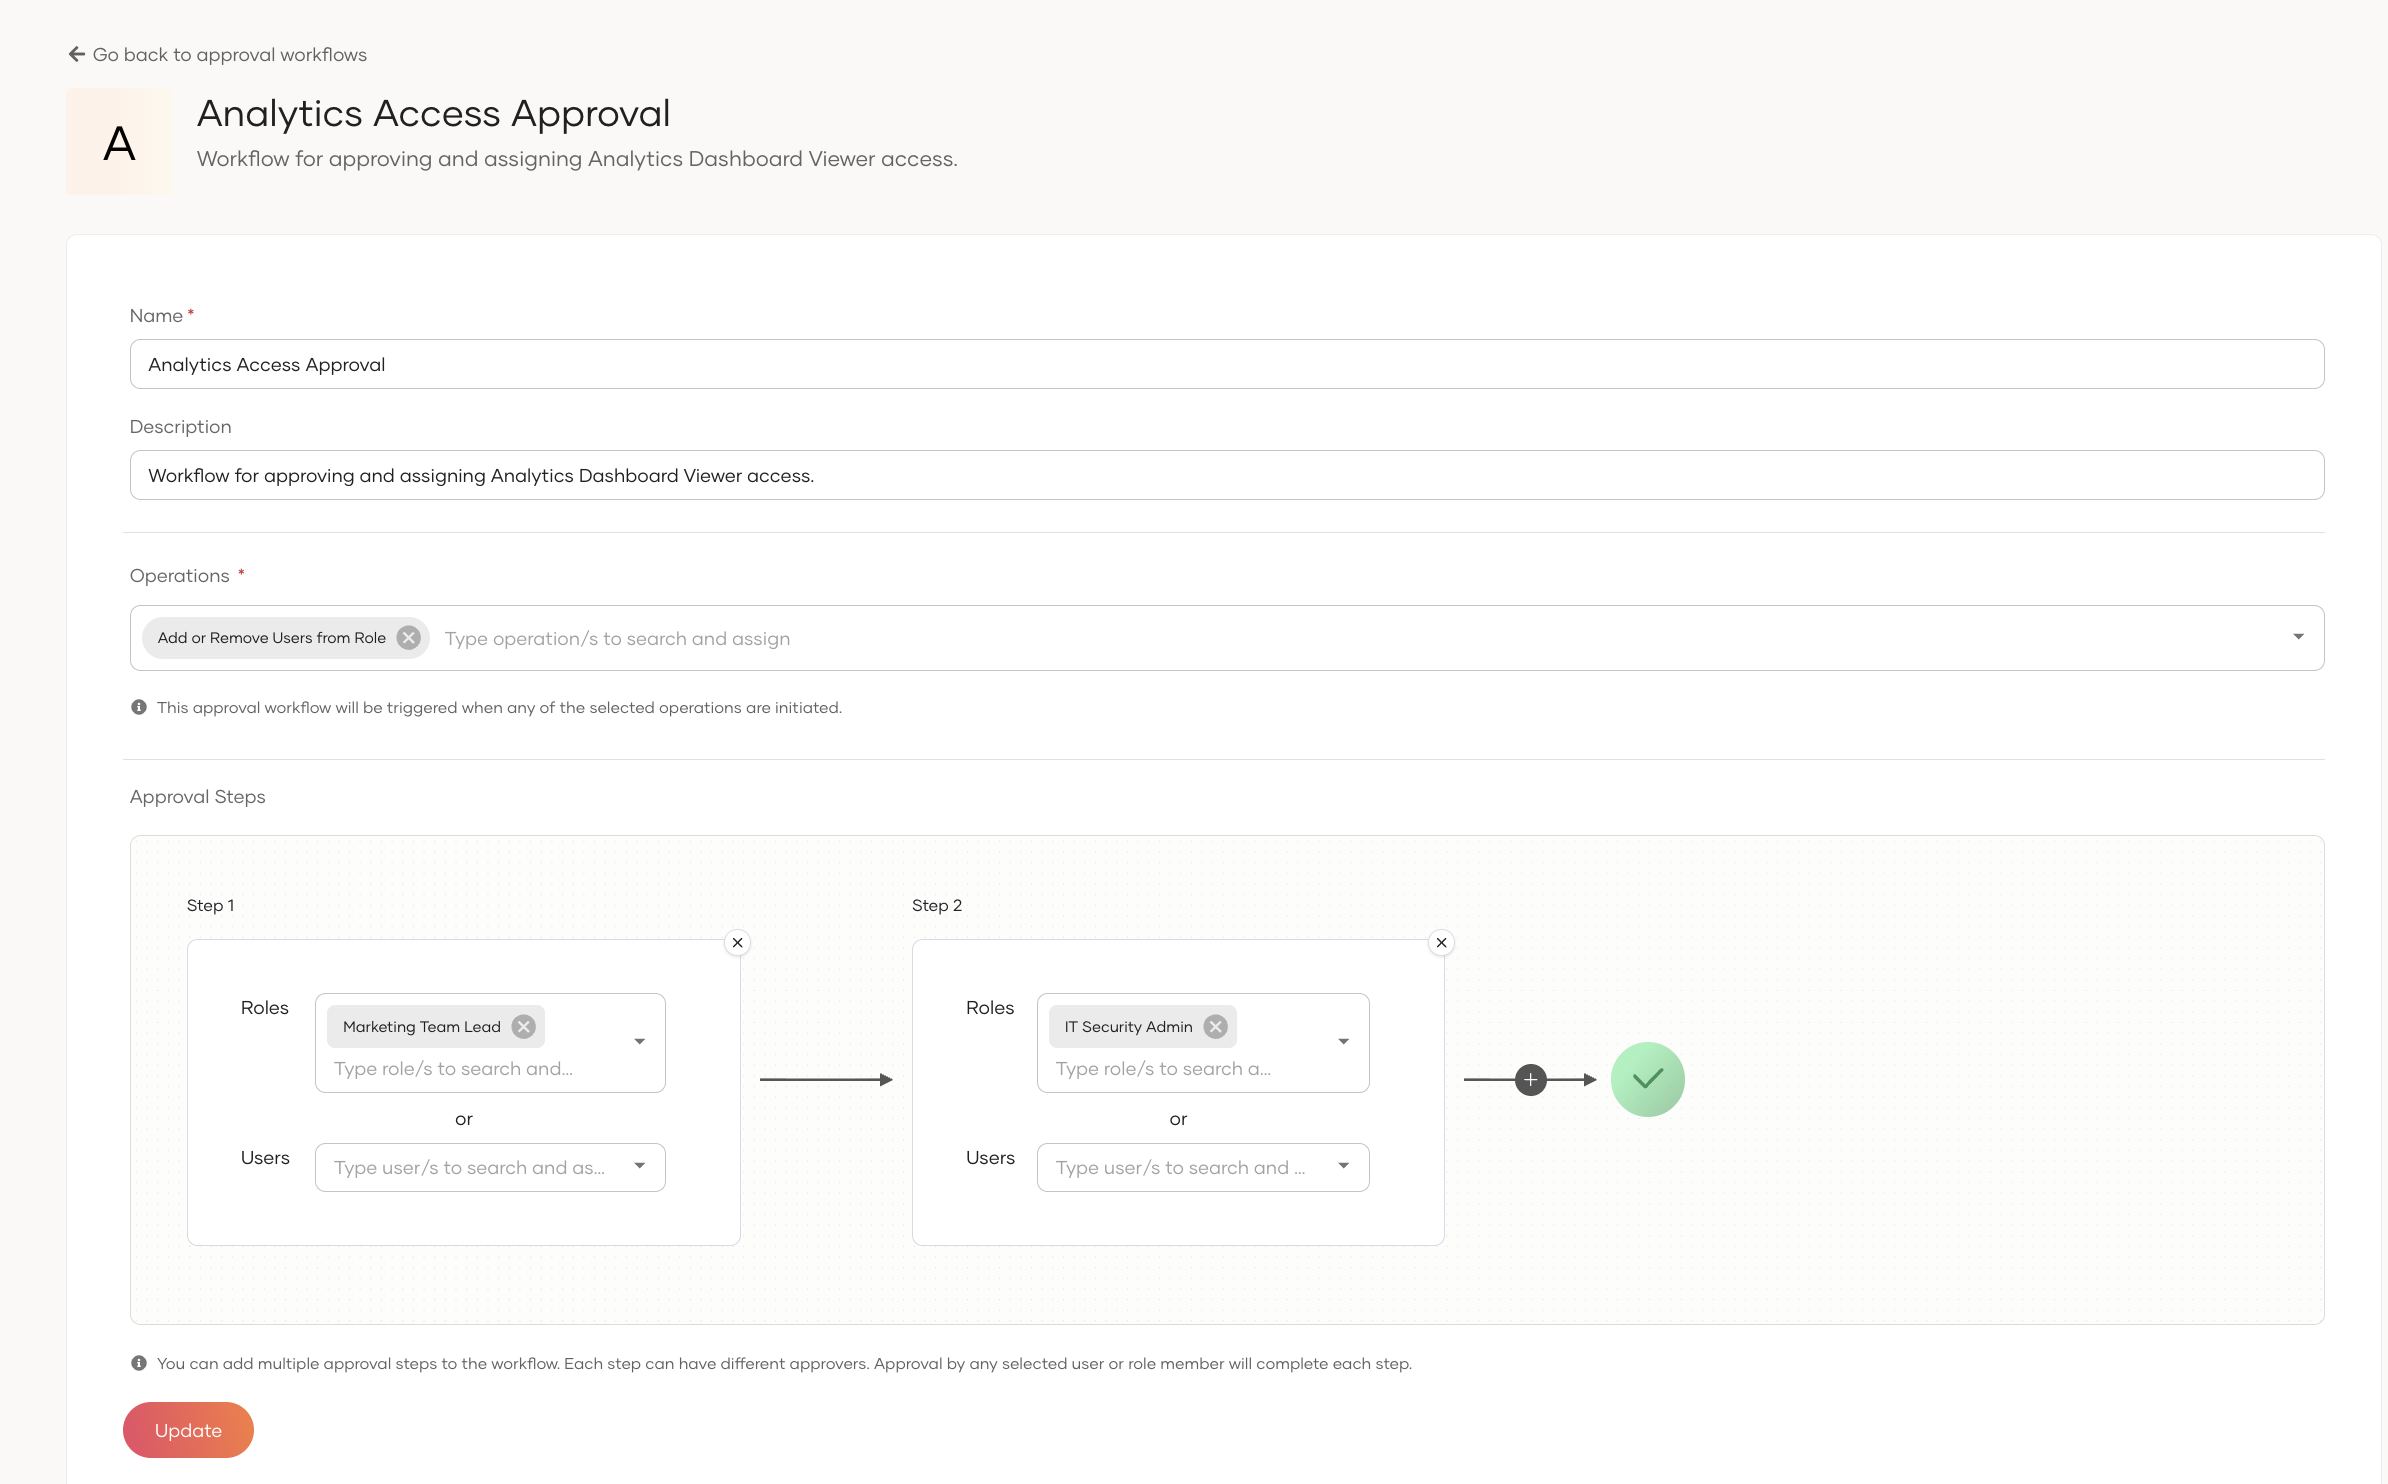
Once you have provided the name and description, you can select the operations that this workflow should support. The workflows support the following types of operations:
- User Creation: Triggered when a new user is created.
- Self User Registration: Triggered when a new user is self-registered.
- User Deletion: Triggered when a user is deleted.
- Role Creation: Triggered when a new role is created.
- User Role Assignment: Triggered when users are assigned to or removed from a role.
Note
In the workflow creation page, you can select multiple operations if approval steps are common for those operations.
Configure workflow steps
The final step in creating a workflow is to configure its steps. You can add multiple steps to a workflow, and each step can have multiple approvers. Approvers can belong to a configured role or be defined as individual users.
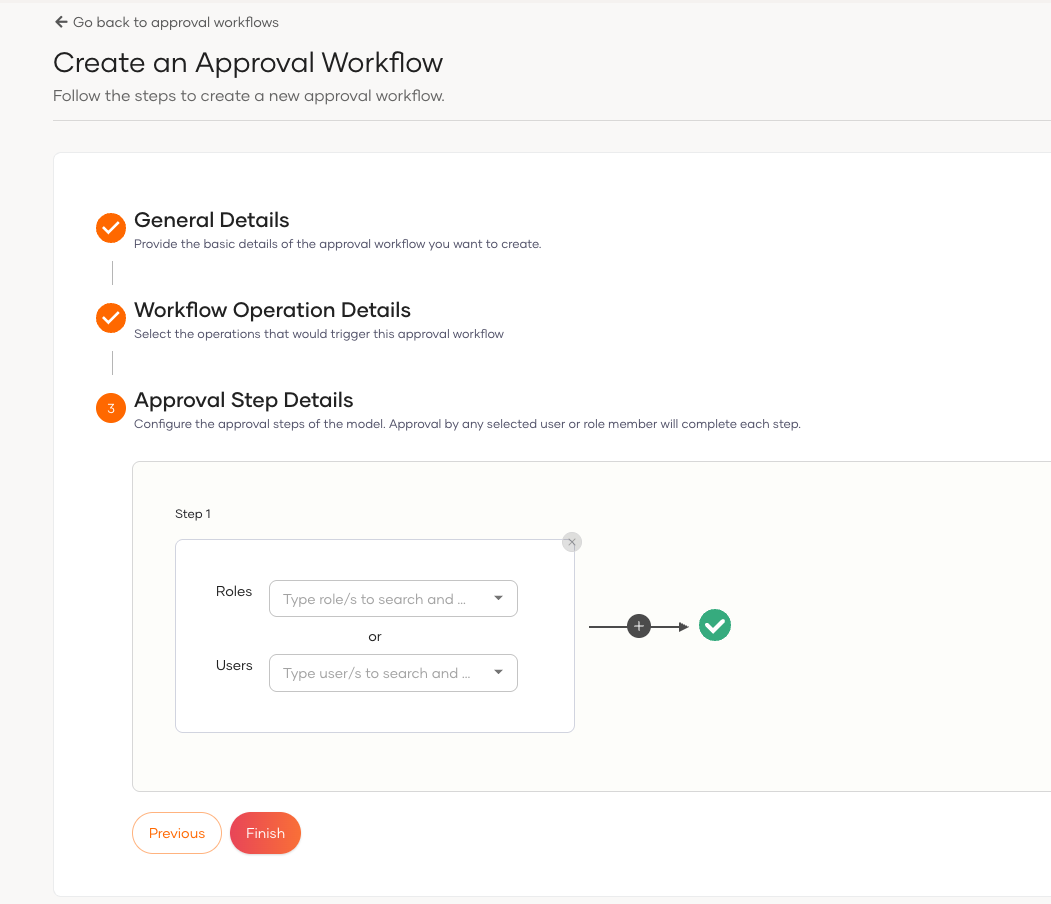
Once you have configured the steps, you can save the workflow. The workflow will now be available for use in the system.
Note
If you assign admin user in the first step of approval and if admin creates a user, still workflow will be triggered. Other participants in the first step will also receive the approval request.
After creating the workflow, you can view its details, edit it, or delete it.
To learn how to review the approval requests, see Manage Approvals.