Add social login to your app
5 min
To enable social login in your app, you need to register your application with the social login provider and configure the necessary settings. This step will walk you through the process of adding social login to your app using the app-native authentication APIs in Asgardeo. For the purpose of this guide we will use Google as the social login option.
First, follow the guidance provided in our documentation to configure Google as a connection in Asgardeo while taking a note of the values to be configured as provided below.
- Authorized JavaScript origins:
http://localhost:3000 - Authorized Redirect URI:
http://localhost:3000
We need to configure the above values (make sure they contain the hostname/port combination utilized in your application) instead of the values suggested in the documentation because we are using app-native authentication and require the application to handle the callback from Google first before redirecting to the Asgardeo APIs.
Let's now set up Google as an option as the first authentication step in your Asgardeo application as given below.
- Navigate to the Asgardeo Console and select your application under the Applications tab.
- Click on the Login Flow tab.
- Click on the Add Sign In Option button as shown below and add the Google connection from the popup prompt.
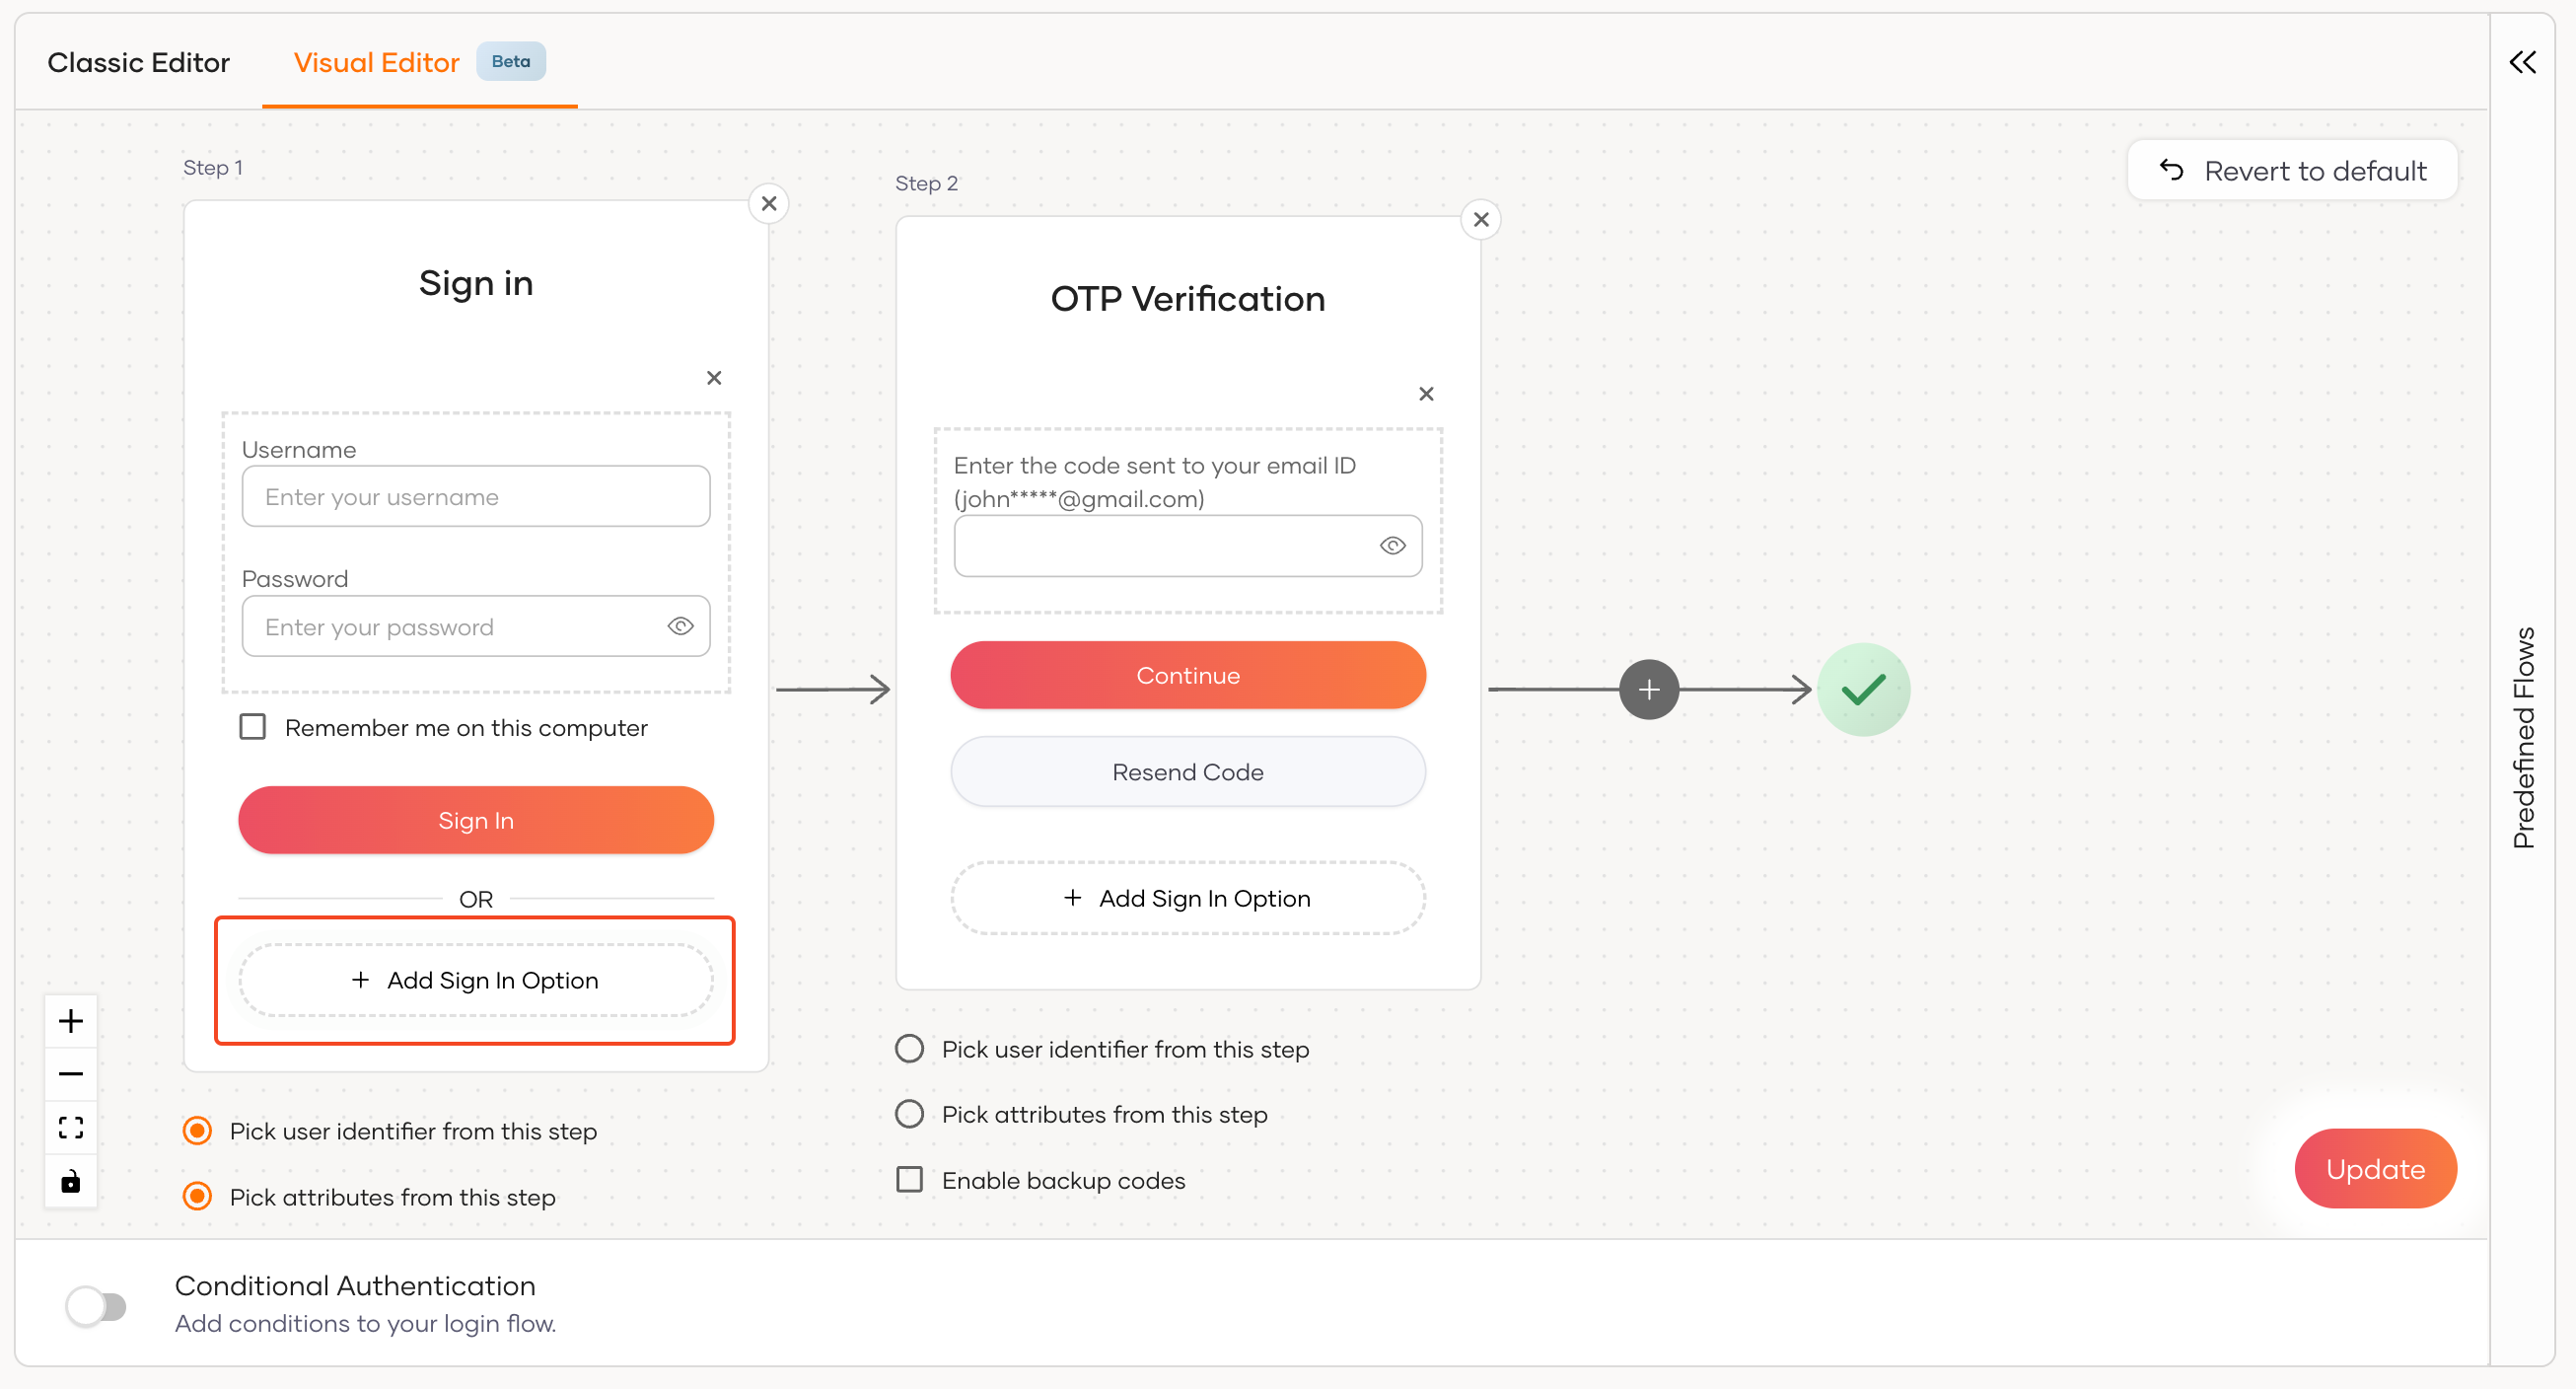
- Click on the Update button to save the changes.
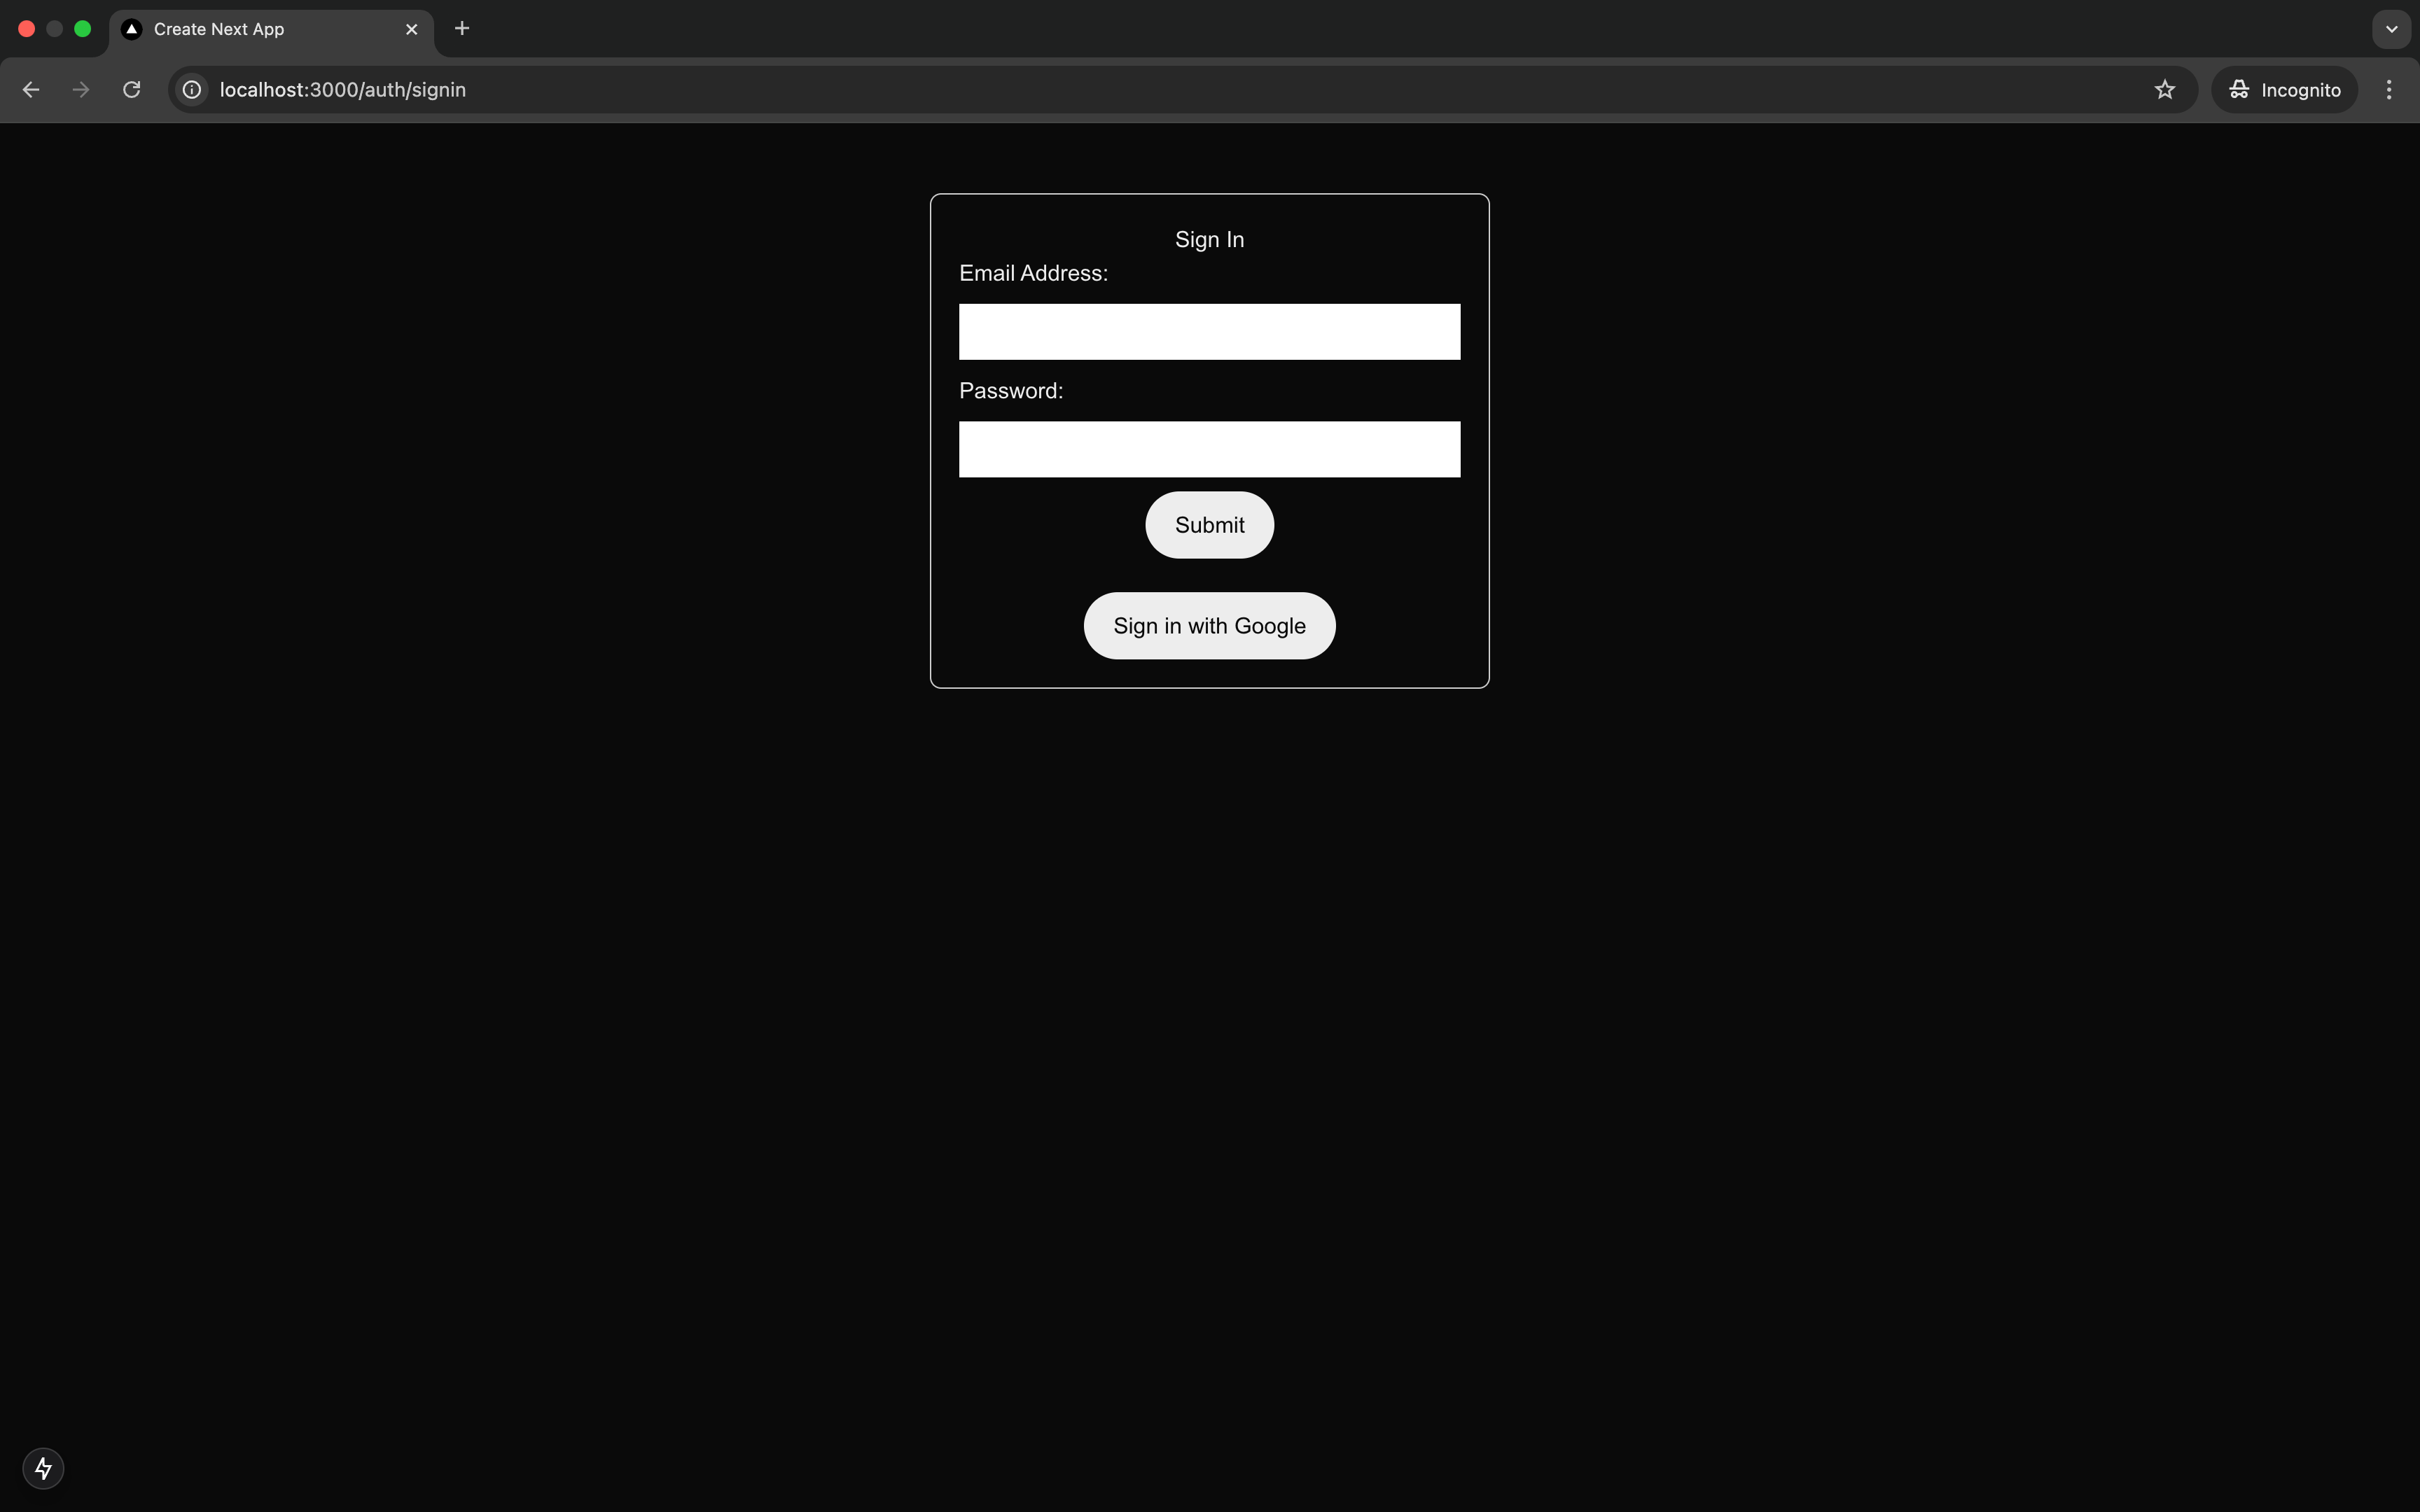
Once this is added to the login flow as one of the first factor options, you should now be able to successfully sign in with Google in your Next.js application. After clicking on the Sign In With Google button, the user will be redirected to the Google sign-in page, and upon successful sign-in, the user will be redirected back to the application to complete the second authentication step (i.e. in this case email OTP) before being redirected to the home page. After signing in you should be able to see the relevant user's first and last name along with the Sign Out button.
Tip
If you need to display the User Information properly in the application after a successful Sign In with the Google Connector, make sure you have enabled JIT provisioning in the connector configurations. You can follow the documentation for JIT Provisioning for this.