Secure Agentic AI Systems with Asgardeo
This tutorial guides you through setting up and running a sample application that demonstrates how to secure an agentic AI systems using Asgardeo.
You will learn how to set up robust security measures for AI agents that operate autonomously or on users' behalf, ensuring proper authentication, authorization, and fine-grained access control.
Learning objectives
By the end of this tutorial, you will understand how to:
- Configure AI agents as secure, first-class identities in Asgardeo.
- Set up the On-Behalf-Of (OBO) flow for securely delegating user permissions to an agent.
- Set up fine-grained, scope-based access control for all AI agent operations.
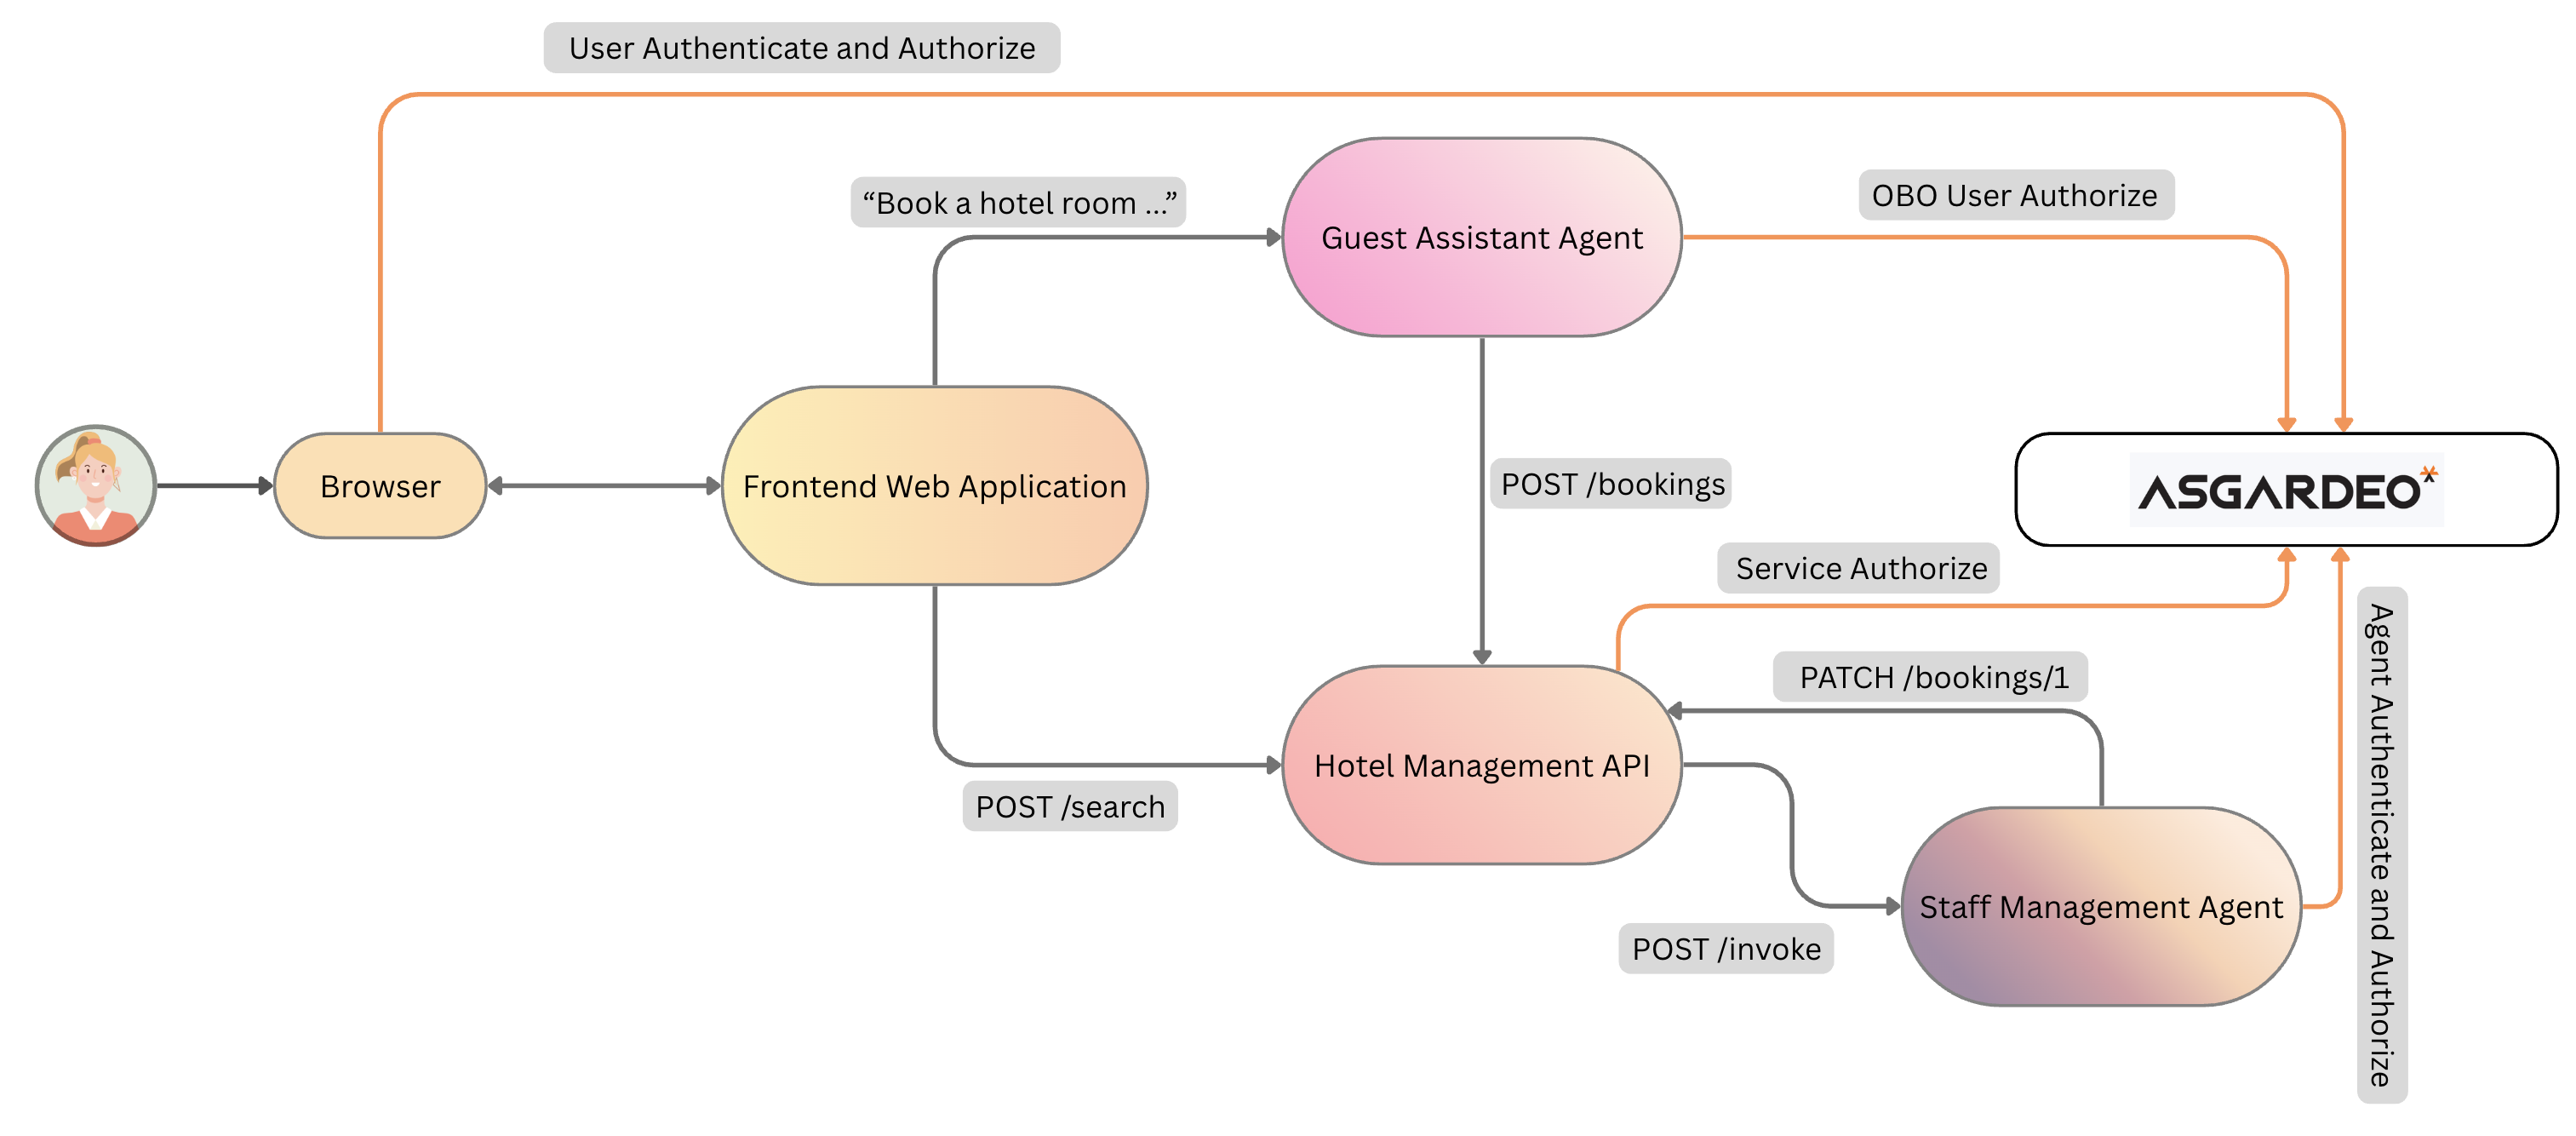
System overview
This tutorial uses a hotel booking system to show how AI agents can securely interact with users and APIs using Asgardeo's identity and access management.
Components
The system consists of four main components:
- Frontend Web Application: The user interface for searching, booking, and viewing reservations. It handles user authentication with Asgardeo and provides the chat interface for the AI assistant.
- Guest Assistant Agent: An AI agent that understands natural language requests to perform actions on behalf of authenticated users. It requires explicit user consent for sensitive operations (like creating a booking) and uses Asgardeo's On-Behalf-Of flow for delegated permissions.
- Staff Management Agent: An autonomous AI agent with its own distinct identity. It performs background administrative tasks (like assigning a contact person to a booking) independently and without user interaction.
-
Hotel Management API: The core business logic for all hotel operations. The API is protected by Asgardeo, and every request requires a valid access token with the proper scopes.
What you'll need
- An Asgardeo account
- Gemini API key (free from Google AI Studio)
- Python 3.10+
- Node.js 16+
- A basic understanding of AI agents and OAuth 2.0 concepts.
Configuration steps
Complete these setup steps in Asgardeo before starting the sample.
Step 1: Register the components in Asgardeo
First, log in to the Asgardeo Console and configure the required identities, APIs, roles, and applications.
1. Create the AI agents
In the Asgardeo console, navigate to Agents. Create two Agents:
Gardeo Guest Assistant Agent(for user interactions)Gardeo Staff Management Agent(for background operations)
Note: Store the generated agent credentials securely. These will be used for agent authentication in your services's environment configuration.
2. Define API resources and scopes
Navigate to API Resources to define the APIs the agents will interact with.
| API Name | Identifier | Scopes to Add |
|---|---|---|
| Hotel API | http://localhost:8001/api |
read_bookings, create_bookings, admin_read_bookings, admin_update_bookings, admin_read_staff |
| Staff Management Agent API | http://localhost:8002/v1/invoke |
invoke |
3. Set up users and roles
- Navigate to Users and create a new test user.
- Navigate to Roles and create the following two Organization roles:
| Role Name | Members | Permissions (Scopes) |
|---|---|---|
| Guest | Assign the test user you created. | read_bookings, create_bookings |
| Staff | Assign the Gardeo Staff Management Agent. | admin_read_staff, admin_update_bookings, admin_read_bookings |
4. Register the applications
You need to register two applications to represent the different clients interacting with your system.
A. User-facing application (standard-based)
- Go to Applications and create a Standard-Based Application.
- Enable the option to Allow AI agents to sign into this application.
- In the Protocol tab, enable the Code grant type, set the Callback URLs to
http://localhost:8000/callbackandhttp://localhost:8002/callback, and enable Public client. - In the API Authorization tab, authorize the Hotel API and select all its scopes.
- In the Roles tab, set the role audience to Organization.
- From the Protocol tab, copy the Client ID for use in the next step.
B. Management agent application (M2M)
- Create a new Machine-to-Machine (M2M) Application.
- In the API Authorization tab, authorize the Staff Management Agent API with the
invokescope. - Authorize the SCIM2 User API with the
internal_user_mgt_viewscope. - From the Protocol tab, copy the Client ID and Client Secret for use in the next step.
Step 2: Set up the sample application
Now that you have configured Asgardeo, set up and run the sample application on your local machine.
1. Download the sample
Clone the project repository from GitHub to your local machine and navigate into the project directory.
git clone https://github.com/wso2/iam-ai-samples.git
cd iam-ai-samples/hotel-booking-agent-autogen-agent-iam
2. Configure environment variables
Create a .env file in each service directory (for example assistant-agent, backend, frontend). Copy the contents from the corresponding .env.example file and update the values with your Asgardeo configurations and Gemini API key.
3. Run the application
With the configuration complete, start all services using the provided bash script.
This starts all four components on their respective ports. Once the services are running, access the Gardeo Hotel application at http://localhost:3000.
Try it out
Interact with the application to see the security flows in action. This scenario walks you through booking a room with the assistant agent's help and triggering the autonomous agent.
-
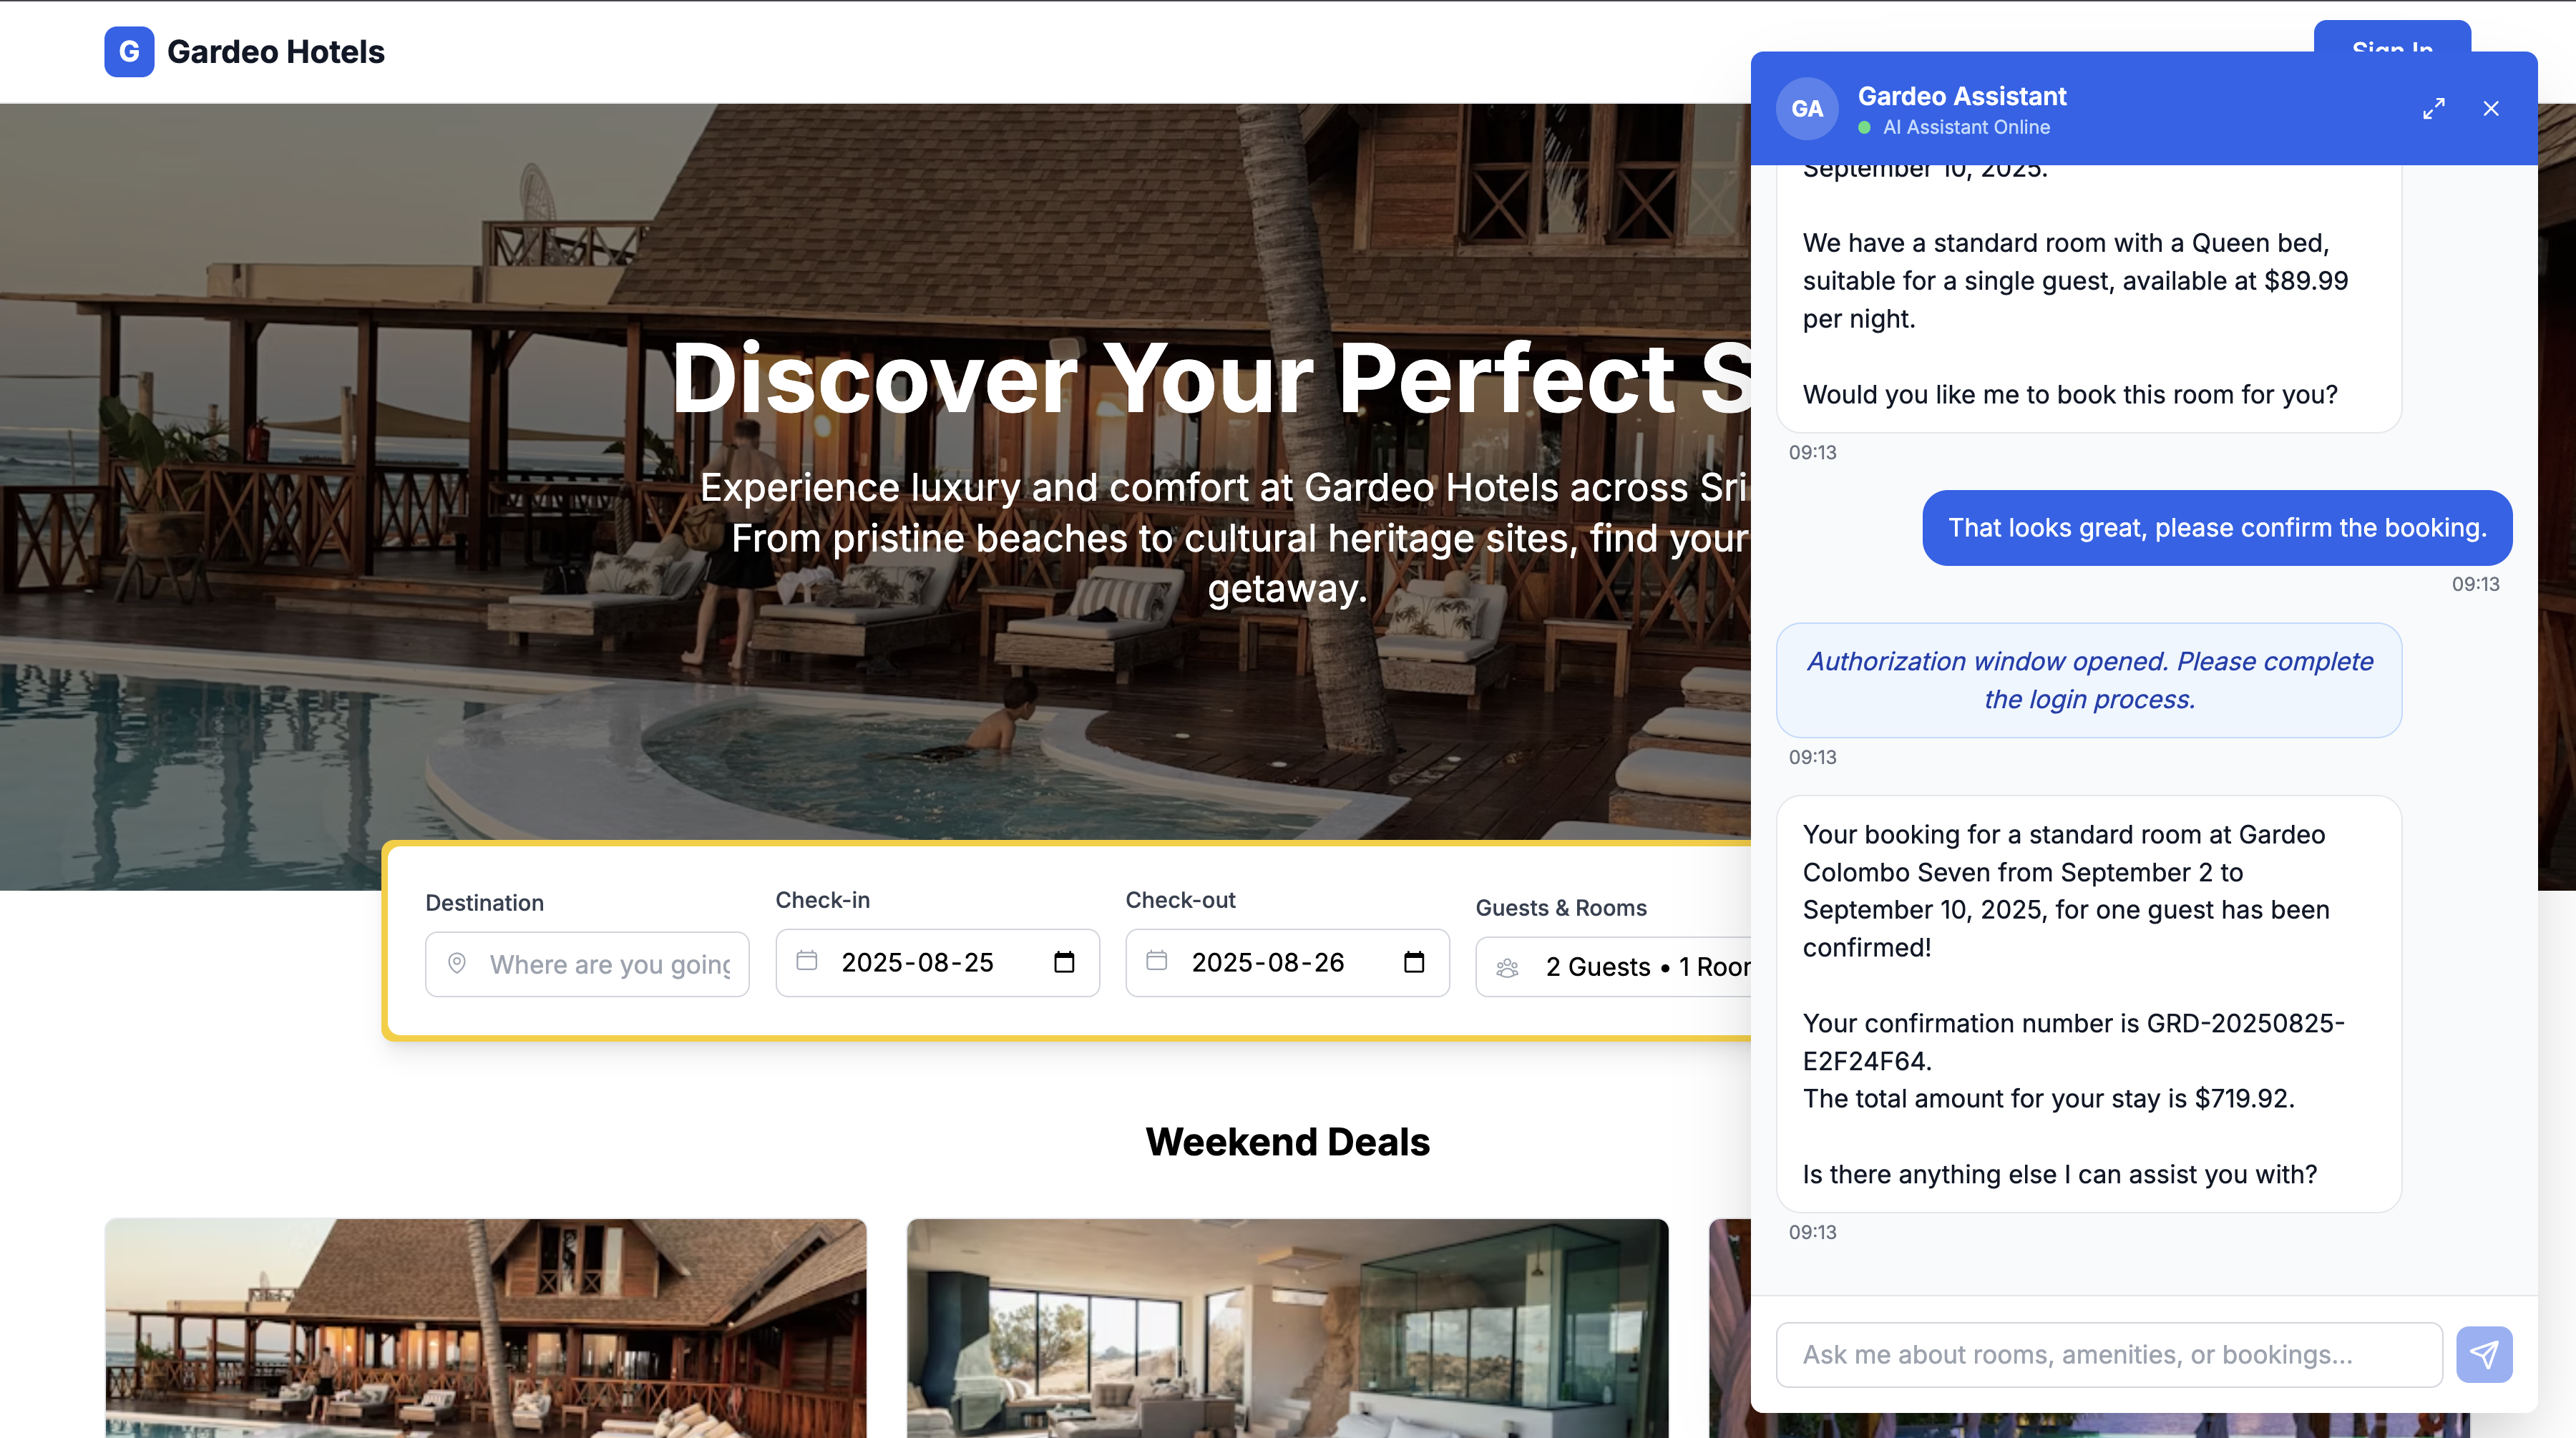
Open the AI assistant Open the application at
http://localhost:3000and open the AI assistant chat window in the bottom right of the screen.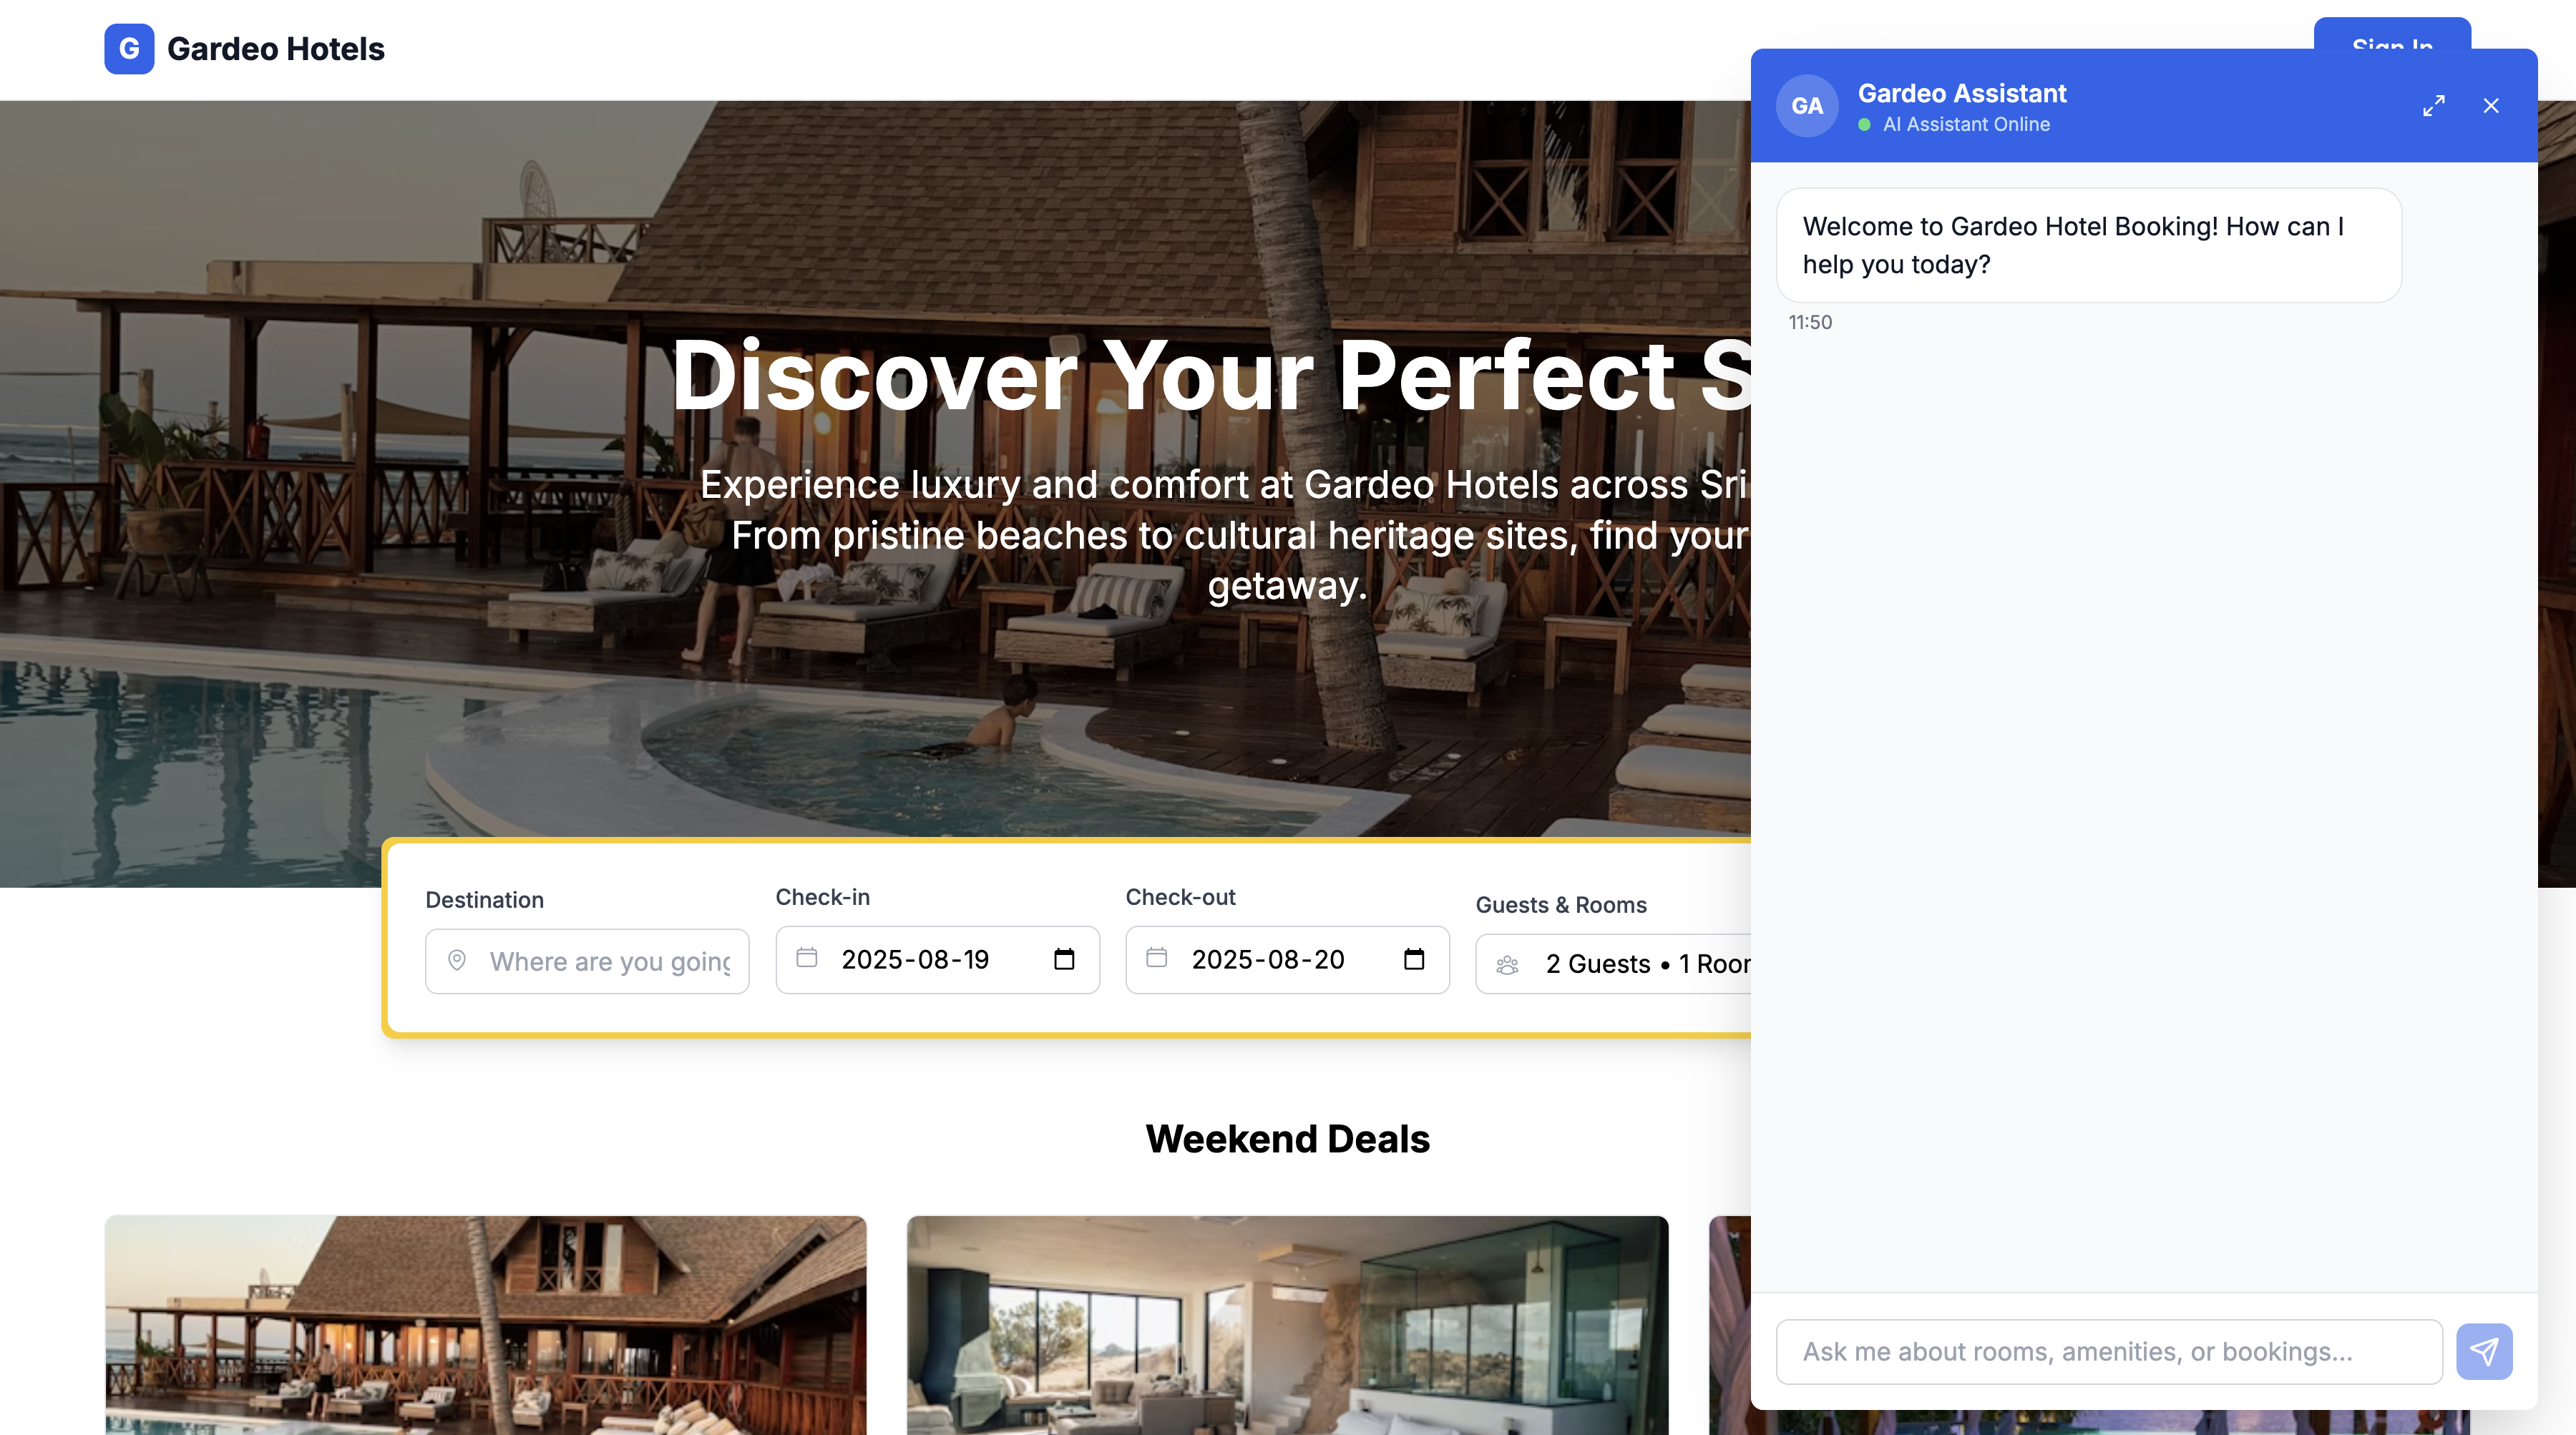
-
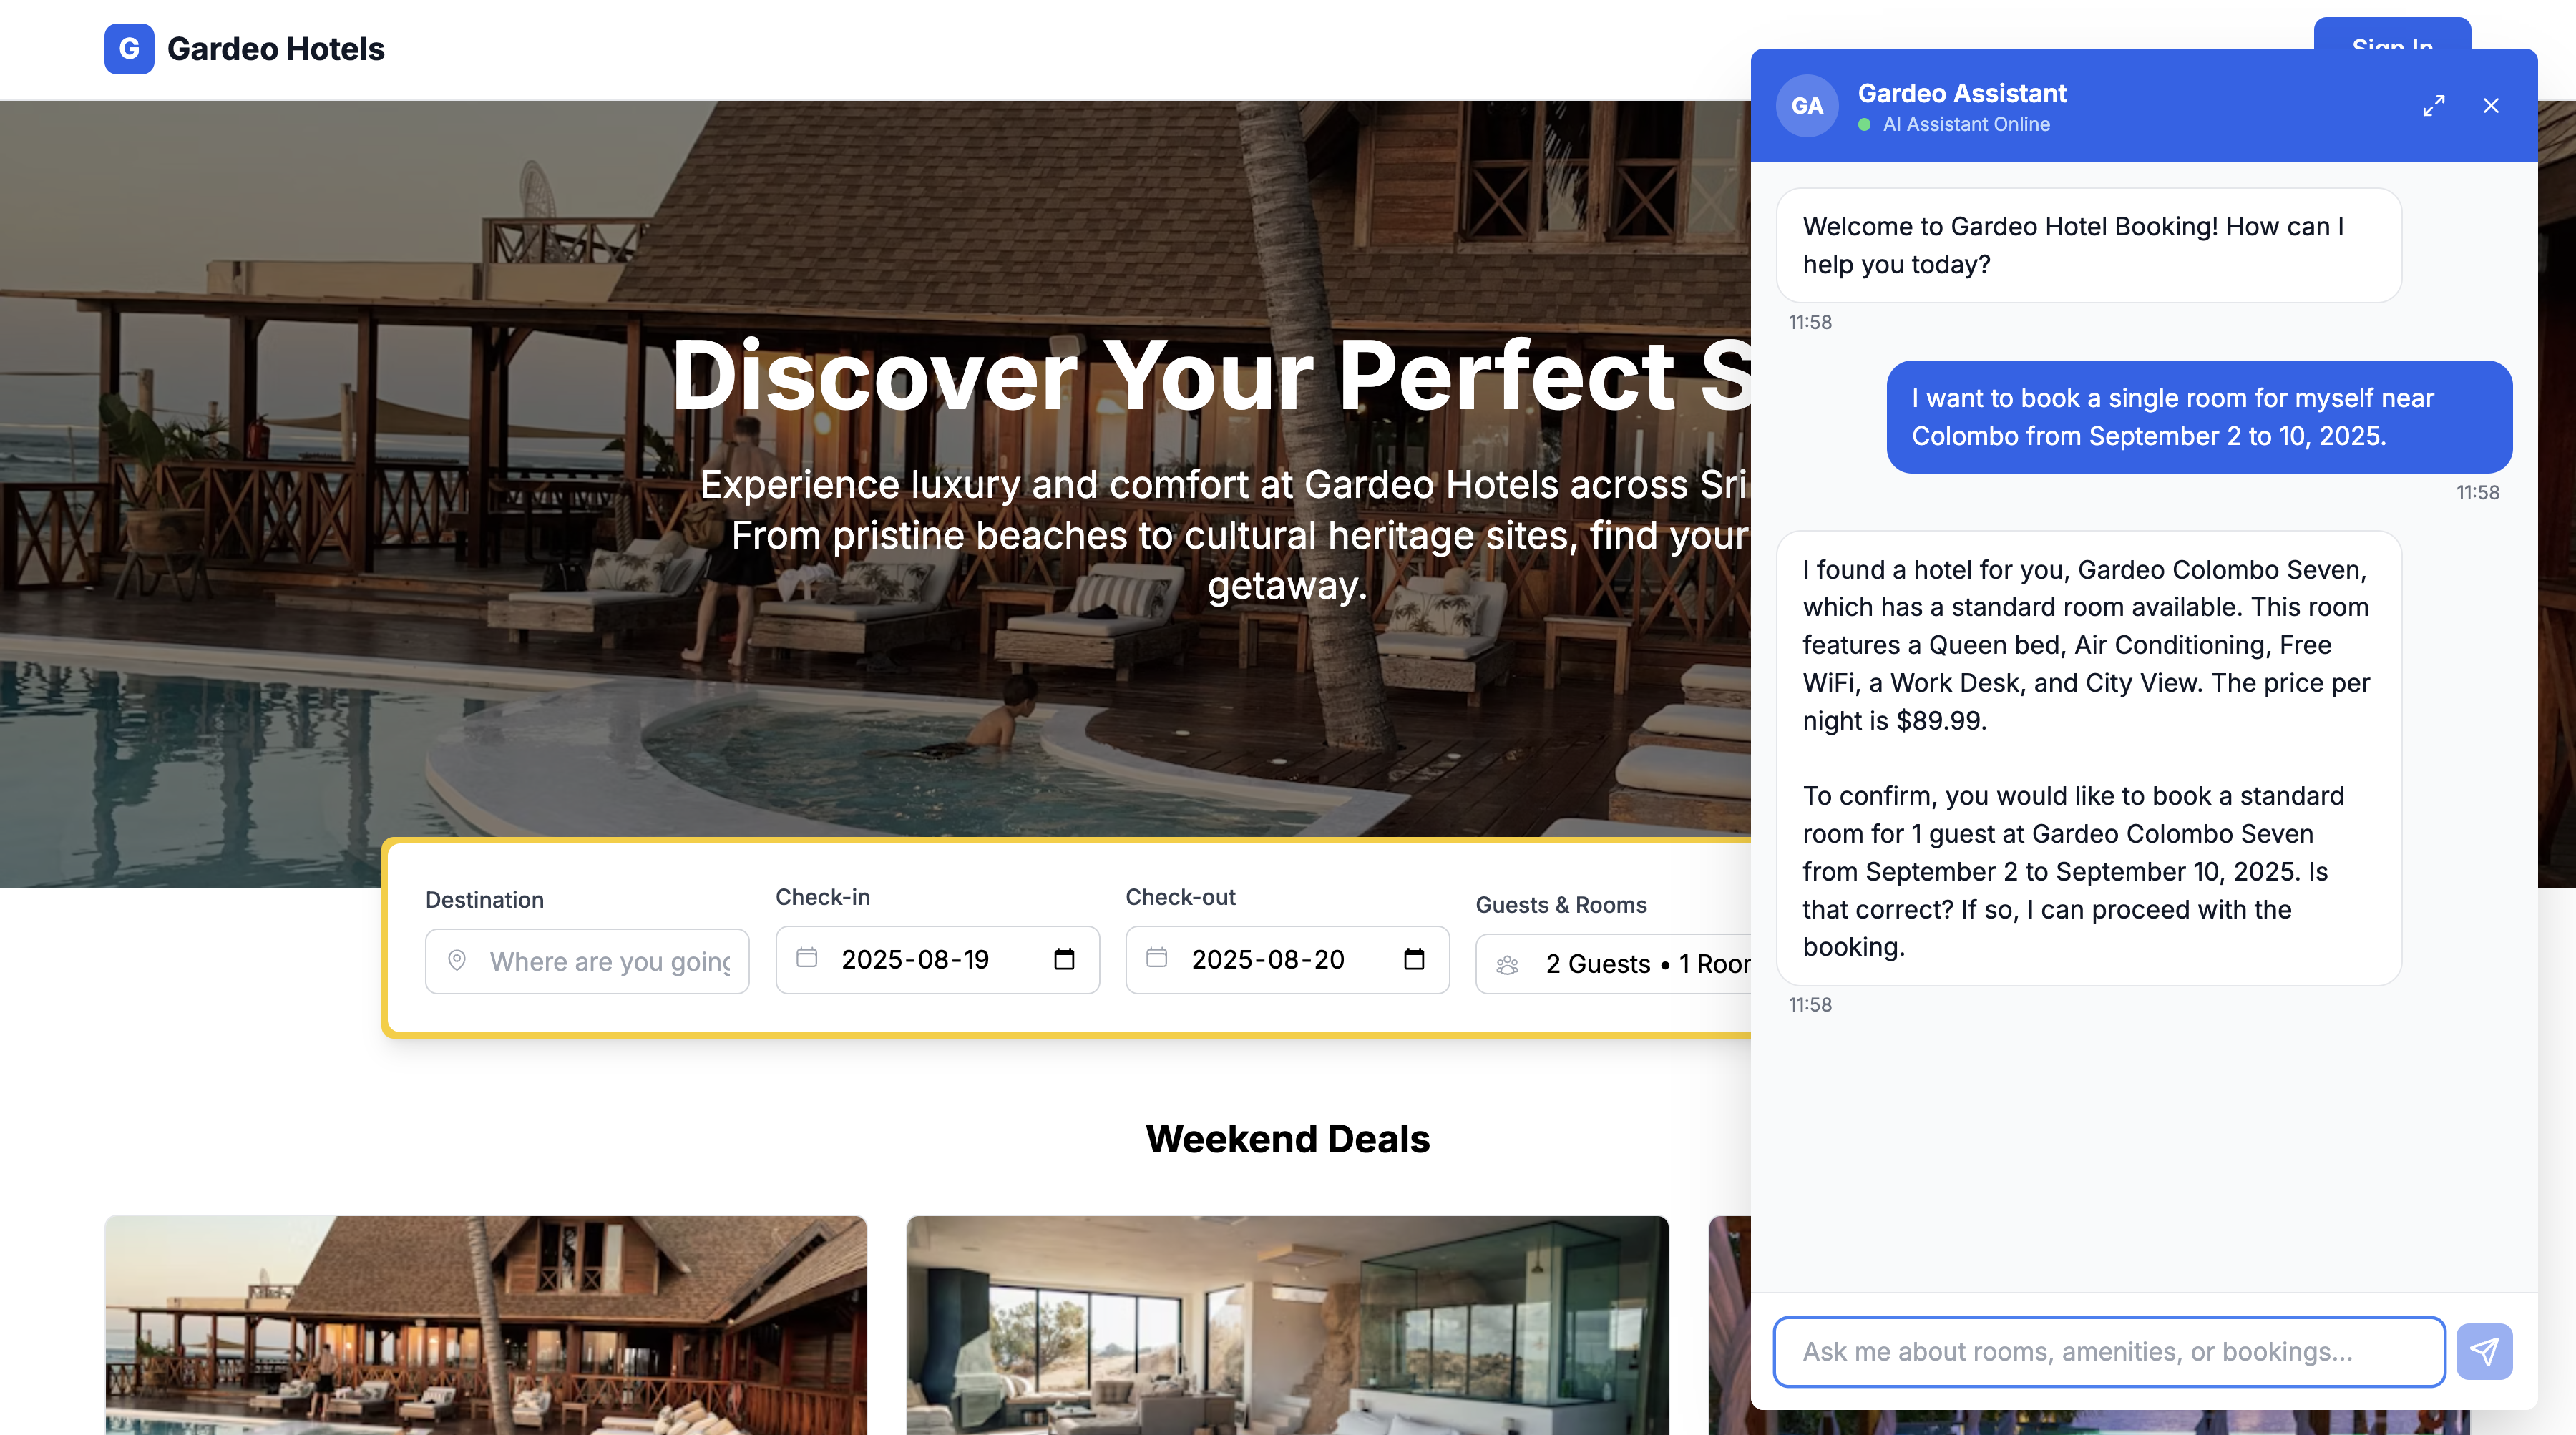
Search for a room Type a natural language query. The agent can understand dates and locations. For example:
I want to book a single room for myself near Colombo from September 2 to 10, 2025.The agent will search for options and present you with suitable rooms directly in the chat.
-
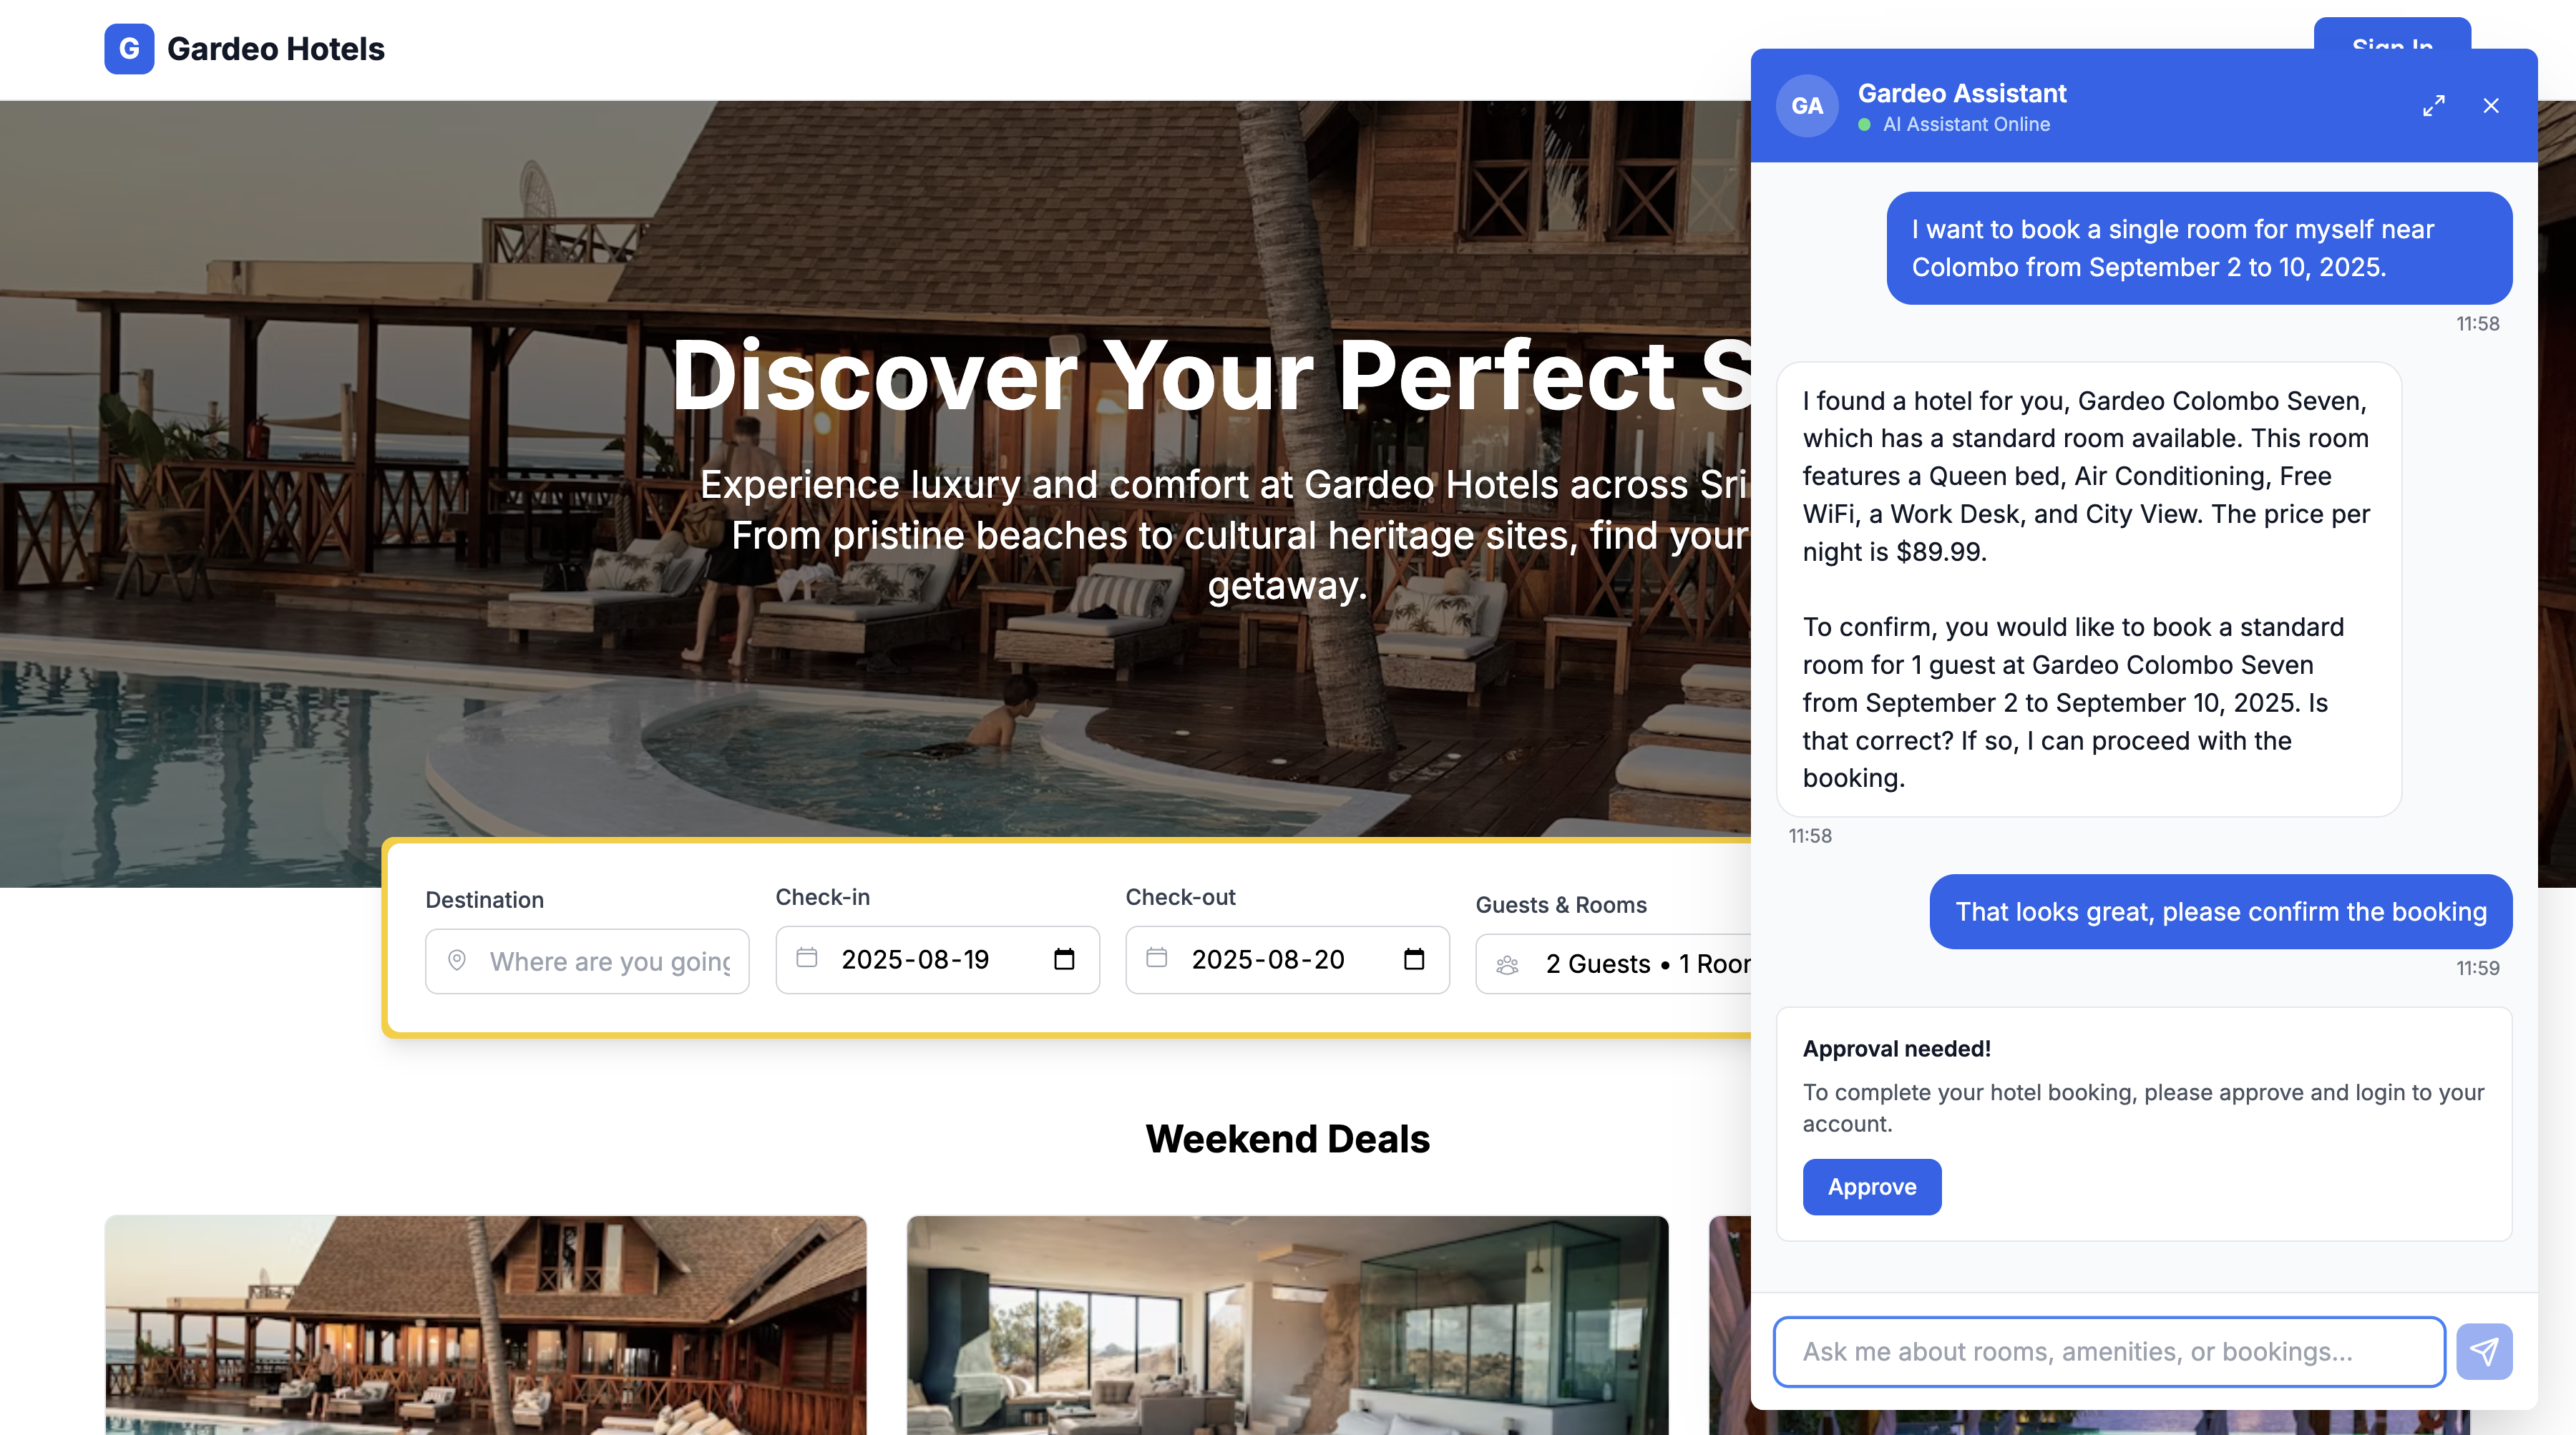
Confirm the booking After reviewing the options, confirm that you want to book a room by typing:
That looks great, please confirm the booking. -
Provide consent for the agent Once you confirm, the agent will prompt for your approval to make the booking on your behalf. This is a critical security step where the agent requests your explicit permission. Click the Approve button that appears in the chat.
-
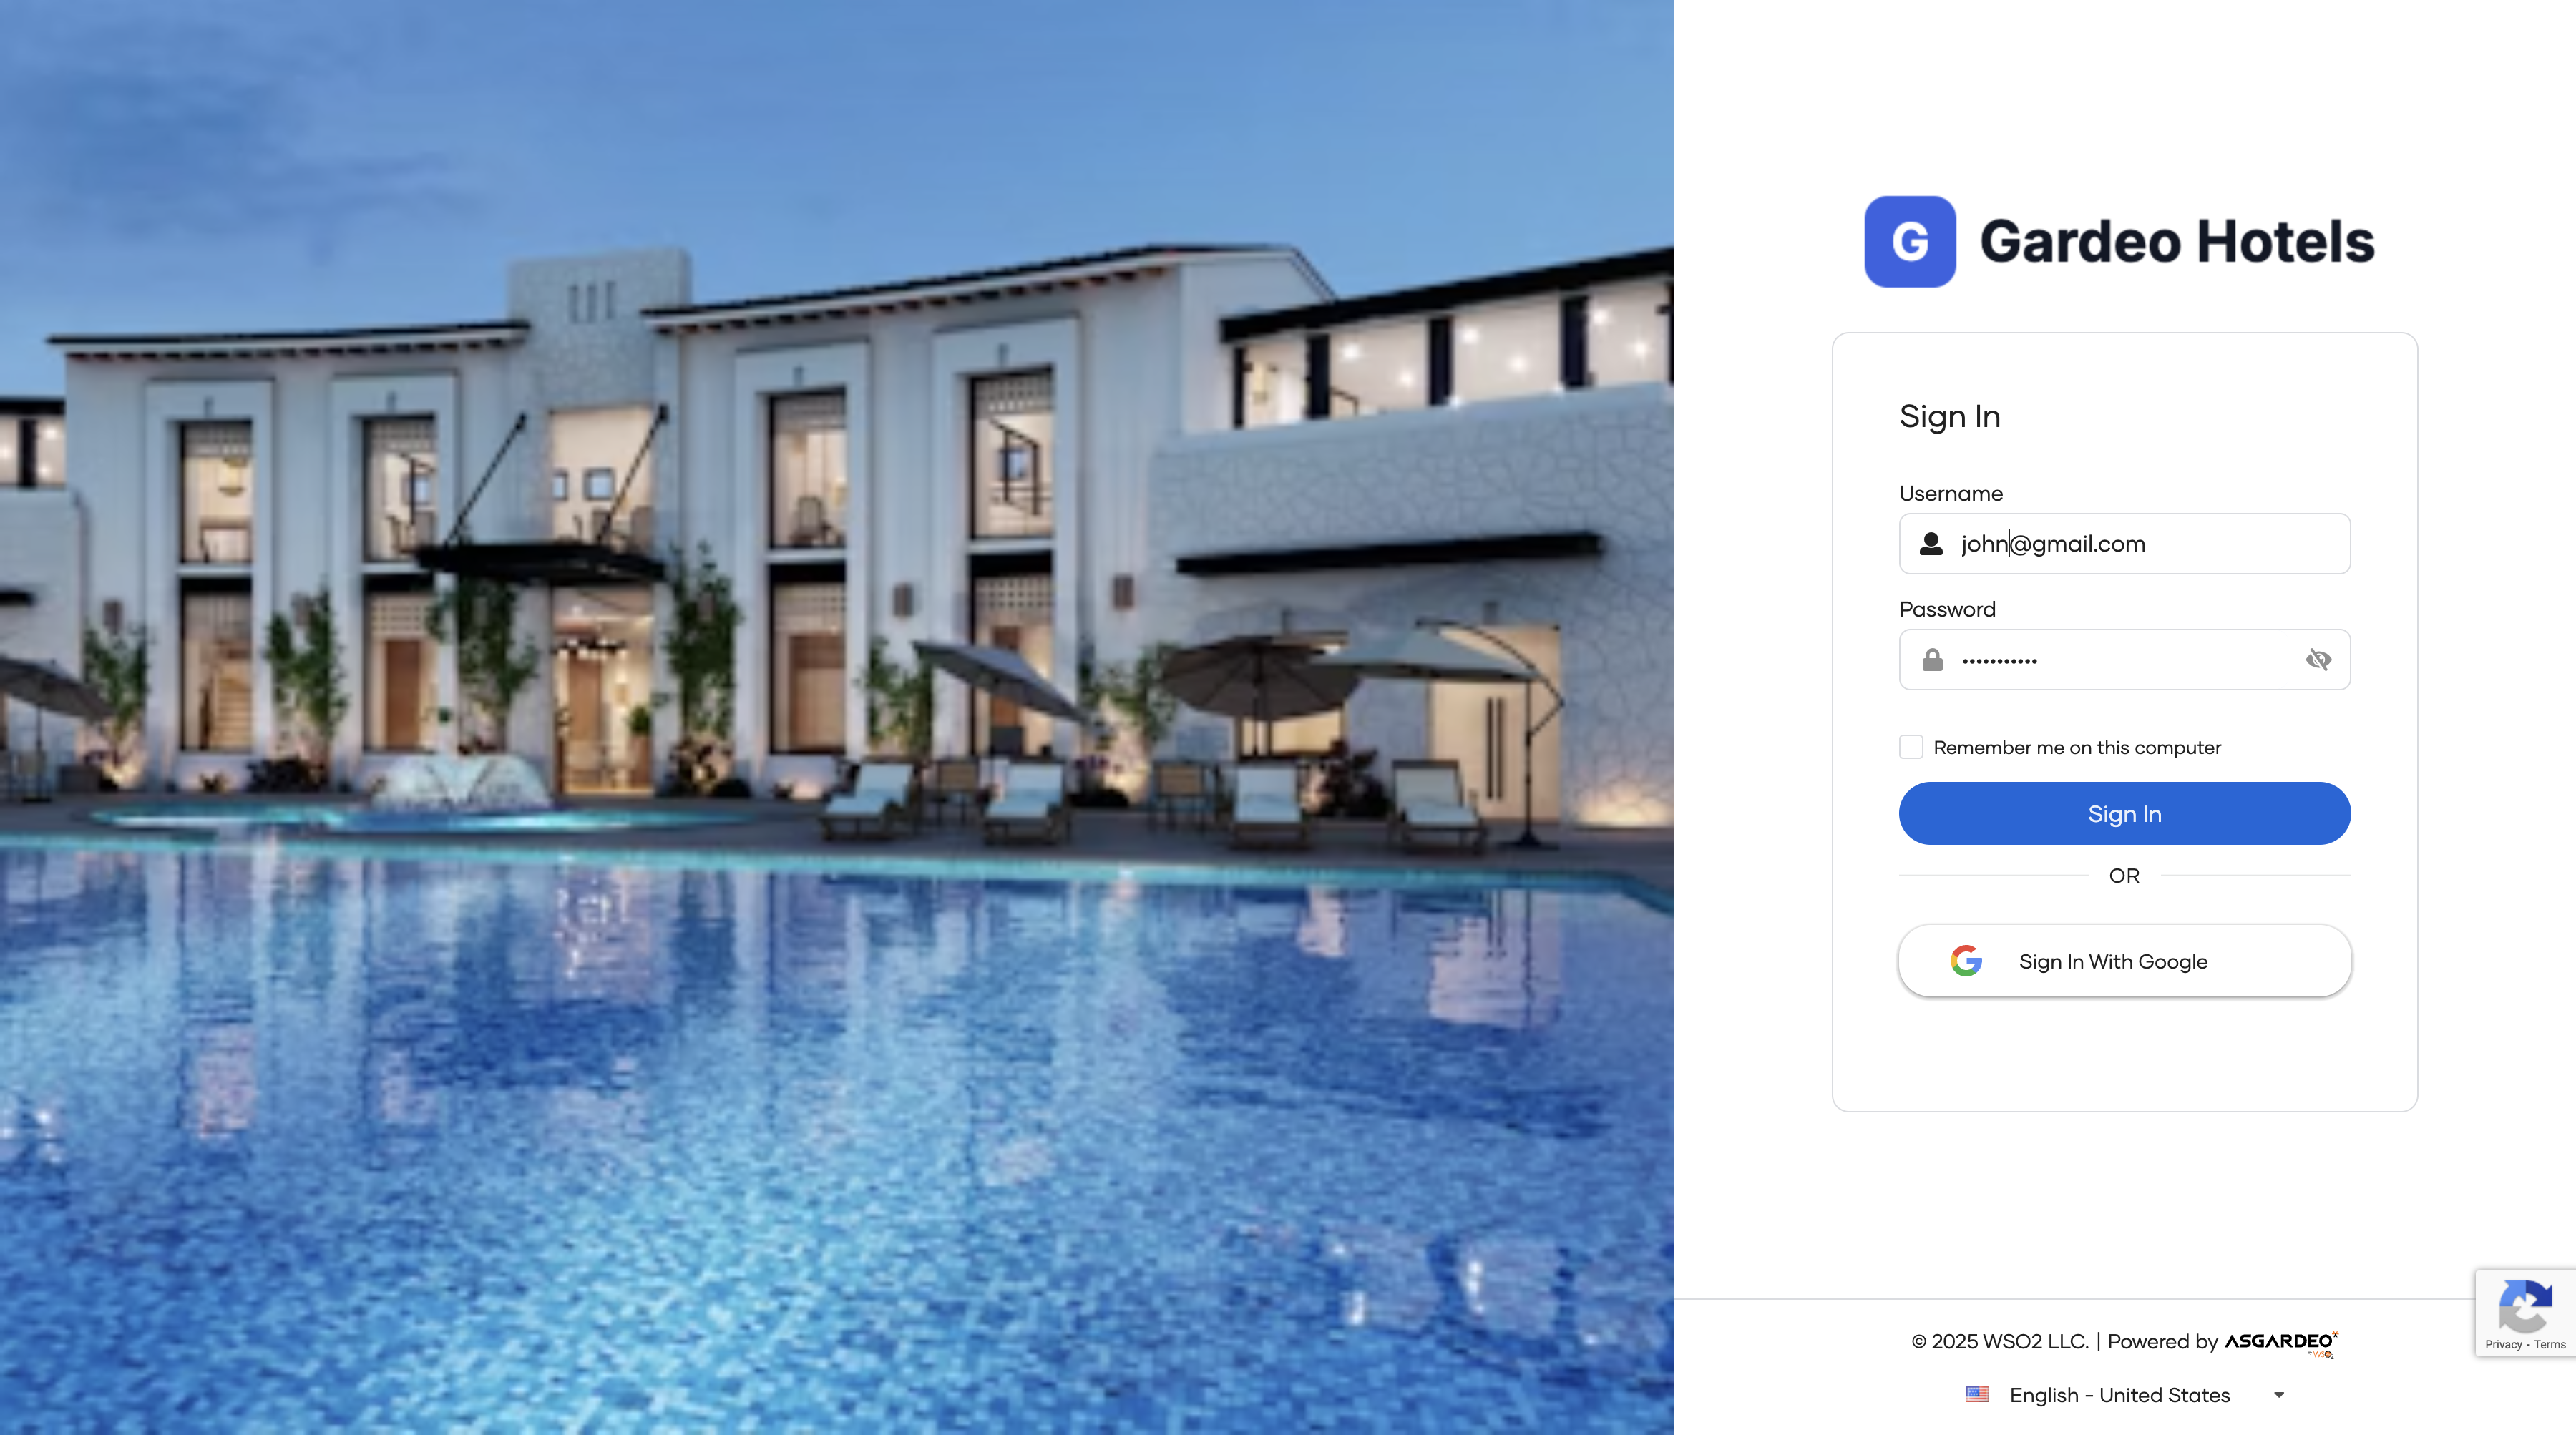
Authenticate with Asgardeo After clicking "Approve," you will be redirected to the Asgardeo login and consent page. This is the On-Behalf-Of (OBO) flow in action. Sign in with your test user's credentials to securely grant the agent permission to act for you.
-
Verify the completed booking After successful authentication, you'll be redirected back to the chat UI, where you will see a confirmation message that your booking is complete.
-
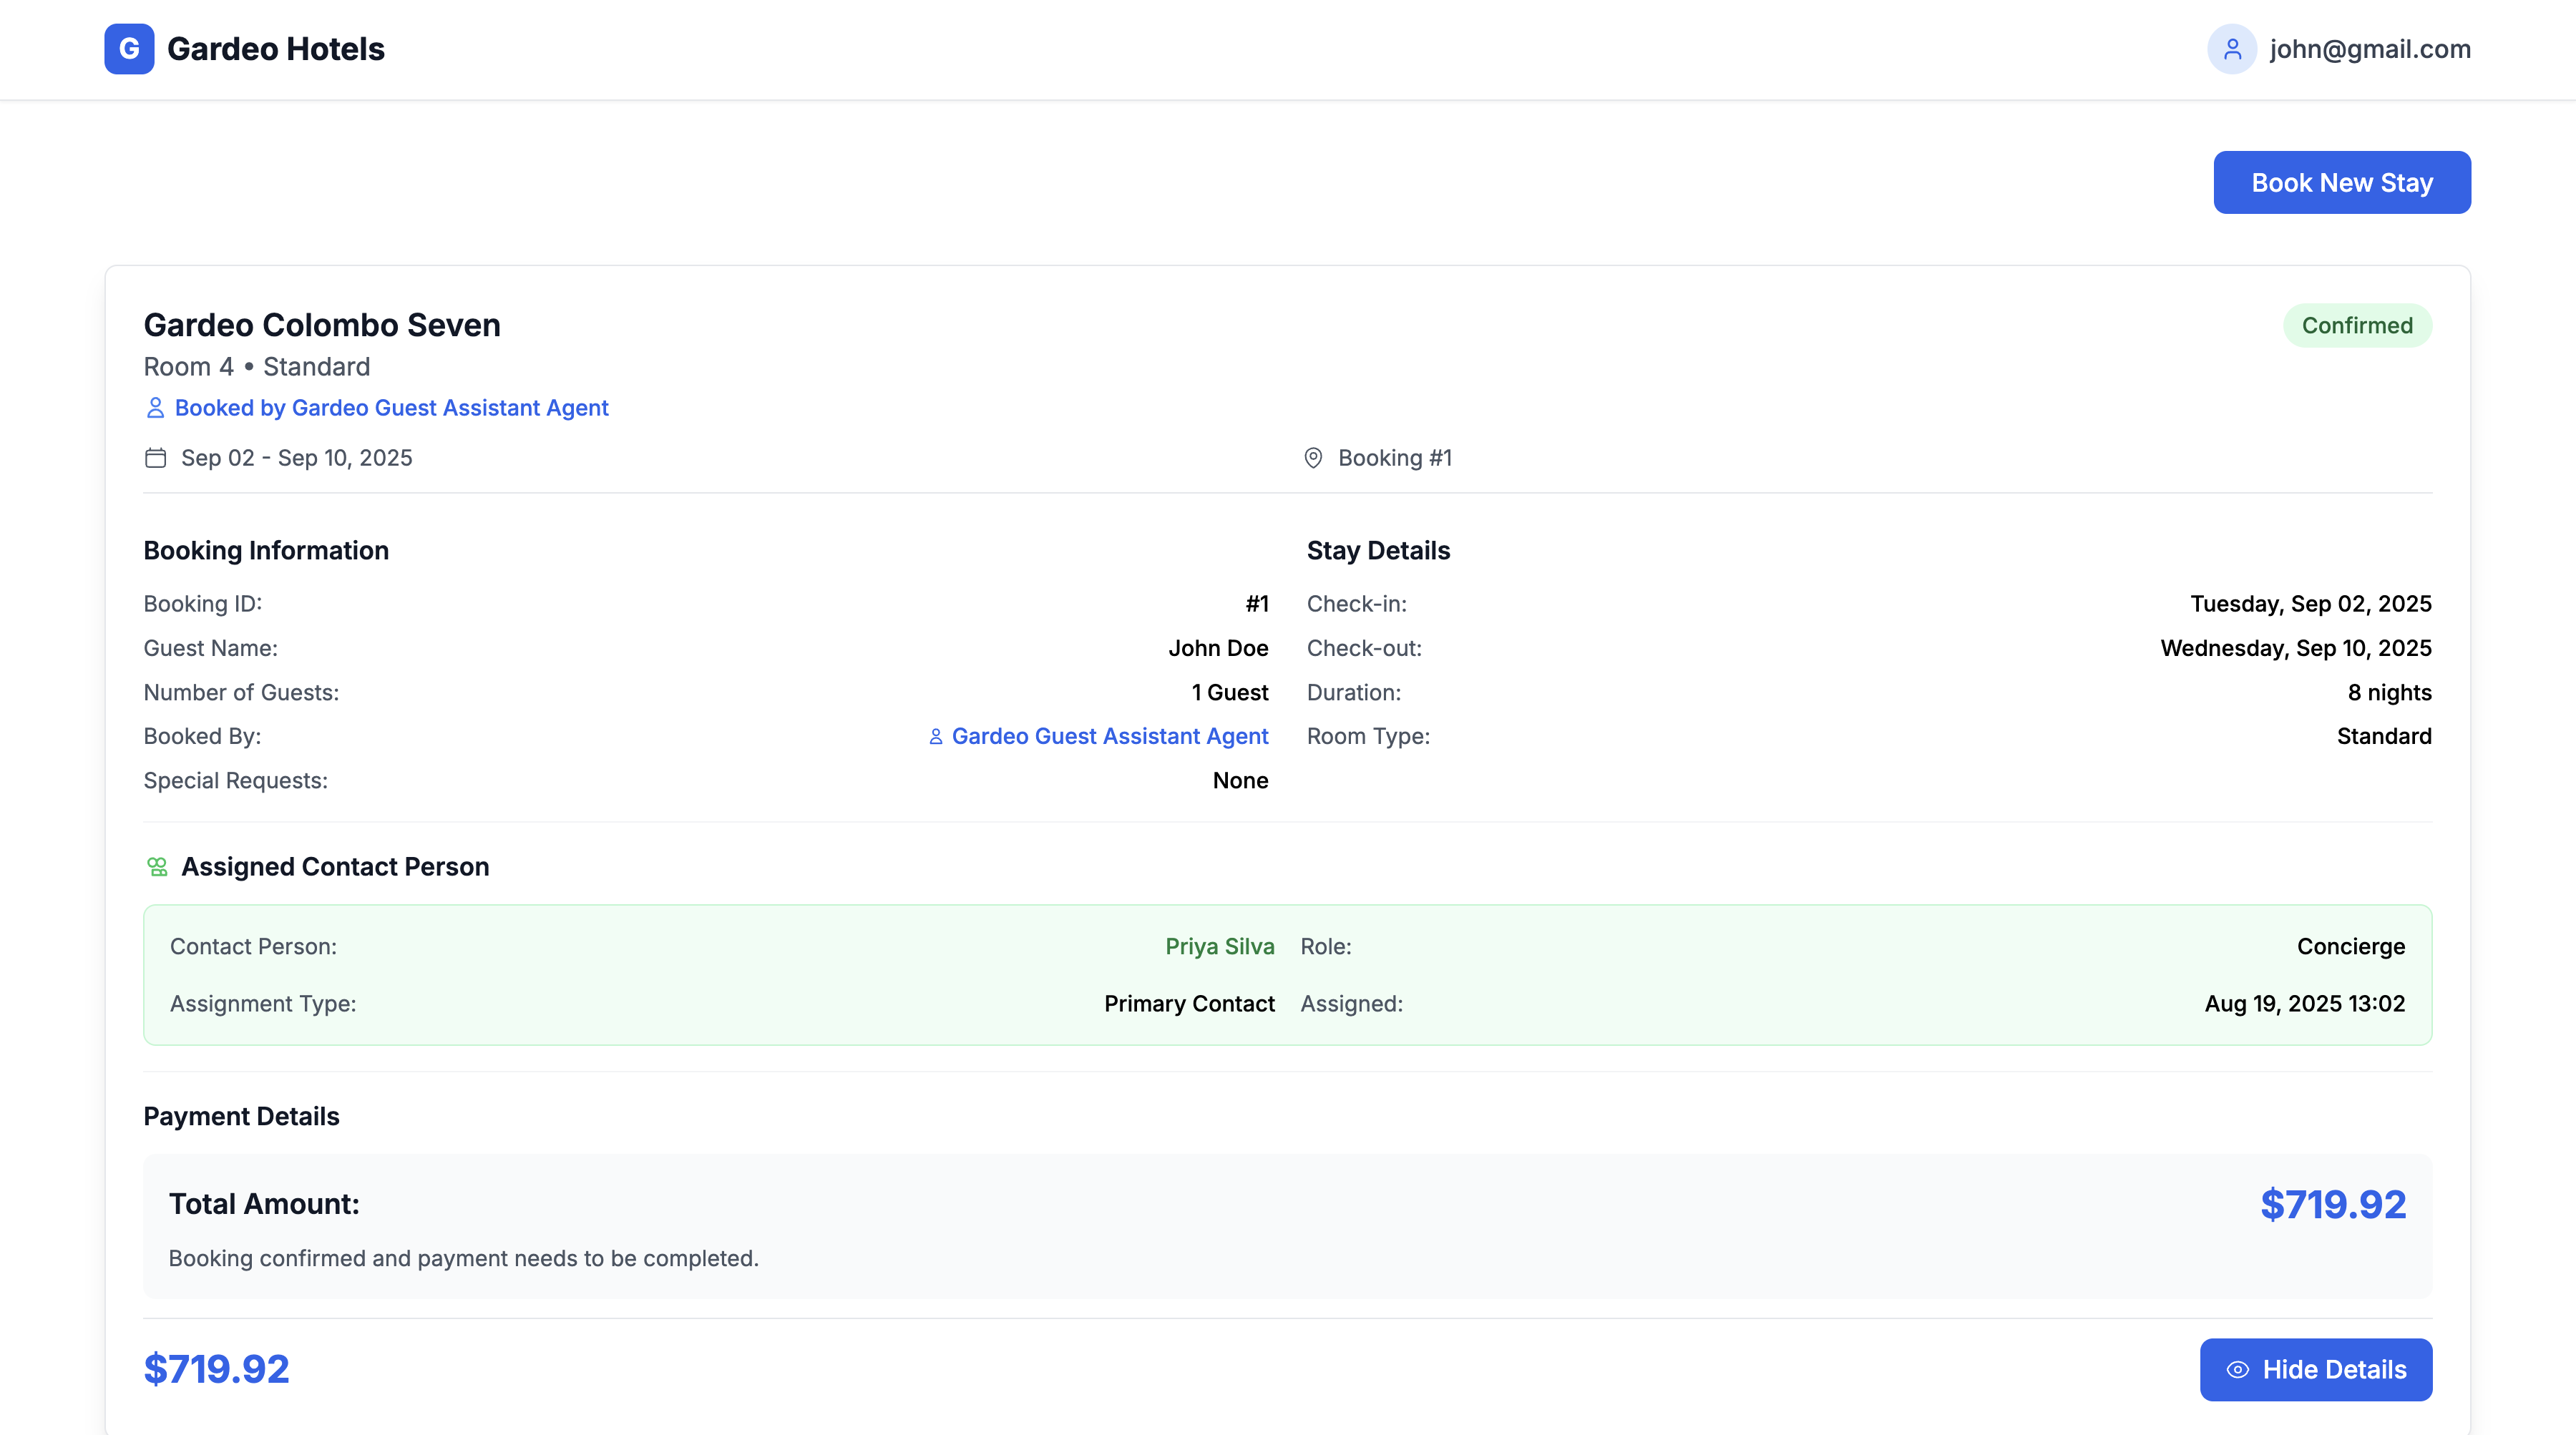
Observe the autonomous agent The booking has now triggered the autonomous Staff Management Agent in the background. Using its own secure identity, this agent analyzes your profile, checks staff availability, and assigns the most suitable contact person for your stay. You can now see the assigned contact person in your booking details.
Understanding the security flows
Let's break down the two distinct security models you just experienced.
Guest assistant agent flow (On-Behalf-Of)
When you asked the agent to book a room, it acted as your delegate.
- Permission Check: The agent identified it needed the
create_bookingsscope to fulfill the request. - Consent Request: As the agent acted on your behalf, it asked for your explicit permission.
- OBO Flow Initiation: Your approval redirected you to Asgardeo to authenticate and formally grant consent. Asgardeo then generated a delegated access token.
- Secure API Call: The agent used this delegated token to call the Hotel API.
- Token Validation: The Hotel API validated the token with Asgardeo, confirming that the token represents you (
testuser) and has the requiredcreate_bookingsscope for this specific action. All actions are attributed to your identity for auditing.
Staff management agent flow (Autonomous)
After the booking, the staff agent acted independently.
- Trigger: The booking creation event automatically triggered the agent.
- Independent Authentication: The Staff Agent authenticated with Asgardeo using its own credentials (the ones you configured in Step 1) to get an access token.
- Admin Operations: Using its token with admin scopes (
admin_read_staff,admin_update_bookings), the agent read your user profile and staff data to assign a contact person.
Token comparison: A look inside the JWT
The fundamental difference between these flows is encoded directly within the JWT access tokens. By examining key claims, we can see precisely how Asgardeo represents identity and delegation.
A normal User Token (from direct login) establishes the user's identity. The OBO Token builds on this by adding an act (actor) claim, which creates a verifiable delegation chain. The autonomous Agent Token is different entirely, representing only the agent's identity.
Here is a detailed comparison:
| Aspect | User Token (Direct Login) | Guest Agent (OBO) Token | Staff Agent Token (Autonomous) |
|---|---|---|---|
| Identity Represented | The User | The User (delegated to Agent) | The Agent itself |
Primary Subject (sub) |
User's ID | User's ID | Agent's ID |
Delegation (act) |
Not present | Present. Contains Agent's ID (act.sub) |
Not present |
Auth Type (aut) |
APPLICATION_USER |
APPLICATION_USER |
AGENT |
| Scopes | User's full allowed scopes (for example read_bookings) |
Subset of consented user scopes (for example create_bookings) |
Agent's own scopes (for example admin_read_staff) |
| Obtained via | Authorization Code Flow | On-Behalf-Of Flow (with consent) | Client Credentials Grant |
| User Control | Full control | Explicit consent required | No user involvement |
This structure allows your APIs to perform robust authorization checks. For a delegated action, the API can verify both the user's identity (sub) and the authorized agent's identity (act.sub), ensuring that every action is secure, audited, and compliant with the user's consent.