Datadog: End-to-End Setup
Users can observe agents with Datadog, which is a comprehensive observability and monitoring platform for cloud-scale applications. It provides developers, IT operations teams, and business users with tools to monitor, troubleshoot, and optimize performance across their entire technology stack, including applications, servers, databases, and services. Both metrics and tracing of an agent can be viewed with Datadog.
Create a new account in Datadog. Select a billing plan according to your needs (A free plan is also included).
Then follow the steps below to set up your Datadog account to view metrics and tracing provided by Ballerina.
Step 1: Create a Datadog Account and API Key
-
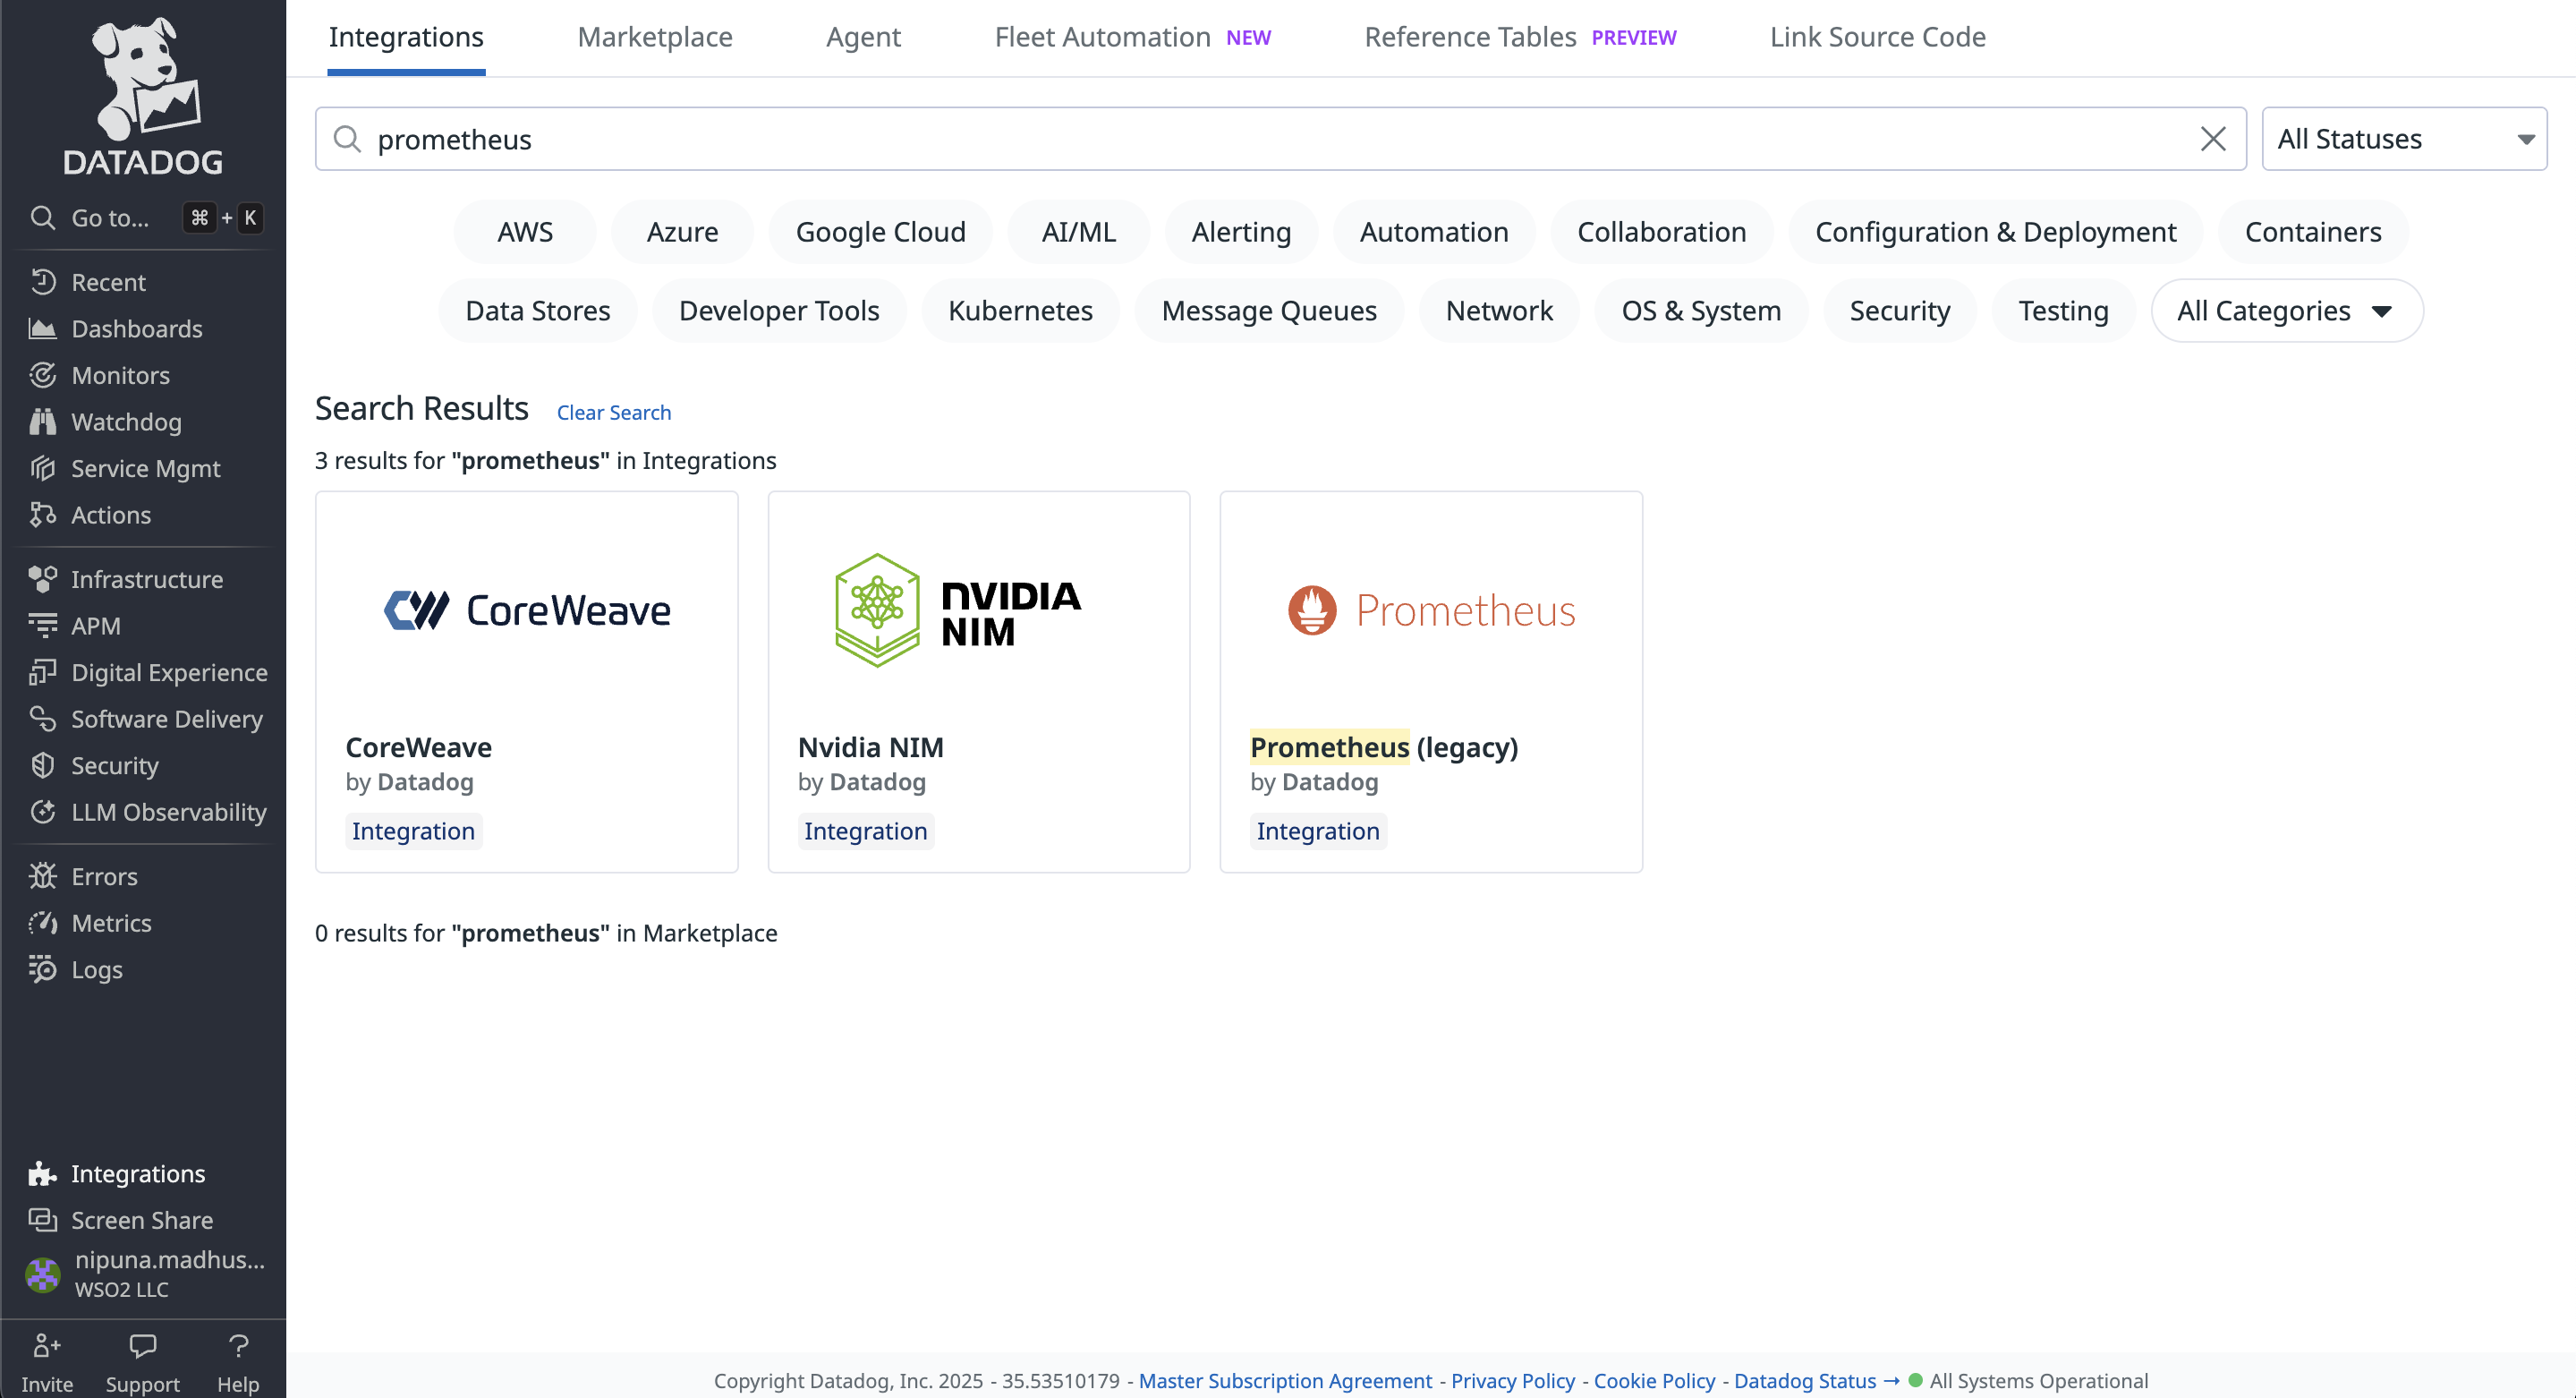
Add Prometheus to the Integrations for your account
You need to add Prometheus in the Integrations. Please go to the Integrations tab and search for Prometheus.
-
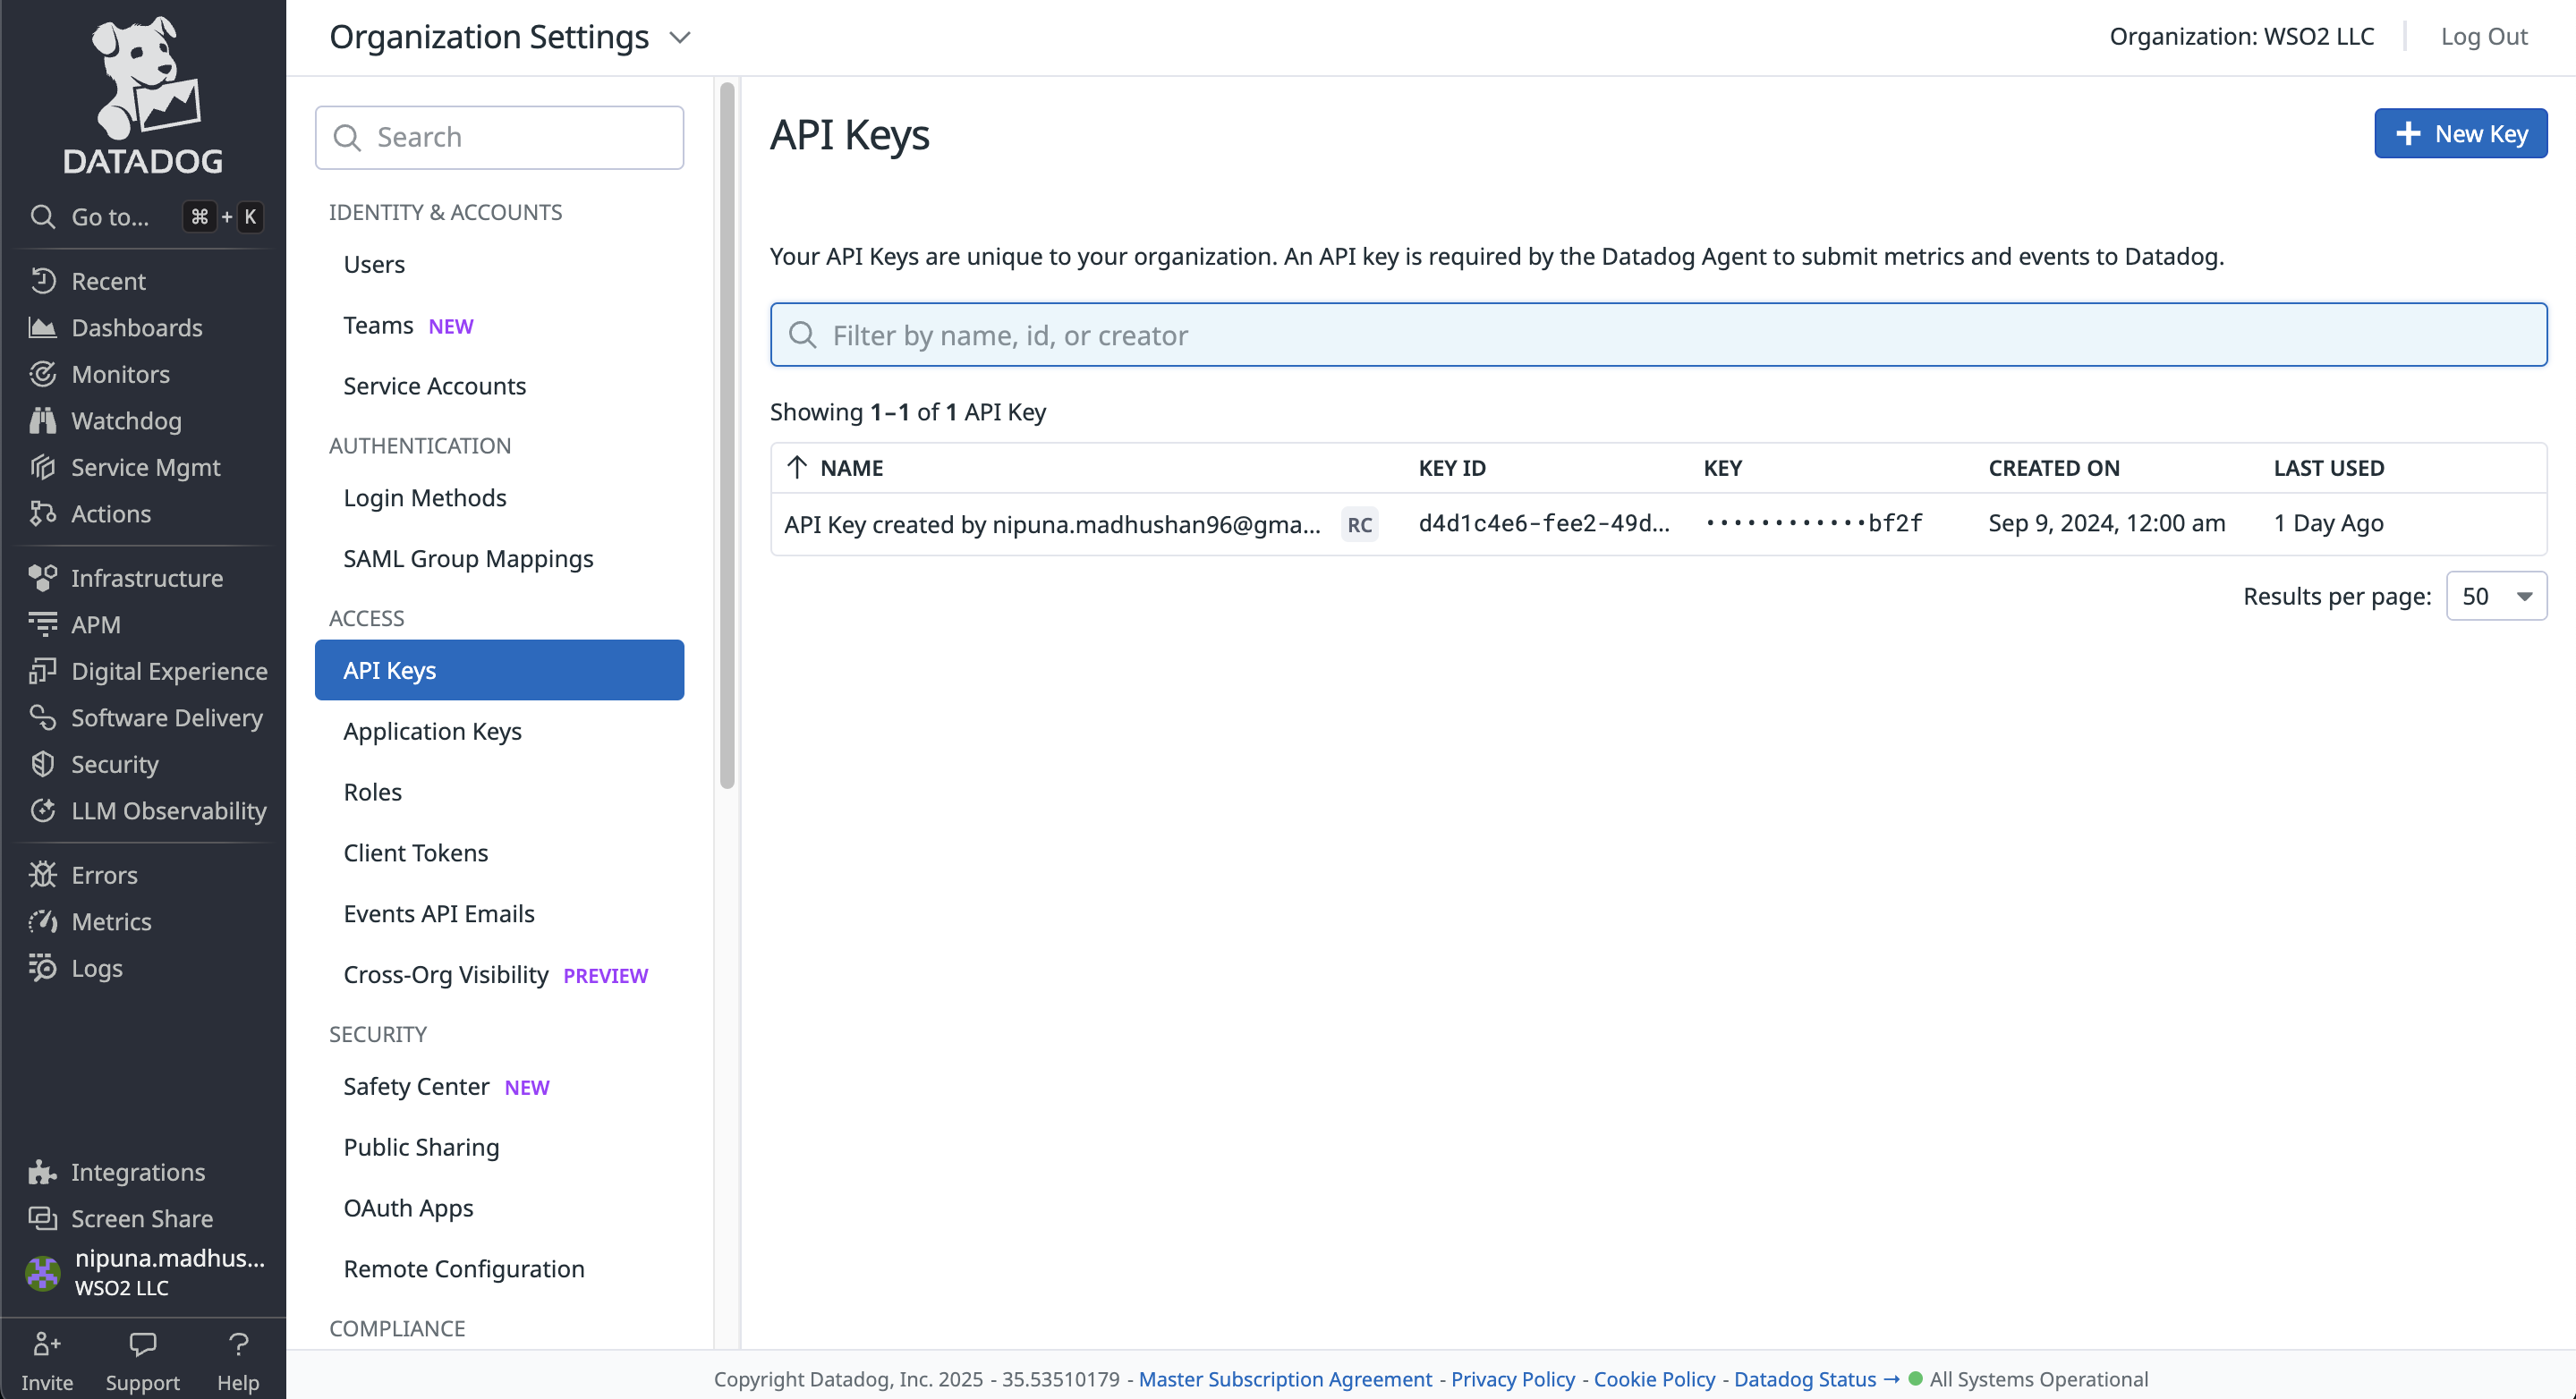
Create an API key
You need to create an API key for the Datadog agent. To create an API key,
Click Profile → Organization Settings → API keys
Step 2: Set Up the Datadog Agent
After setting up your Datadog account, you need to set up a Datadog Agent in your instance.
You can follow this documentation to get started with the Datadog agent on your local machine.
You need to include the API key you generated in your Datadog account to datadog.yaml in the datadog-agent/etc folder.
Then follow the steps below to configure metrics and tracing data publishing to Datadog.
-
Add configuration for metrics
Once you add Prometheus by following step 1, you will get a guide to configure a Datadog agent in your instance.
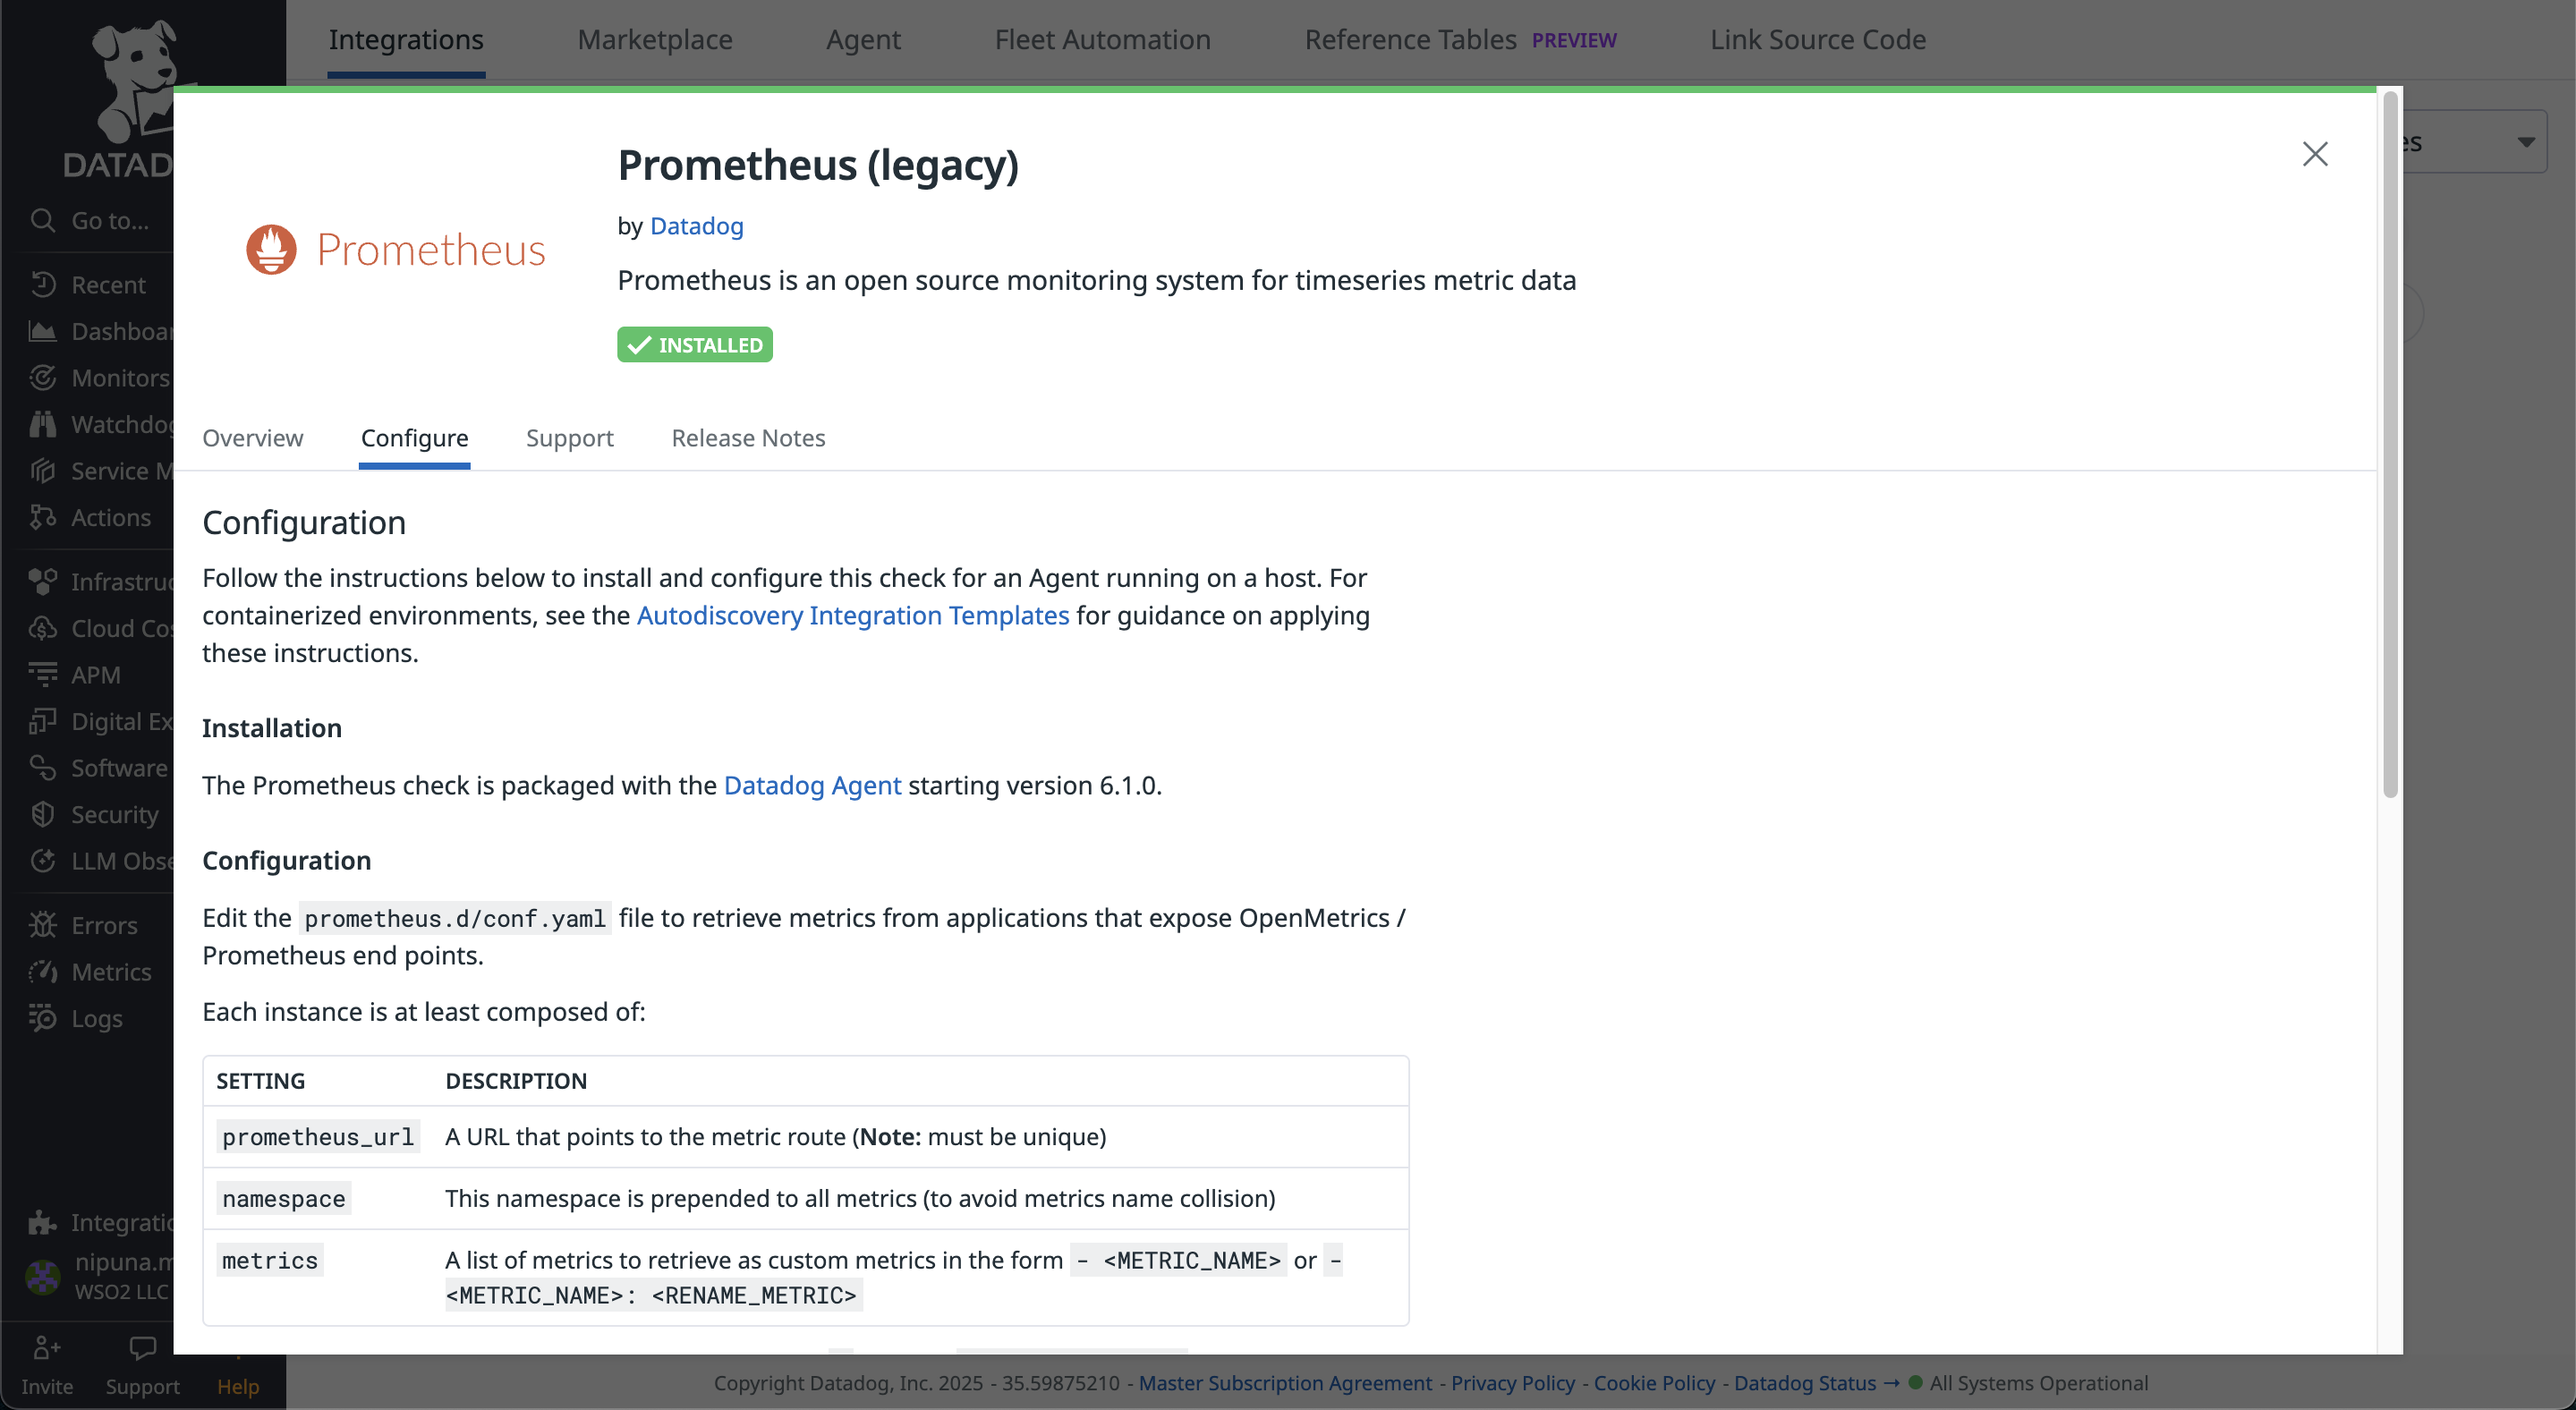
You can follow the instructions given in the above configuration to set up a Datadog agent.
A sample of the
conf.yamlfile which you should include in theprometheus.dfolder can be found here.init_config:
instances:
- prometheus_url: http://localhost:9797/metrics
namespace: ballerina
metrics:
- response_time_seconds_value
- response_time_seconds_max
- response_time_seconds_min
- response_time_seconds_mean
- response_time_seconds_stdDev
- response_time_seconds
- response_time_nanoseconds_total_value
- requests_total_value
- response_errors_total_value
- inprogress_requests_value
headers:
Accept: "text/plain; version=0.0.4" -
Add configuration for tracing
You need to use the following configurations in the
datadog.yaml.To view traces in Datadog, we need to enable the APM (Application Performance Monitoring) in your Datadog agent.
apm_config:
  enabled: true
Ballerina uses OpenTelemetry to provide traces. Therefore, we need to set up OpenTelemetry configurations as follows.
otlp_config:
    receiver:
        protocols:
            grpc:
                endpoint: 0.0.0.0:4317
Step 3: Import Prometheus and Jaeger Extensions
To include the Prometheus and Jaeger extensions into the executable, the ballerinax/prometheus and ballerinax/jaeger
modules need to be imported into your agent. Open the file explorer in WSO2 Agent Builder and add the following content to the main.bal file.
import ballerinax/prometheus as _;
import ballerinax/jaeger as _;
To support Prometheus as the metrics reporter, an HTTP endpoint starts with the context /metrics on the default port 9797 when the Ballerina service starts.
Jaeger extension has an Opentelemetry GRPC Span Exporter which will push tracing data as batches to the endpoint set by agentHostname and agentPort (localhost:4317 in the configuration below, which is the Datadog agent's OTLP gRPC endpoint) in OpenTelemetry format.
Step 4: Configure Runtime Configurations
Add the below to Ballerina.toml file.
[build-options]
observabilityIncluded = true
Tracing and metrics can be enabled in your agent using configurations similar to the following in your
Config.toml file.
You can find the above files in File explorer view.
[ballerina.observe]
tracingEnabled=true
tracingProvider="jaeger"
metricsEnabled=true
metricsReporter="prometheus"

[ballerinax.prometheus]
port=9797
host="0.0.0.0"

[ballerinax.jaeger]
agentHostname="localhost"
agentPort=4317
samplerType="const"
samplerParam=1.0
reporterFlushInterval=2000
reporterBufferSize=1000
The table below provides the descriptions of each configuration option and possible values that can be assigned.
| Configuration key | Description | Default value | Possible values |
|---|---|---|---|
ballerinax.prometheus.port | The value of the port to which the /metrics service will bind. This service will be used by Prometheus to scrape the information of the Ballerina service. | 9797 | Any suitable value for port 0 - 65535. However, within that range, ports 0 - 1023 are generally reserved for specific purposes, therefore it is advisable to select a port without that range. |
ballerinax.prometheus.host | The name of the host to which the /metrics service will bind. This service will be used by Prometheus to scrape the information of the Ballerina service. | 0.0.0.0 | IP or Hostname or 0.0.0.0 of the node in which the Ballerina service is running. |
ballerinax.jaeger.agentHostname | Hostname of the Jaeger agent | localhost | IP or hostname of the Jaeger agent. If it is running on the same node as Ballerina, it can be localhost. |
ballerinax.jaeger.agentPort | Port of the Jaeger agent | 55680 | The port on which the Jaeger agent is listening. |
ballerinax.jaeger.samplerType | Type of the sampling methods used in the Jaeger tracer. | const | const, probabilistic, or ratelimiting. |
ballerinax.jaeger.samplerParam | It is a floating value. Based on the sampler type, the effect of the sampler param varies. | 1.0 | For const: 0 (no sampling) or 1 (sample all spans), for probabilistic: 0.0 to 1.0, for ratelimiting: any positive integer (rate per second). |
ballerinax.jaeger.reporterFlushInterval | The Jaeger client will be sending the spans to the agent at this interval. | 1000 | Any positive integer value. |
ballerinax.jaeger.reporterBufferSize | Queue size of the Jaeger client. | 10000 | Any positive integer value. |
Step 5: Send Requests
Run the service and send requests to it. The example requests below call this sample shop service (main.bal), which listens on port 8090. The service hosts a shop assistant agent that answers customer questions and calls tools to list products, place orders, and look up orders. The sample uses the default WSO2 model provider.
import ballerina/ai;
import ballerina/http;
import ballerinax/jaeger as _;
import ballerinax/prometheus as _;

type Product record {|
    int id;
    string name;
    decimal price;
|};

type Order record {|
    int id;
    int productId;
    int quantity;
|};

final readonly & map<Product> products = {
    "1": {id: 1, name: "Laptop", price: 1200.00},
    "2": {id: 2, name: "Mouse", price: 25.00},
    "3": {id: 3, name: "Keyboard", price: 45.00}
};

isolated Order[] orders = [];

# Lists the products that the shop sells.
# + return - The product catalog
@ai:AgentTool
isolated function listProducts() returns Product[] => products.toArray();

# Places an order for a product.
# + productId - The ID of the product to order
# + quantity - The number of units to order
# + return - The new order, or an error if the product doesn't exist
@ai:AgentTool
isolated function placeOrder(int productId, int quantity) returns Order|error {
    if !products.hasKey(productId.toString()) {
        return error(string `Product ${productId} not found`);
    }
    lock {
        Order newOrder = {id: orders.length(), productId, quantity};
        orders.push(newOrder);
        return newOrder.clone();
    }
}

# Gets the details of an order.
# + orderId - The ID of the order
# + return - The order, or an error if it doesn't exist
@ai:AgentTool
isolated function getOrder(int orderId) returns Order|error {
    lock {
        if orderId < 0 || orderId >= orders.length() {
            return error(string `Order ${orderId} not found`);
        }
        return orders[orderId].clone();
    }
}

// Default model provider
final ai:Wso2ModelProvider wso2ModelProvider =
    check ai:getDefaultModelProvider();

// Agent declaration
final ai:Agent shopAssistantAgent = check new (
    systemPrompt = {
        role: string `Shop Assistant`,
        instructions: string `You help customers find products, place
            orders, and check order status. Use the tools for every
            product and order lookup. Never invent product IDs or prices.`
    },
    model = wso2ModelProvider,
    tools = [listProducts, placeOrder, getOrder]
);

service /shop on new http:Listener(8090) {

    resource function get products() returns Product[] {
        return products.toArray();
    }

    resource function post assistant(@http:Payload ai:ChatReqMessage request)
            returns ai:ChatRespMessage|error {
        string answer = check shopAssistantAgent.run(request.message, request.sessionId);
        return {message: answer};
    }
}
Example cURL commands. The requests to /shop/assistant share a session ID, so the agent keeps the context of the conversation:
curl -X GET http://localhost:8090/shop/products
curl -X POST http://localhost:8090/shop/assistant \
-H "Content-Type: application/json" \
-d '{
    "sessionId": "session-1",
    "message": "Which keyboards do you sell, and how much do they cost?"
}'
curl -X POST http://localhost:8090/shop/assistant \
-H "Content-Type: application/json" \
-d '{
    "sessionId": "session-1",
    "message": "Order one keyboard for me."
}'
curl -X POST http://localhost:8090/shop/assistant \
-H "Content-Type: application/json" \
-d '{
    "sessionId": "session-1",
    "message": "What is the status of my order?"
}'
Step 6: View Metrics on Datadog
You can observe the metrics in the Datadog platform under the Metrics tab in the left navigation.
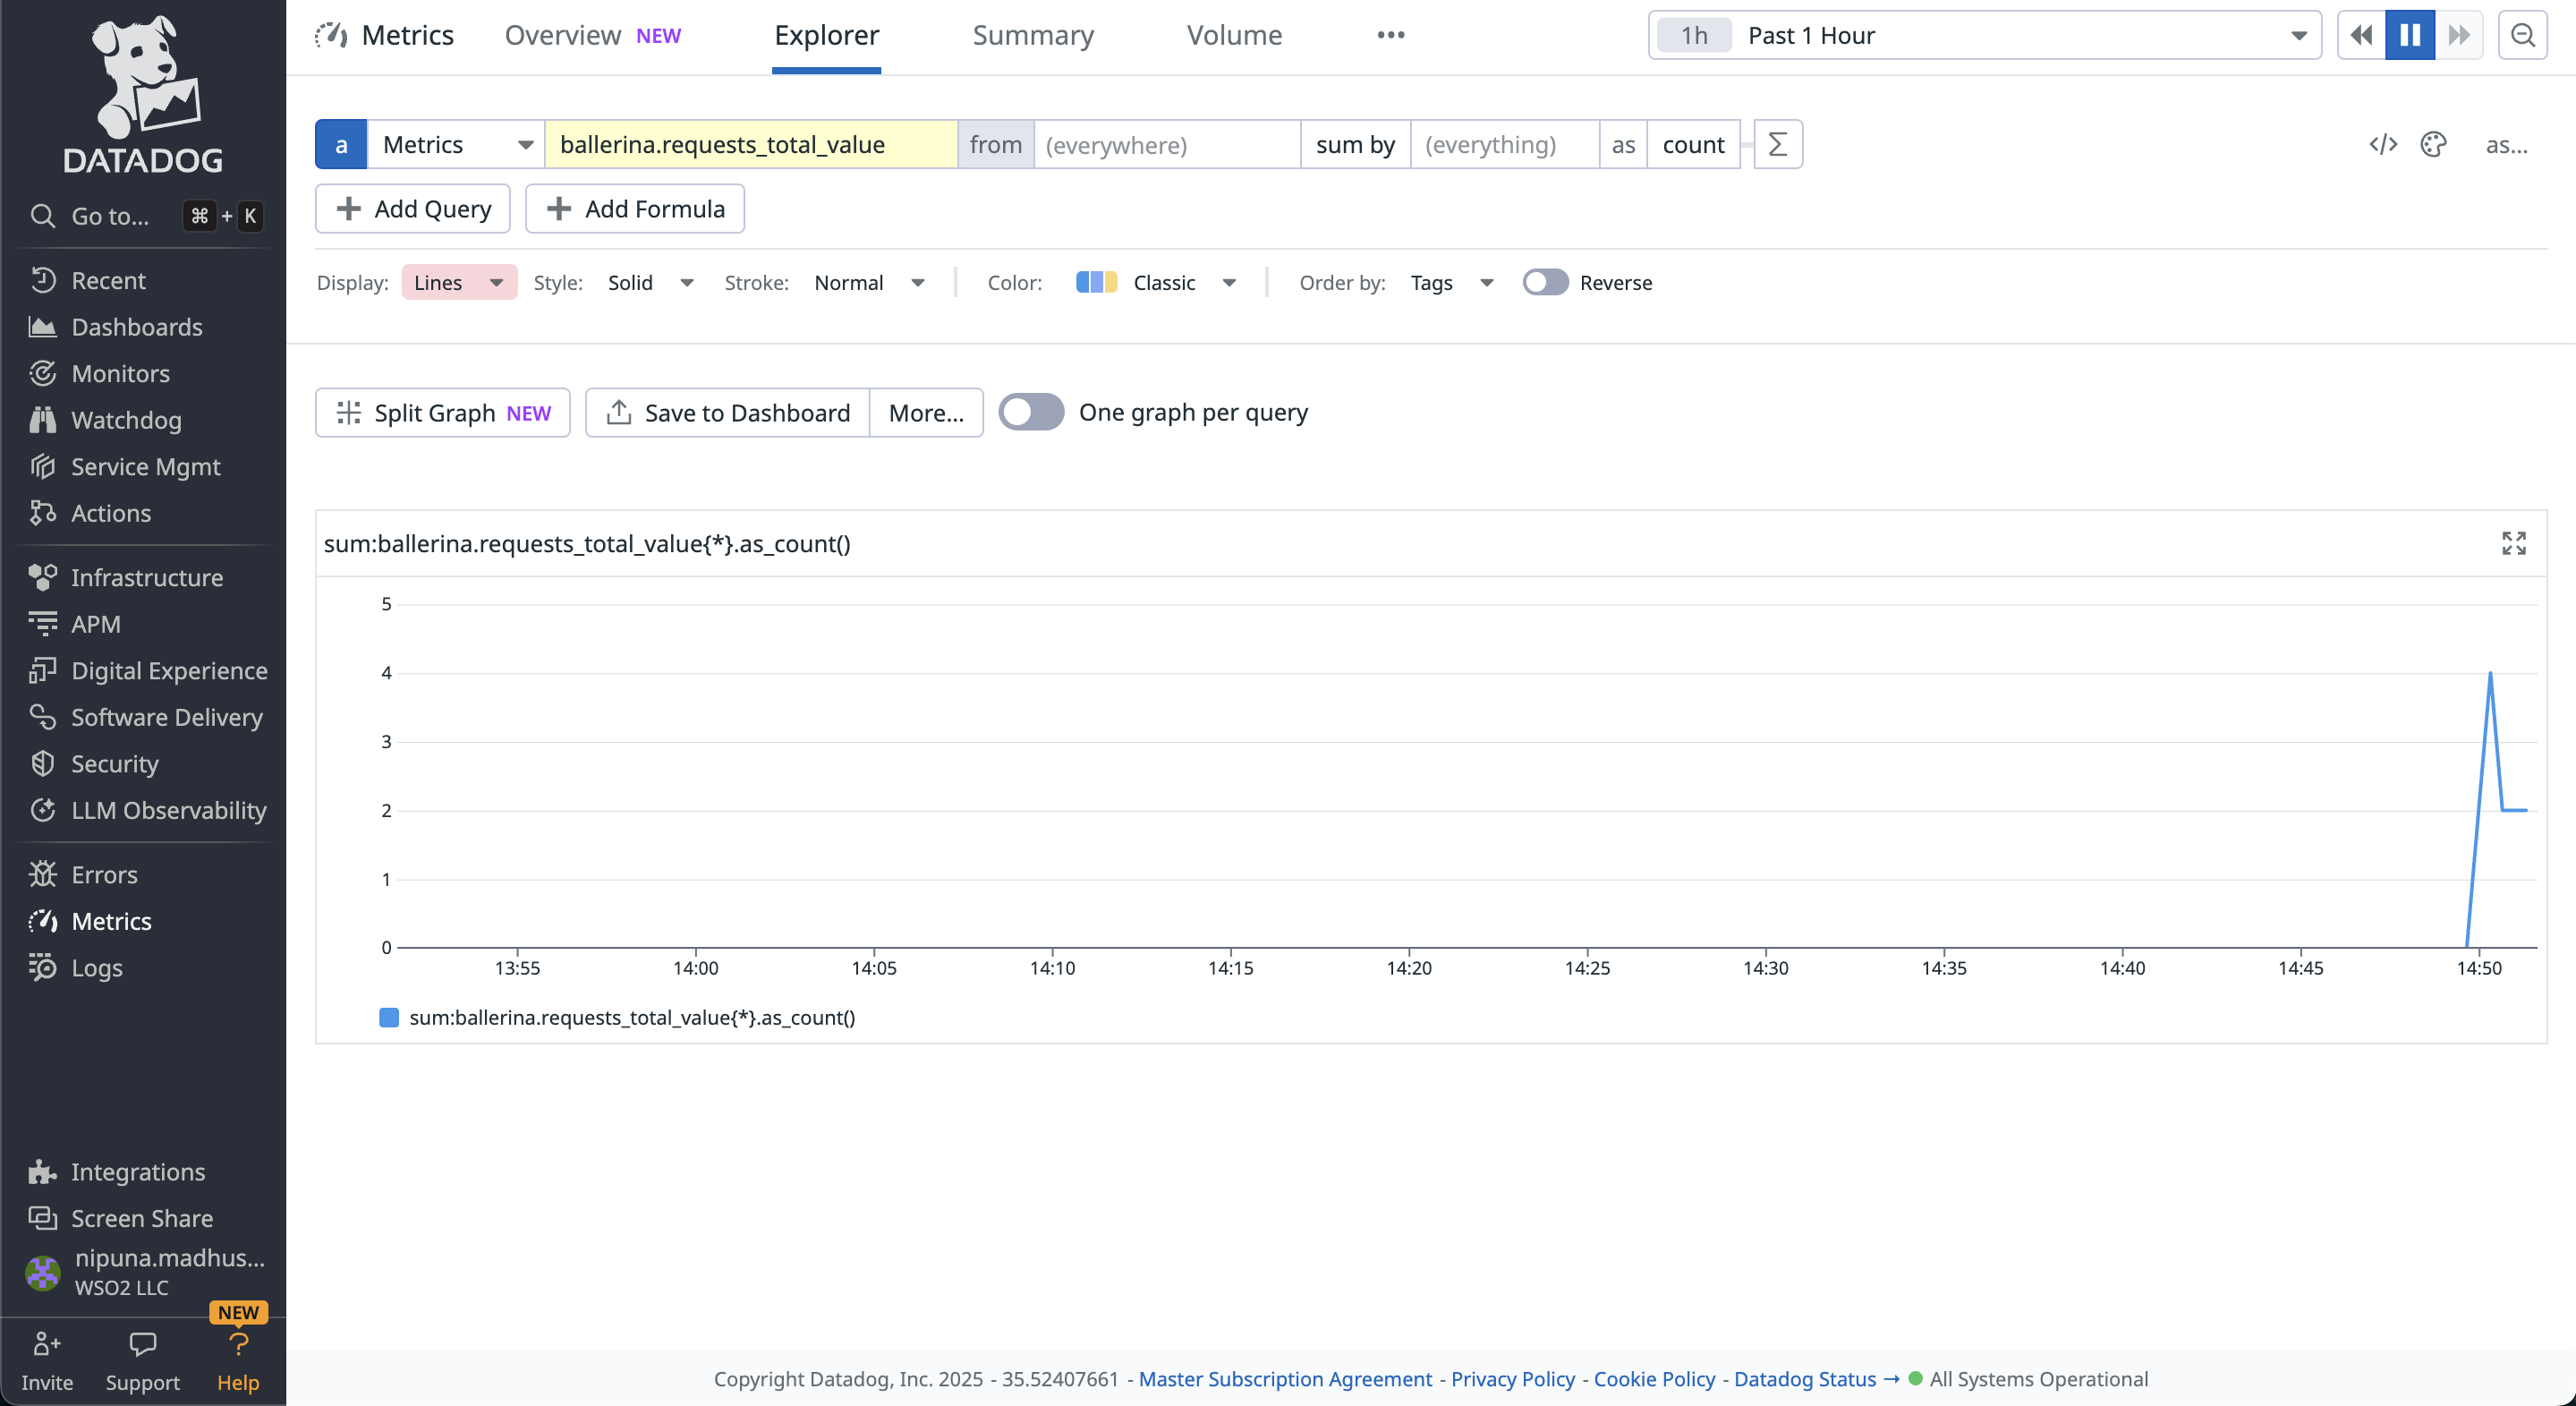
You can add filters and use functions in the Datadog to visualize what you want with the metrics provided by Ballerina.
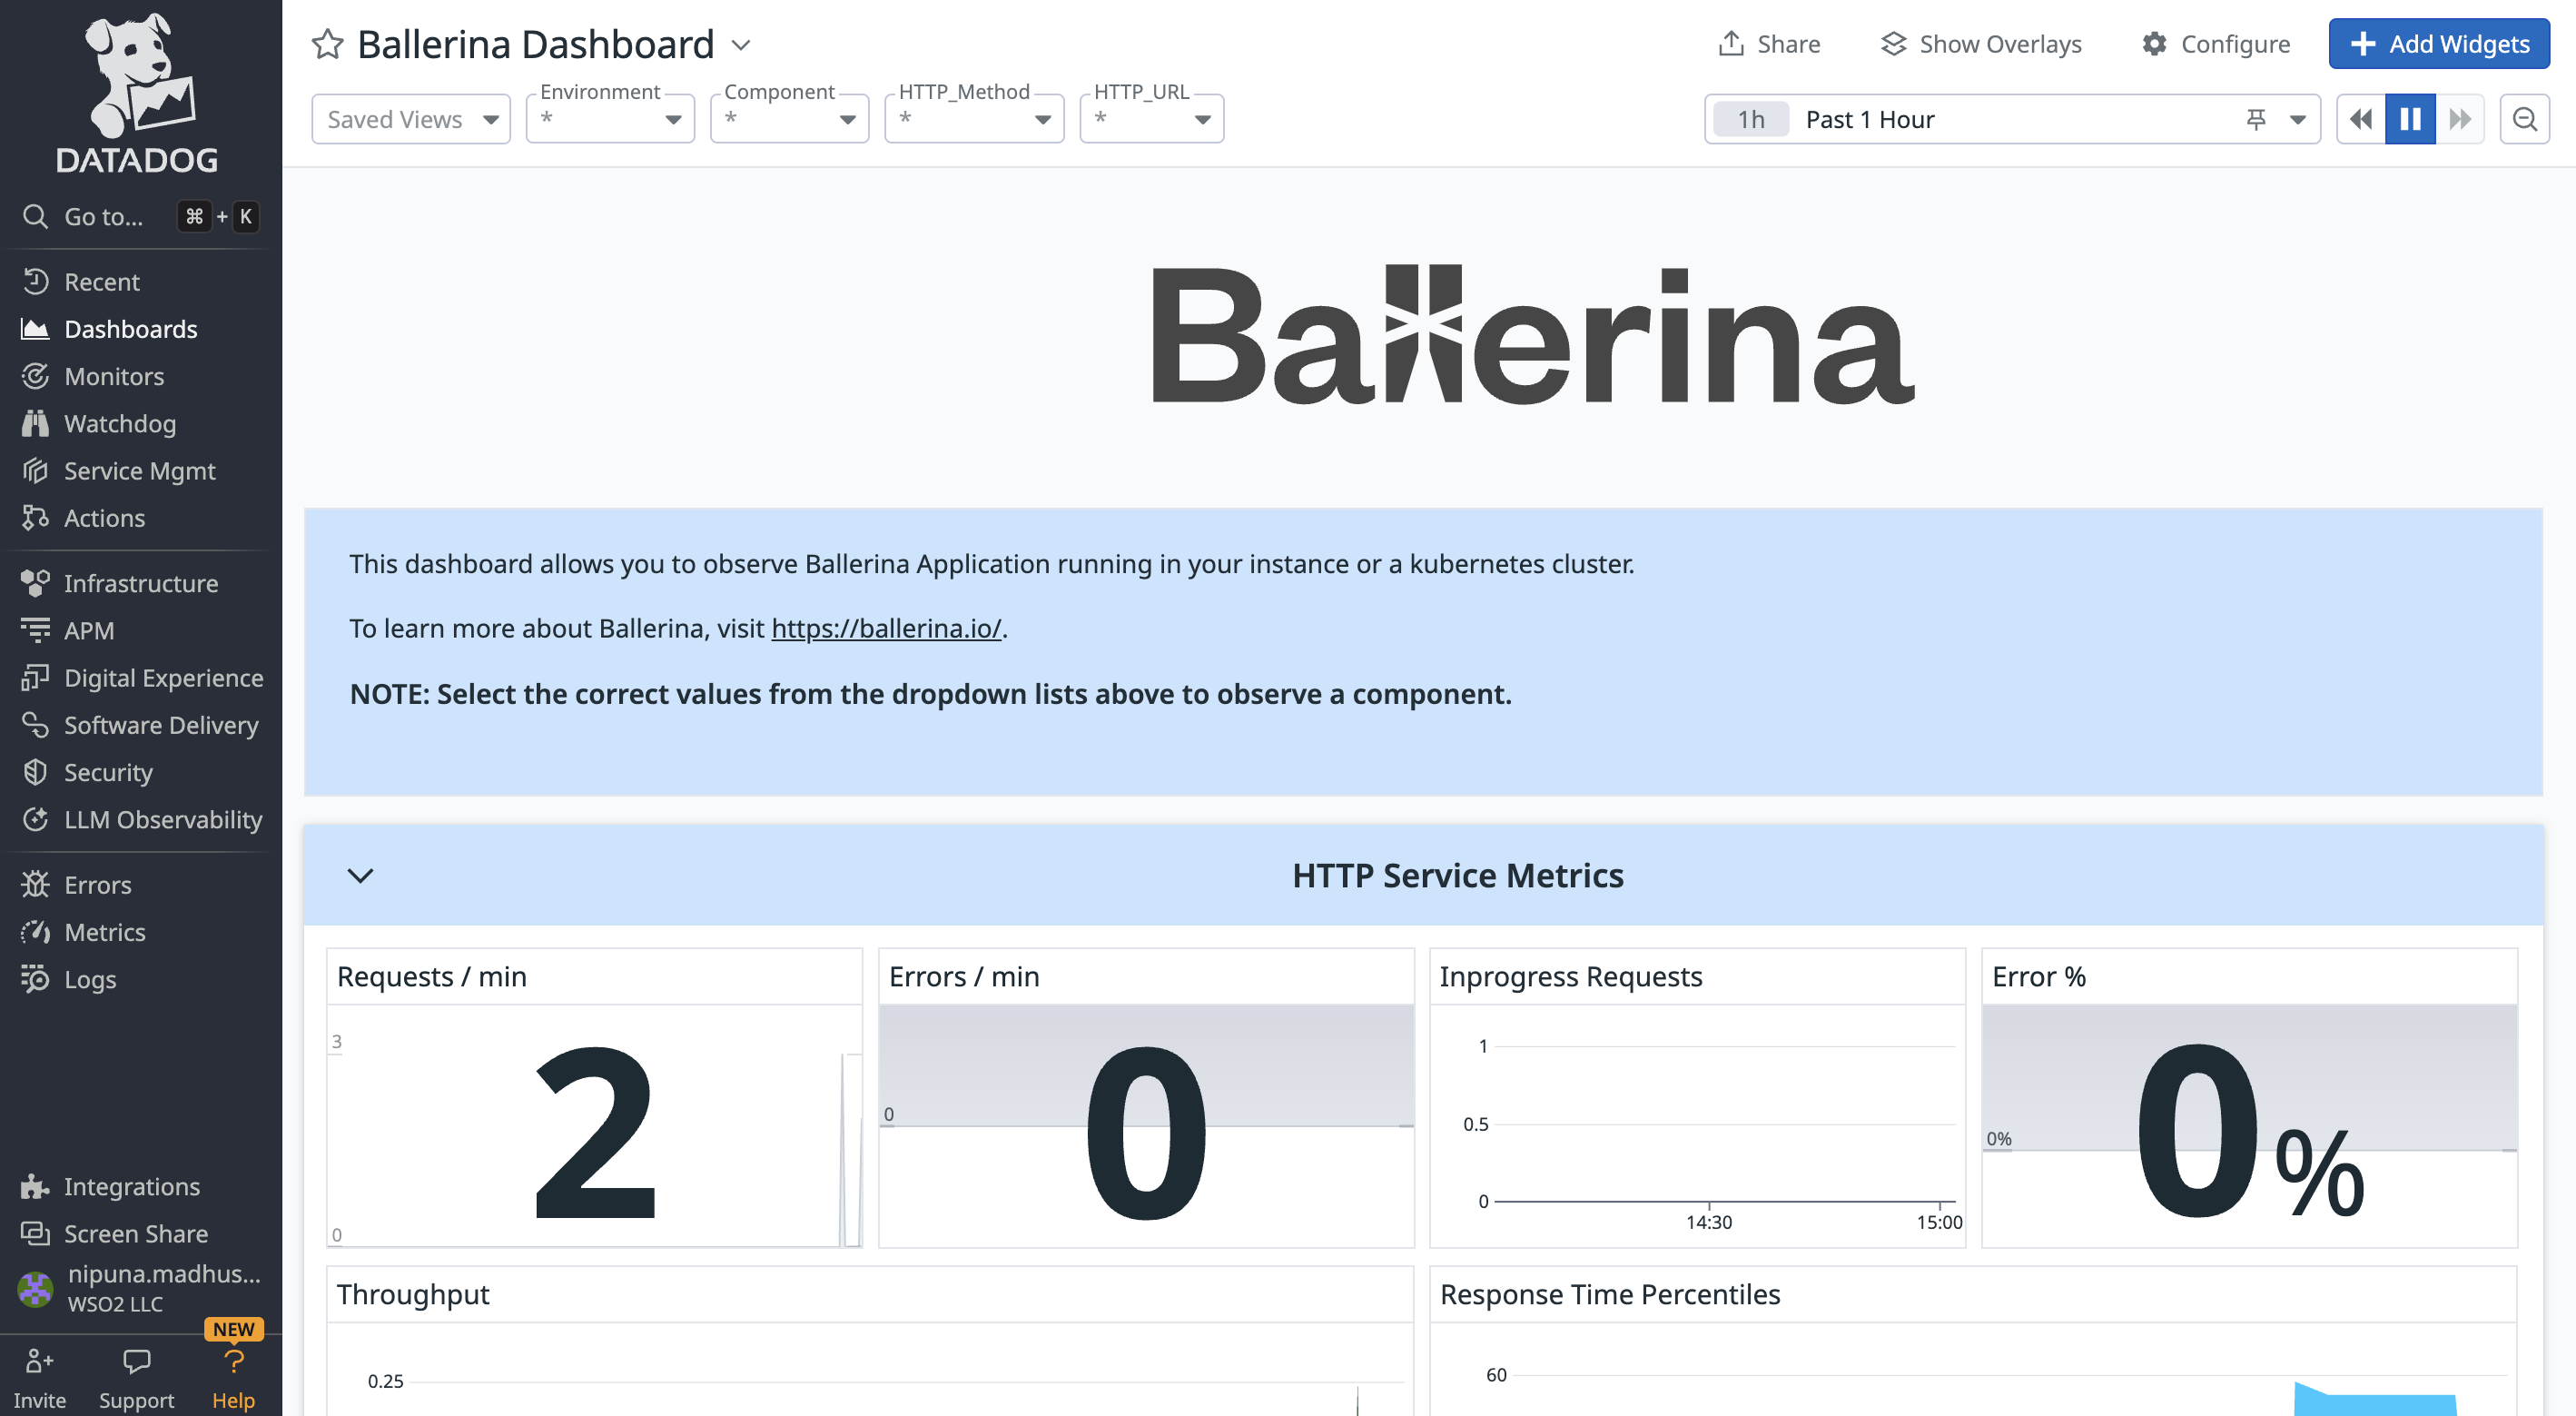
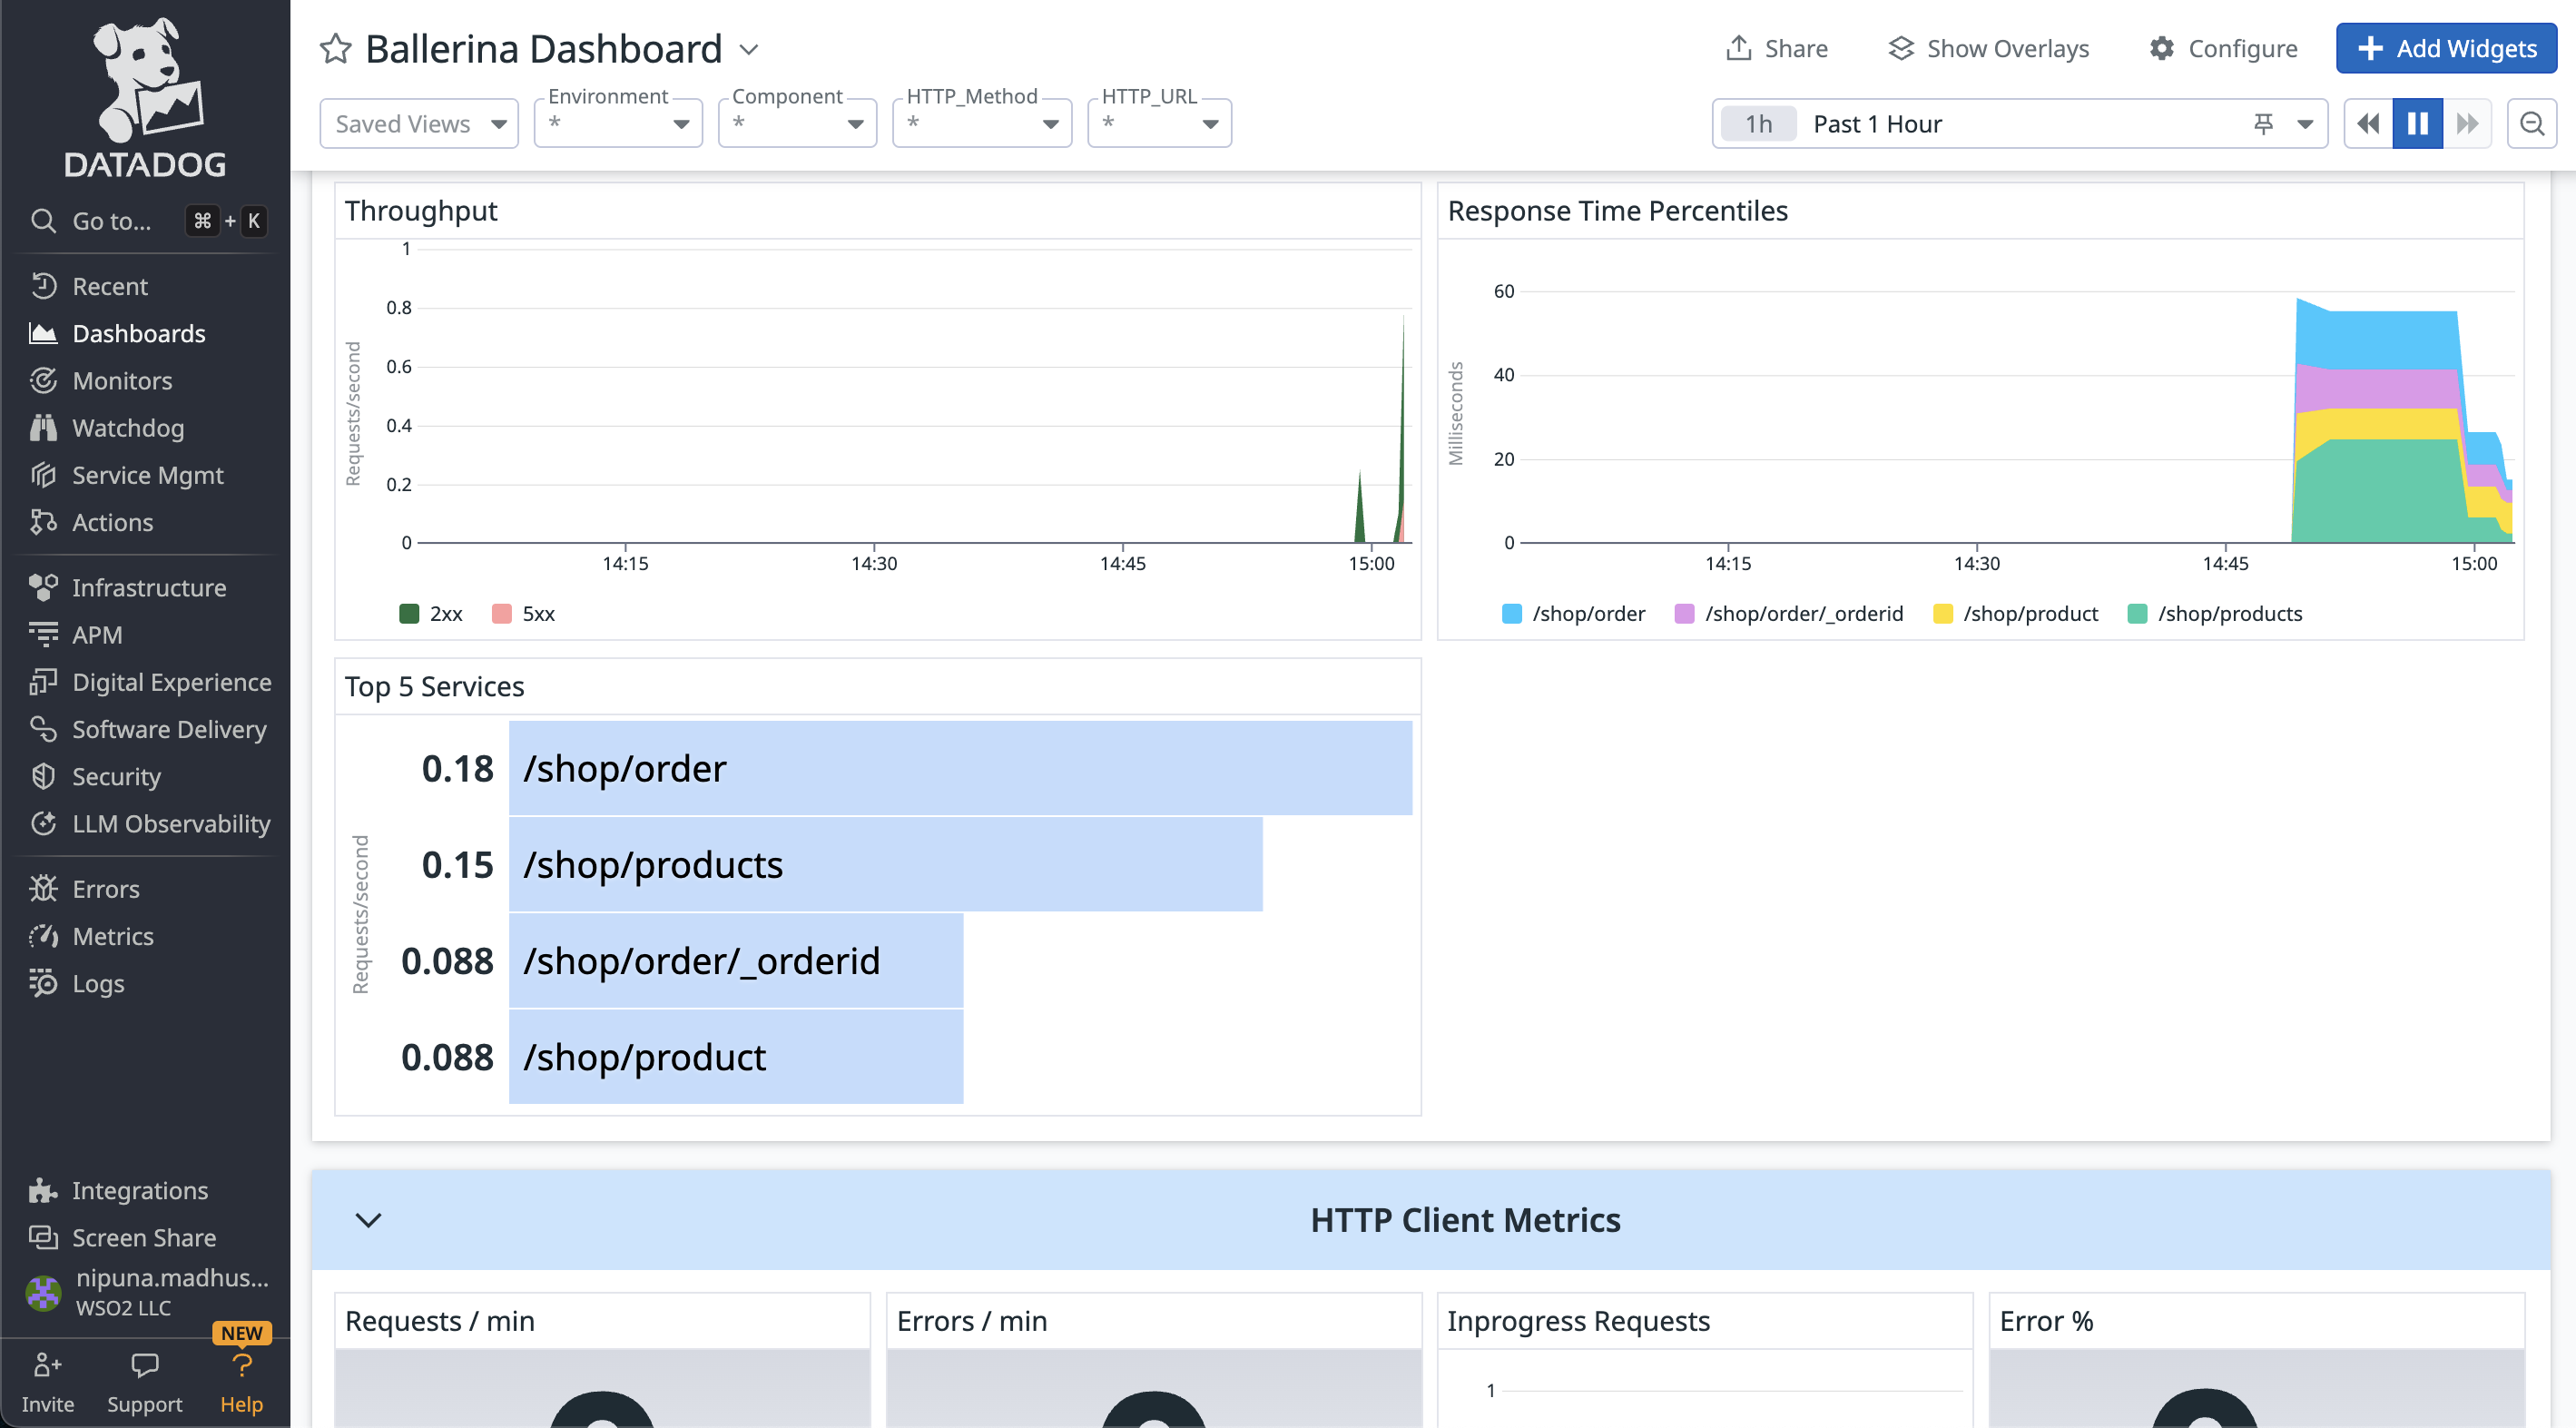
Ballerina provides a dashboard in the Datadog to observe metrics in Ballerina applications.
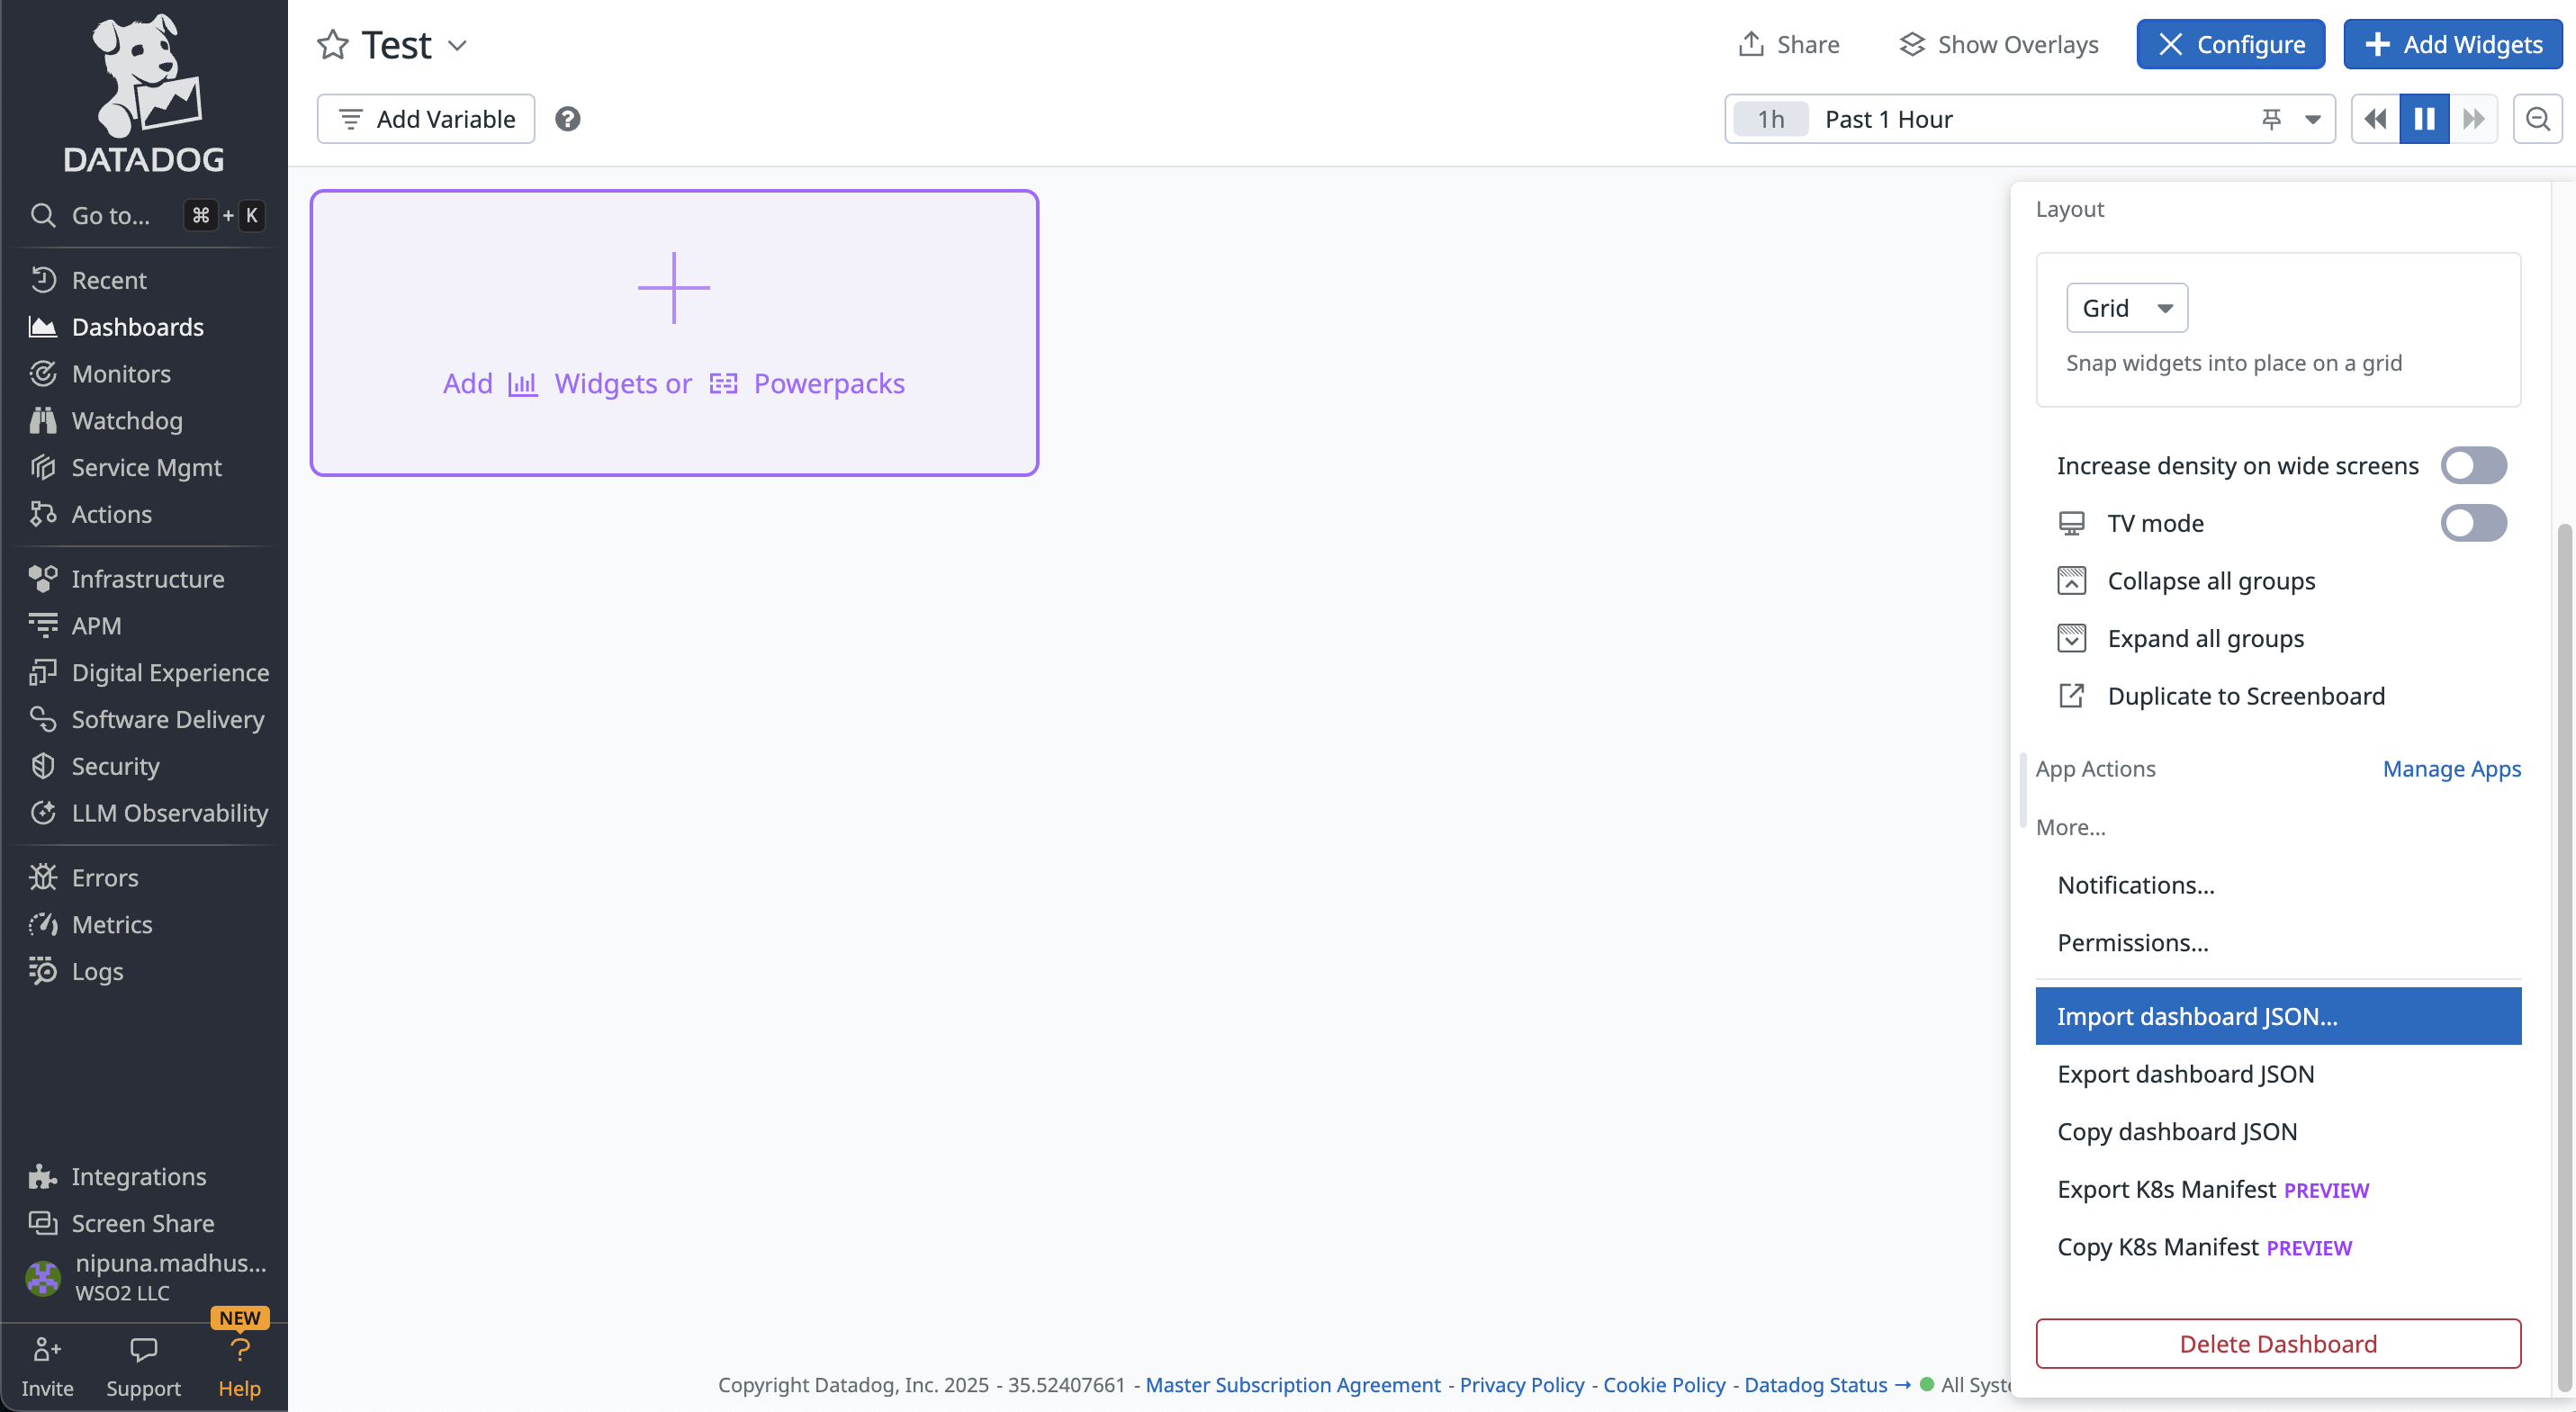
You can add a new dashboard in the Datadog under the Dashboards tab in the left navigation. After creating the new dashboard, go to the Configure tab in the dashboard. Import the dashboard.json file provided above.
The Ballerina Dashboard in the Datadog will be displayed as below.
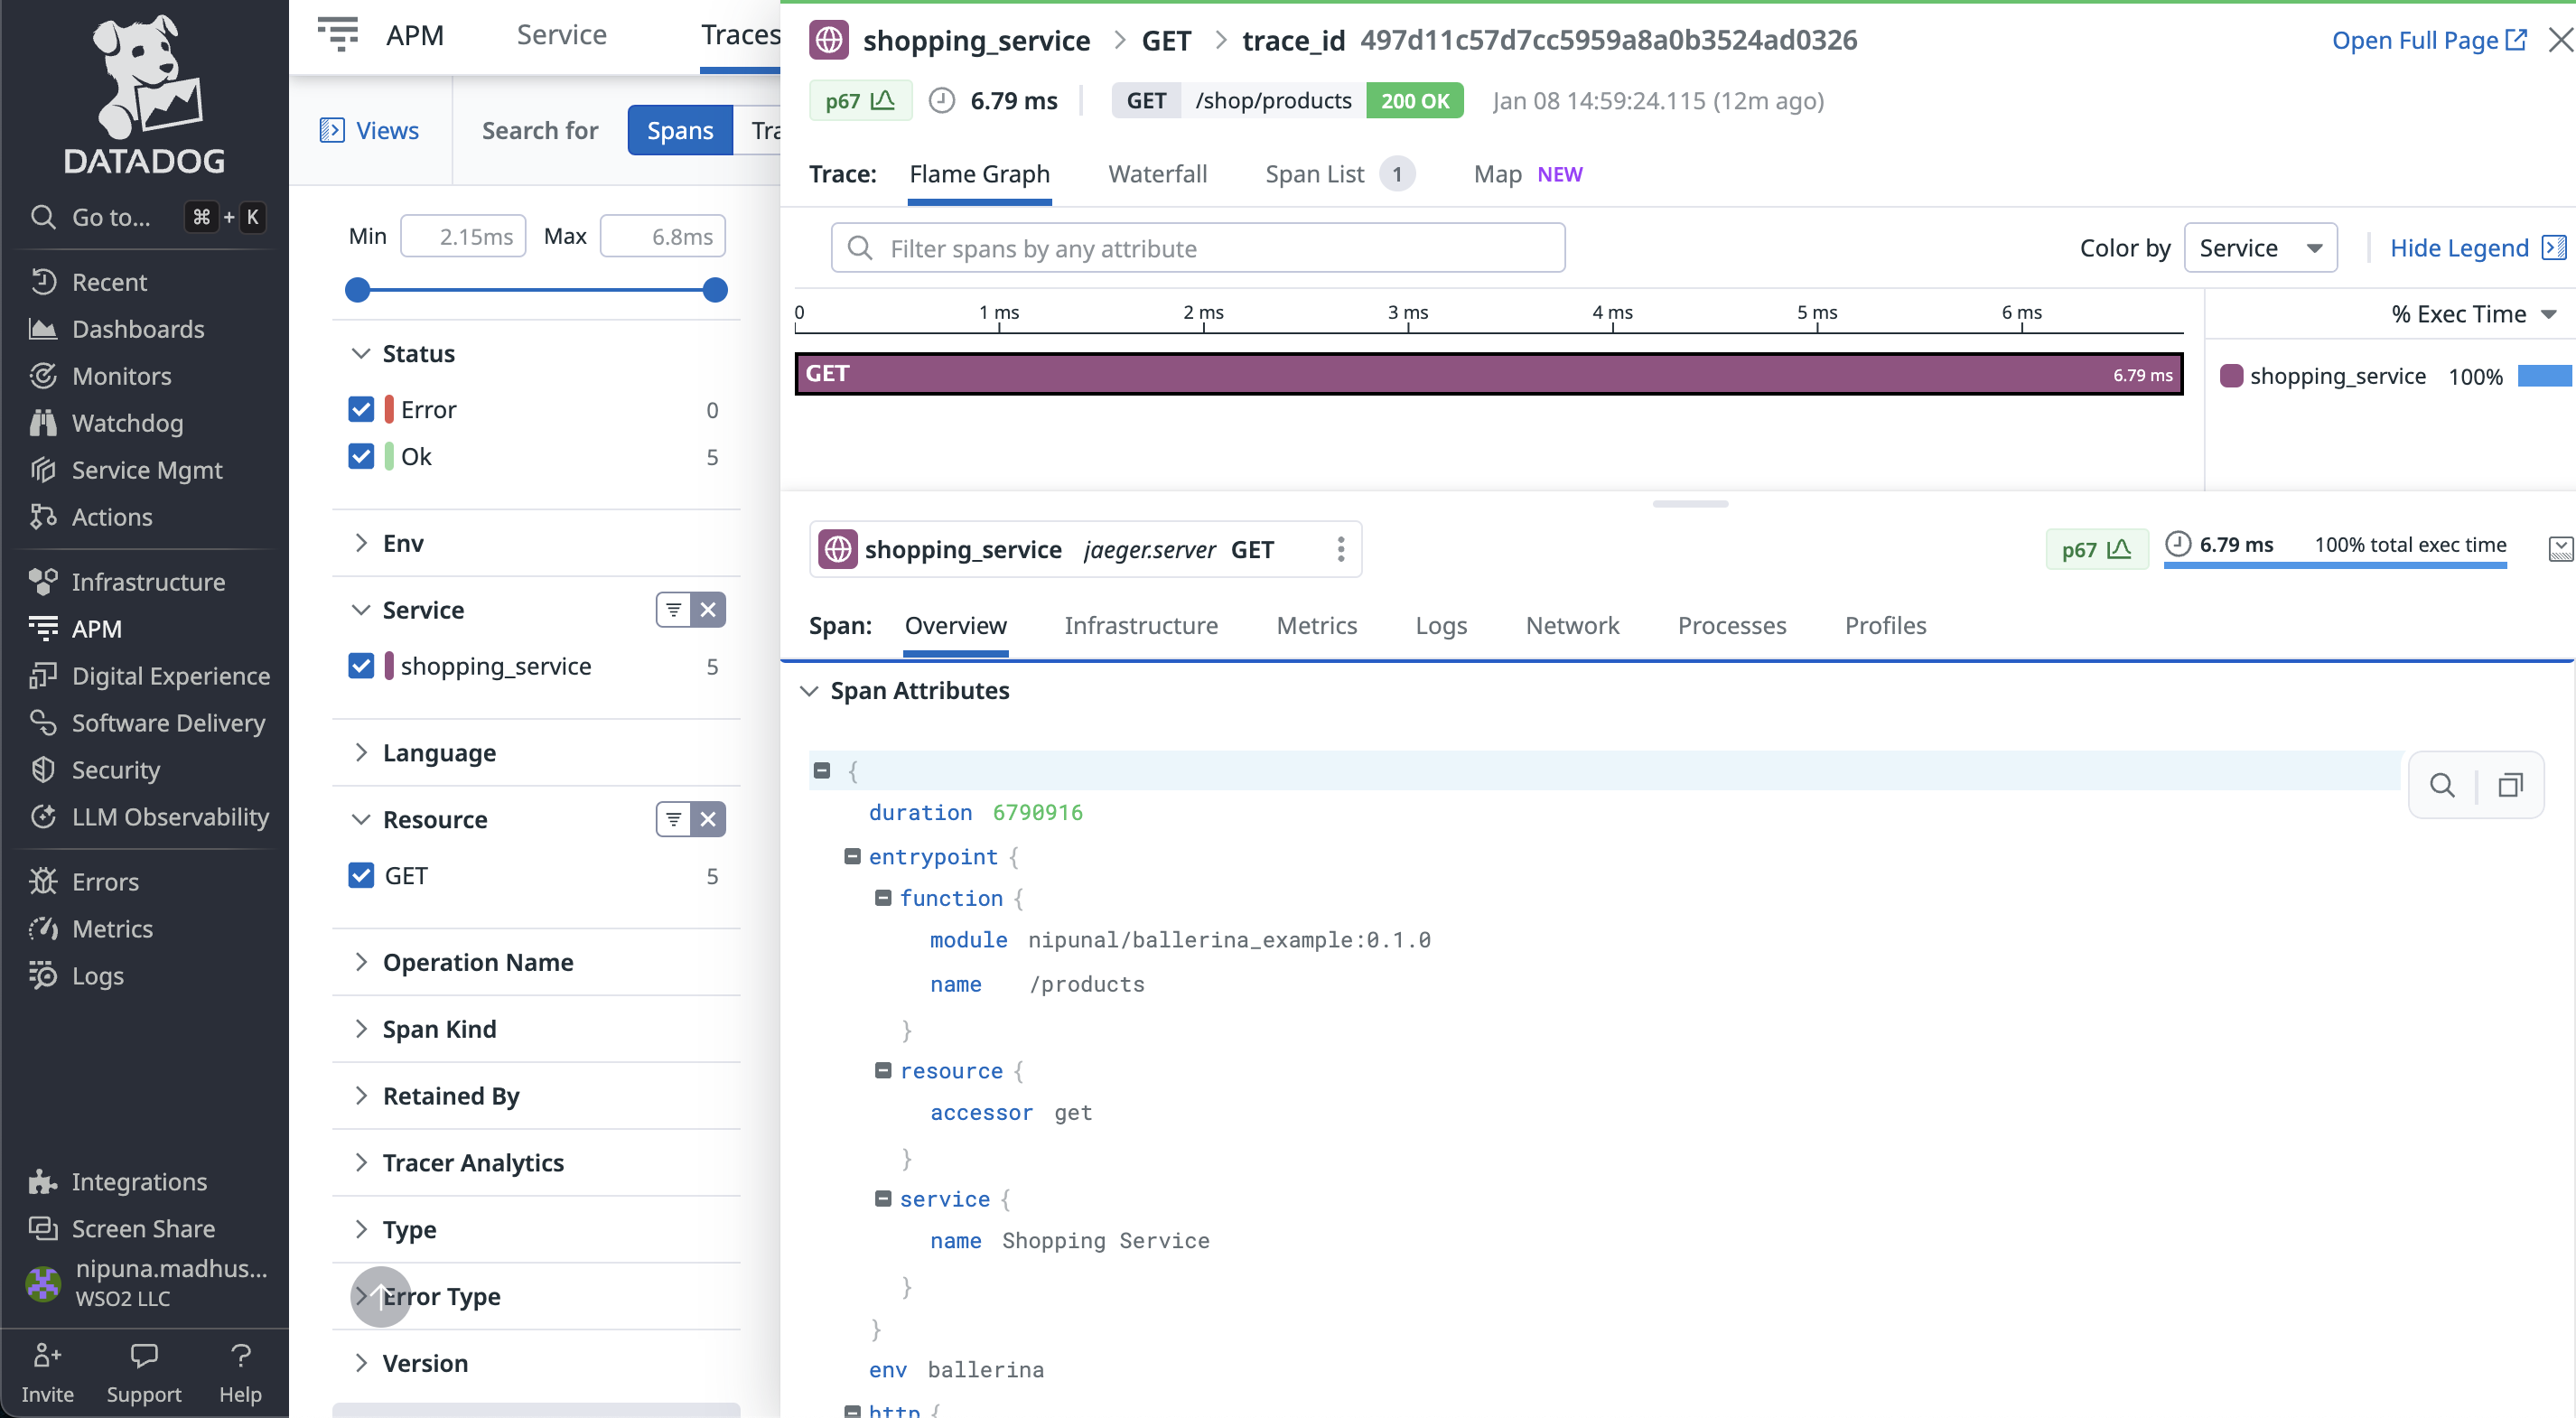
Step 7: View Tracing on Datadog
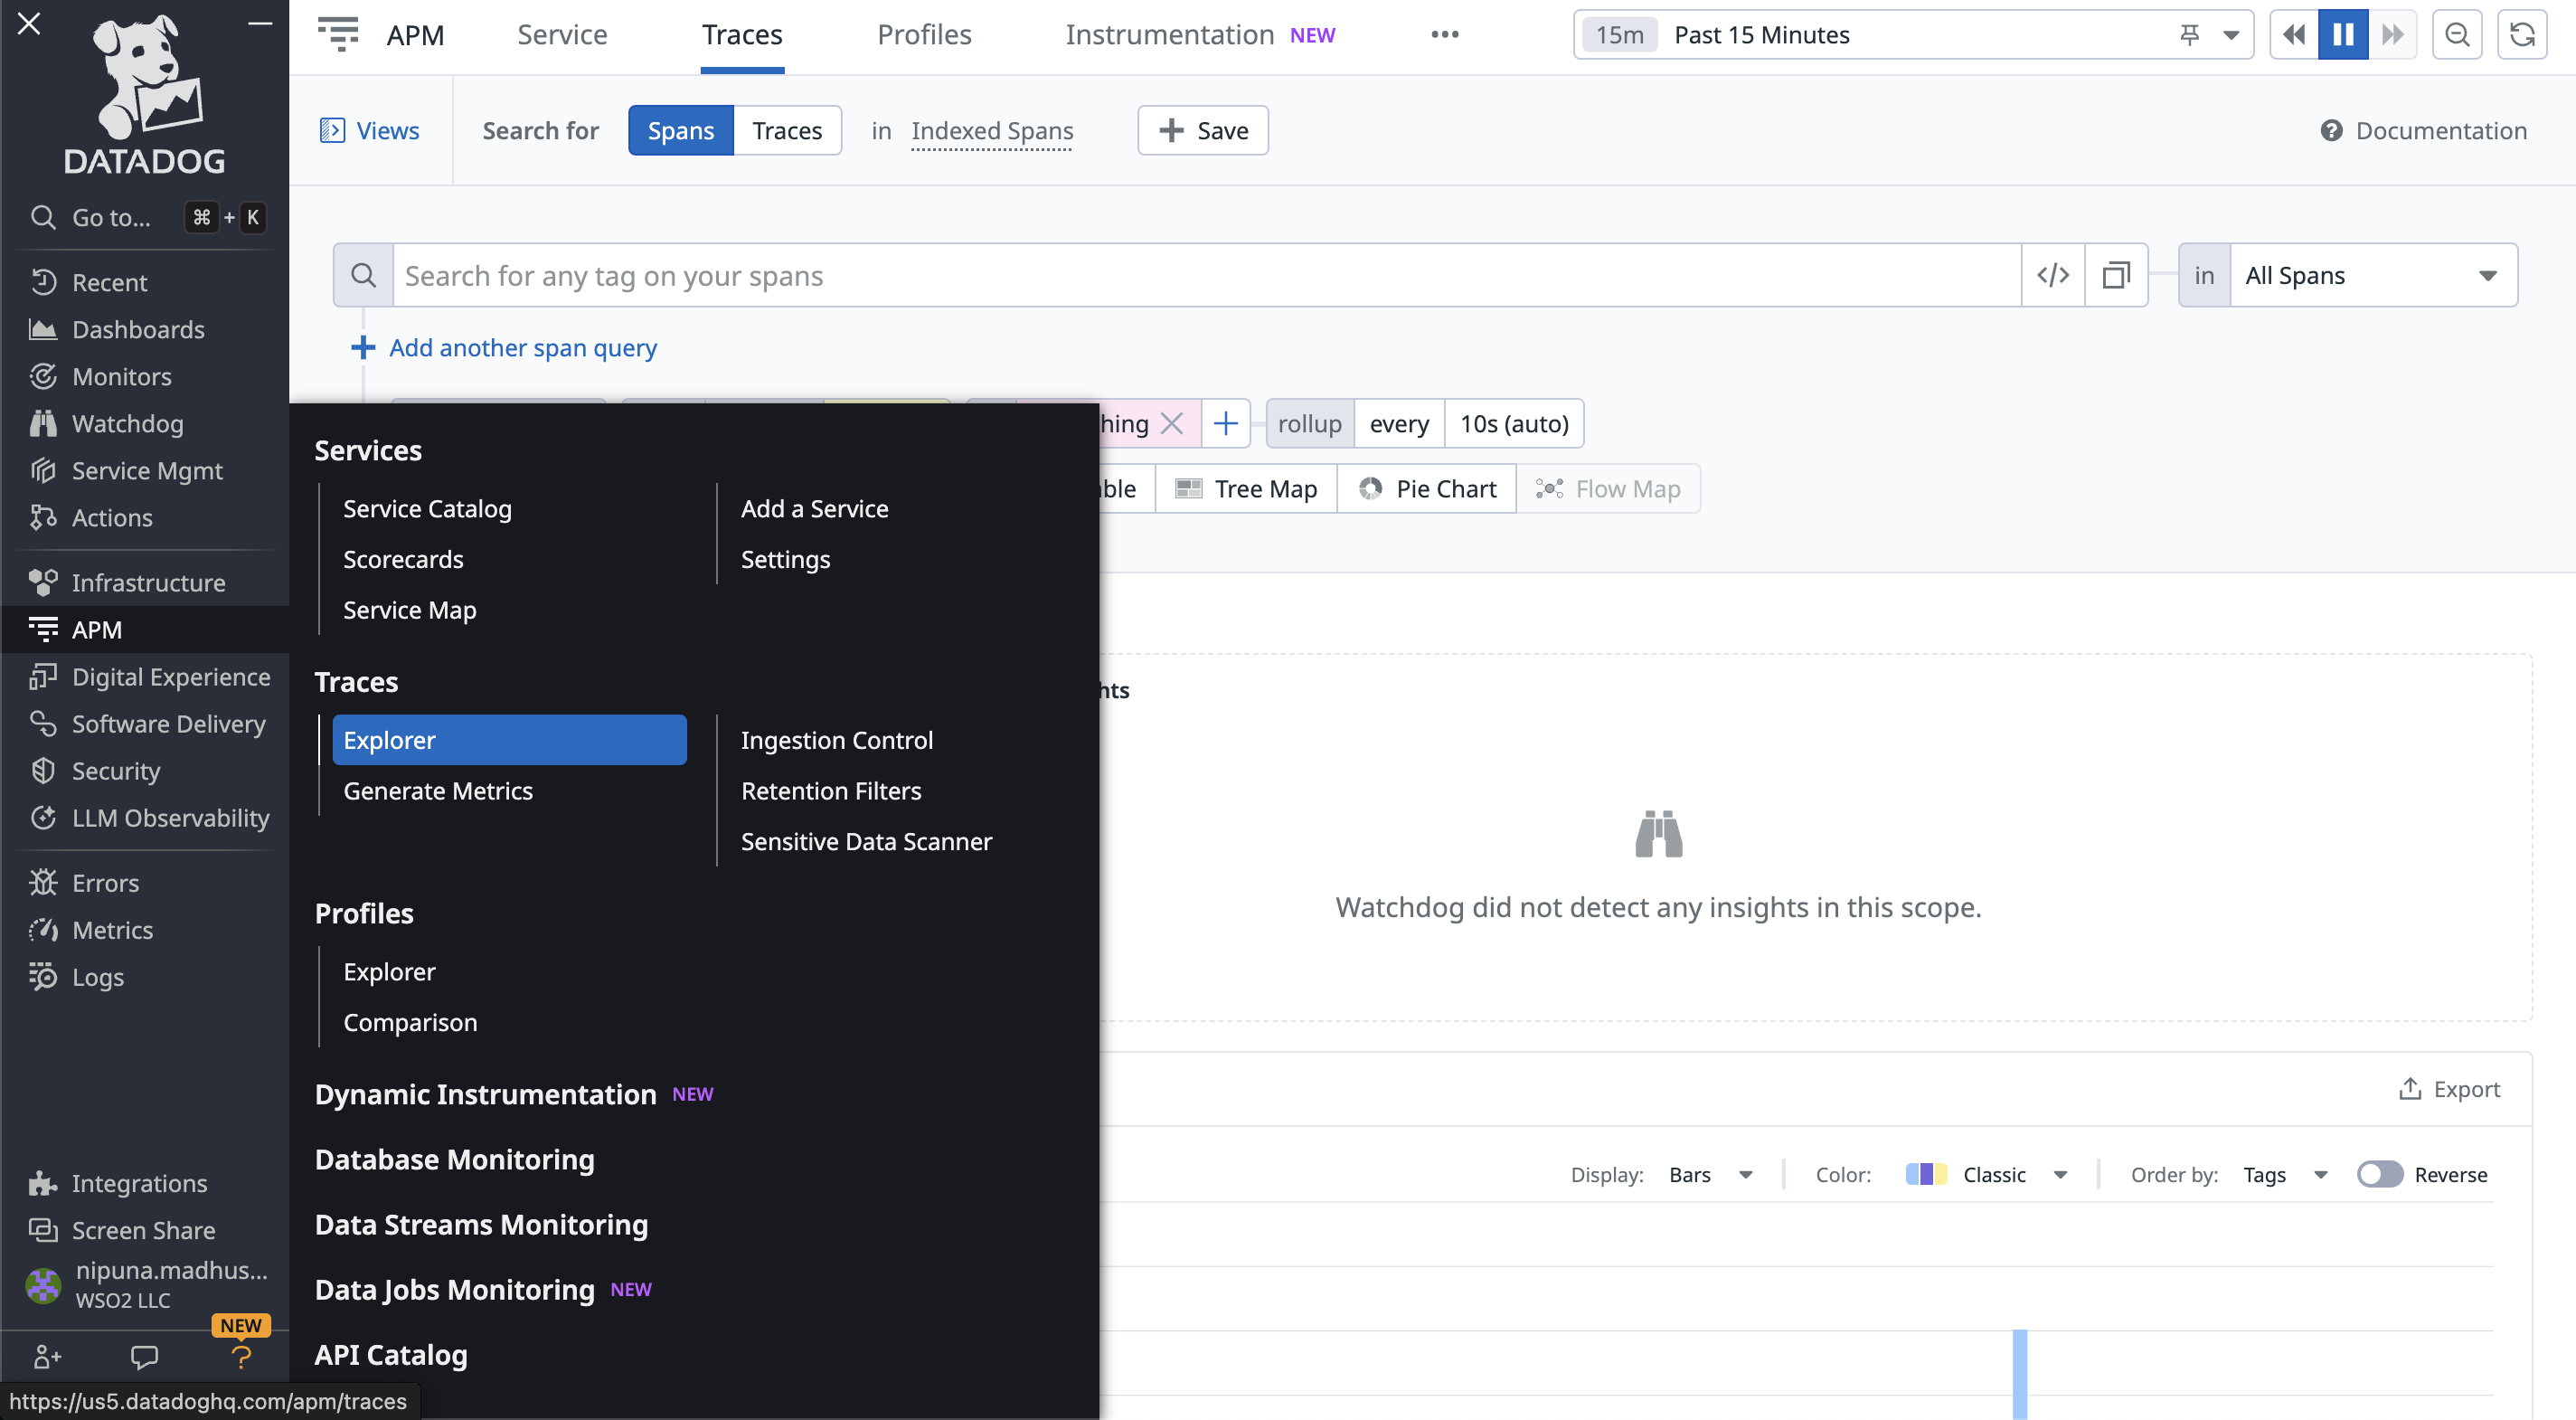
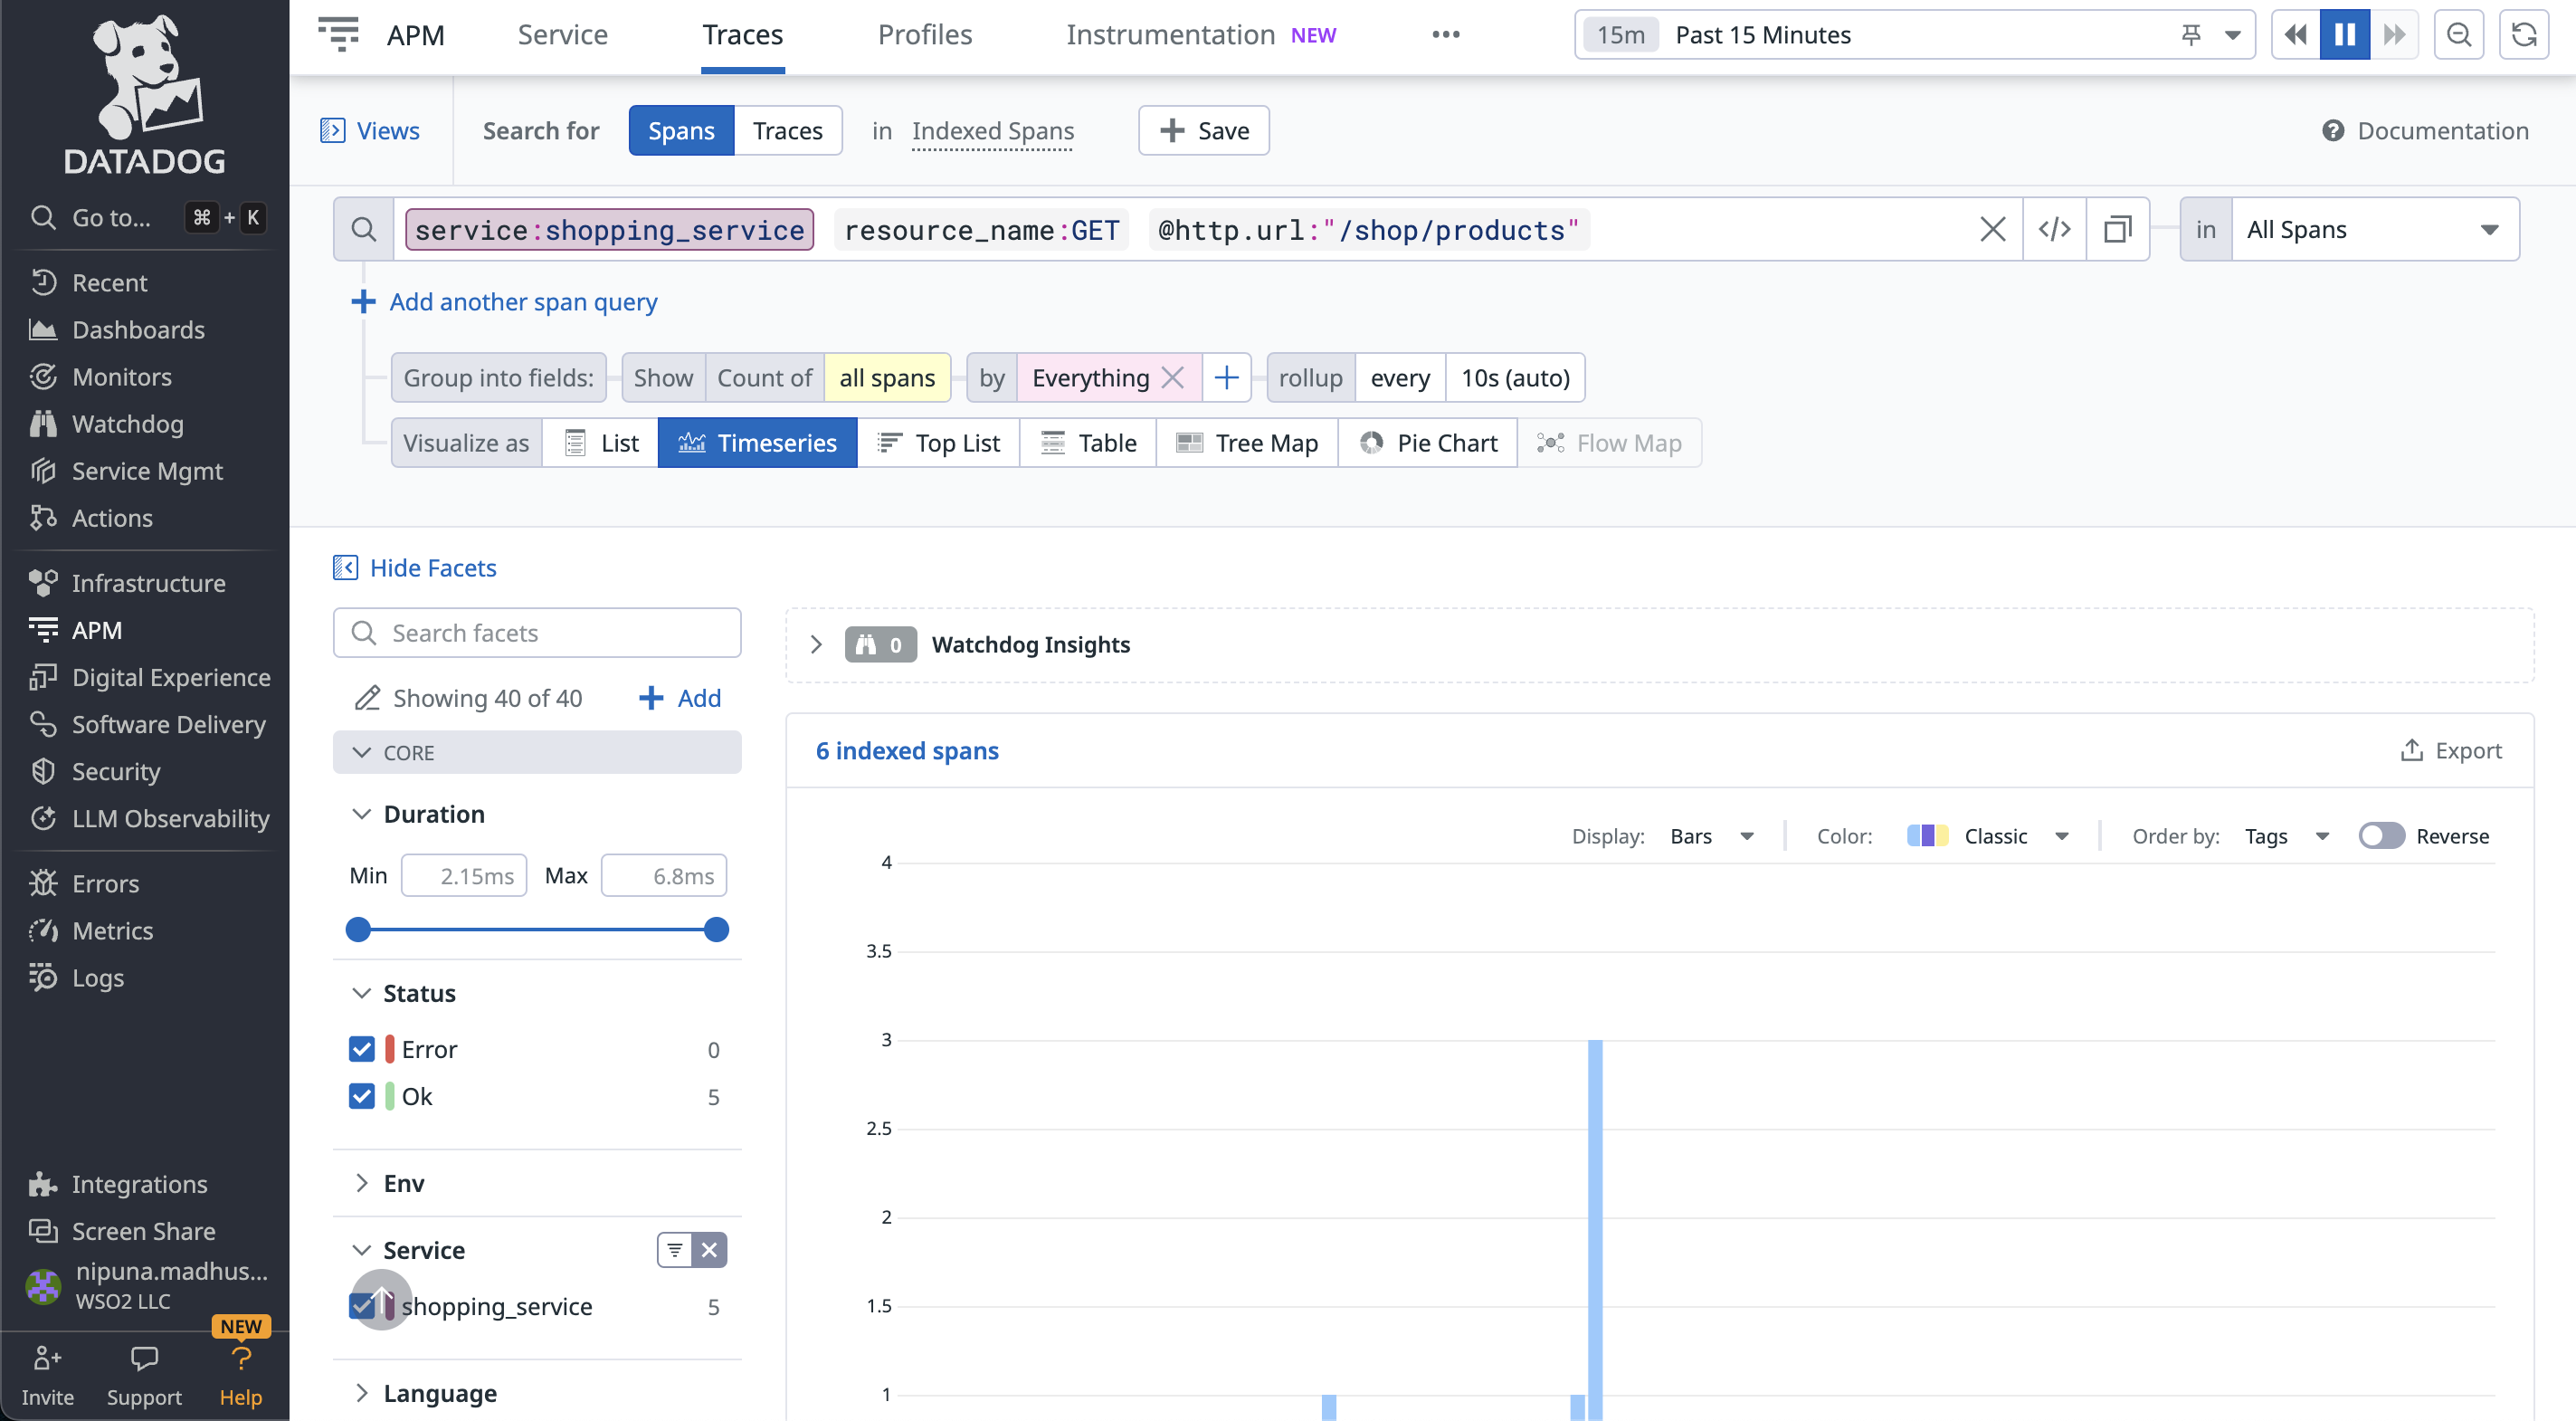
To view traces of the Ballerina application, go to APM → Traces in the Datadog. Each request to /shop/assistant produces an invoke_agent span for the agent run, with chat spans for the LLM calls and execute_tool spans for the tool calls beneath it.
You can filter the traces with the service name, resource, operation name, span kind, etc.
Once you select a trace, you can get more information with the tags attached to the span.