Setup
Install WSO2 Agent Builder on your machine to build, test, and debug AI agents locally. WSO2 Agent Builder is available for Windows, macOS, and Linux.
System requirements
Before installing WSO2 Agent Builder, ensure your machine meets the following hardware and software requirements:
| Requirement | Minimum | Recommended |
|---|---|---|
| Operating System | Supported versions of Windows client (64-bit), macOS versions with Apple security update support (typically the latest release and the two previous versions), Linux: Ubuntu Desktop 20.04, Debian 10, Red Hat Enterprise Linux 8, Fedora 36 or later | Latest version of a supported operating system |
| Processor (CPU) | 64-bit dual-core x64 or ARM64 processor, 1.6 GHz or faster | Quad-core or better (Intel Core i5/i7, AMD Ryzen 5/7, or Apple silicon) |
| Memory (RAM) | 4 GB | 8 GB or more (16 GB if you also run Docker or several projects) |
| Disk Space | 4 GB free space | 10 GB free space (SSD recommended) |
| Network | Internet connection to install, update, and pull packages from Ballerina Central | Broadband internet connection |
If your network restricts internet access, see Work in a Restricted Network to configure a proxy before you install.
Installation steps
Step 1: Download WSO2 Agent Builder
-
Visit the WSO2 Agent Builder releases page.
-
Open the latest release and expand Assets.
-
Download the installer for your operating system:
Operating system Installer Windows wso2-agent-builder-<version>.msimacOS (Apple silicon) wso2-agent-builder-<version>-arm64.dmgmacOS (Intel) wso2-agent-builder-<version>-x64.dmgUbuntu or Debian wso2-agent-builder_<version>_amd64.debRHEL or Fedora wso2-agent-builder-<version>.x86_64.rpm
Step 2: Install WSO2 Agent Builder
Windows
- Run the
.msiinstaller and follow the installation wizard.
macOS
- Run the
.dmginstaller and drag the application to the Applications folder.
Linux
- Ubuntu or Debian: install the
.debpackage. - RHEL or Fedora: install the
.rpmpackage.
Step 3: Launch WSO2 Agent Builder
After installation, launch WSO2 Agent Builder:
- Windows: Double-click the WSO2 Agent Builder icon on your desktop or Start menu.
- macOS: Open the Applications folder and double-click WSO2 Agent Builder.
- Linux: Launch WSO2 Agent Builder from your applications menu.
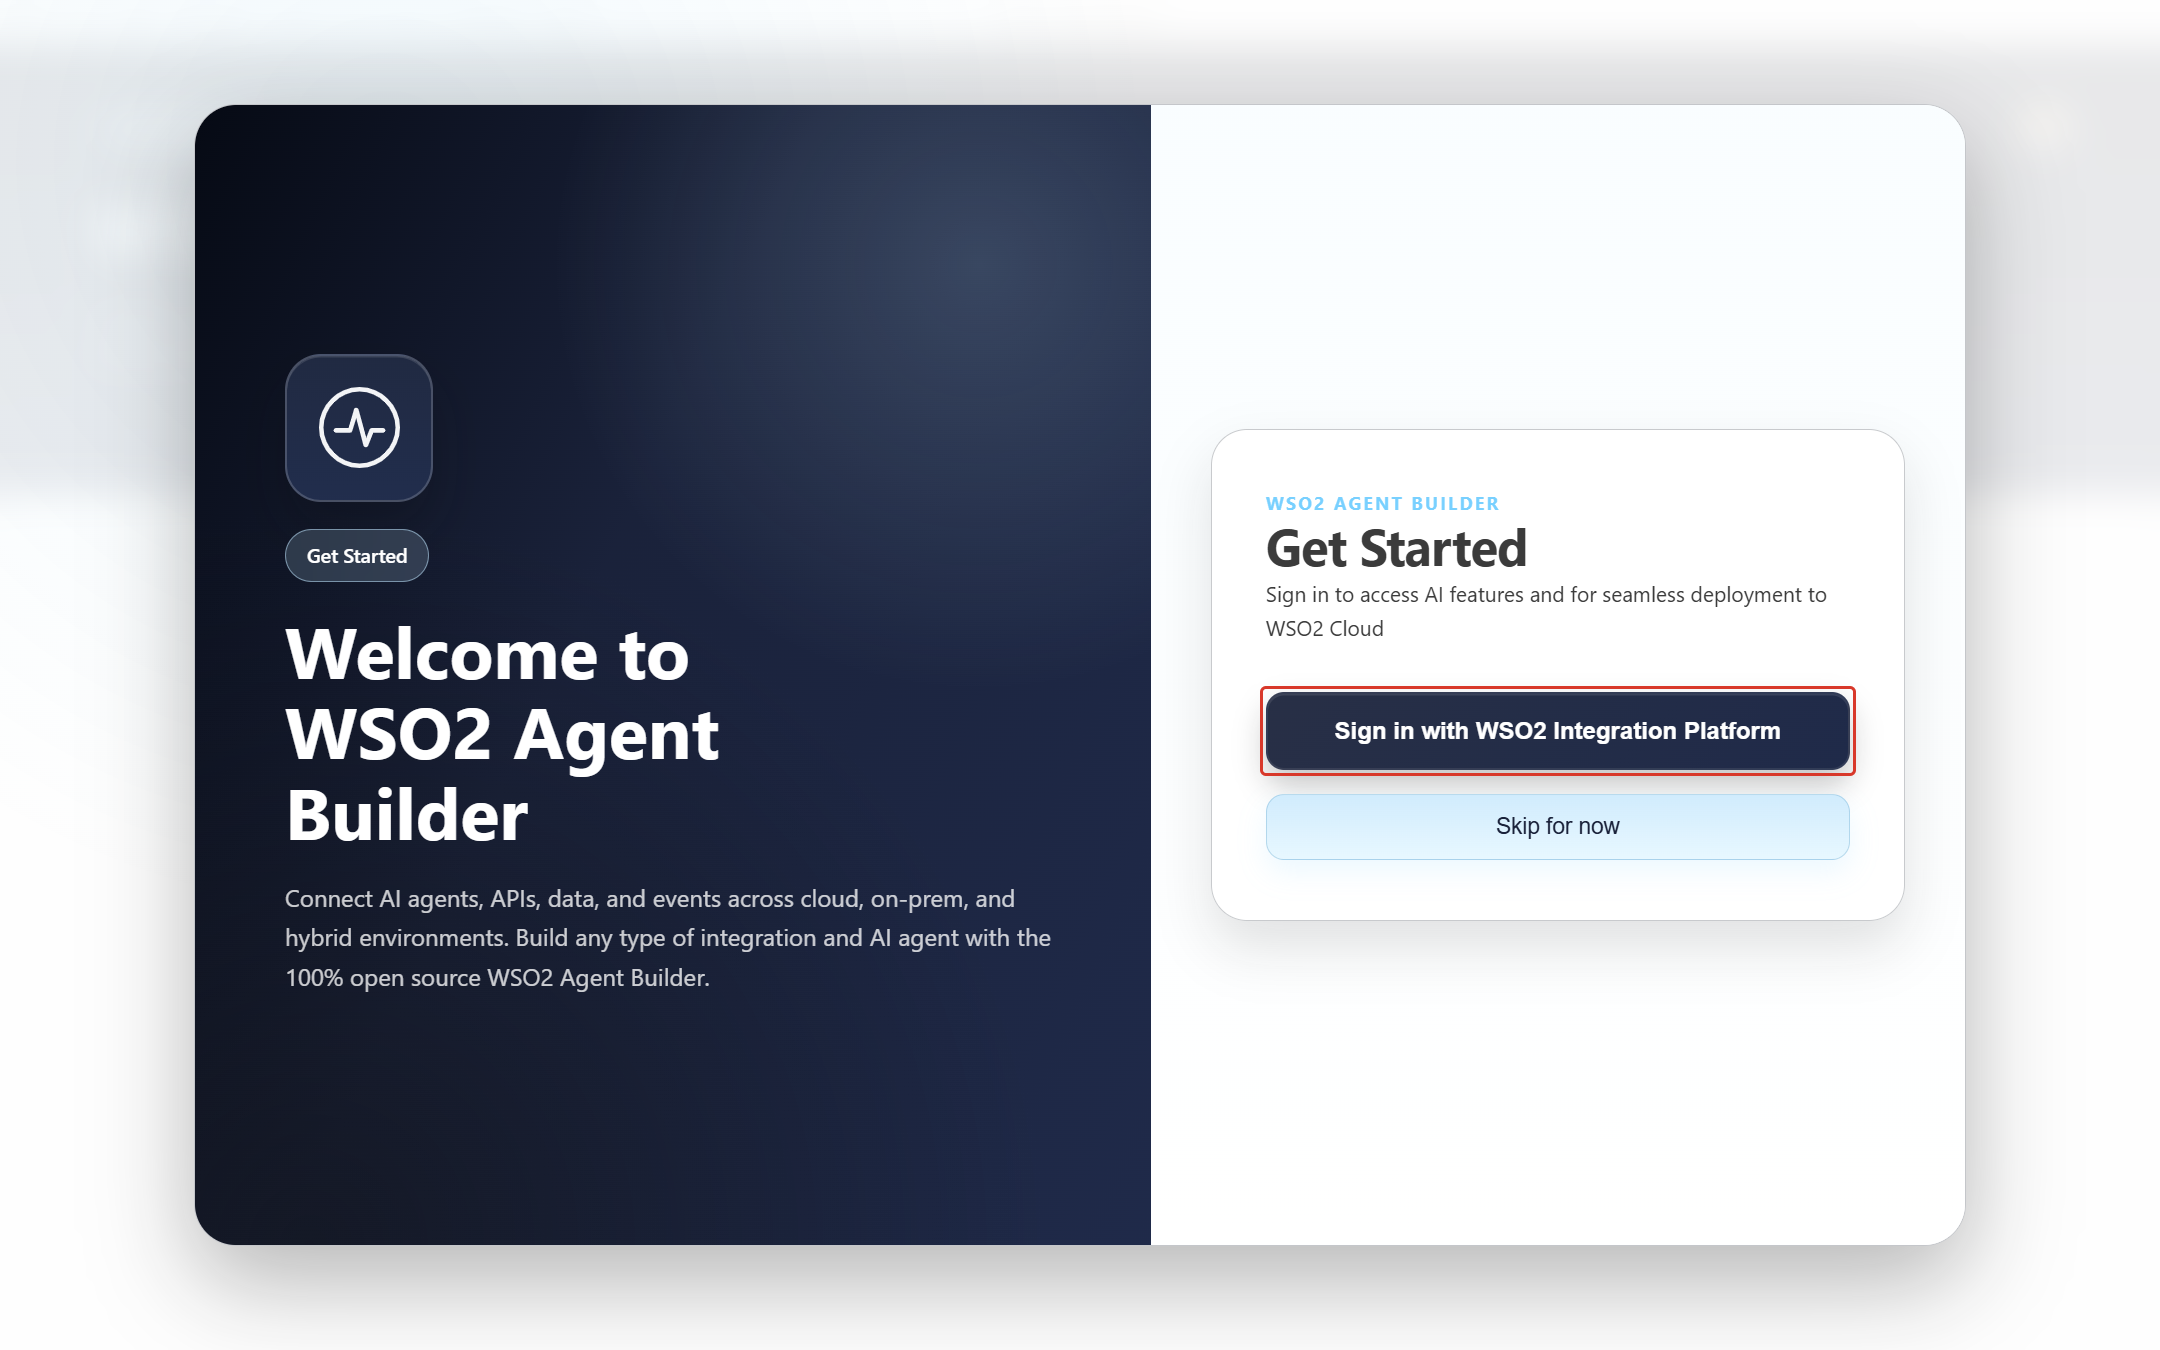
Step 4: Sign in to WSO2 Agent Builder
Sign in with your WSO2 Cloud account to use the Default WSO2 Model Provider, deploy to WSO2 Cloud, and use WSO2 Agent Builder Copilot.
-
On the Welcome to WSO2 Agent Builder screen that appears when you first launch WSO2 Agent Builder, click Sign in with WSO2 Integration Platform.
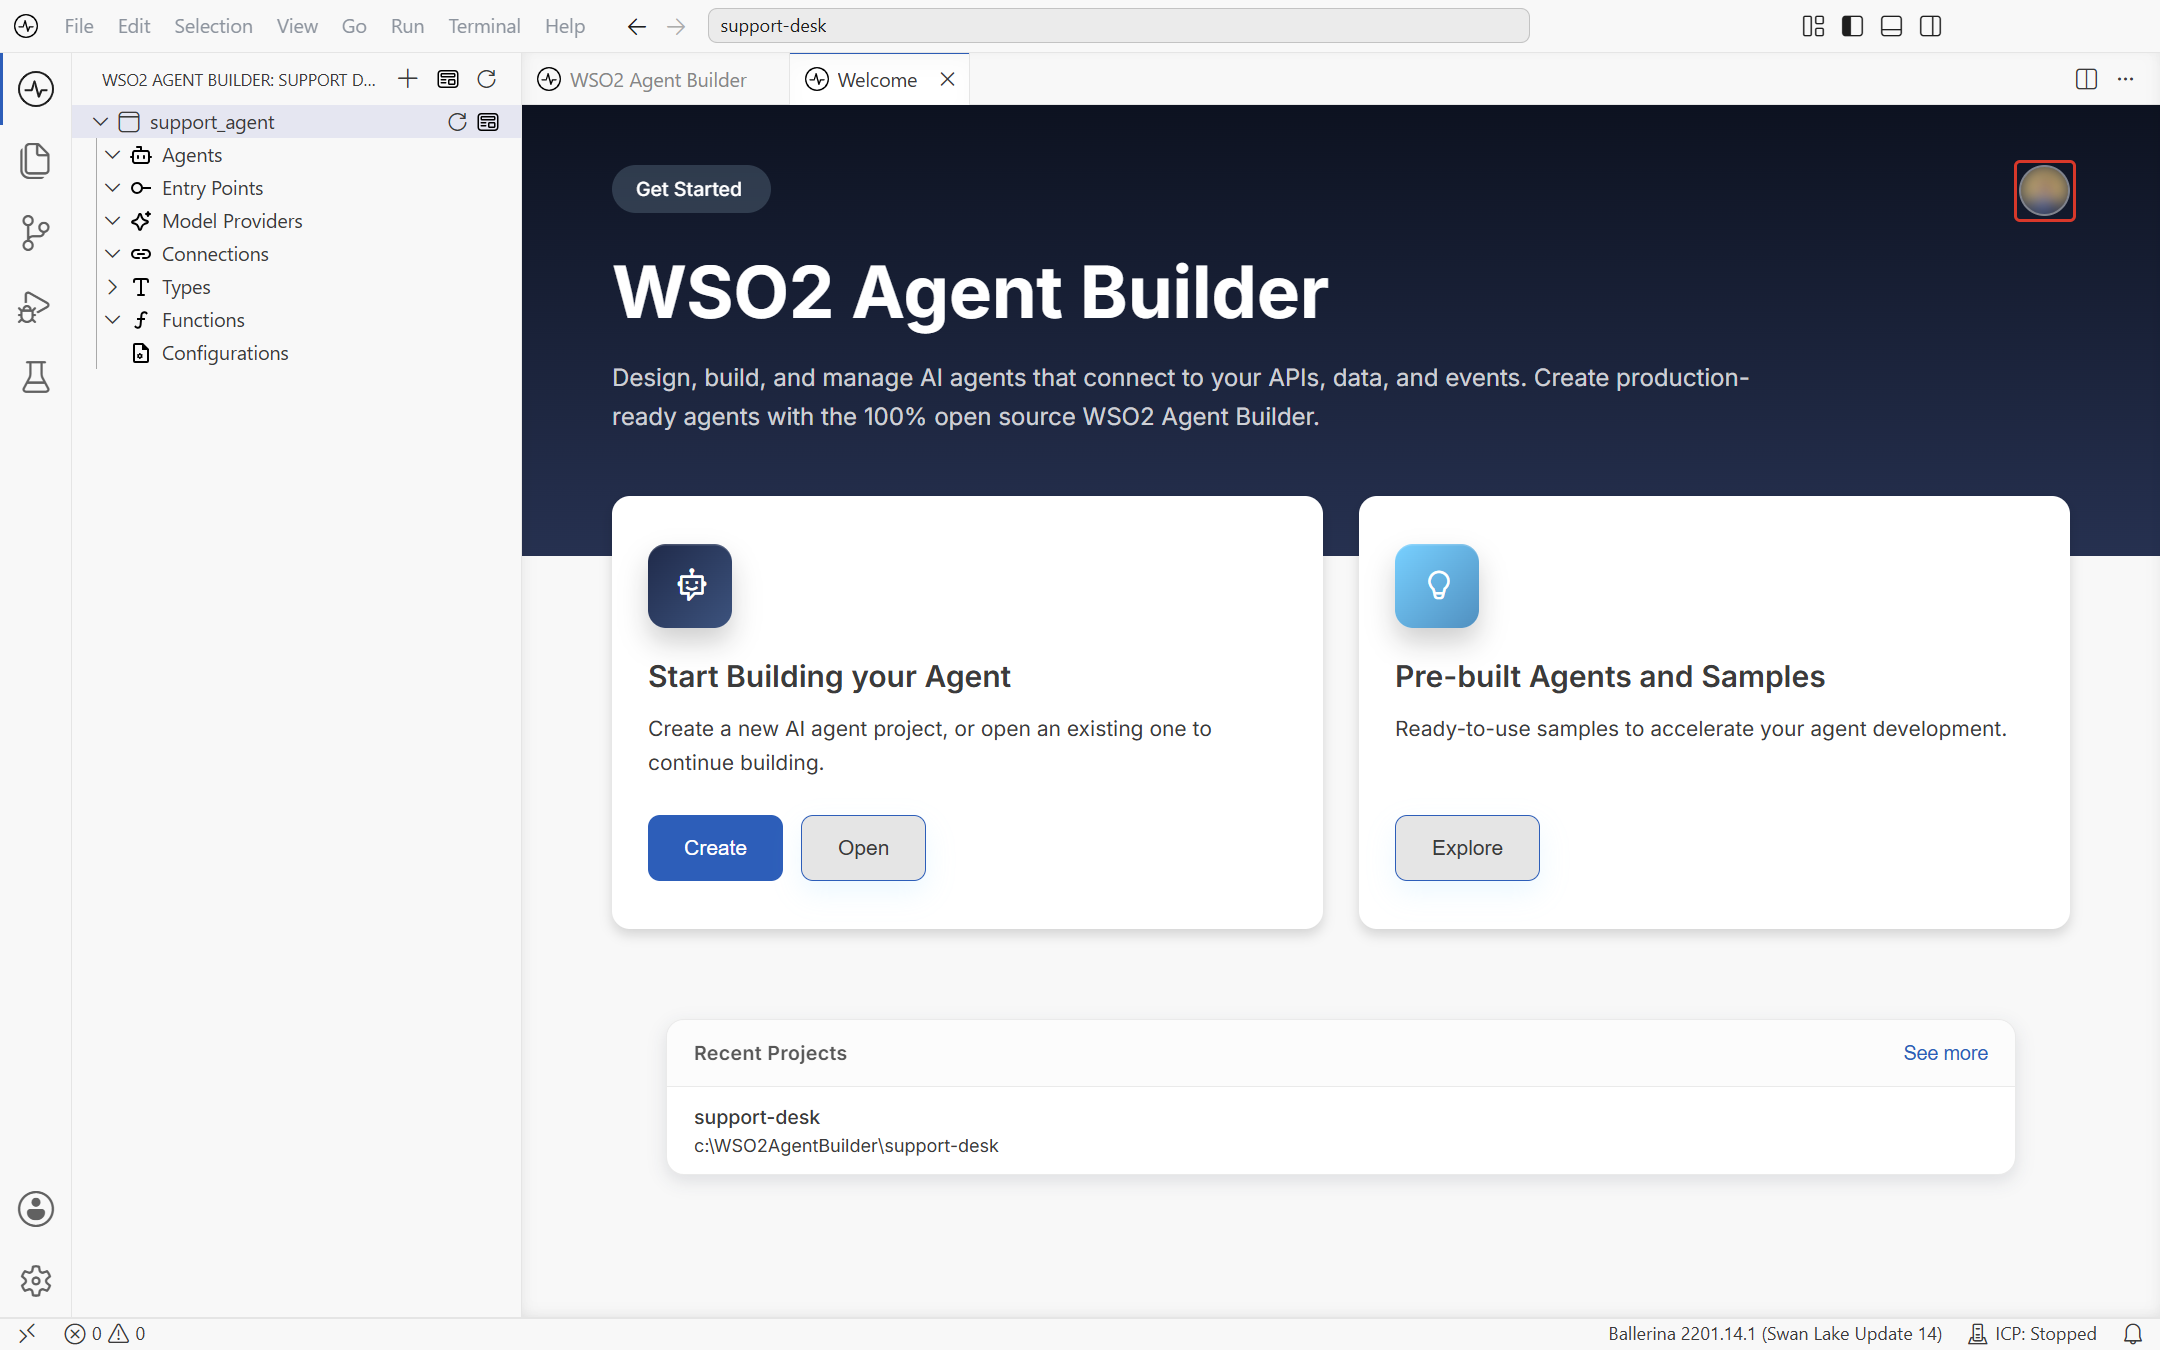
If you click Skip for now, you can sign in later by clicking Sign In in the top-right corner of the WSO2 Agent Builder welcome page.
-
The sign-in page opens in your default browser. Sign in using your preferred method.
-
When the browser prompts you, click Open WSO2 Agent Builder to return to WSO2 Agent Builder.
-
WSO2 Agent Builder shows a Successfully signed into WSO2 Integration Platform notification, and your account avatar appears in the top-right corner of the welcome page.
Create one and set up your organization by following Cloud setup in the WSO2 Cloud documentation, then return here to sign in.
Next steps
- Concepts — Learn the vocabulary used across the WSO2 Agent Builder docs.
- Build an AI agent — Build your first AI agent in under 10 minutes.
- Create a project — Create a new project and start building.
- Open a project — Continue working on a project you already have.