Build an AI Agent
An AI agent uses an LLM to understand user queries, reason about them, and call tools to retrieve information or perform actions. This quick start walks you through the full process: creating a project with an agentic integration, creating an agent with its role and instructions, connecting it to a chat trigger, and testing it in the built-in chat panel.
Prerequisites
A working WSO2 Agent Builder environment.
Local setupInstall and launch WSO2 Agent Builder on your machine.
WSO2 Cloud AccountFor AI assisted development and WSO2 Cloud deployments.
Step 1: Create the project
-
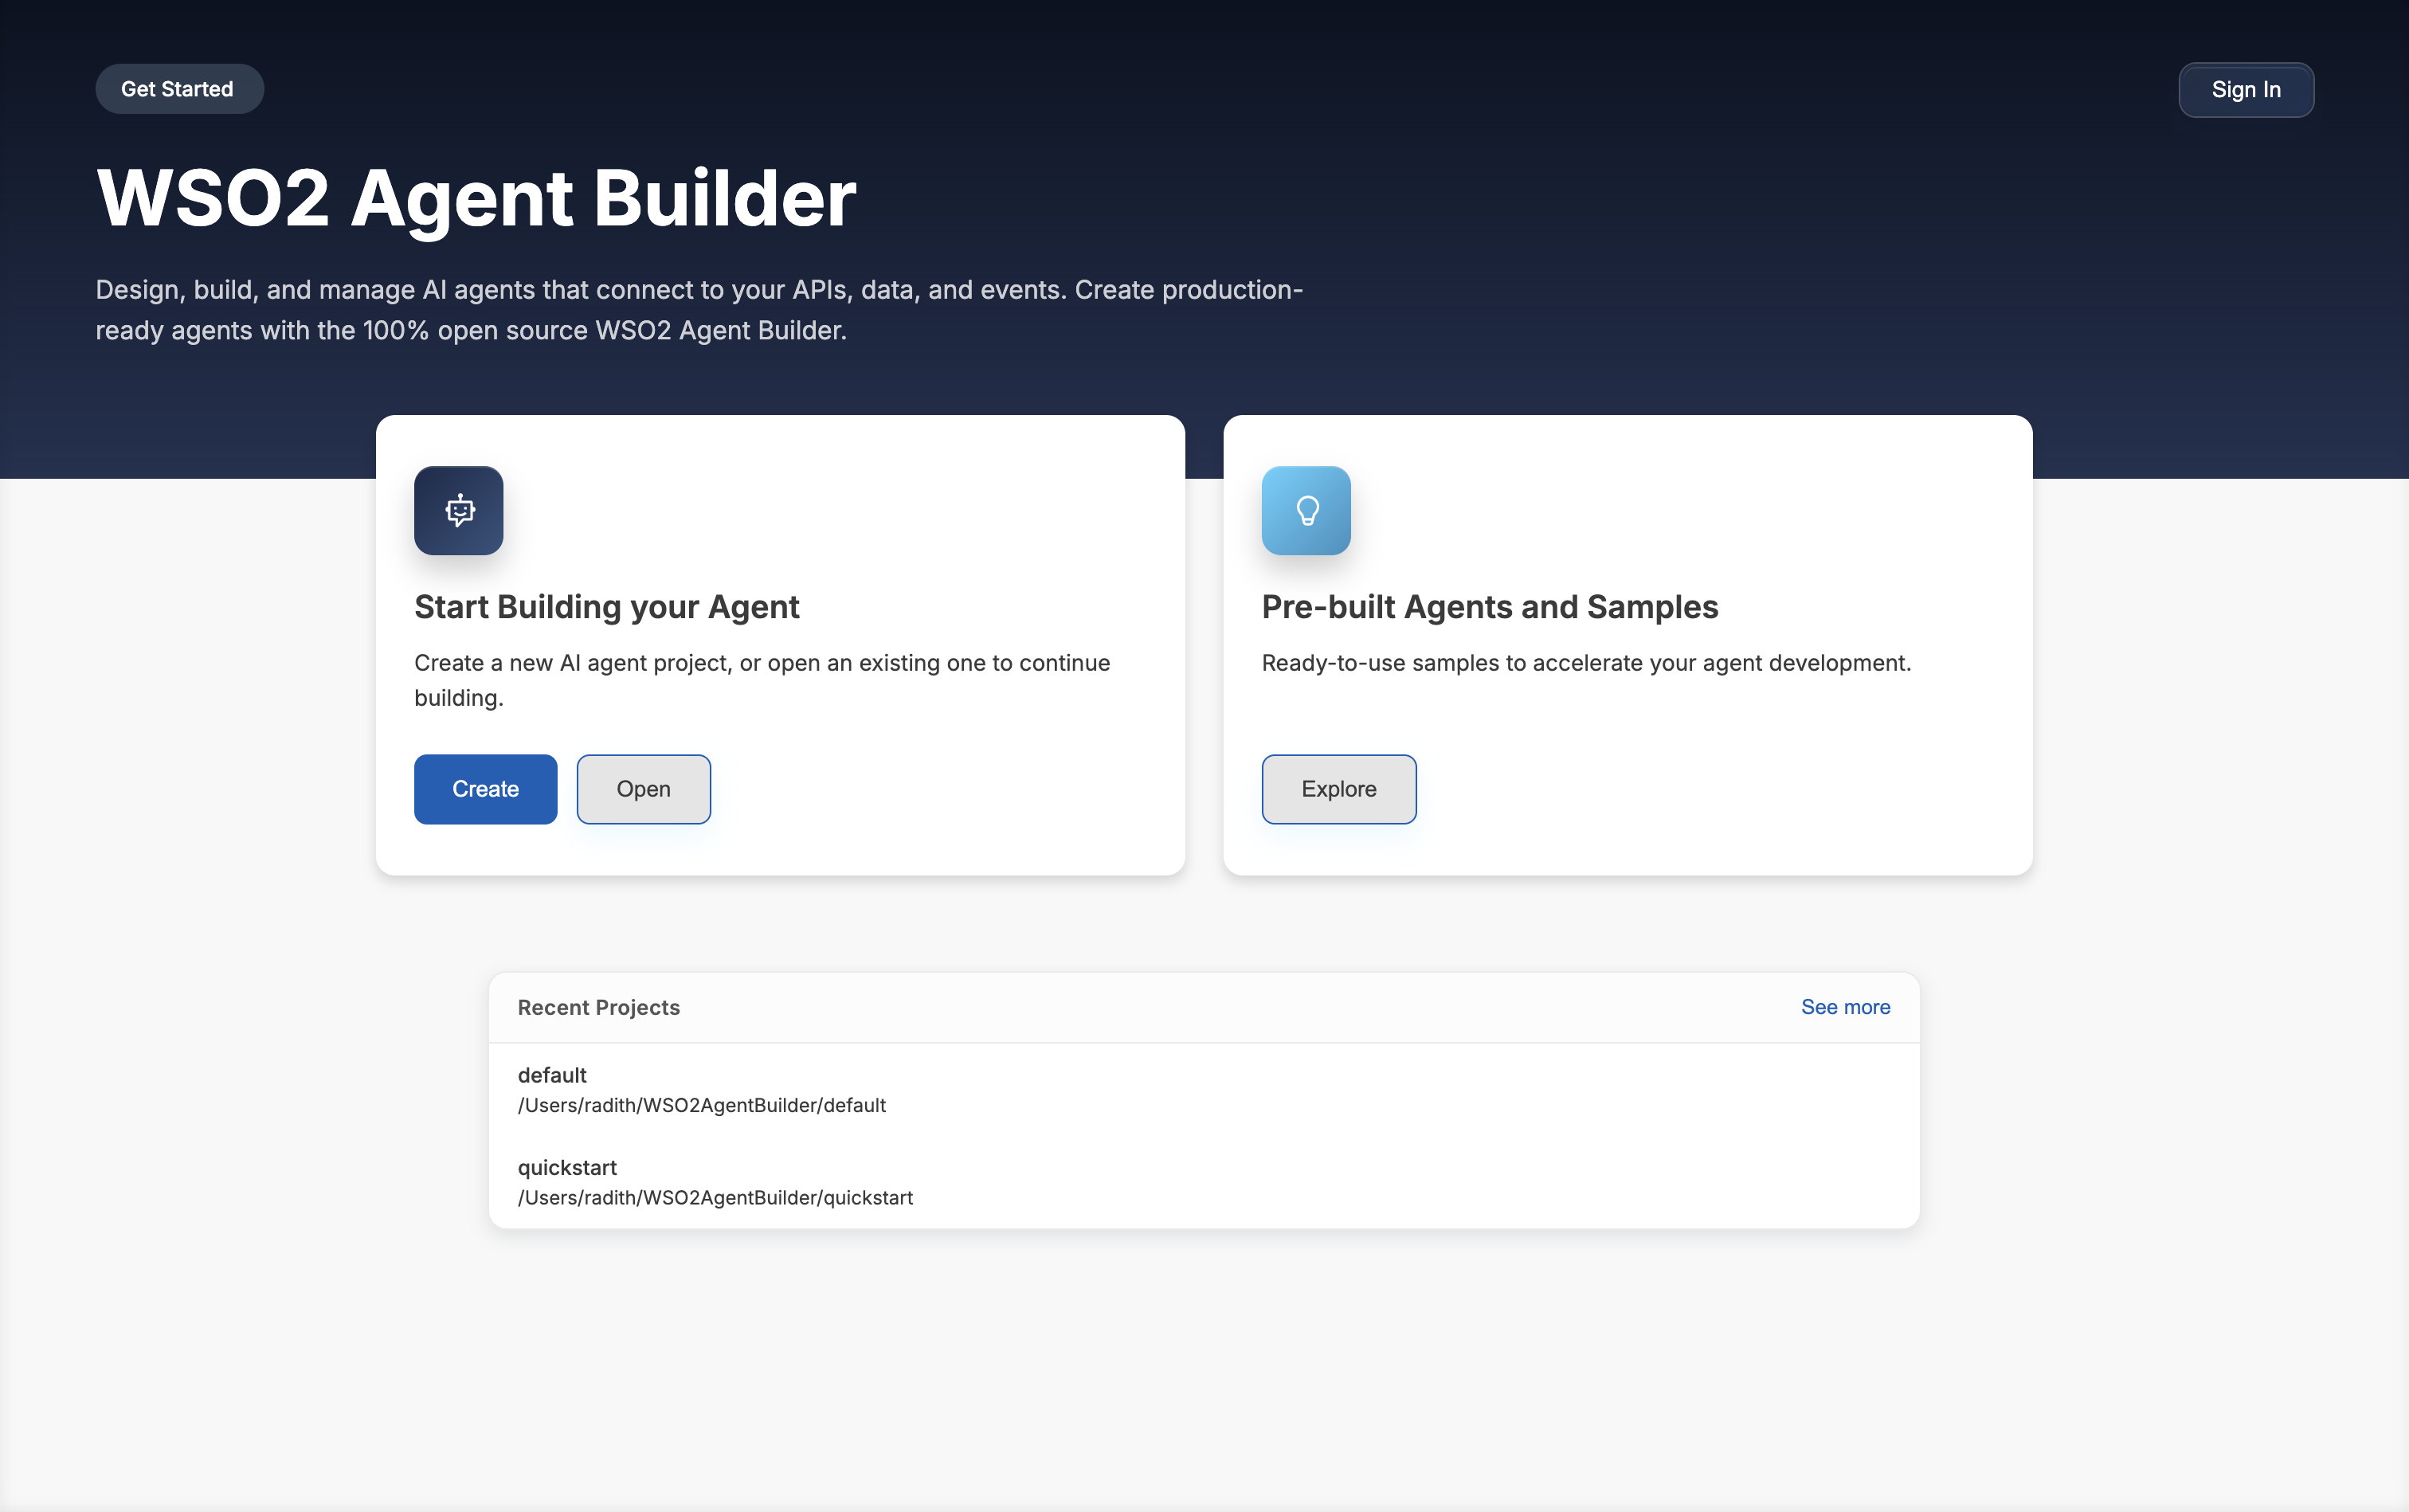
Open WSO2 Agent Builder. The Get Started view opens.
If you're not signed in, a welcome screen asks you to sign in first. Click Sign in with WSO2 Integration Platform, or click Skip for now and sign in later. The default WSO2 model provider used in this quick start needs you to be signed in before you run the agent.
noteIf Agent Builder opens a project you worked on before, open a new window (Cmd+Shift+N on macOS, Ctrl+Shift+N on Windows and Linux) to get to Get Started.
-
Under Start Building your Agent, click Create.
-
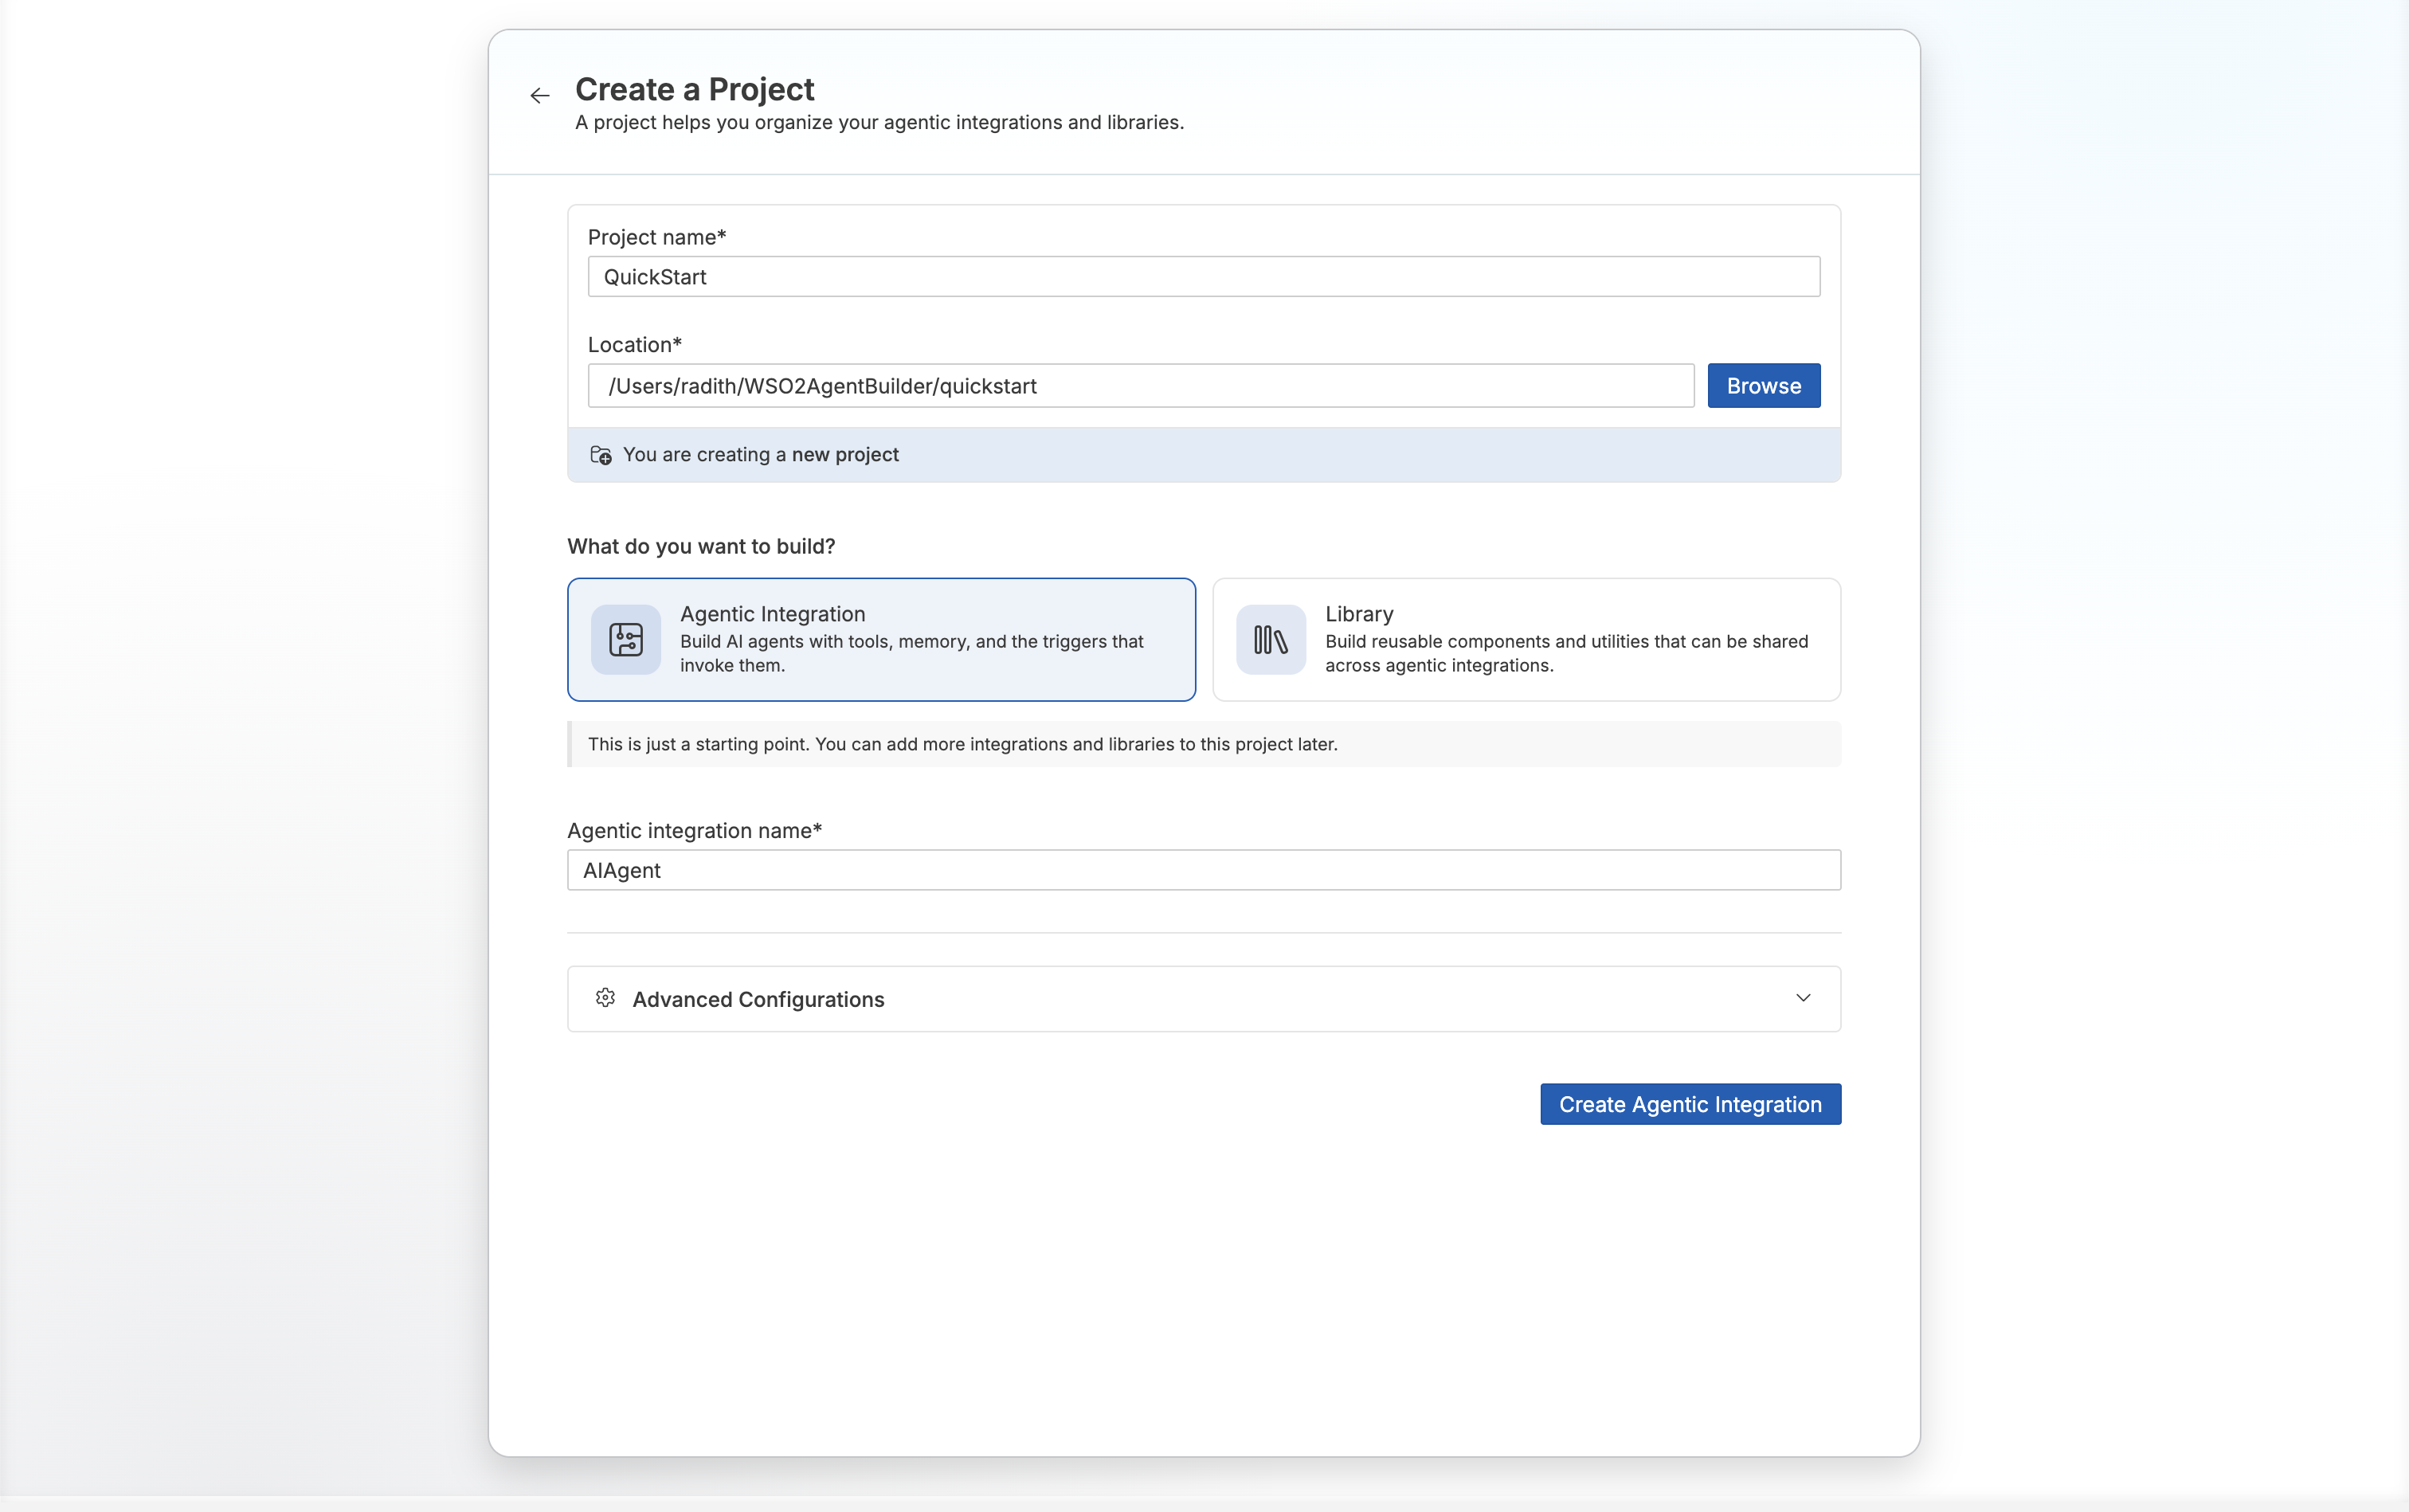
Set Project name to
QuickStart. Location updates to match. -
Under What do you want to build?, keep Agentic Integration selected.
-
Set Agentic integration name to
AIAgent. -
Click Create Agentic Integration.
Step 2: Create the agent
-
The project opens on the new
AIAgentintegration. Under Or start from scratch, click Add Agent.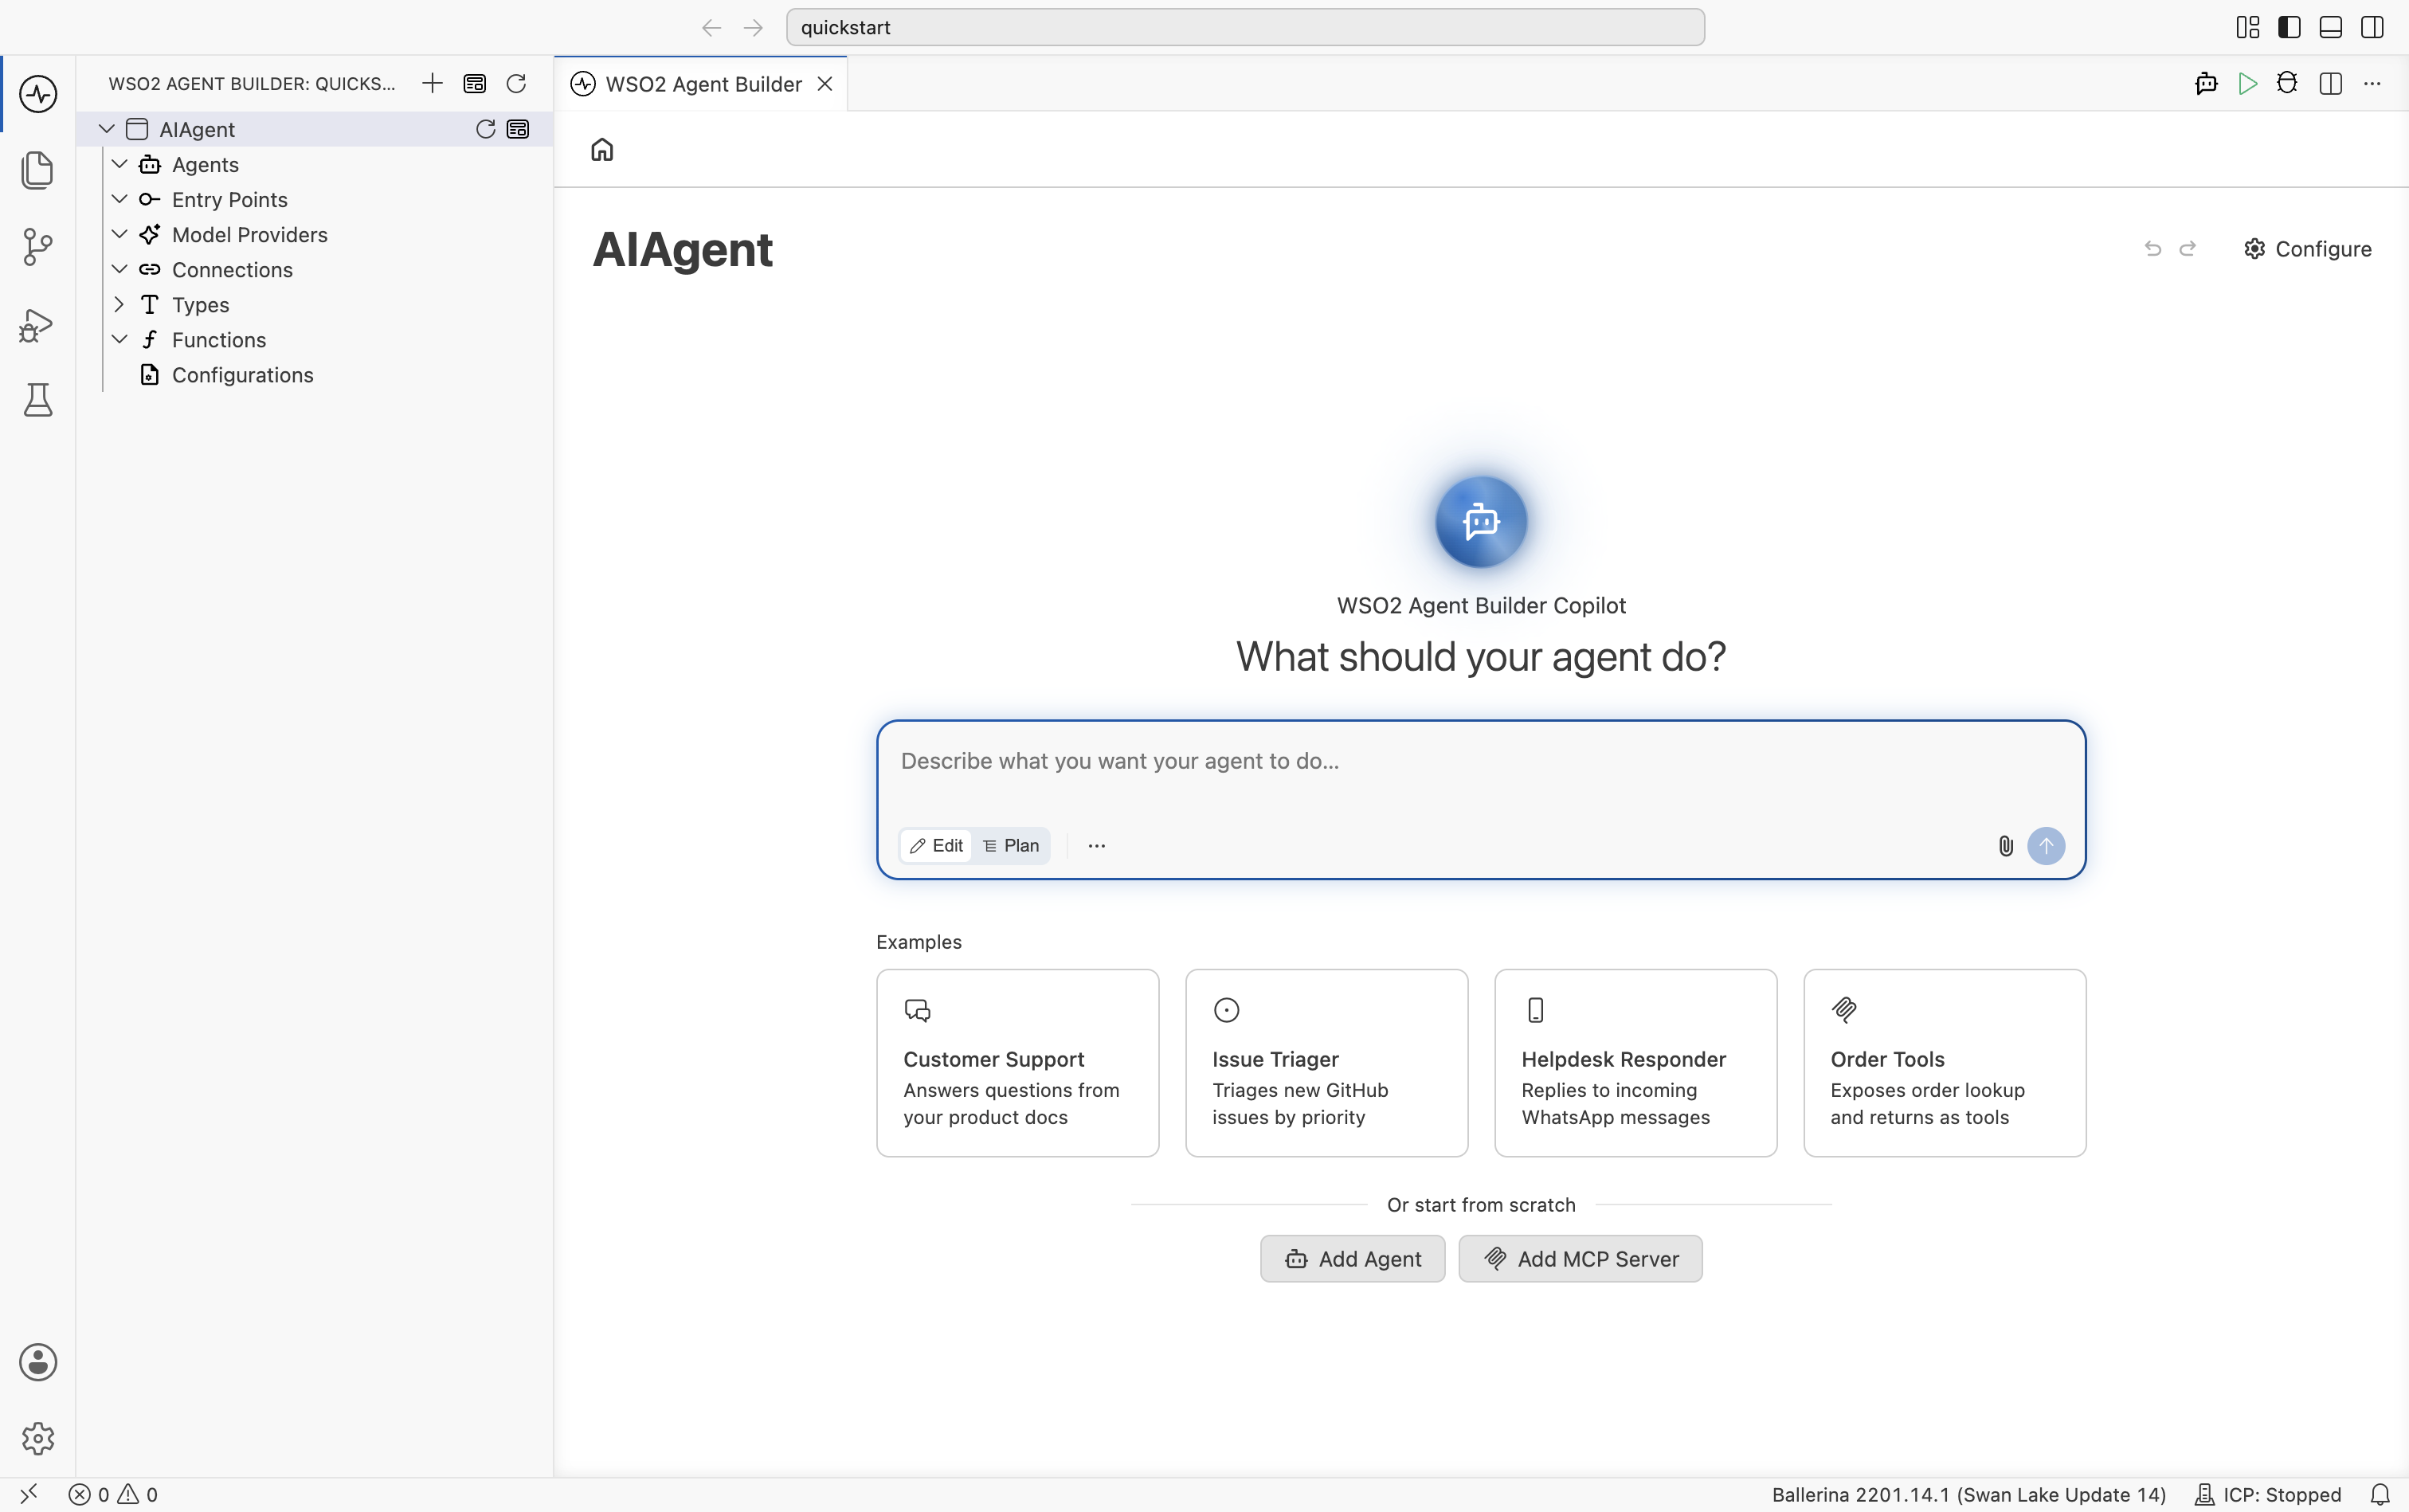 tip
You can also describe what your agent should do in the WSO2 Agent Builder Copilot prompt and let Copilot build it. This quick start builds the agent by hand.
-
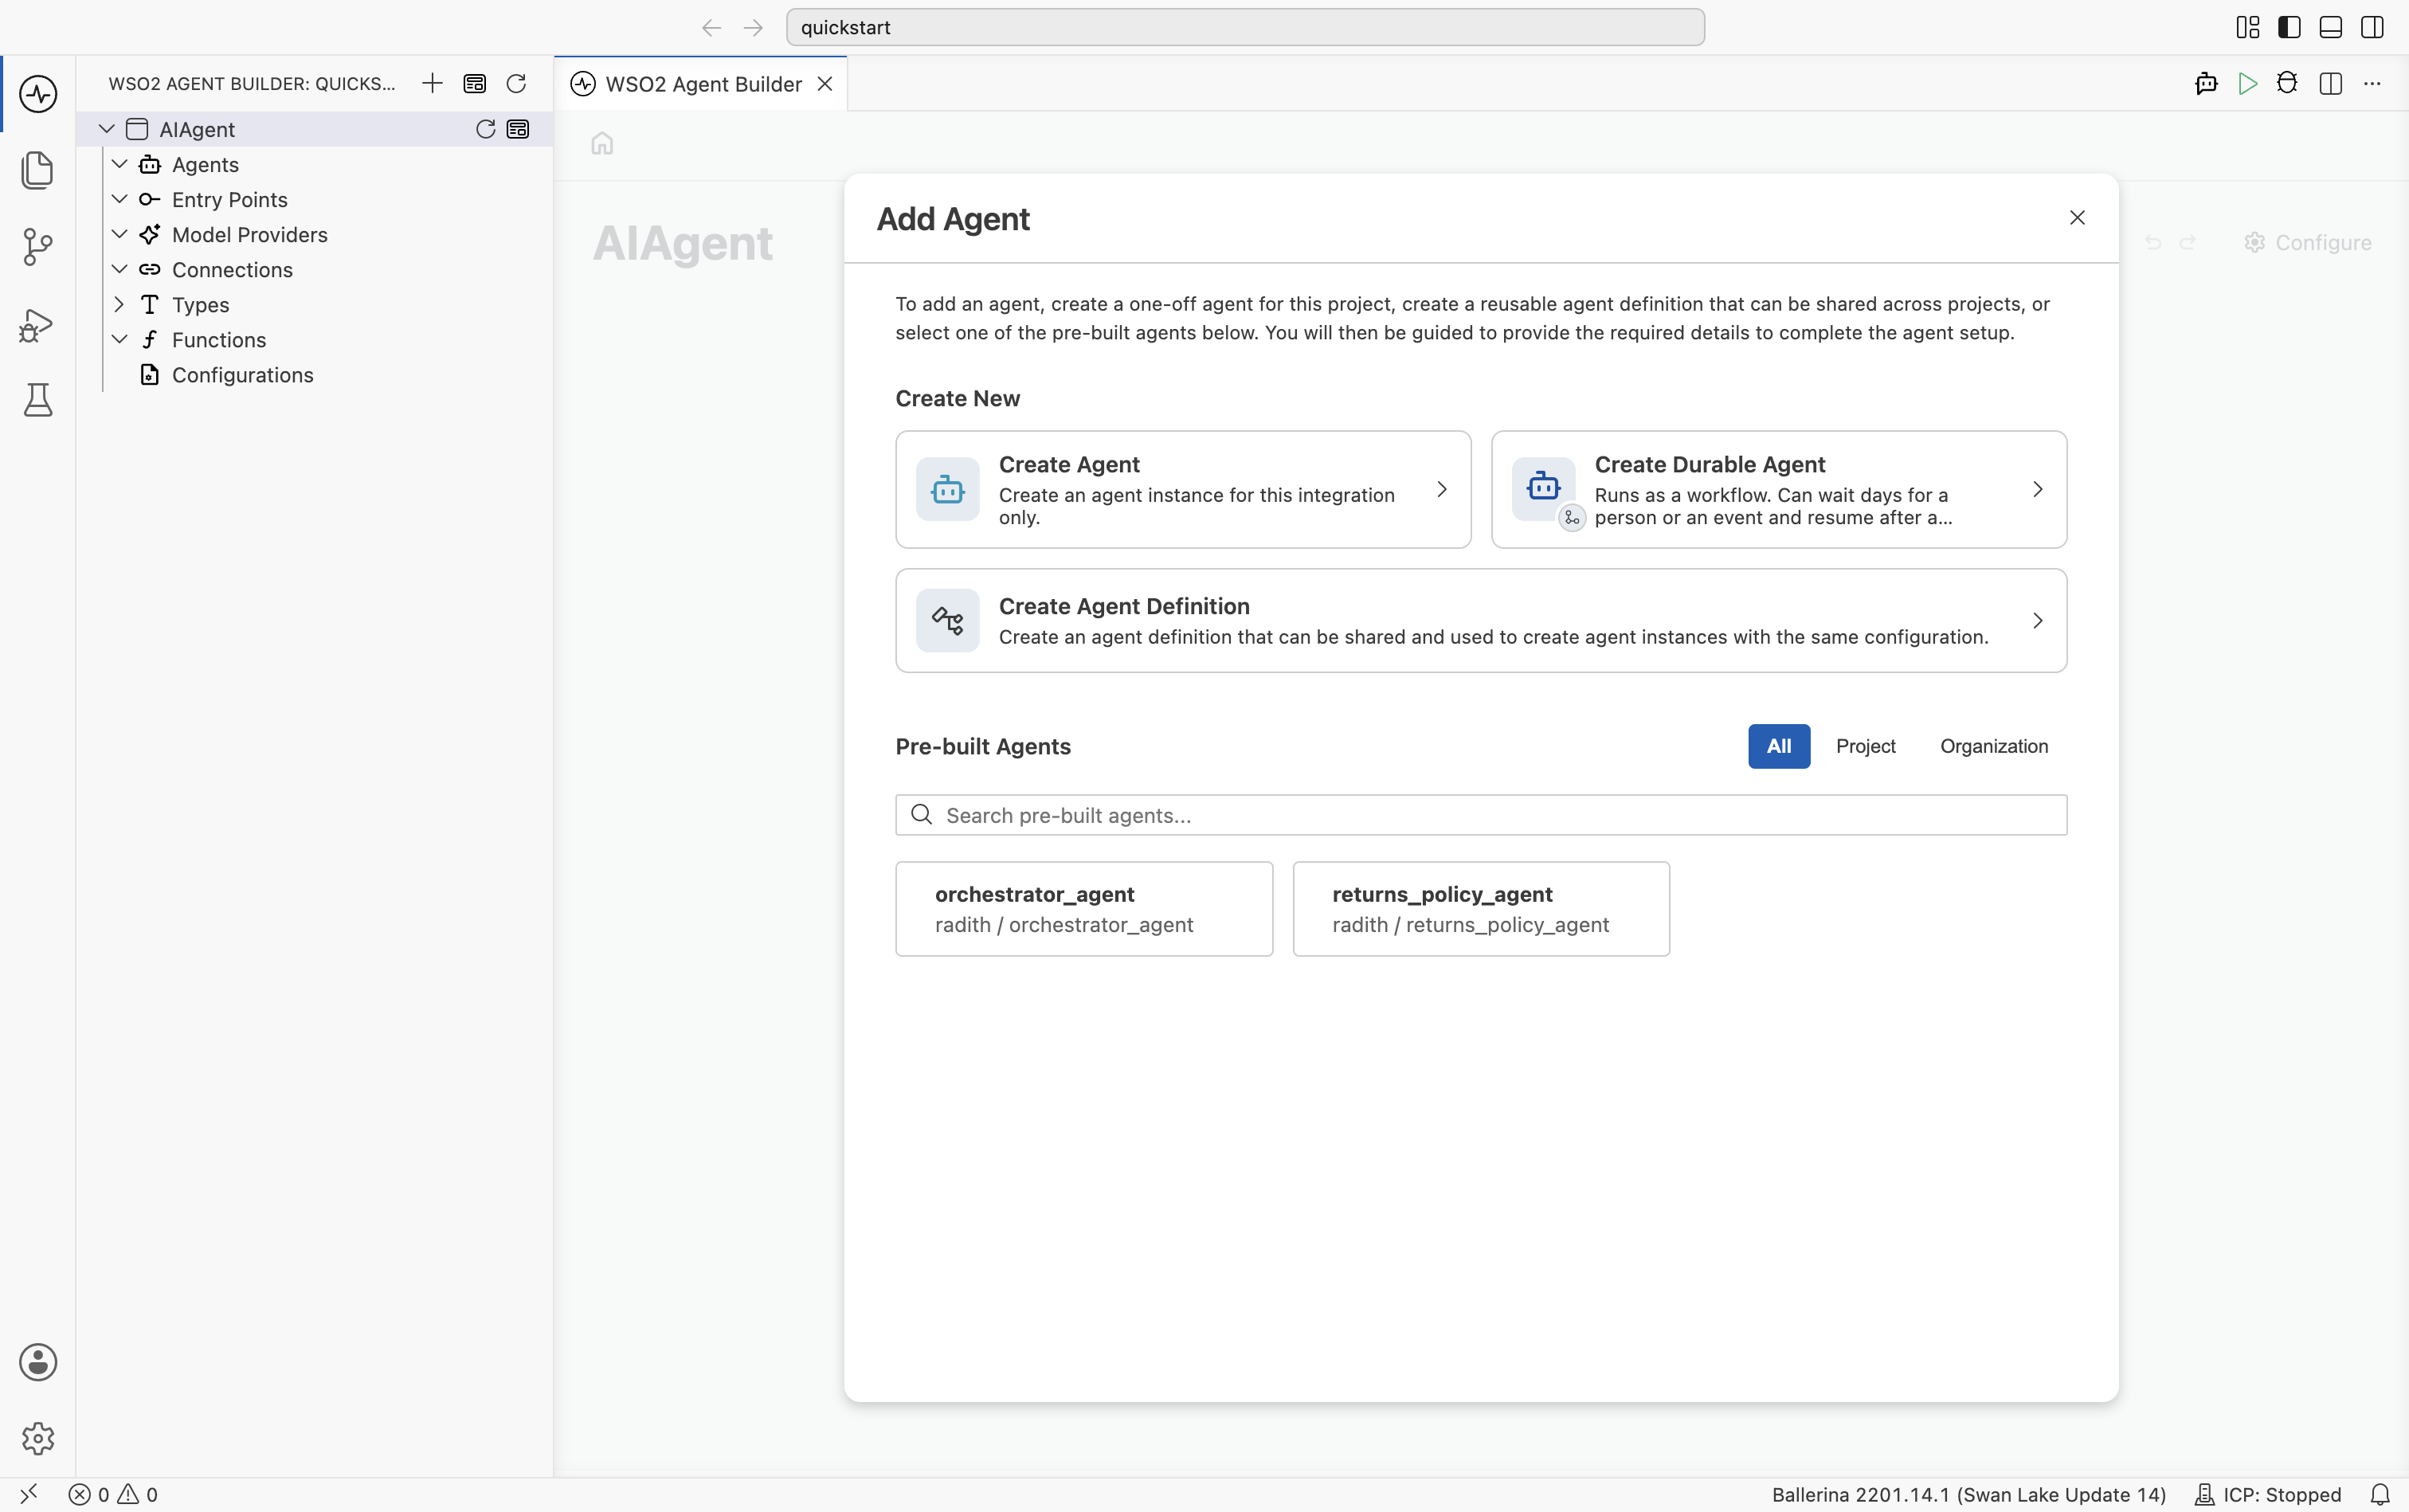
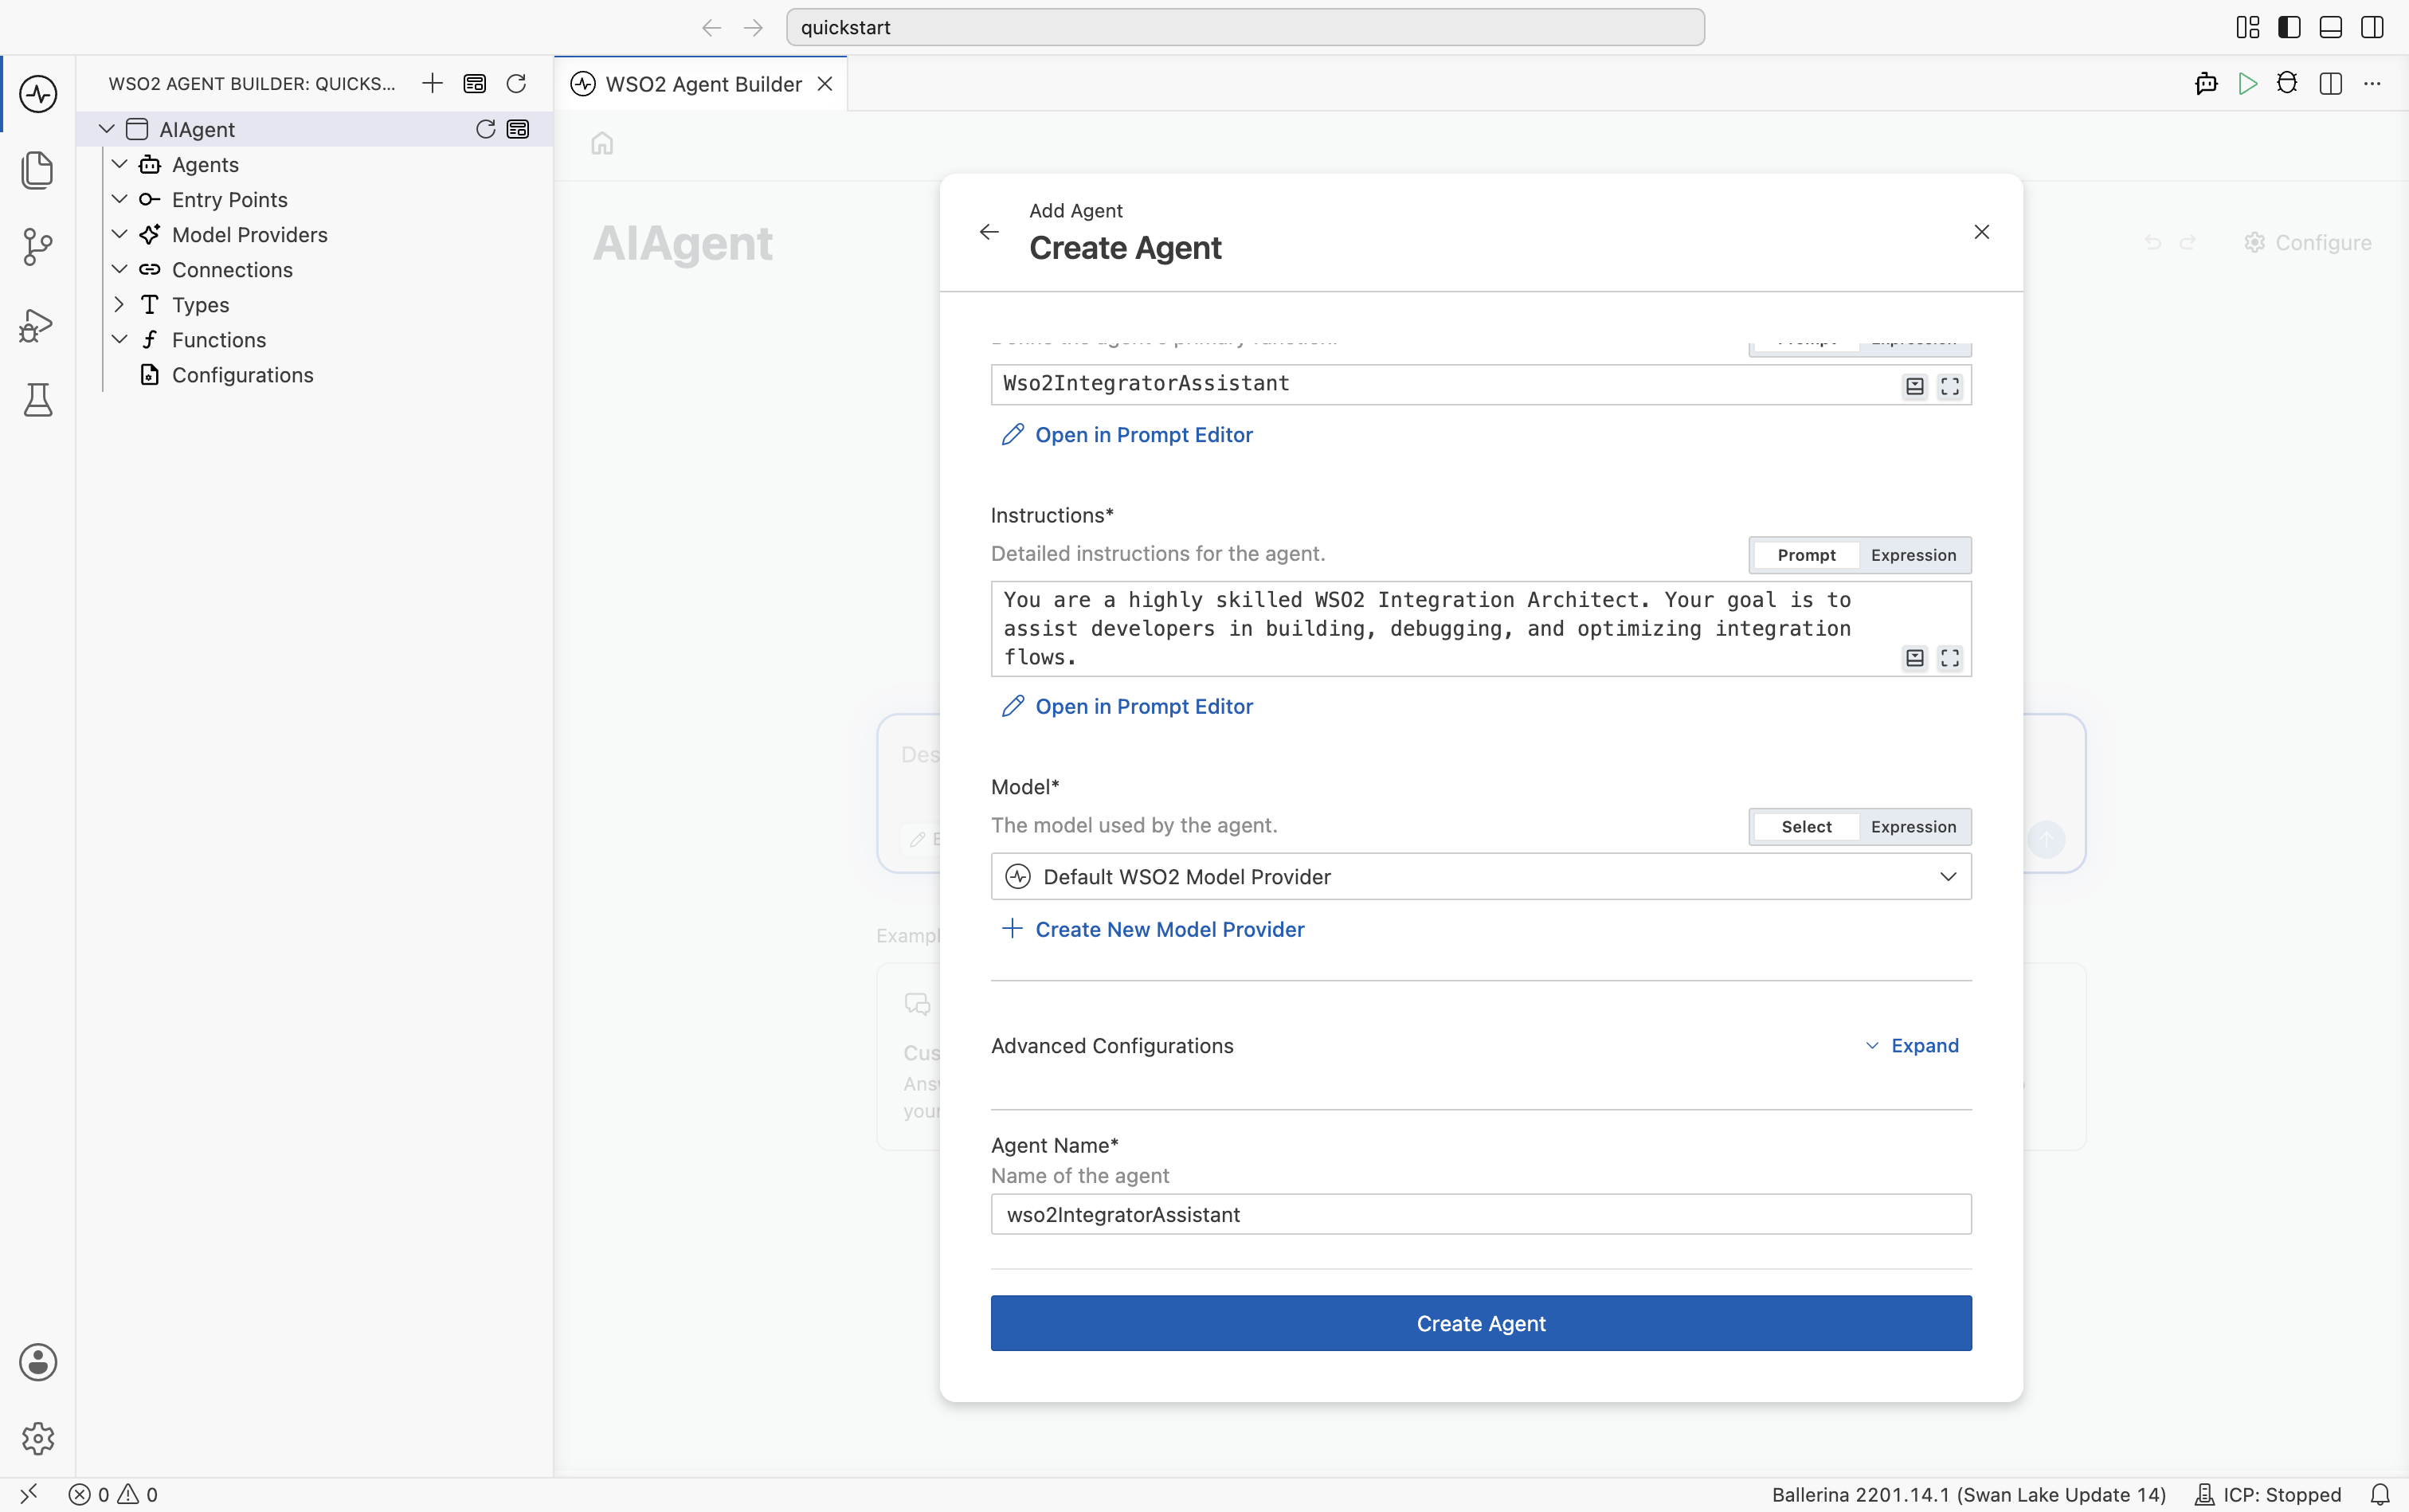
In the Add Agent dialog, select Create Agent.
-
Set Role to
Wso2IntegratorAssistant. -
Set Instructions to:
You are a highly skilled WSO2 Integration Architect. Your goal is to assist developers in building, debugging, and optimizing integration flows. -
Leave Model set to Default WSO2 Model Provider, and leave Advanced Configurations at their default values.
-
Set Agent Name to
wso2IntegratorAssistant. -
Click Create Agent.
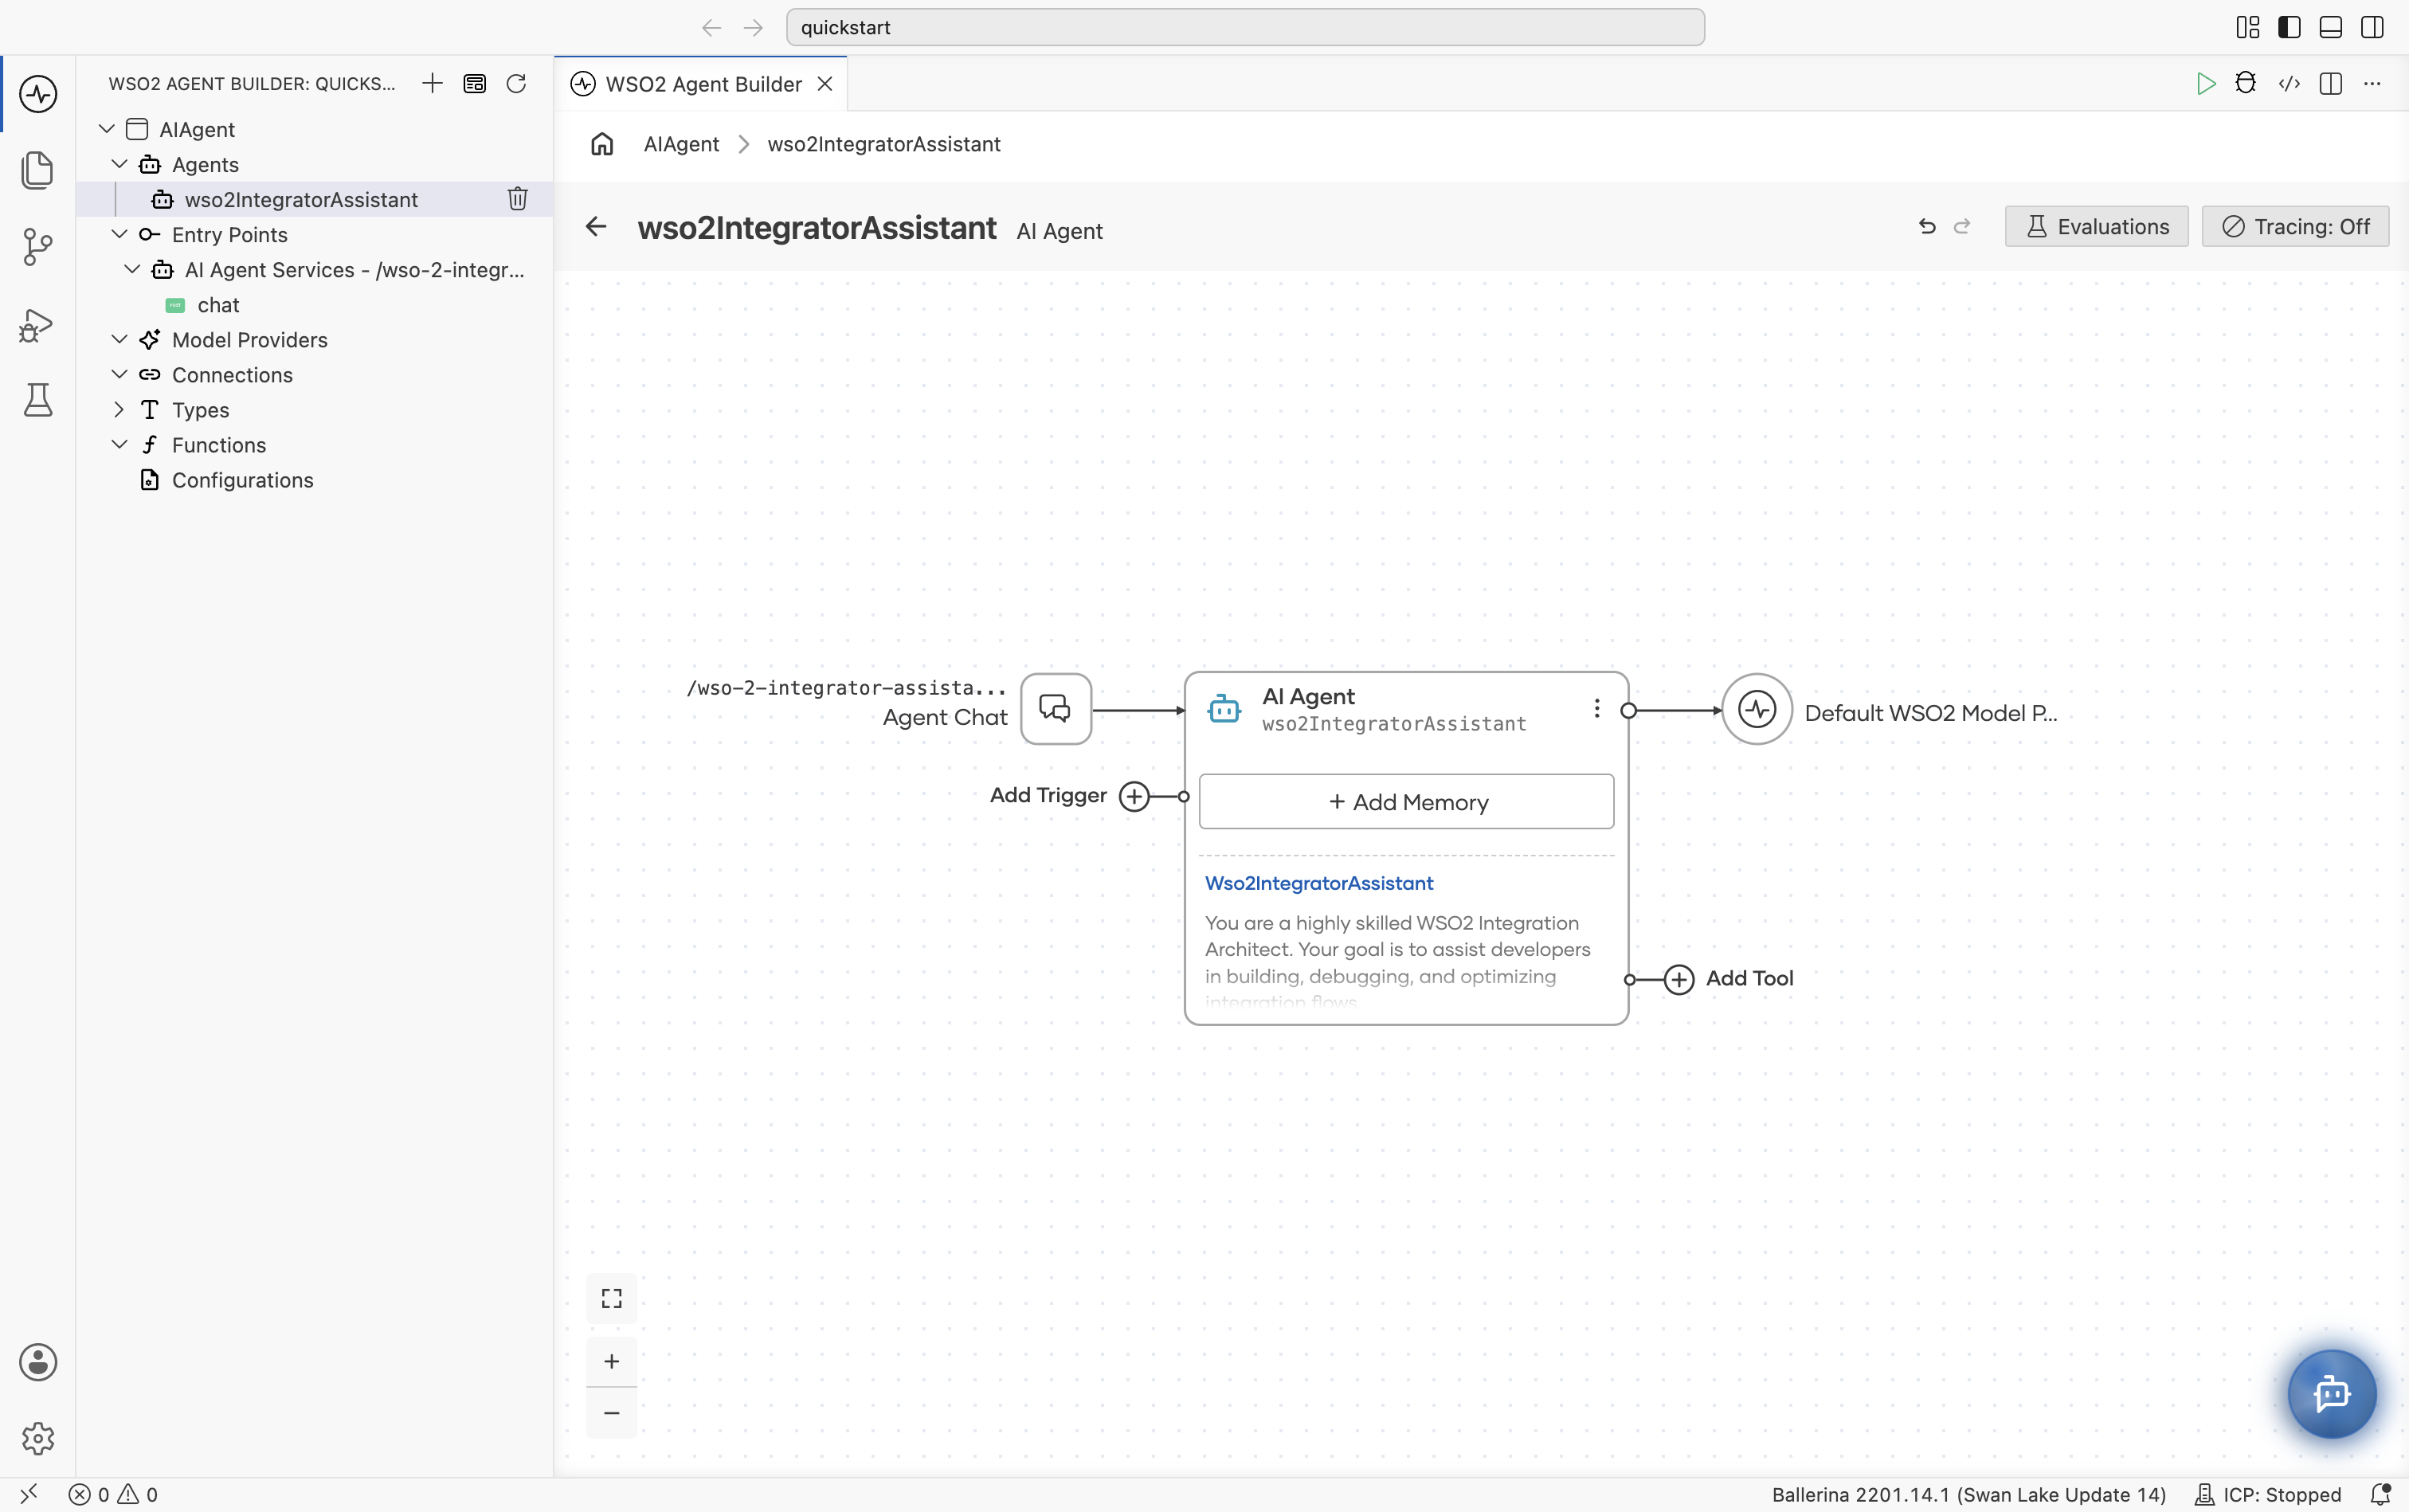
The agent's canvas opens. It shows the agent with its role and instructions, the model provider it uses, and Add Trigger, Add Memory, and Add Tool for extending it.
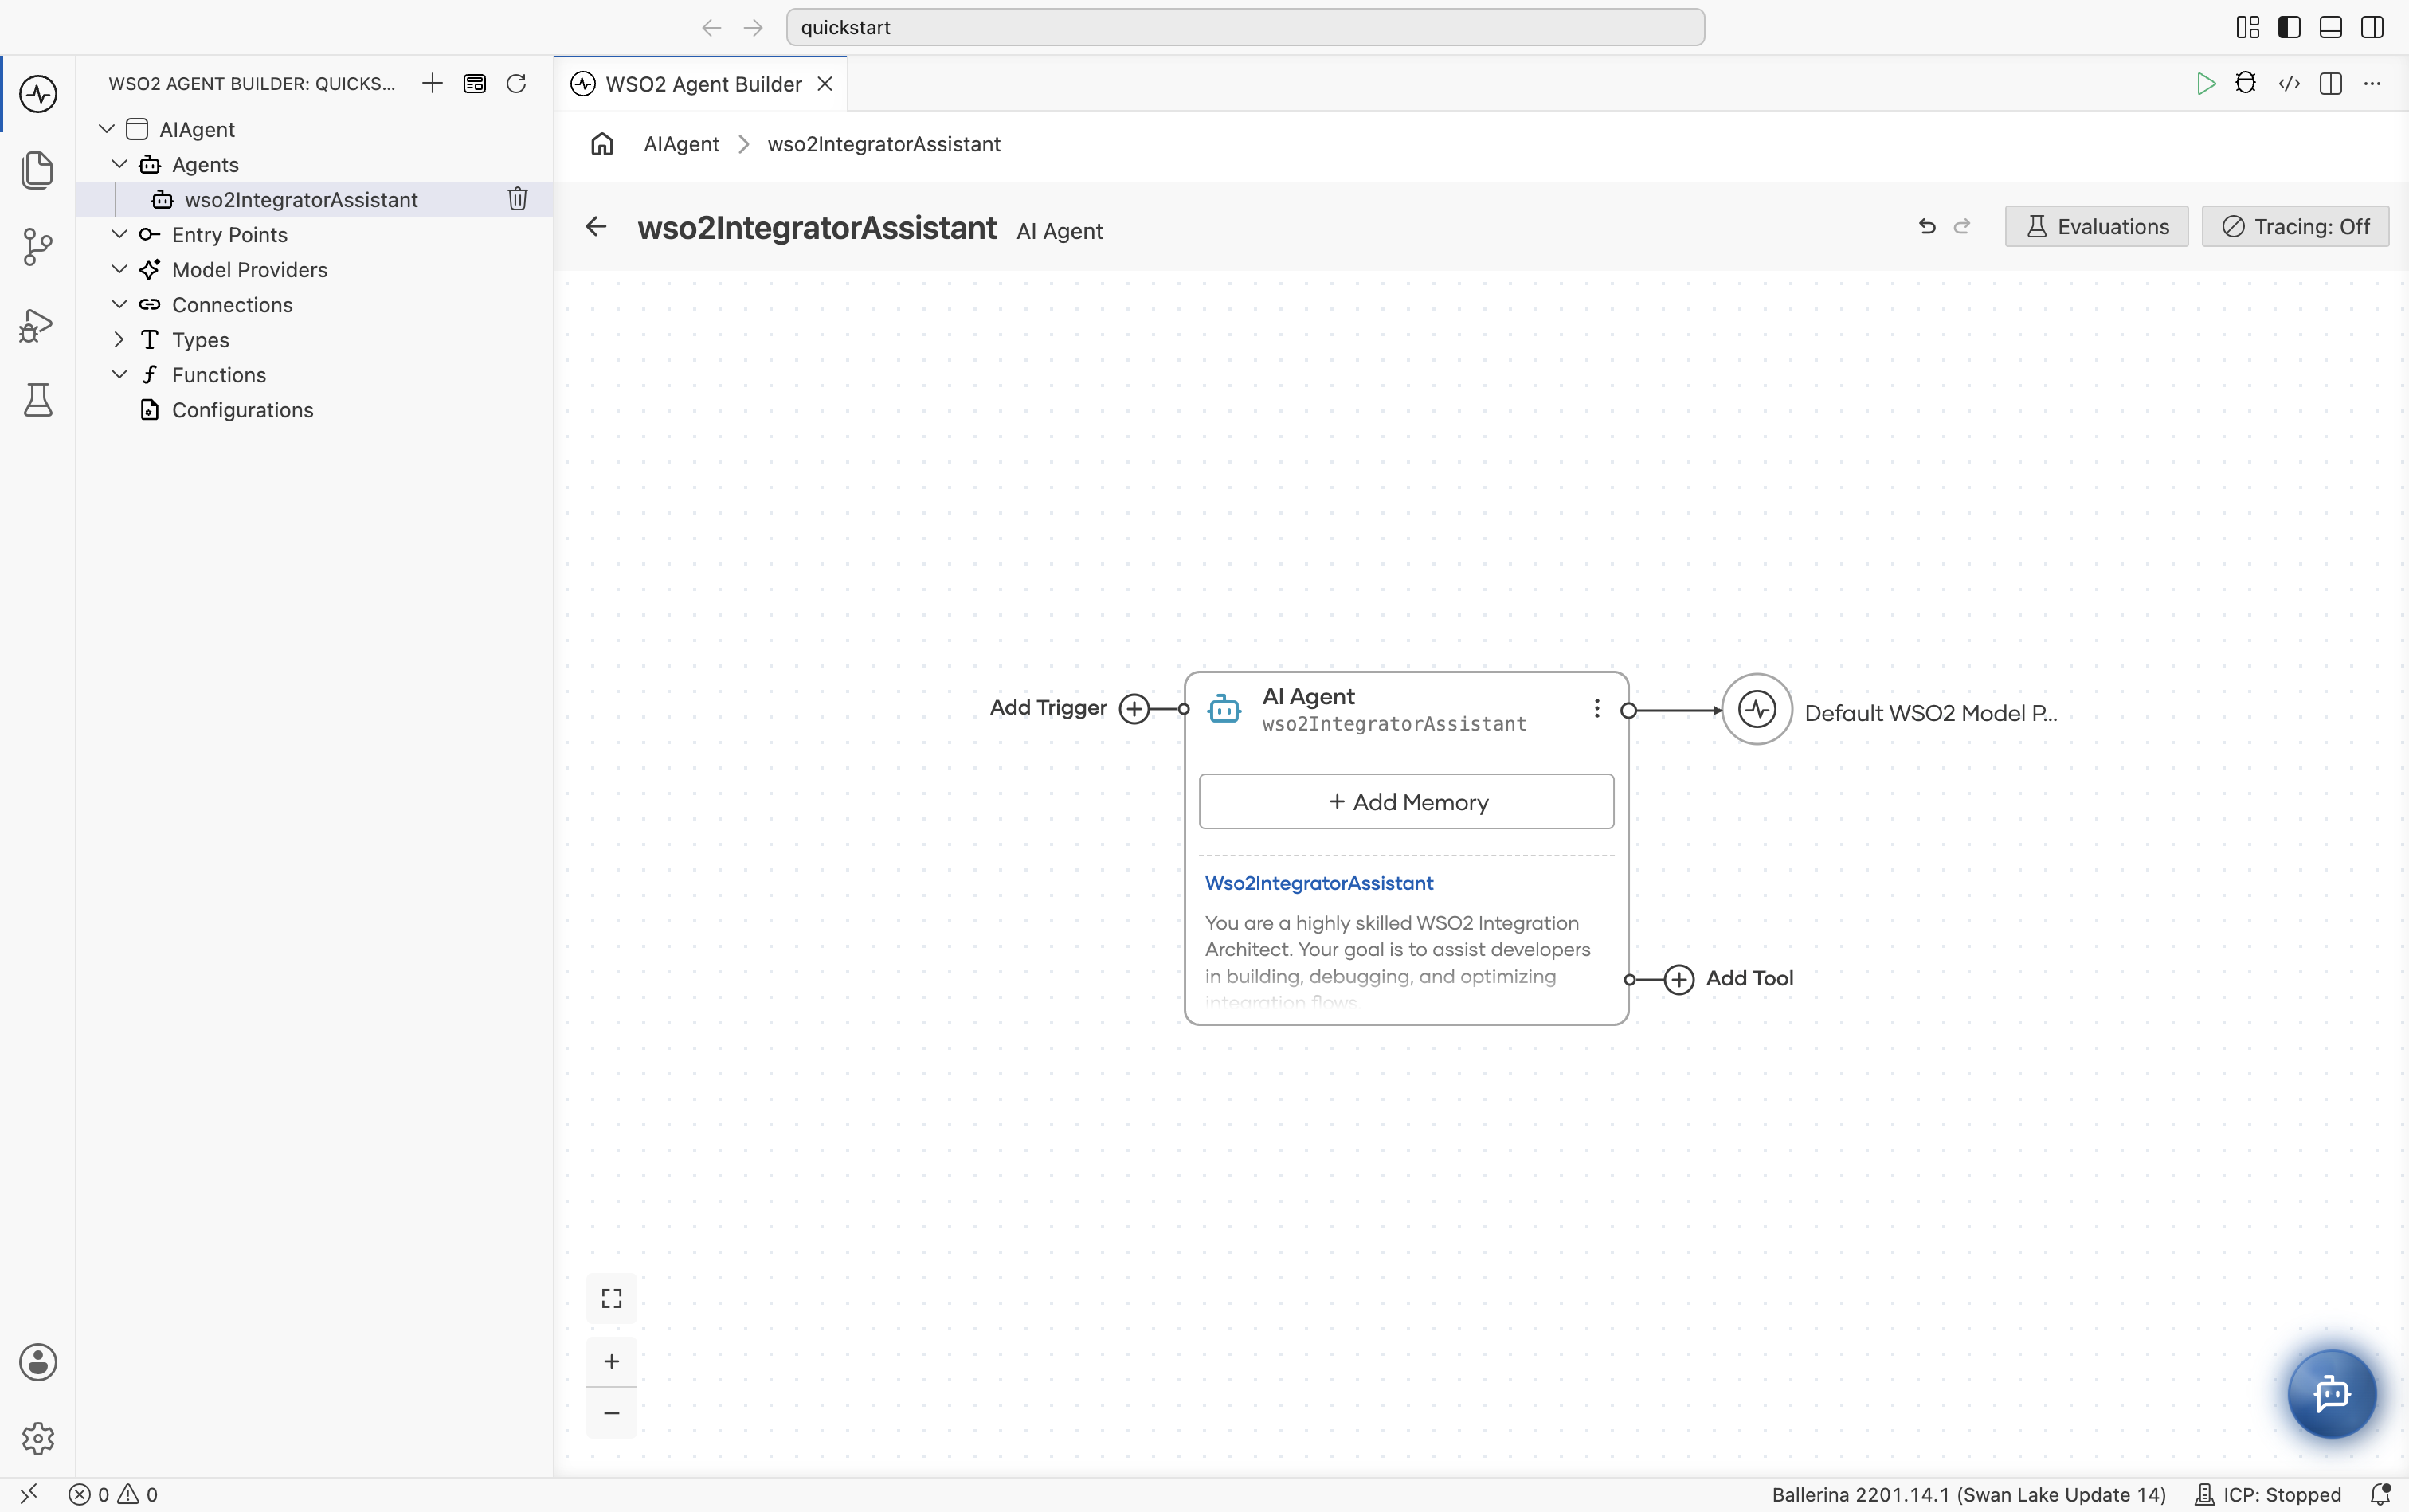
By default, the agent uses the WSO2 model provider. If you want to use a different LLM, see Model providers for the full list of supported providers (OpenAI, Azure OpenAI, Anthropic, and others).
If you are using the WSO2 model provider, the access token is obtained through WSO2 Agent Builder Copilot. If you have not already signed in, you will be prompted to do so.
Step 3: Add a chat trigger
An agent only runs when a trigger calls it. Connect the agent to a chat endpoint so you can talk to it.
-
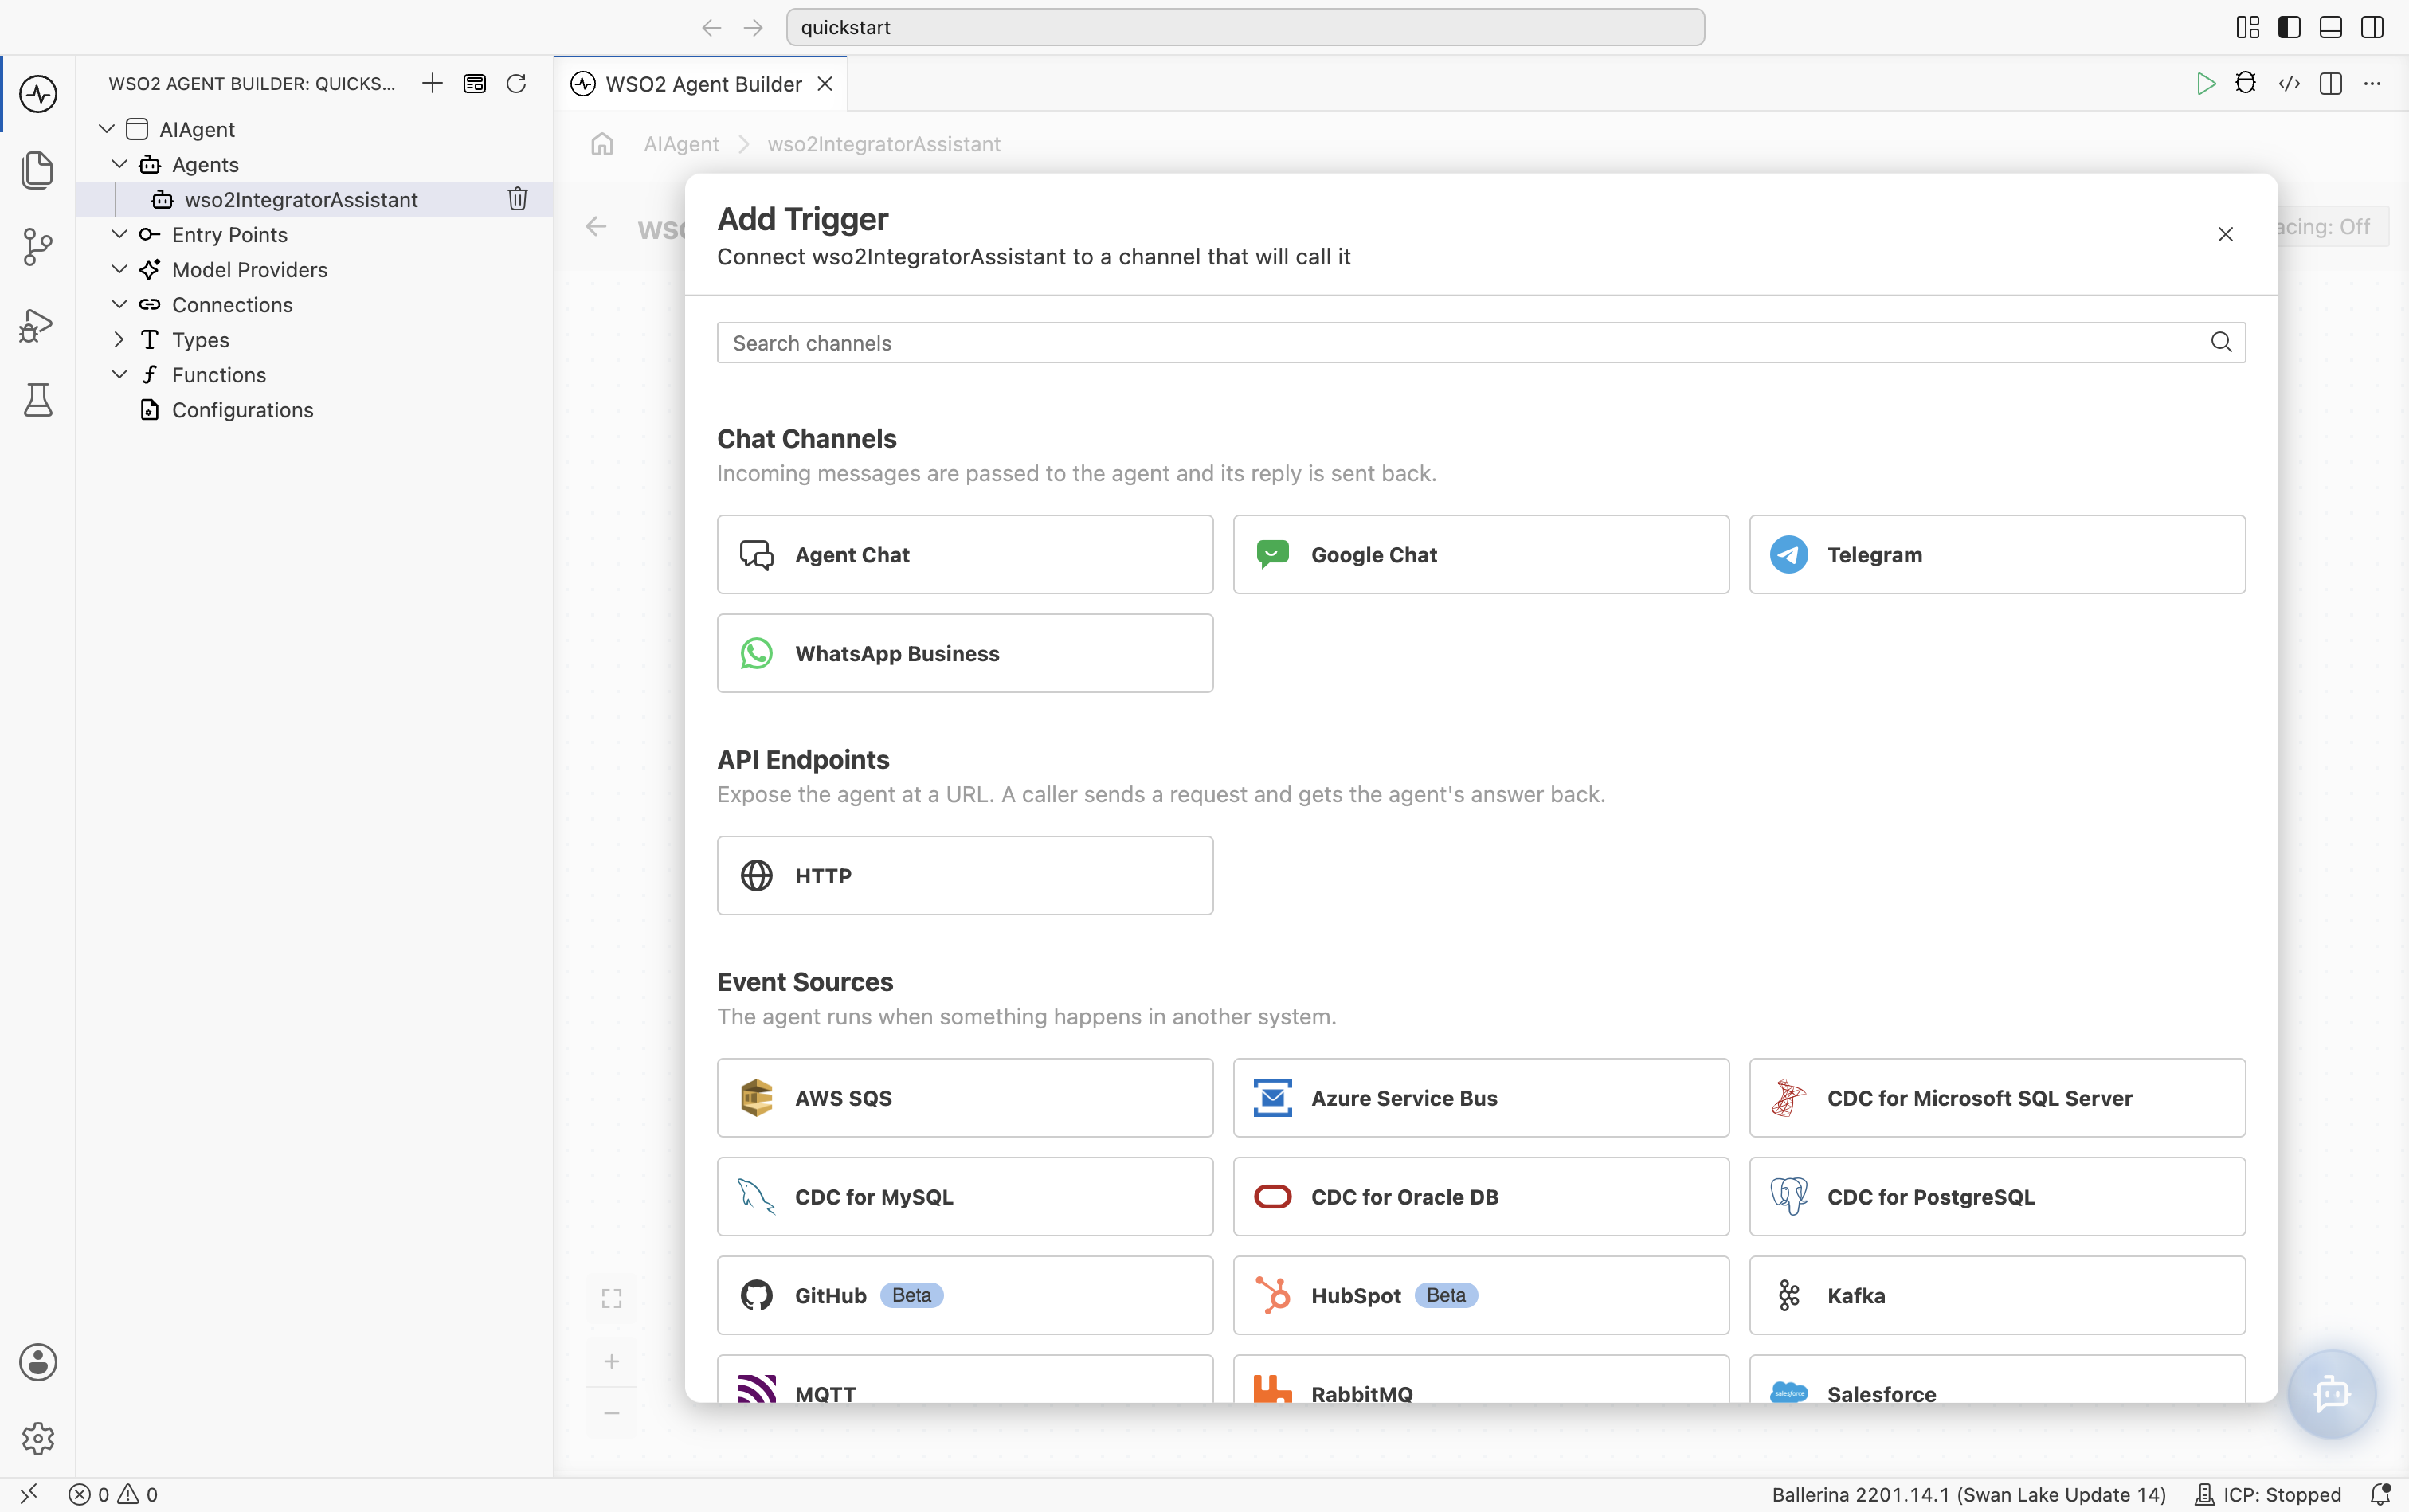
On the agent canvas, click Add Trigger.
-
Under Chat Channels, select Agent Chat.
-
Keep the generated Service Path and click Create.
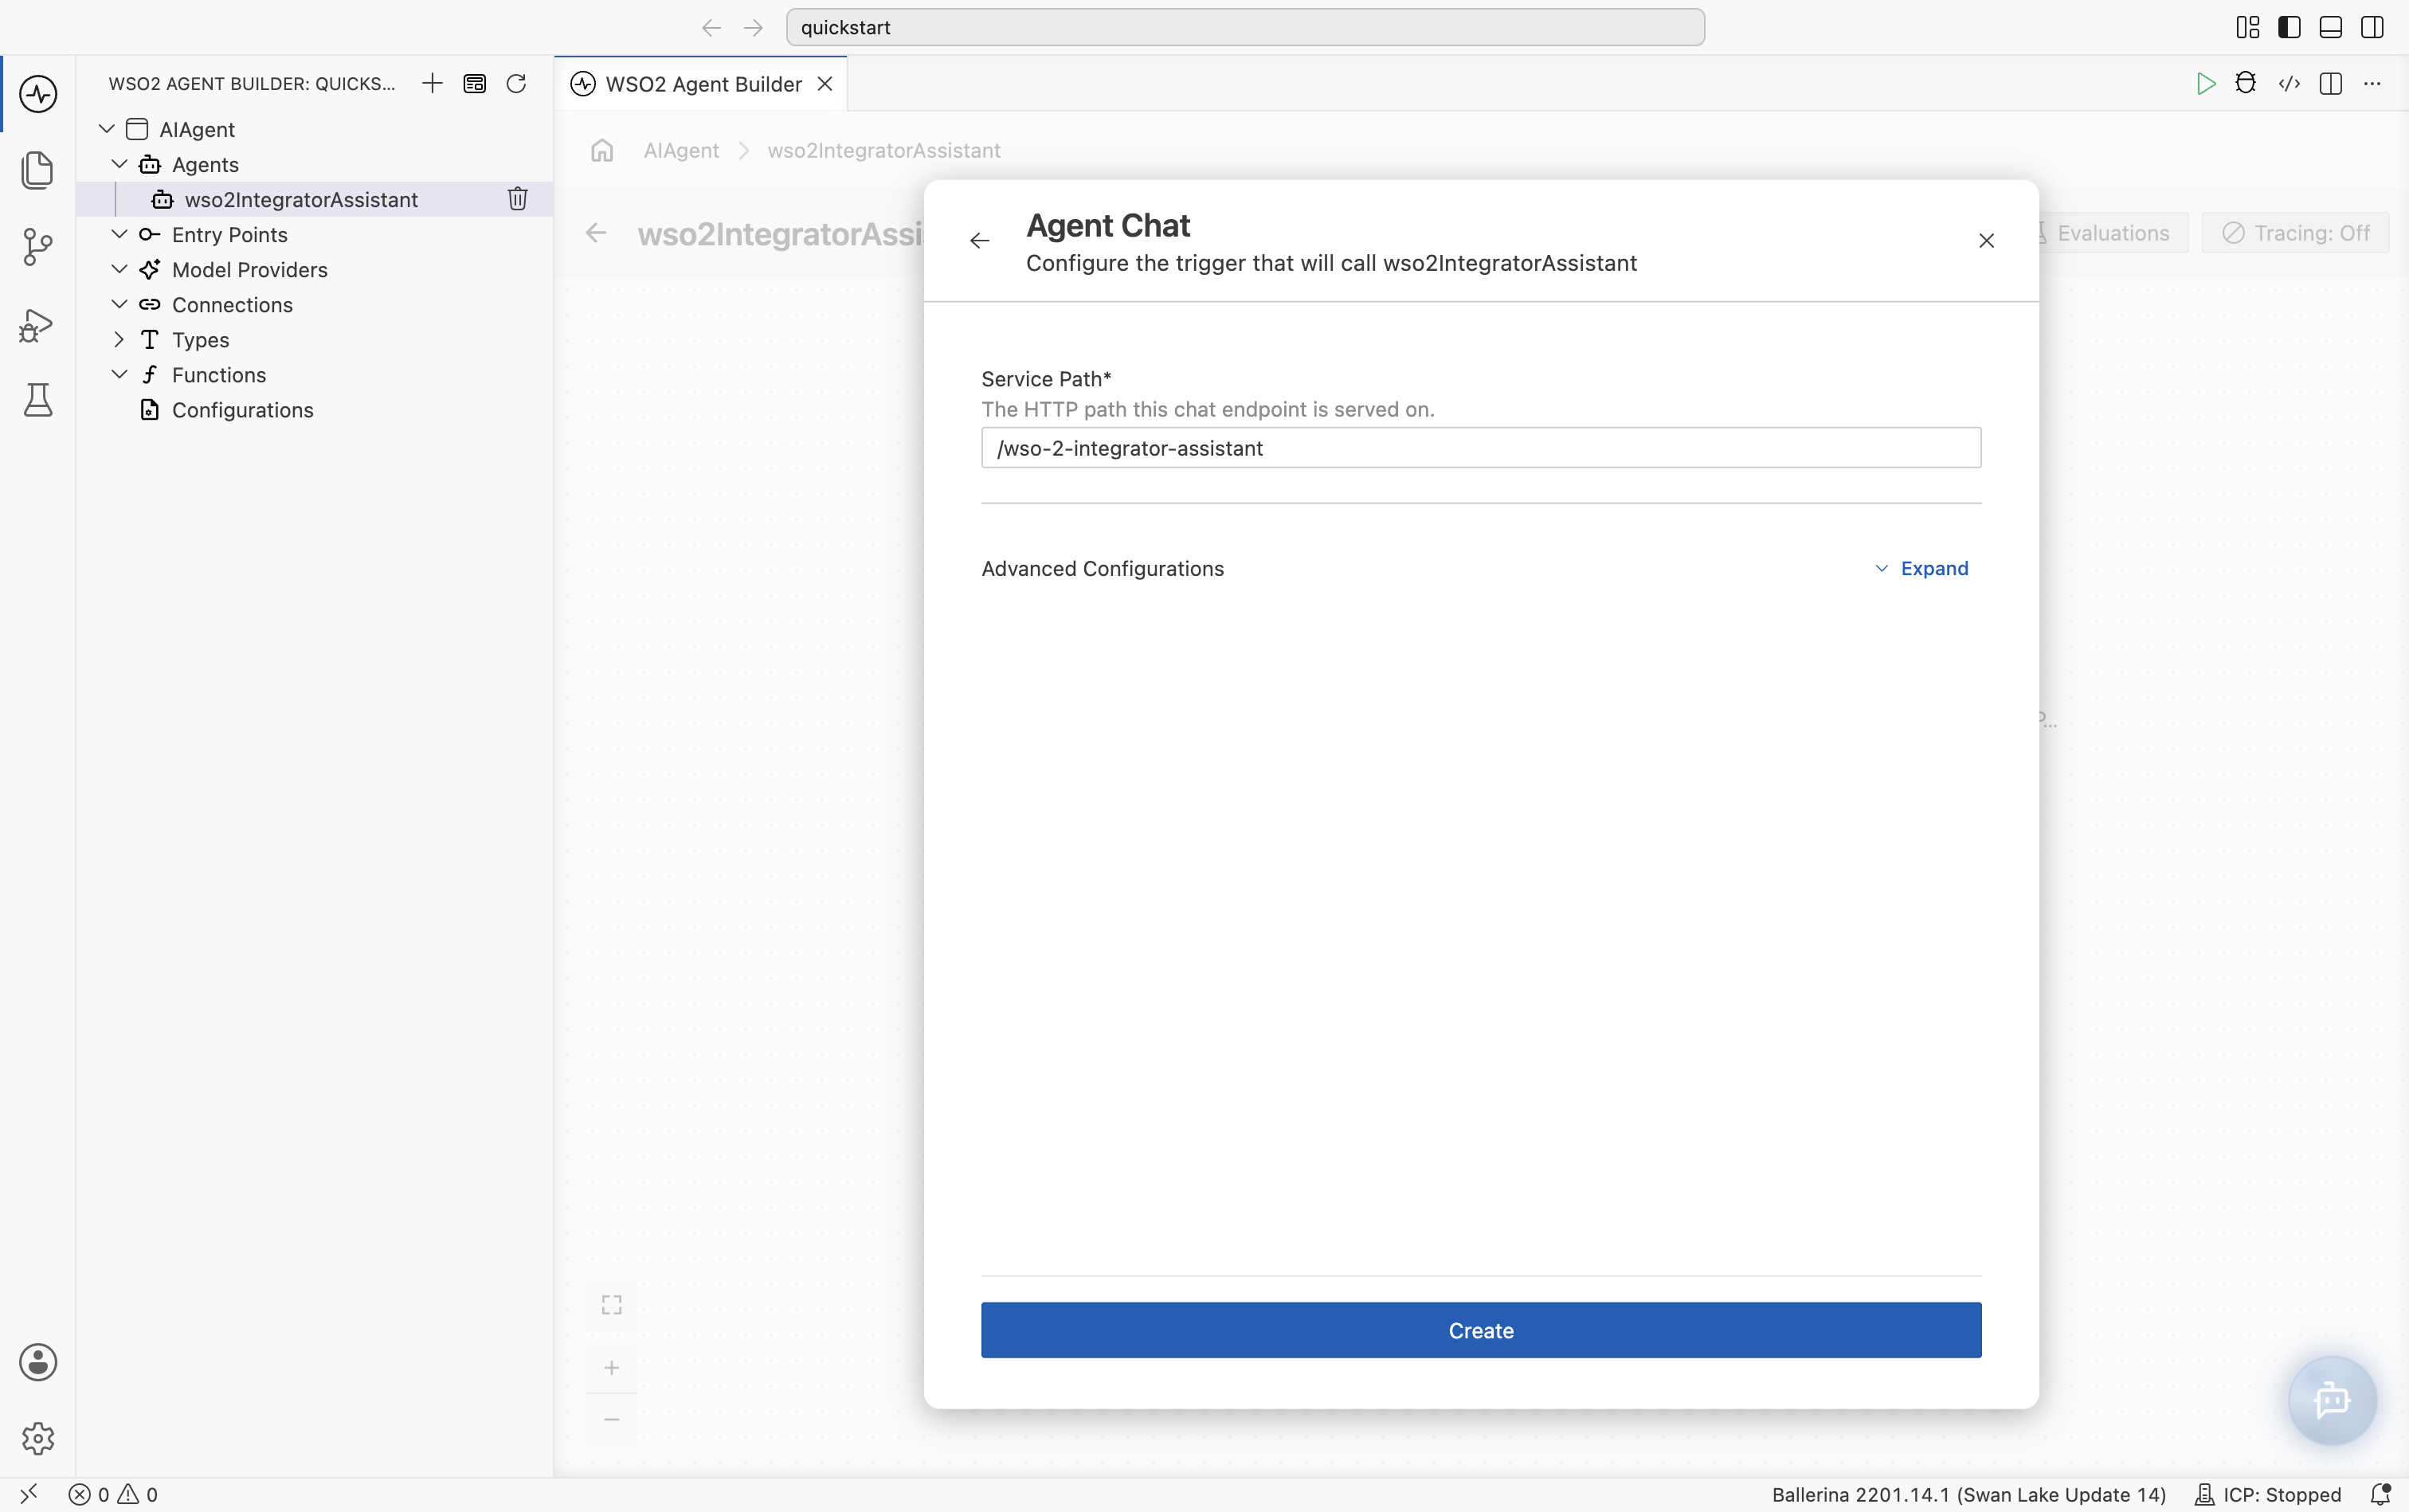
The trigger appears on the canvas, connected to the agent.
Step 4: Run and test
-
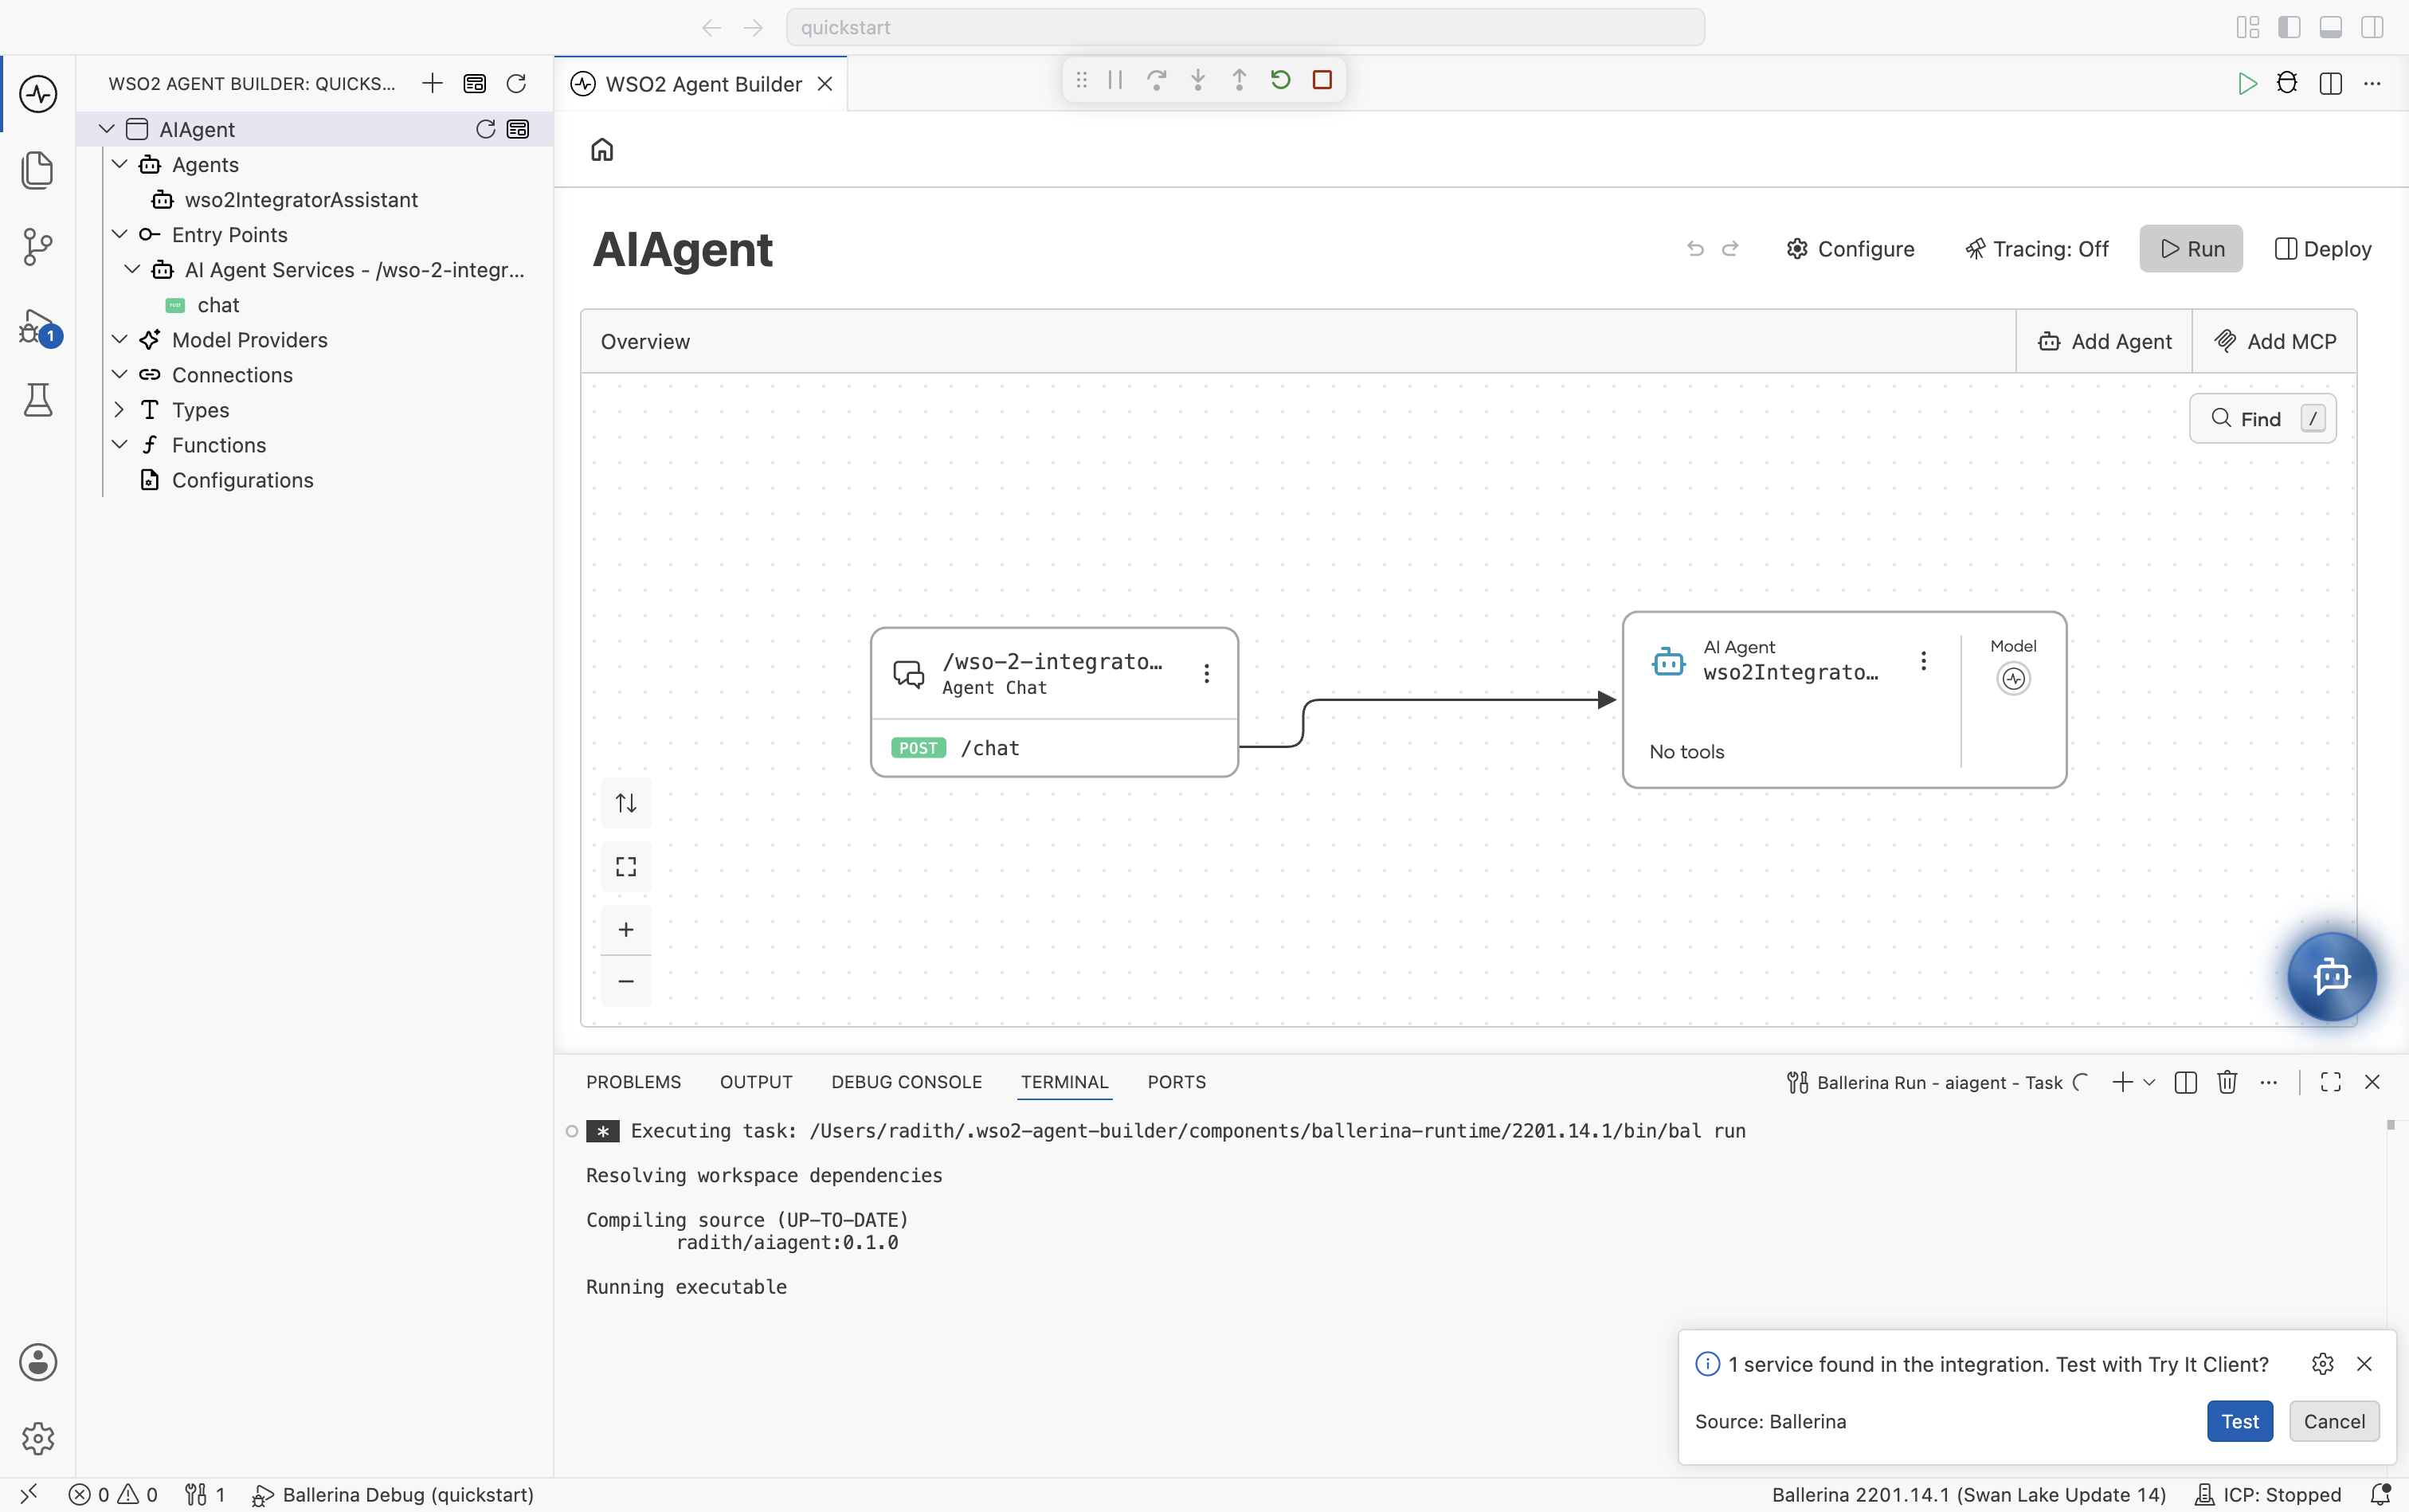
Select AIAgent in the breadcrumb to open the integration's Overview, and click Run.
-
When the integration starts, a pop-up says 1 service found in the integration. Test with Try It Client? Click Test.
-
The Agent Chat panel opens. Type
Helloto check that it works.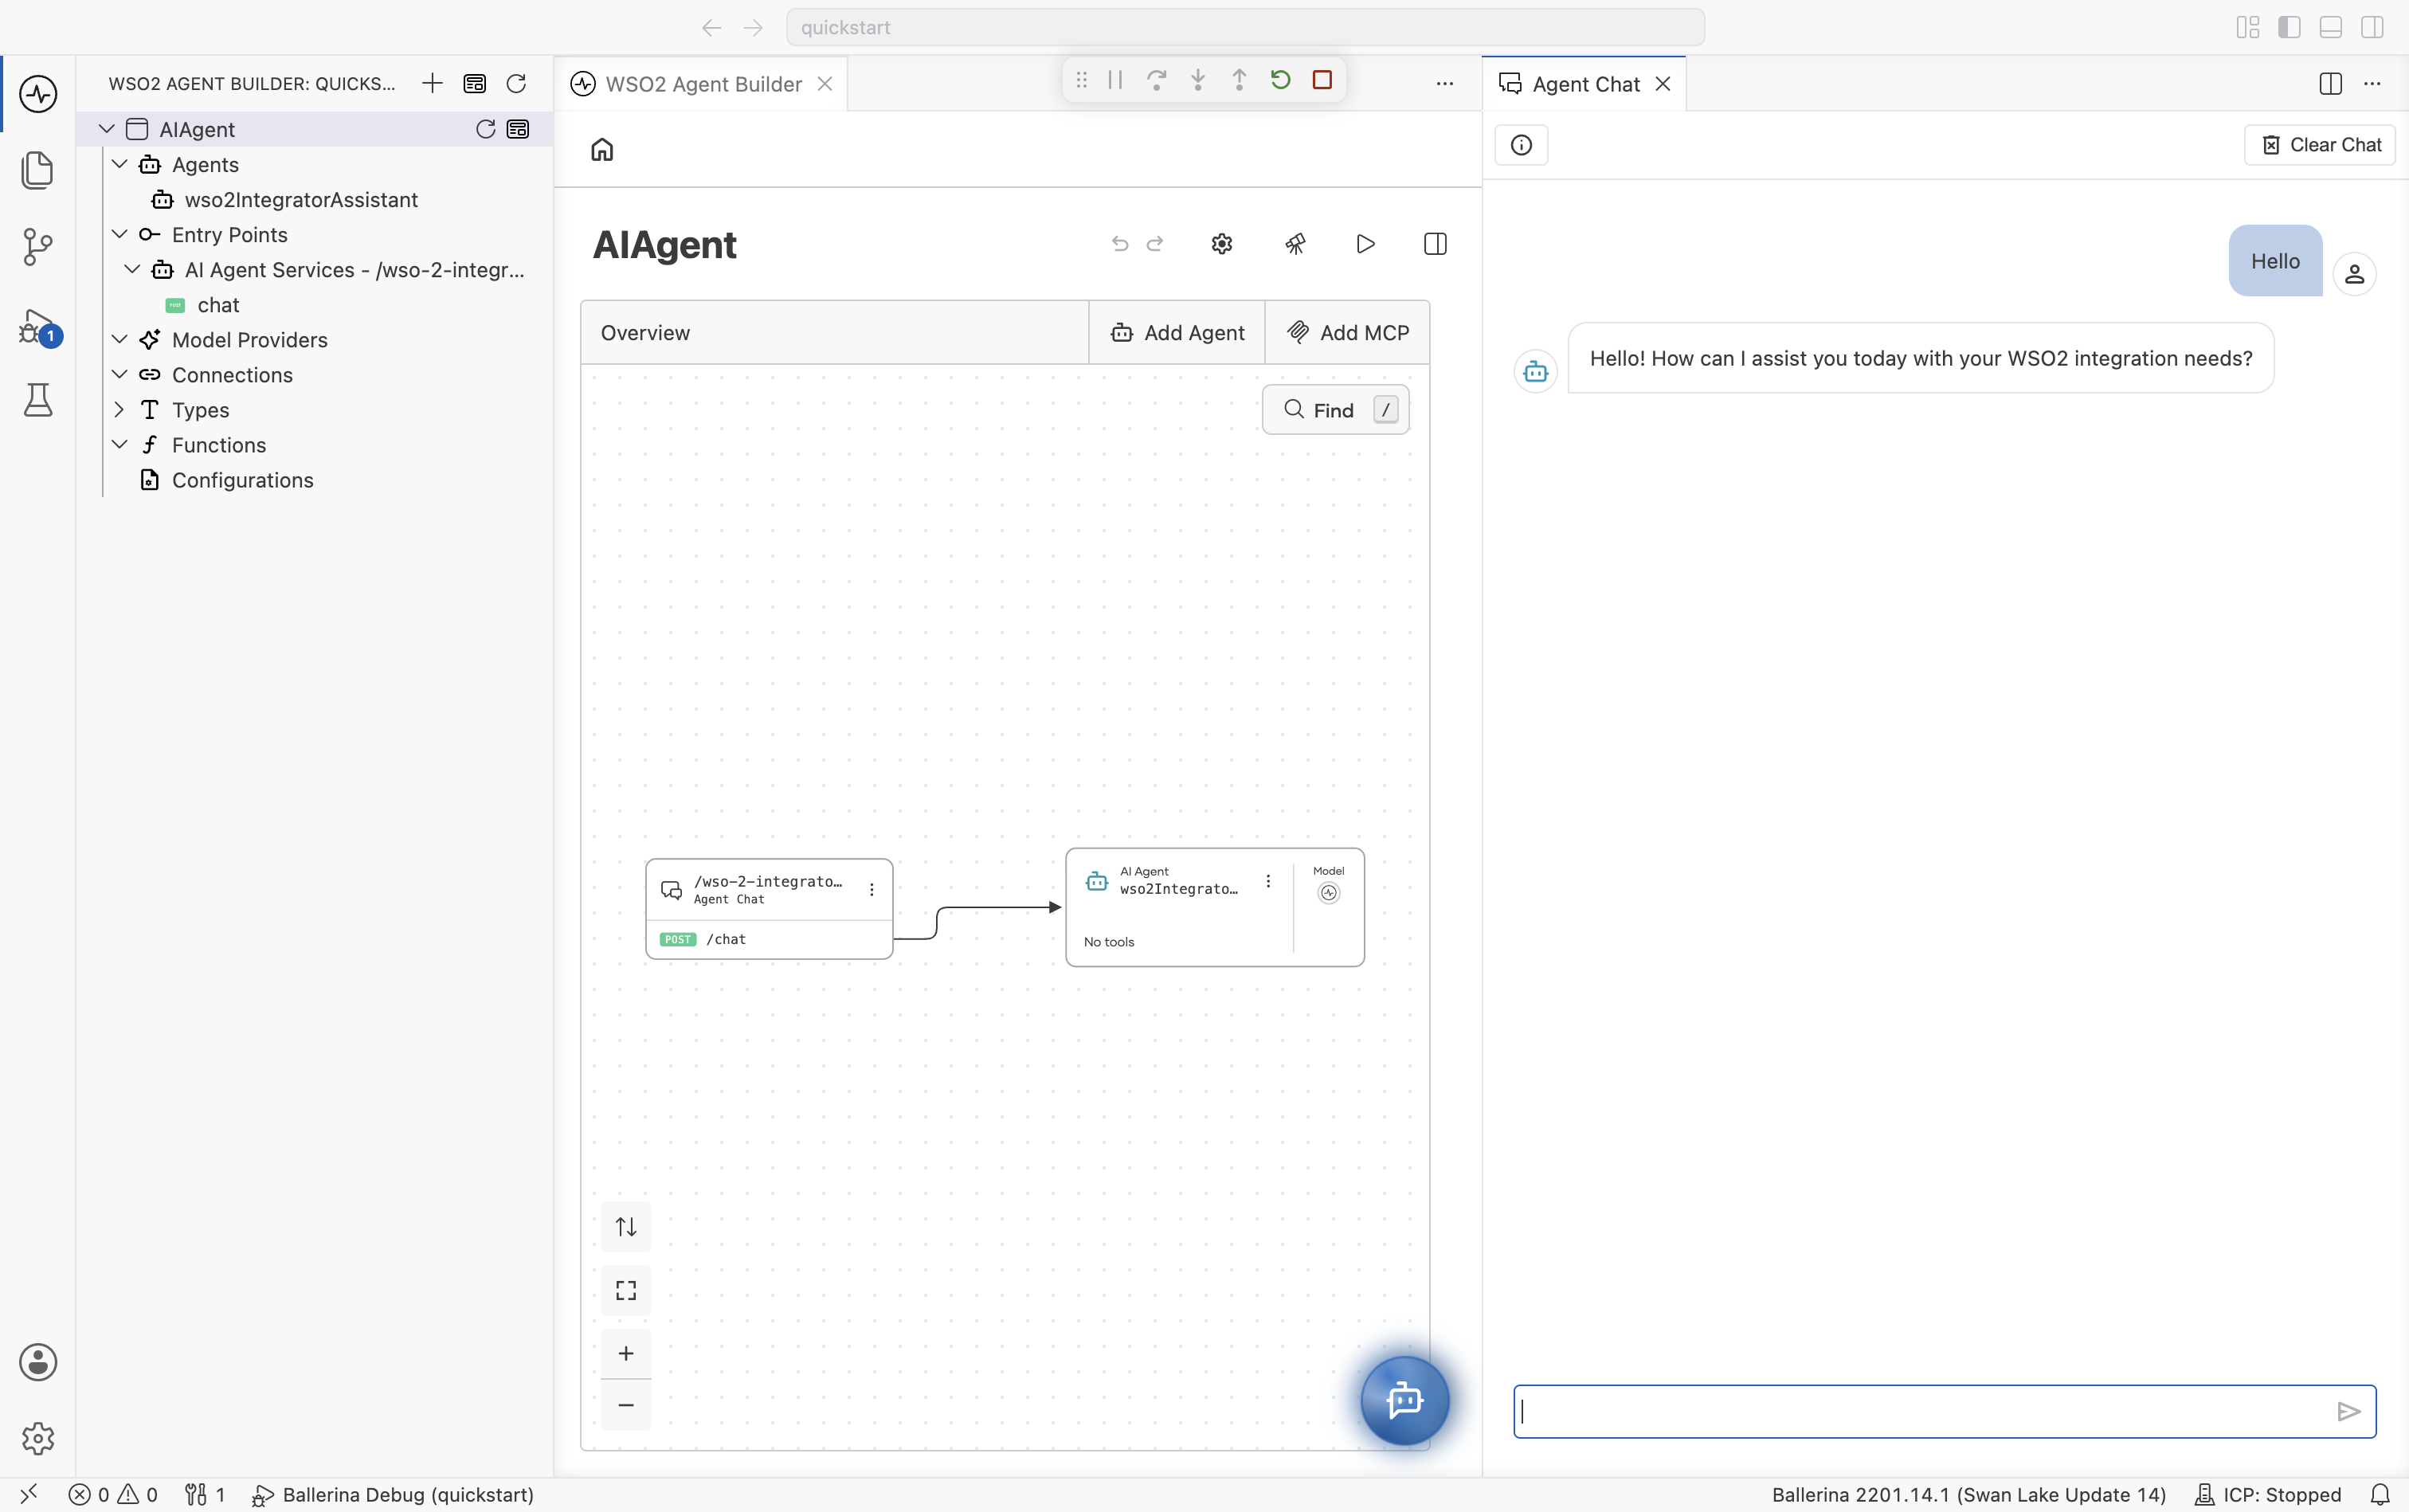
Step 5: Deploy to WSO2 Cloud
Deploy your integration to WSO2 Cloud. See Deploy to WSO2 Cloud.
Skip ahead: deploy a ready-made sample
Rather not build it yourself? One-click deploy the AIAgent sample straight to WSO2 Cloud.

Source code
View the generated Ballerina code
The steps above generate the following complete, runnable Ballerina program. It has two files: agents.bal for the agent and main.bal for the chat trigger's listener and service.
agents.bal
import ballerina/ai;

final ai:Agent wso2IntegratorAssistant = check new (
    systemPrompt = {
        role: string `Wso2IntegratorAssistant`,
        instructions: string `You are a highly skilled WSO2 Integration Architect. Your goal is to assist developers in building, debugging, and optimizing integration flows.`
    },
    model = check ai:getDefaultModelProvider()
);
main.bal
import ballerina/ai;
import ballerina/http;

listener ai:Listener agentChatListener = new (listenOn = check http:getDefaultListener());

service /wso\-2\-integrator\-assistant on agentChatListener {
    resource function post chat(@http:Payload ai:ChatReqMessage request)
            returns ai:ChatRespMessage|error {
        string stringResult = check wso2IntegratorAssistant.run(request.message, sessionId = request.sessionId);
        return {message: stringResult};
    }
}
What's next
- Build a durable agent — Build an agent that can pause for human approval and resume
- AI agents — Learn how to build production-grade AI agents with tools, memory, and evaluations
- Hierarchical agents — Delegate work from one agent to another