Example
What you'll build
Build an integration that sends a UDP datagram using the ballerina/udp connector in WSO2 Integrator. You'll configure a connectionless UDP client, add an Automation entry point, and invoke the sendDatagram operation to transmit bytes over UDP.
Operations used:
- sendDatagram : Transmits a UDP datagram record (containing remote host, remote port, and byte data) to a target endpoint
Architecture
Setting up the UDP integration
New to WSO2 Integrator? Follow the Create a New Integration guide to set up your integration first, then return here to add the connector.
Adding the UDP connector
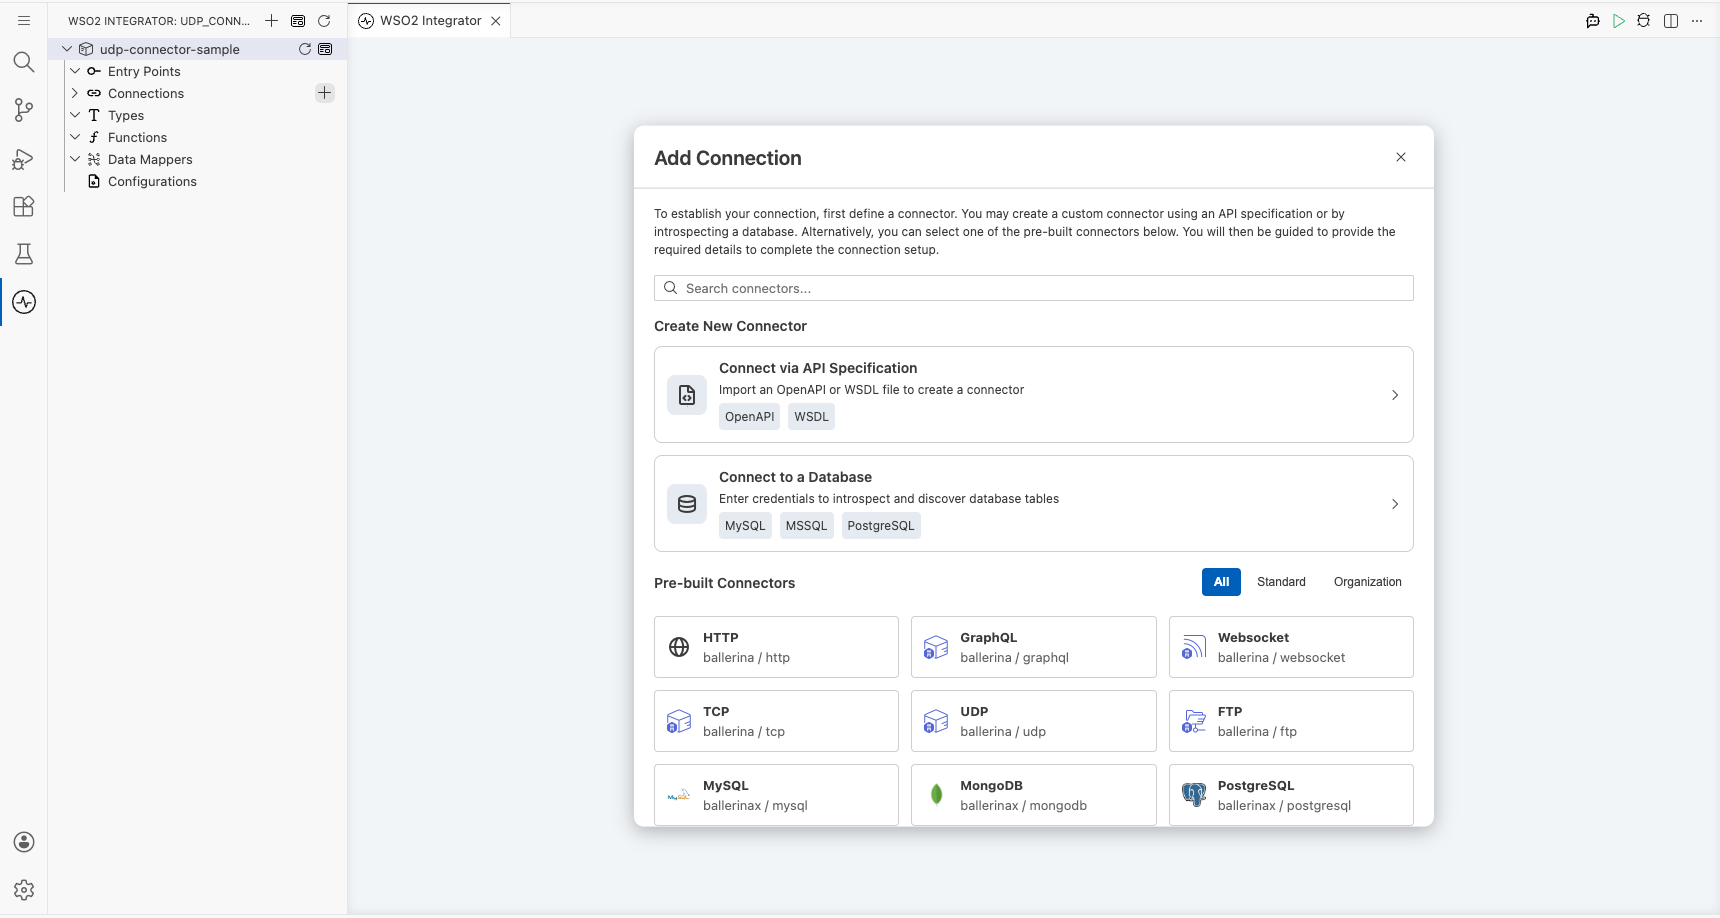
Step 1: Open the connector palette and select the UDP connector
In the WSO2 Integrator left panel, expand Connections and select the + (Add Connection) button to open the connector palette.
Configuring the UDP connection
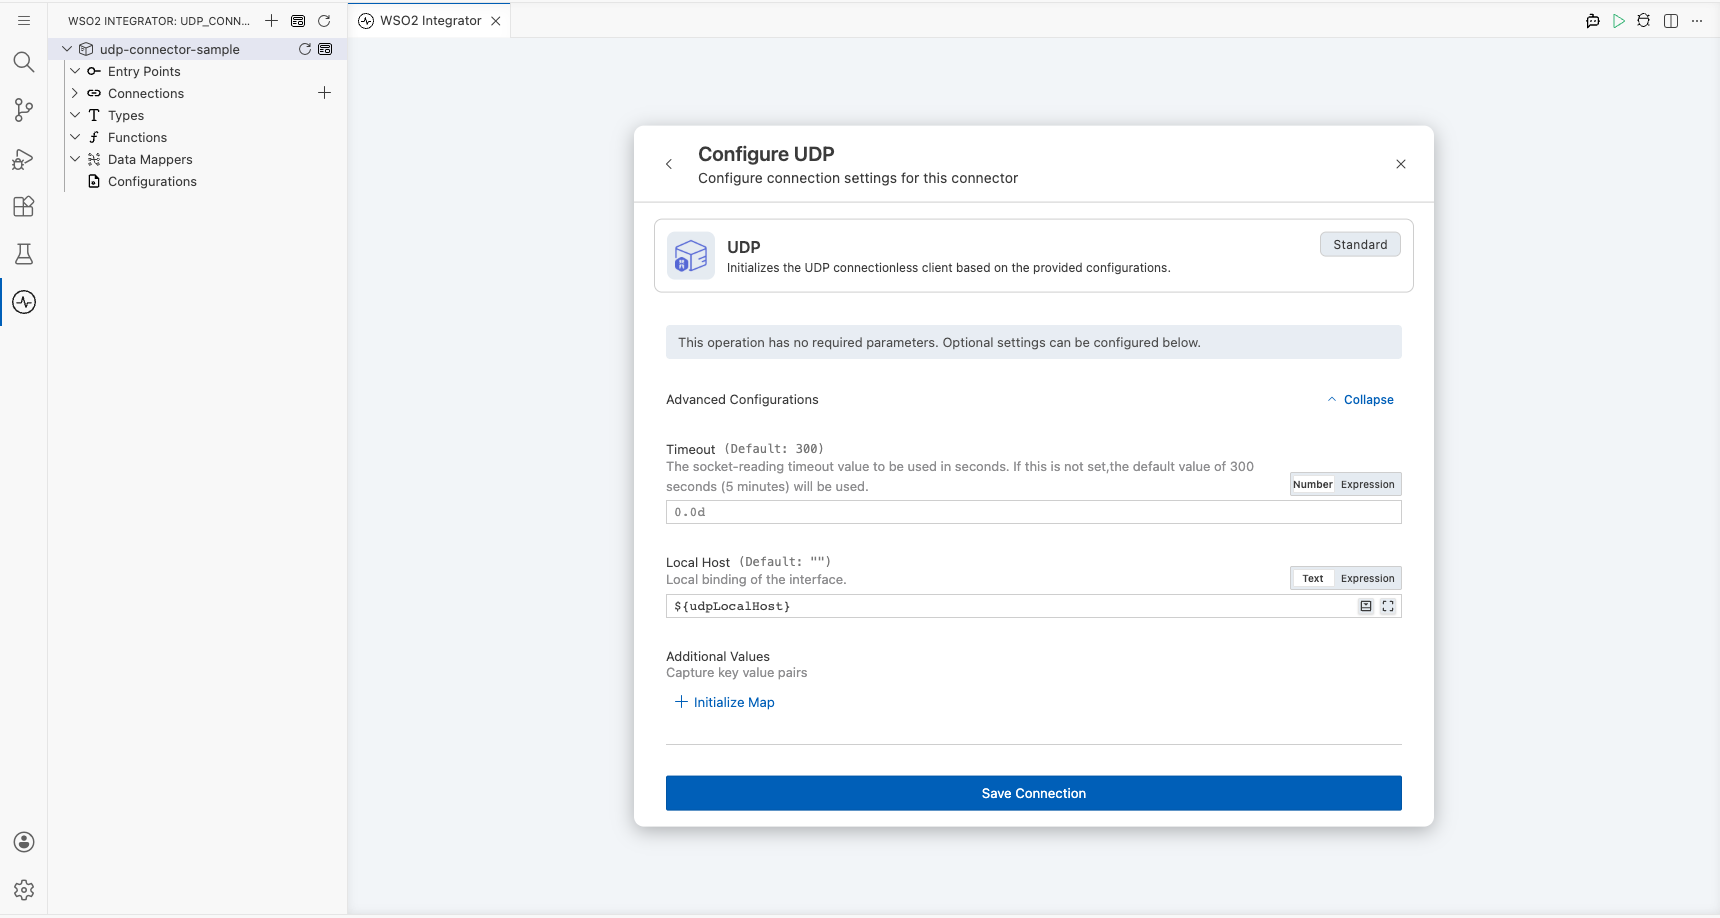
Step 2: Configure the UDP connection form
Expand the Advanced Configurations section and bind the Local Host field to a new configurable variable. Select the Open Helper Panel icon next to Local Host, go to the Configurables tab, and select + New Configurable. Enter udpLocalHost as the variable name with type string, then select Add. The Connection Name is auto-filled as udpClient. Select Save to persist the connection.
- localHost : Binds the UDP client to a specific local network interface using the
udpLocalHostconfigurable variable
Step 3: Verify the connection node on the canvas
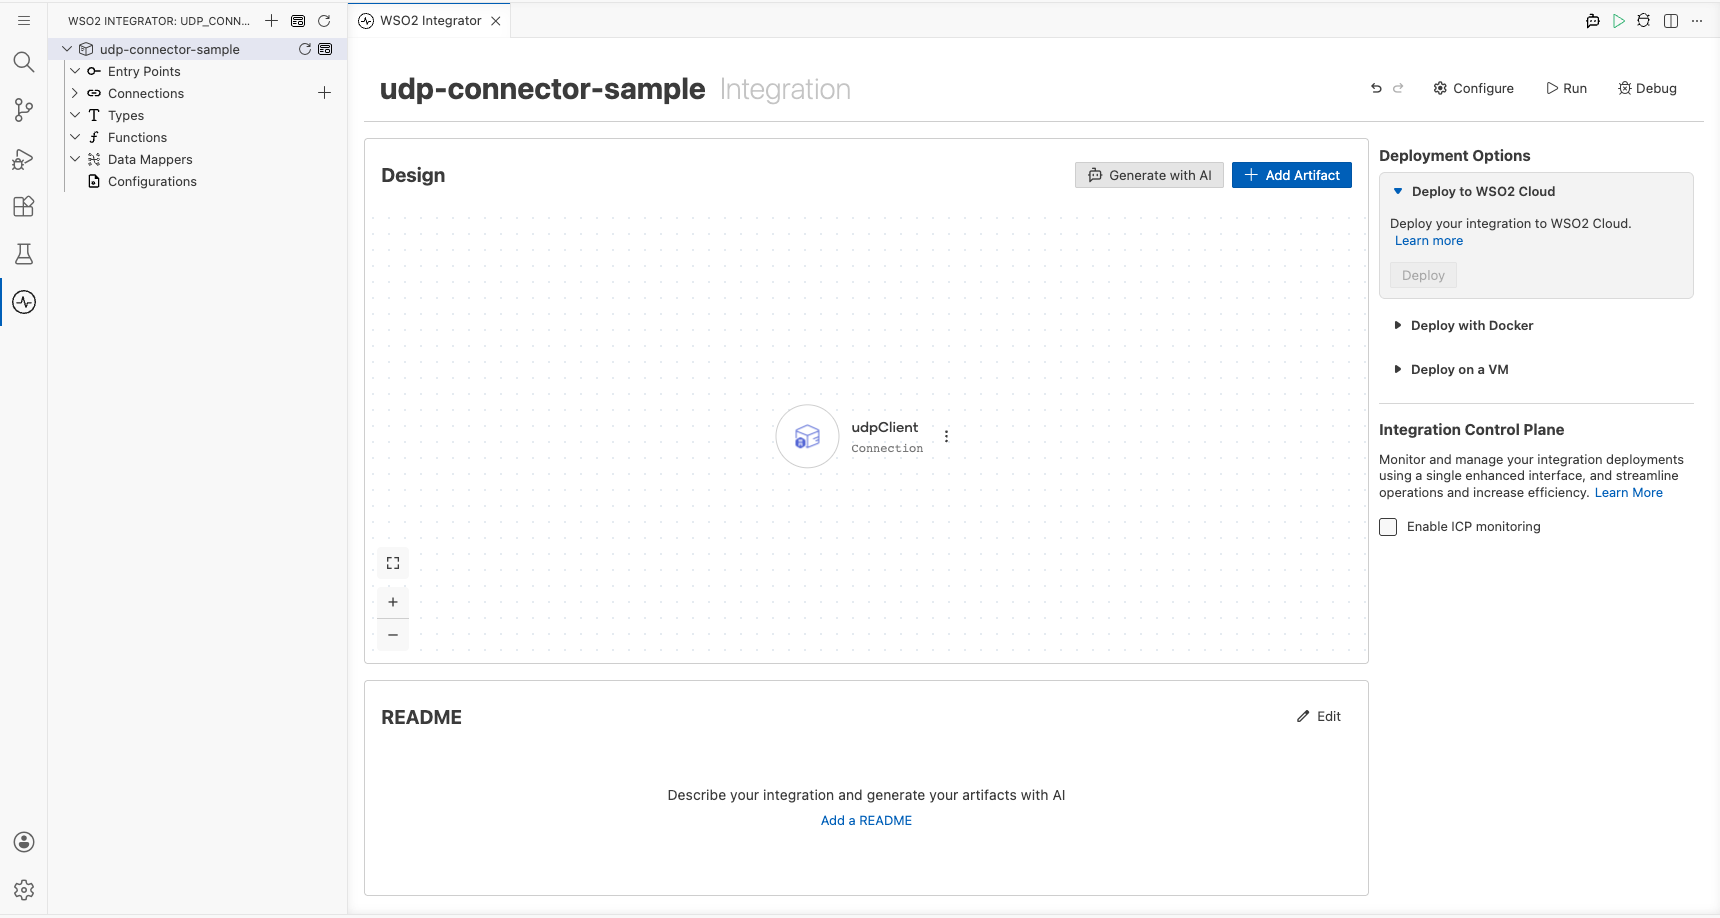
Confirm the udpClient connection node is visible in the Connections panel after saving.
Step 4: Set actual values for your configurables
In the left panel, select Configurations. Set a value for each configurable listed below.
- udpLocalHost (string) : The local network interface address to bind the UDP client (for example,
0.0.0.0to bind to all interfaces)
Configuring the UDP sendDatagram operation
Step 5: Add an Automation entry point
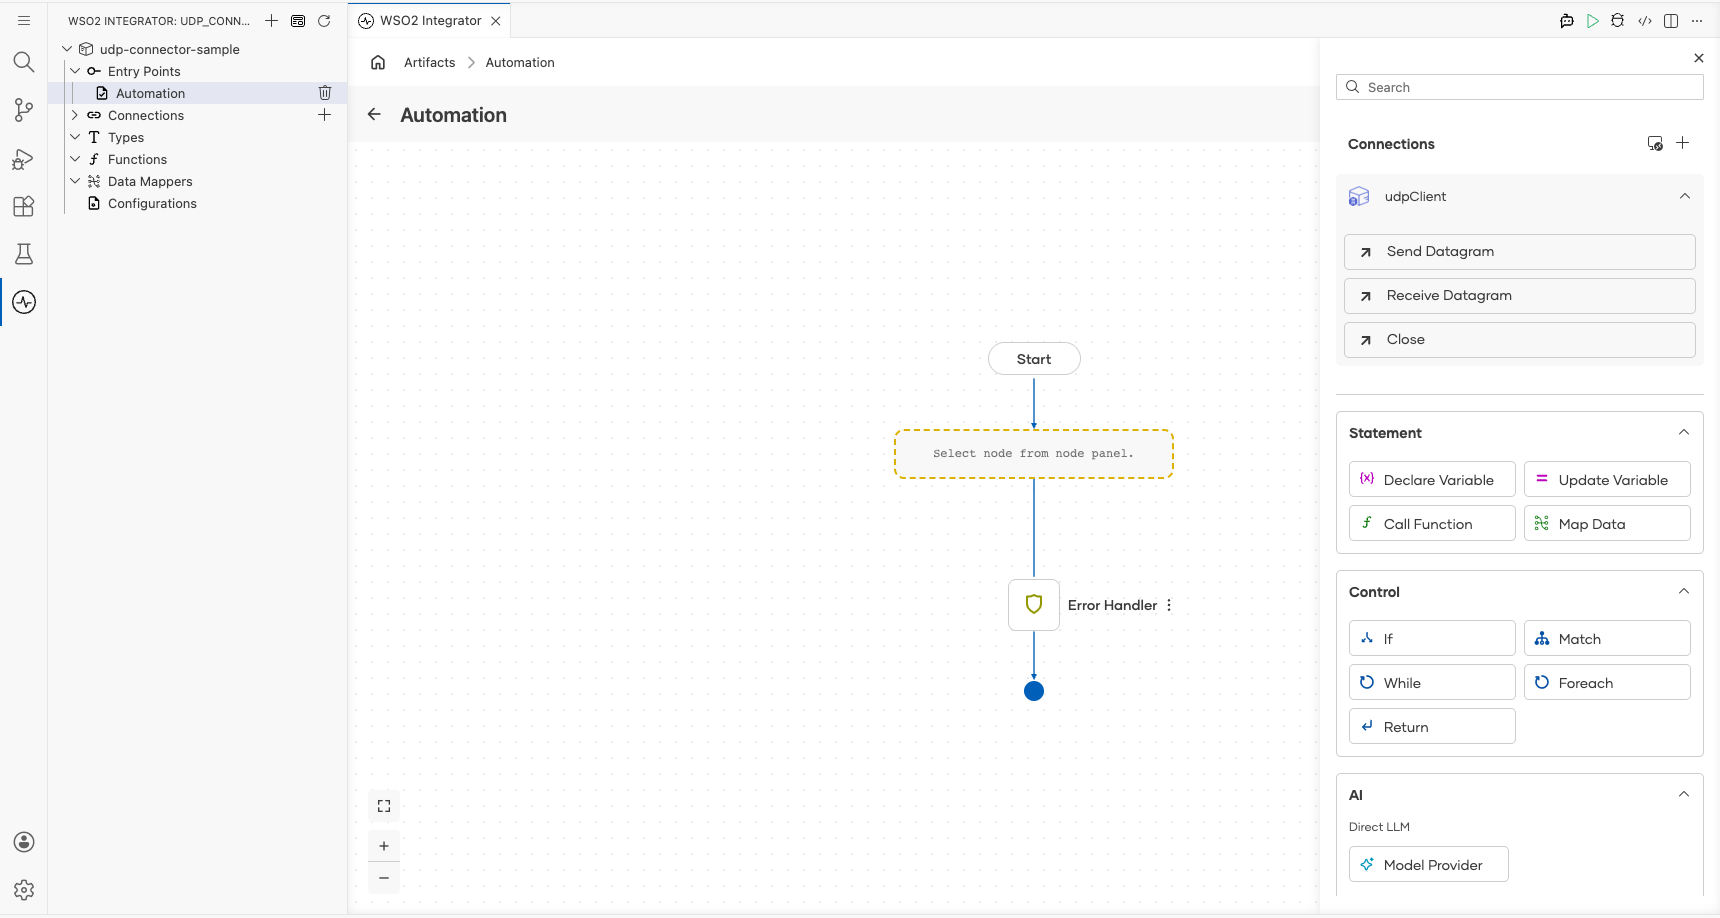
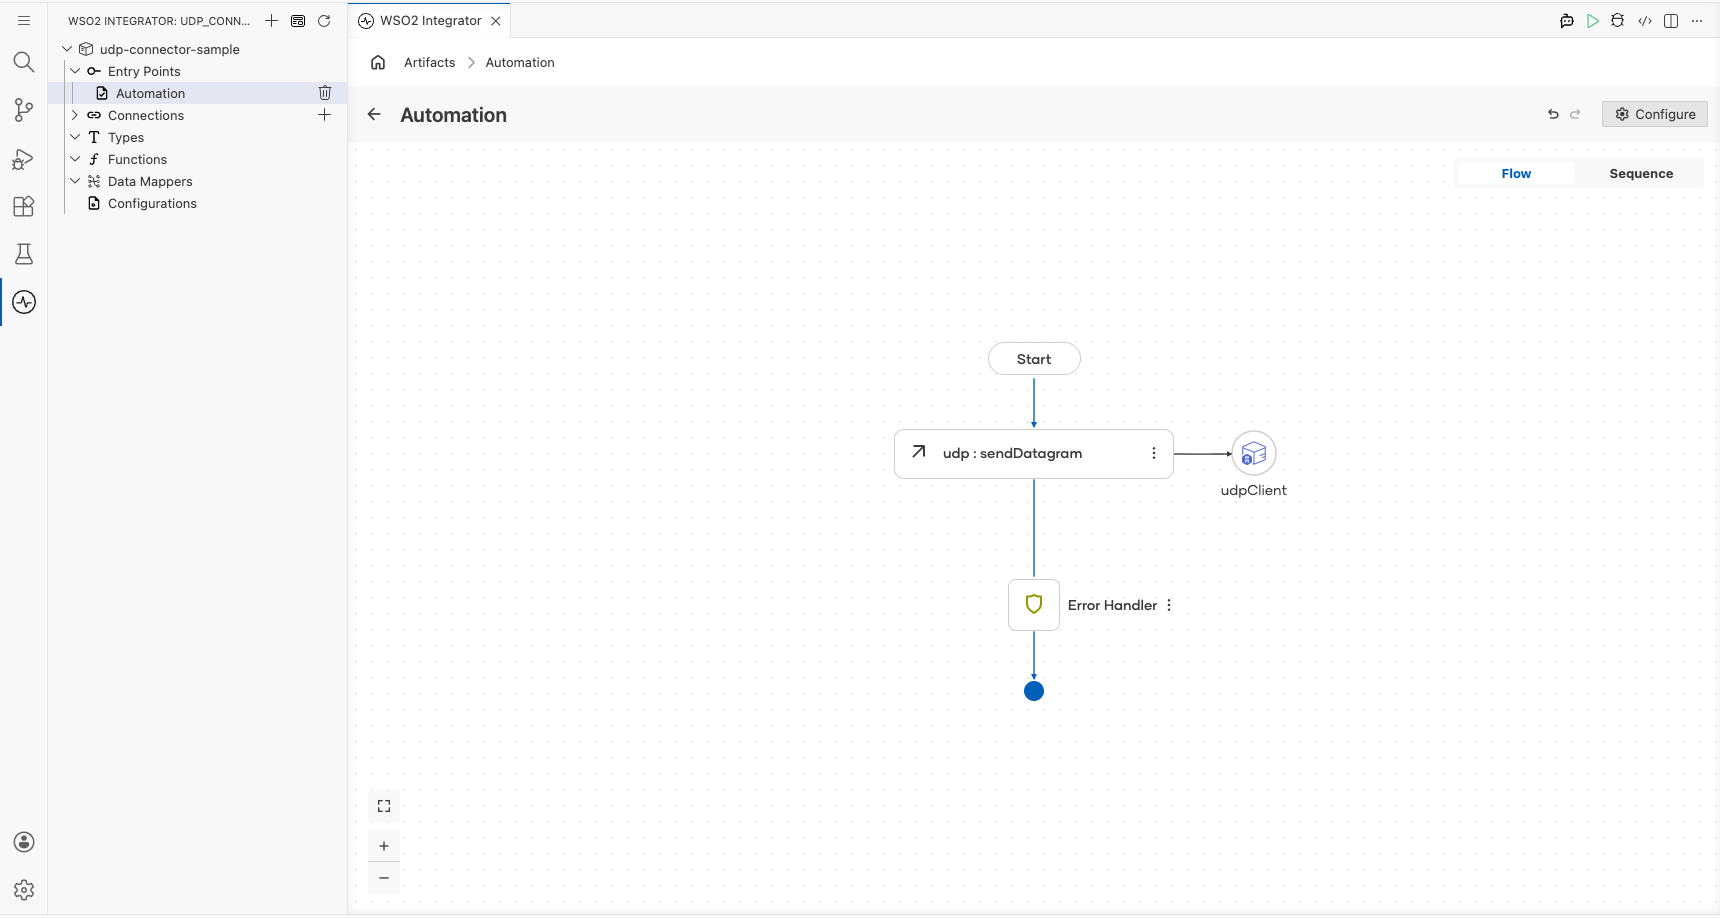
Select Add Artifact, choose Automation from the artifact type list, leave the function name as main, and select Create. The Automation flow canvas opens showing a Start node, an empty step placeholder, and an Error Handler node.
Step 6: Select and configure the sendDatagram operation
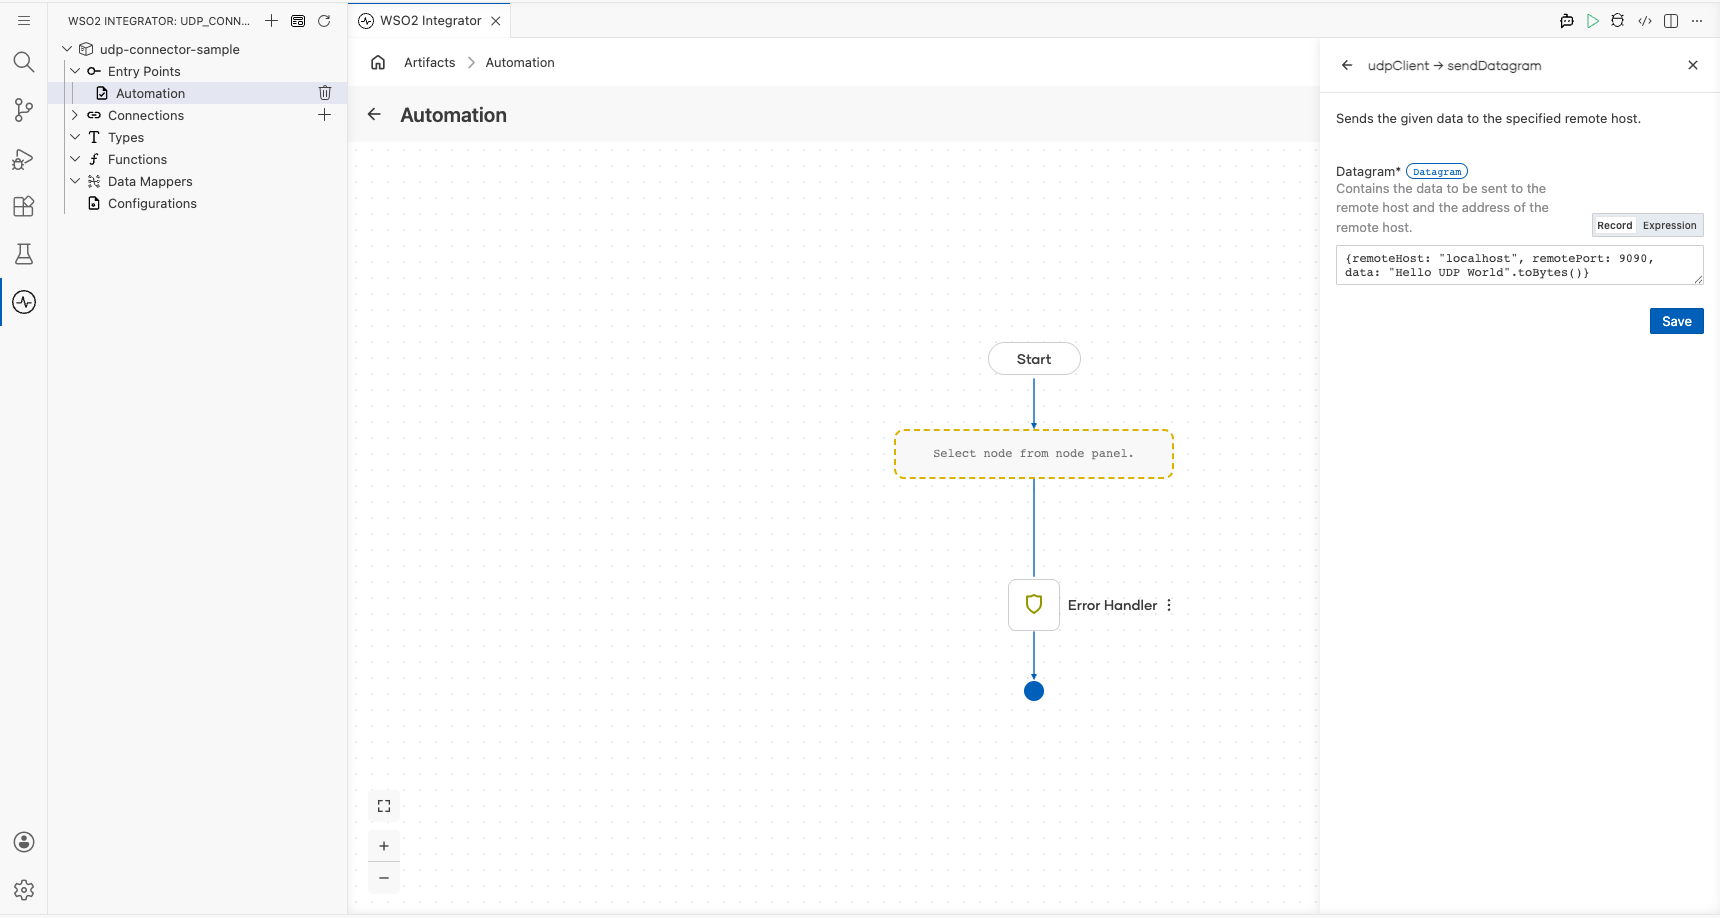
On the Automation canvas, select the placeholder node between Start and Error Handler to open the node panel. In the Connections section, expand udpClient to reveal its operations, then select Send Datagram.
In the Datagram field, switch to Expression mode and enter the following record expression with these values:
- remoteHost : The hostname or IP address of the UDP target
- remotePort : The port number on the remote host to send the datagram to
- data : The byte array payload to transmit (for example,
"Hello UDP World".toBytes())
Select Save to add the step to the automation flow.
Try it yourself
Try this sample in WSO2 Integration Platform.
More code examples
The UDP connector provides practical examples illustrating usage in various scenarios. Explore these examples, covering UDP datagram communication and lightweight network services.
- Simple file server - Implement a simple file server using UDP datagram-based communication.