Build an Automation
Time: Under 10 minutes | What you'll build: An automation that prints Hello World to the terminal when it runs.
An automation runs your integration logic without an external request, on demand or on a schedule. Automations are ideal for data synchronization, report generation, and routine maintenance jobs. This quick start shows the full cycle: add an automation artifact, build the logic in the visual designer, run it, and review the scheduling options for production.
A working WSO2 Integrator environment. Choose the path that fits how you want to work:
- Cloud setup — launch WSO2 Integrator in a browser-based cloud editor.
- Local setup — install and launch the WSO2 Integrator IDE on your machine.
- Visual Designer
- Ballerina Code
Step 1: Create the integration
In the cloud editor, you're already inside a project. Skip to Step 2.
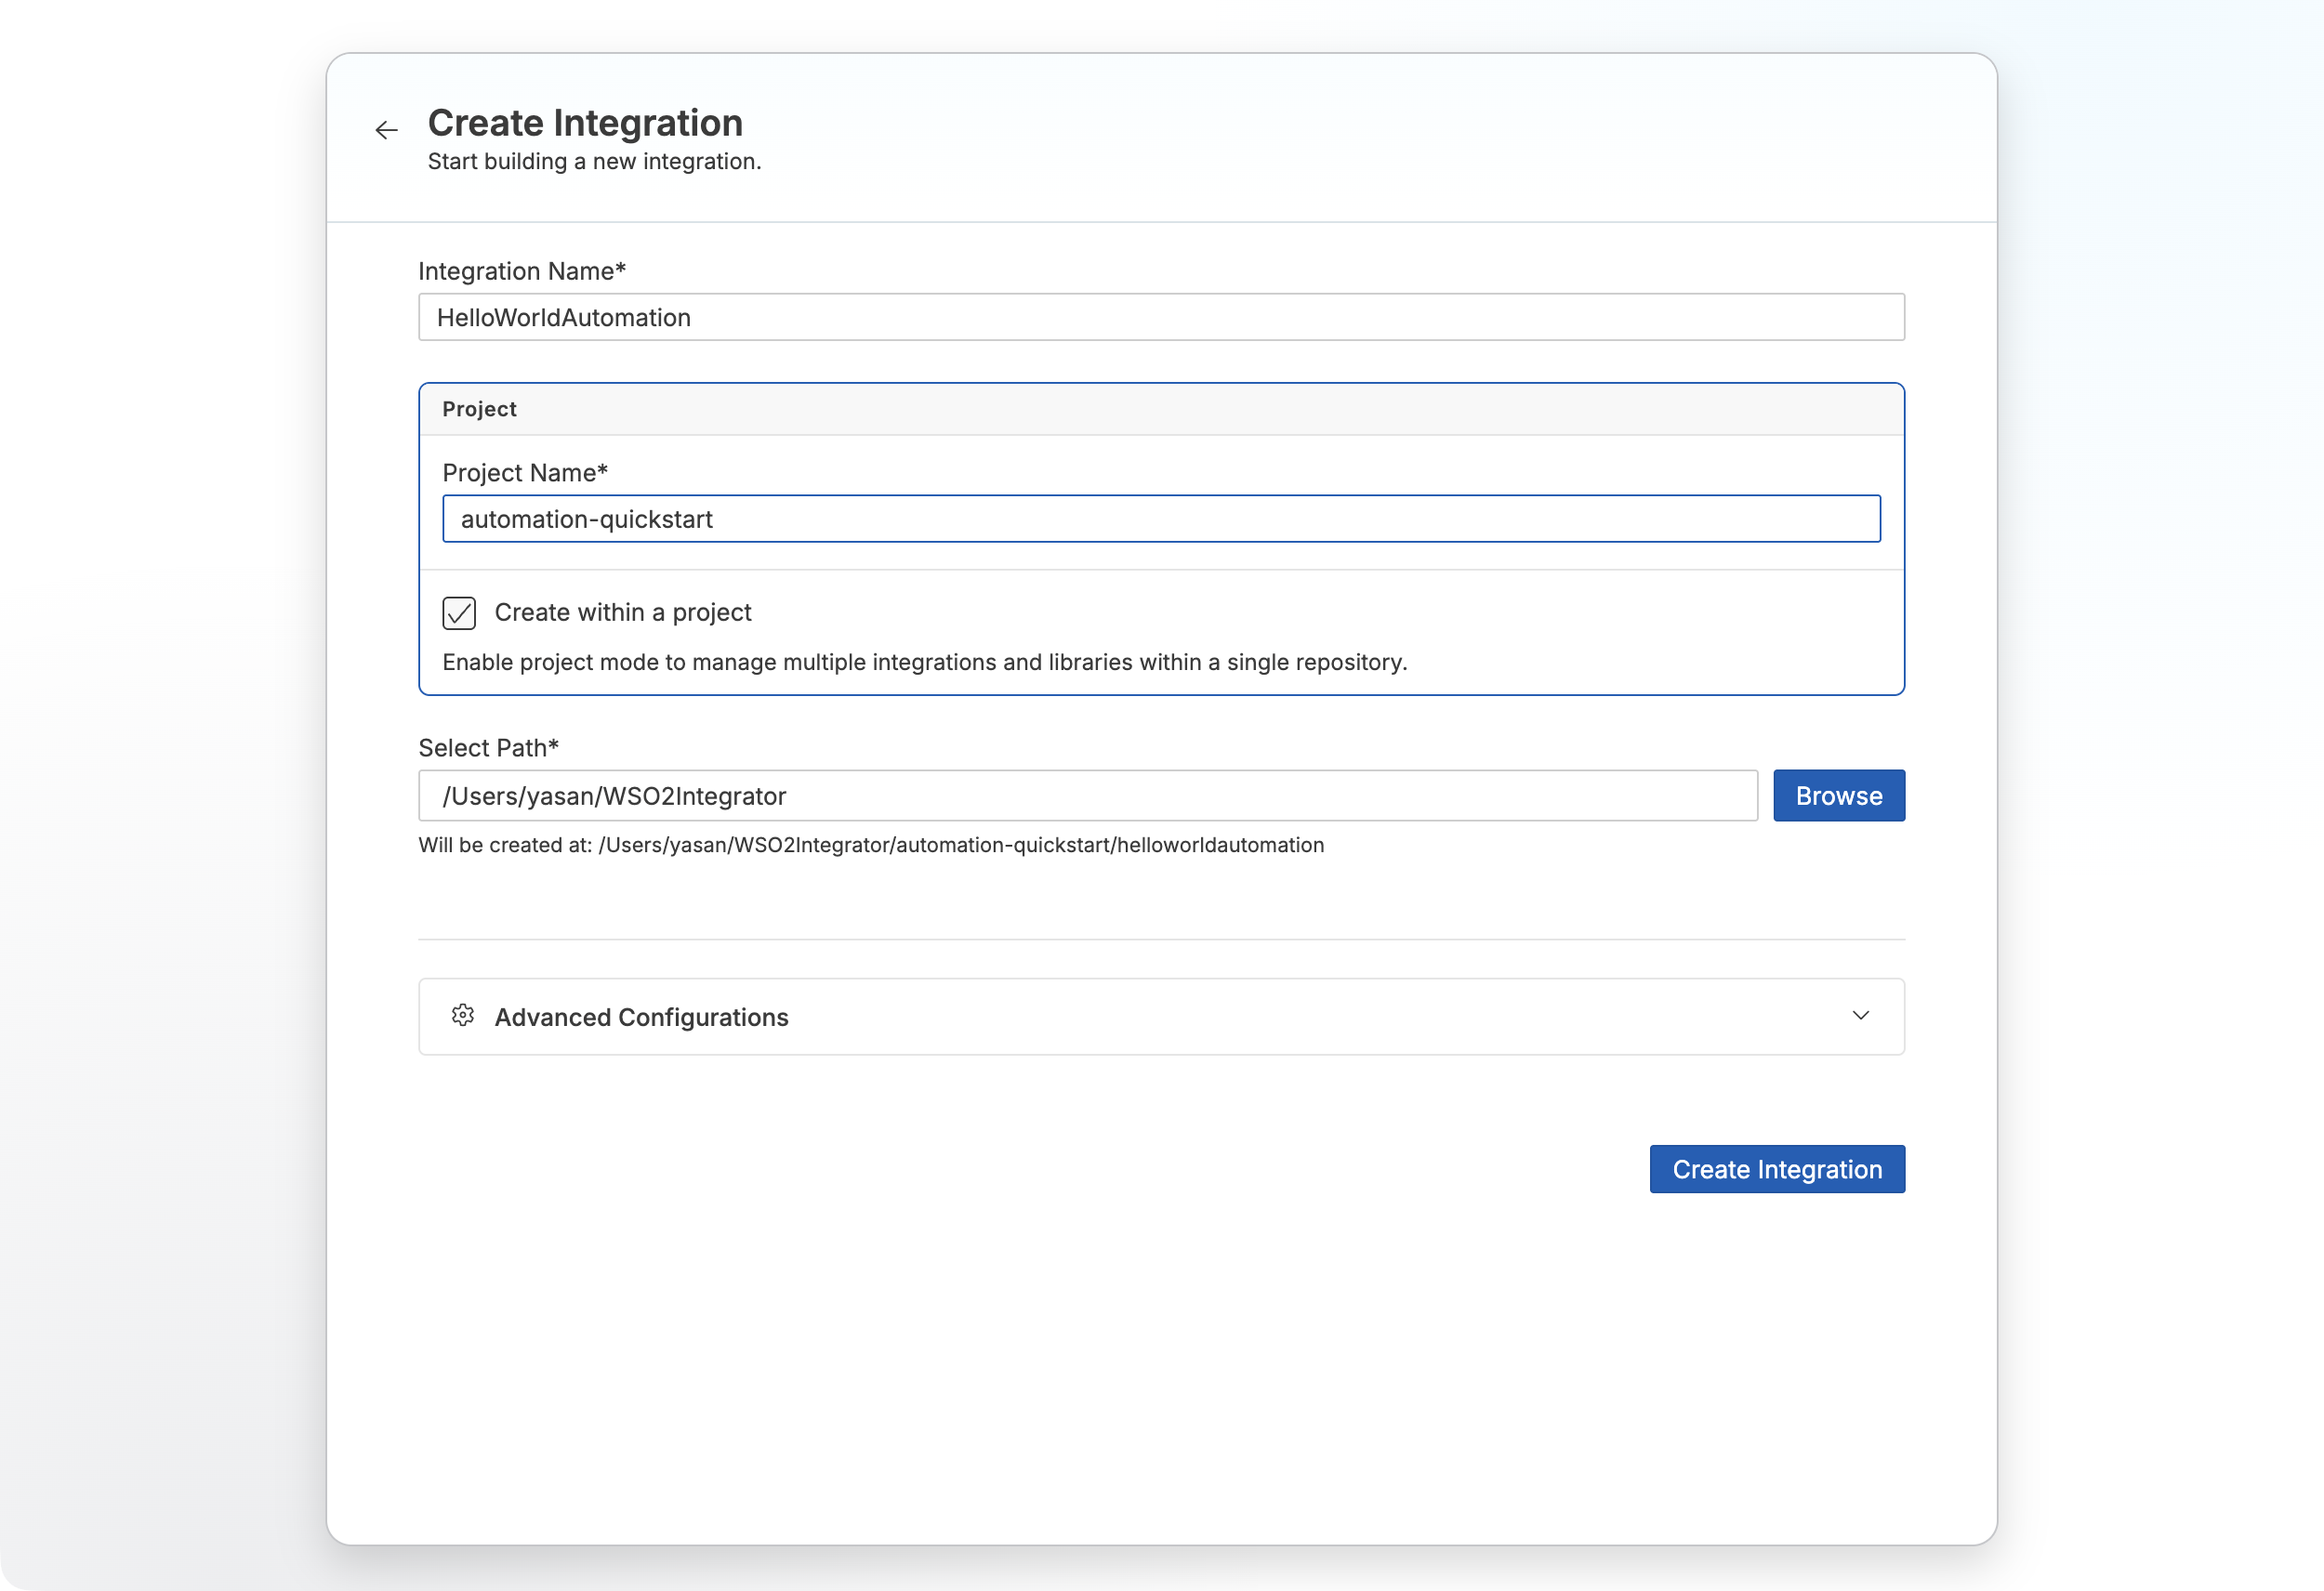
- Open WSO2 Integrator.
- Select the Create New Integration card.
- Set Integration Name to
HelloWorldAutomation. - Set Project Name to
automation-quickstart. - Create Integration.
Step 2: Add an automation artifact
- Select your integration from the project overview canvas.
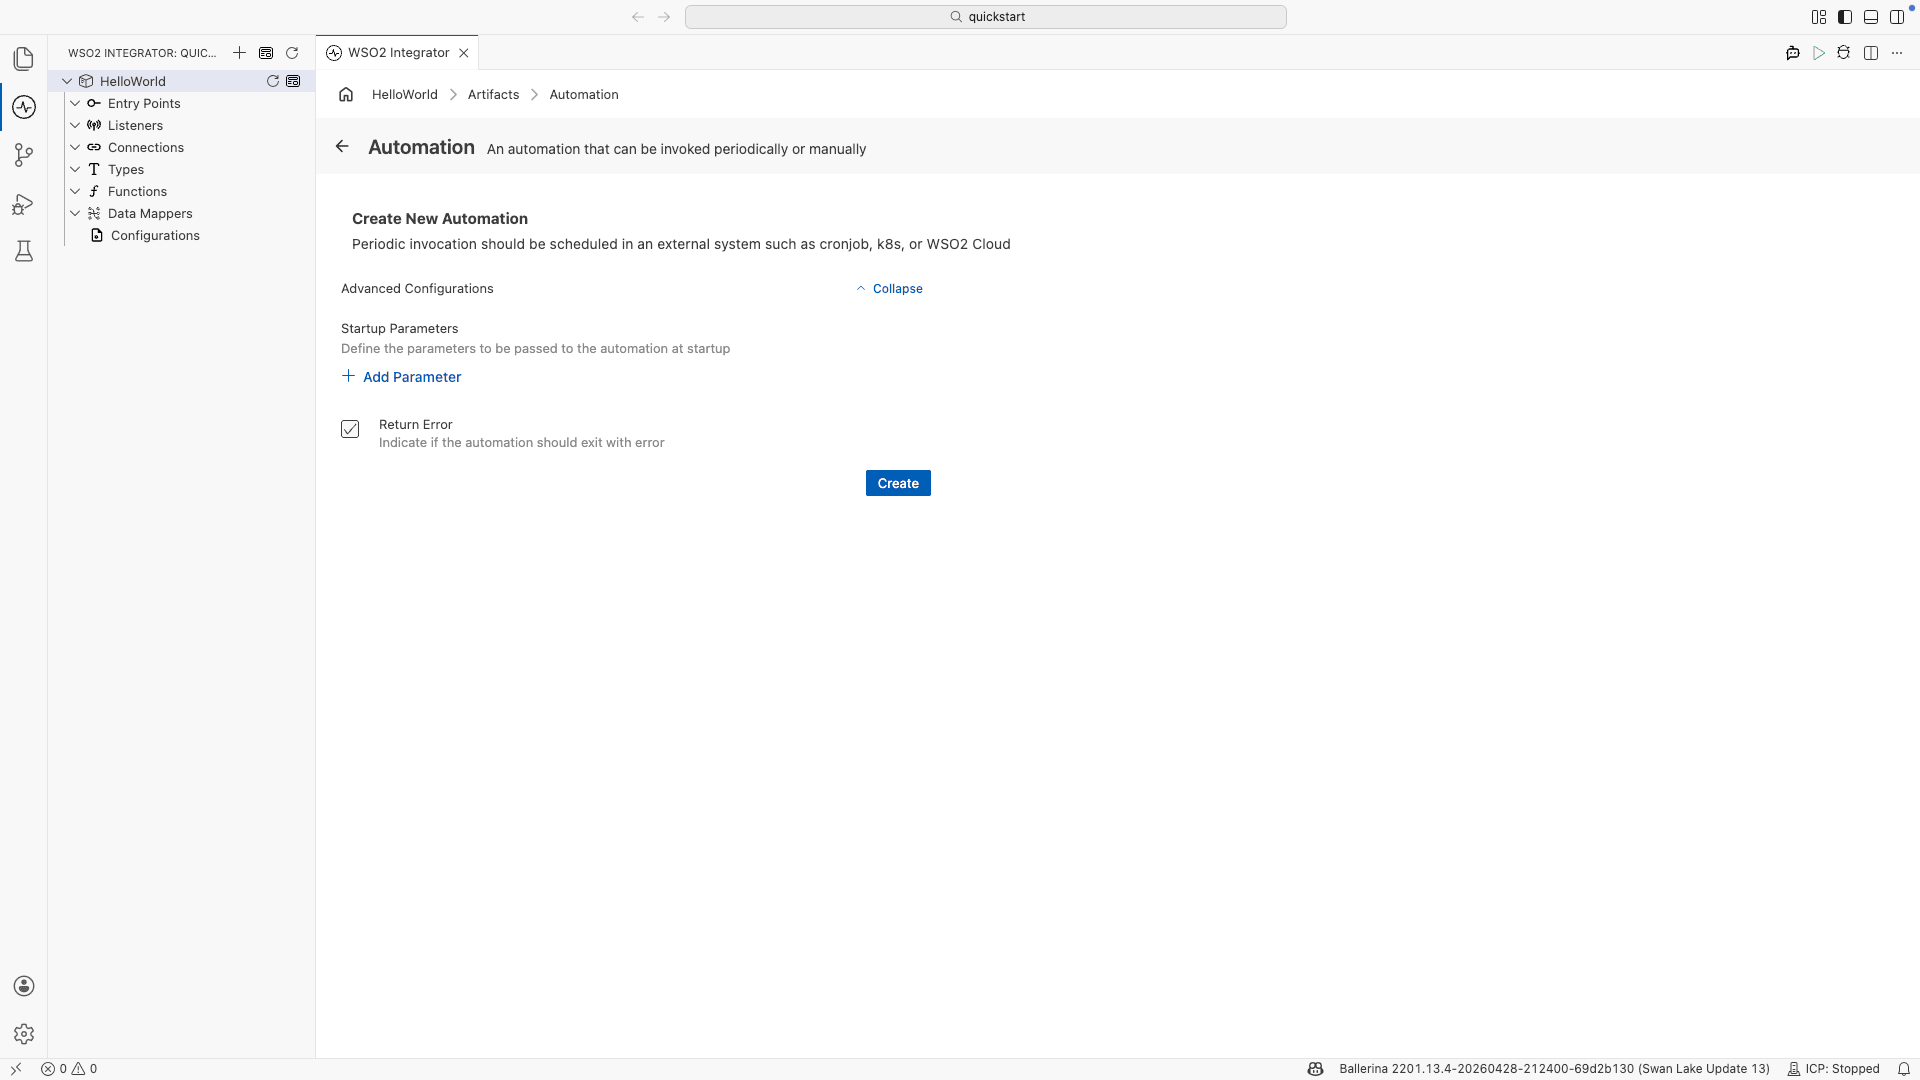
- Select + Add Artifact in the design canvas.
- Select Automation under Automation.
- Select Create.
Step 3: Add logic
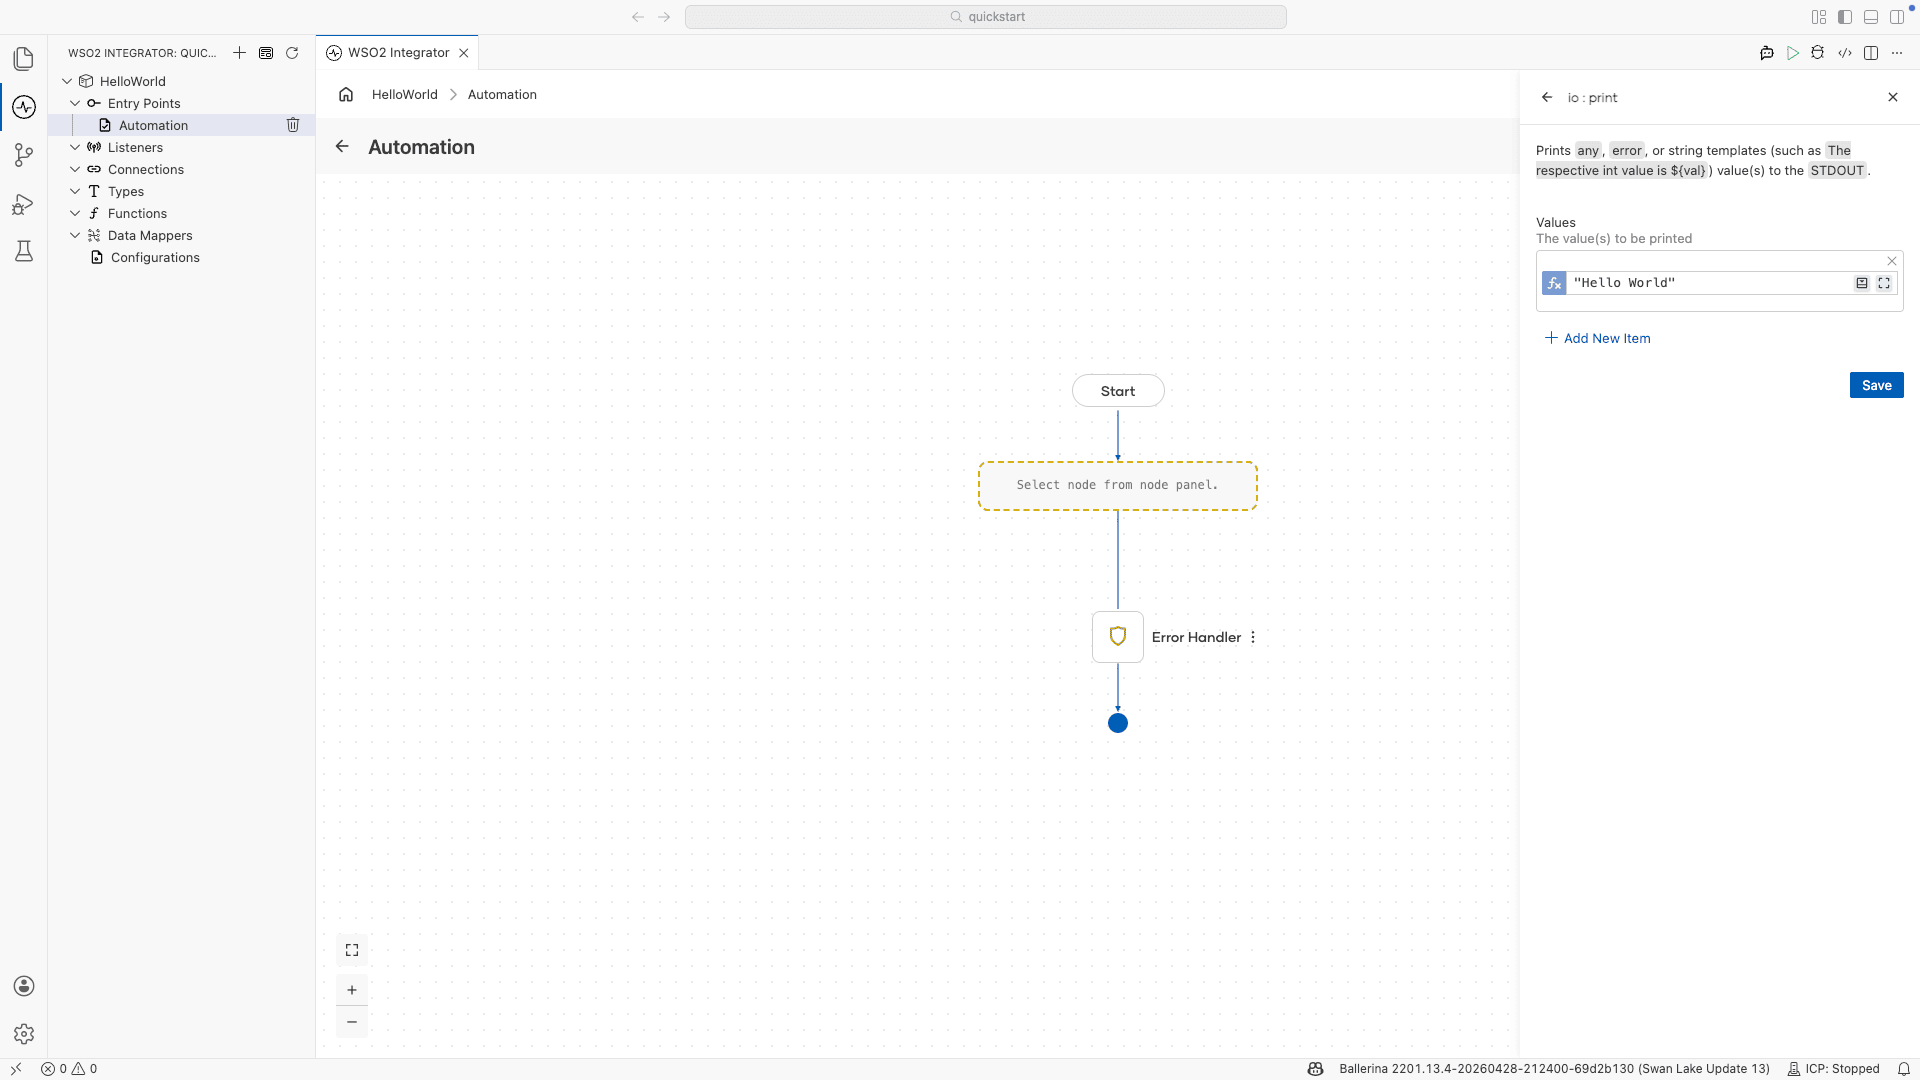
- Select + after the Start node to open the node panel.
- Select Call Function.
- Select Print under io from the function list.
- Select Initialize Array for the Values parameter.
- Set Values to
"Hello World"and select Save.
Step 4: Run and test
- Select Run.
- Confirm the terminal output contains
Hello World.
The following complete, runnable Ballerina program produces the same automation shown in the visual designer steps.
import ballerina/io;
import ballerina/log;

public function main() returns error? {
    do {
        io:print("Hello World");
    } on fail error e {
        log:printError("Error occurred", 'error = e);
        return e;
    }
}
Save this as automation.bal, then click the Run button in the top toolbar. The terminal output contains Hello World.
Step 5: Deploy to WSO2 Cloud
Deploy your integration to WSO2 Cloud - Integration Platform in any of the following ways:
-
If you're using the cloud editor, see Save and deploy.
-
If you're using the WSO2 Integrator IDE, see Deploy from the IDE.
-
If you'd rather skip the build and try a ready-made sample, one-click deploy it:

Scheduling automations
Periodic invocation is configured in an external system once the automation is deployed. Available options include:
- Cron job: schedule the automation from a
cronentry on a Unix or Linux host. - Kubernetes: define a
CronJobresource to run the automation on a recurring schedule. - VM: use a host scheduler such as Windows Task Scheduler or
systemdtimers. - WSO2 Integration Platform: configure the schedule in the WSO2 Integration Platform when the integration is pushed to the cloud.
What's next
- Build an Integration as API — Build an HTTP service
- Build an AI agent — Build an intelligent agent
- Build an event-driven integration — React to messages from brokers
- Build a file-driven integration — Process files from FTP or local directories
- Automation — Configure scheduling, manual execution, and integration logic