Setup Guide
This guide walks you through creating a Zoom app on the Zoom Marketplace and obtaining the OAuth credentials required to use the Zoom Scheduler connector.
Step 1: Create a new app
-
Open the Zoom Marketplace.
-
Select Develop → Build App.
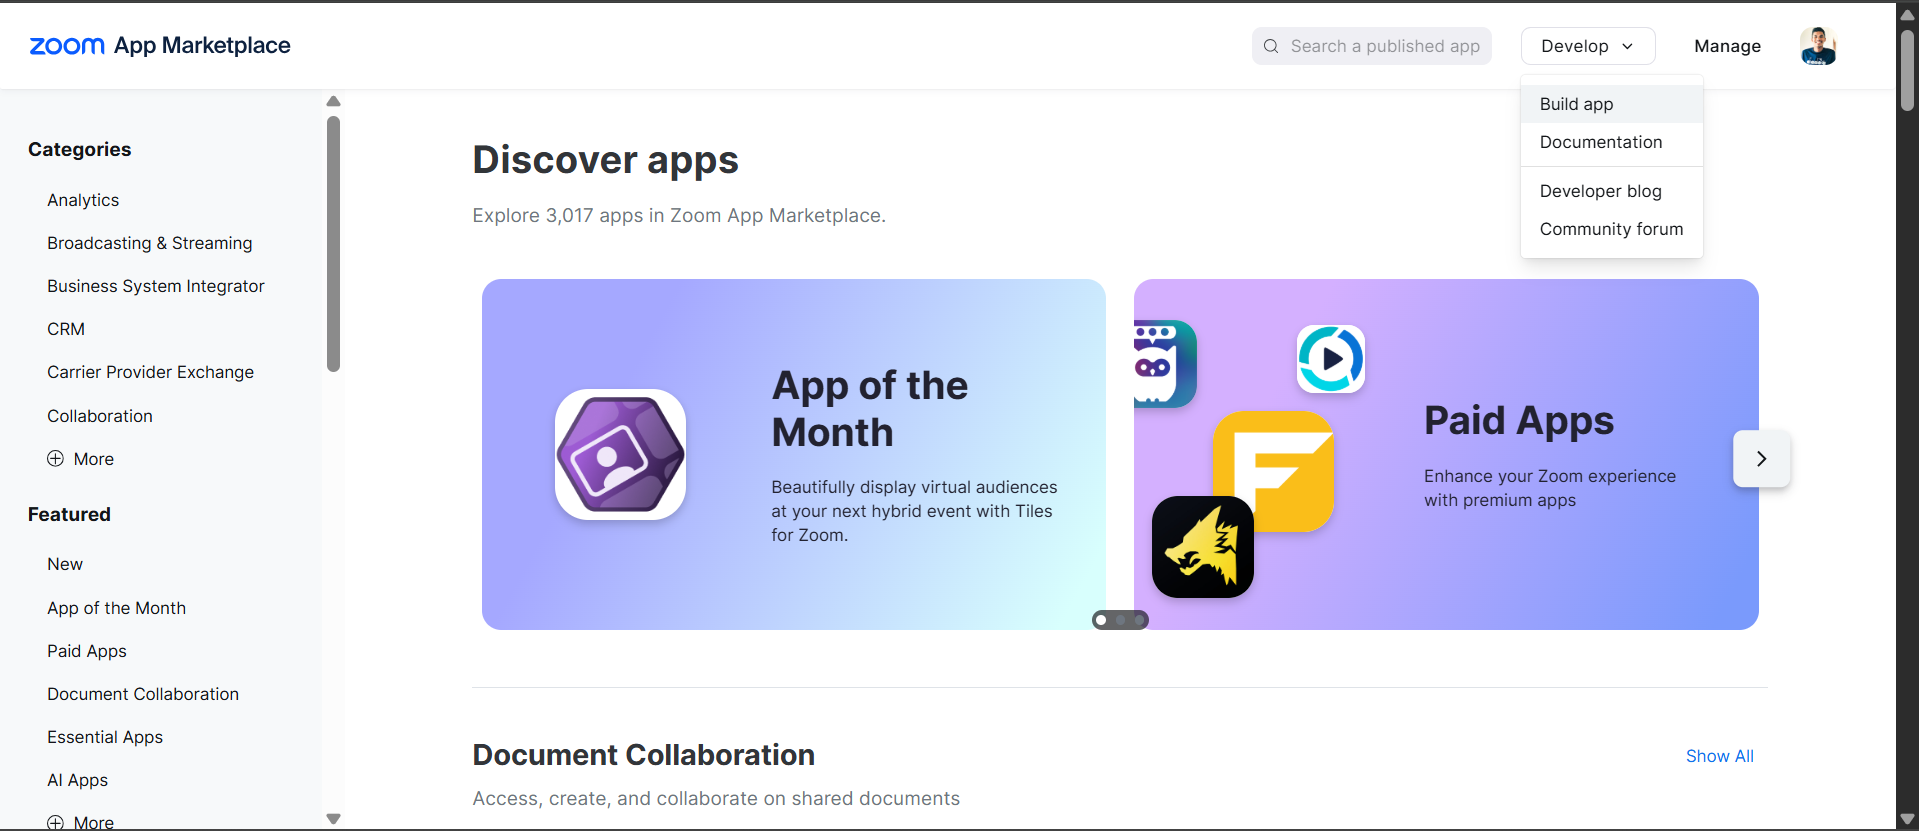
-
Choose General App as the app type (for user authorization with refresh tokens).
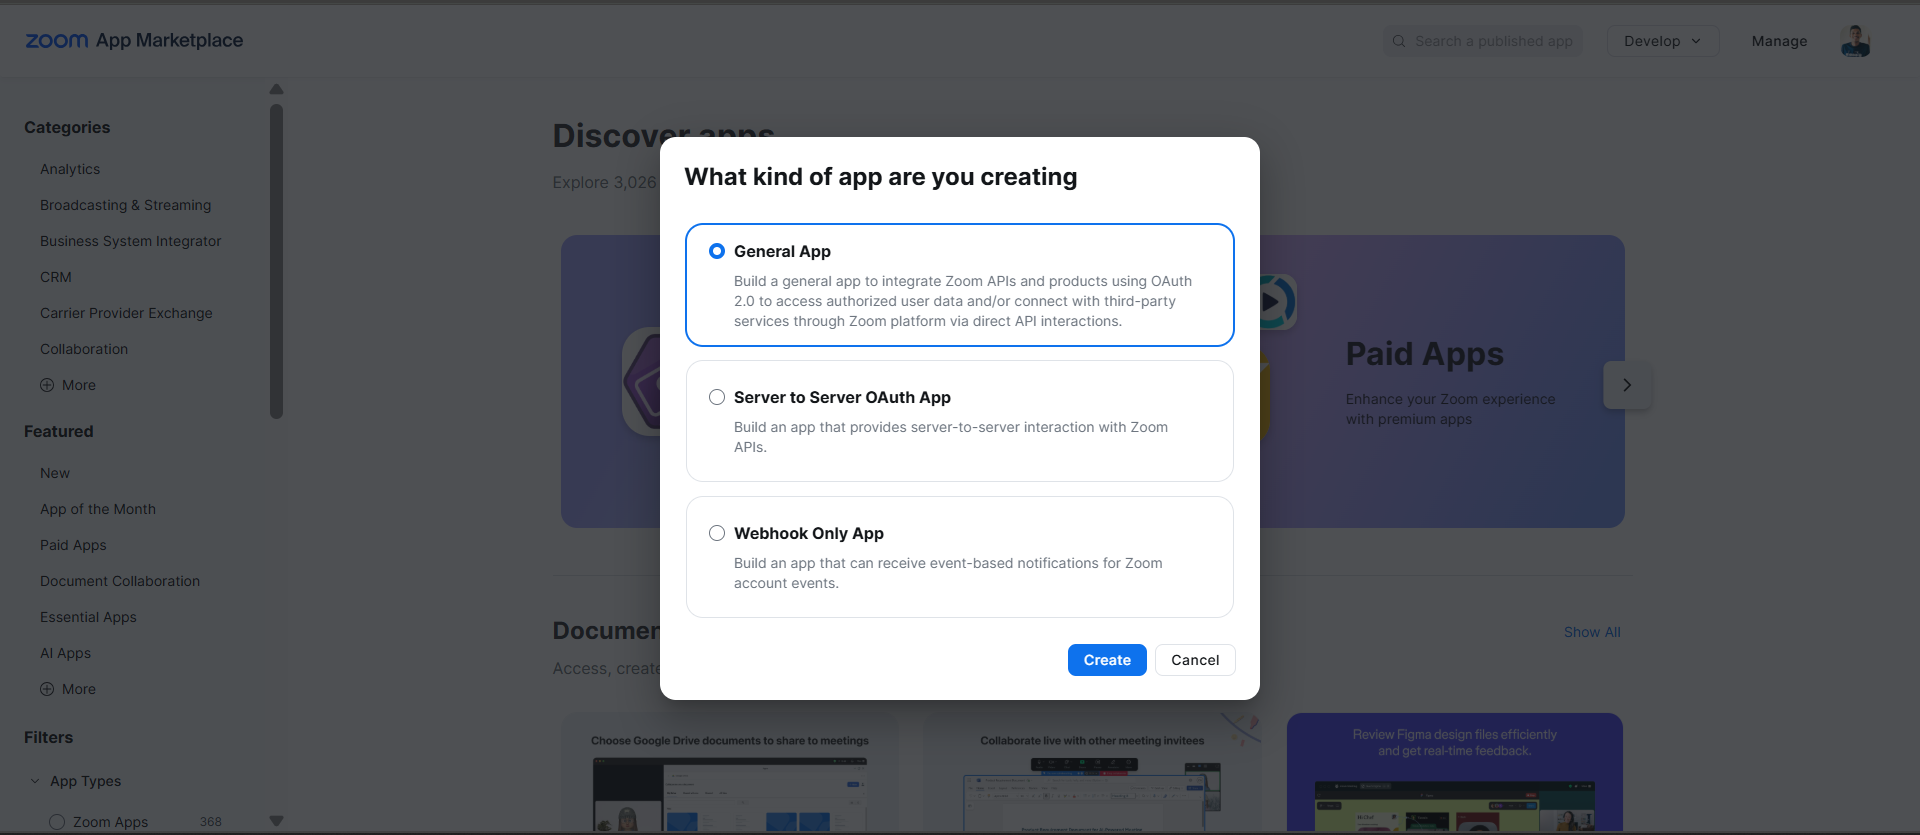
-
Fill in the basic information.
Step 2: Configure OAuth settings
-
In your app's credentials, note down the Client ID and Client Secret.
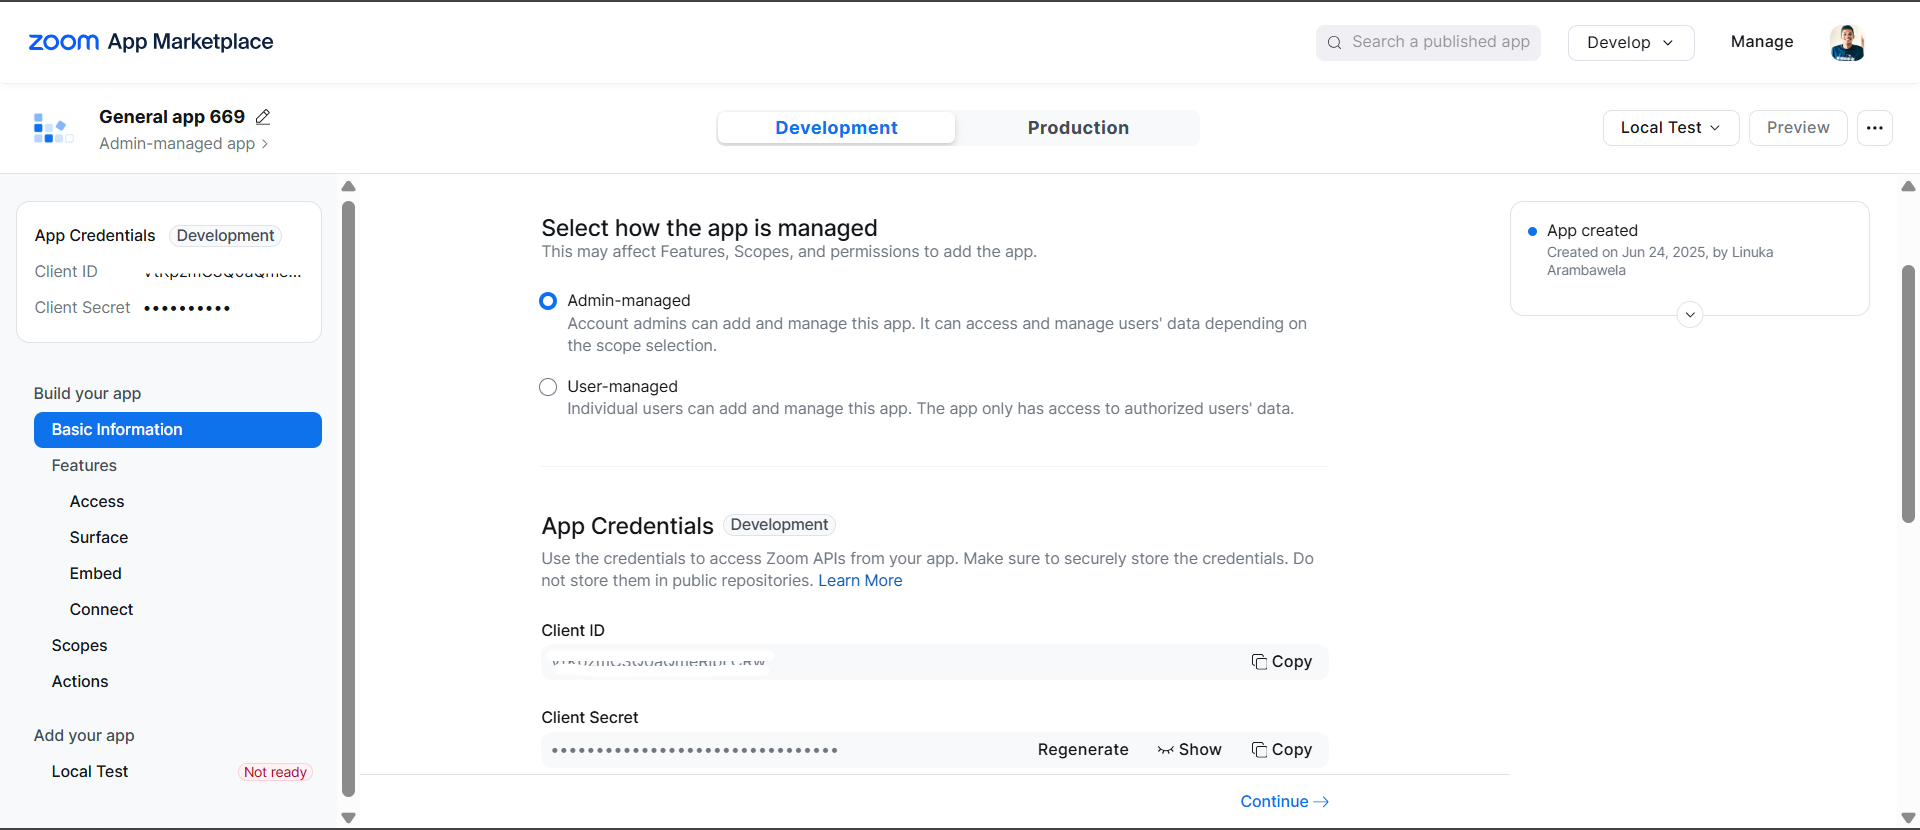
-
Set your Redirect URI (for example,
http://localhost:8080/callback).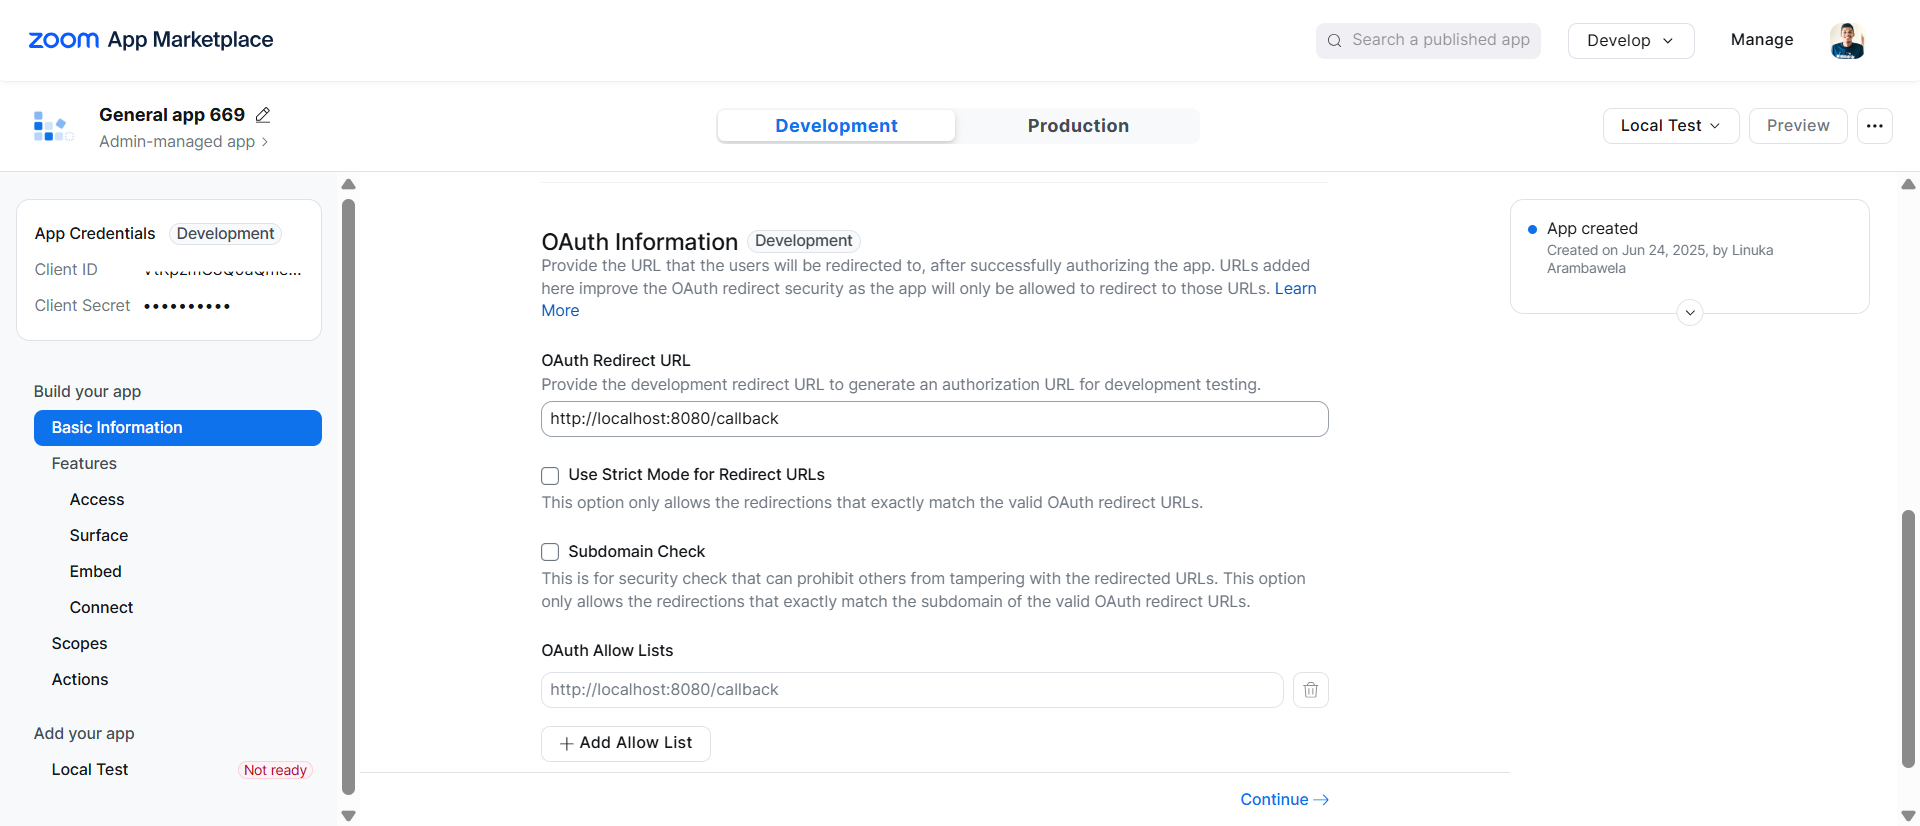
-
Add the following scopes for the Scheduler API:
scheduler:read,scheduler:write, anduser:read.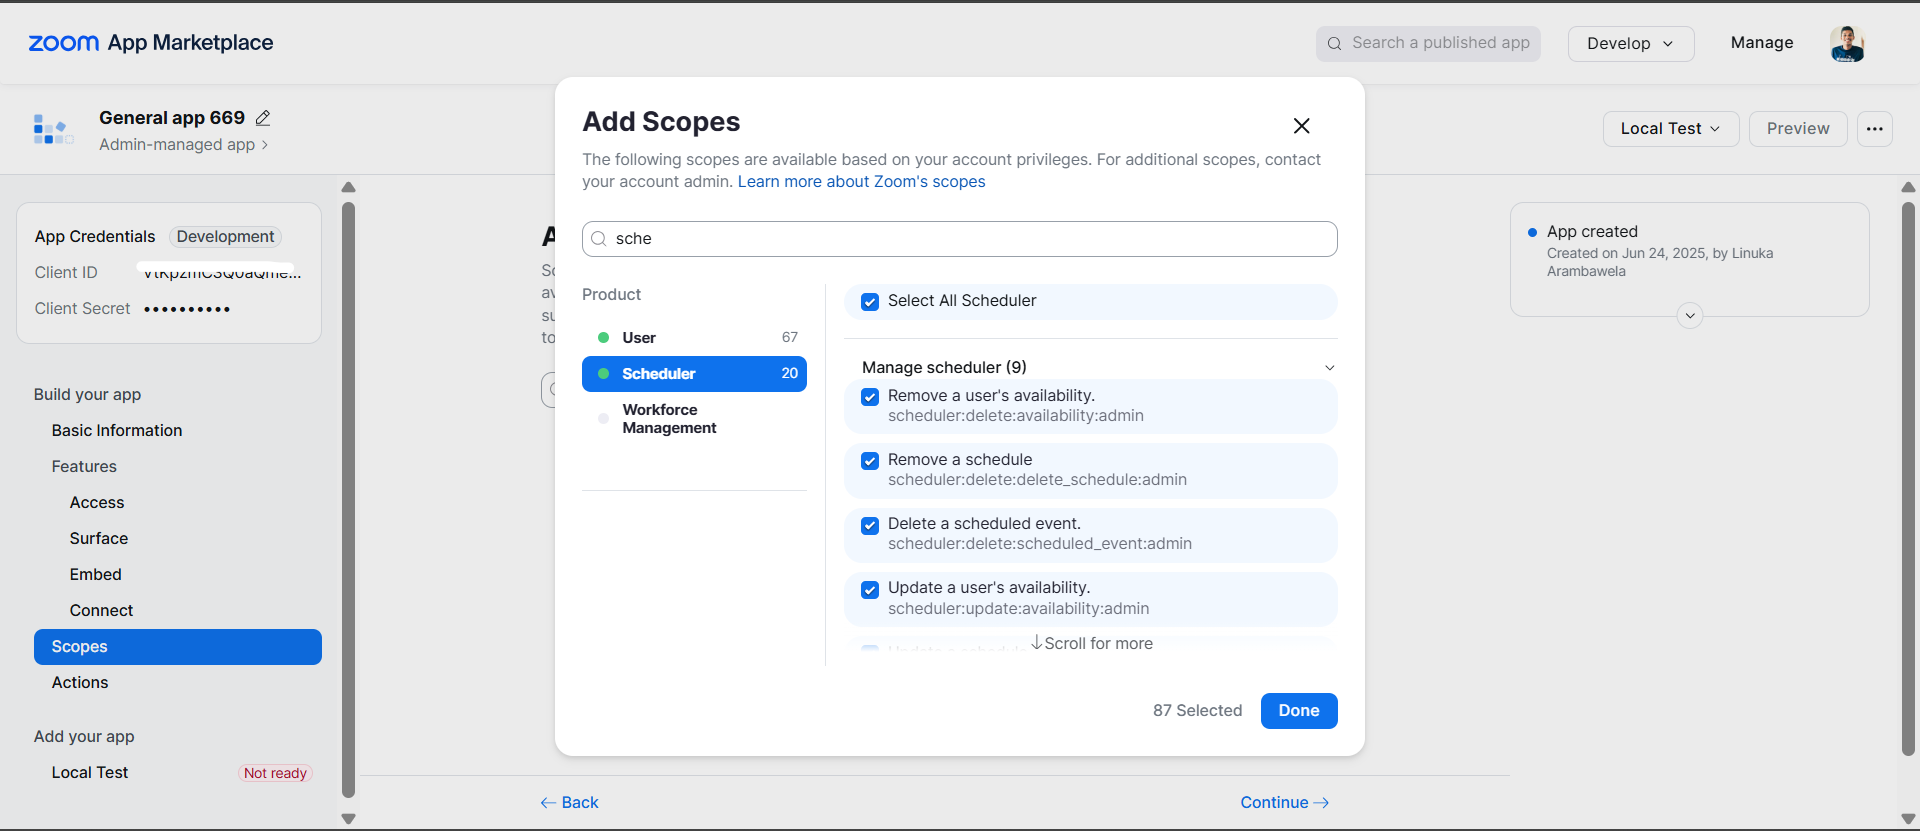
Step 3: Activate the app
-
Complete all required information fields.
-
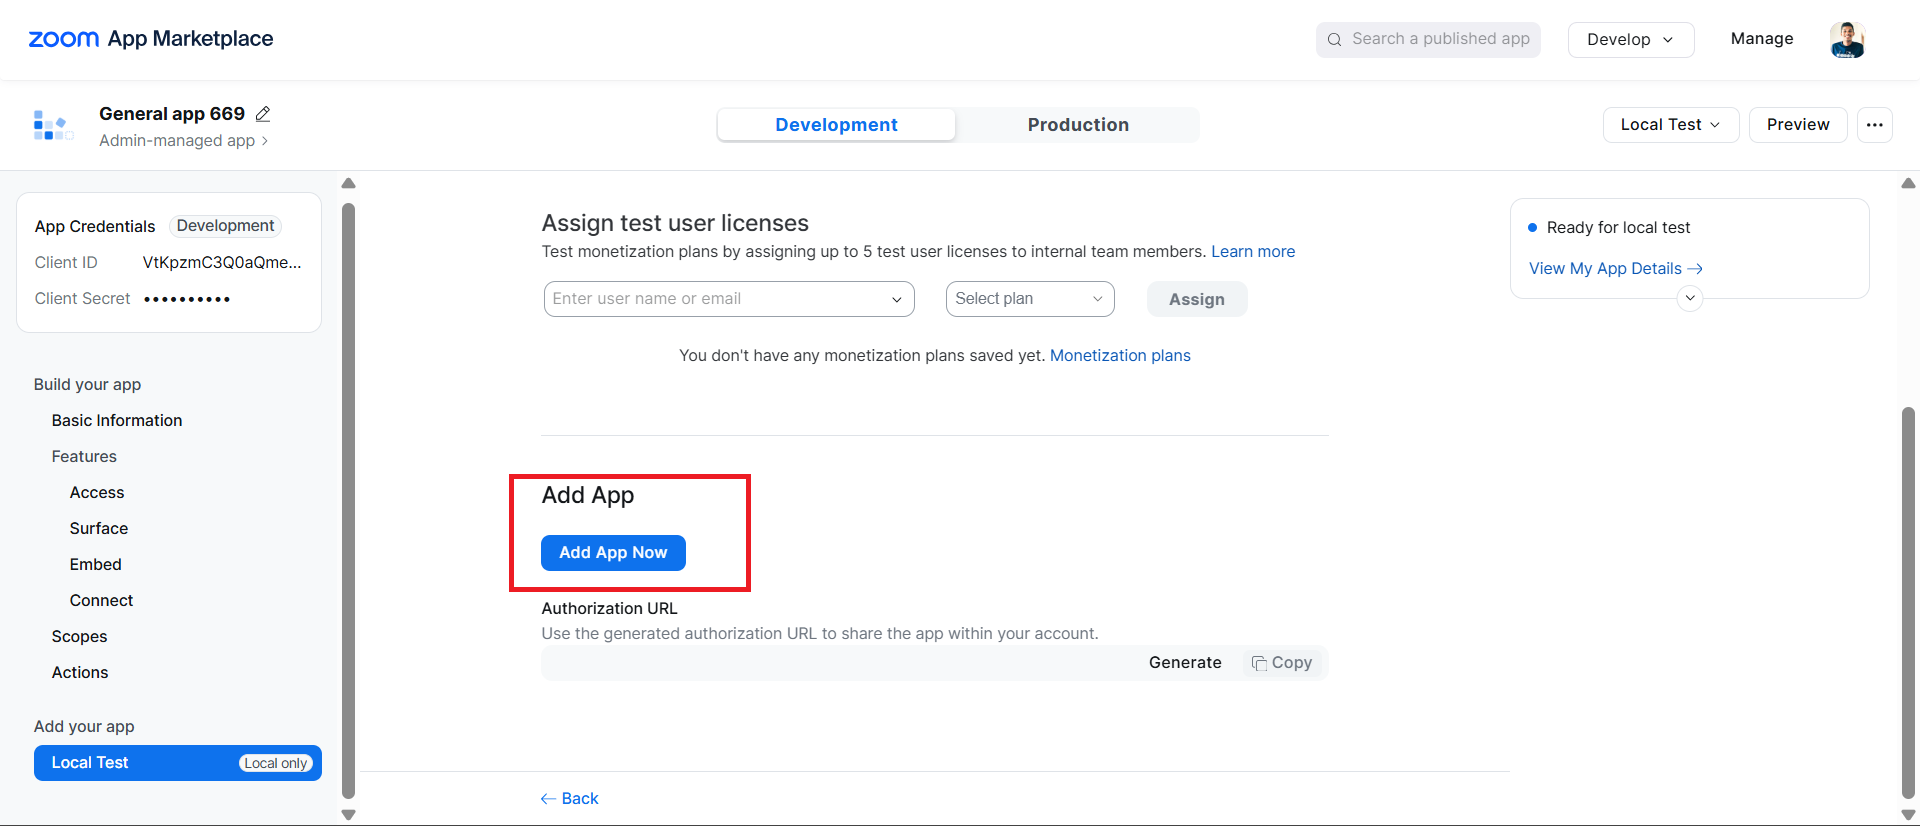
Select Activate to publish the app.
Step 4: Get user authorization
-
Construct the authorization URL (replace
YOUR_CLIENT_IDandYOUR_REDIRECT_URI):https://zoom.us/oauth/authorize?response_type=code&client_id=YOUR_CLIENT_ID&redirect_uri=YOUR_REDIRECT_URI&scope=scheduler:read scheduler:write user:read -
Open the URL in a browser and authorize the app. Zoom redirects to your callback URL with an authorization code.
-
Exchange the authorization code for tokens:
curl -X POST https://zoom.us/oauth/token \
  -H "Authorization: Basic $(echo -n 'CLIENT_ID:CLIENT_SECRET' | base64)" \
  -d "grant_type=authorization_code&code=AUTHORIZATION_CODE&redirect_uri=YOUR_REDIRECT_URI"
The response includes both
access_tokenandrefresh_token.
Step 5: Verify your setup
curl -X GET "https://api.zoom.us/v2/users/me" \
  -H "Authorization: Bearer YOUR_ACCESS_TOKEN"
This returns the user ID needed for API calls.