Example
What you'll build
This example builds an automation that connects to Microsoft Dynamics 365 Finance and retrieves the organization's expense records. The integration authenticates with OAuth2 client credentials, lists the expense entries through the Expense connector, and logs the result for review.
Operations used:
- List Expenses : Retrieves the collection of expense records from the connected Microsoft Dynamics 365 Finance and Operations environment.
Architecture
Prerequisites
-
A Microsoft Dynamics 365 Finance and Operations environment, cloud-hosted or sandbox.
-
An Azure Active Directory (Entra ID) application registered with API permissions for Dynamics 365, added as a user in the target environment.
-
The application's client ID, client secret, and token URL from the Azure AD app registration.
-
The application must be registered as a user in the target Dynamics 365 Finance and Operations environment and assigned the security roles required for this connector's operations.
Setting up the Microsoft Dynamics 365 Finance Expense integration
New to WSO2 Integrator? Follow the Create a New Integration guide to set up your integration first, then return here to add the connector.
Adding the Microsoft Dynamics 365 Finance Expense connector
Step 1: Open the connector palette
Select Add Connection in the Connections section.
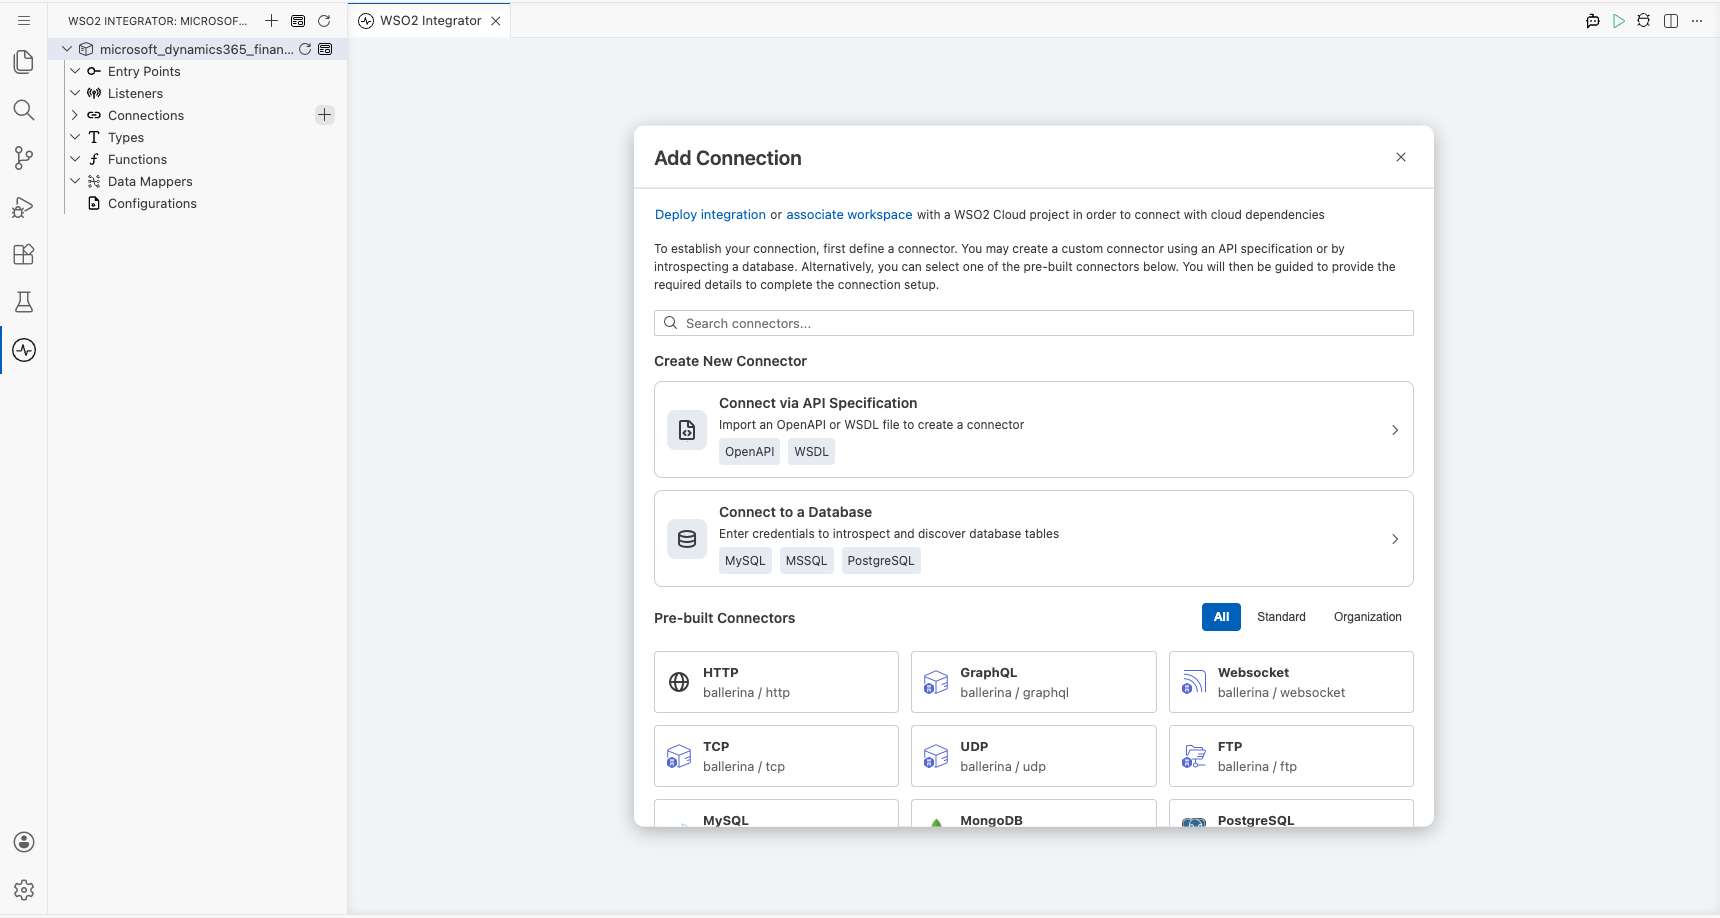
Step 2: Select the Expense connector
- Enter
microsoft.dynamics365.finance.expensein the search field. - Select the Expense connector card.
Configuring the Microsoft Dynamics 365 Finance Expense connection
Step 3: Bind the connection parameters to configurable variables
Bind the connection fields to configurable variables.
- Config : The connection configuration for the connector, built as an expression that resolves
authfrom thetokenUrl,clientId, andclientSecretconfigurables. Enter the expression{auth: {tokenUrl, clientId, clientSecret, scopes}}. - Service Url : The base URL of the target Microsoft Dynamics 365 Finance and Operations environment, bound to the
serviceUrlconfigurable. Use the OData root, for examplehttps://<your-org>.operations.dynamics.com/data.
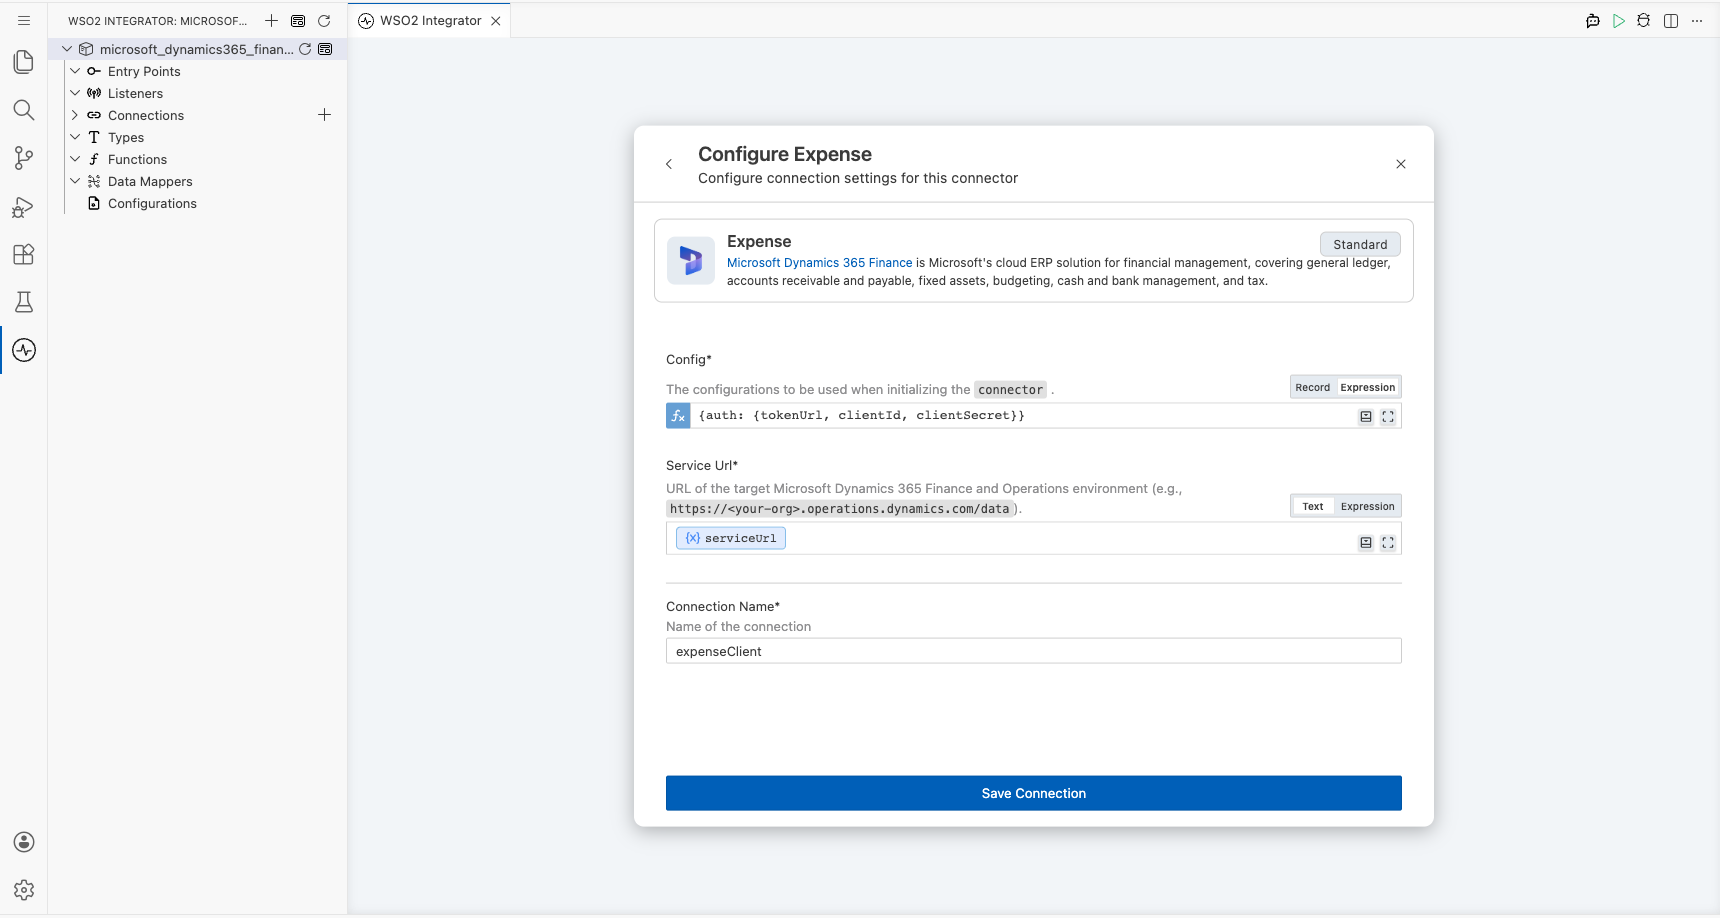
Step 4: Save the connection
Select Save Connection and verify that the connection appears in the Connections section.
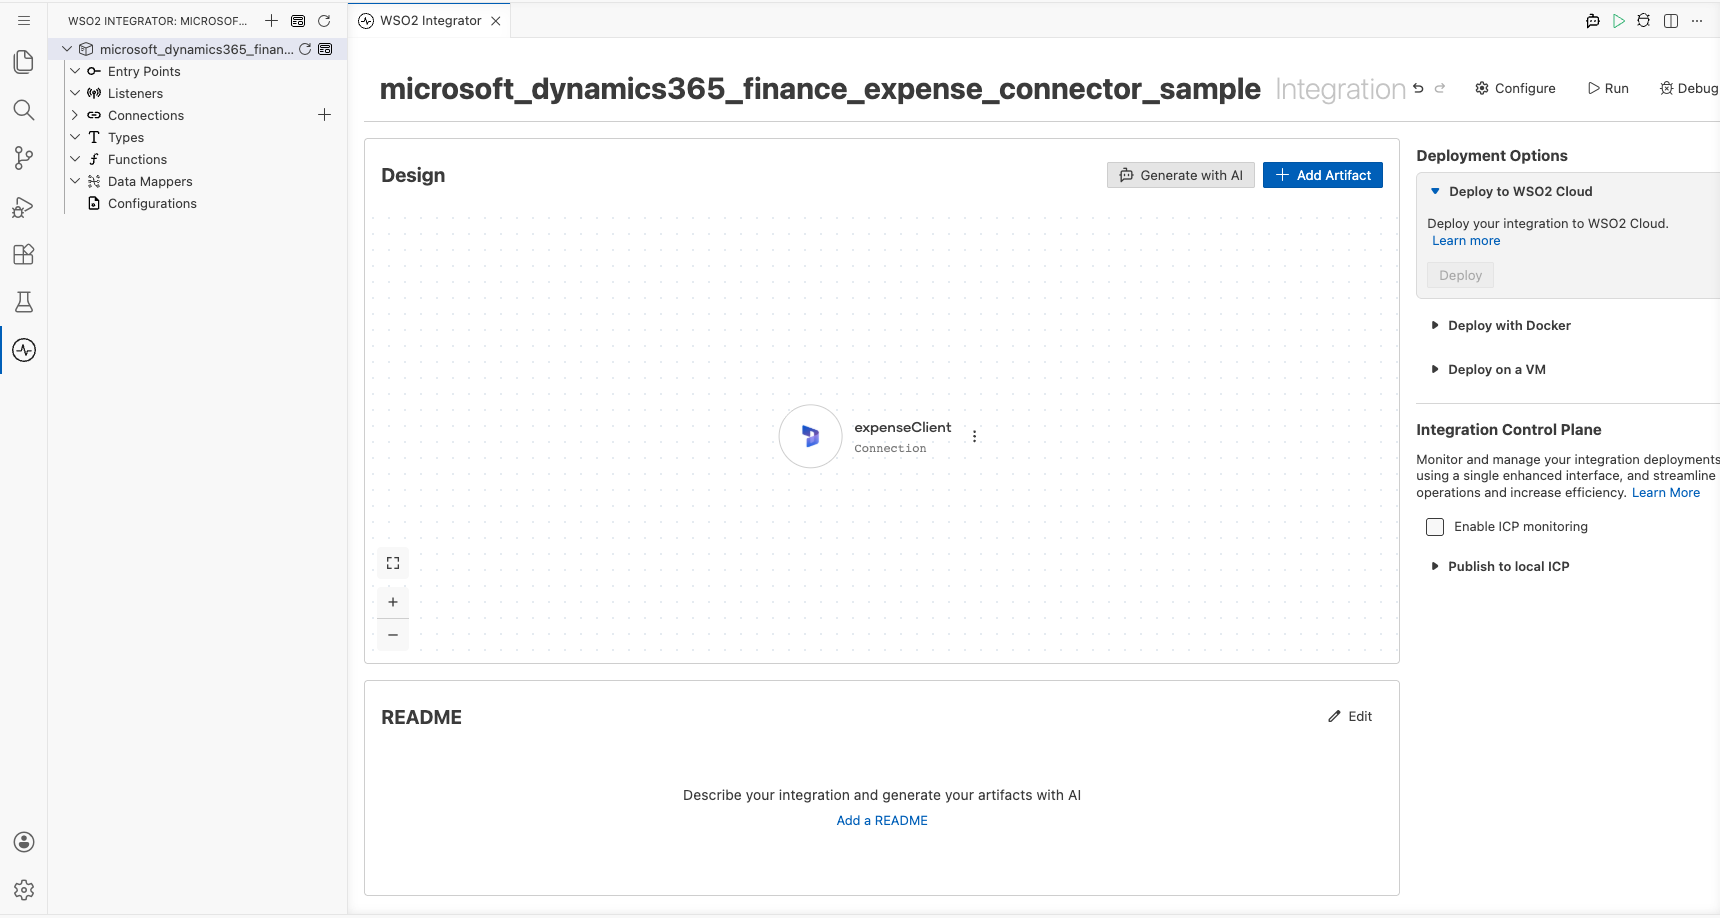
Step 5: Set actual values for your configurables
- Select Configurations at the bottom of the project tree under Data Mappers.
- Enter a value for each configurable listed below before you run the integration.
- tokenUrl (
string) : The OAuth2 token endpoint used to obtain an access token from Azure Active Directory. - clientId (
string) : The application (client) ID of the Azure AD app registration. - clientSecret (
string) : The client secret generated for the Azure AD app registration. - scopes (
string[]) : The OAuth2 scope requested for the client-credentials token, set to the environment base URL followed by/.default - serviceUrl (
string) : The base URL of the target Microsoft Dynamics 365 Finance and Operations environment.
Configuring the Microsoft Dynamics 365 Finance Expense List Expenses operation
Step 6: Add an automation entry point
- Select Add Entry Point next to Entry Points.
- Select Automation.
- Select Create to accept the settings.
Step 7: Expand the connection and configure the List Expenses operation
- Select the add icon on the automation flow to open the node panel.
- Expand expenseClient to display its operations.
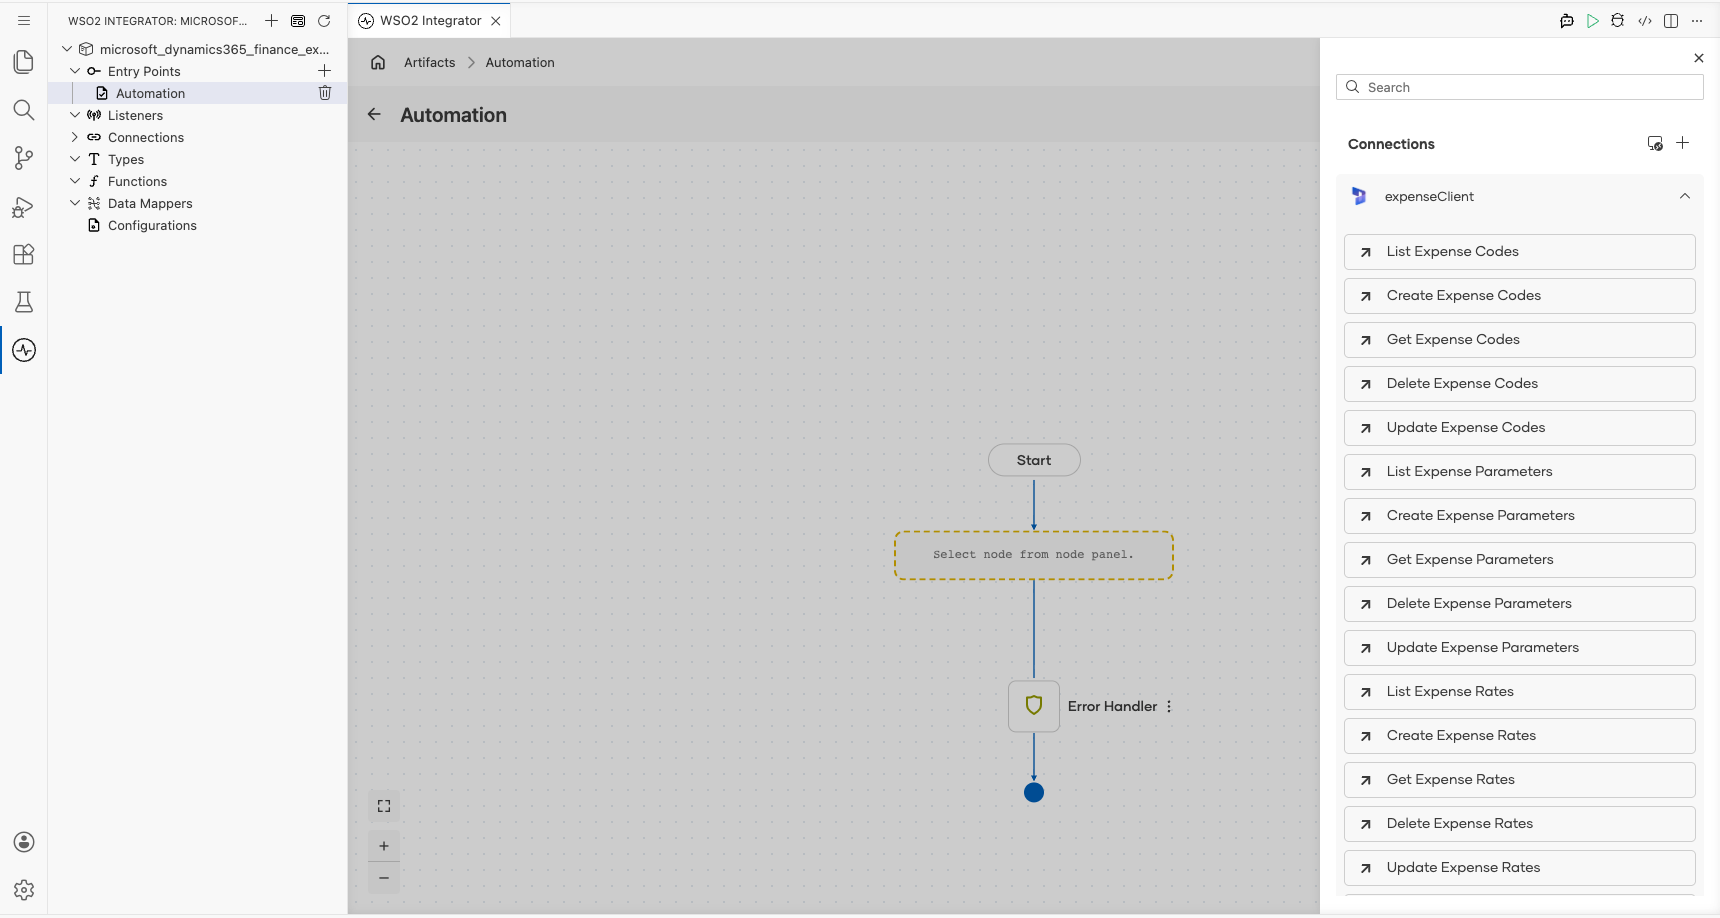
- Select List Expenses. This operation has no required parameters, so the default Result and its
expense:ExpensesCollectionremain unchanged.
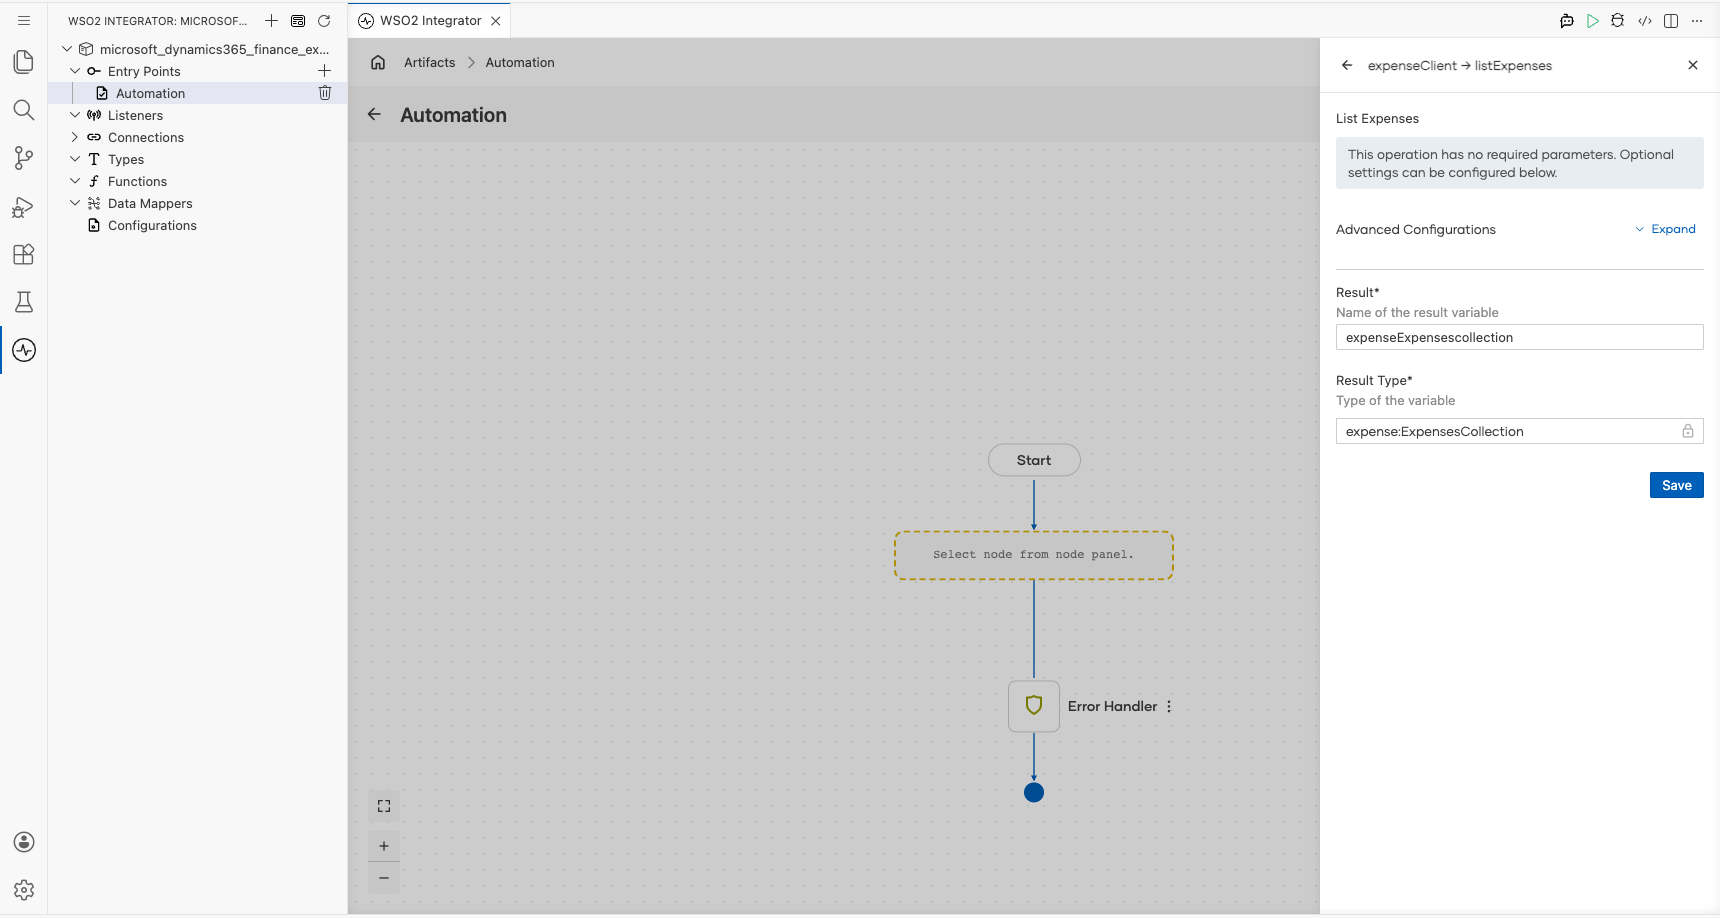
- Select Save.
Step 8: Log the List Expenses result
- Select the add icon on the connecting line between the List Expenses node and Error Handler.
- Expand Logging and select Log Info.
- Switch Msg to expression mode and enter
expenseExpensescollection.toJsonString(). - Select Save.
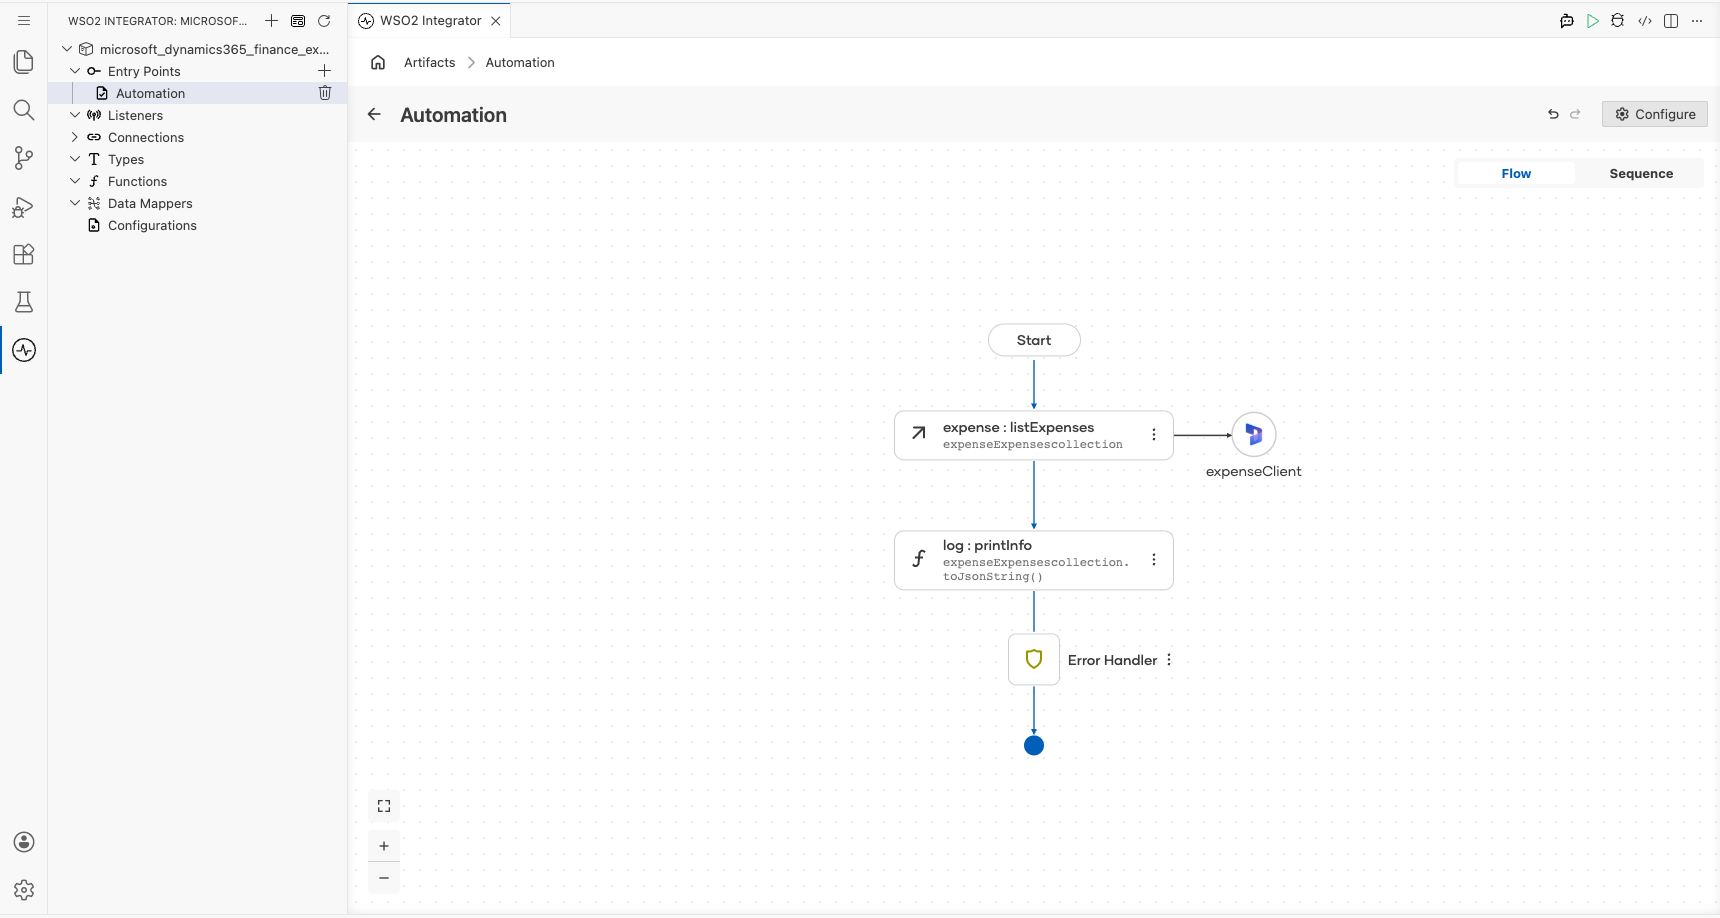
Return to the visual flow and confirm the complete chain from Start through List Expenses and the log action to Error Handler, with no problems reported.
Try it yourself
Try this sample in WSO2 Integration Platform.

More code examples
The Dynamics 365 Finance Ballerina connectors provide practical examples illustrating usage in various scenarios. Explore these examples.