Deploy to WSO2 Cloud
You can deploy your agents to WSO2 Cloud directly from WSO2 Agent Builder. WSO2 Cloud is a fully managed platform, so there's no infrastructure to set up. You can deploy a single agentic integration, or every agentic integration in a project at once.
- Your project must include at least one executable agentic integration, such as an agent with a trigger or a durable agent. Without one, the Deploy to WSO2 Cloud option is disabled and displays "No deployable integration found".
Deploy an agentic integration
-
In WSO2 Agent Builder, open the agentic integration's overview. To get there, select the agentic integration's name in the sidebar.
-
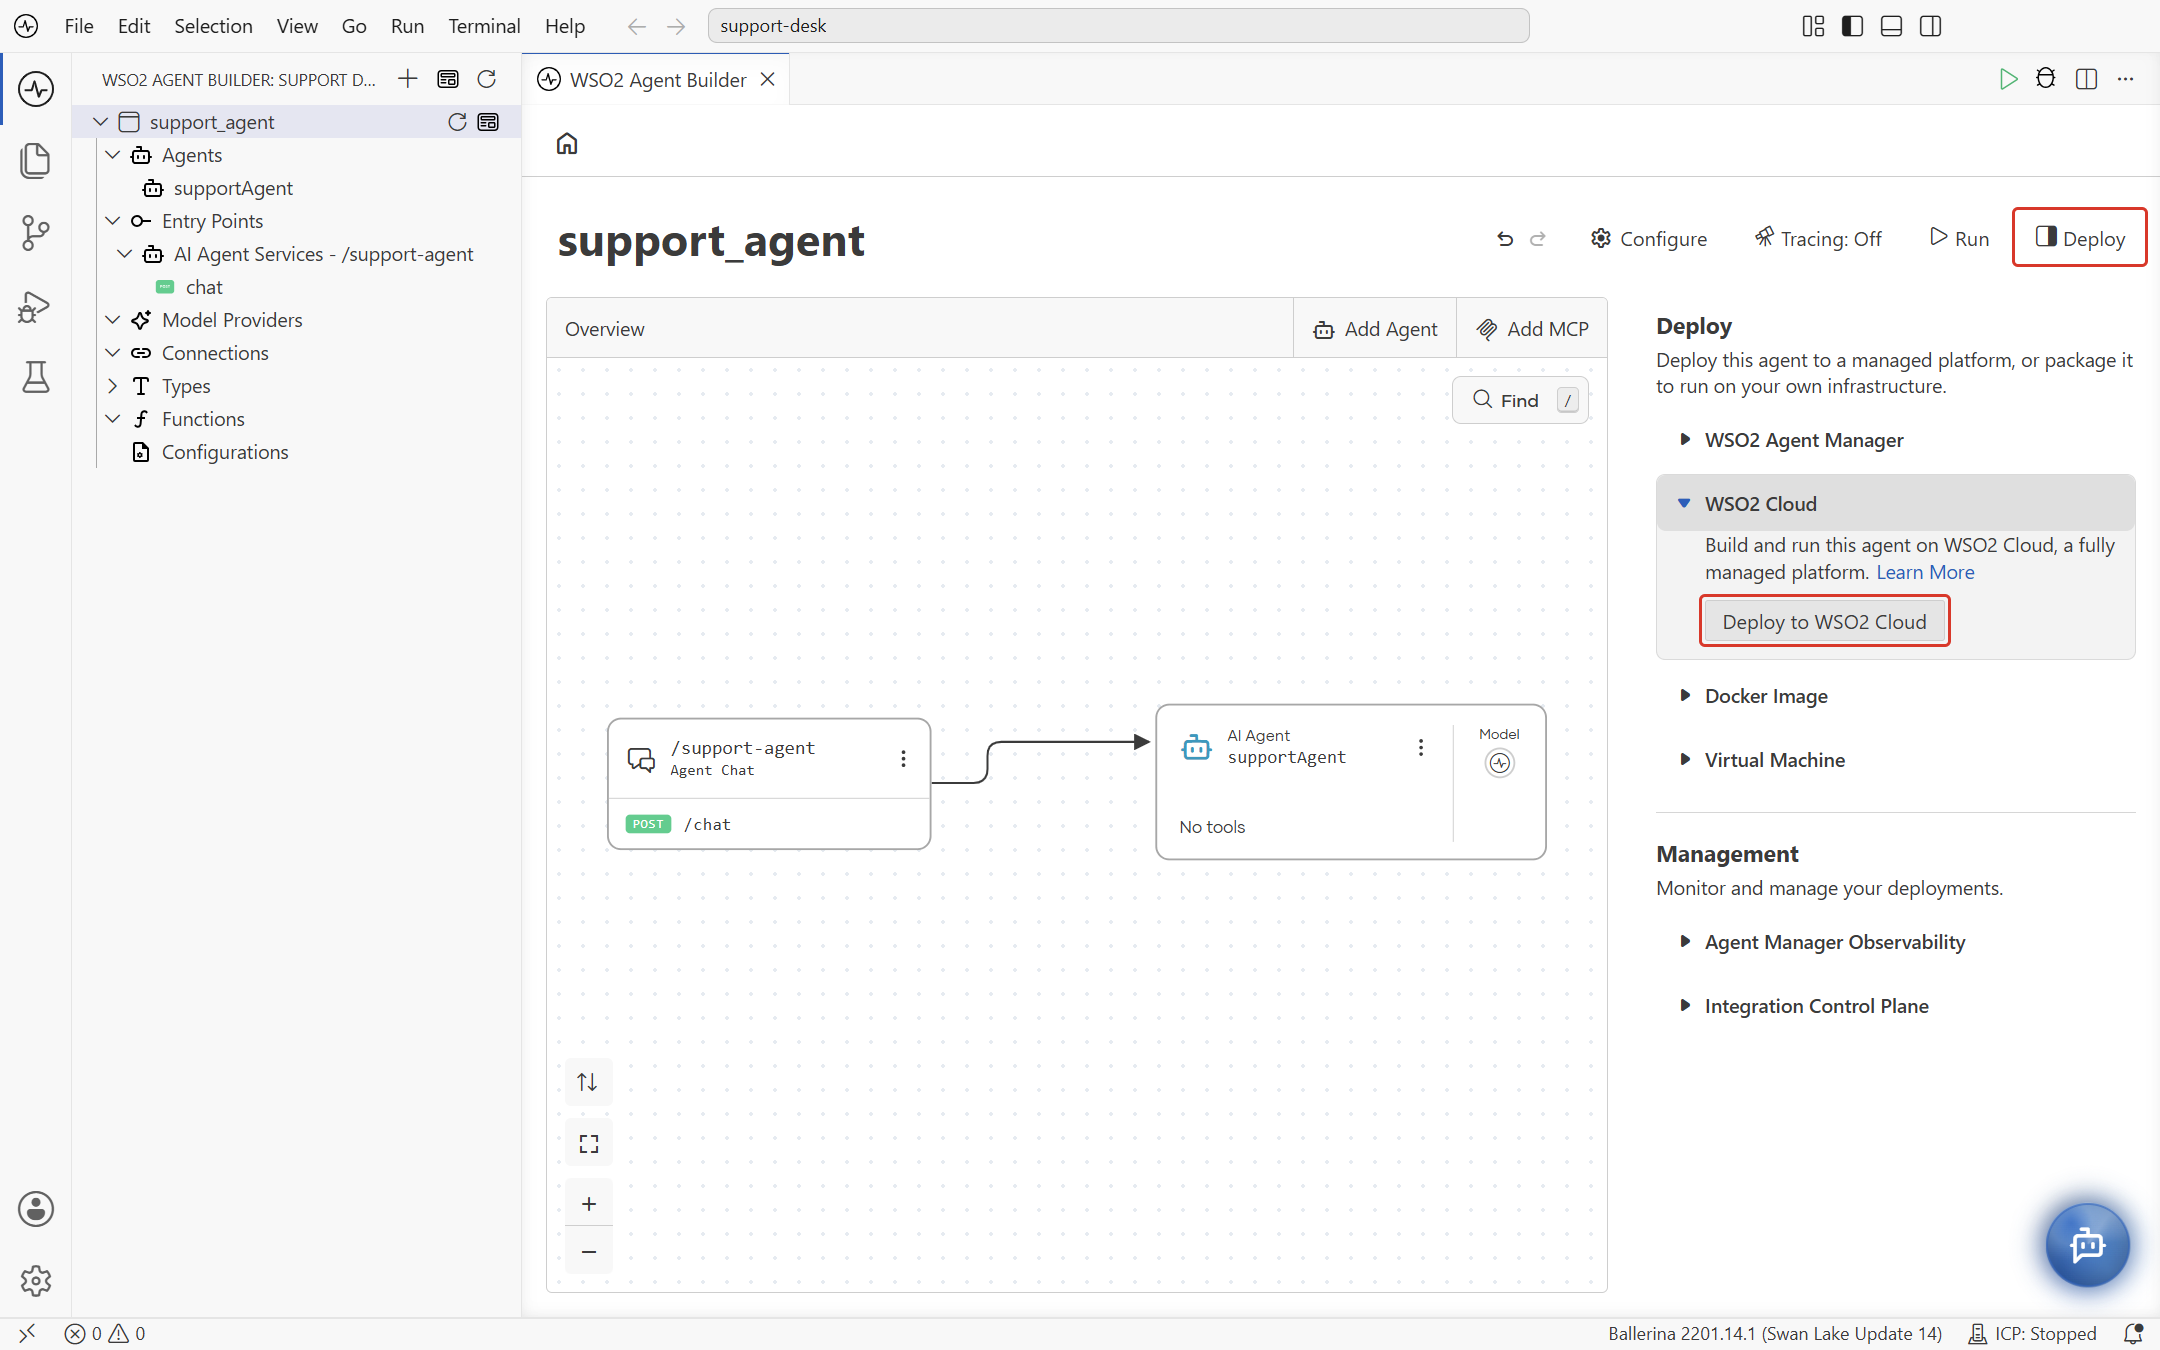
Select Deploy at the top right. In the Deploy panel, expand WSO2 Cloud and select Deploy to WSO2 Cloud.
-
If you are not already signed in to WSO2 Cloud, WSO2 Agent Builder prompts you to sign in. Click Sign In and complete the authentication in the browser, then return to WSO2 Agent Builder.
-
When prompted, select the organization on WSO2 Cloud. You can select an existing project or click Create New to create one.
A Deploy Integration tab opens. It shows the WSO2 Cloud organization you're deploying to, and the agentic integration to deploy.
-
If your project isn't a Git repository yet, the tab shows "Please initialize the selected directory as a Git repository to proceed." You need to publish it to GitHub before continuing. If it's already connected to a remote repository, skip to step 6.
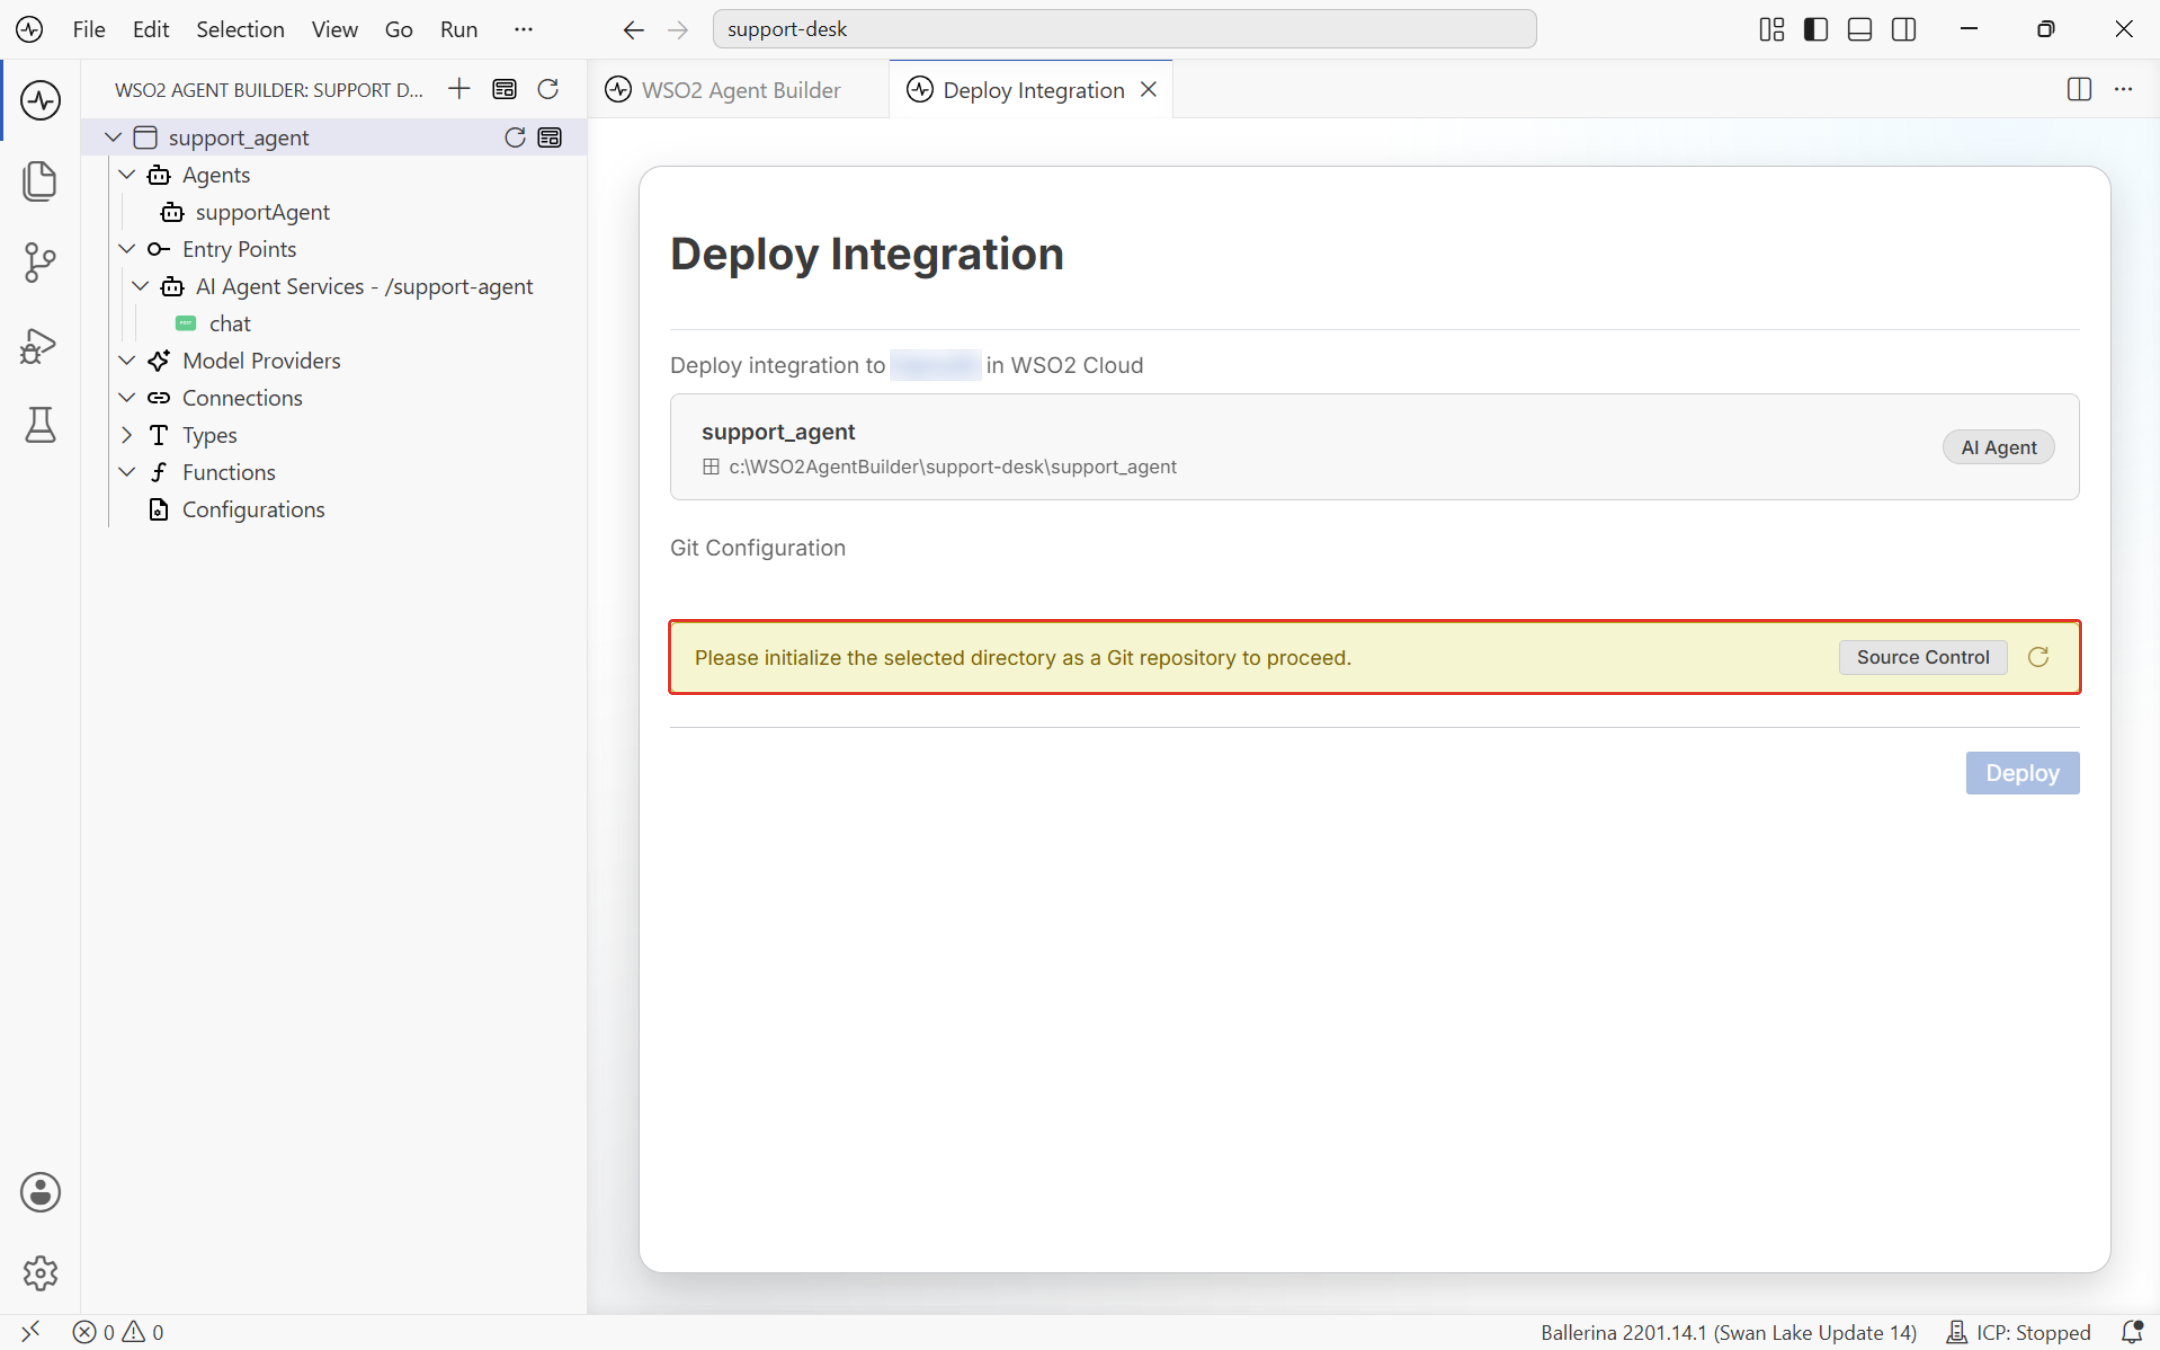
a. Select Source Control in the warning, or in the Activity Bar on the left.
b. Select Initialize Repository. This creates a local Git repository in your project folder.
c. In the Source Control view, enter a commit message and select Commit. When asked whether to stage all your changes, select Yes.
d. Select Publish Branch. If you aren't signed in to GitHub, WSO2 Agent Builder asks you to authorize access. Complete the sign-in in the browser and return to WSO2 Agent Builder.
e. Choose a repository name, and choose whether it's public or private. WSO2 Agent Builder creates the repository on GitHub and pushes your project to it.
f. In the Deploy Integration tab, select the refresh icon next to Source Control.
Keep secrets out of your repositoryYour agentic integration's
Config.tomlcan hold secrets, such as the access token for the Default WSO2 Model Provider. AddConfig.tomlto your.gitignorebefore you commit, and set those values in WSO2 Cloud instead. -
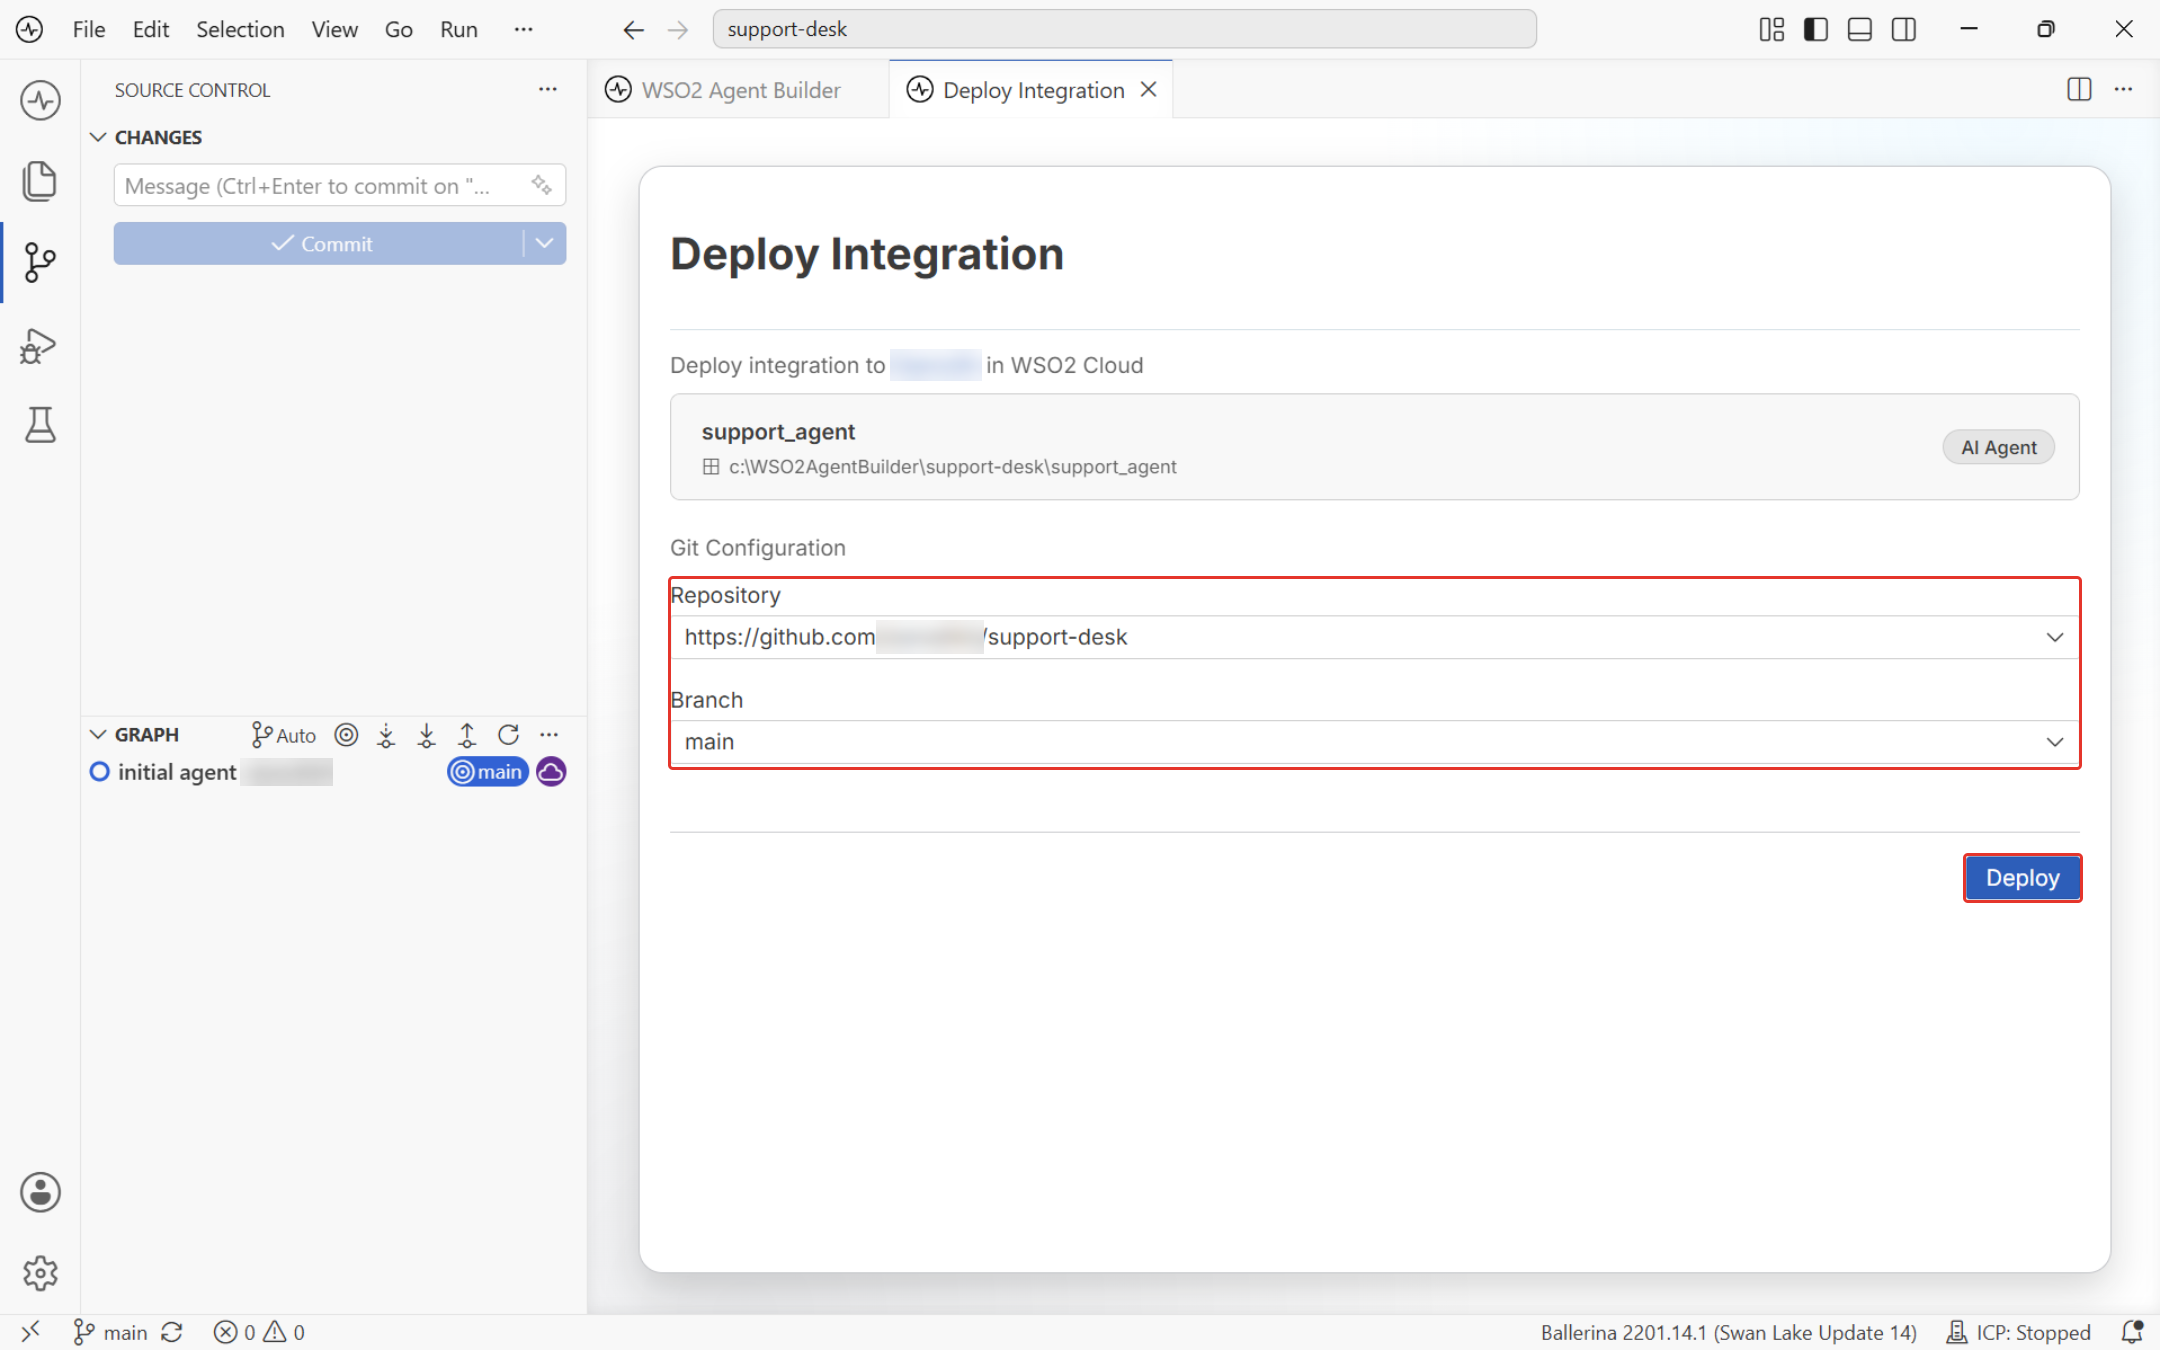
Under Git Configuration, check the Repository and Branch that WSO2 Cloud builds from.
-
If WSO2 Cloud does not have access to your remote repository, a warning appears. Click the link to grant access on GitHub, complete the authorization, then return to WSO2 Agent Builder and click Refresh to validate access.
-
Select Deploy.
WSO2 Cloud builds and deploys the agentic integration. Once the deployment is complete, click View in Console.
A browser opens showing the deployed agentic integration directly on WSO2 Cloud.
Once it's deployed, the WSO2 Cloud section of the Deploy panel is marked Deployed. Select Open in Console to see the agentic integration in WSO2 Cloud.
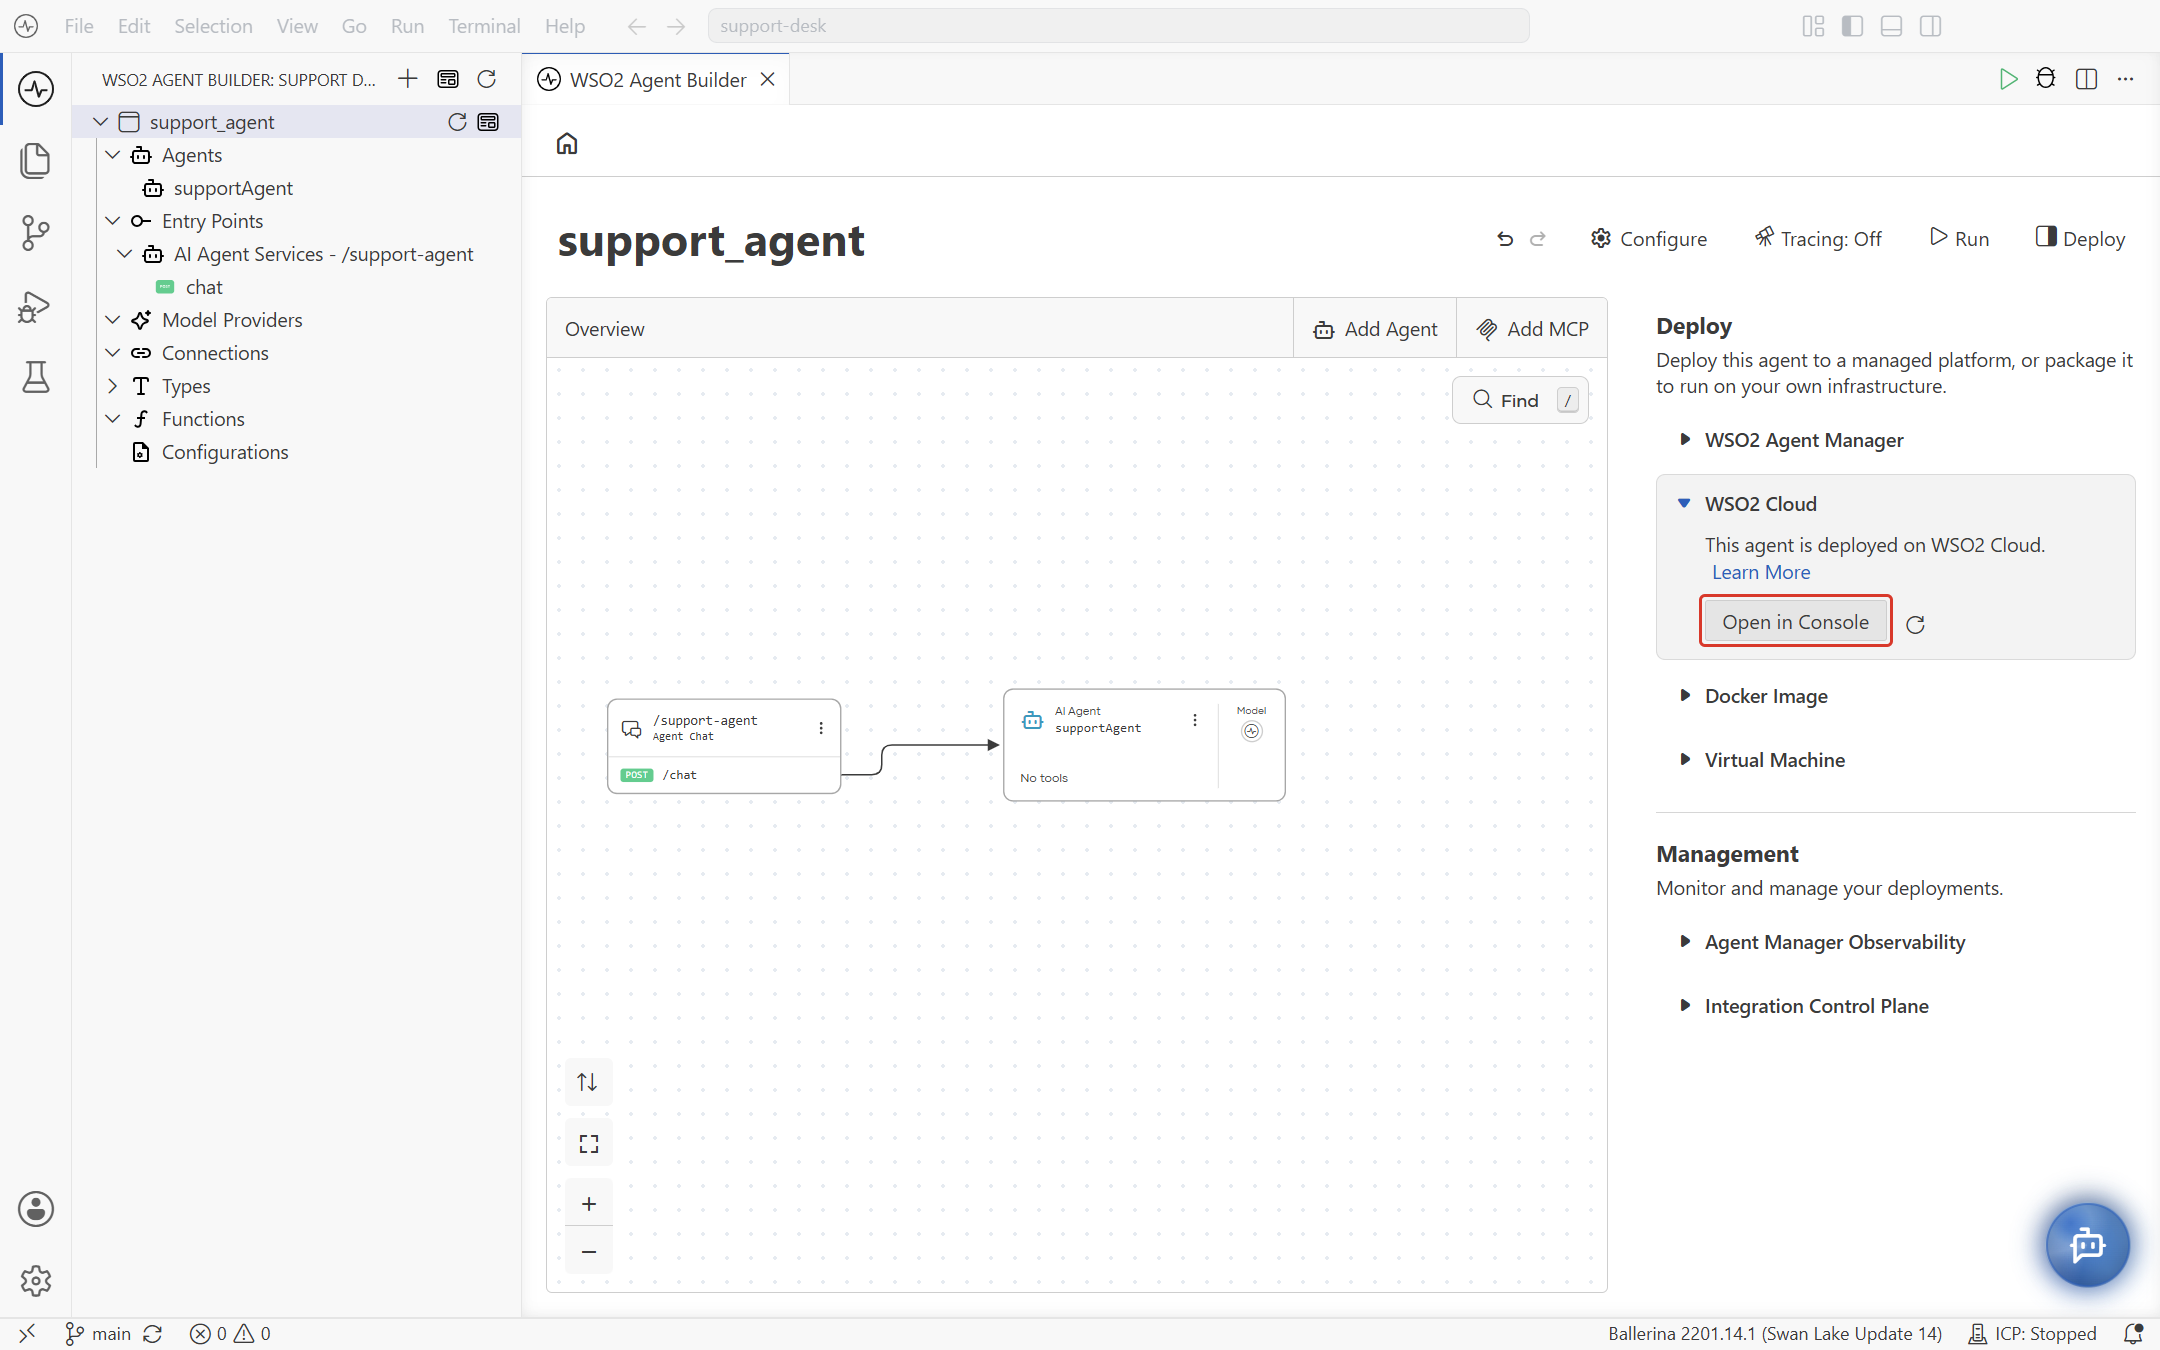
To deploy later changes, commit and push them. When you have local changes, the panel shows Open Source Control to take you there. The refresh icon updates the deployment status.
Deploy a whole project
-
In WSO2 Agent Builder, open the project overview. To get there, select the home icon at the top left of an agentic integration's overview.
-
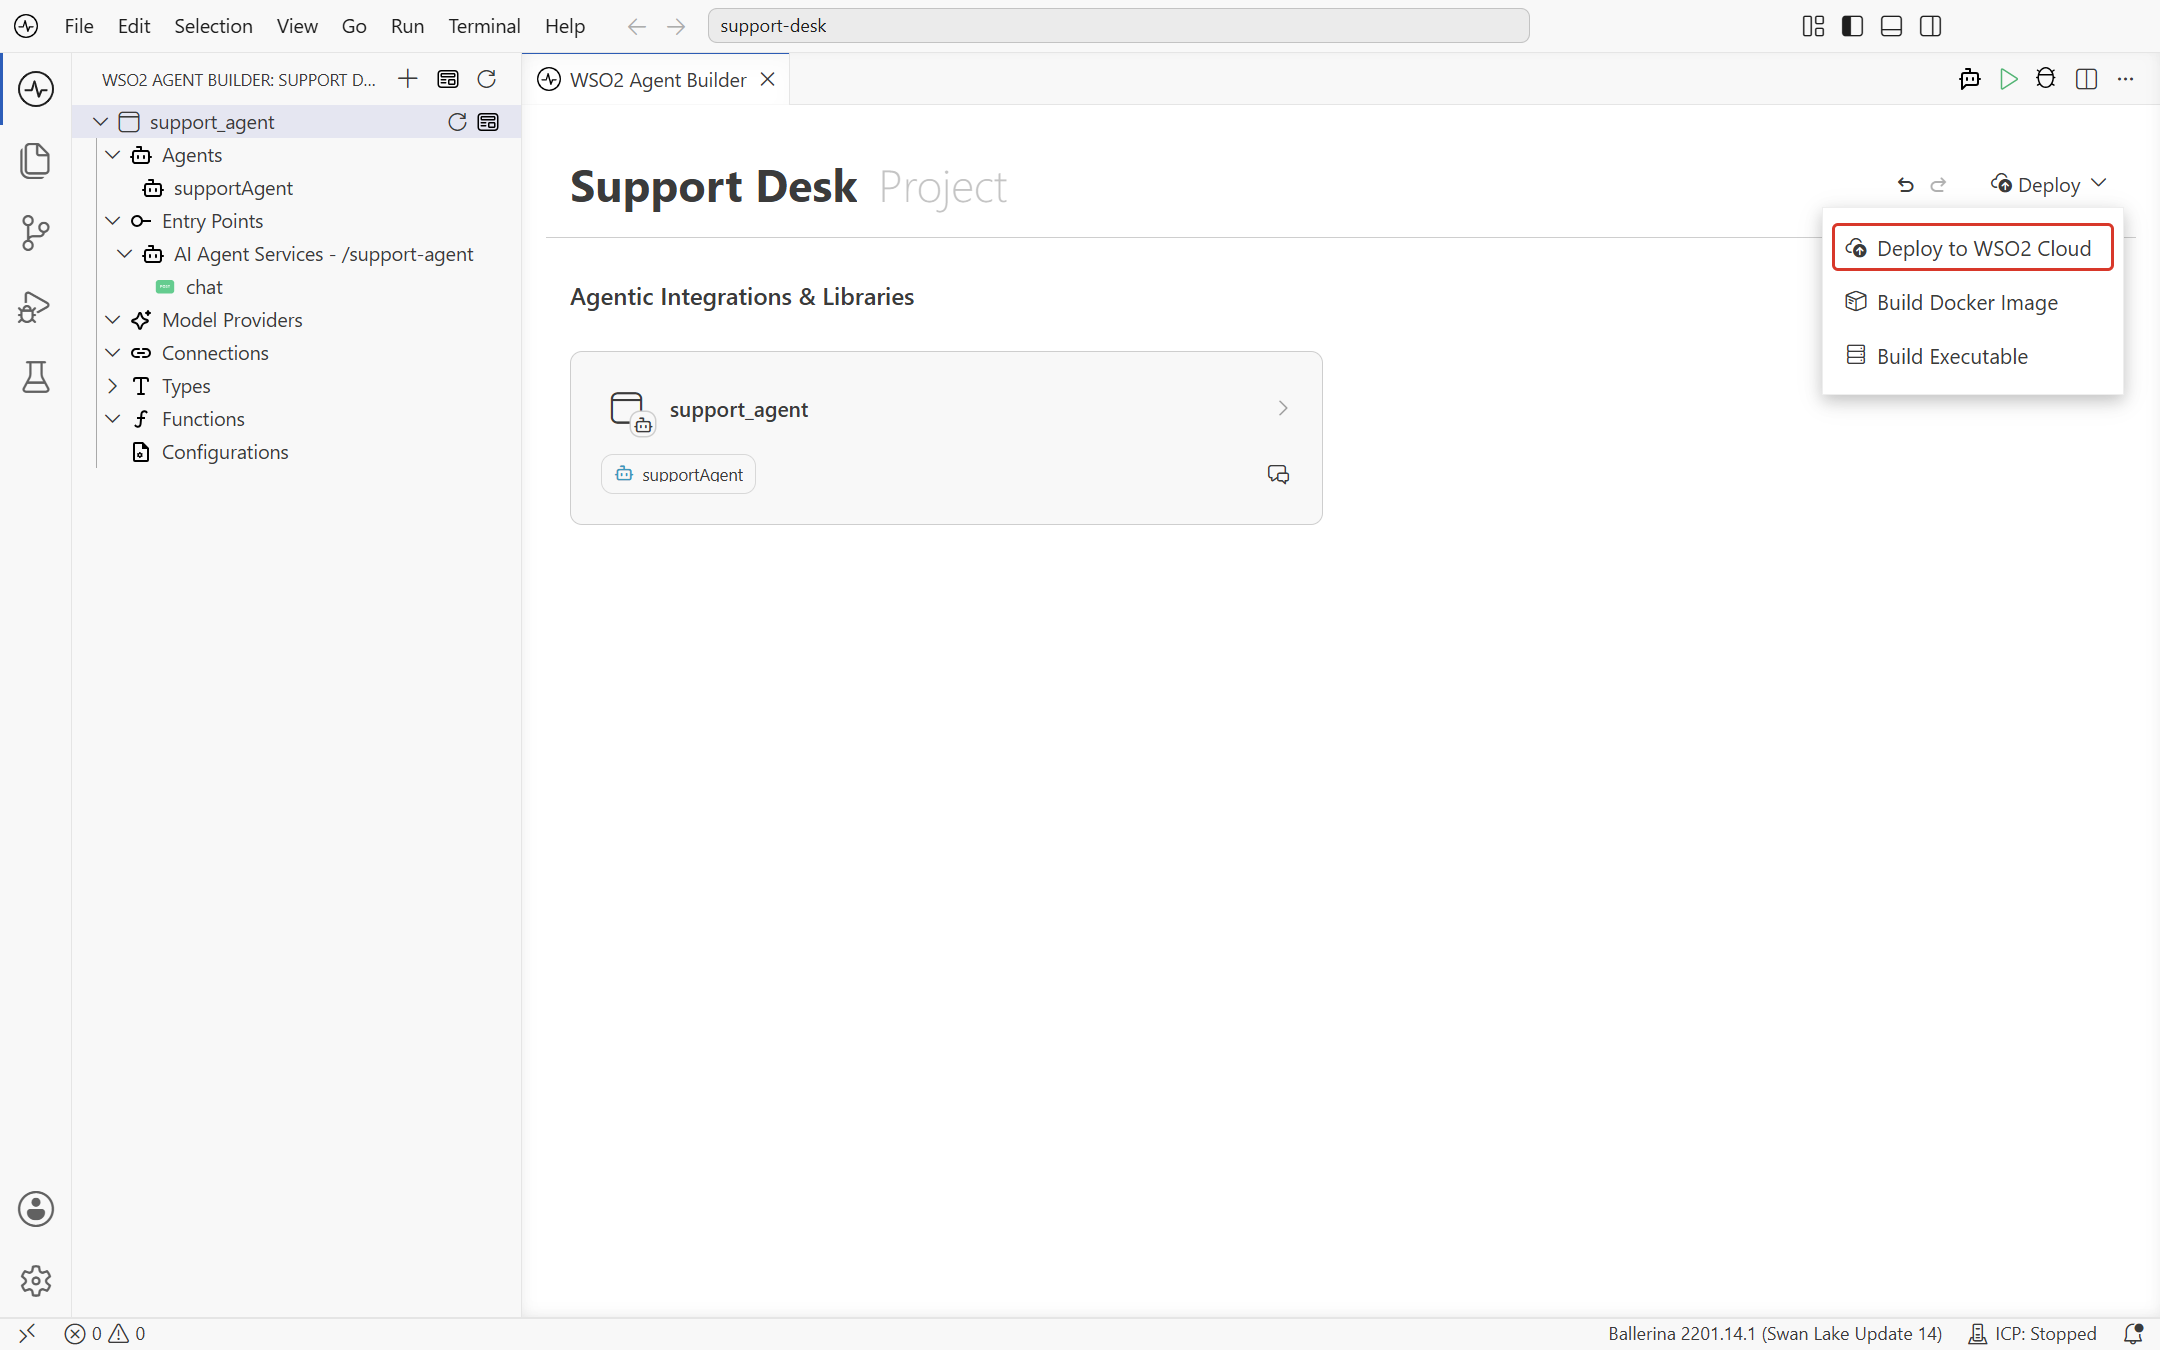
Select Deploy at the top right, then select Deploy to WSO2 Cloud.
-
Follow the same steps as for a single agentic integration. The tab lists every agentic integration in the project, and all of them are selected by default.
-
Select Deploy All.
WSO2 Cloud creates the agentic integrations. Once the deployment is complete, click View in Console.
A browser opens showing your project on WSO2 Cloud.
Other ways to deploy
The Deploy panel also lets you deploy to WSO2 Agent Manager, or package an agentic integration to run on your own infrastructure:
- WSO2 Agent Manager: see Deploy to WSO2 Agent Manager.
- Docker Image: Build Image builds a container image to run on Kubernetes or any container platform. See Containerized Deployment.
- Virtual Machine: Build JAR builds an executable JAR to run on any server with a Java runtime. See VM Deployment.
On the project overview, the same build options are Build Docker Image and Build Executable in the Deploy menu.
What's next
- View and manage integrations — Check build and deployment status, and manage the lifecycle of what you deployed.
- Runtime configurations — Set configurable values, such as API keys, for each environment.
- Security configurations — Secure your agent's endpoints with API key or OAuth2 authentication.
- Endpoint configurations — Control endpoint visibility levels for agentic integrations deployed as APIs.
- Concepts — Environments, promotion, and configurations.