Prebuilt Integrations
Time: Under 10 minutes | What you'll build: Nothing from scratch. You'll configure and deploy a production-ready integration between two applications from the prebuilt integration catalog.
Building an integration from scratch means learning the platform's abstractions, wiring up connectors, and testing the logic before anything useful happens, even for a straightforward use case. Prebuilt integrations skip all that: each one is a production-ready integration for a real, common use case. Select the one you need, configure it, and deploy in minutes.
If you've used WSO2 Integrator IDE or WSO2 Cloud before, you've probably opened one of the sample integrations. Sample integrations teach you the platform's abstractions. Prebuilt integrations are different: each one is a real, already-wired integration for an actual business use case.
The prebuilt integrations catalog is available in both WSO2 Cloud and WSO2 Integrator IDE. In WSO2 Integrator IDE, open the home screen, select Explore, and filter by Pre-built Integrations to browse and download the exact same integrations.
You can start from either path. This guide follows the WSO2 Cloud path because it lets you pick a prebuilt integration, configure it, and deploy it in one go, without leaving WSO2 Cloud.
A WSO2 Cloud account and organization. If you don't have one yet, sign up first.
Step 1: Go to the project-level view
Log in to WSO2 Cloud, then create a project and navigate to the project-level view. You'll see prebuilt integrations in the Get Started Quickly panel on the right. Click Explore more prebuilt integrations to see the full catalog.
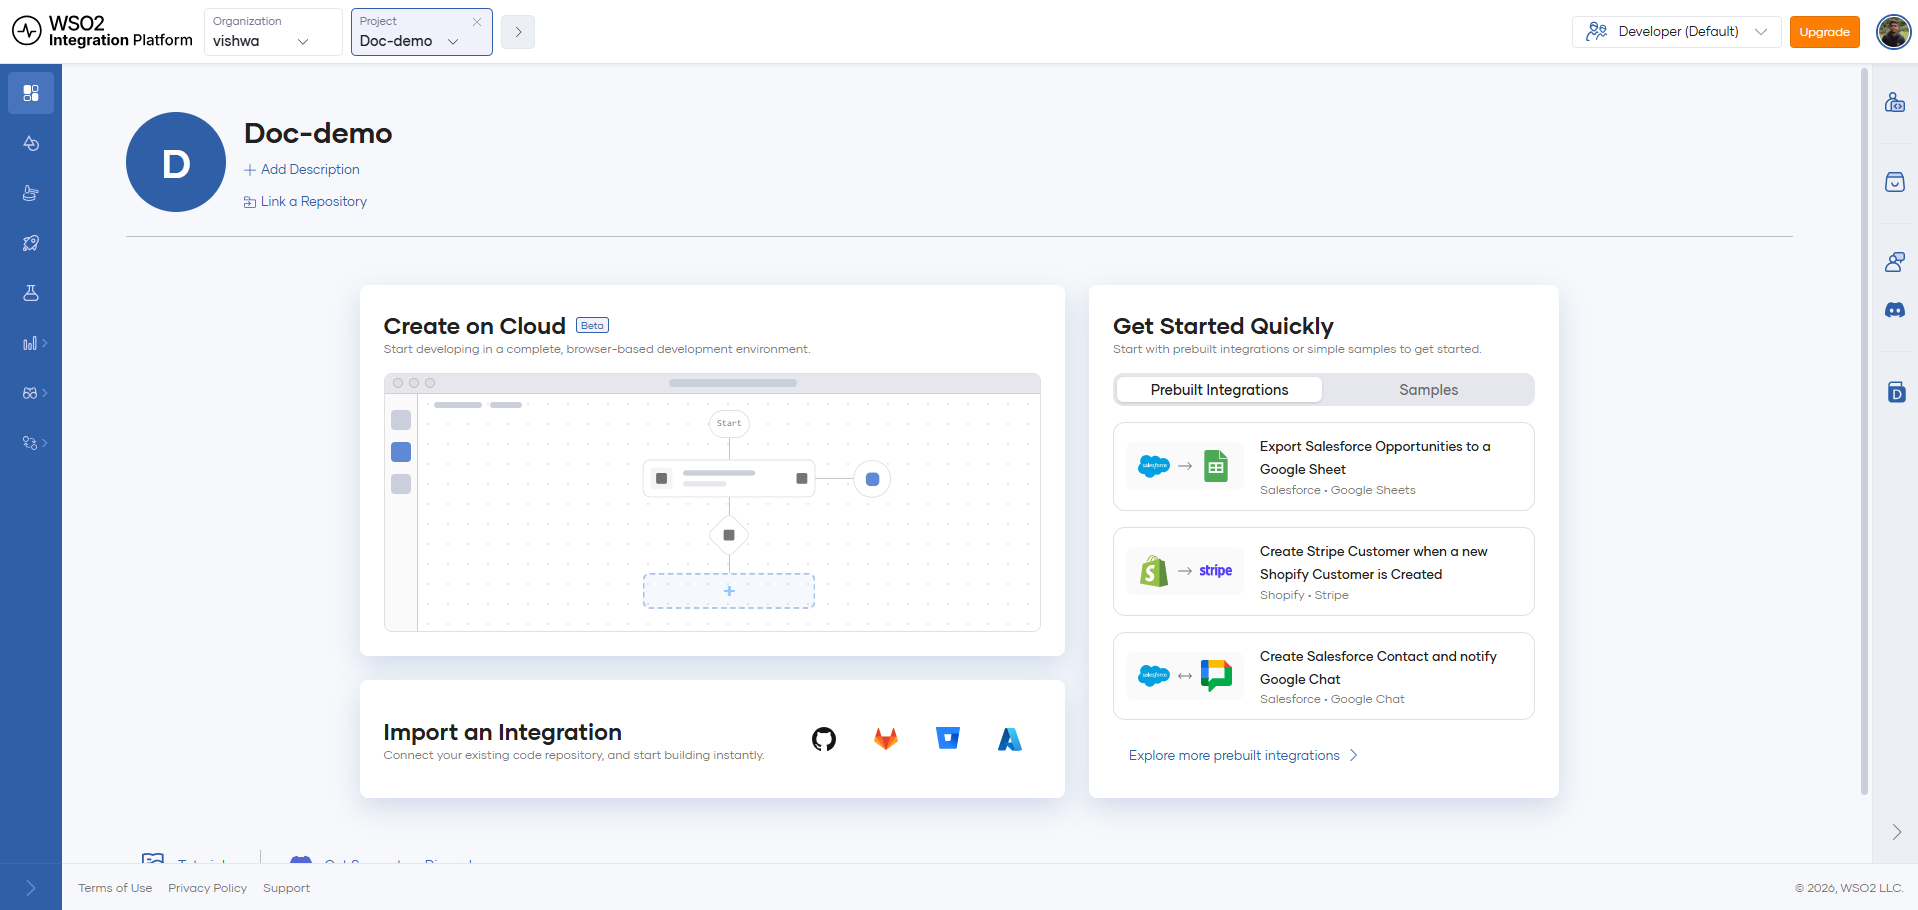
Step 2: Pick the first application
Choose the application you want to integrate from. The catalog currently includes Salesforce, Google Sheets, Shopify, Stripe, Google Chat, GitHub, Slack, Mailchimp, Jira, and QuickBooks, with more applications added over time. For this demonstration, select Salesforce.
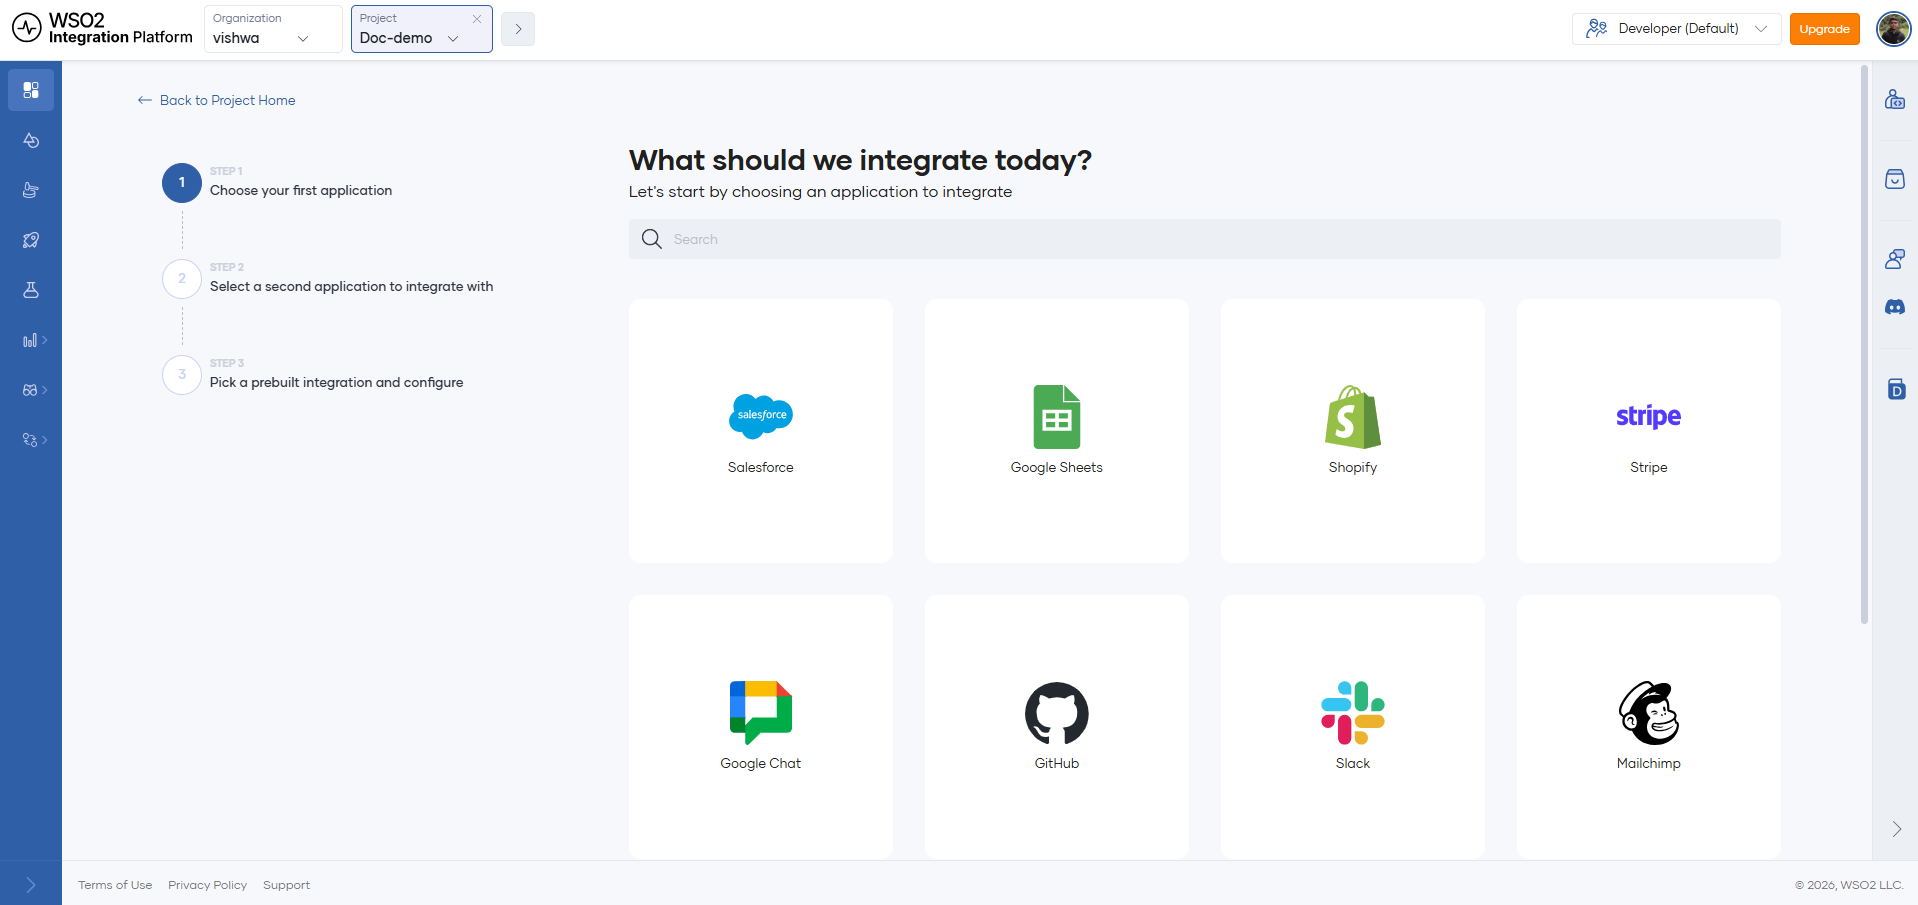
Step 3: Pick the second application
The list narrows to the applications Salesforce can be paired with. Select Google Sheets.
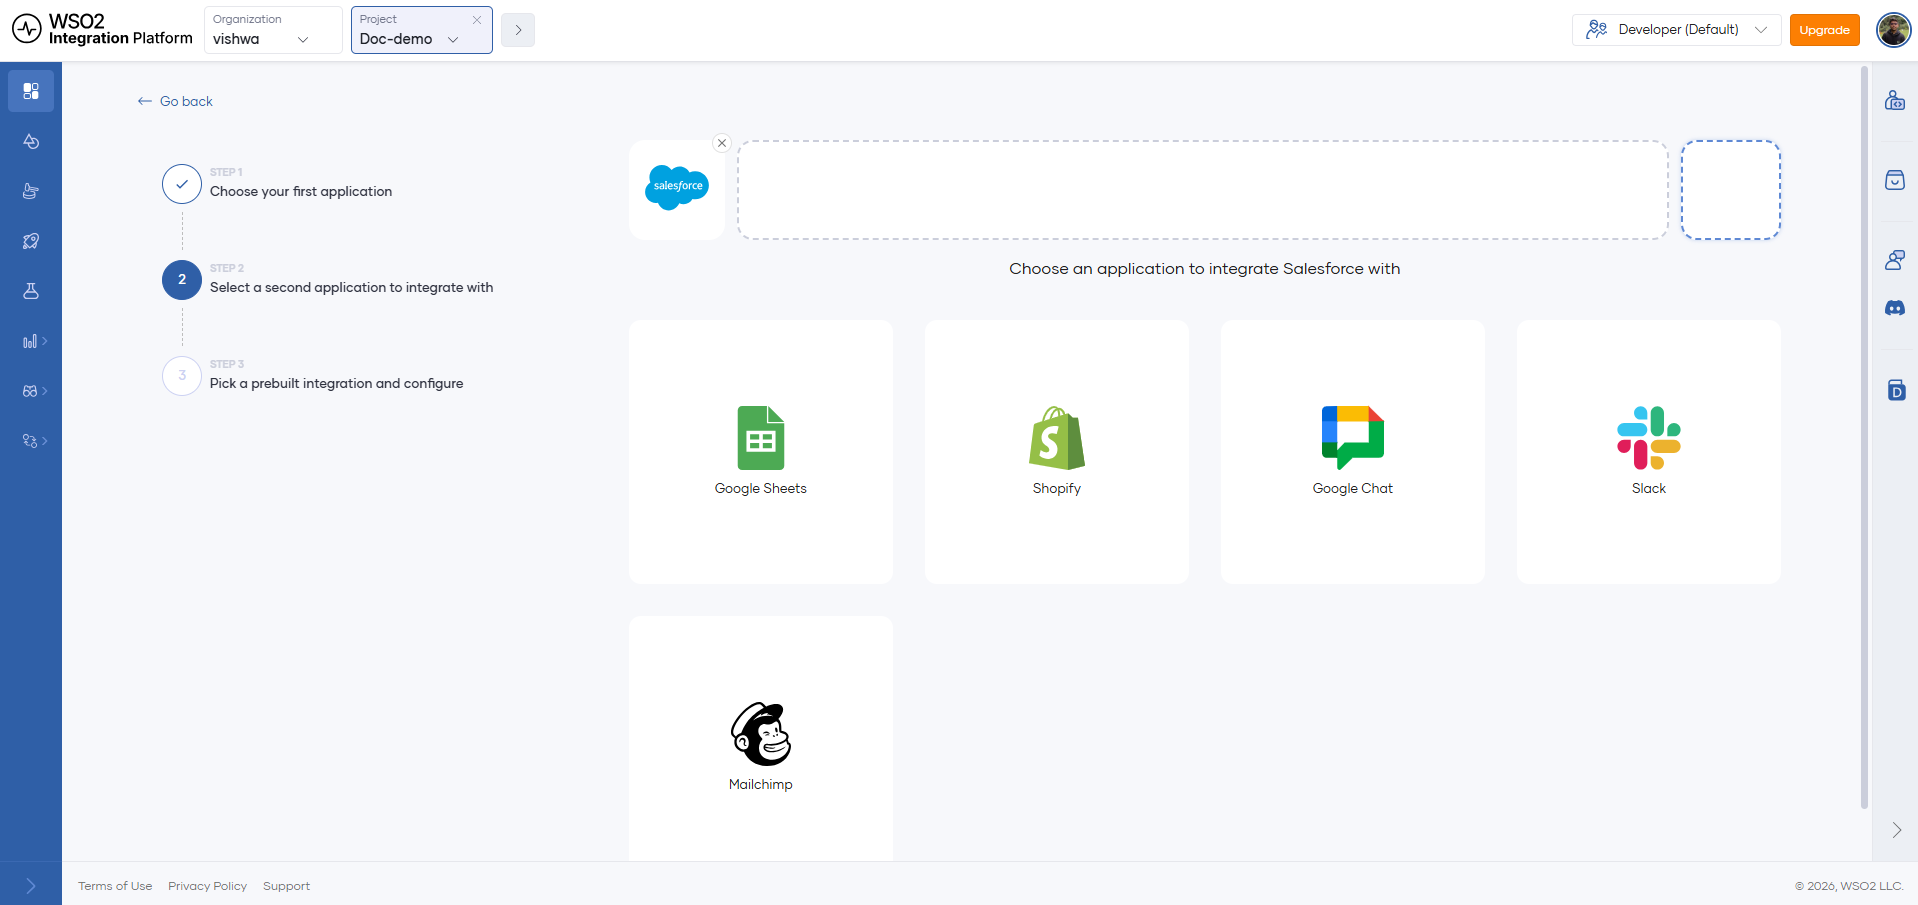
Step 4: Choose an integration scenario
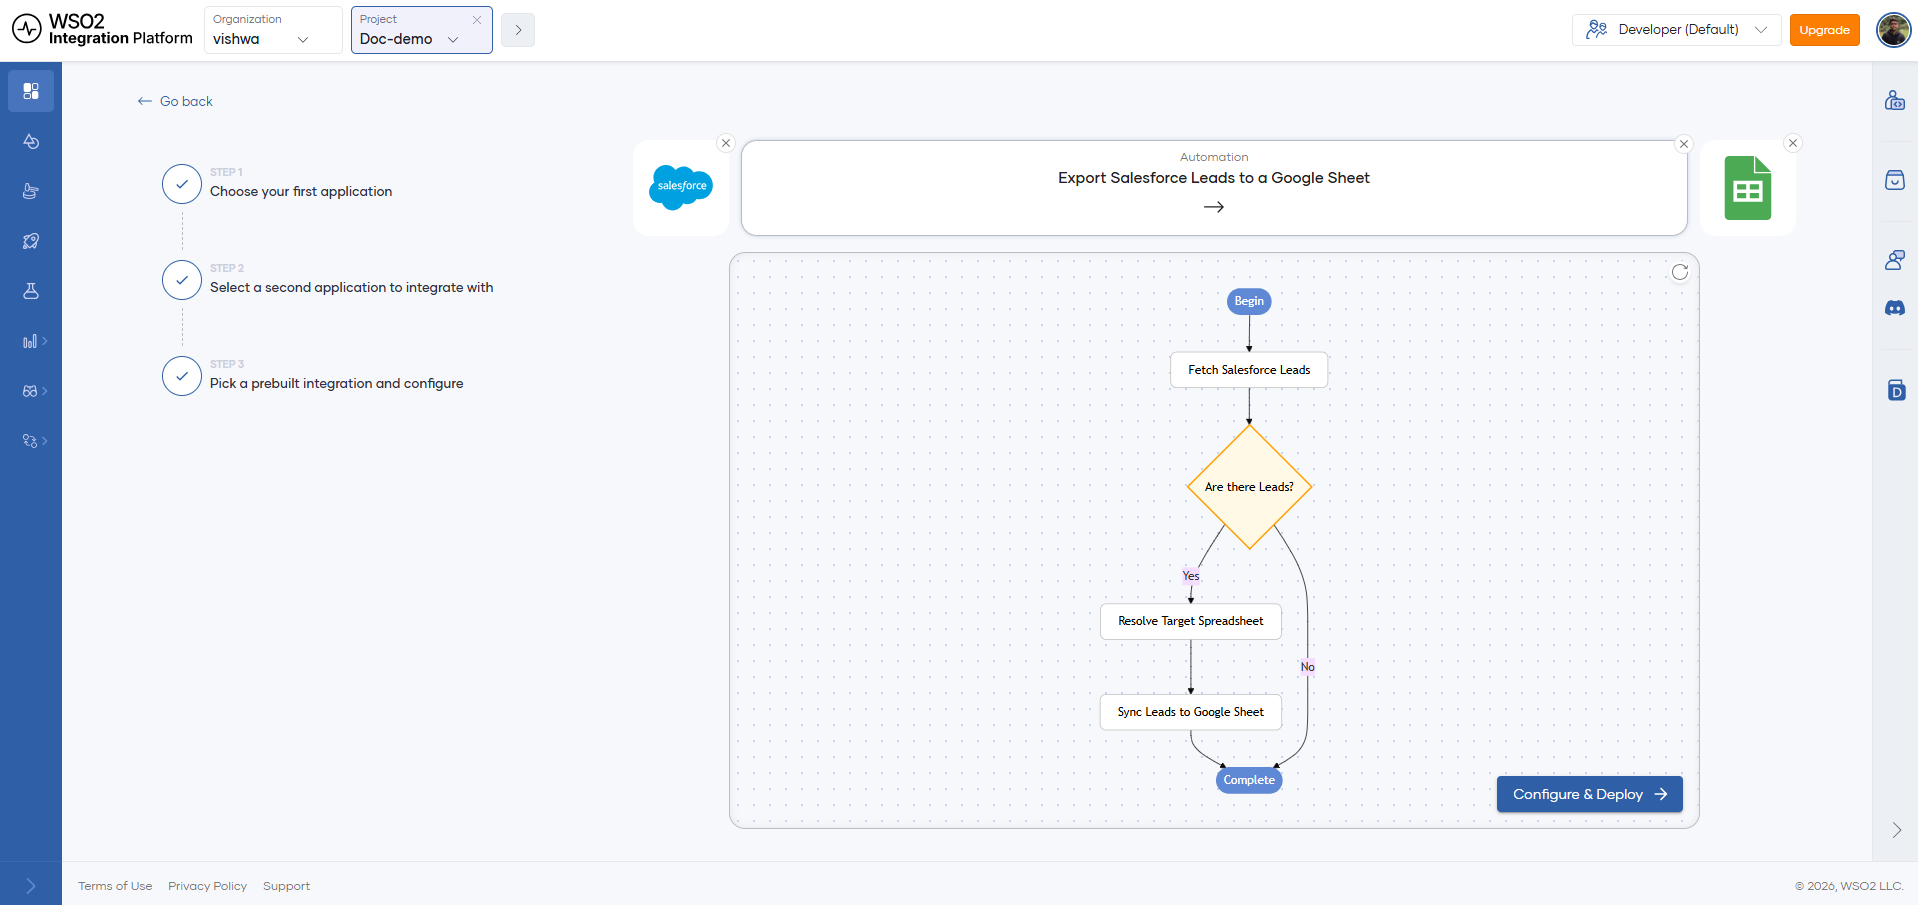
Every application pair has one or more ready-made scenarios, and the set available for a given pair grows as new use cases are added. Select the Export Salesforce Leads to a Google Sheet integration.
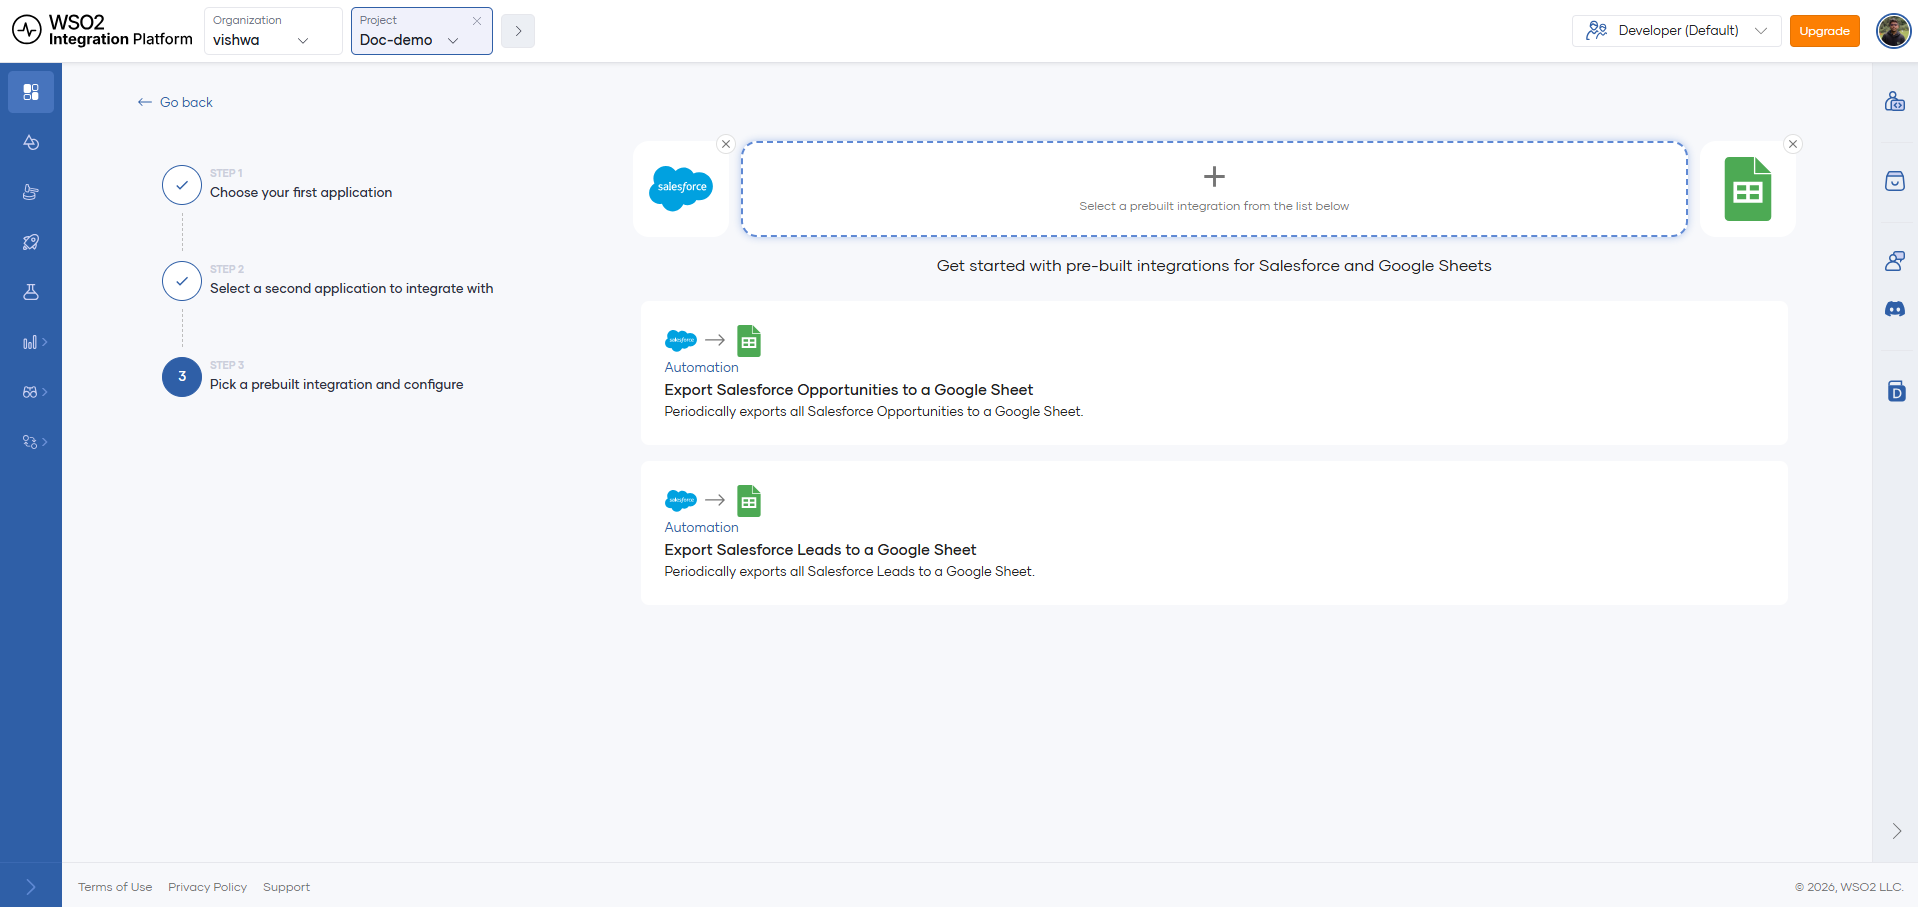
A flowchart shows every step of the integration from start to finish, so you know exactly what you're about to deploy. Select Configure & Deploy to continue.
Step 5: Review the setup instructions and configure credentials
The configuration page's left panel explains exactly what the integration does and what you need to gather to configure Export Salesforce Leads to a Google Sheet. You can fill in every field individually, or import a configuration file instead. None of this is final: configurations are bound to the environment, and you can change any value later.
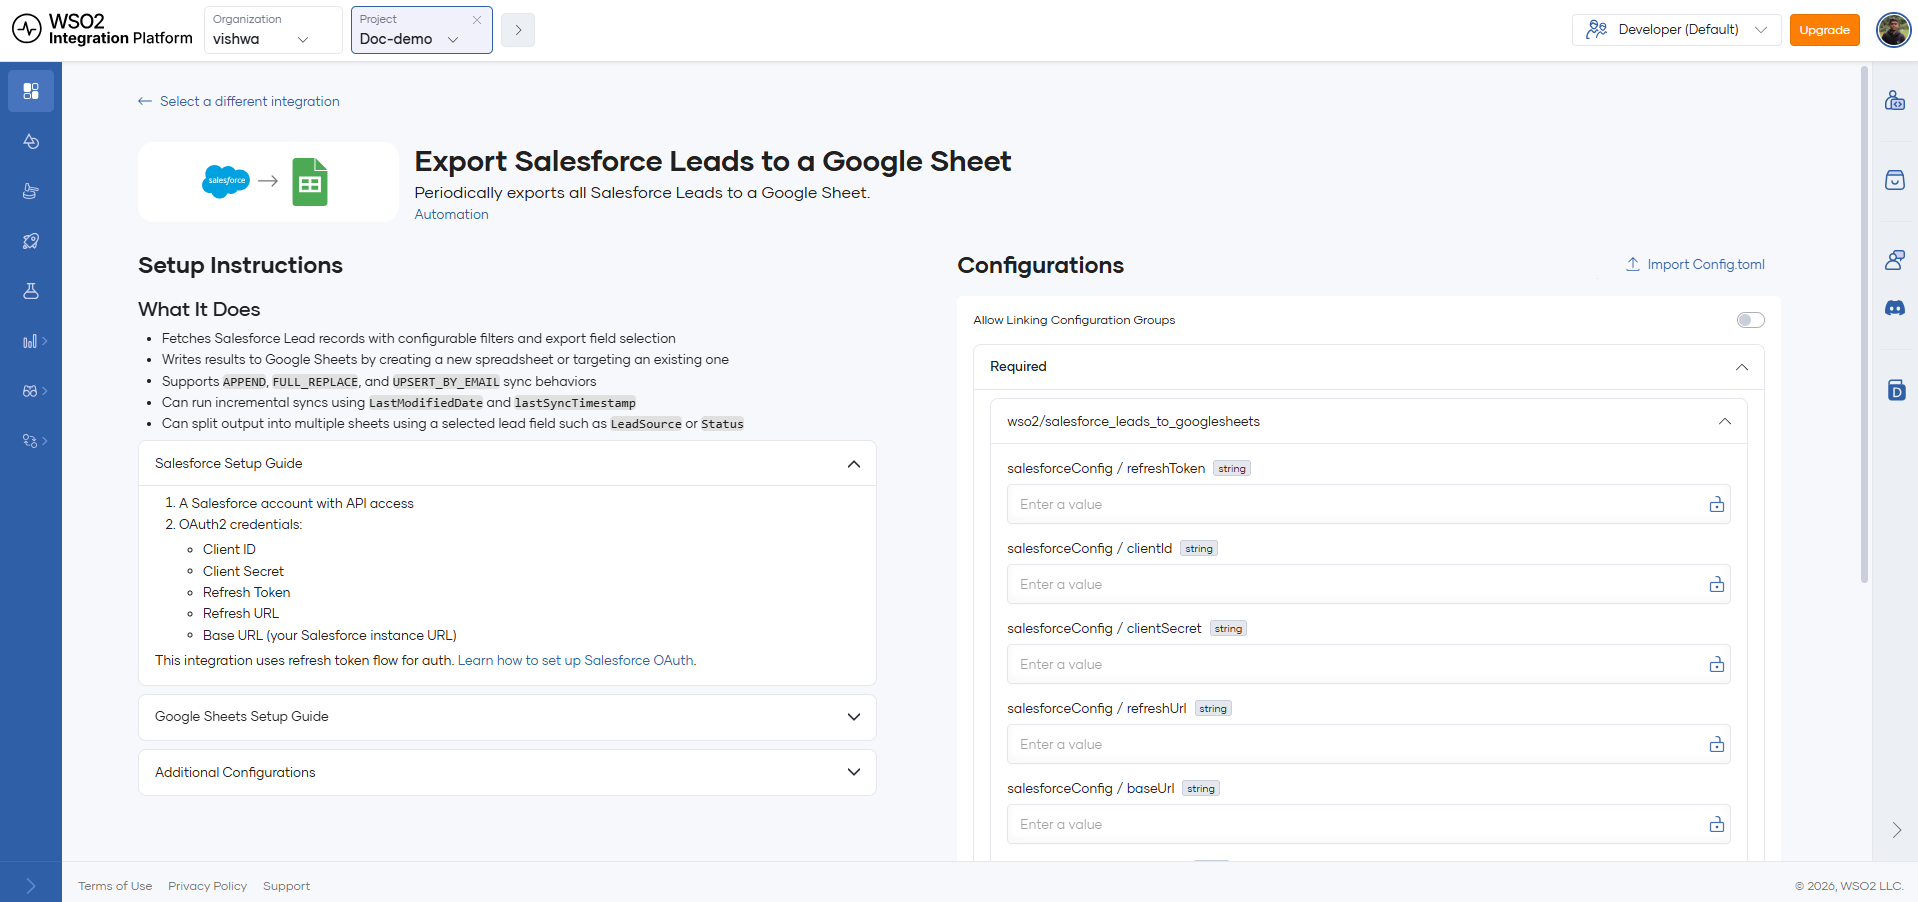
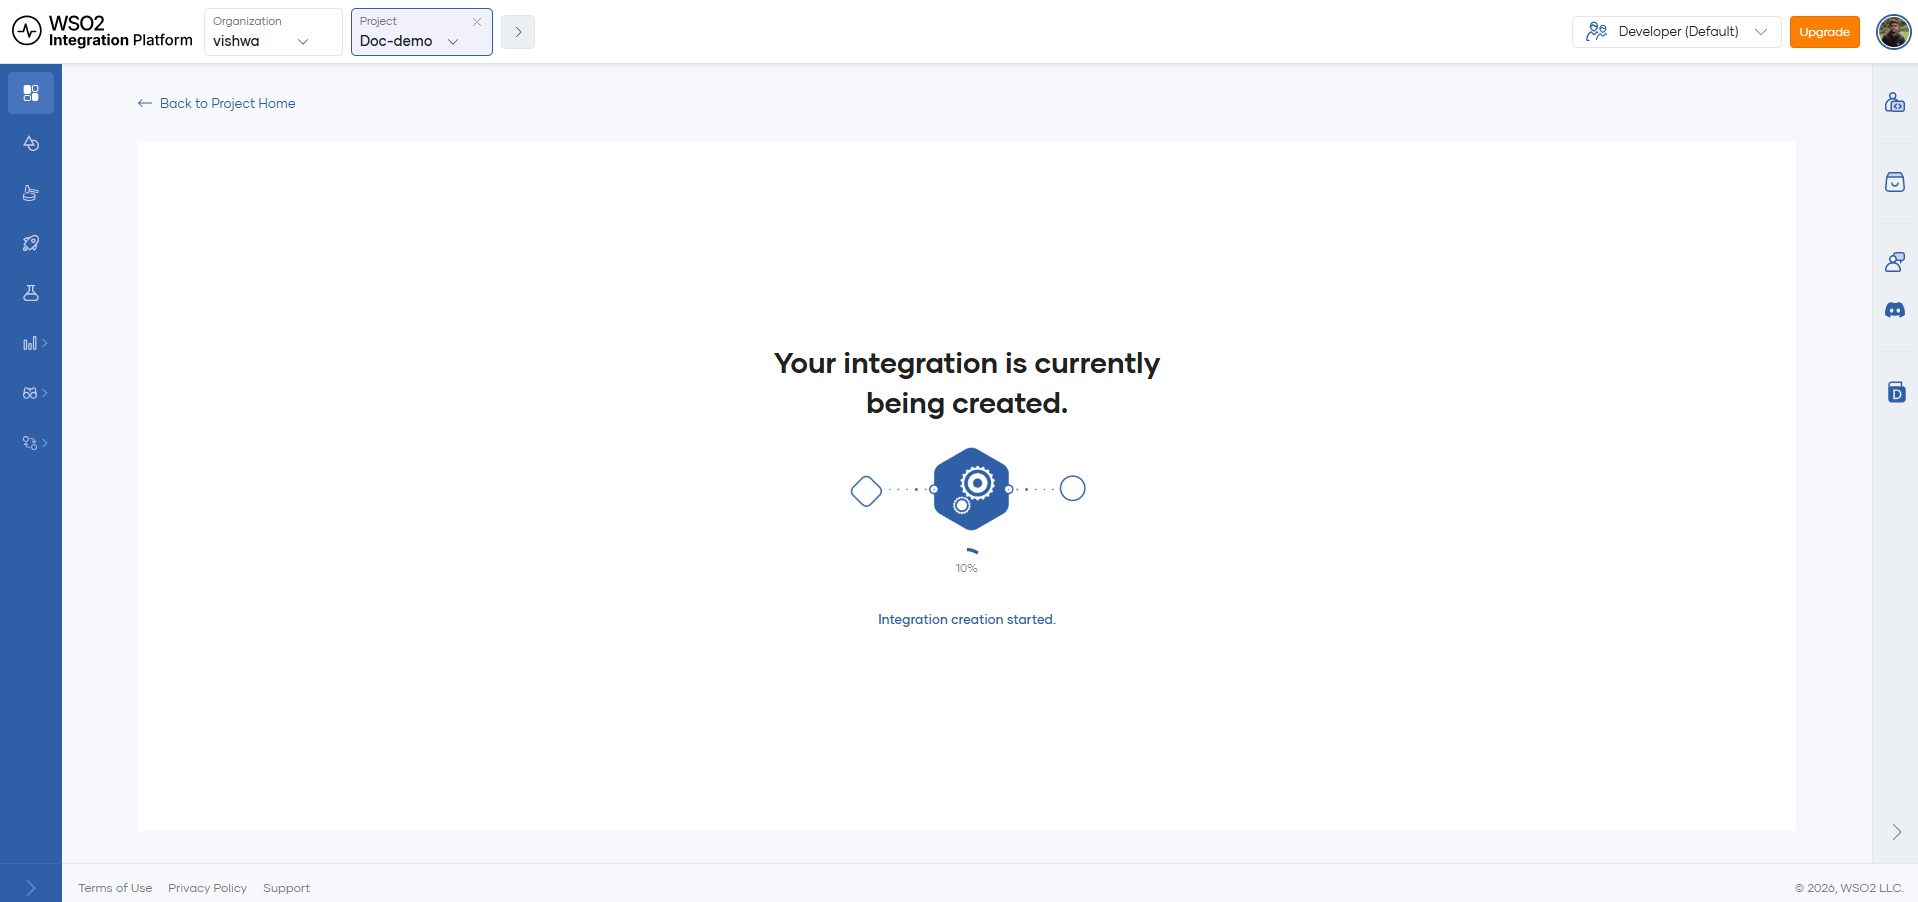
Fill in your credentials and configuration, then select Deploy. The integration deploys within minutes.
Step 6: Test it
After deployment, you land on the integration's overview page. Select Test on the Development environment to trigger an execution.
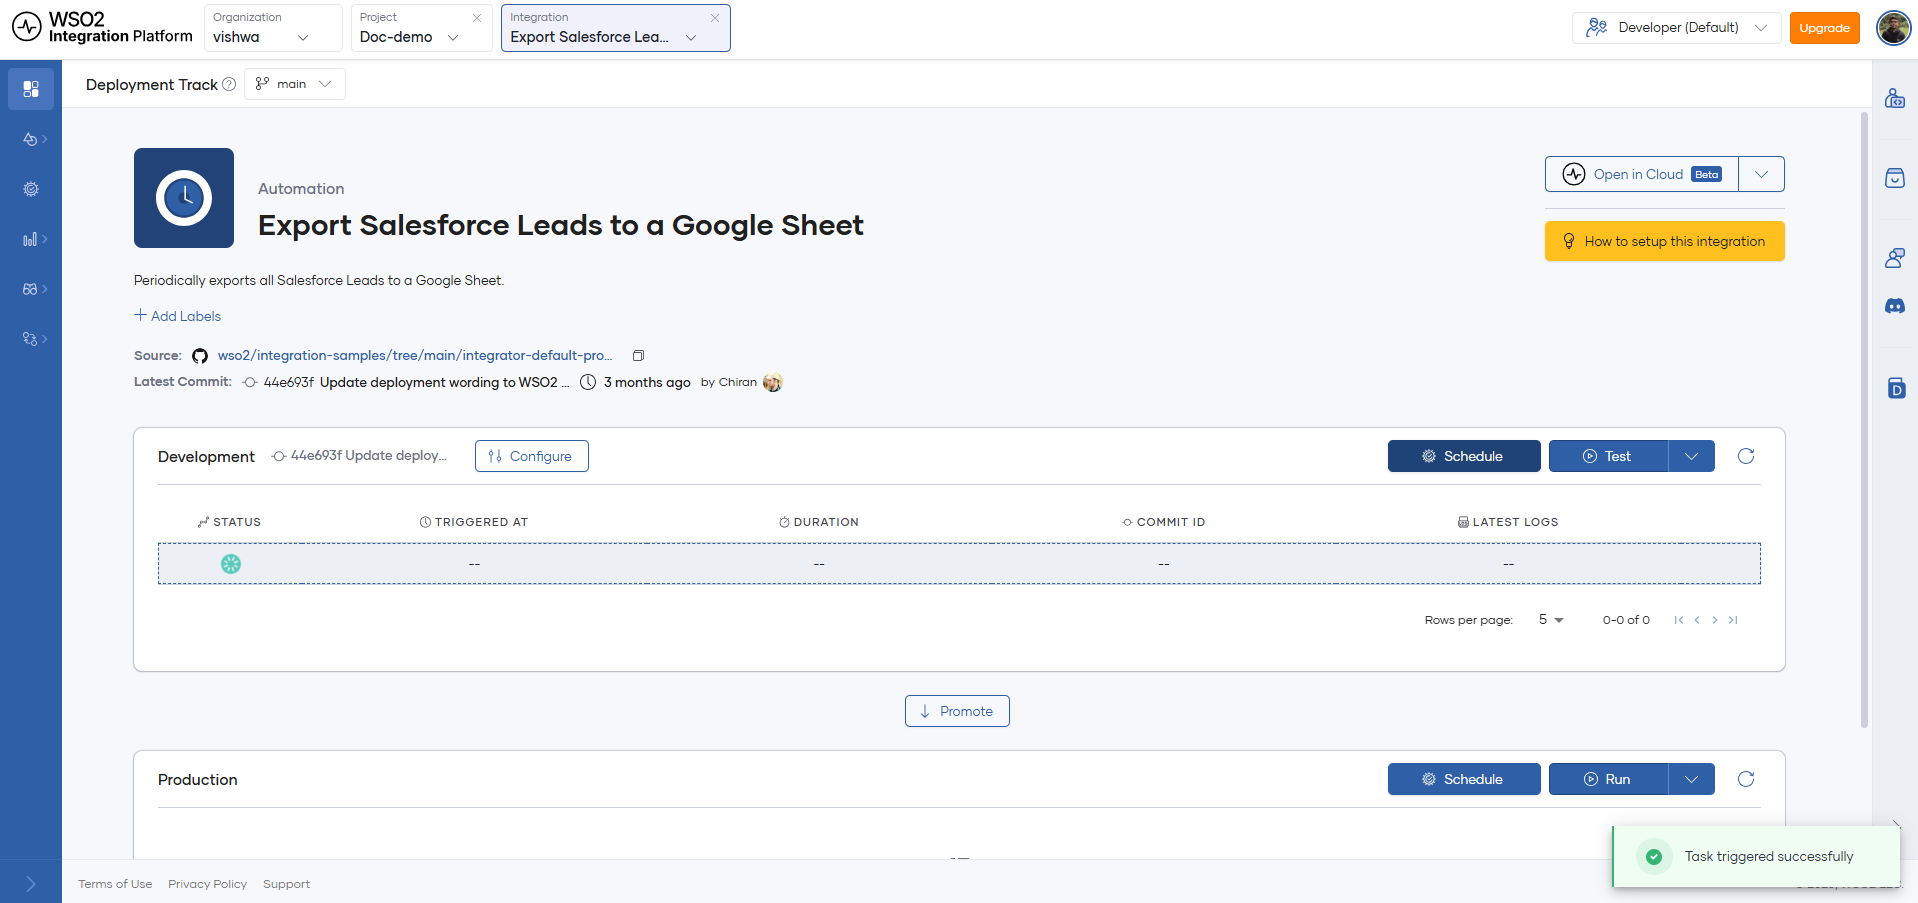
Once the execution completes, check the logs, then check your Google Sheet. You'll find a fresh spreadsheet already populated with your Salesforce data.
From here, you can manage, deploy, and observe this integration just like any other integration on WSO2 Cloud.
Step 7: Make it yours
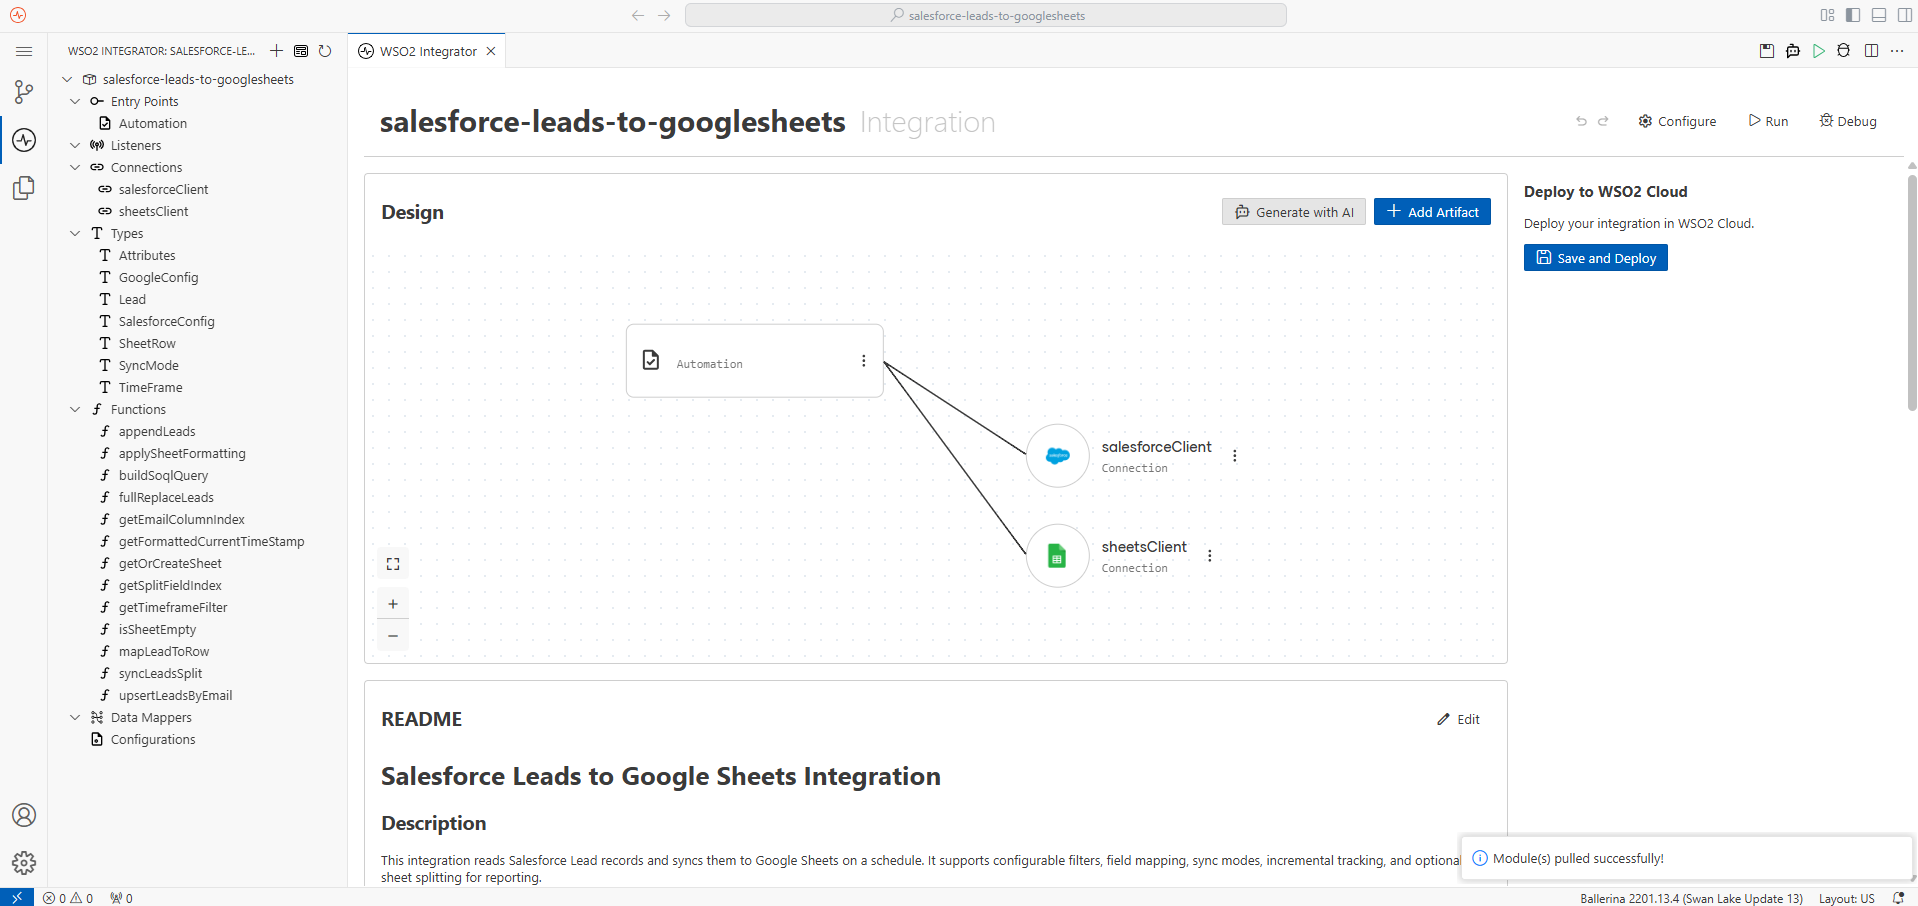
To customize the integration, go to the overview page. Select Open in Cloud to edit the integration in low-code or pro-code view, right in the cloud editor. Or select Open in Integrator to edit the integration locally in WSO2 Integrator IDE instead. Edit however you're most comfortable, then push the result to your own repository. At that point, it's fully yours, the same as any integration you built from scratch.
Common integration problems are already solved, so you don't have to rebuild them. Pick a use case, deploy it in minutes, and spend your time on the work that actually needs it.
What's next
- Manage integrations — View deployment status and manage the lifecycle of a deployed integration
- Runtime configurations — Update configuration values or link them to shared configuration groups after deployment
- Deploy from the cloud editor — Learn more about customizing and redeploying an integration you opened in the cloud editor
- Explore sample integrations — Start from a teaching sample instead if you'd rather build the integration yourself