Build an Integration as API
Time: Under 10 minutes | What you'll build: An HTTP service that listens on /hello/greeting, calls an external API, and returns the response to the caller.
An HTTP service exposes your integration logic as a REST endpoint. This quick start shows the full cycle: create a service, add a resource, connect to an external API, and test it using the Try-It/Test panel in WSO2 Integrator.
A working WSO2 Integrator environment. Choose the path that fits how you want to work:
- Cloud setup — launch WSO2 Integrator in a browser-based cloud editor.
- Local setup — install and launch the WSO2 Integrator IDE on your machine.
- Visual Designer
- Ballerina Code
Step 1: Create the integration
In the cloud editor, you're already inside a project. Skip to Step 2.
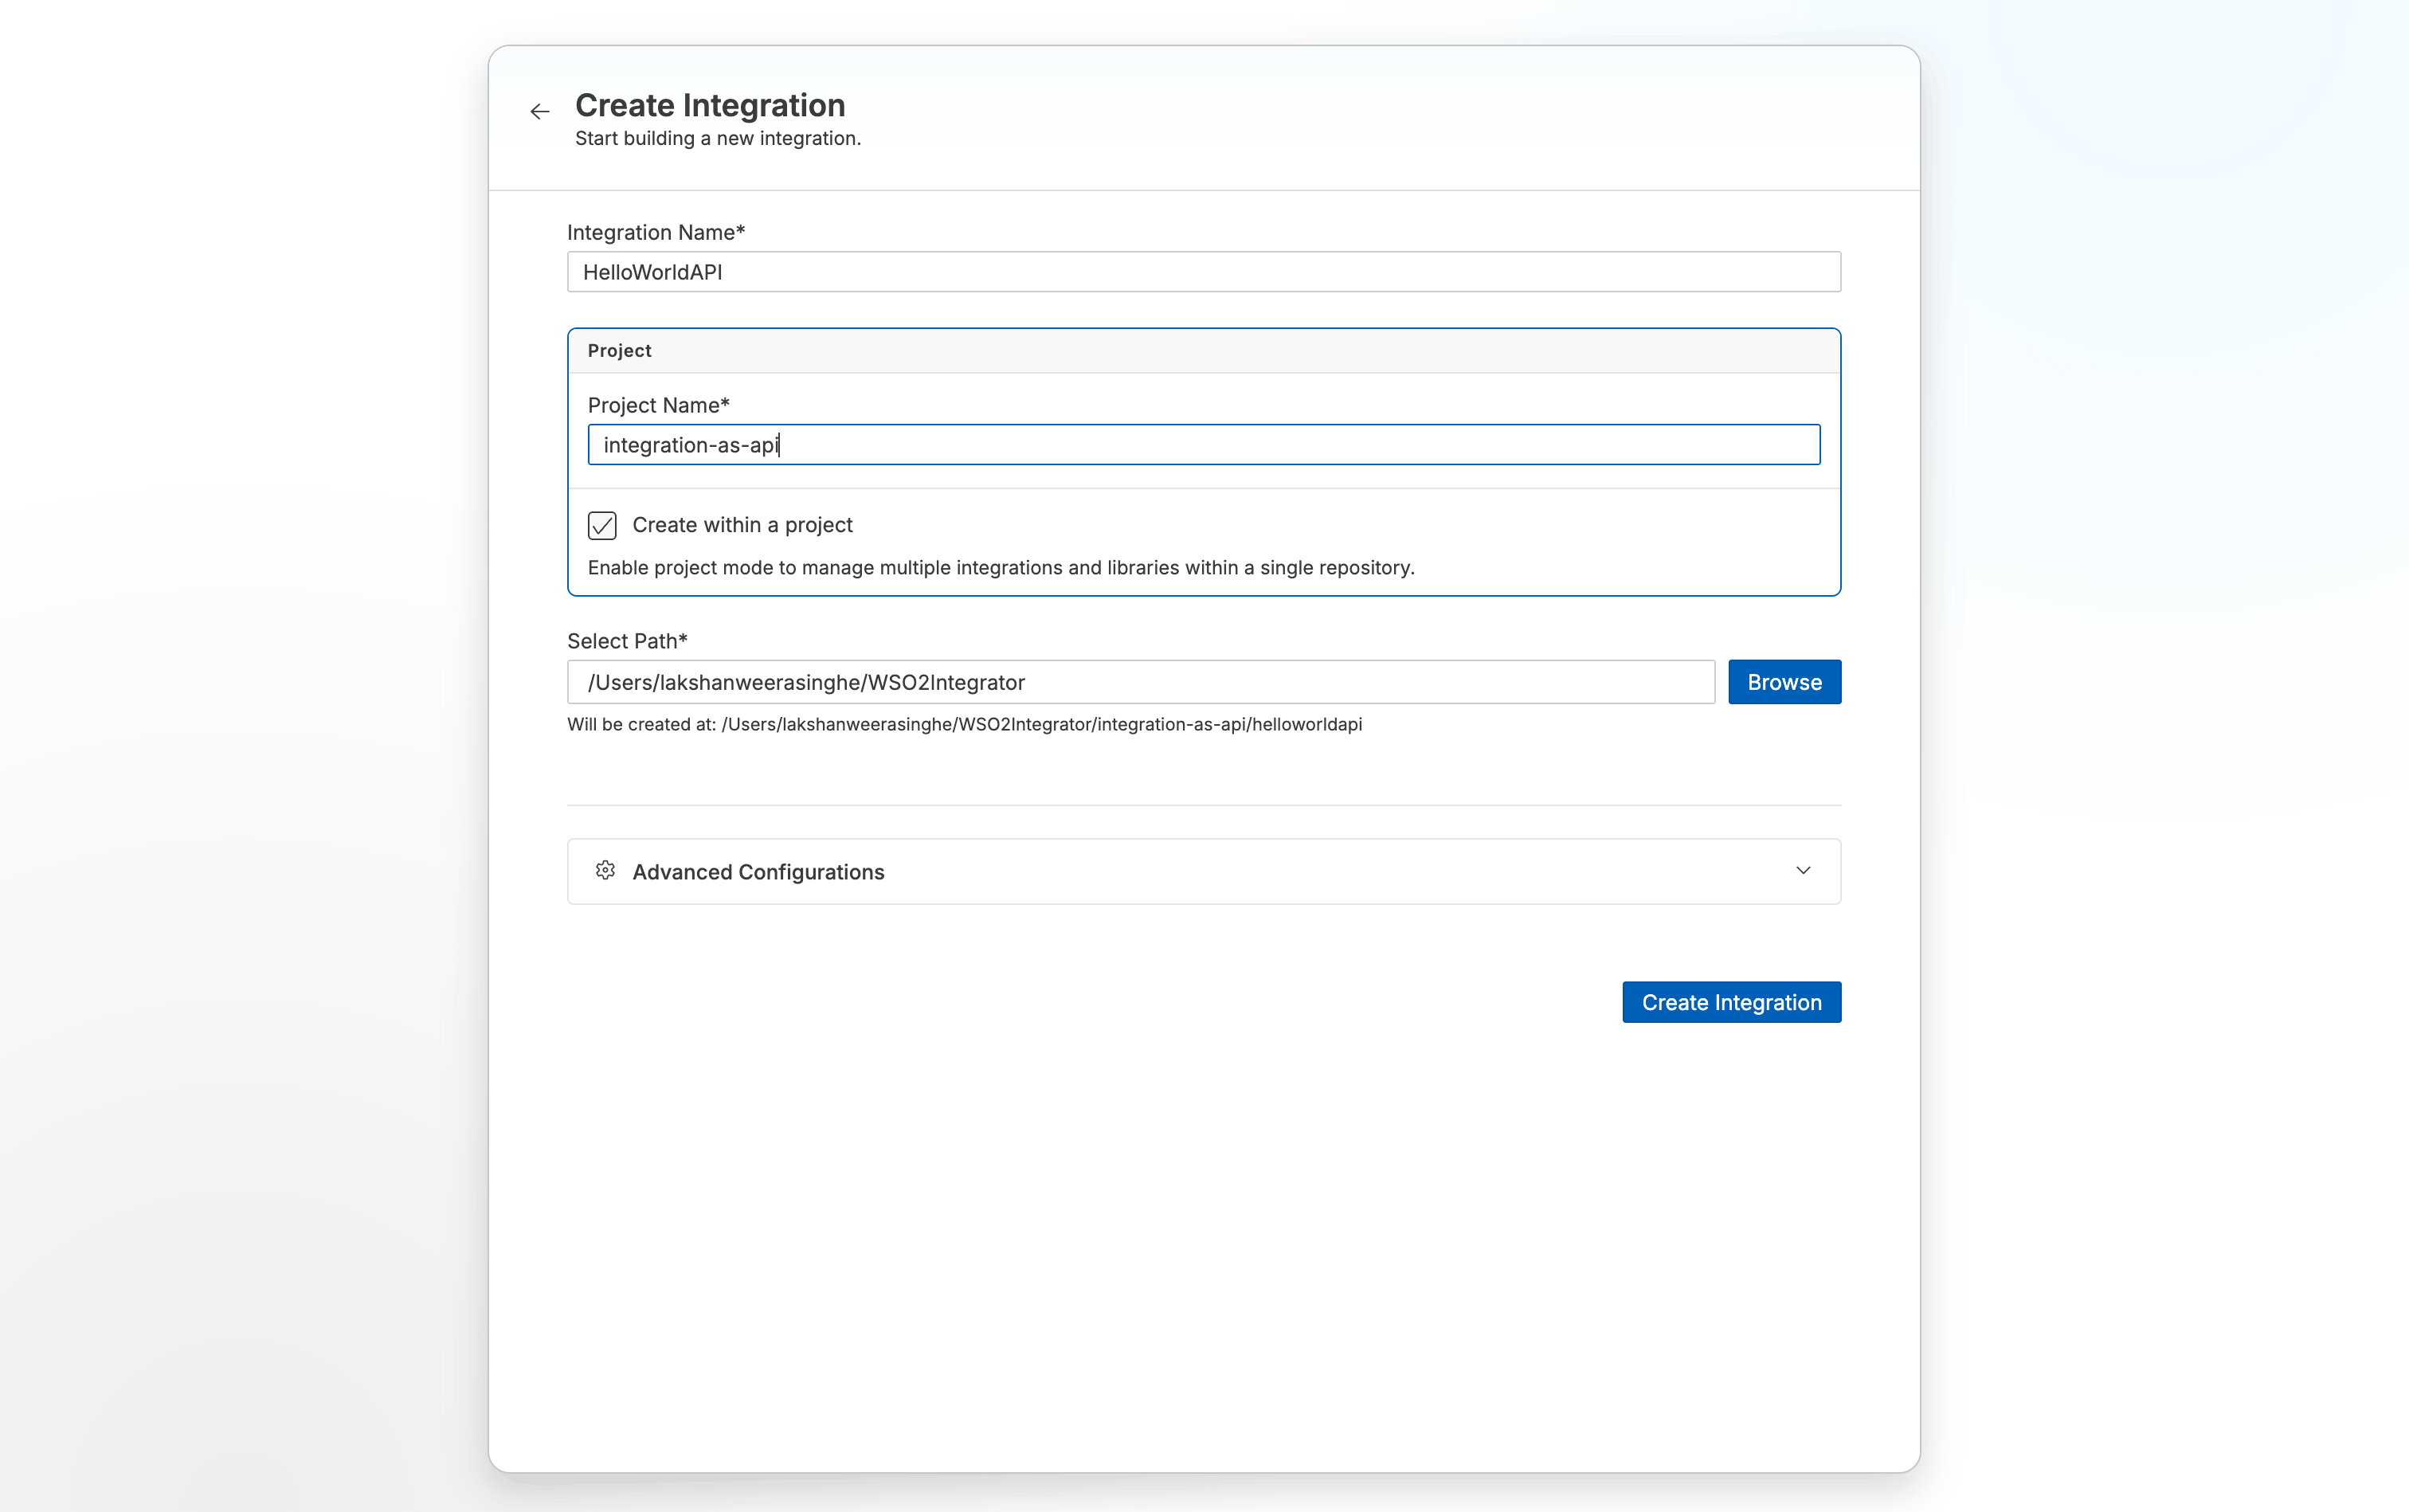
- Open WSO2 Integrator.
- Select the Create New Integration card.
- Set Integration Name to
HelloWorldAPI. - Set Project Name to
integration-as-api. - Select Create Integration.
Step 2: Add an HTTP service
- Select your integration from the project overview canvas.
- Select + Add Artifact in the design canvas.
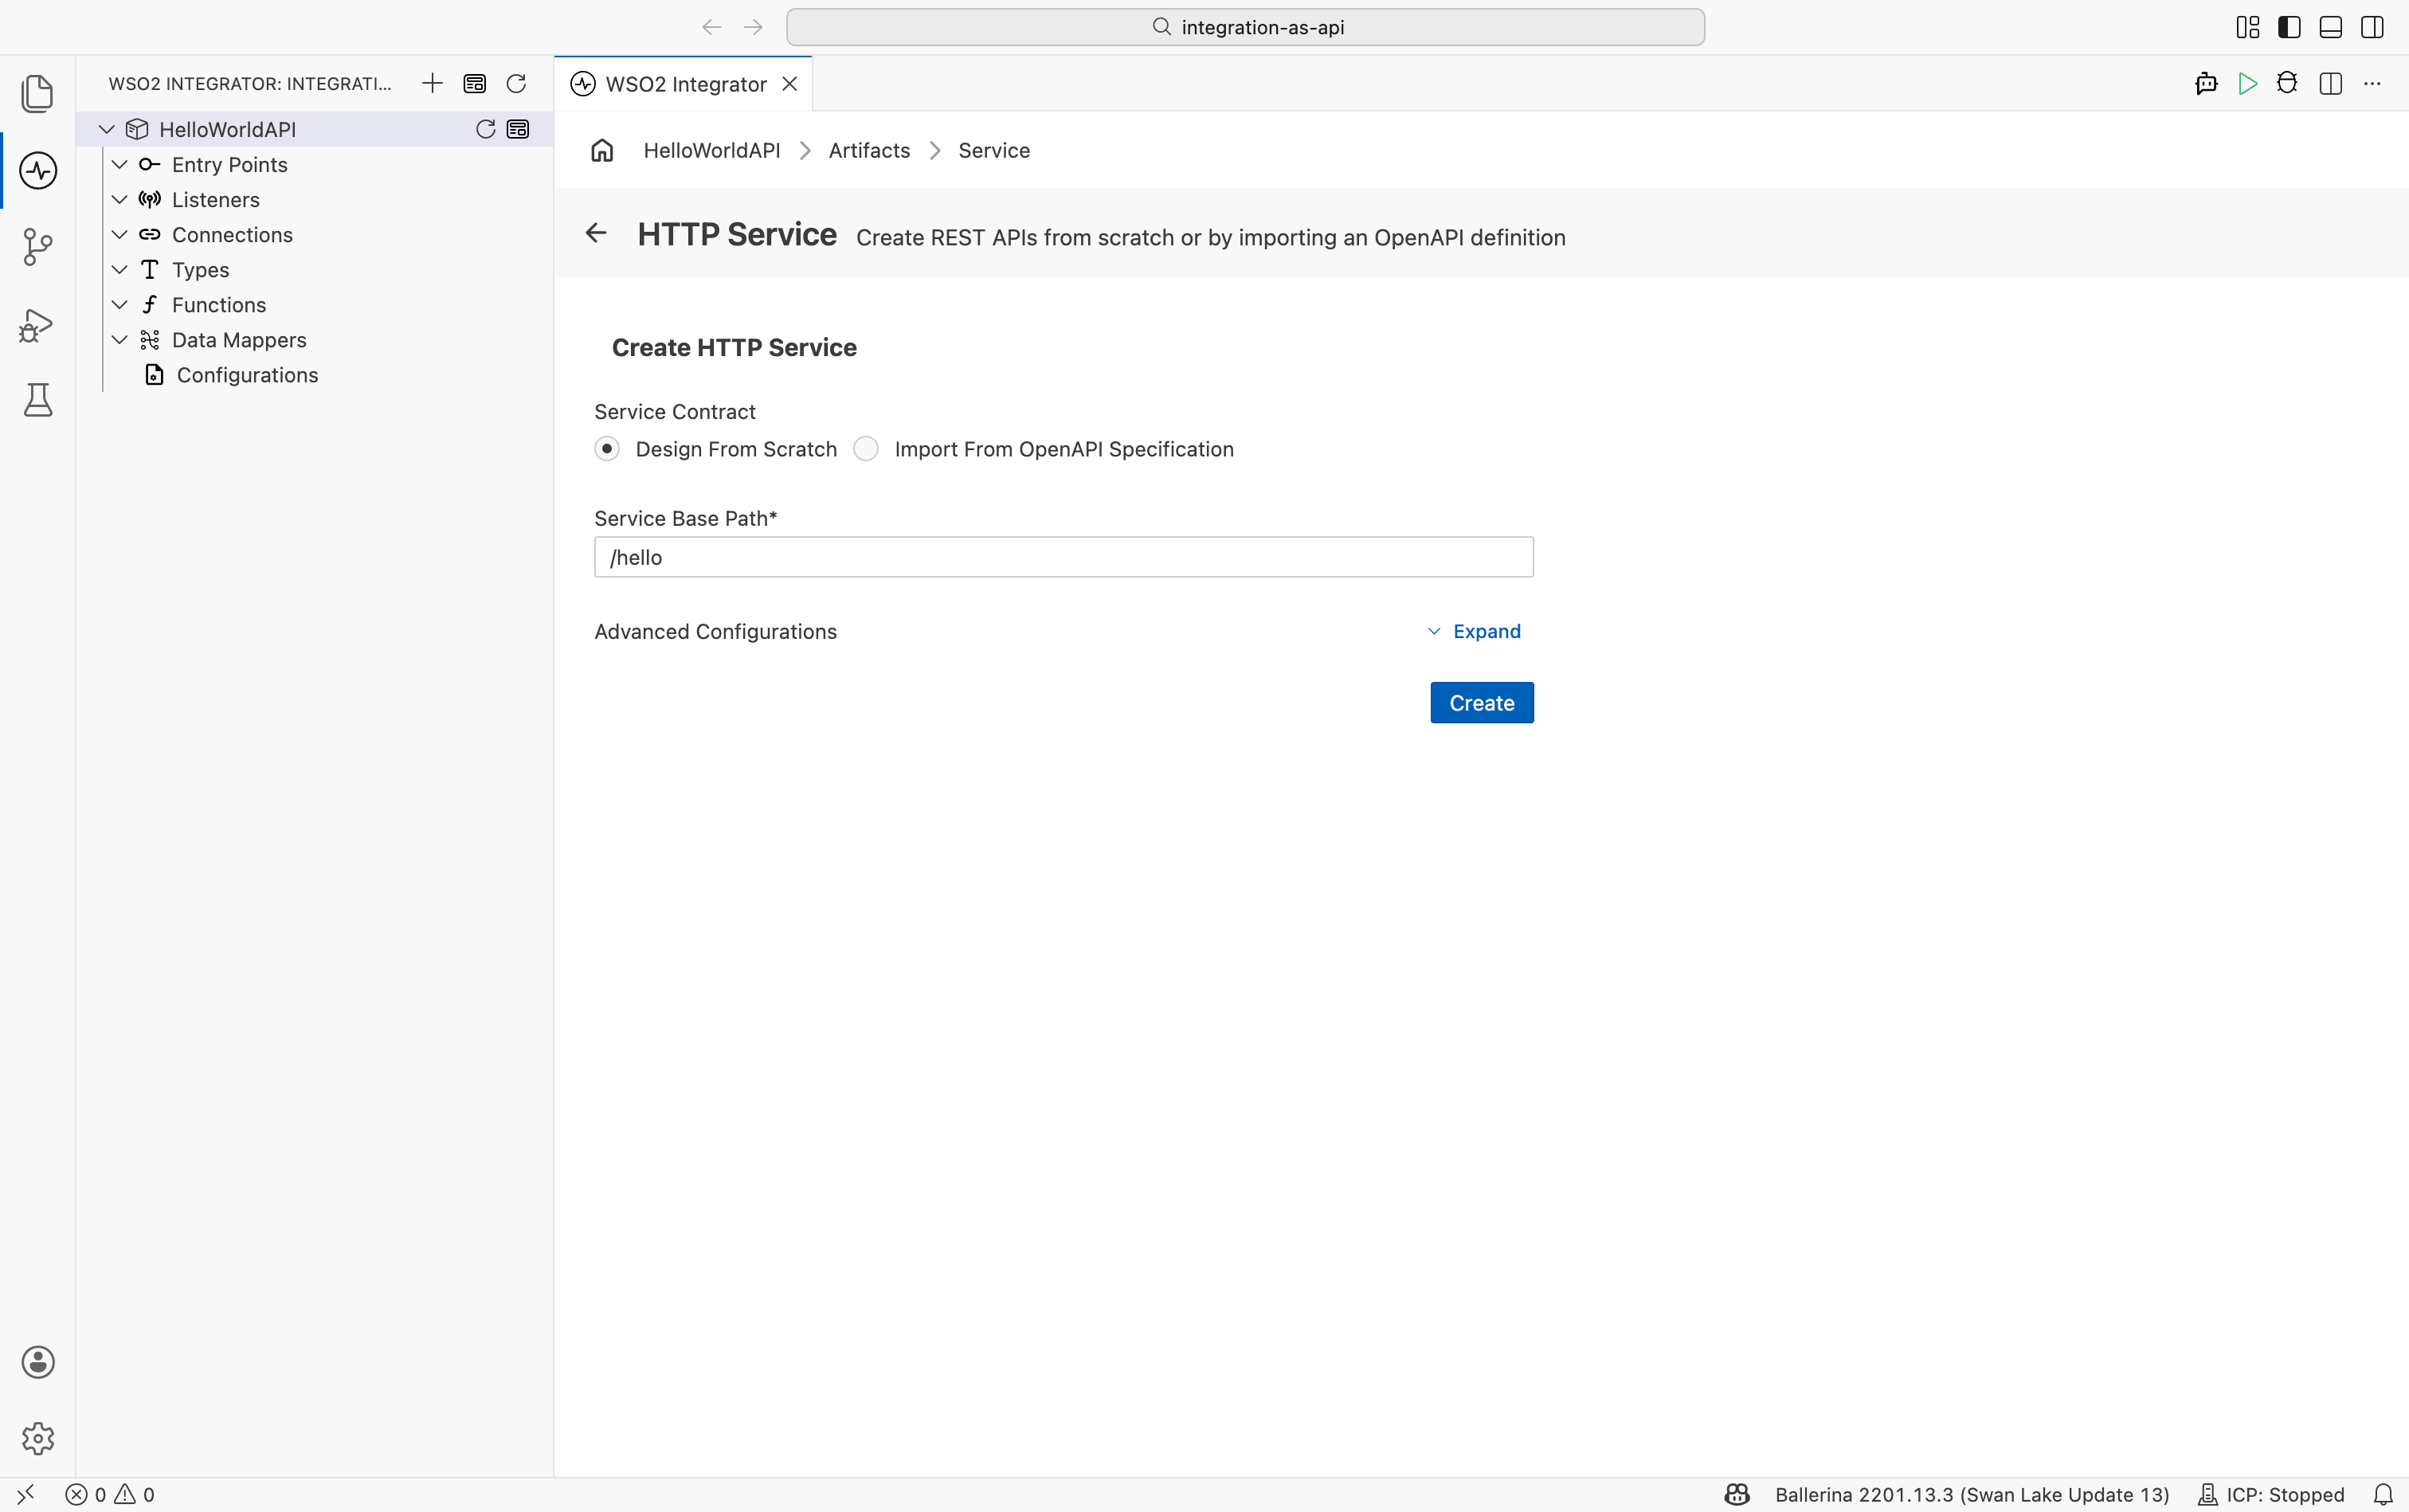
- Select HTTP Service under Integration as API.
- Keep Service Contract as Design From Scratch.
- Set Service Base Path to
/hello. - Select Create.
Step 3: Add a resource
- In the HTTP service design view, select + Add Resource.
- Select GET.
- Set Resource path to
greeting. - Select Save.

Step 4: Connect to an external API
- Select + inside the resource flow.
- Select Add Connection.
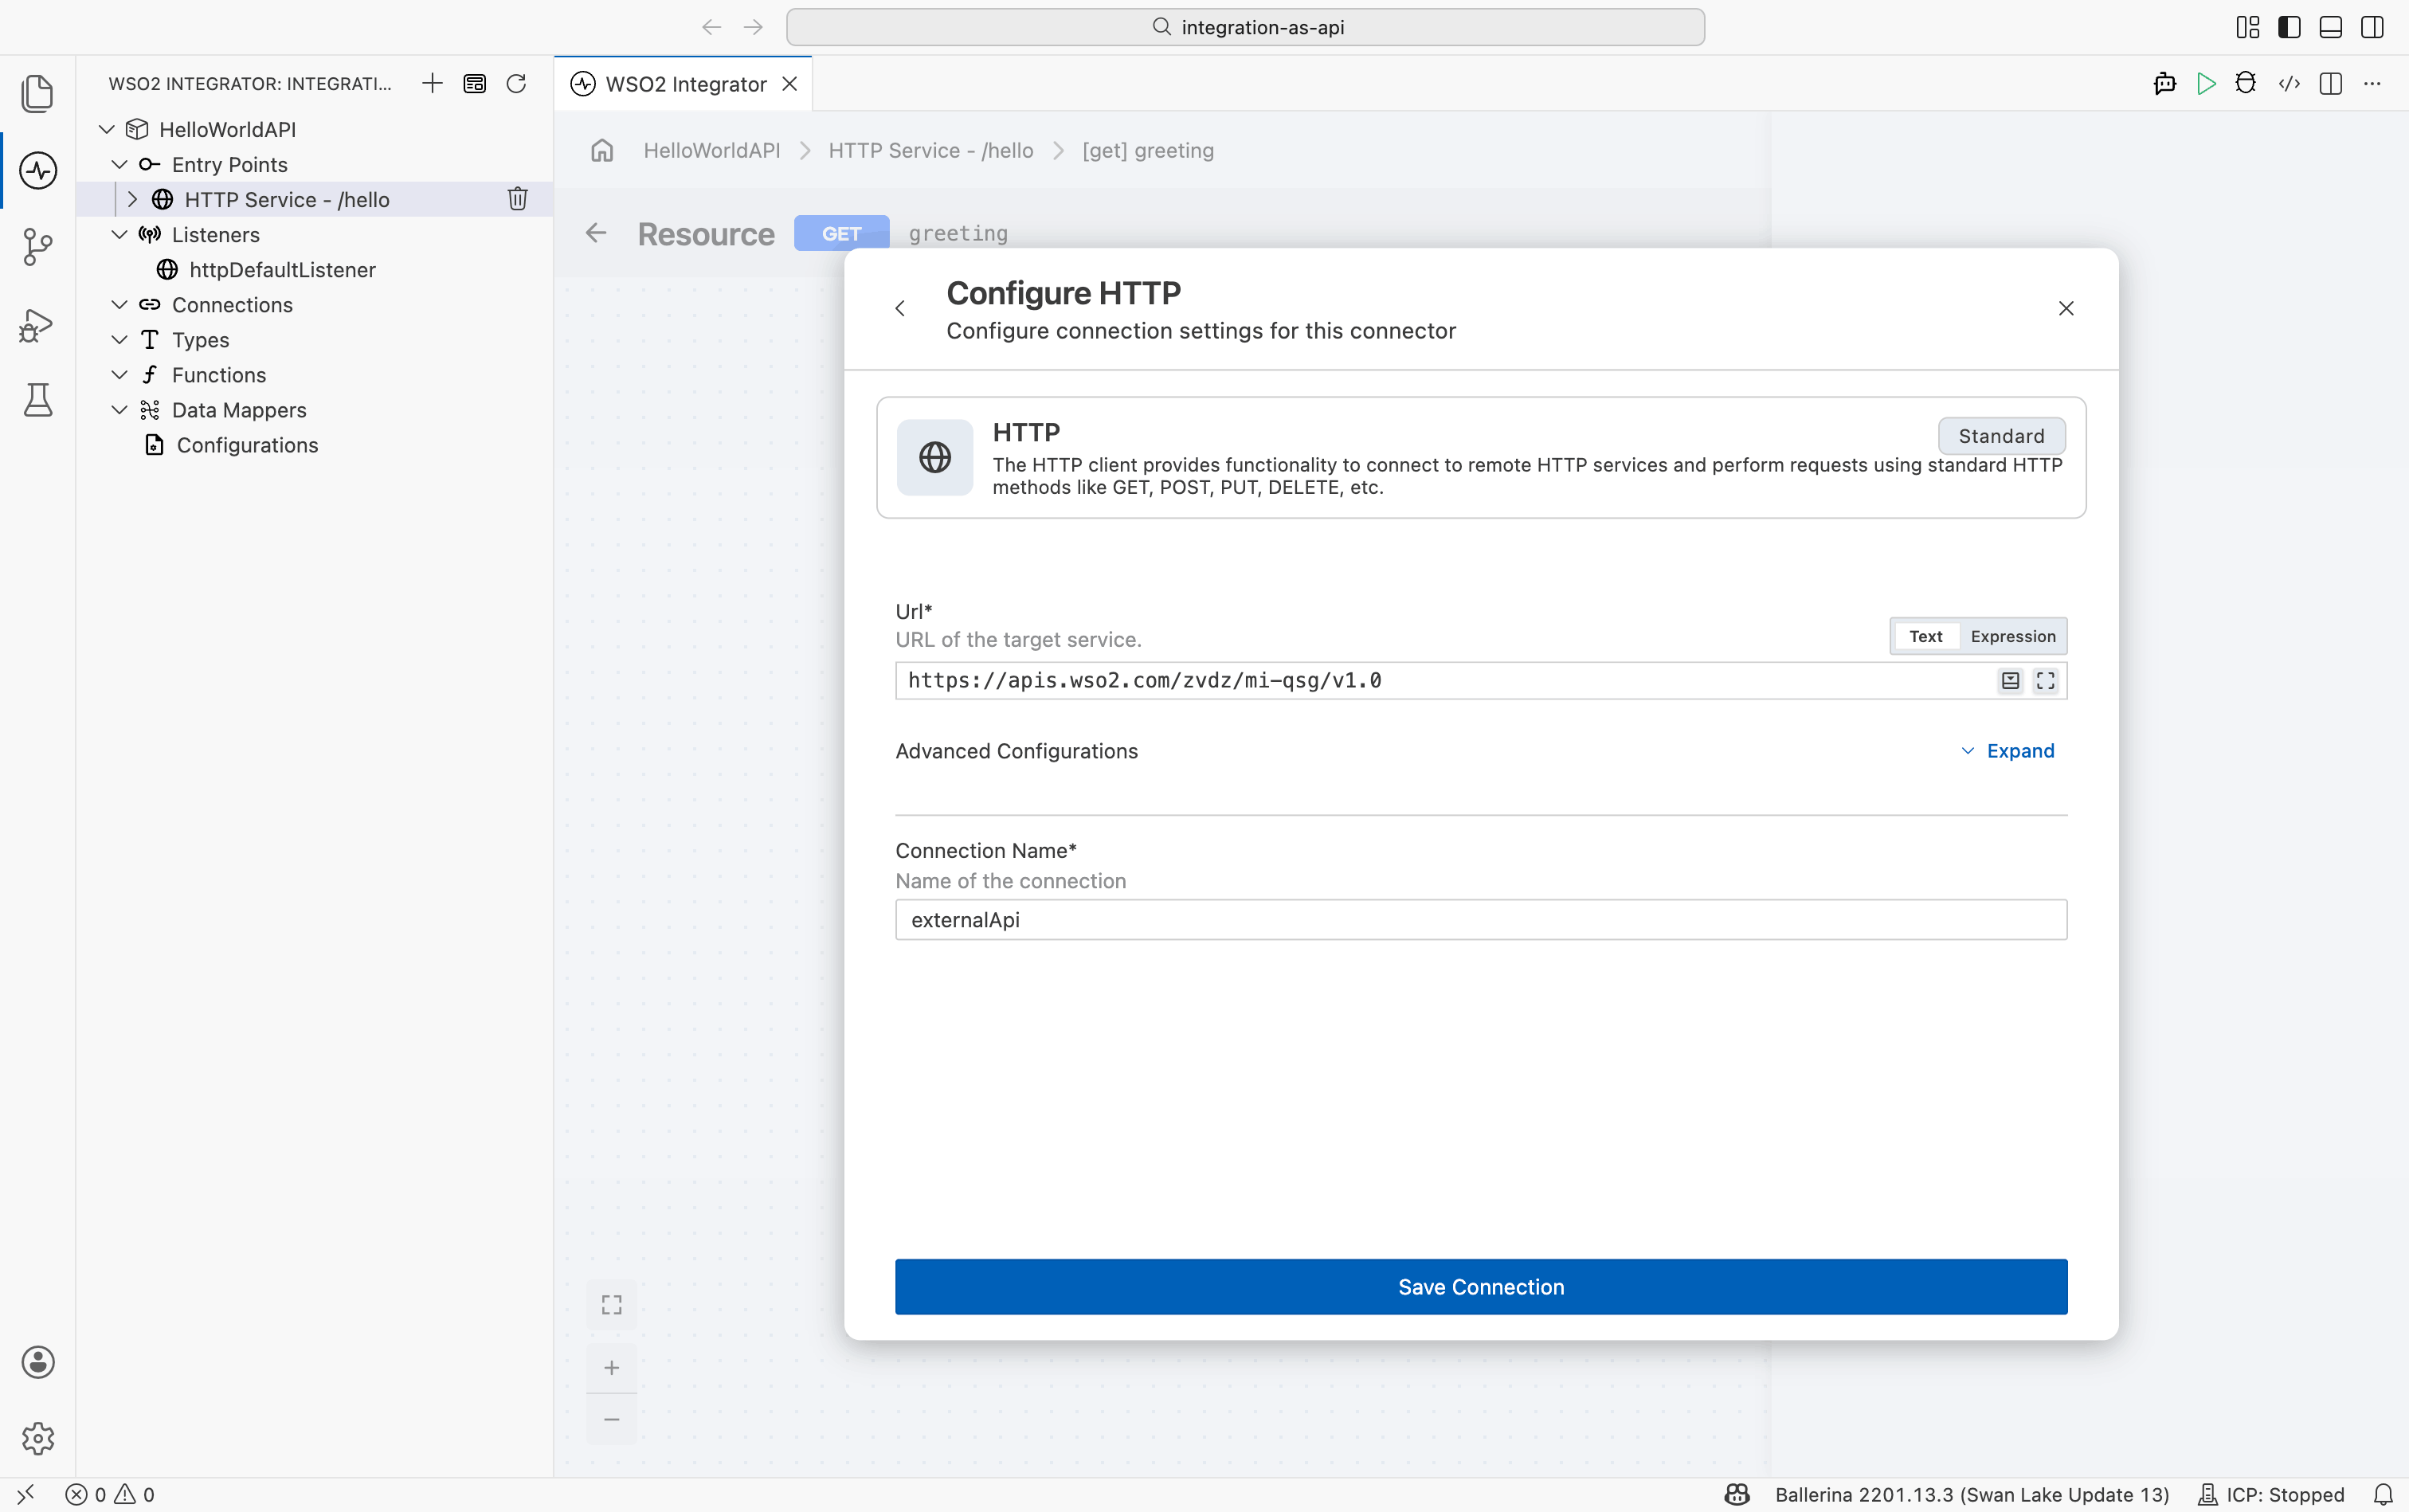
- Select HTTP.
- Set Url to
https://apis.wso2.com/zvdz/mi-qsg/v1.0. - Set Connection Name to
externalApi. - Select Save Connection.
Step 5: Call the external API
- Select + inside the resource flow.
- Select externalApi.
- Select Get.
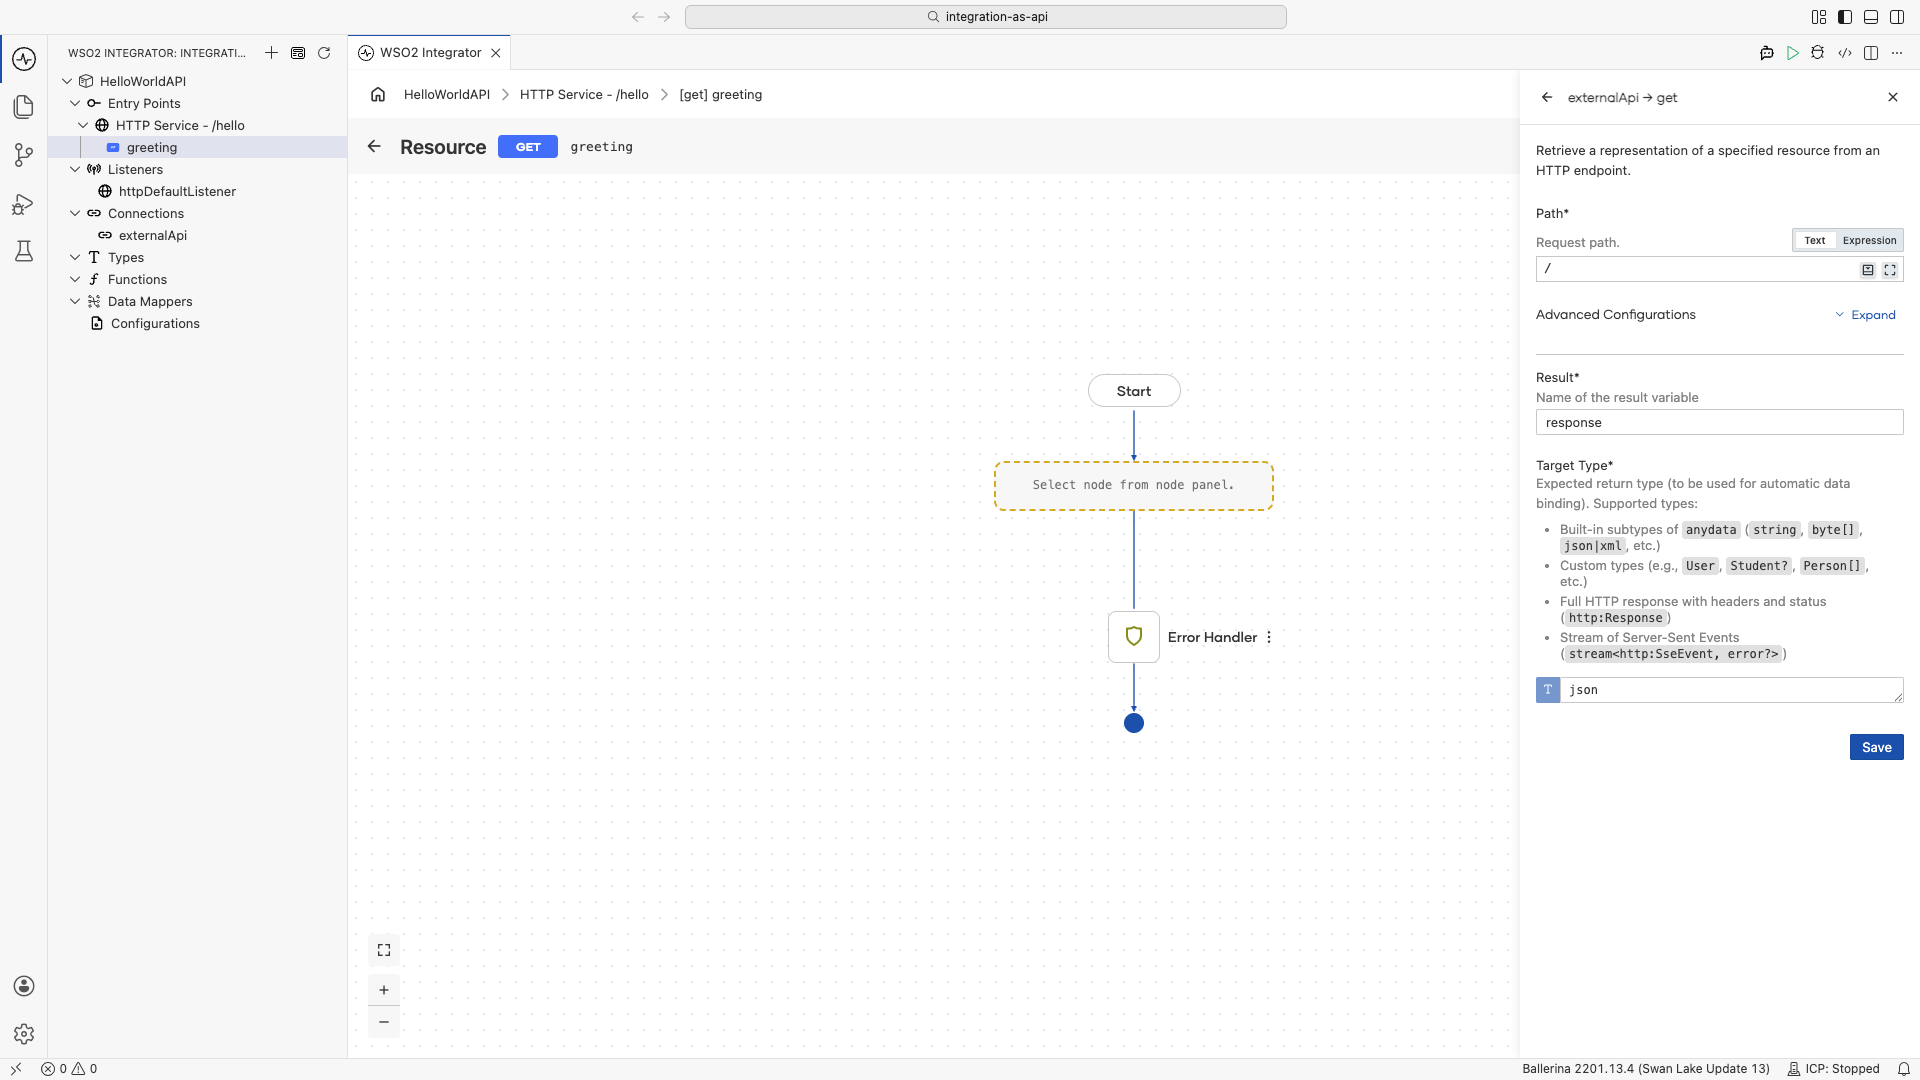
- Set Path to
/. - Set Result to
response. - Set Target Type to
json. - Select Save.
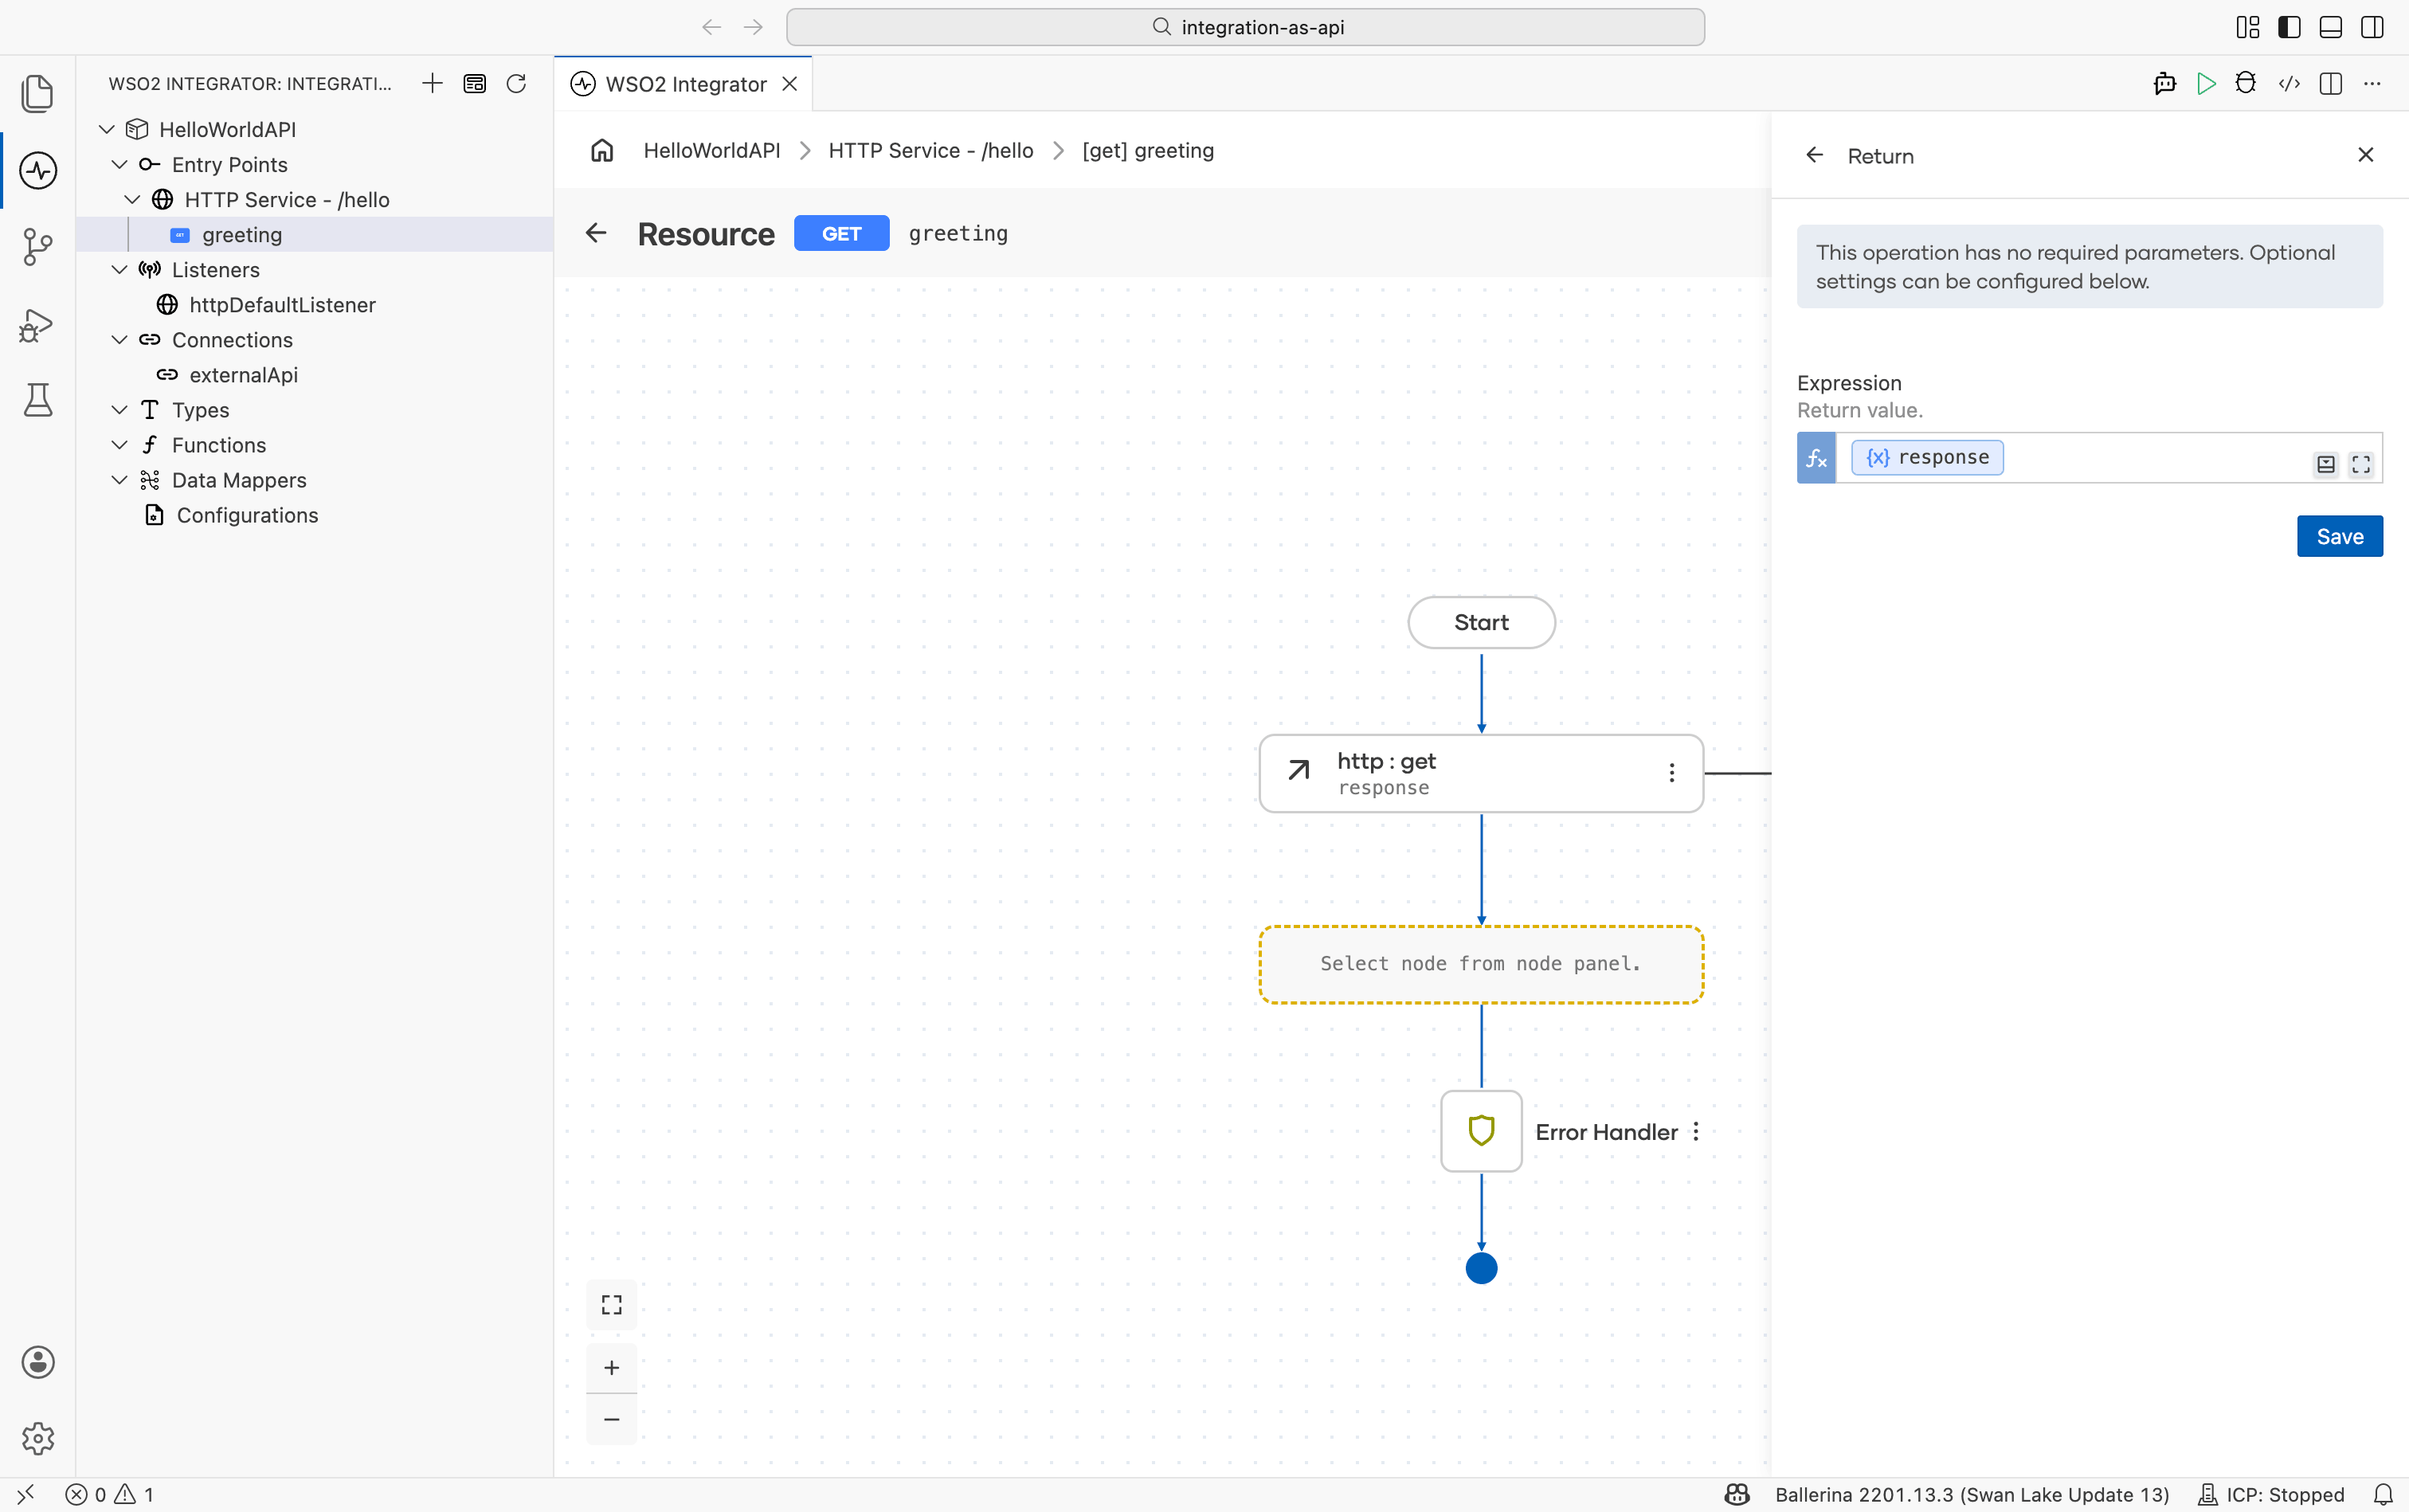
Step 6: Return the response
- Select + inside the resource flow after the external API call node we just added.
- Select Return.
- Set Expression to
response. - Select Save.
Step 7: Run and test
- Select Run.
- Select Test in the confirmation dialog.
- Select Execute.
- Confirm the response shows
200 OKwith aHello Worldbody.

The following complete, runnable Ballerina program produces the same integration shown in the visual designer steps.
import ballerina/http;

listener http:Listener httpDefaultListener = http:getDefaultListener();

final http:Client externalApi = check new ("https://apis.wso2.com/zvdz/mi-qsg/v1.0");

service /hello on httpDefaultListener {

    resource function get greeting() returns json|error {
        do {
            json response = check externalApi->get("/");
            return response;
        } on fail error err {
            // handle error
            return error("unhandled error", err);
        }
    }
}
Save this as main.bal, then click the Run button in the top toolbar.
Select Test in the confirmation dialog, then select Execute in the Try-It editor.
Confirm the response shows 200 OK with a Hello World body.
Step 8: Deploy to WSO2 Cloud
Deploy your integration to WSO2 Cloud - Integration Platform in any of the following ways:
-
If you're using the cloud editor, see Save and deploy.
-
If you're using the WSO2 Integrator IDE, see Deploy from the IDE.
-
If you'd rather skip the build and try a ready-made sample, one-click deploy it:

What's next
- Build an automation — Build a scheduled job
- Build an AI agent — Build an intelligent agent
- Build an event-driven integration — React to messages from brokers
- Build a file-driven integration — Process files from FTP or local directories
- HTTP service — Learn resource functions, path parameters, and error handling