Setup Guide
This guide walks you through creating an Elastic Cloud account and generating the API key required to authenticate the Elastic Cloud connector.
Prerequisites
- An Elastic Cloud account. If you do not have one, sign up for a free trial.
Step 1: Sign up and log in to Elastic Cloud
-
Visit the Elastic Cloud registration page.
-
Fill in your account details including email, password, and organization information.
-
Verify your email address by selecting the verification link sent to your email.
-
Complete your profile setup, accept the terms of service, and choose your subscription plan.
-
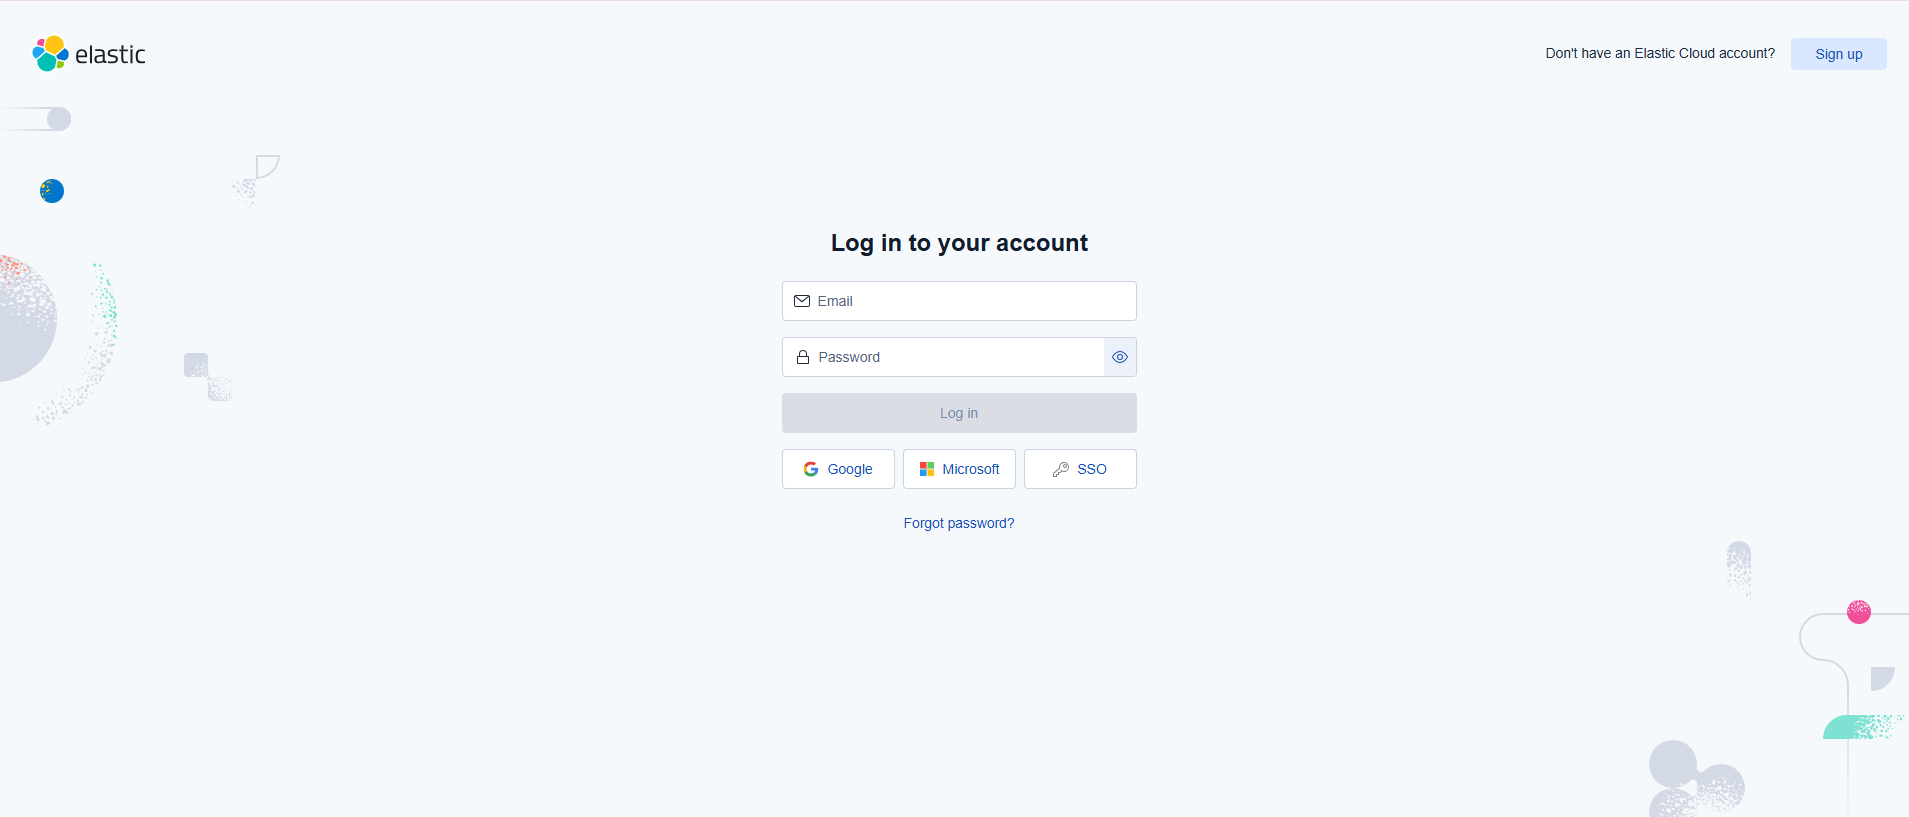
Log in at cloud.elastic.co/login using your credentials (or Google/Microsoft SSO).
Step 2: Access the Elastic Cloud console
-
After successful login, you are redirected to the main dashboard.
-
The dashboard shows your hosted deployments, serverless projects, deployment status, version, and available actions.
Step 3: Create an Elastic Cloud deployment
-
From the dashboard, select Create deployment.
-
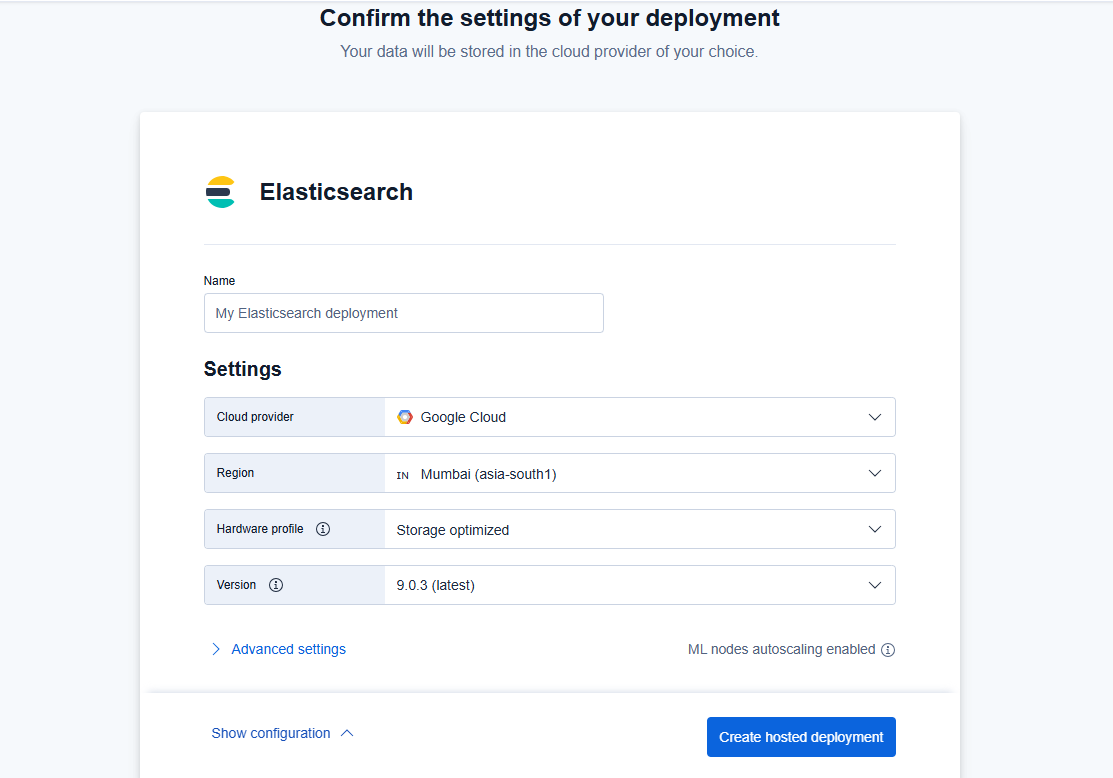
Choose your cloud provider (AWS, Google Cloud, or Azure) and region.
-
Configure the deployment size, features, and Elastic Stack version.
-
Select Create deployment and wait for it to become ready.
You can also create deployments programmatically using the connector after obtaining your API key.
Step 4: Navigate to organization settings
-
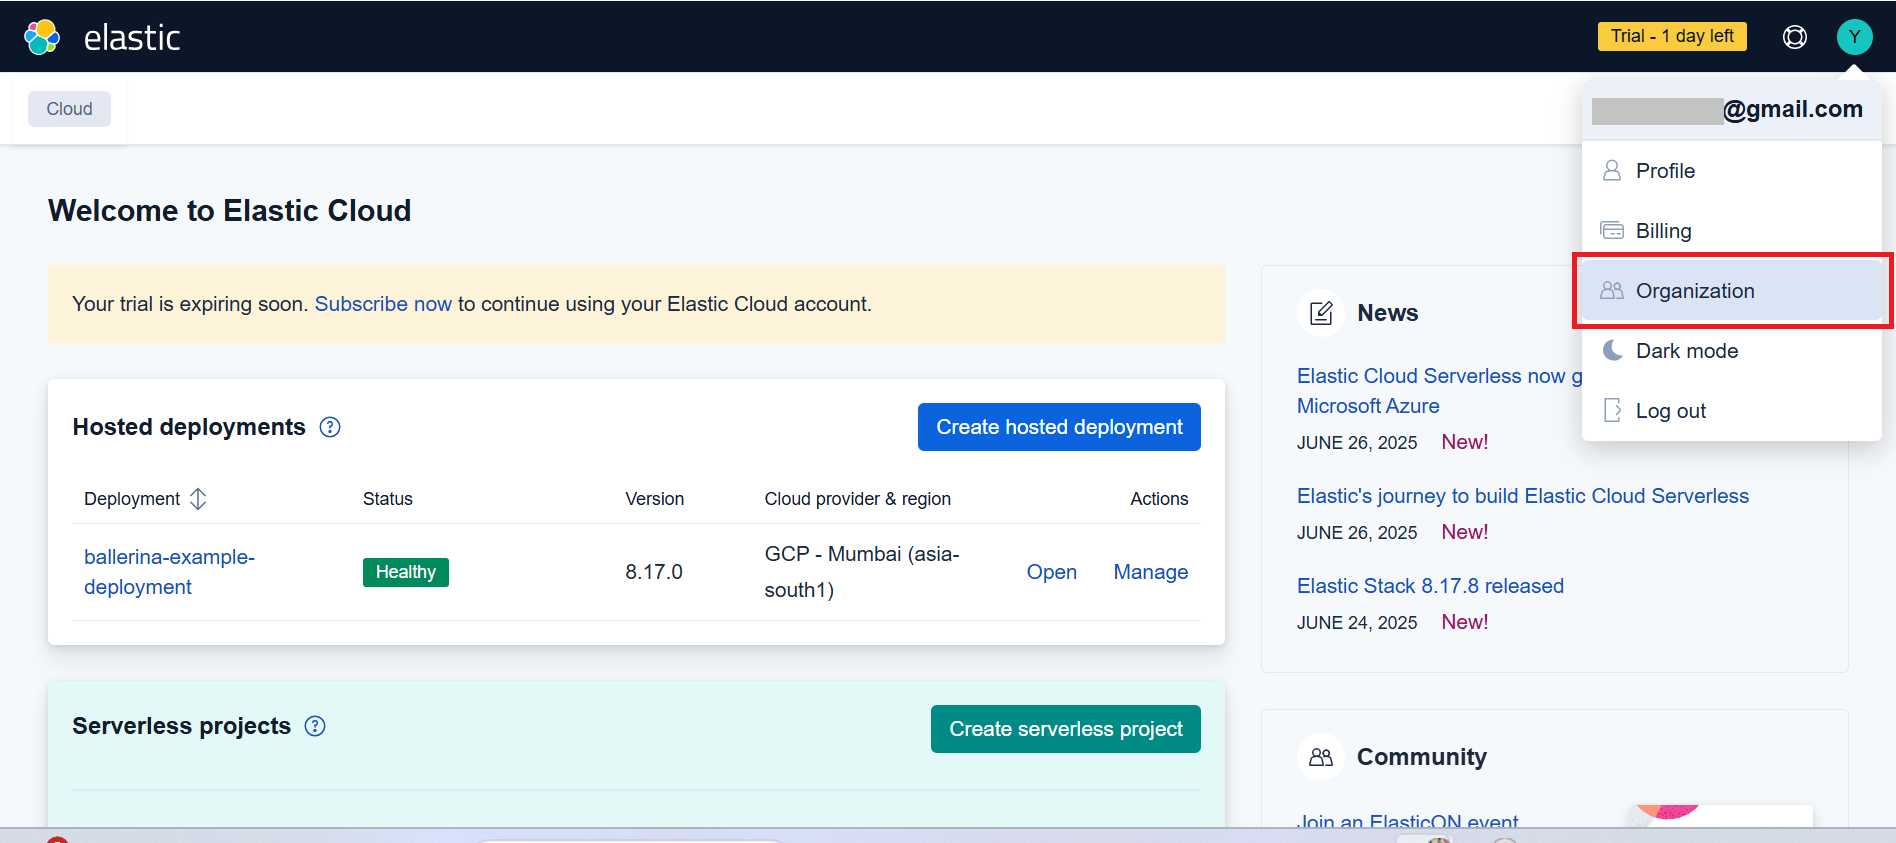
From the dashboard, select Organization in the top navigation.
-
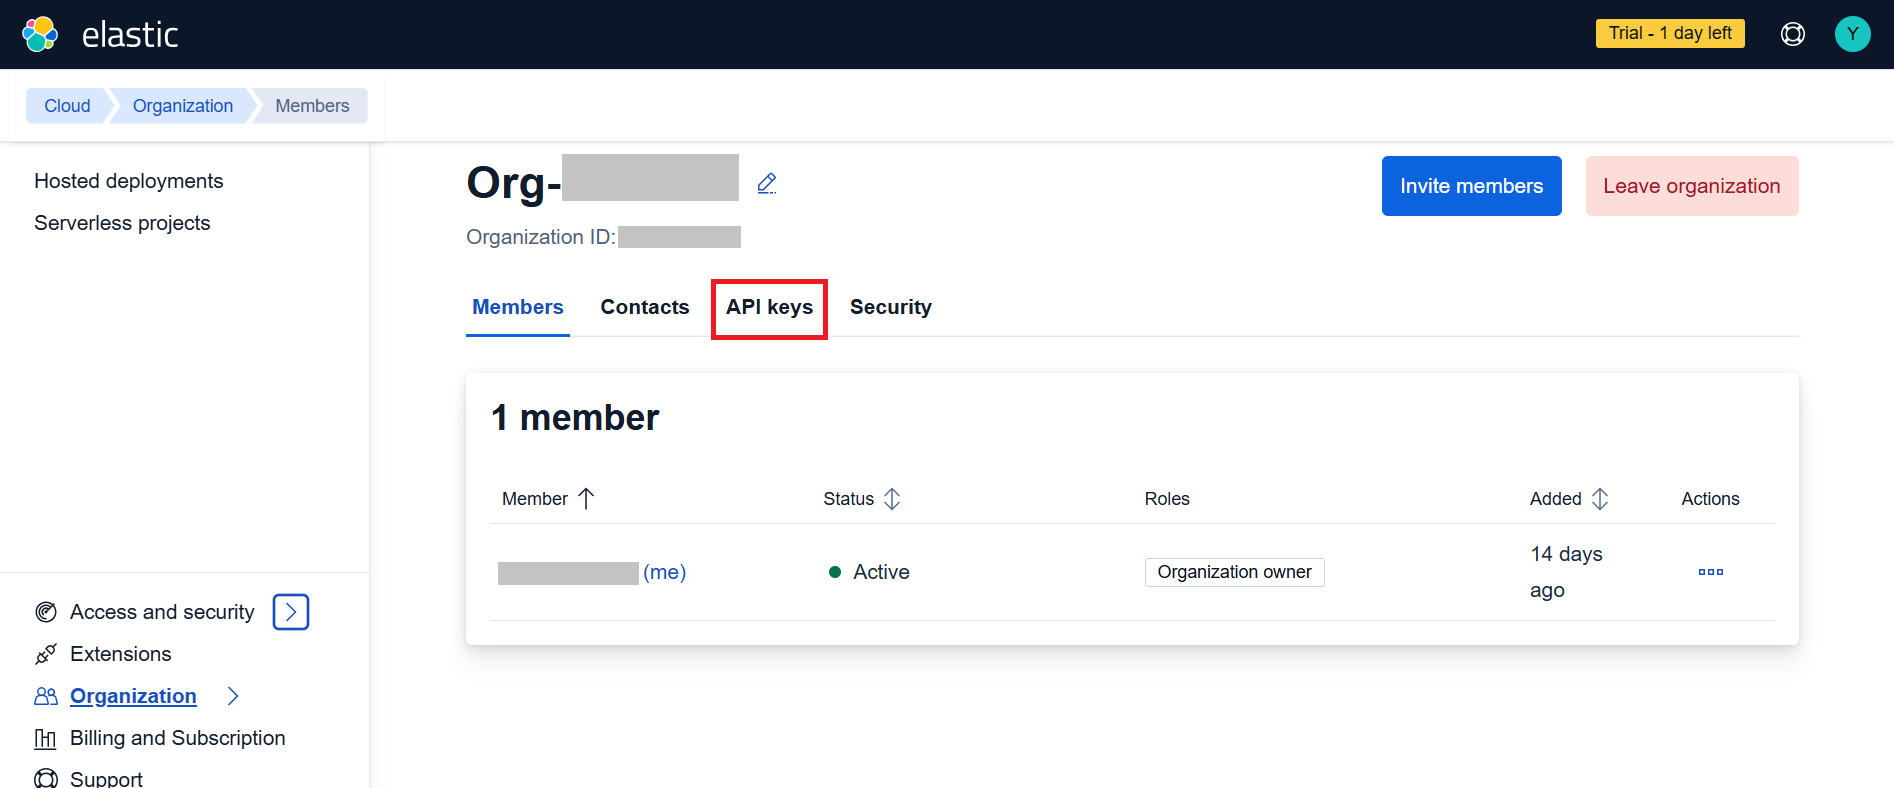
Go to the organization management page to view your Organization ID and settings.
-
Select the API keys tab.
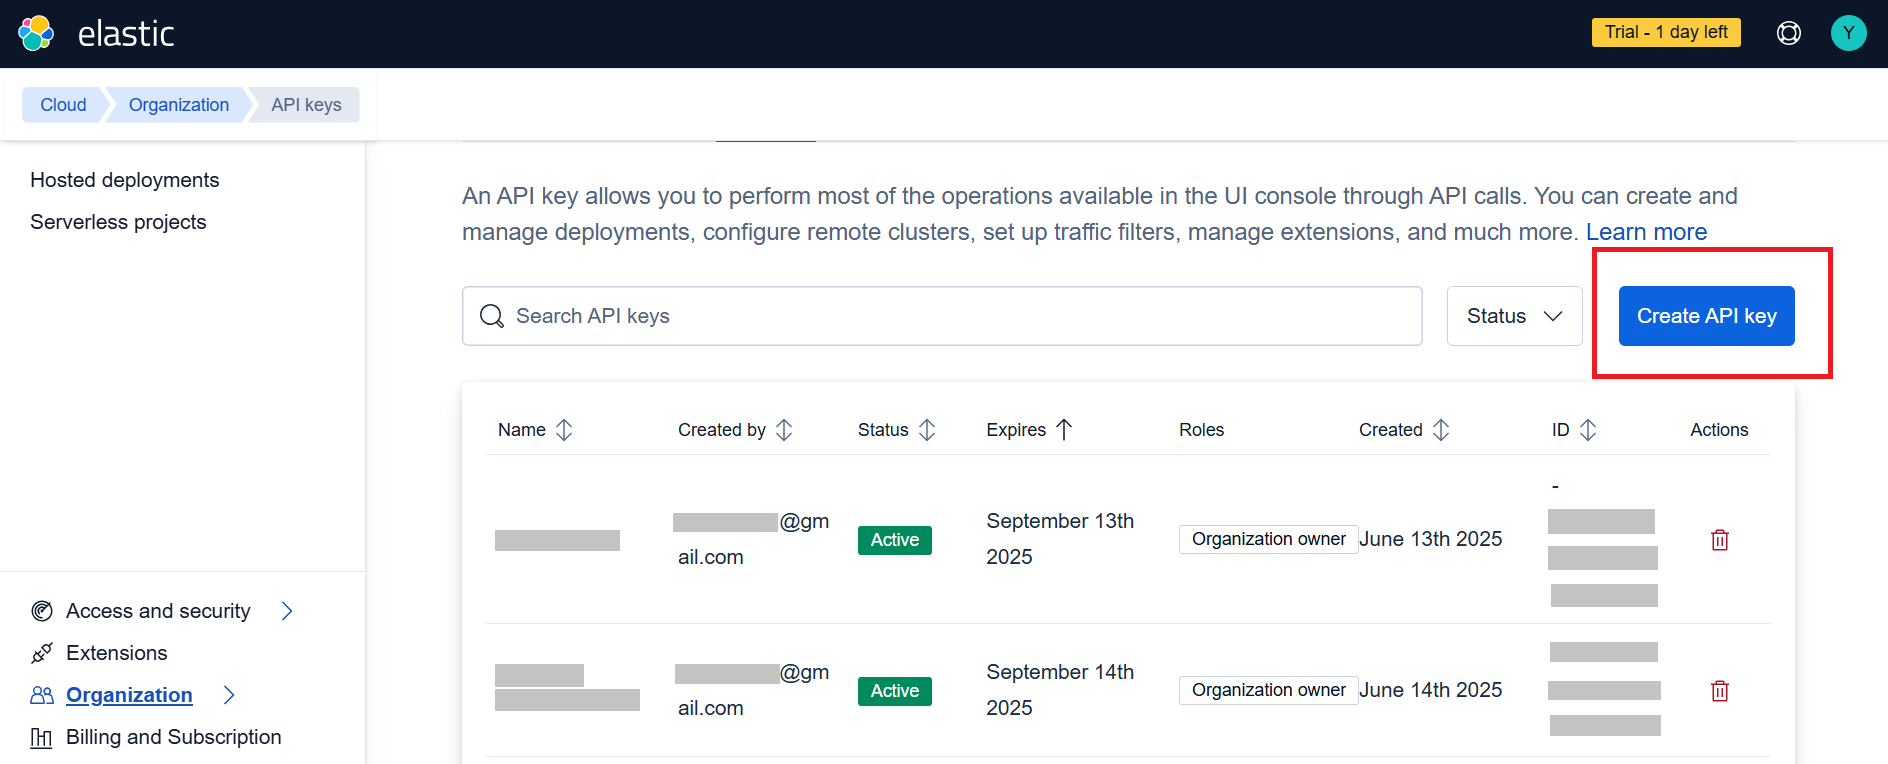
Step 5: Create an API key
-
In the API keys tab, select Create API key.
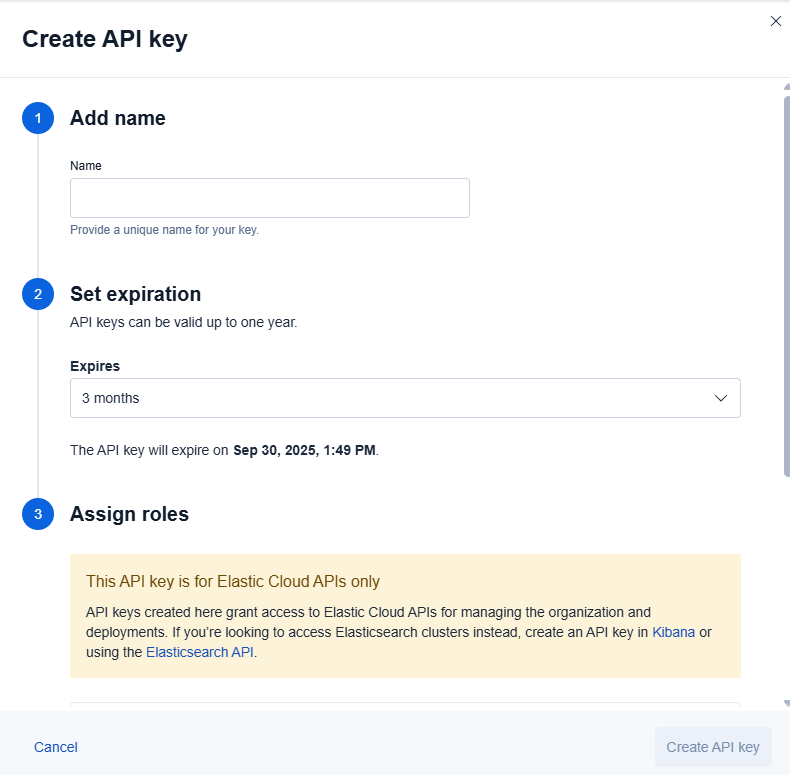
-
Provide a name for the key (for example,
Ballerina Connector). -
Set an expiration period (3 months, 6 months, or 1 year).
-
Assign the appropriate roles for your use case.
-
Select Create API key to generate the credentials.
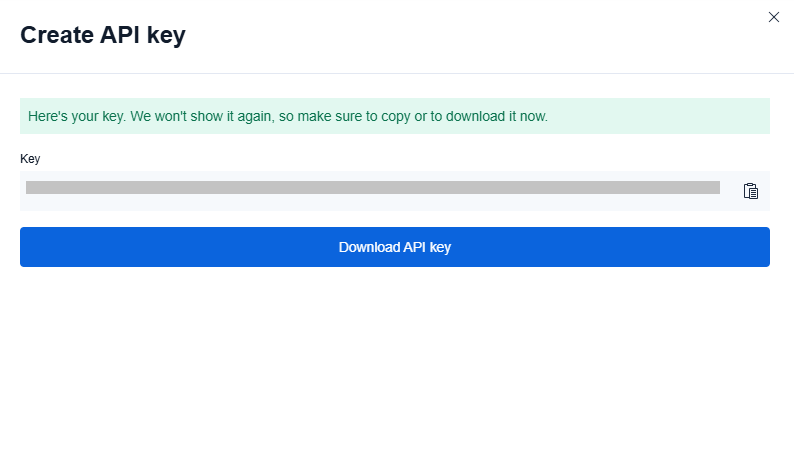
-
Copy the generated API key immediately — it will not be shown again.
Store the API key securely. Do not commit it to source control. Use Ballerina's configurable feature and a Config.toml file to supply it at runtime.
What's next
- Action reference: Available operations