Setup Guide
This guide walks you through creating a Snowflake warehouse and database, and configuring authentication required to use the Snowflake connector.
Prerequisites
- A Snowflake account. If you do not have one, sign up for a free trial.
Step 1: Create a warehouse and database
-
Log in to your Snowflake account.
-
Navigate to the Warehouses tab under the Admin section.
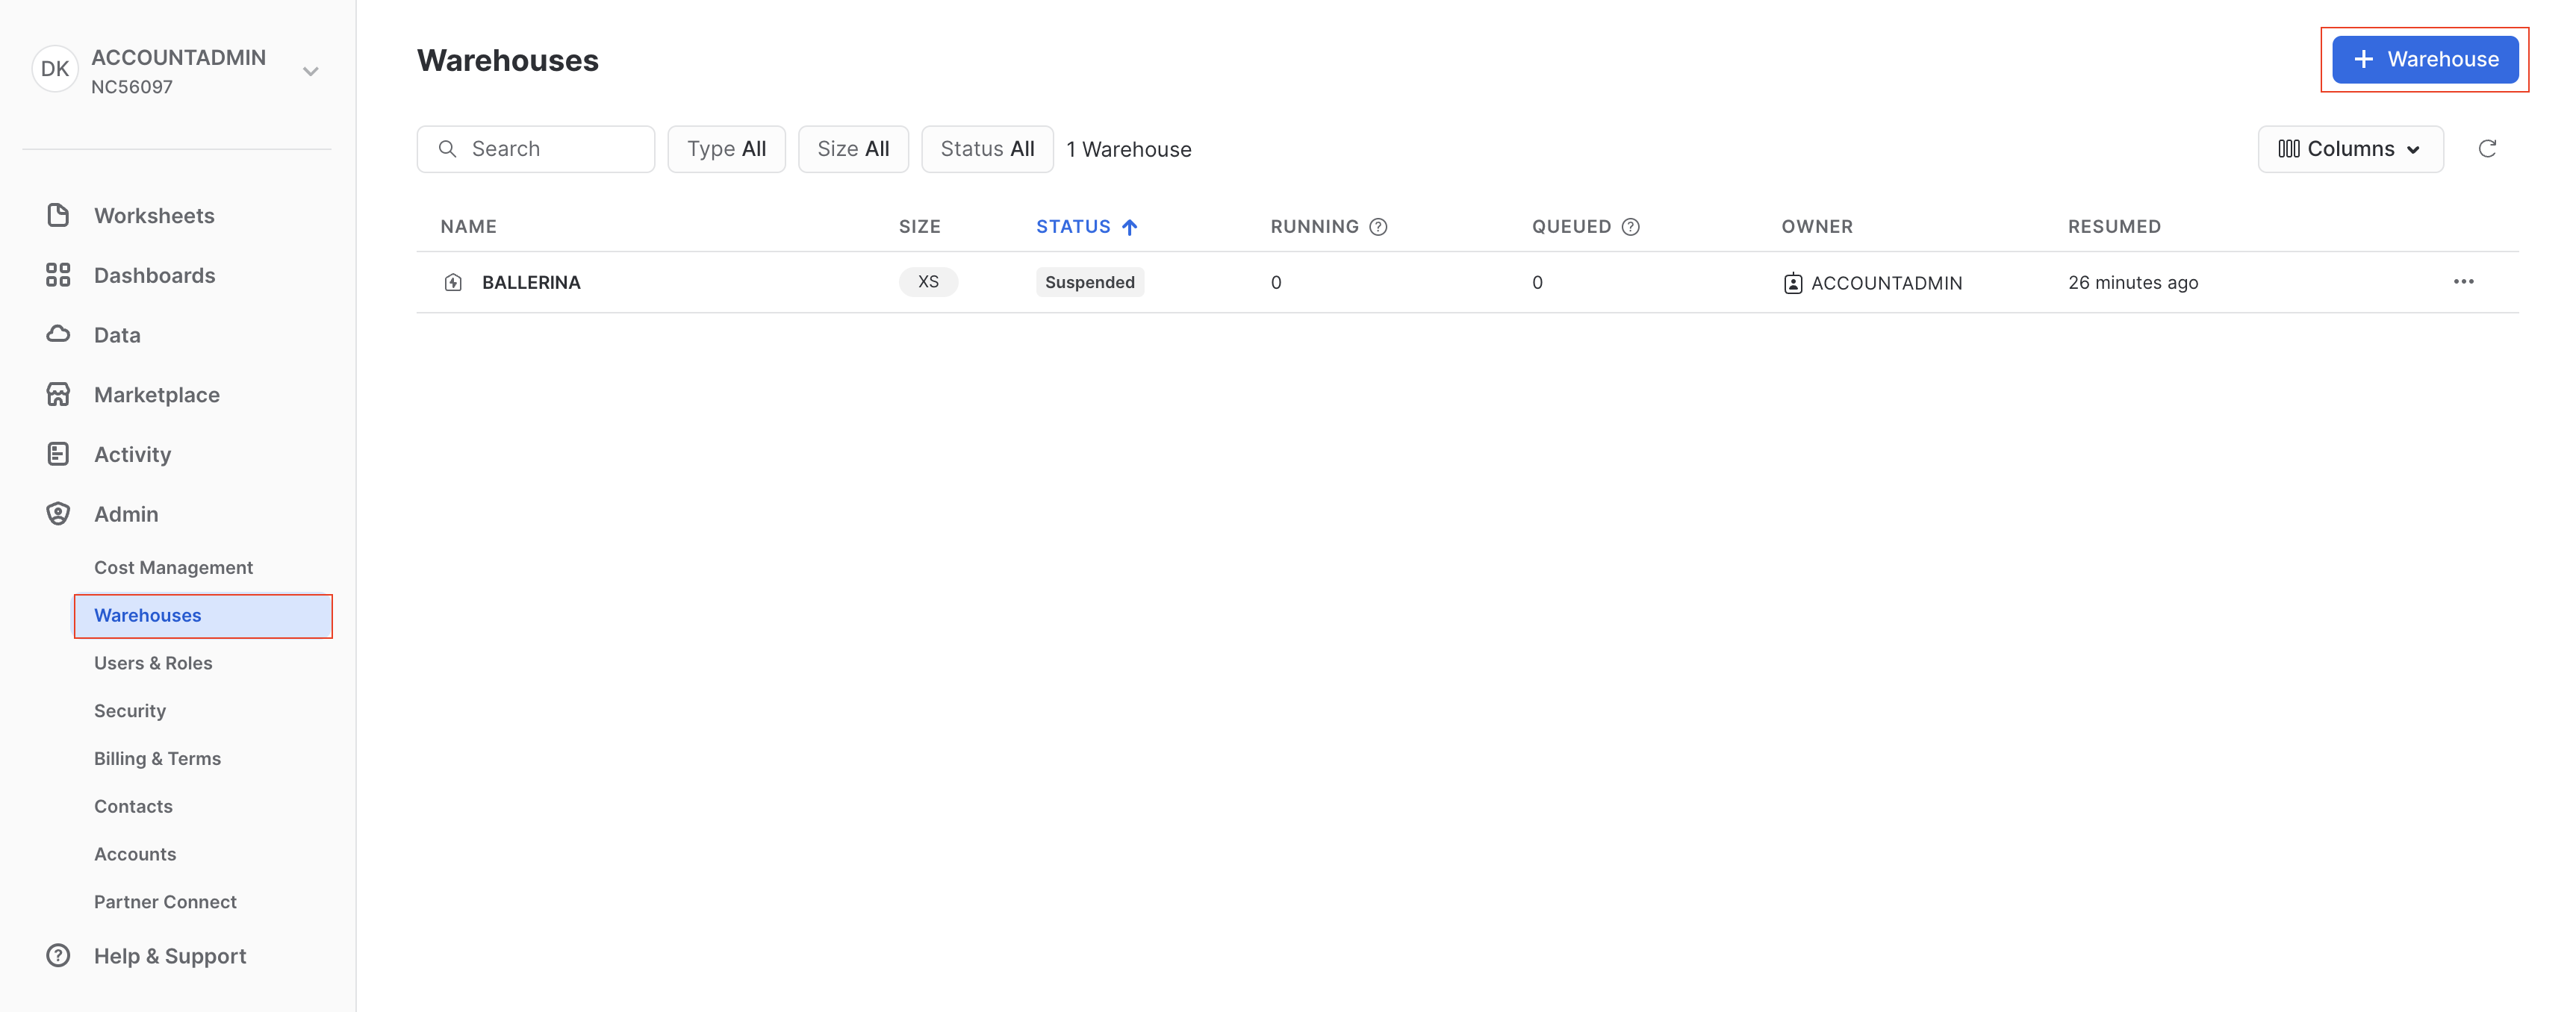
-
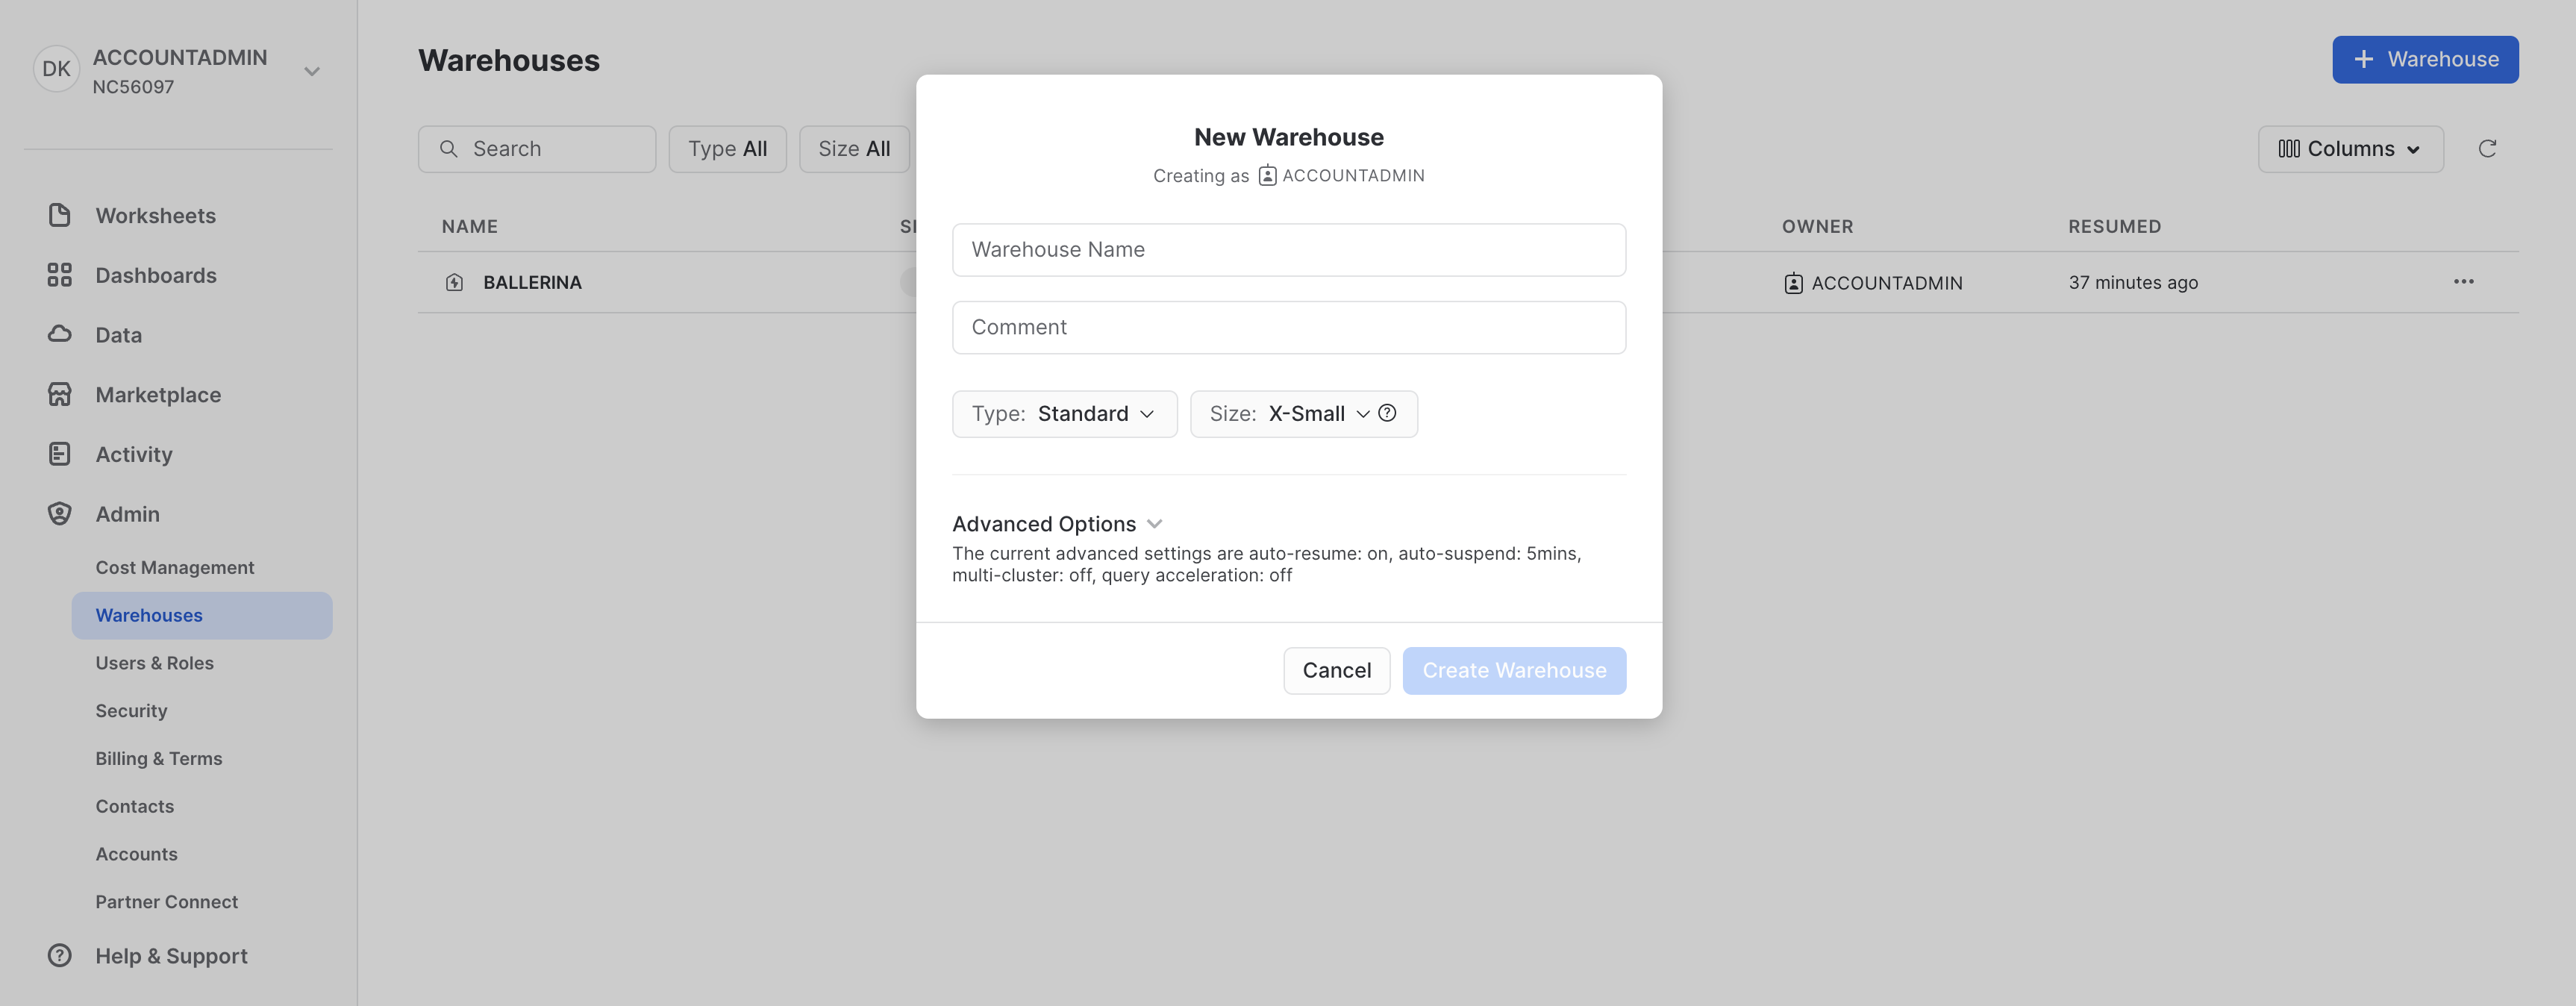
Select + Warehouse and enter a name and type for the new warehouse.
-
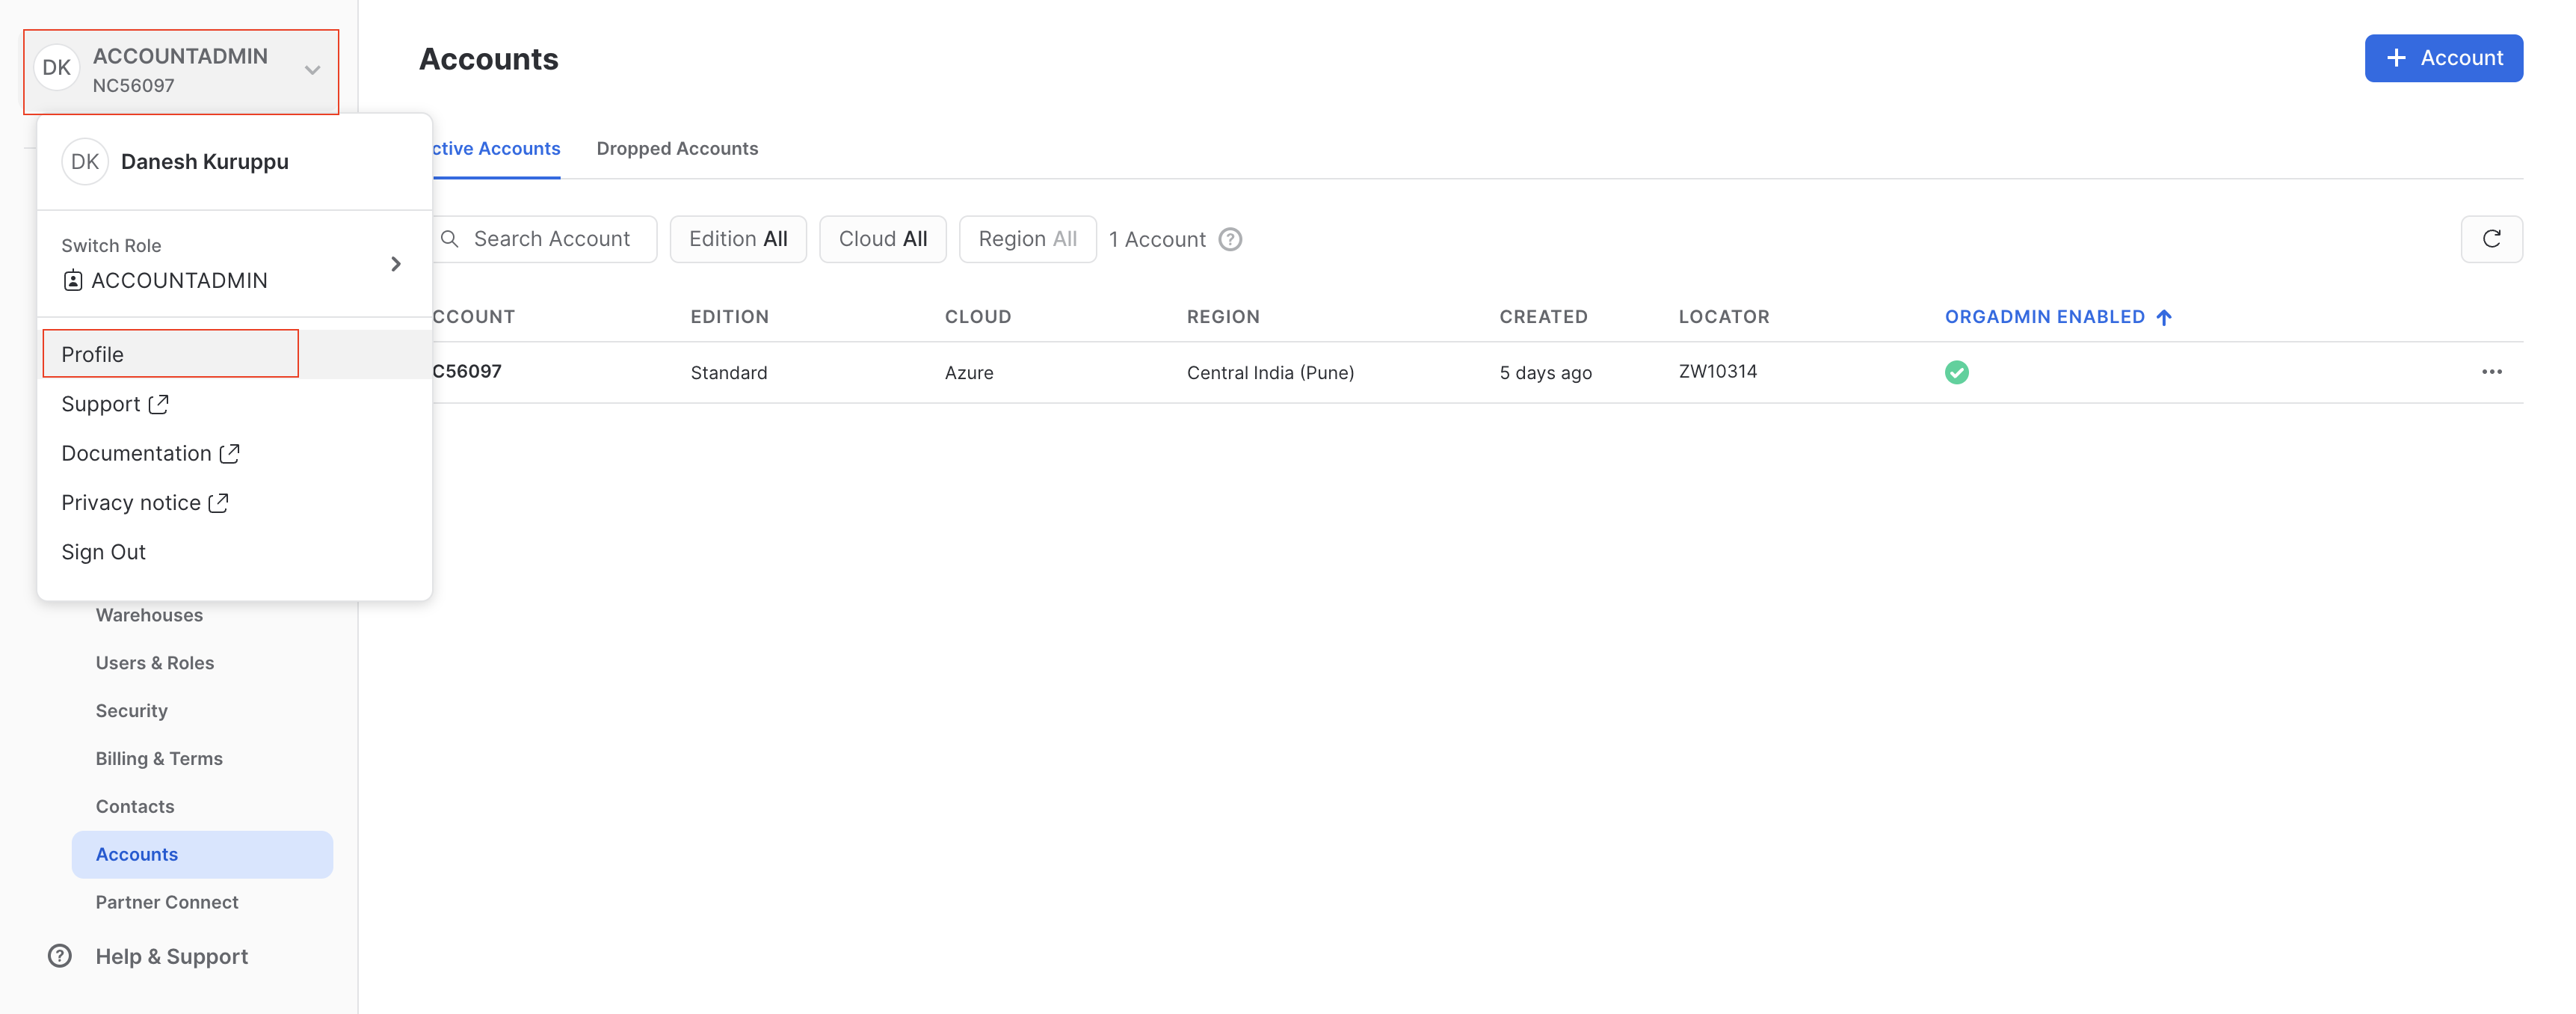
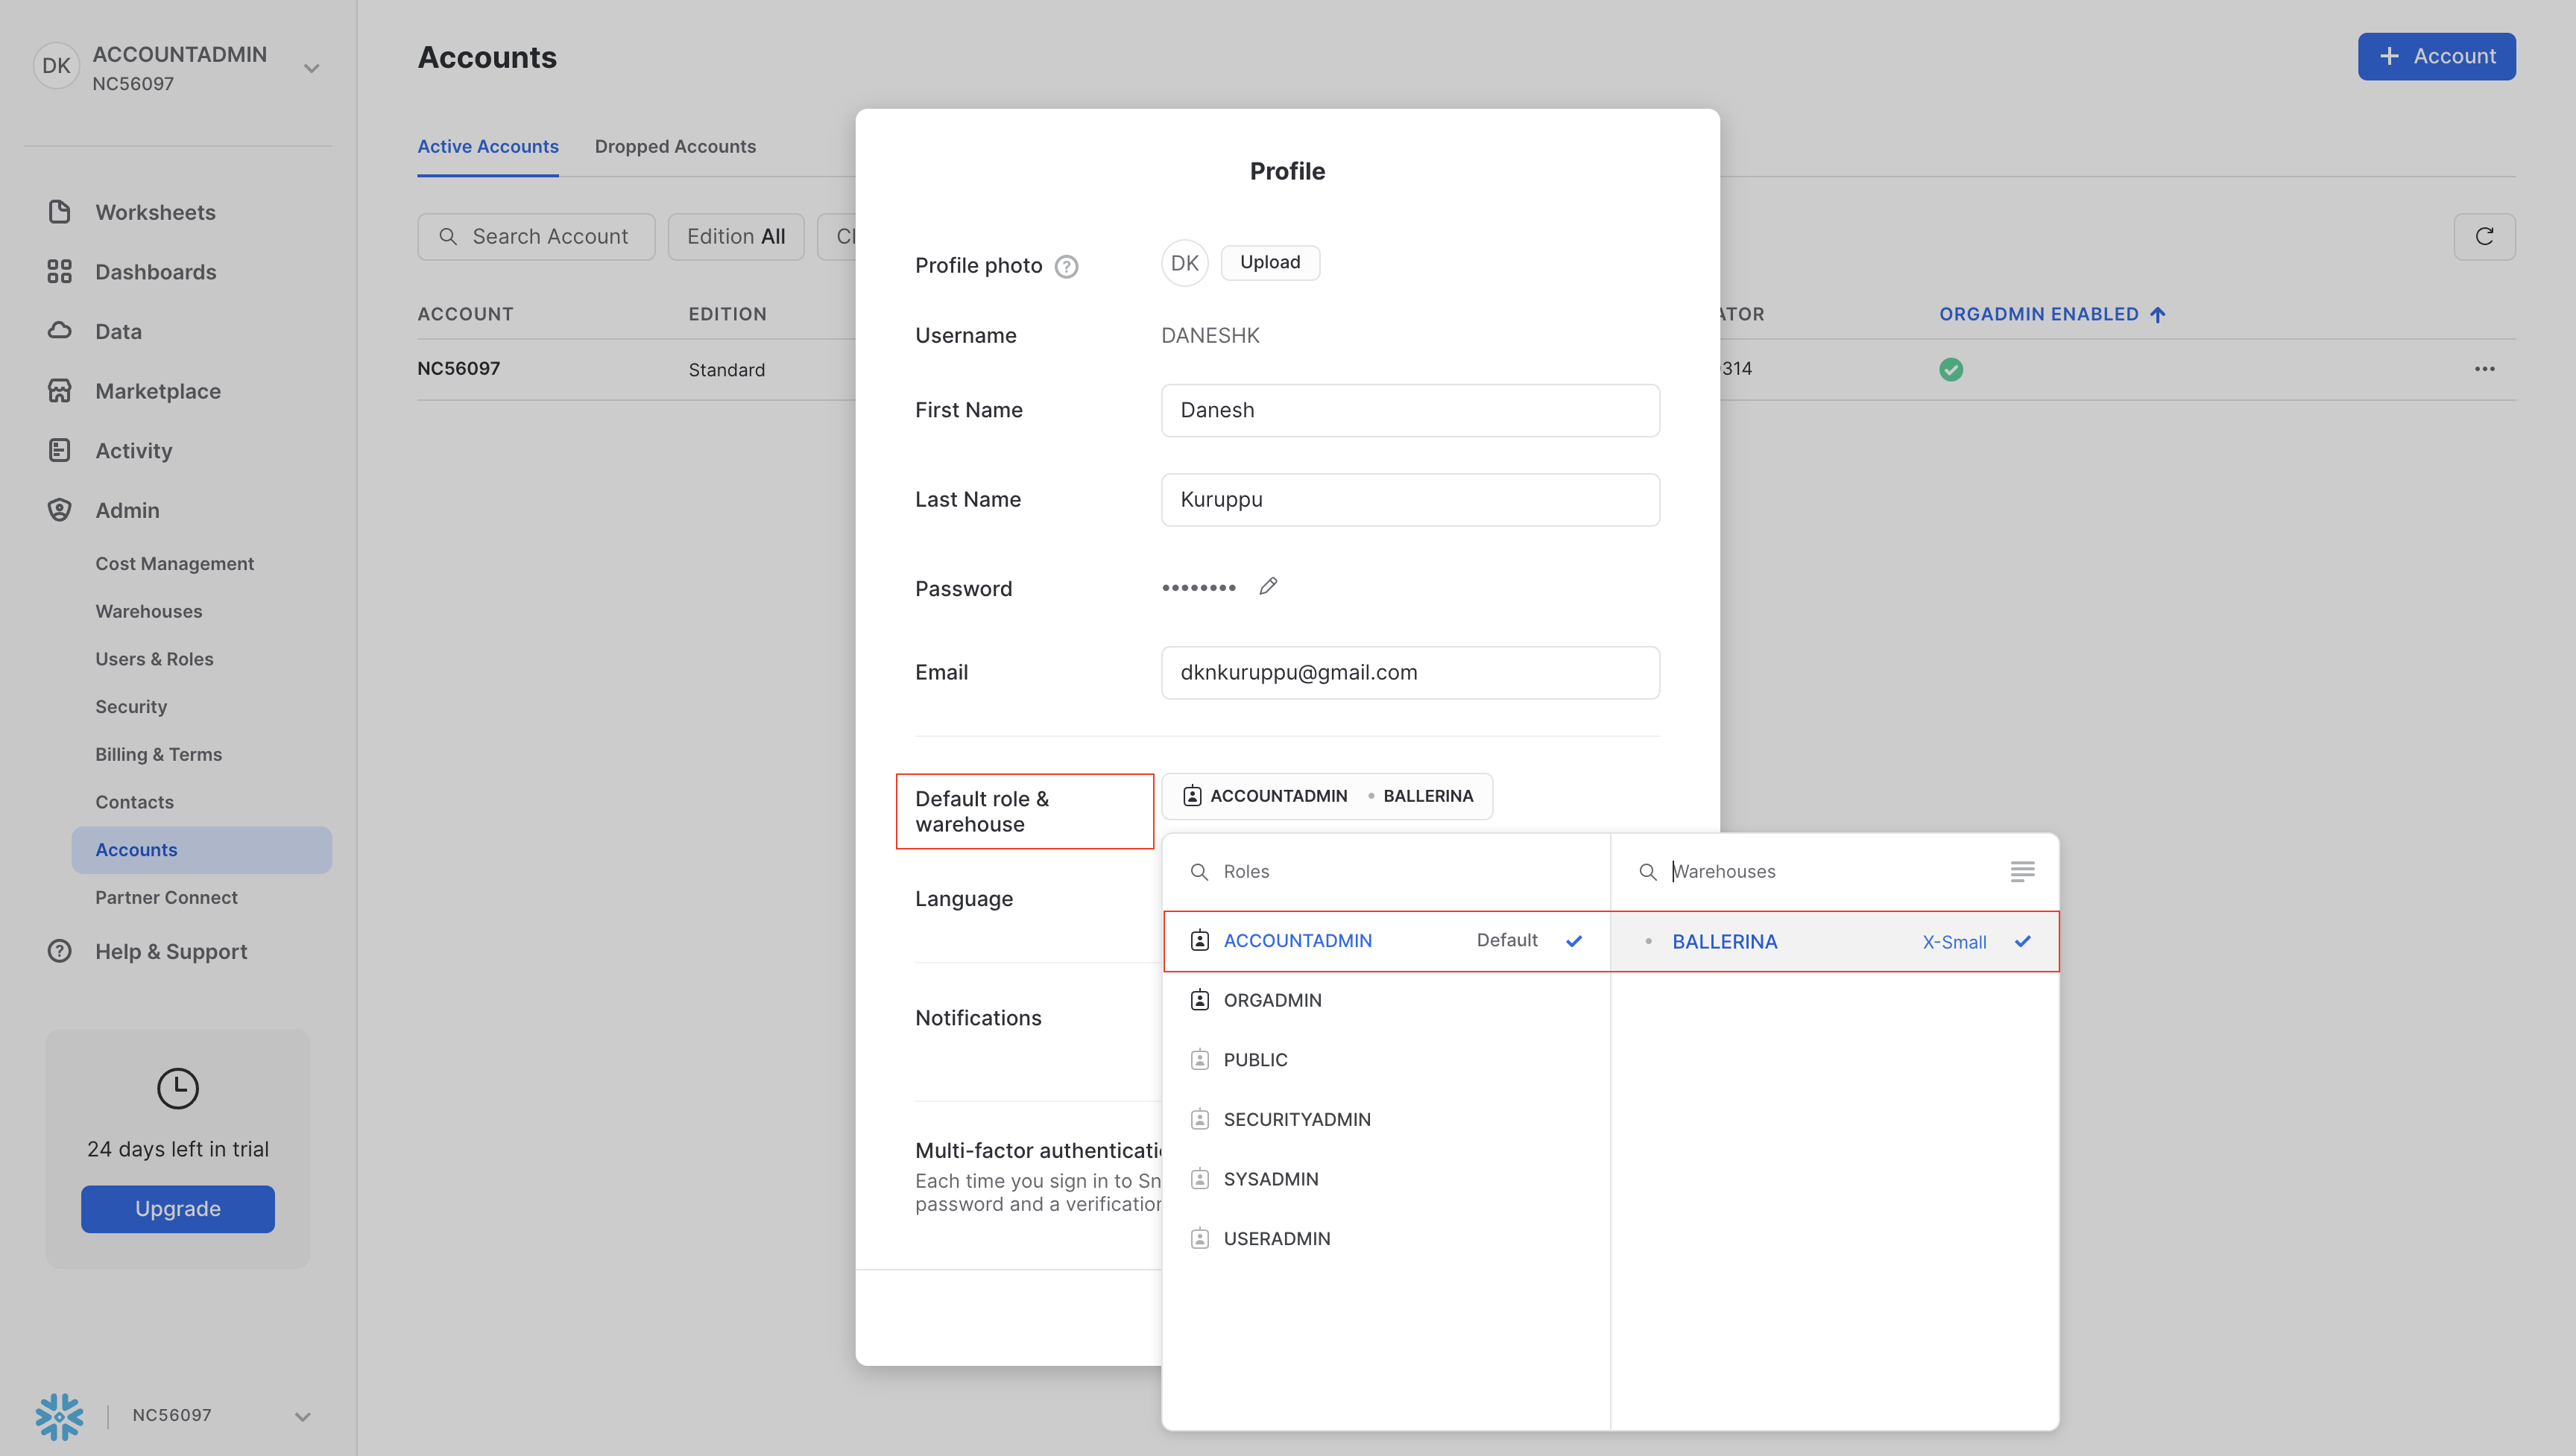
Optionally, set the warehouse as the default for your account by editing the profile settings.
 note
noteIf you do not set a default warehouse, you must specify the warehouse name when creating a connection.
-
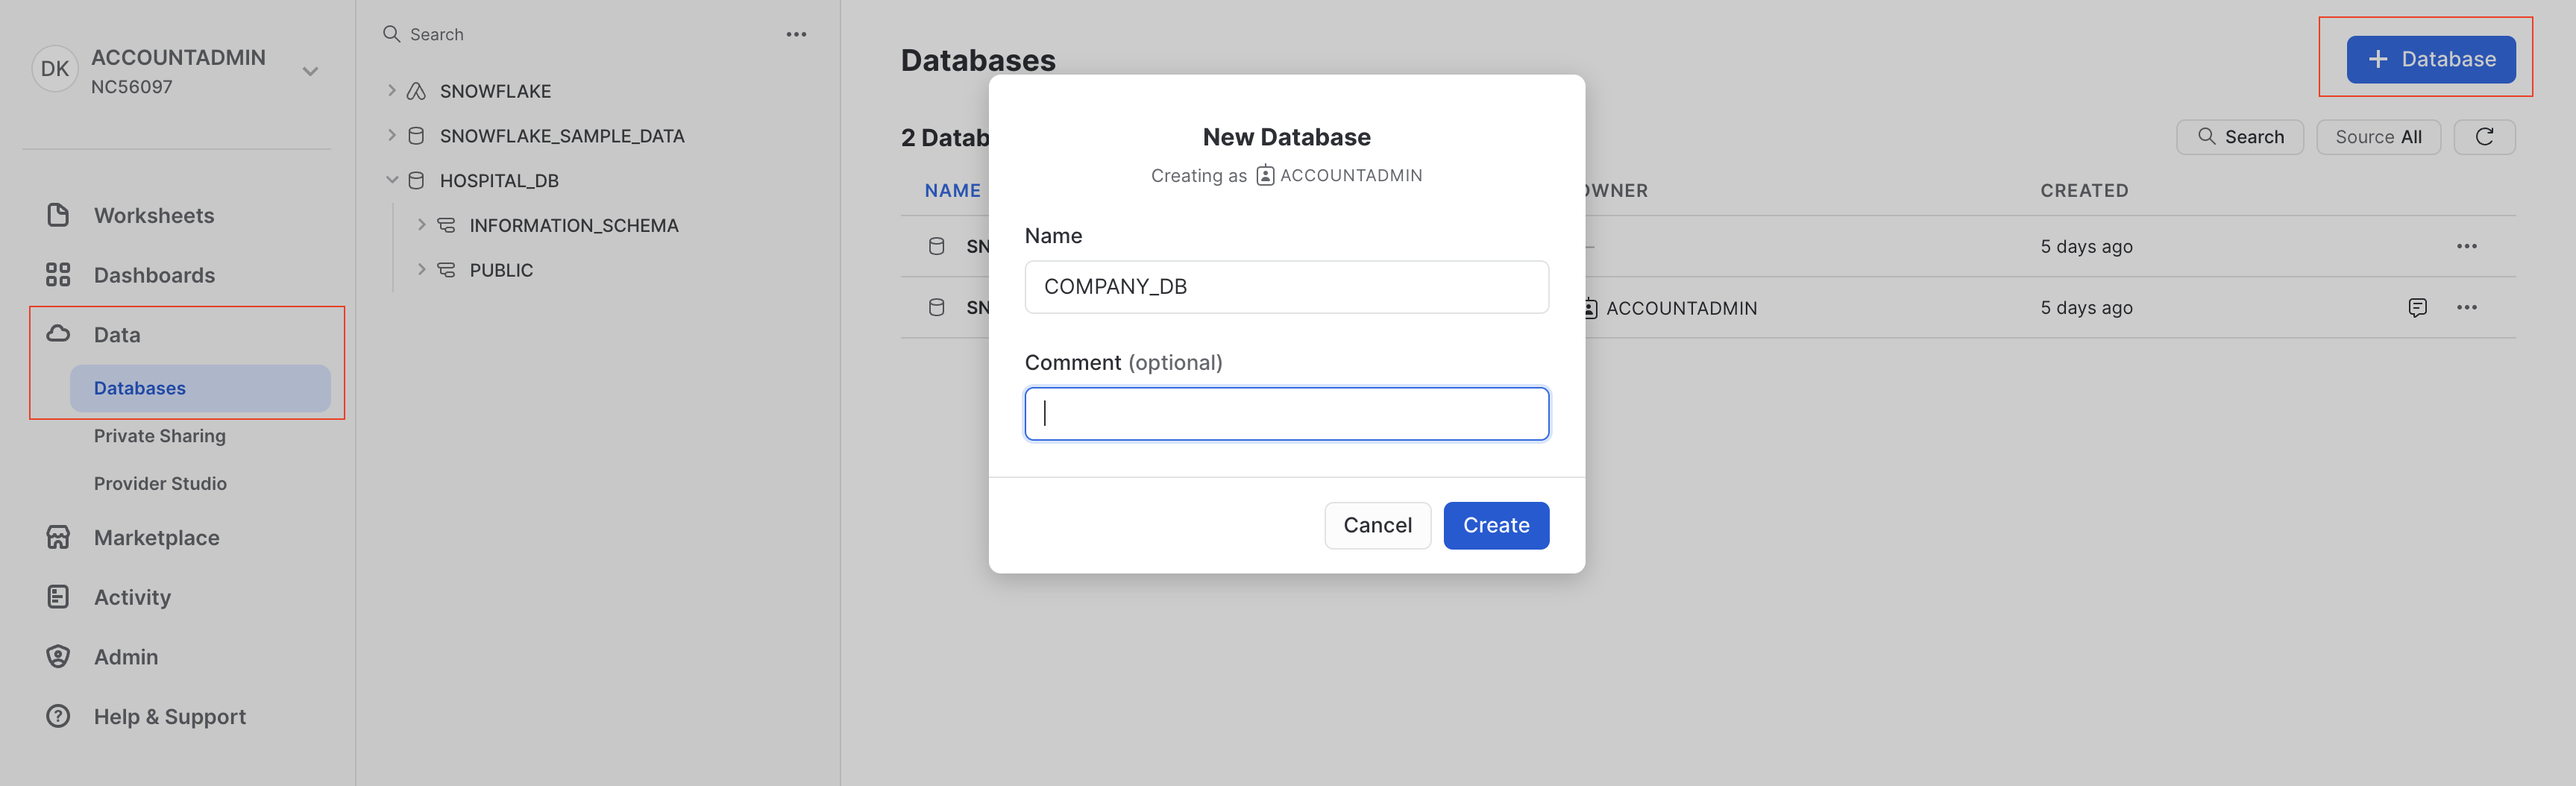
Navigate to the Databases tab under the Data section and select + Database to create a new database.
Step 2: Note your account identifier
Your account identifier is the value before .snowflakecomputing.com in your Snowflake URL, in the format <orgname>-<account_name>.
You can also find it under Admin > Accounts in the Snowflake UI.
Step 3: Set up key-pair authentication (recommended for production)
To use key-pair authentication:
-
Generate a private key:
openssl genrsa 2048 | openssl pkcs8 -topk8 -v2 aes256 -inform PEM -out key-aes256.p8noteUse the
-v2 aes256option. 3DES is not supported by the Snowflake connector. -
Generate the corresponding public key:
openssl rsa -in key-aes256.p8 -pubout -out key-aes256.pub -
Assign the public key to your Snowflake user:
ALTER USER example_user SET RSA_PUBLIC_KEY='MIIBIjANBgkqh...';
Step 4: Configure the Java environment
The Snowflake JDBC driver requires a specific JVM option. Set the following before running your application:
export JDK_JAVA_OPTIONS="--add-opens java.base/java.nio=ALL-UNNAMED"
Without this setting, the connector may fail at runtime with module access errors.