Setup Guide
This guide walks you through creating a Salesforce Marketing Cloud installed package and obtaining the Client ID and Client Secret required to use the Salesforce Marketing Cloud connector.
Prerequisites
- A Salesforce Marketing Cloud account.
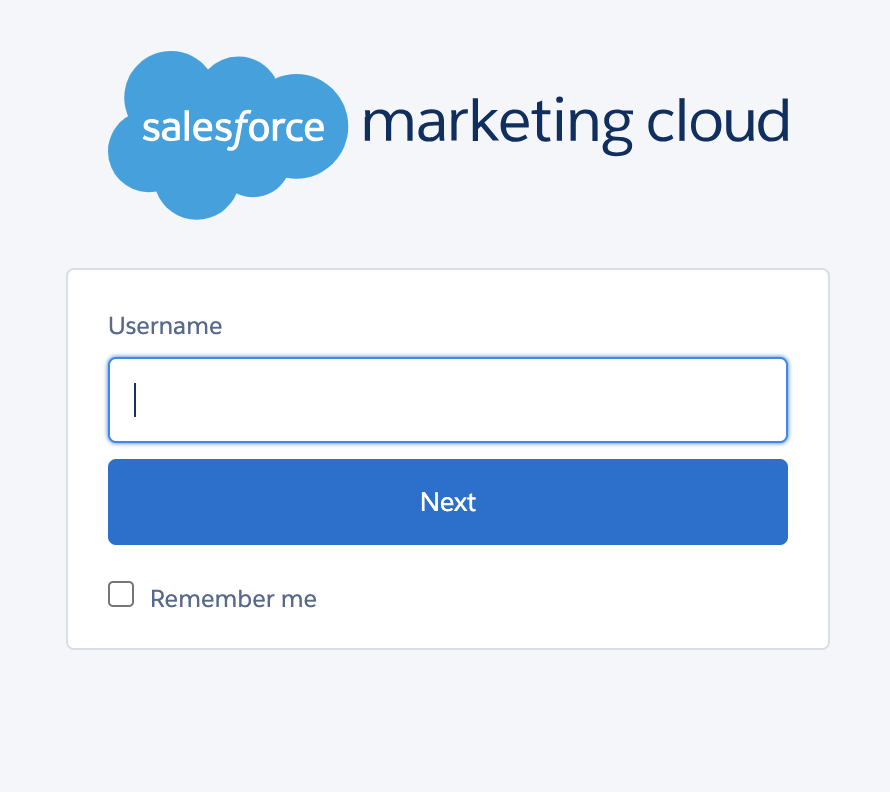
Step 1: Log in to Marketing Cloud
-
Navigate to your Salesforce Marketing Cloud login page and log in.
-
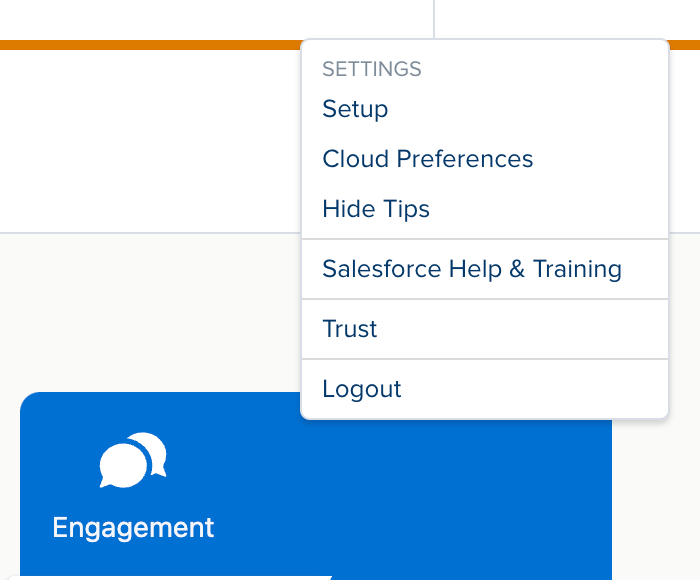
Select your username in the top-right corner and select Setup from the dropdown menu.
Step 2: Create an installed package
-
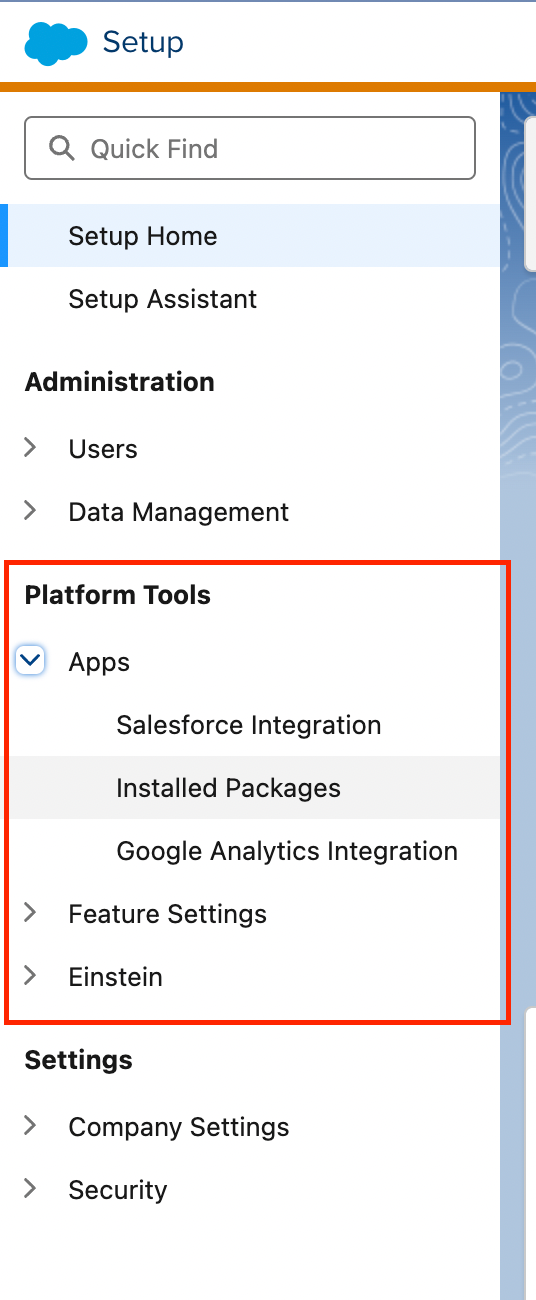
In the Setup menu, scroll to the Platform Tools section and select Apps > Installed Packages.
-
Select New, enter a Name and Description (for example,
API Integration Package), and select Save.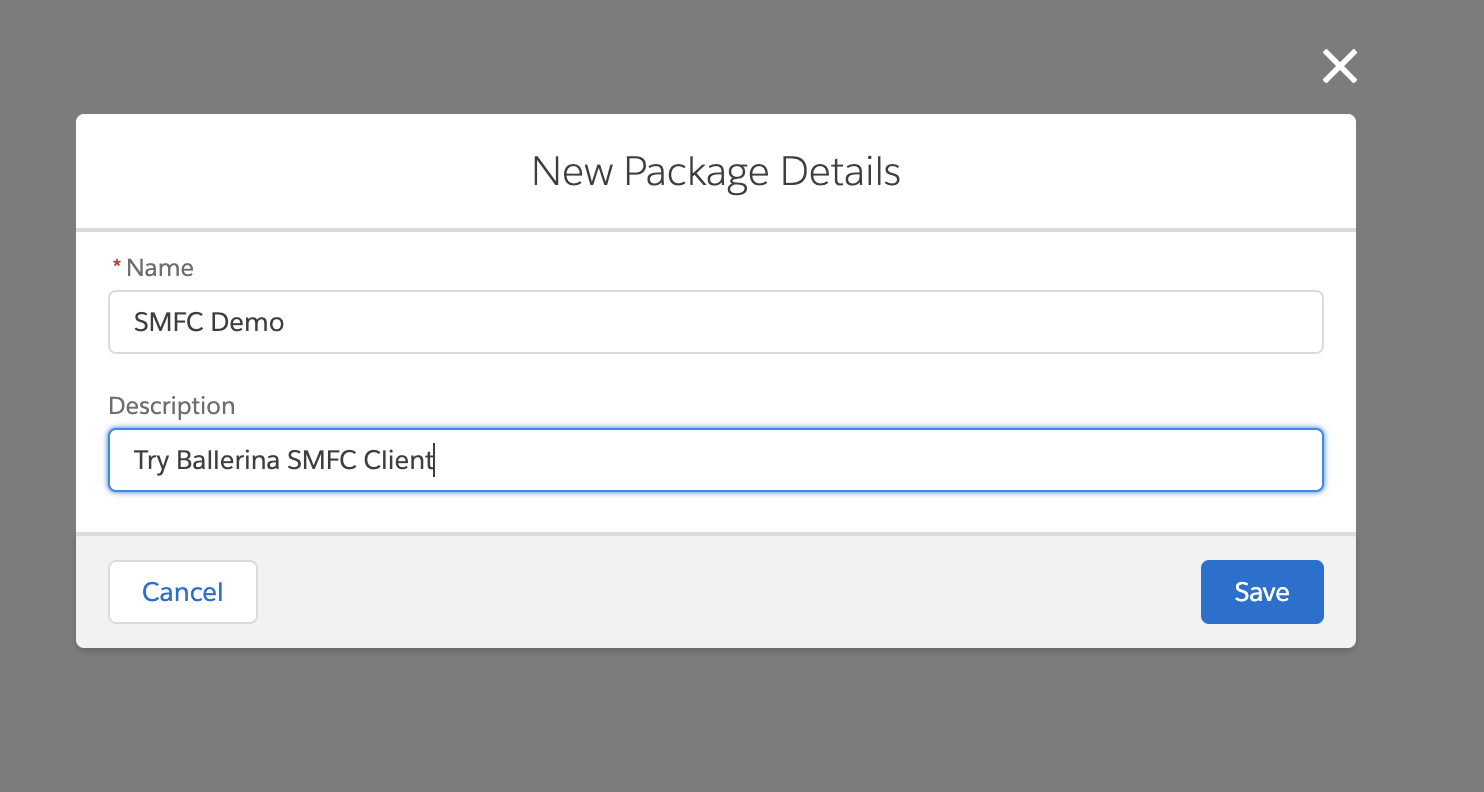
Step 3: Add an API integration component
-
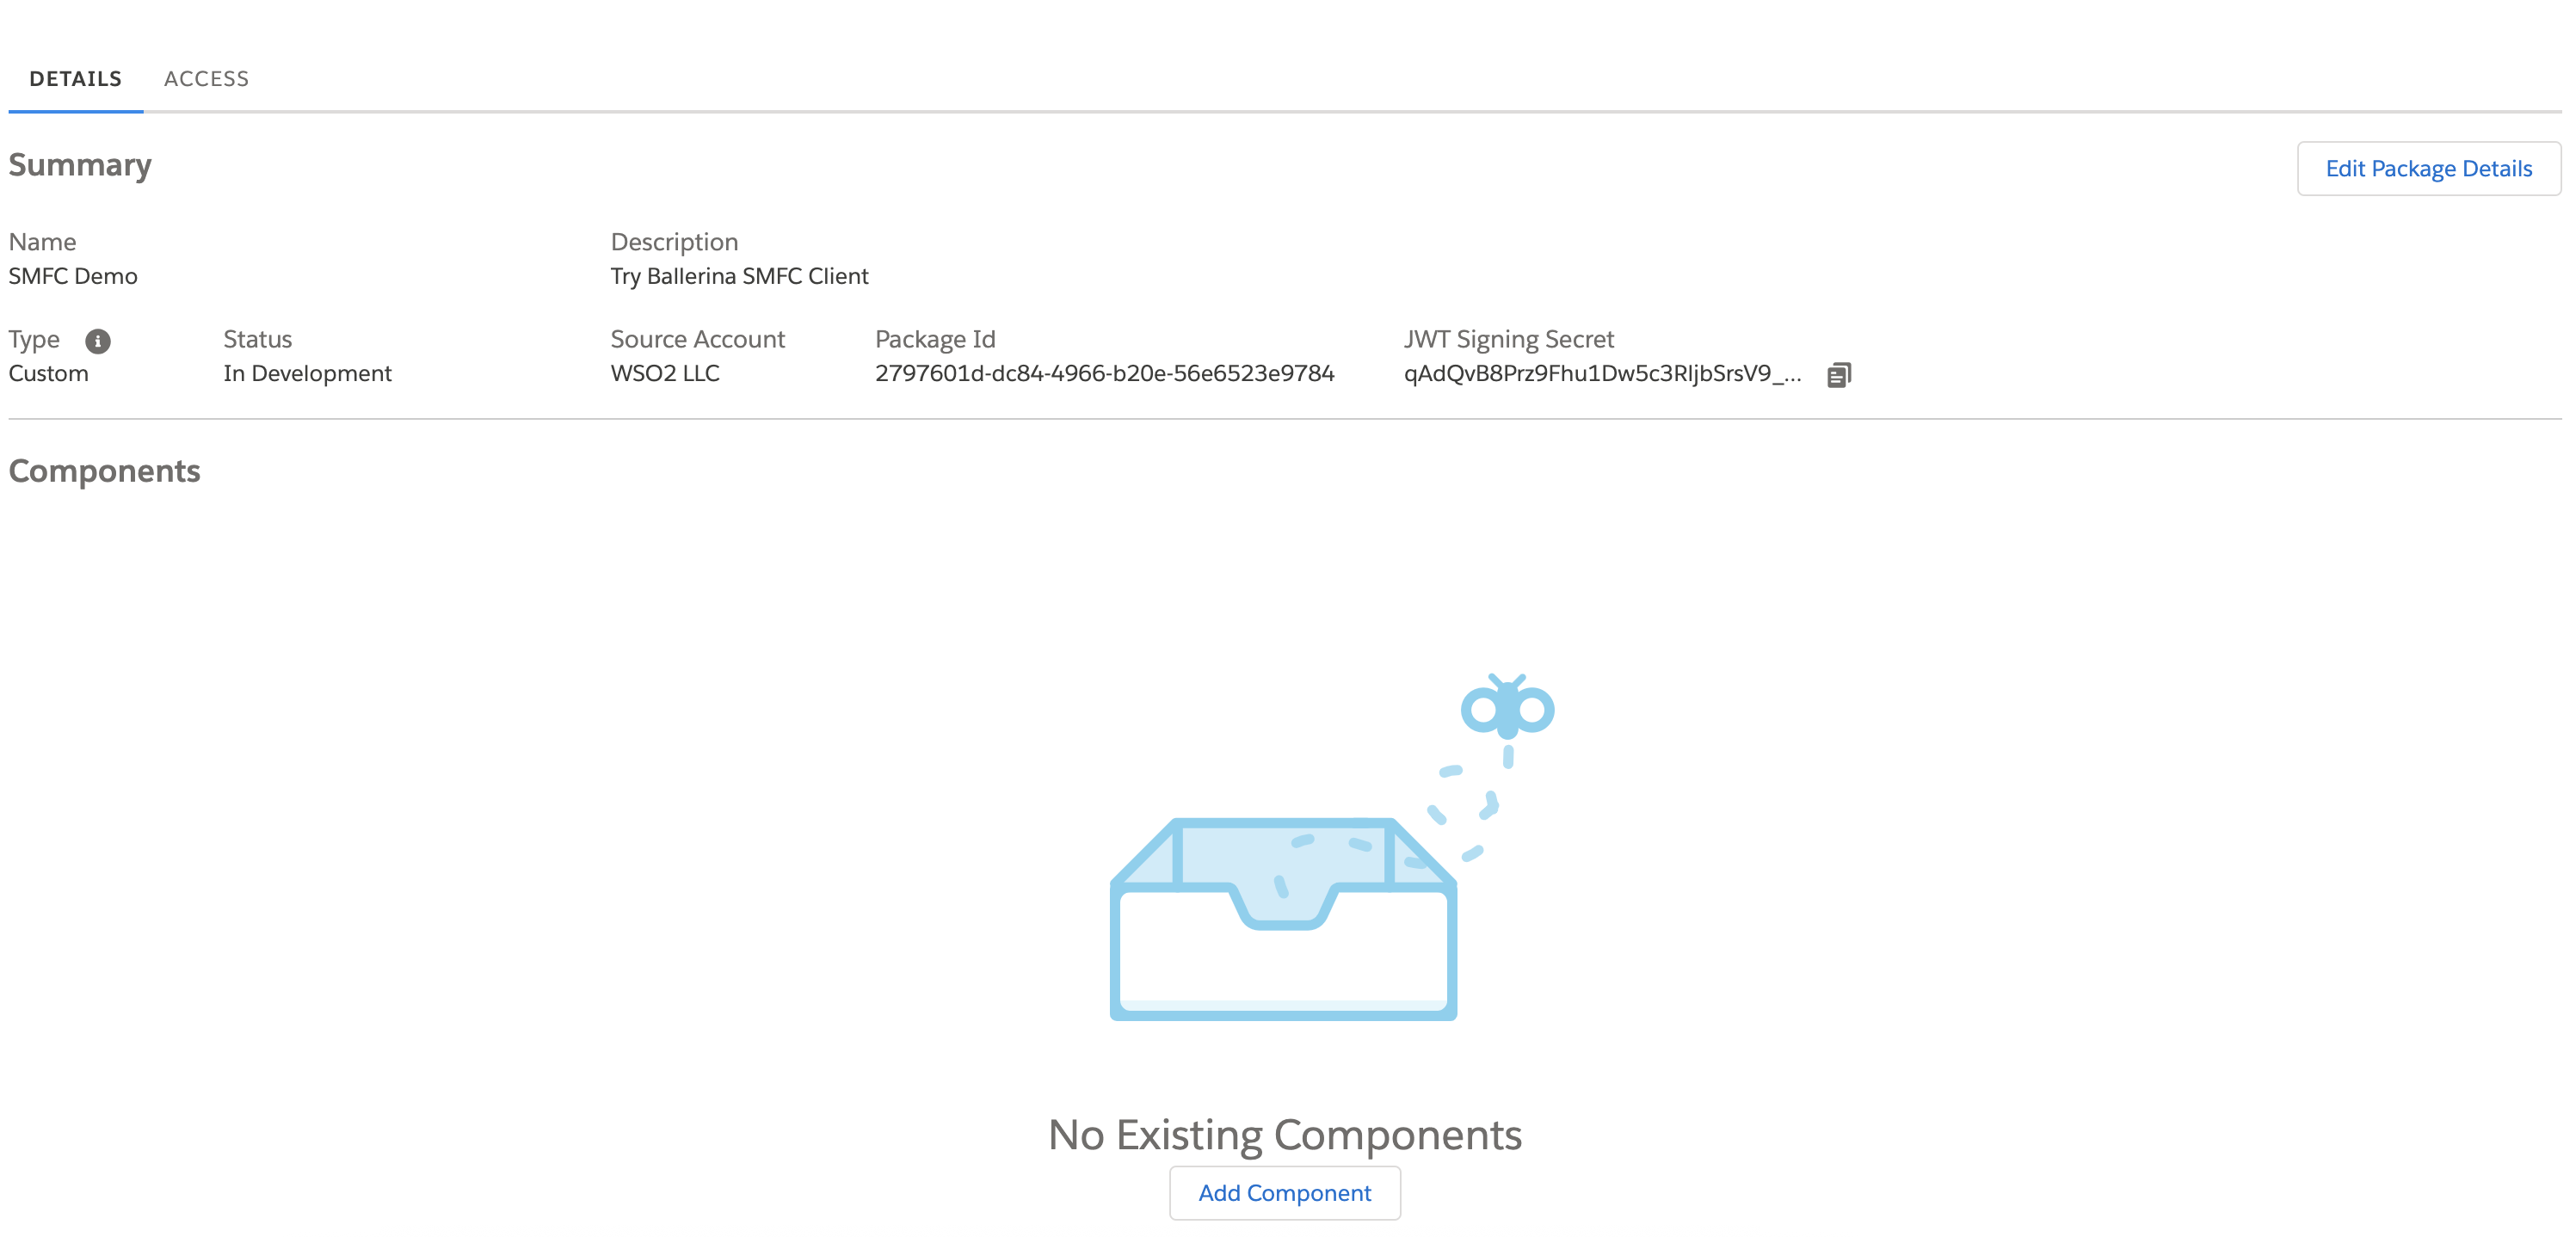
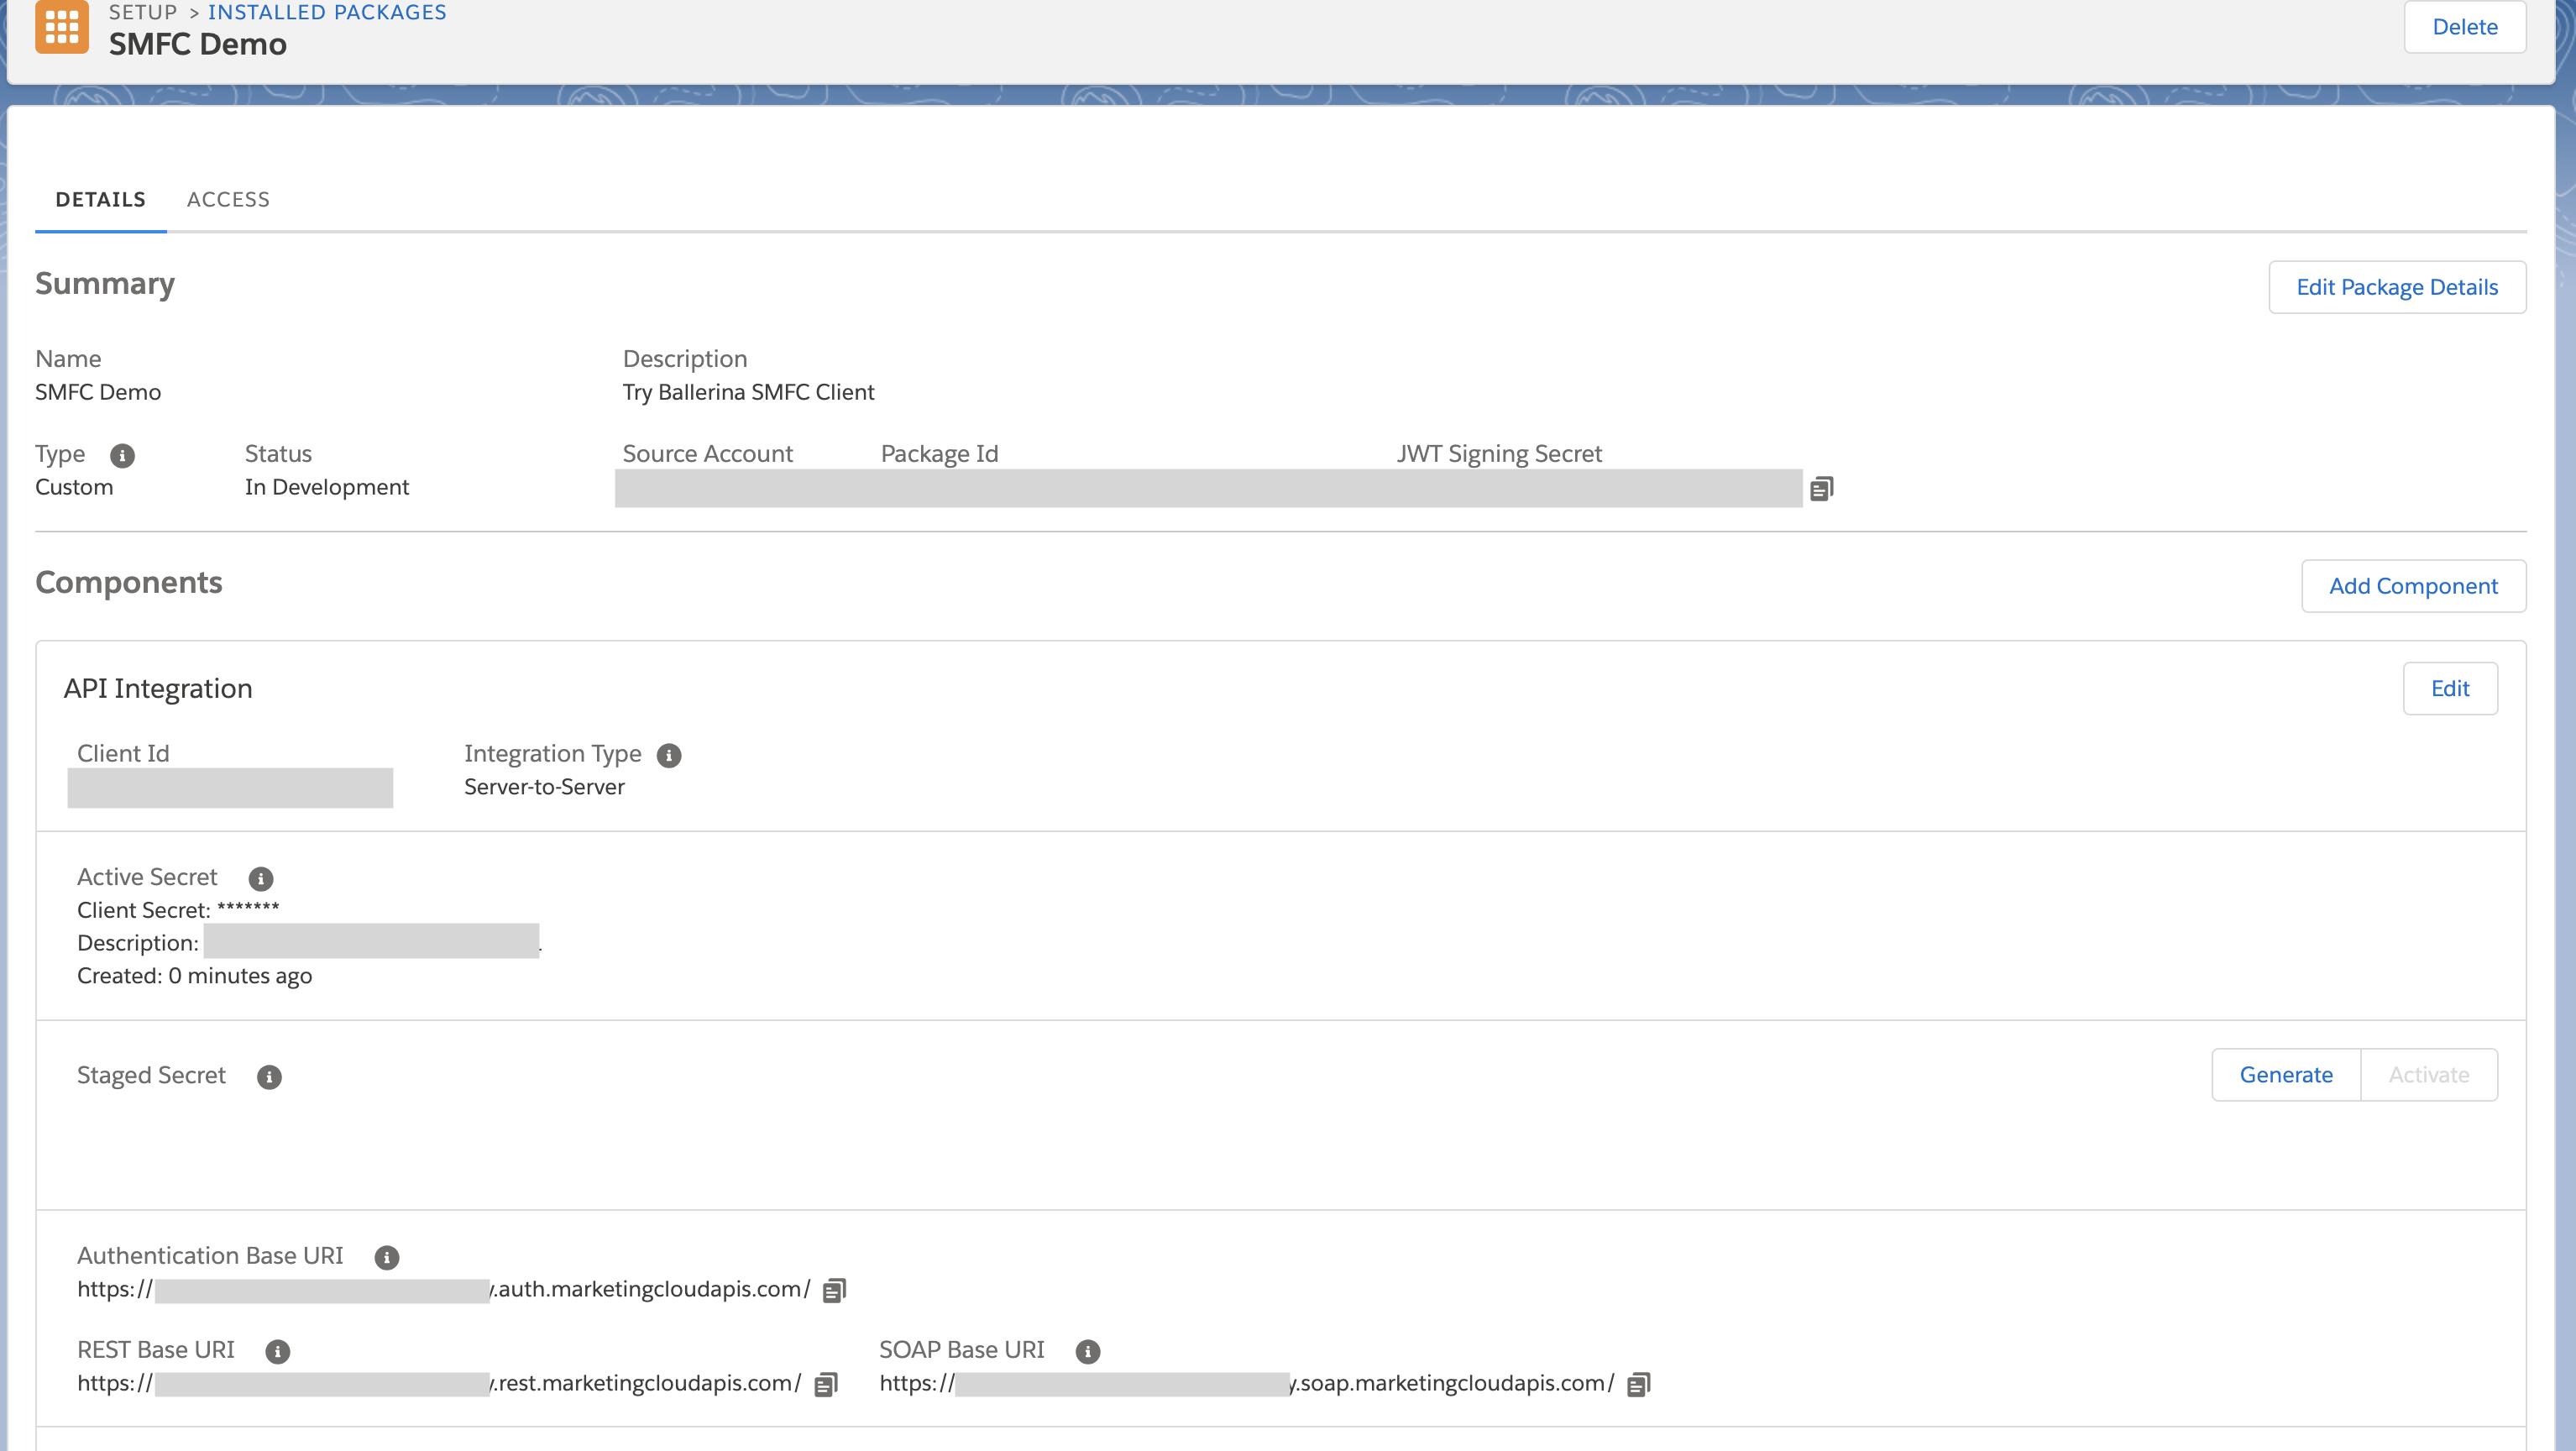
Select the package you created to view its details.
-
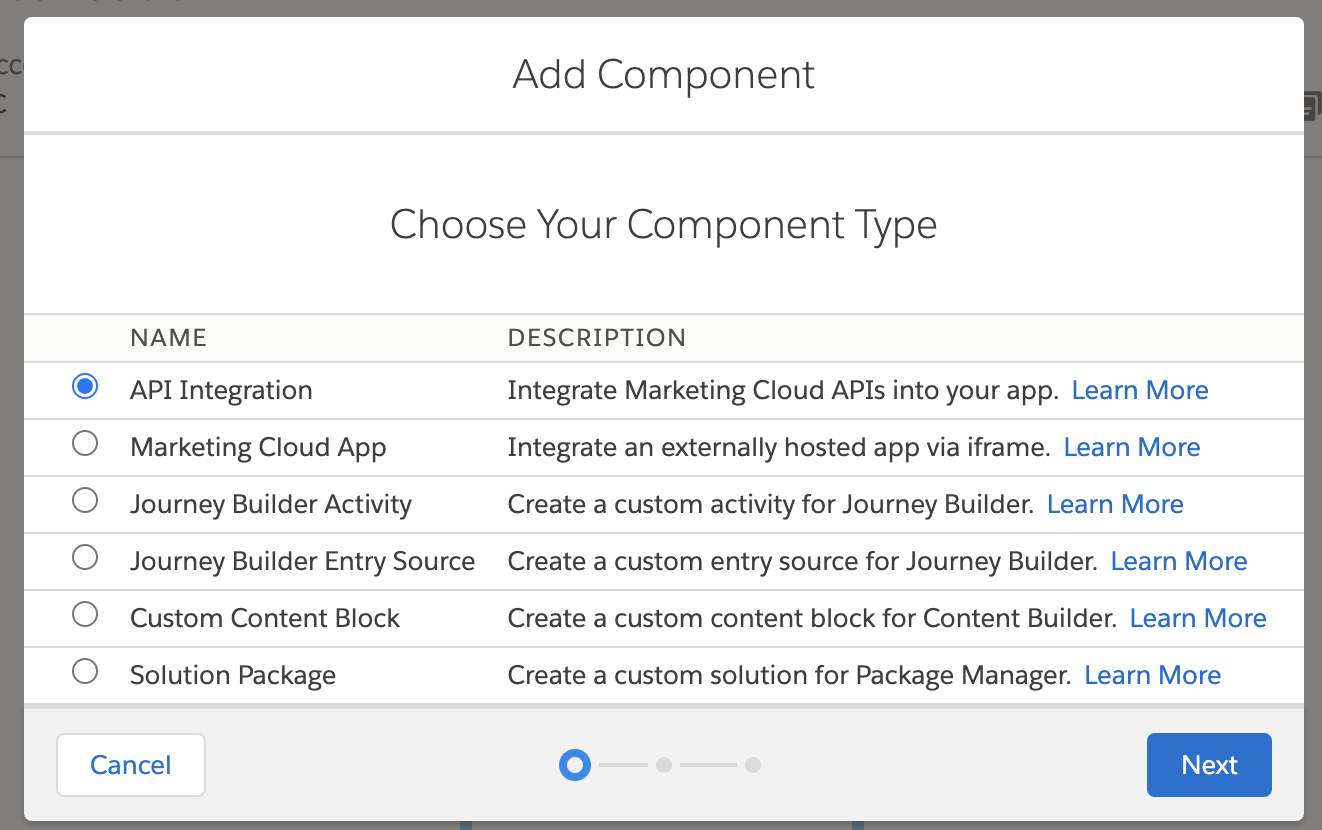
Select Add Component and choose API Integration as the component type.
-
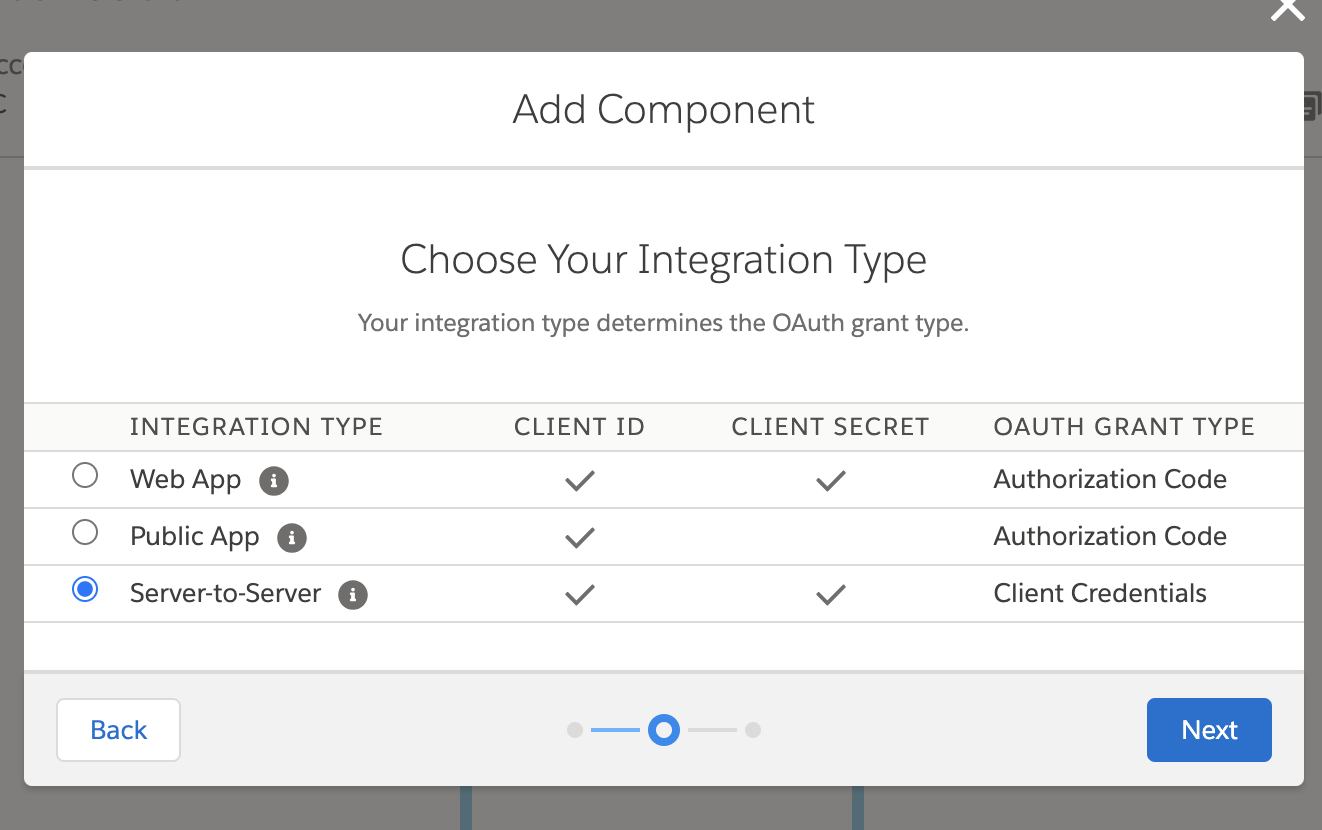
Select Server-to-Server as the integration type.
-
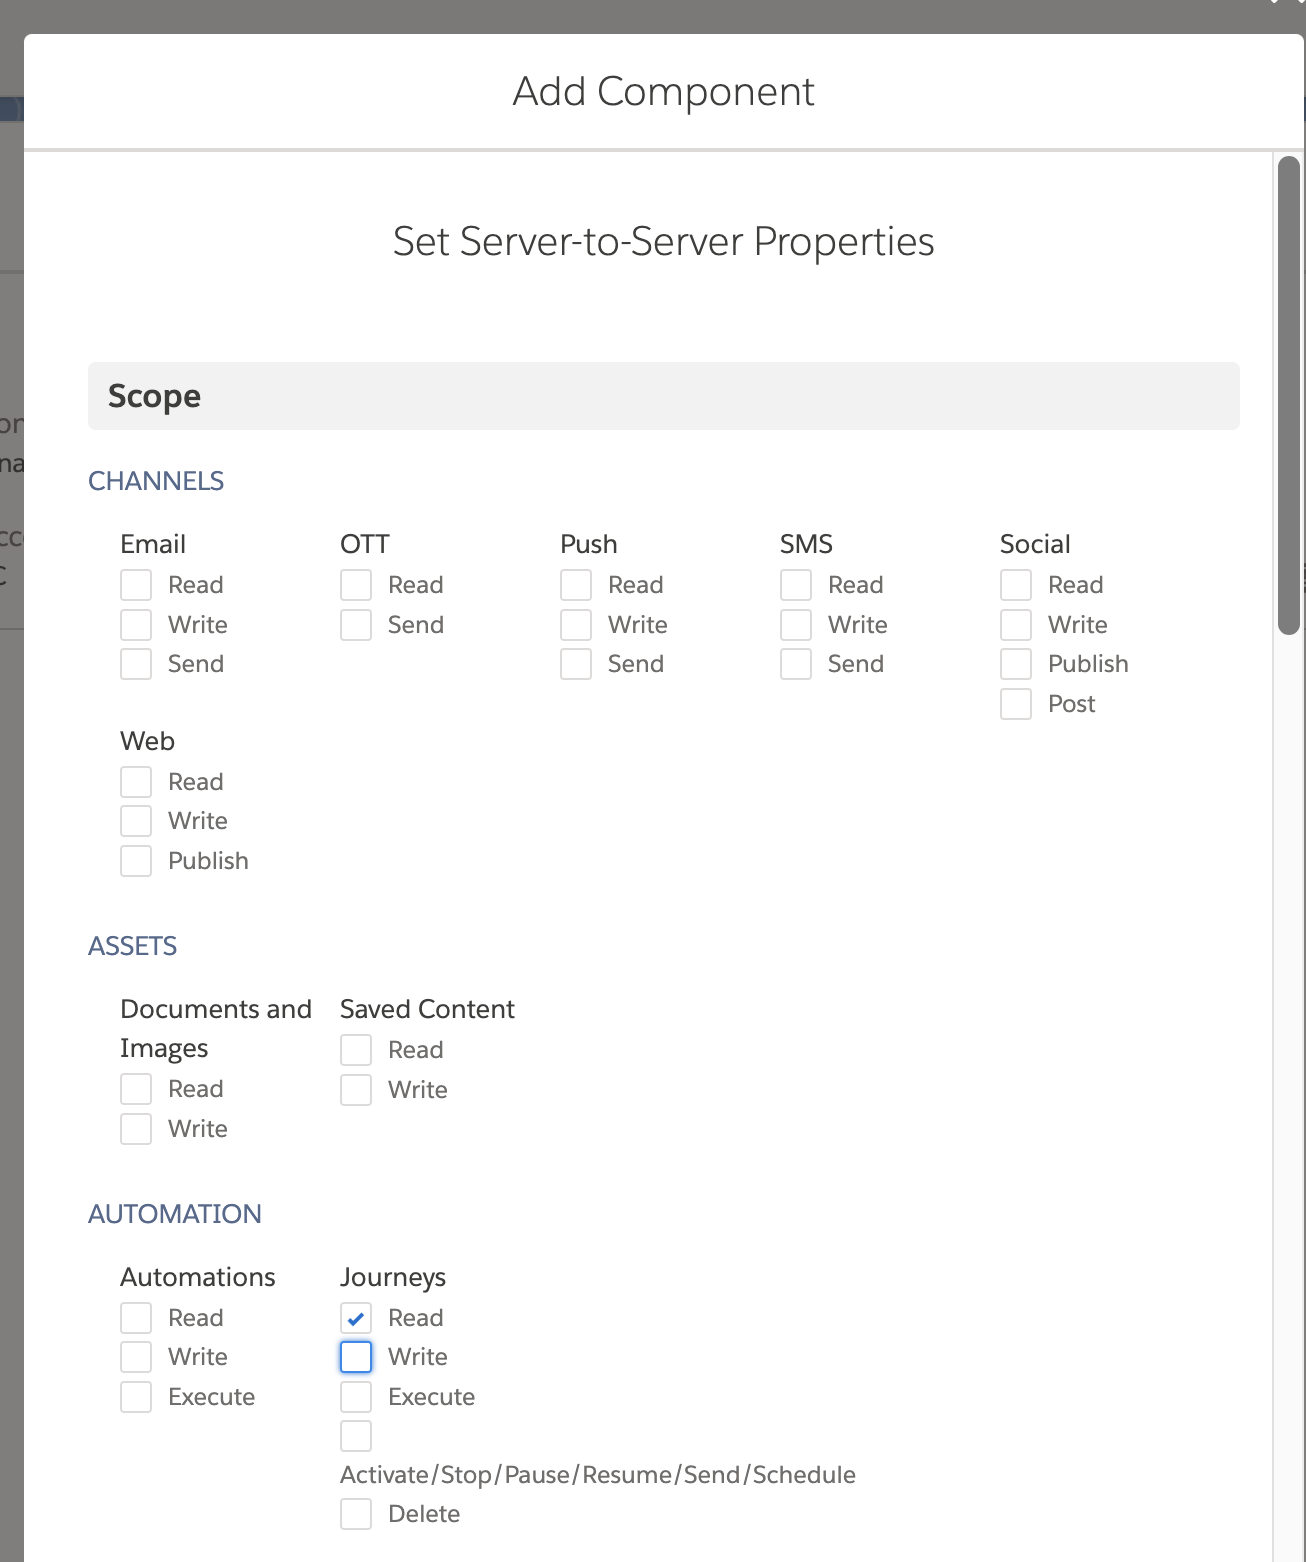
Under the available scopes, select the permissions required for your integration. For most use cases, add:
- Read and Write access to Email Studio
- Access to the REST API
-
Select Save.
Step 4: Get the client ID and client secret
On the package detail page, copy the Client Secret and Client ID generated for your integration.
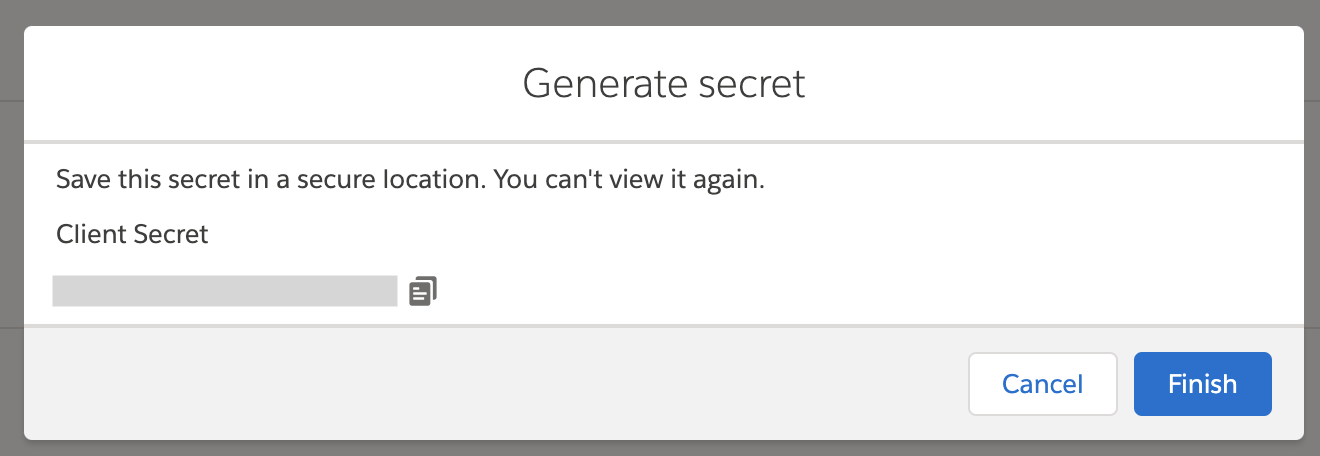
Store the Client ID and Client Secret securely. Use Ballerina's configurable feature and a Config.toml file to supply them at runtime.
Step 5: Get your subdomain
Extract the subdomain from the Base URI on the package detail page. The subdomain is the portion between https:// and .auth.marketingcloudapis.com. For example, from https://mc123456gkz1x4p5b9m4gzx5b9.auth.marketingcloudapis.com/, the subdomain is mc123456gkz1x4p5b9m4gzx5b9.
Step 6: Get your account ID (if applicable)
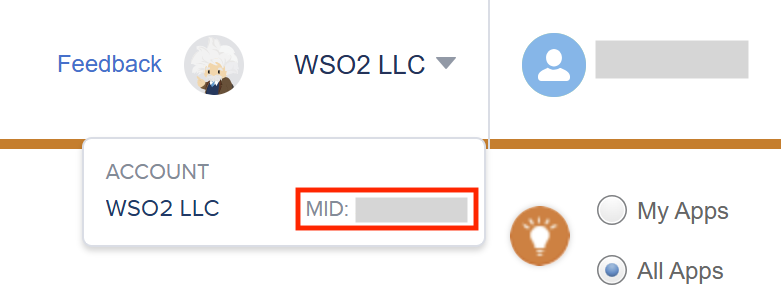
If your account has multiple business units, hover over your account name in the top-right corner — the MID (account ID) is displayed there.
What's next
- Action reference: Available operations