Example
What you'll build
Build a low-code integration that publishes messages to a Google Cloud Pub/Sub topic using the ballerinax/gcloud.pubsub connector in WSO2 Integrator. The integration uses an Automation entry point to trigger the publish operation and binds all connection and message parameters to configurable variables.
Operations used:
- Publish : Publishes a single message to the configured Pub/Sub topic and returns the published message ID
Architecture
Prerequisites
- A Google Cloud project with Pub/Sub API enabled
- A service account with the Pub/Sub Publisher role and its JSON key
- A Pub/Sub topic already created in your Google Cloud project
Setting up the Pub/Sub integration
New to WSO2 Integrator? Follow the Create a New Integration guide to set up your integration first, then return here to add the connector.
Adding the Pub/Sub connector
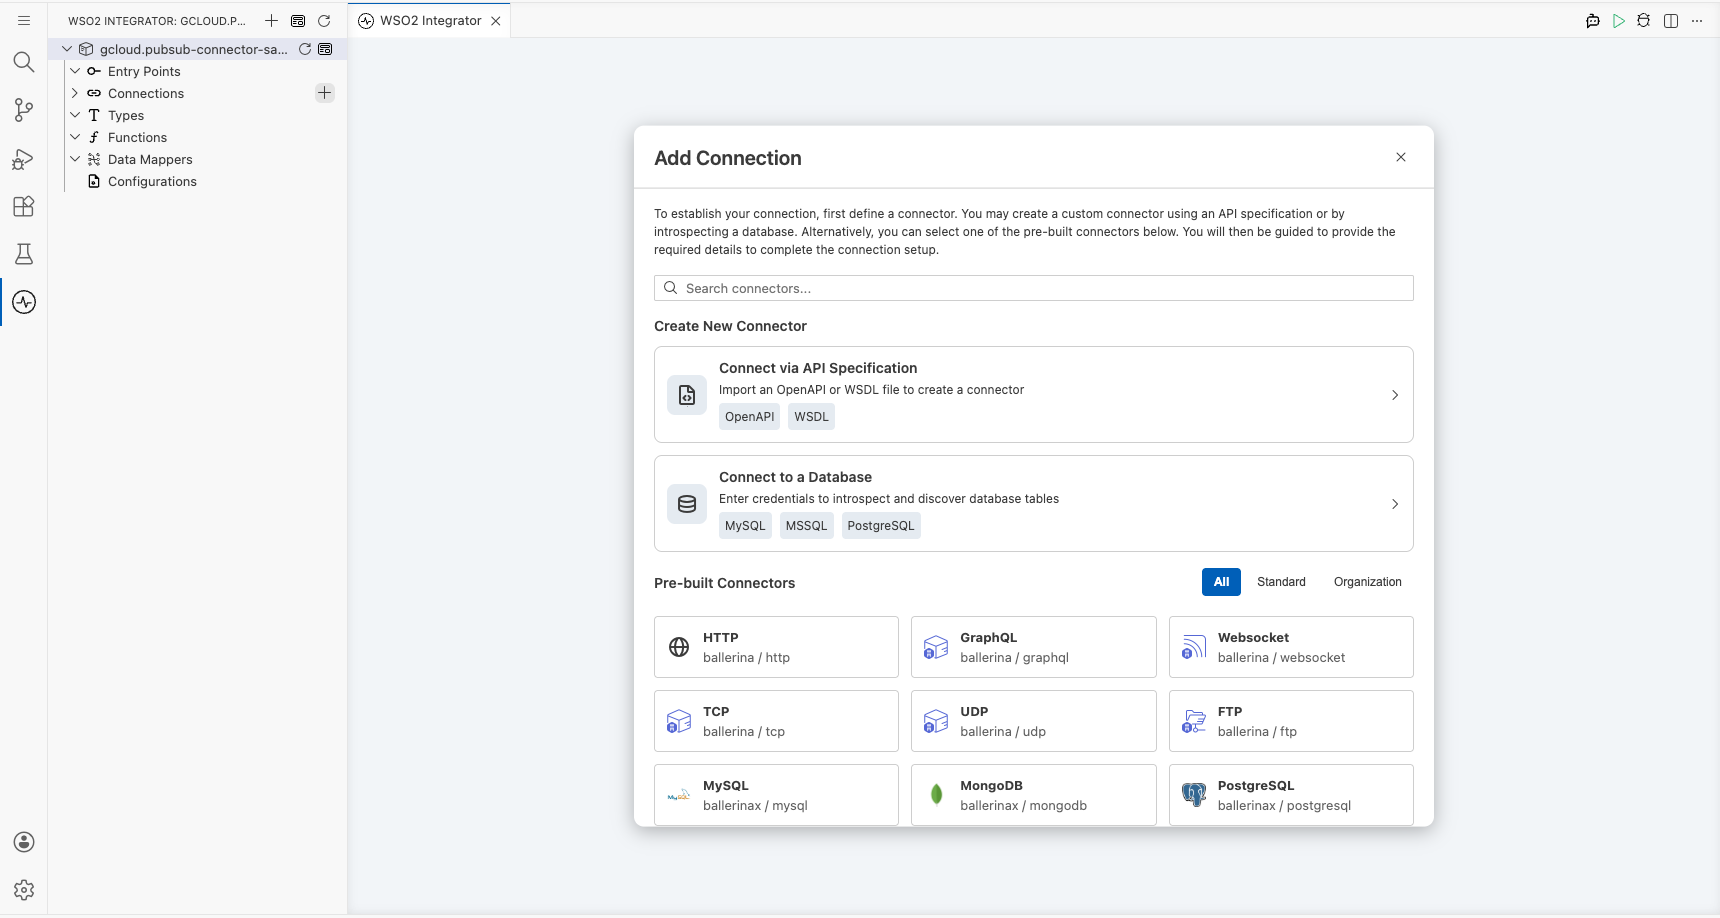
Step 1: Open the connector palette and search for Pub/Sub
- In the side panel, expand Connections and select Add Connection.
- The Add Connection panel opens, showing the connector palette with all available connectors.
- Enter
pubsubin the search box. - Select Pub/Sub Publisher (
ballerinax/gcloud.pubsub).
Configuring the Pub/Sub connection
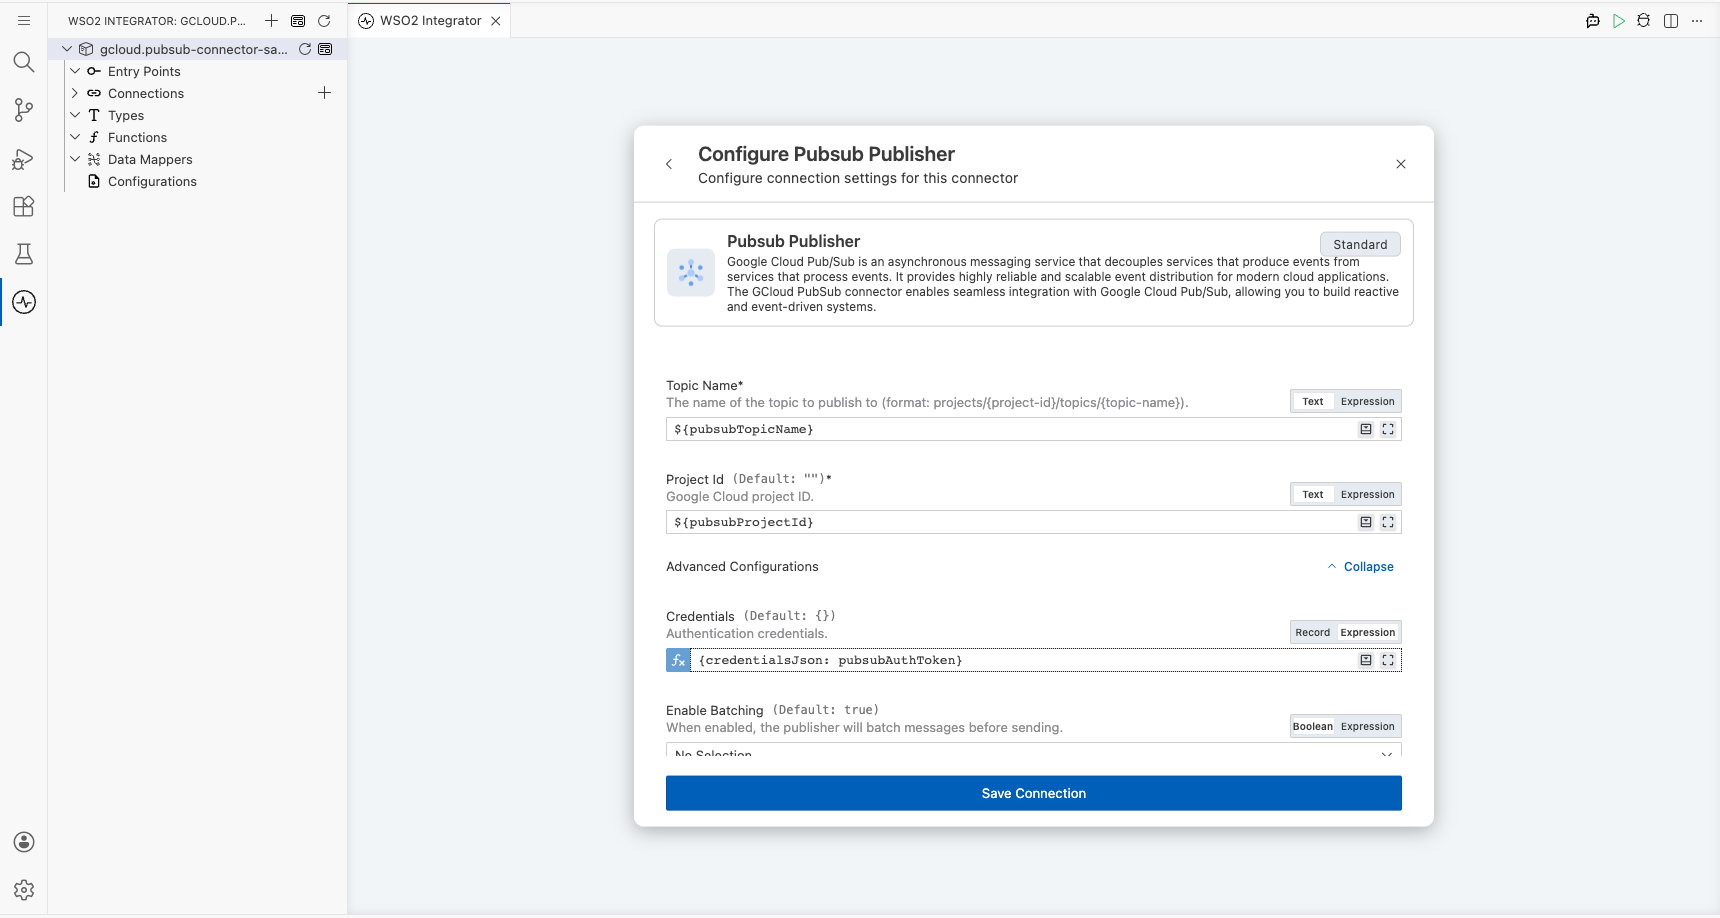
Step 2: Fill in the connection parameters
After selecting Pub/Sub Publisher, the connection configuration form opens. Fill in every field by binding it to a configurable variable using the helper panel. For each field, select the Open Helper Panel icon to the right of the input box, switch to the Configurables tab, then select New Configurable to create the variable.
- topicName : Full Pub/Sub topic resource name (e.g.,
projects/my-project/topics/my-topic) - projectId : Google Cloud project ID
- credentials : Service account credentials; select the Expression toggle and enter
{credentialsJson: pubsubAuthToken}, wherepubsubAuthTokenis astringconfigurable holding the service account JSON
Note: The
pubsub:Credentialsrecord supportscredentialsPath?(path to a credentials file) andcredentialsJson?(the JSON string directly). UsecredentialsJsonwhen passing credentials as a string.
The Connection Name field defaults to pubsubPublisher. Keep this value.
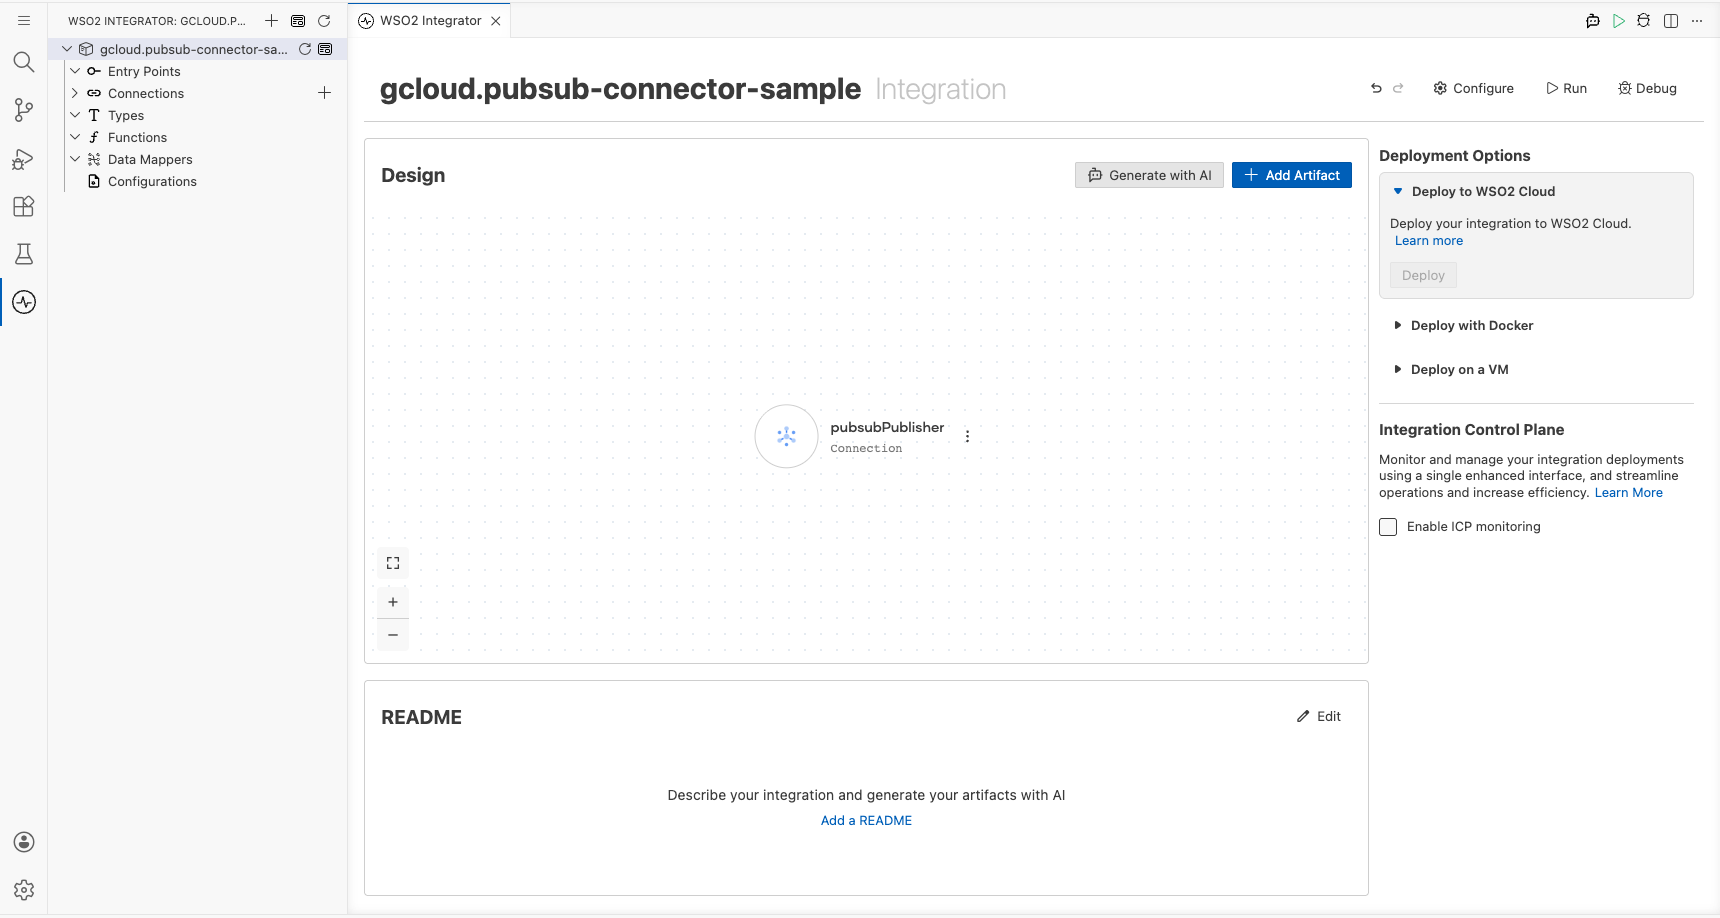
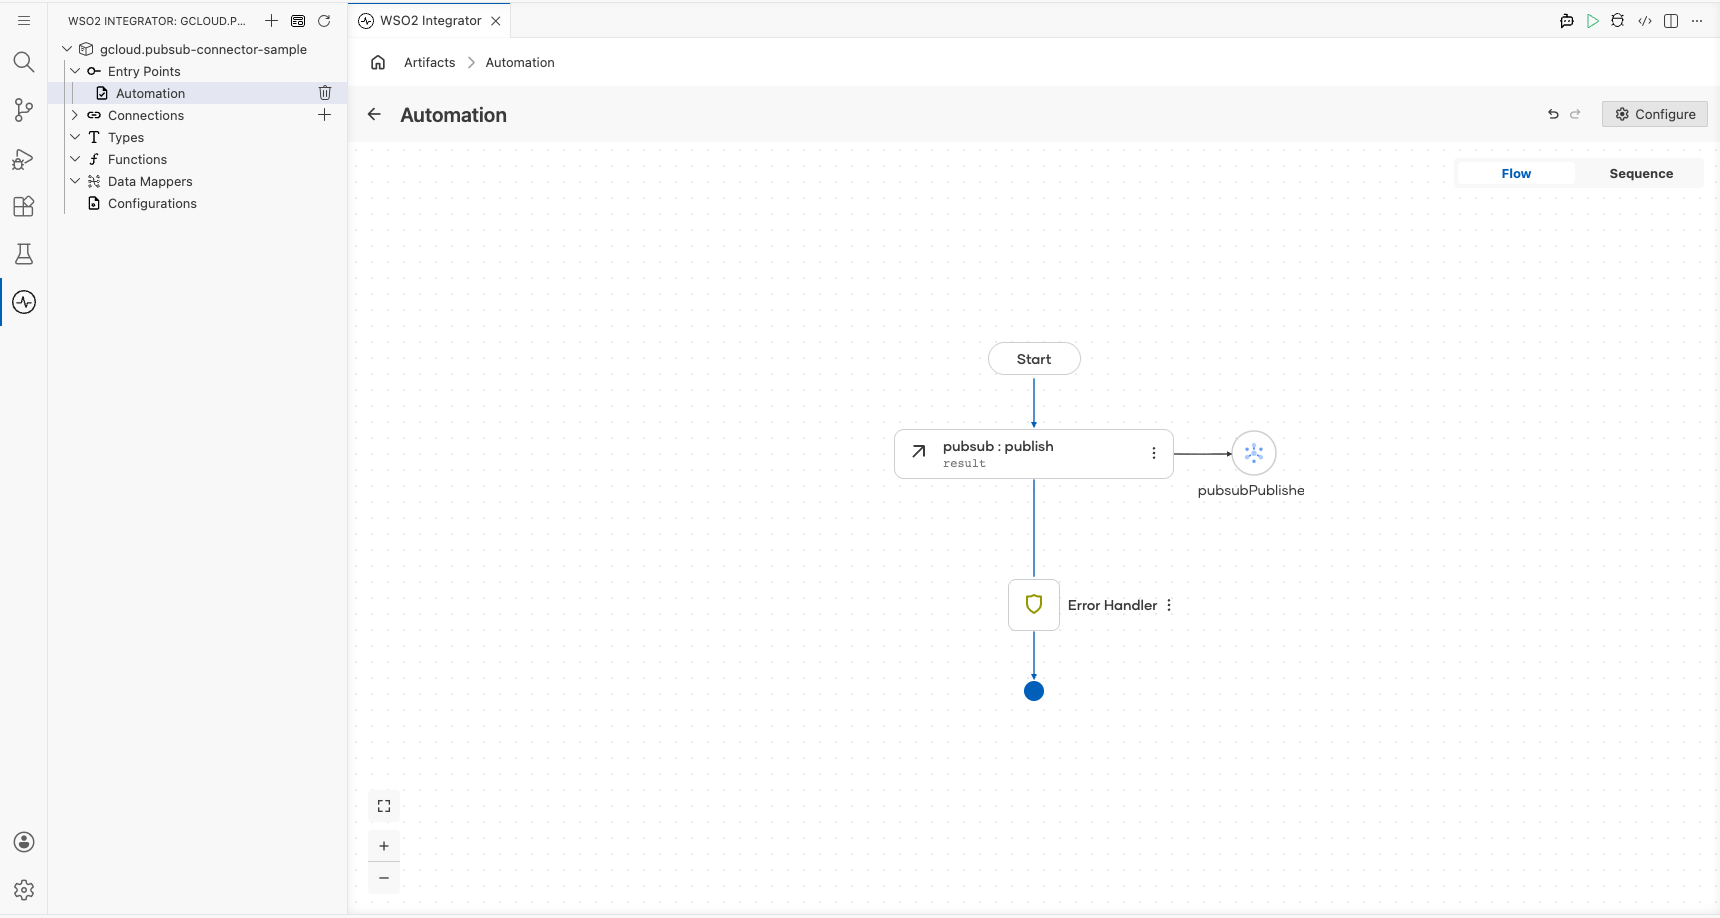
Step 3: Save the connection
Select Save to create the connection. The canvas updates and the pubsubPublisher connection node appears.
Step 4: Set actual values for your configurables
- In the left panel, select Configurations.
- Set a value for each configurable listed below.
- pubsubTopicName (string) : Full topic resource name, e.g.,
projects/YOUR_PROJECT_ID/topics/YOUR_TOPIC_NAME - pubsubProjectId (string) : Your Google Cloud project ID
- pubsubAuthToken (string) : Service account JSON credentials string
- pubsubMessagePayload (string) : Message content to publish
Configuring the Pub/Sub publish operation
Step 5: Add an Automation entry point
- In the side panel, expand Entry Points.
- Select Add Artifact and choose Automation.
- The Automation entry point named
mainis created and appears under Entry Points. - Select main to open the Automation flow canvas.
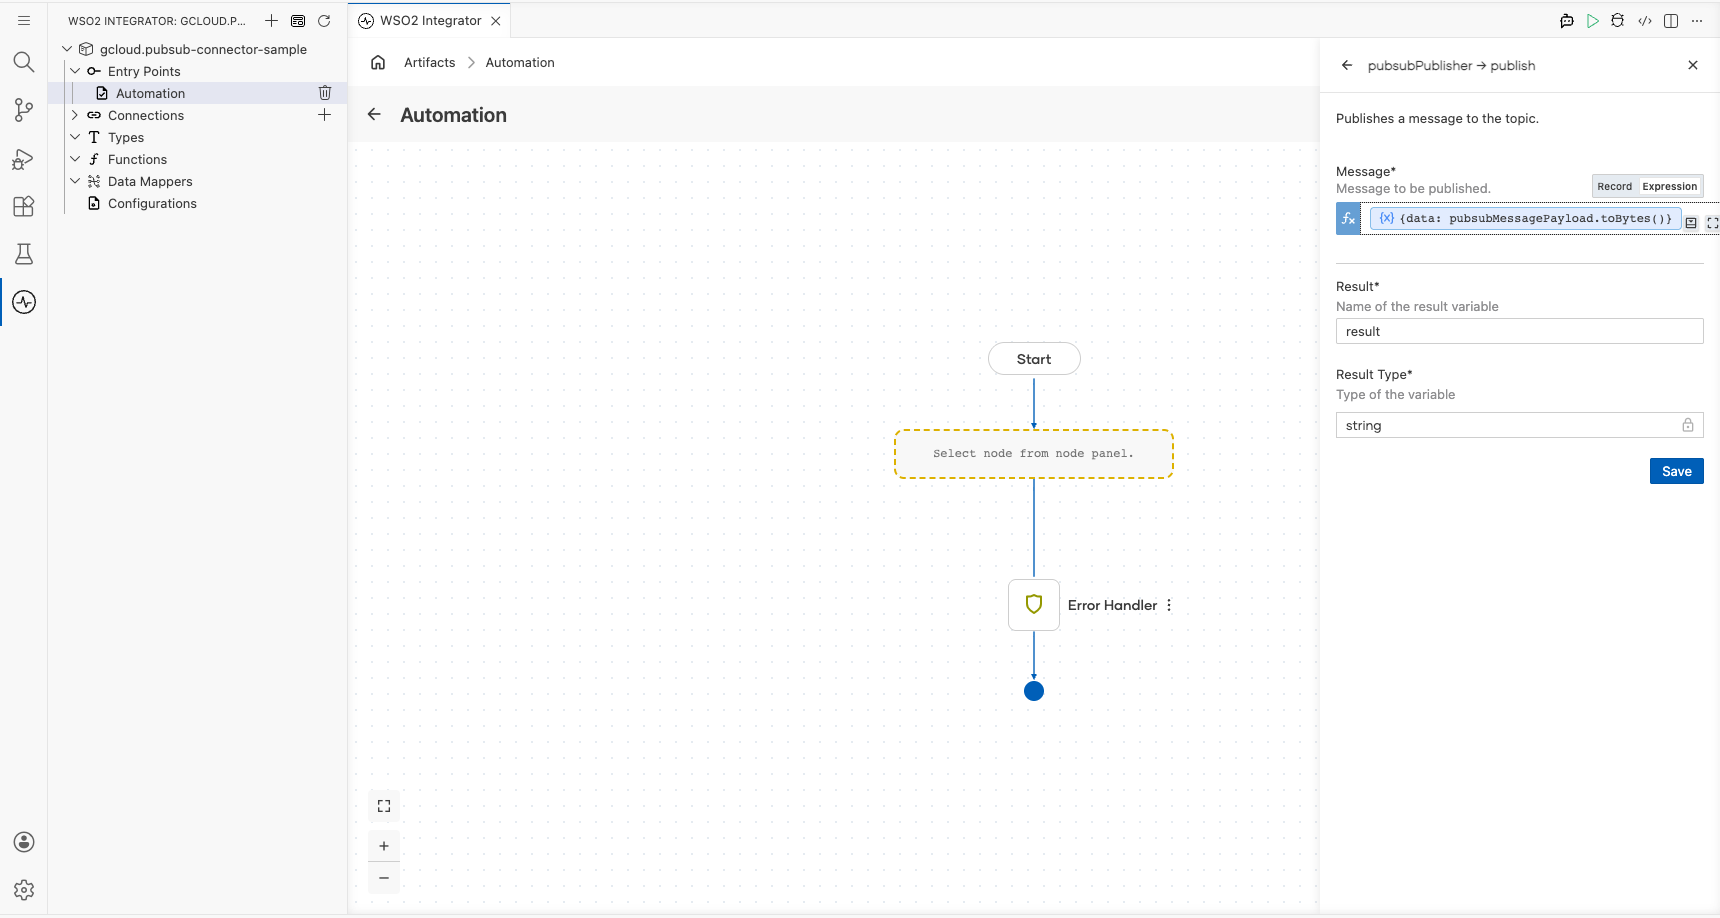
Step 6: Select and configure the publish operation
- In the node panel on the right side of the Automation canvas, locate the pubsubPublisher connection and select it to expand the available operations.
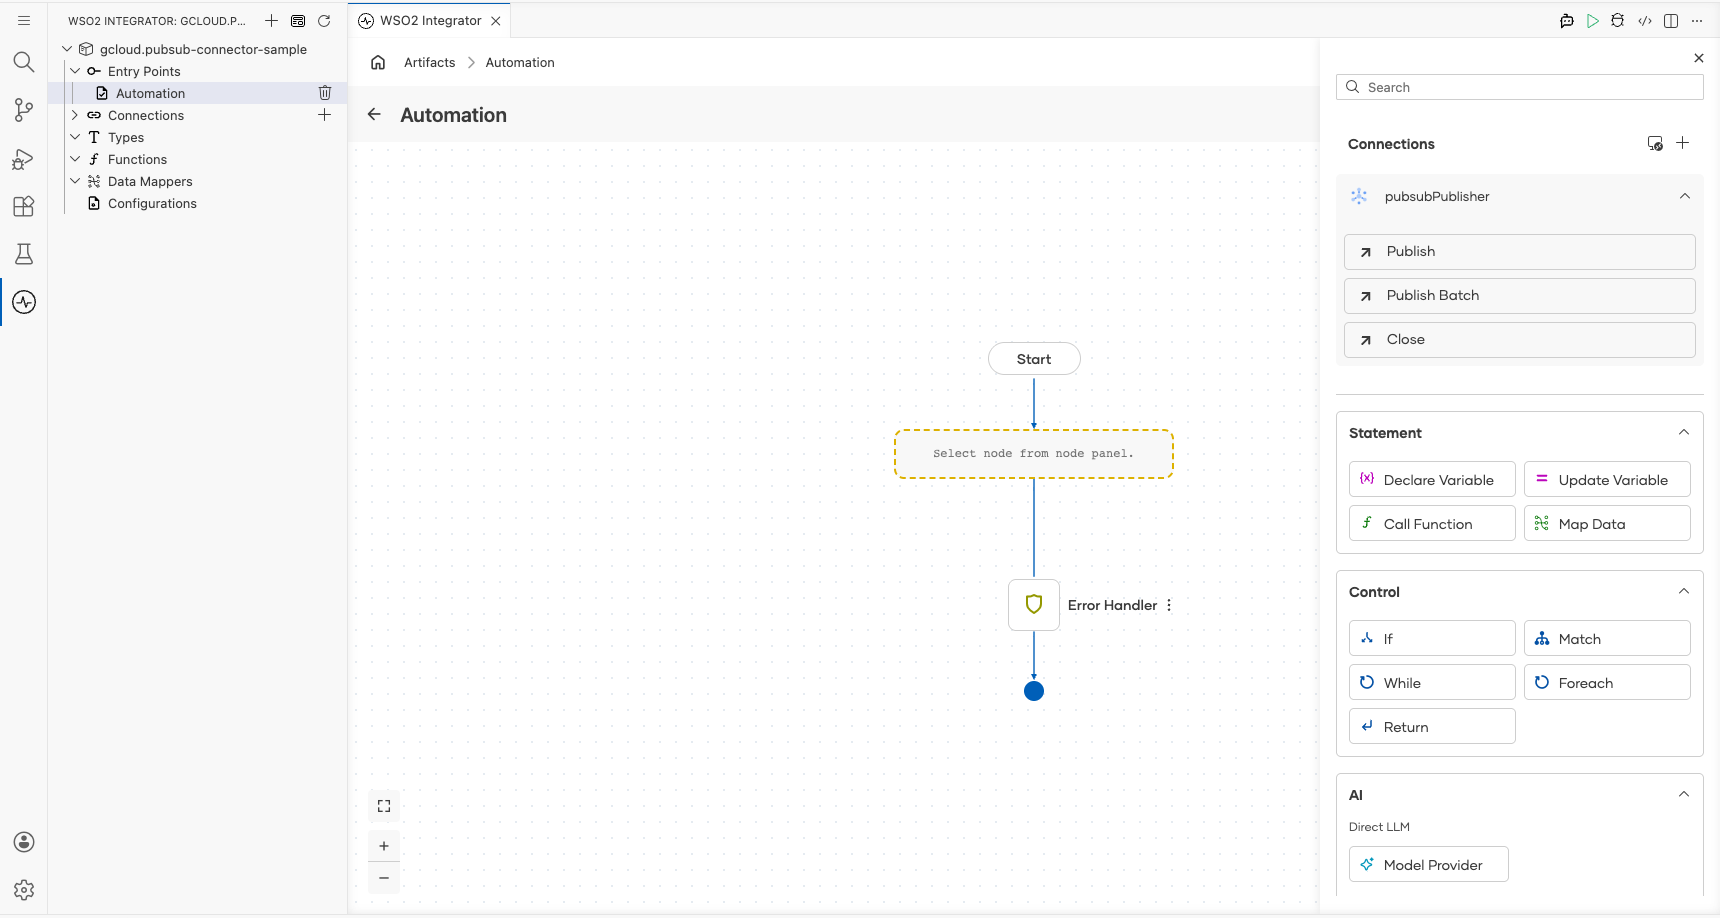
- Select Publish to open the operation configuration form.
- Configure the operation fields:
- Message : Select the Expression toggle, then create a
stringconfigurable namedpubsubMessagePayloadvia the helper panel. Enter{data: pubsubMessagePayload}as the expression. Non-byte values are serialized automatically; use.toBytes()({data: pubsubMessagePayload.toBytes()}) only when you want to pass raw bytes explicitly. - Result : Leave as
result(the variable name for the returned message ID) - Result Type :
string(thepublishoperation returns the published message ID)
- Select Save to add the
publishstep to the flow.
Try it yourself
Try this sample in WSO2 Integration Platform.
