Example
Table of Contents
Jms MessageProducer Example
What you'll build
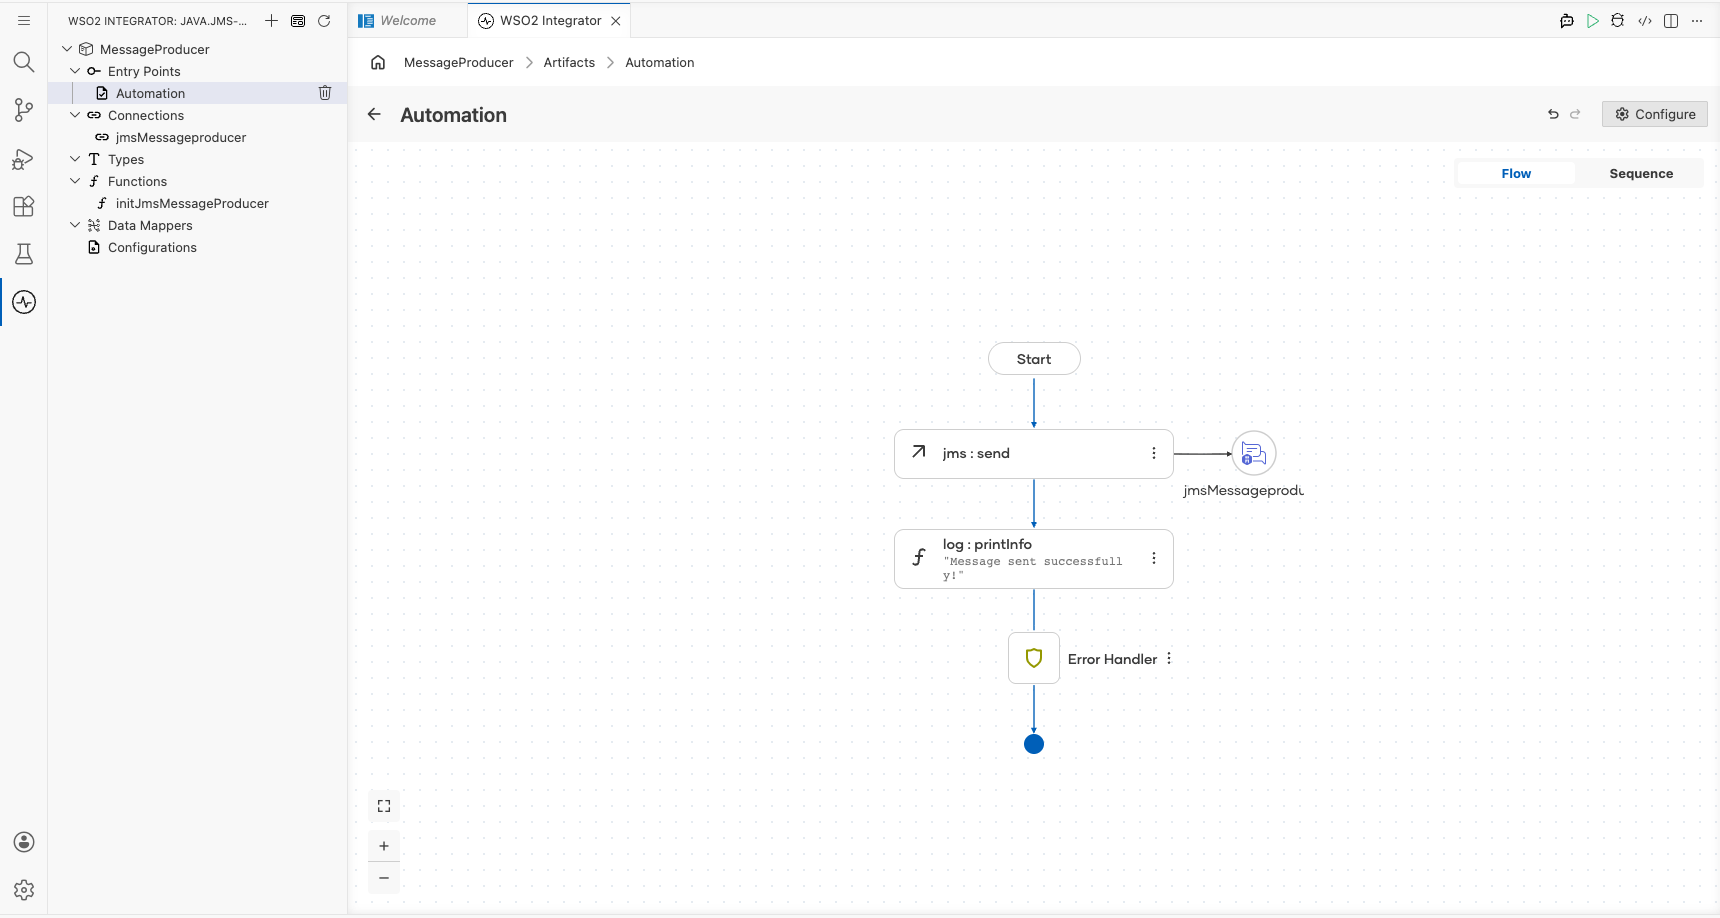
Build a JMS message producer integration that sends a text message to a JMS provider using the ballerinax/java.jms connector in WSO2 Integrator. The integration creates a JMS connection, establishes a session, and sends a message through a MessageProducer. This automation runs as a single-execution entry point and logs the result.
Operations used:
- jmsMessageproducer->send : Sends a JMS text message to the configured JMS provider
Architecture
Prerequisites
- A running JMS provider (e.g., Apache ActiveMQ) accessible for runtime execution
Setting up the Java JMS integration
New to WSO2 Integrator? Follow the Create a New Integration guide to set up your integration first, then return here to add the connector.
Adding the Java JMS connector
Step 1: Open the connector palette
Select the + Add Connection button on the integration canvas to open the connector palette.
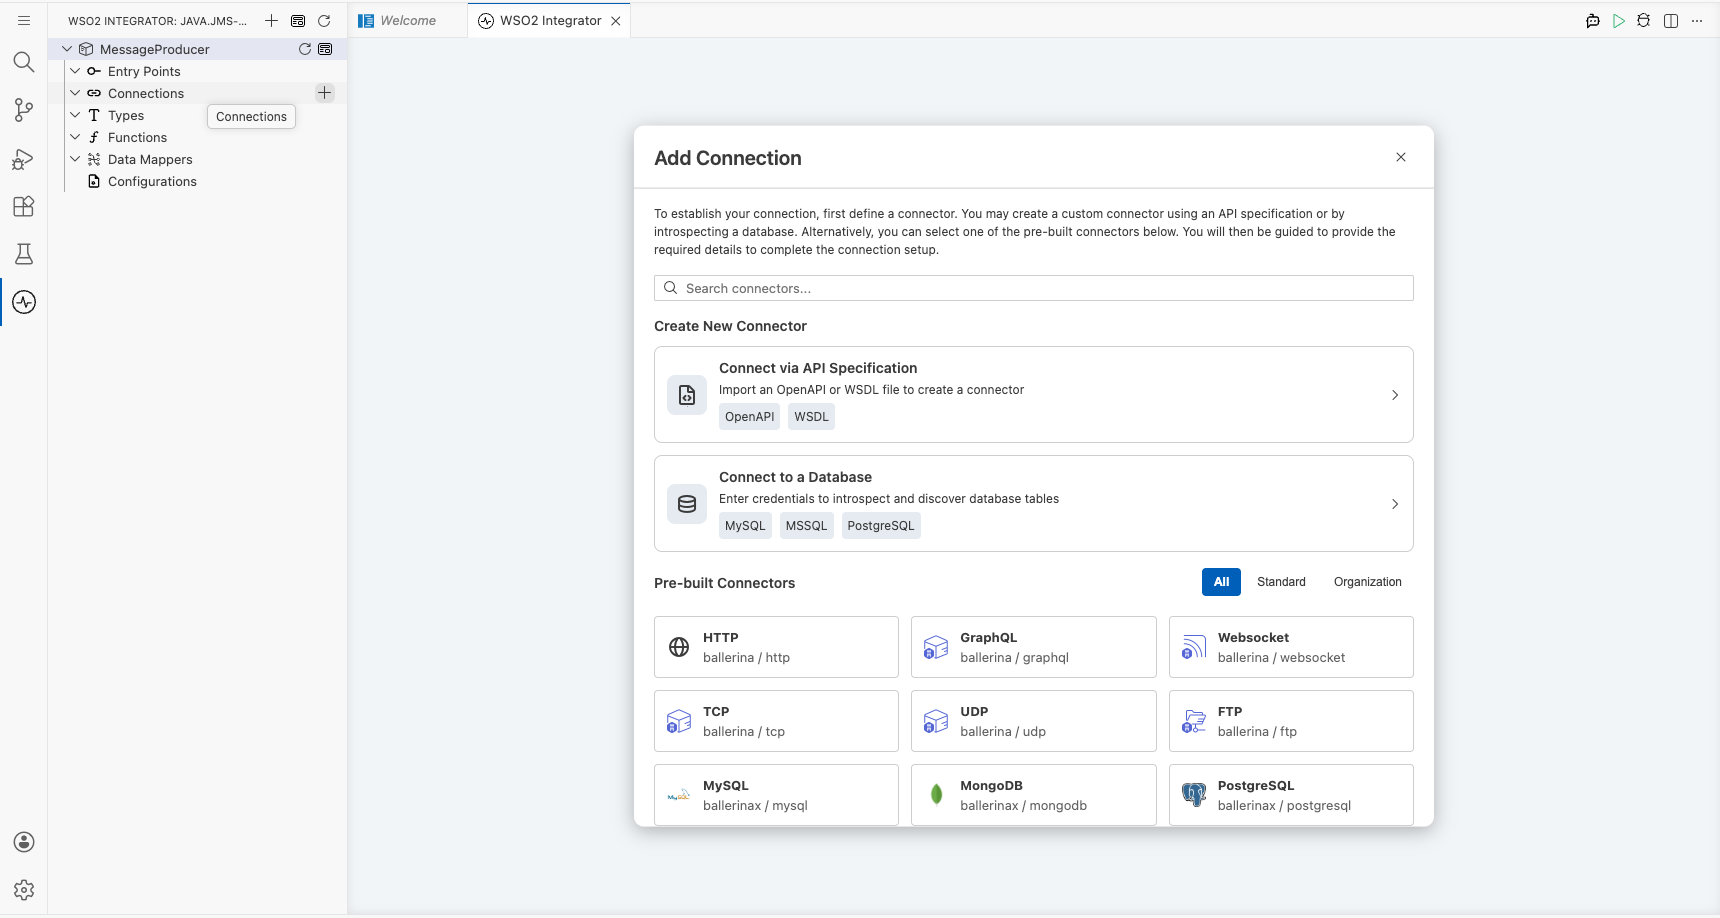
Step 2: Select the Java JMS connector
Search for "jms" in the palette and select the java.jms connector card to open the connection form.
Configuring the Java JMS connection
Step 3: Fill in the connection parameters
Bind each connection parameter to a configurable variable so credentials stay out of source code.
- initialContextFactory : The fully qualified class name of the JMS initial context factory
- providerUrl : The URL of the JMS provider (e.g., the ActiveMQ broker URL)
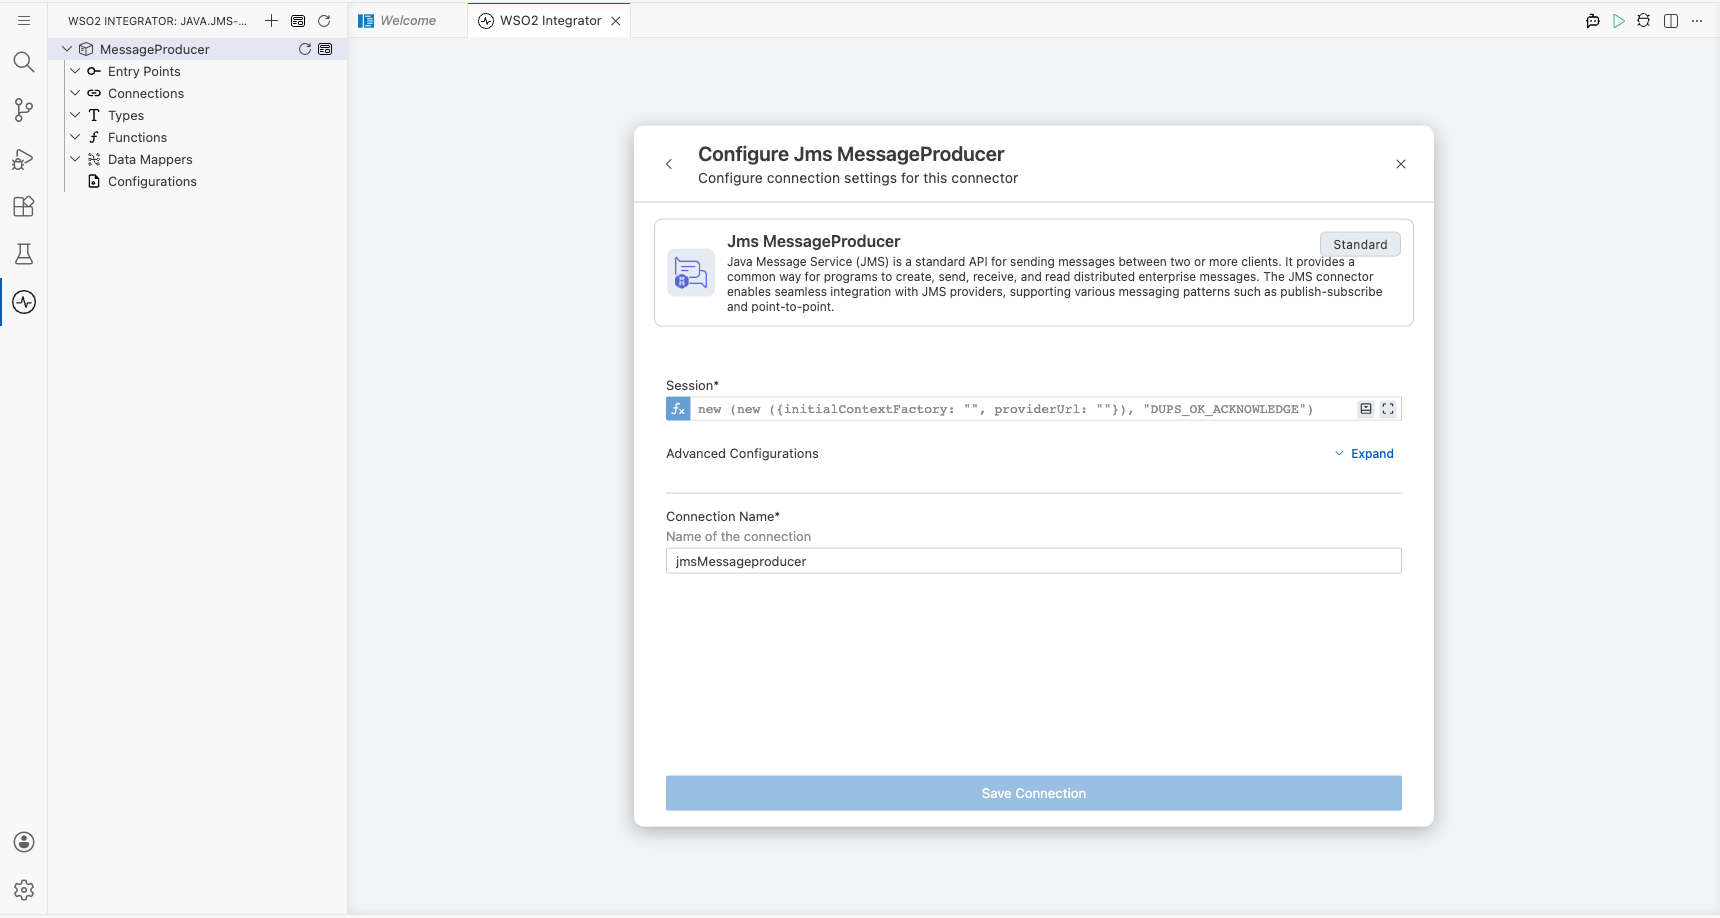
Step 4: Save the connection
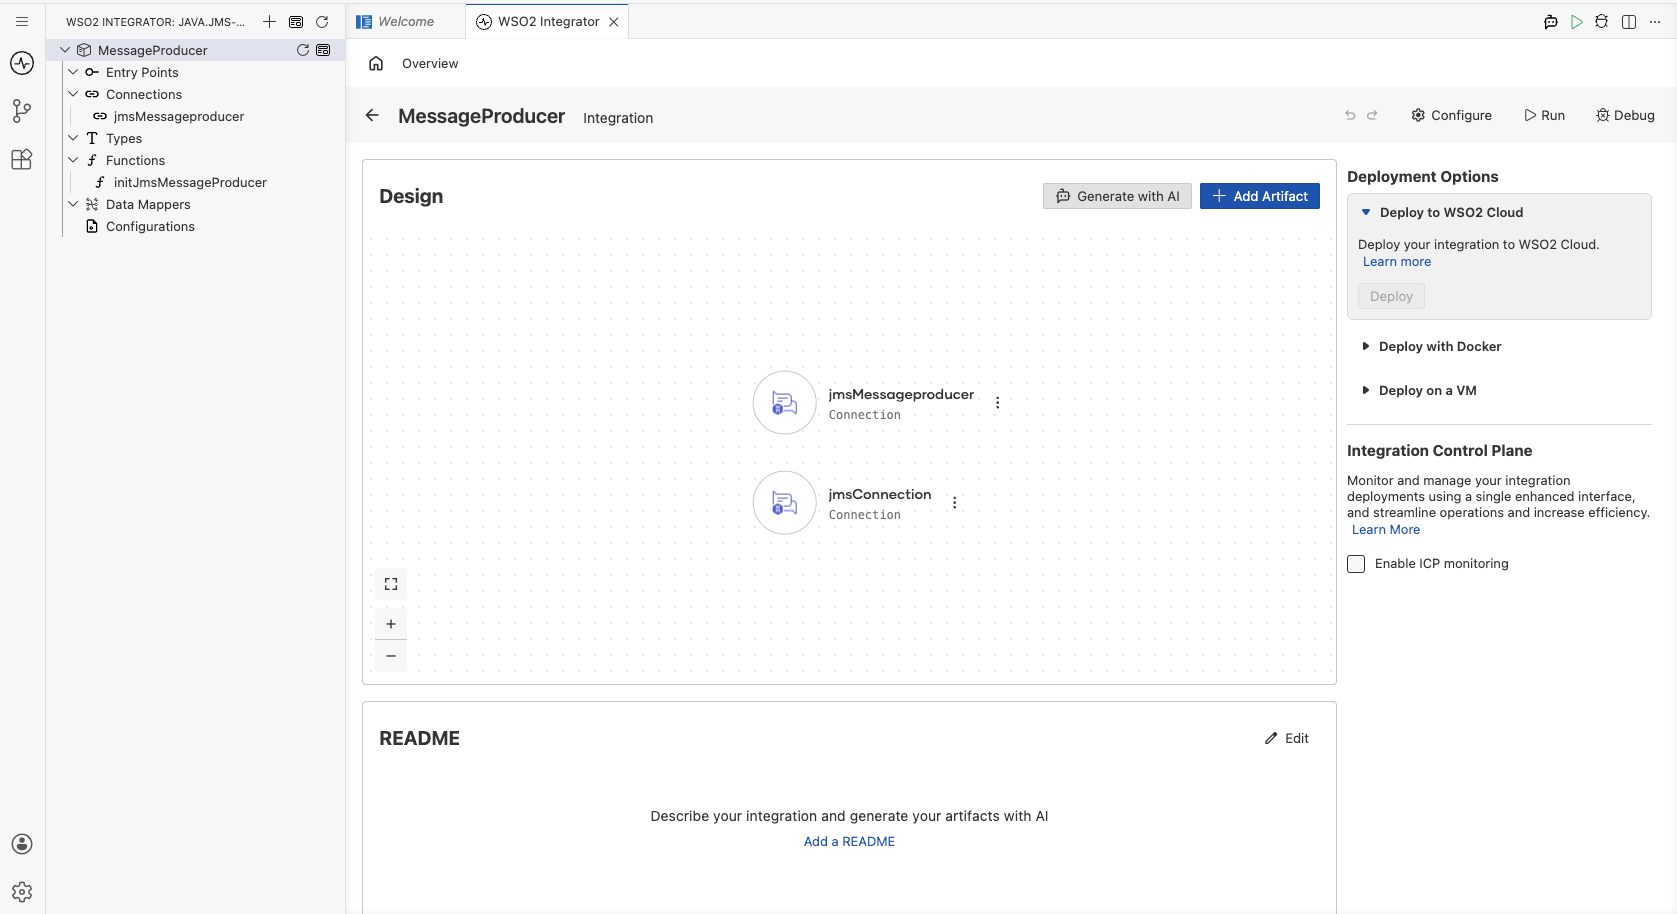
Select Save to persist the connection. The jmsMessageproducer entry appears in the Connections panel.
Step 5: Set actual values for your configurables
- In the left panel, select Configurations.
- Set a value for each configurable listed below.
- jmsInitialContextFactory (string) : The initial context factory class name for your JMS provider (e.g.,
org.apache.activemq.jndi.ActiveMQInitialContextFactory) - jmsProviderUrl (string) : The connection URL for your JMS provider (e.g.,
tcp://activemq-host:61616)
Configuring the Java JMS send operation
Step 6: Add an Automation entry point
- On the integration canvas, select + Add Artifact.
- Under Automation, select Automation.
- In the Create New Automation dialog, leave all defaults and select Create.
The canvas opens for the new main automation, showing a Start node and an Error Handler node.
Step 7: Select and configure the send operation
- Select the + button between Start and Error Handler to open the node selection panel.
- Under Connections, expand jmsMessageproducer to reveal available operations.
- Select Send to open the
jmsMessageproducer → sendform. - In the Message field, select the Expression tab and enter the message record value.

- message : A
jms:TextMessagerecord literal, for example{"content": "Hello from WSO2 Integrator!"}
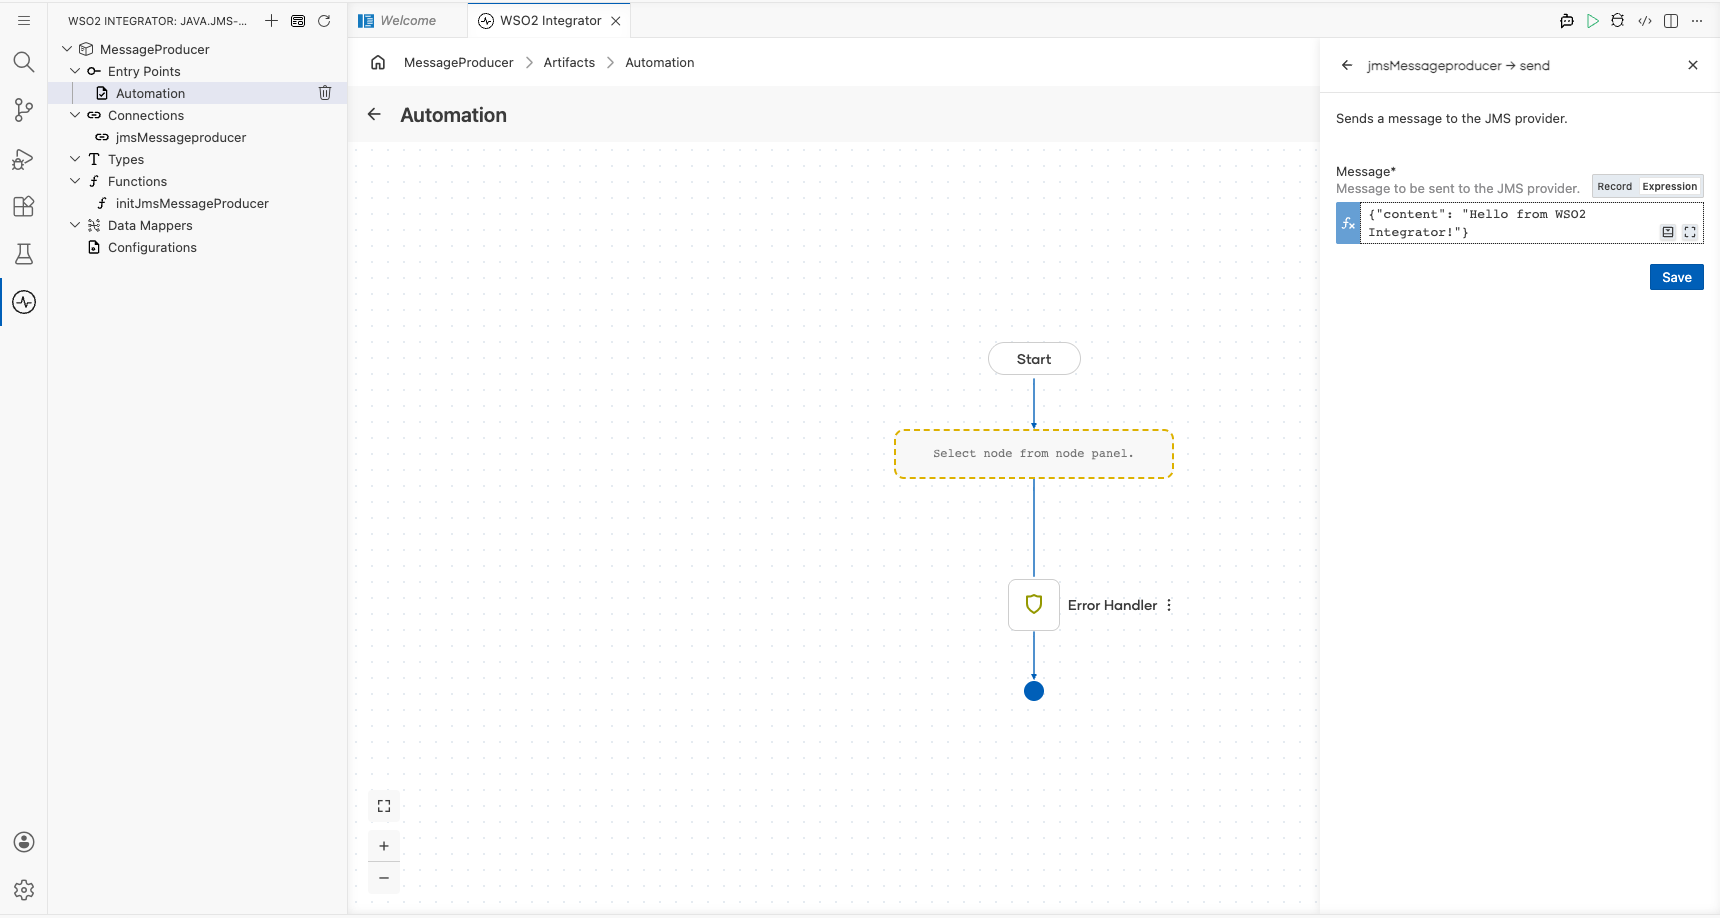
Select Save to add the step to the canvas.
Try it yourself
Try this sample in WSO2 Integration Platform.

Jms MessageConsumer Example
What you'll build
Build a JMS message consumer integration using the java.jms connector in WSO2 Integrator. The integration connects to a JMS broker, creates a session and destination queue, and receives messages from it.
Operations used:
- Receive : Waits for and retrieves the next message from the configured JMS queue within the specified timeout interval.
Architecture
Prerequisites
- A running JMS broker (e.g., Apache ActiveMQ)
- Access to the JMS broker's initial context factory class and provider URL
Setting up the java.jms integration
New to WSO2 Integrator? Follow the Create a New Integration guide to set up your integration first, then return here to add the connector.
Adding the java.jms connector
Step 1: Open the connector palette
Open the connector palette by selecting the connector icon in the sidebar. Search for JMS or java.jms to locate the ballerinax/java.jms connector.

Step 2: Add an automation entry point
- In the WSO2 Integrator design canvas, select Add Artifact.
- From the artifact picker, select Automation under the Automation category.
- Select Create to create the automation with default settings.
The canvas now shows an Automation flow with a Start node and an Error Handler node.
Configuring the java.jms connection
Step 3: Fill in the connection parameters
Select the JMS MessageConsumer connector entry to open its connection configuration form. Bind each field to a configurable variable:
- session : The
jms:Sessionobject used to create the consumer - acknowledgementMode : The session acknowledgement mode (e.g.,
AUTO_ACKNOWLEDGE)
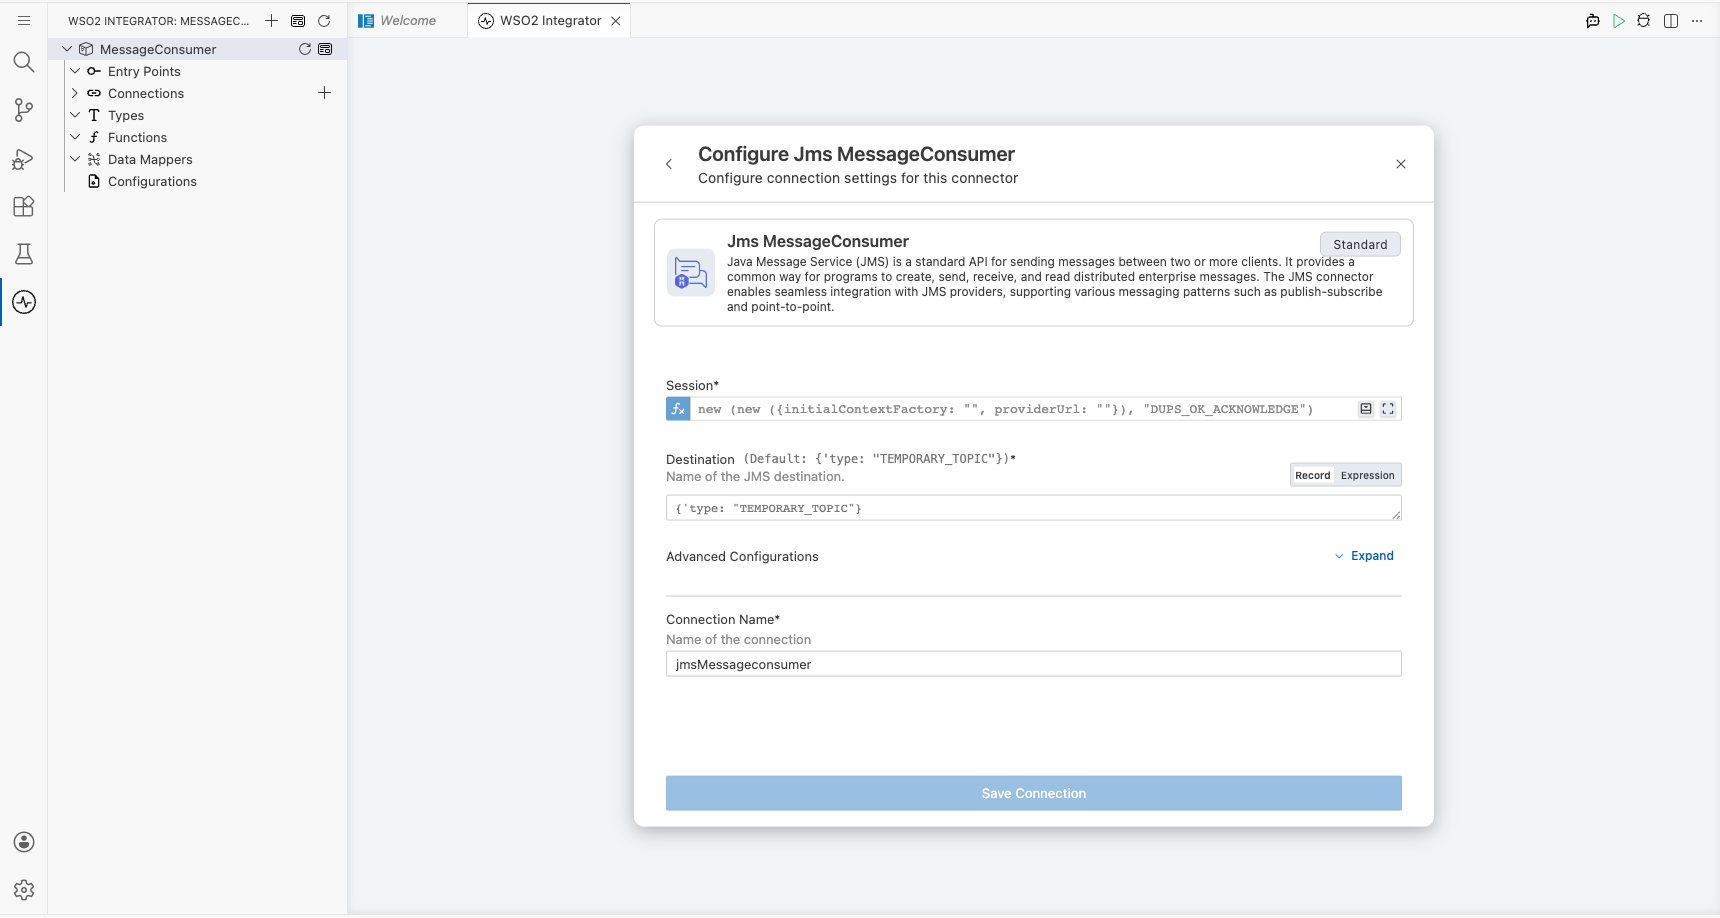
Step 4: Save the connection
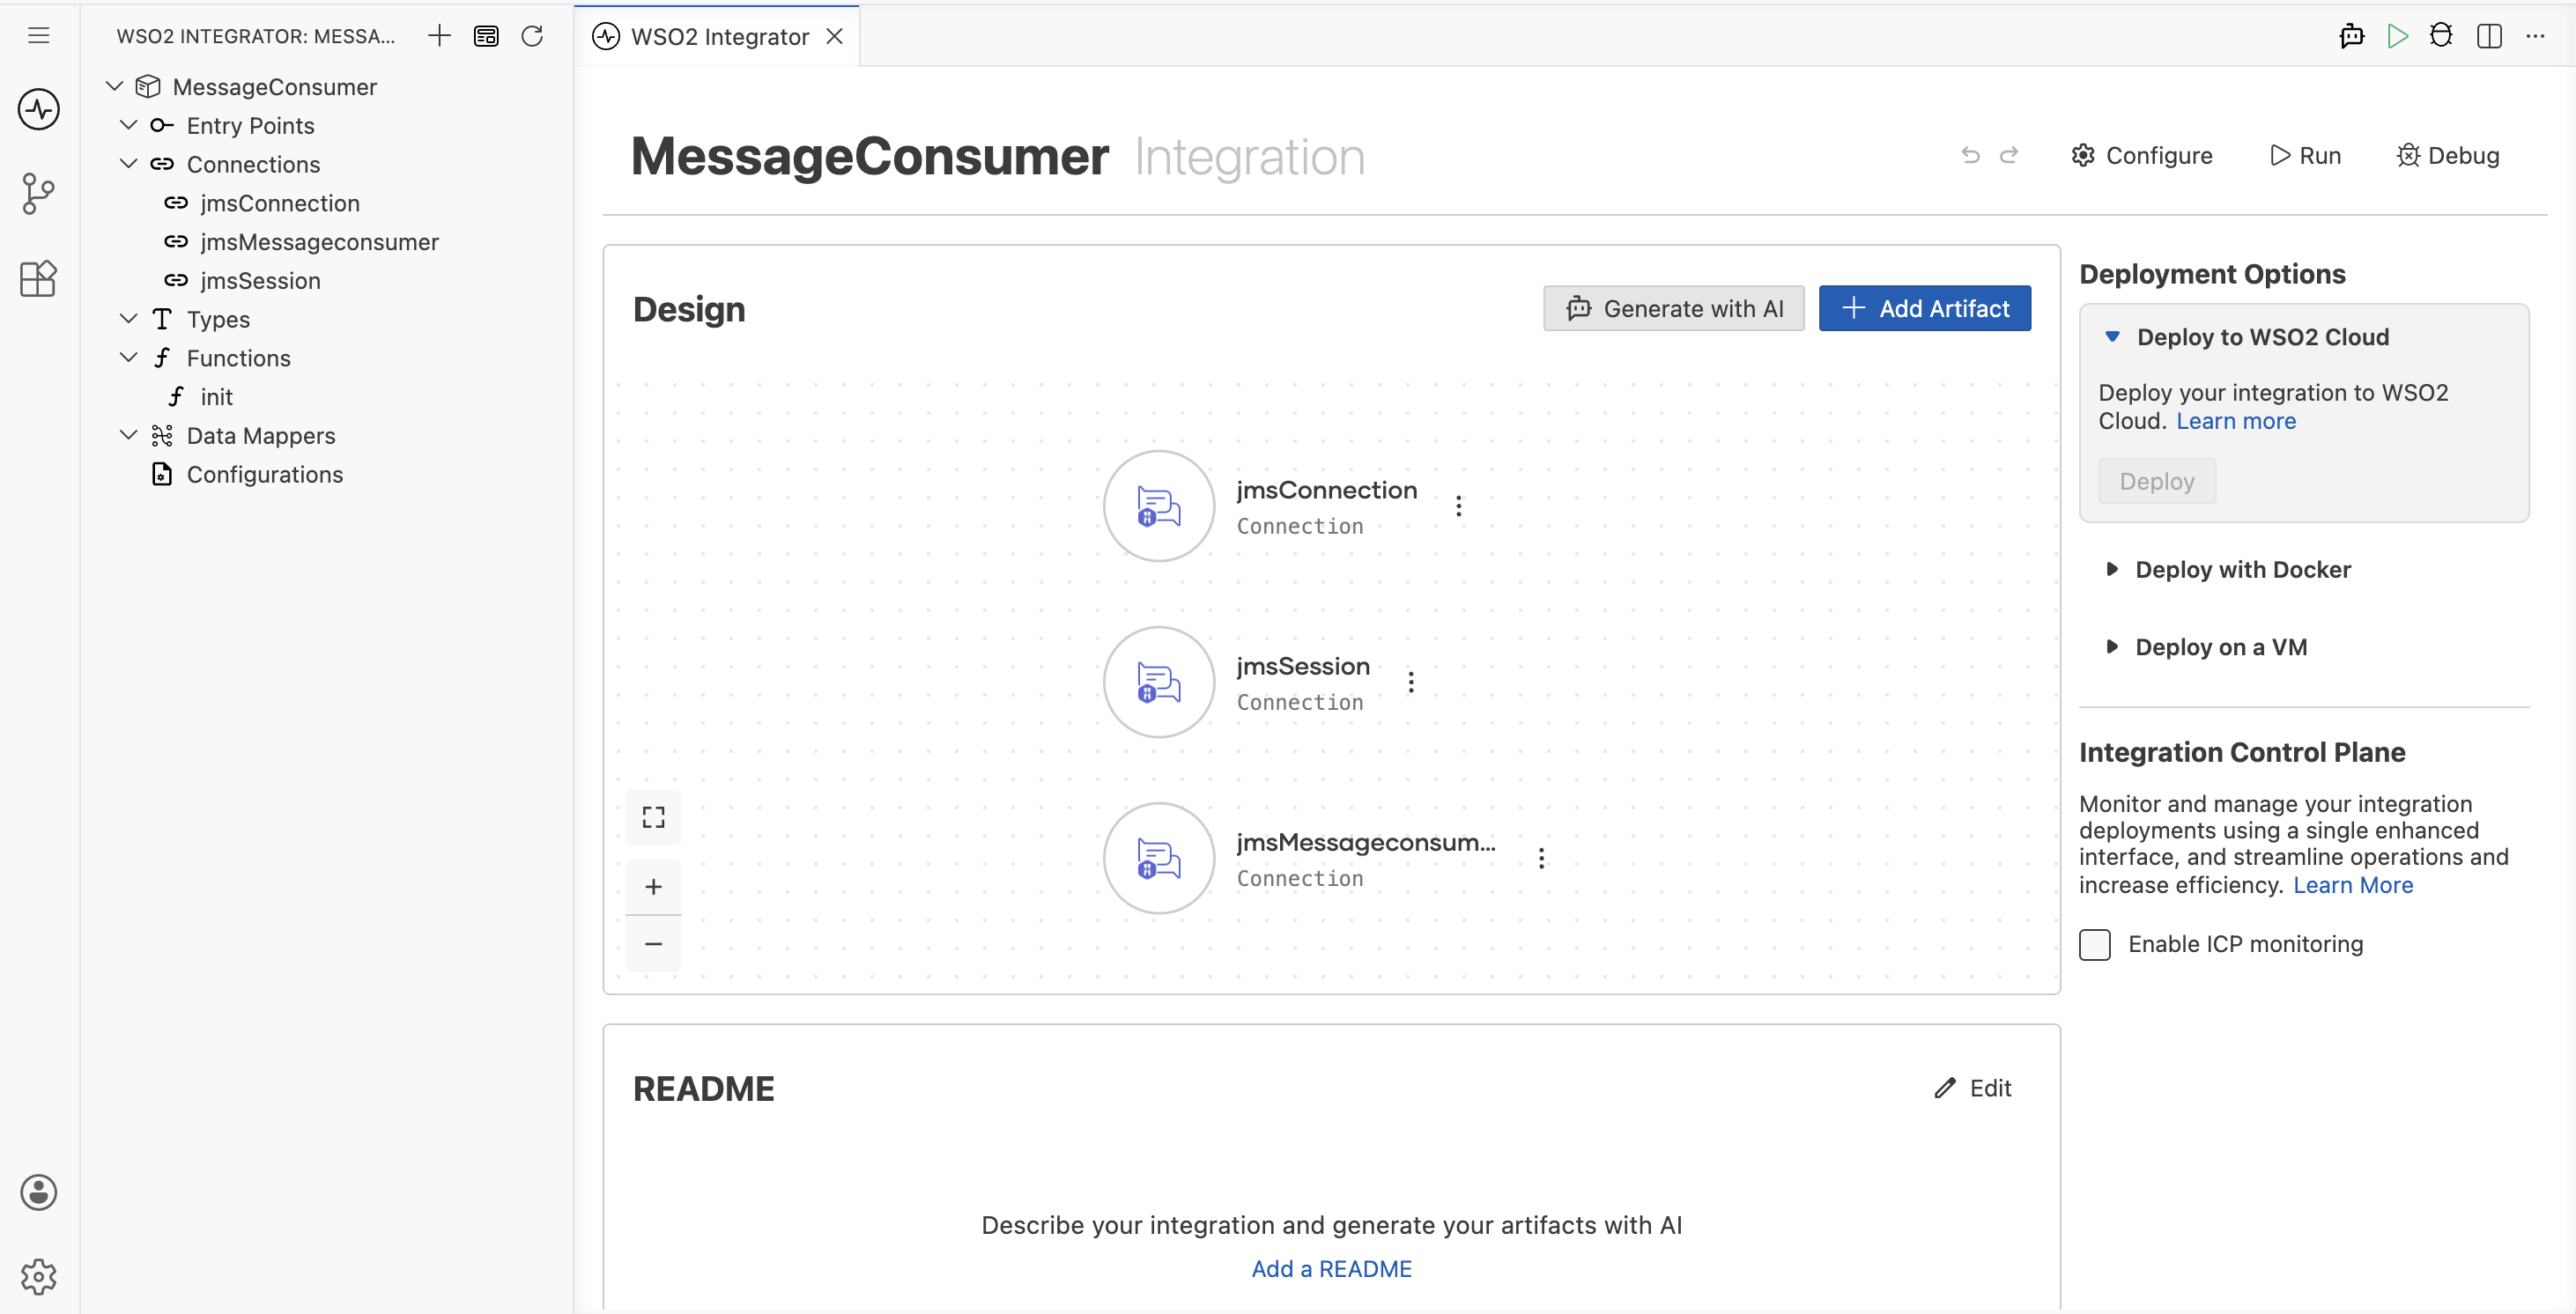
Select Save to persist the connection. The connector is now visible in the Connections panel on the canvas.
Step 5: Set actual values for your configurables
- In the left panel, select Configurations.
- Set a value for each configurable listed below.
- jmsInitialContextFactory (string) : The fully-qualified class name of the JNDI initial context factory (e.g.,
org.apache.activemq.jndi.ActiveMQInitialContextFactory) - jmsProviderUrl (string) : The broker URL used to connect to the JMS provider
- jmsQueueName (string) : The name of the queue to consume messages from
Configuring the java.jms Receive operation
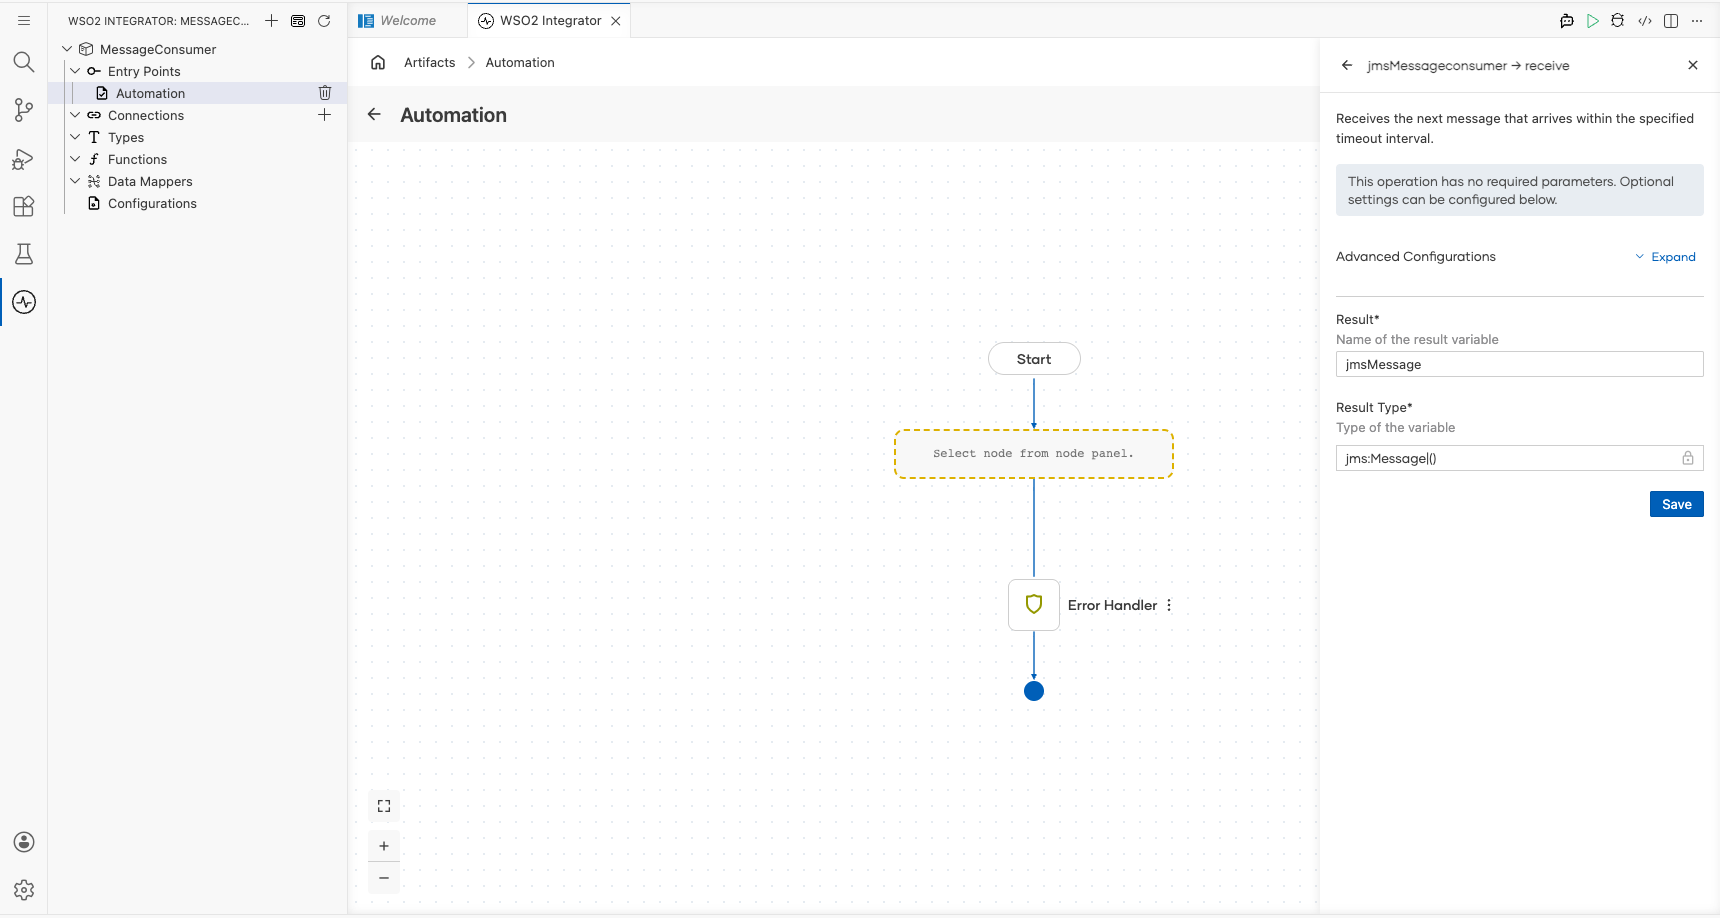
Step 6: Select and configure the Receive operation
- Select the + button between the Start and Error Handler nodes to open the node picker panel.
- In the Connections section, expand jmsMessageconsumer and select Receive.
- In the Result field, clear the default value and enter
result.
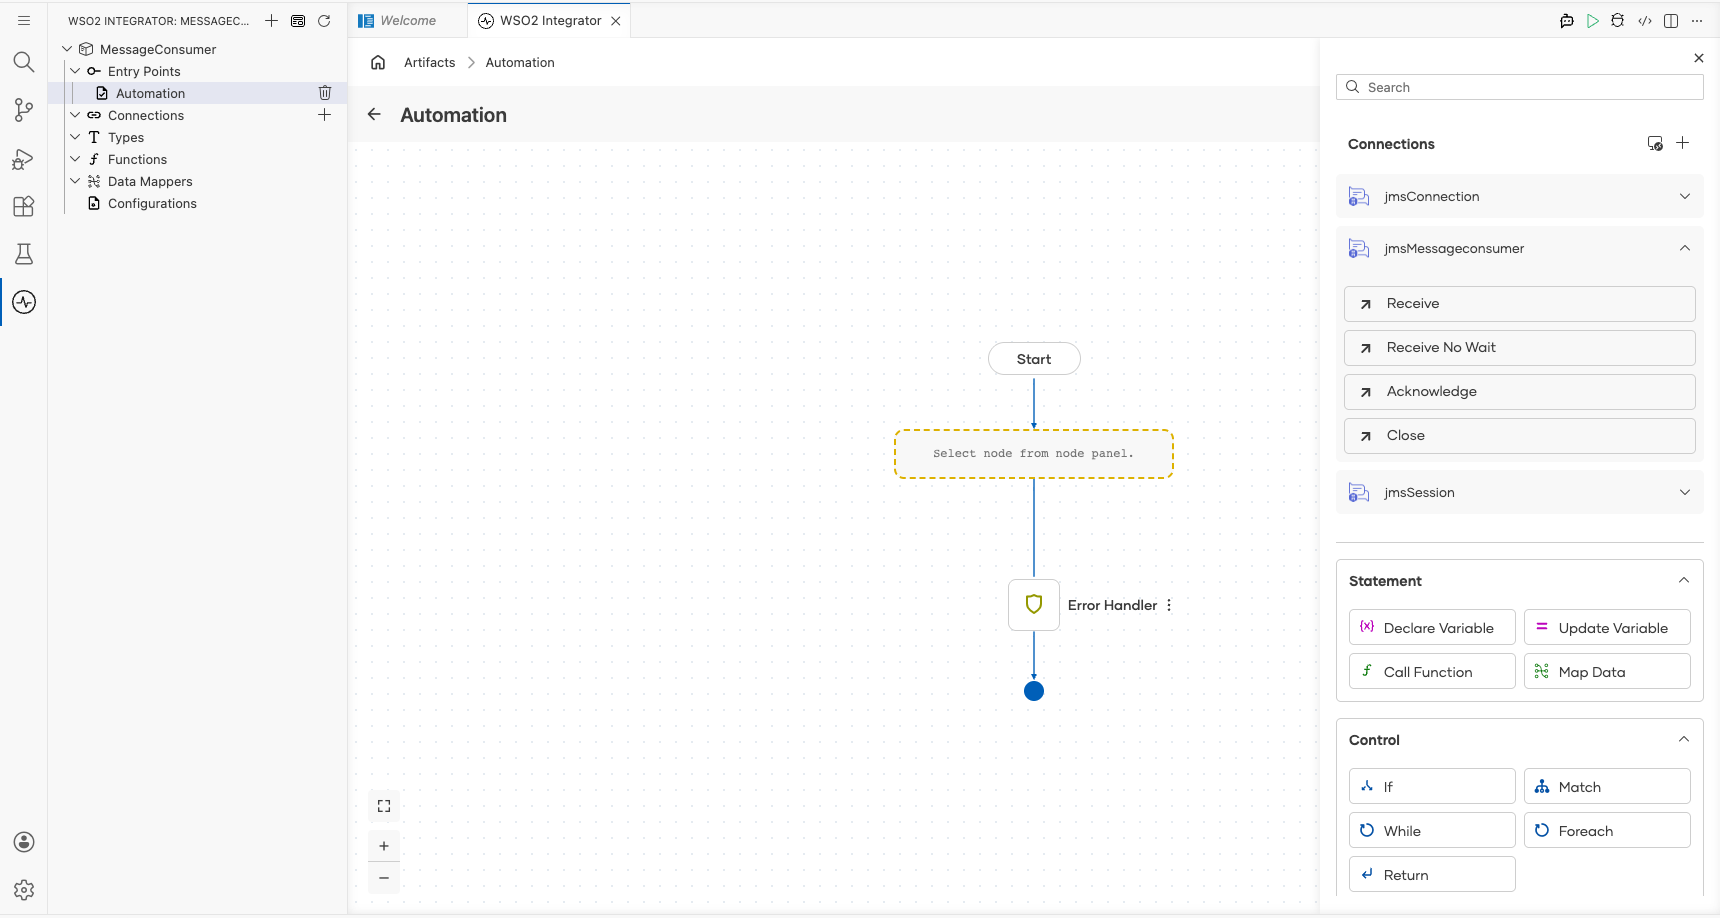
The Result Type is automatically set to jms:Message|().
- result : The variable name that holds the received message
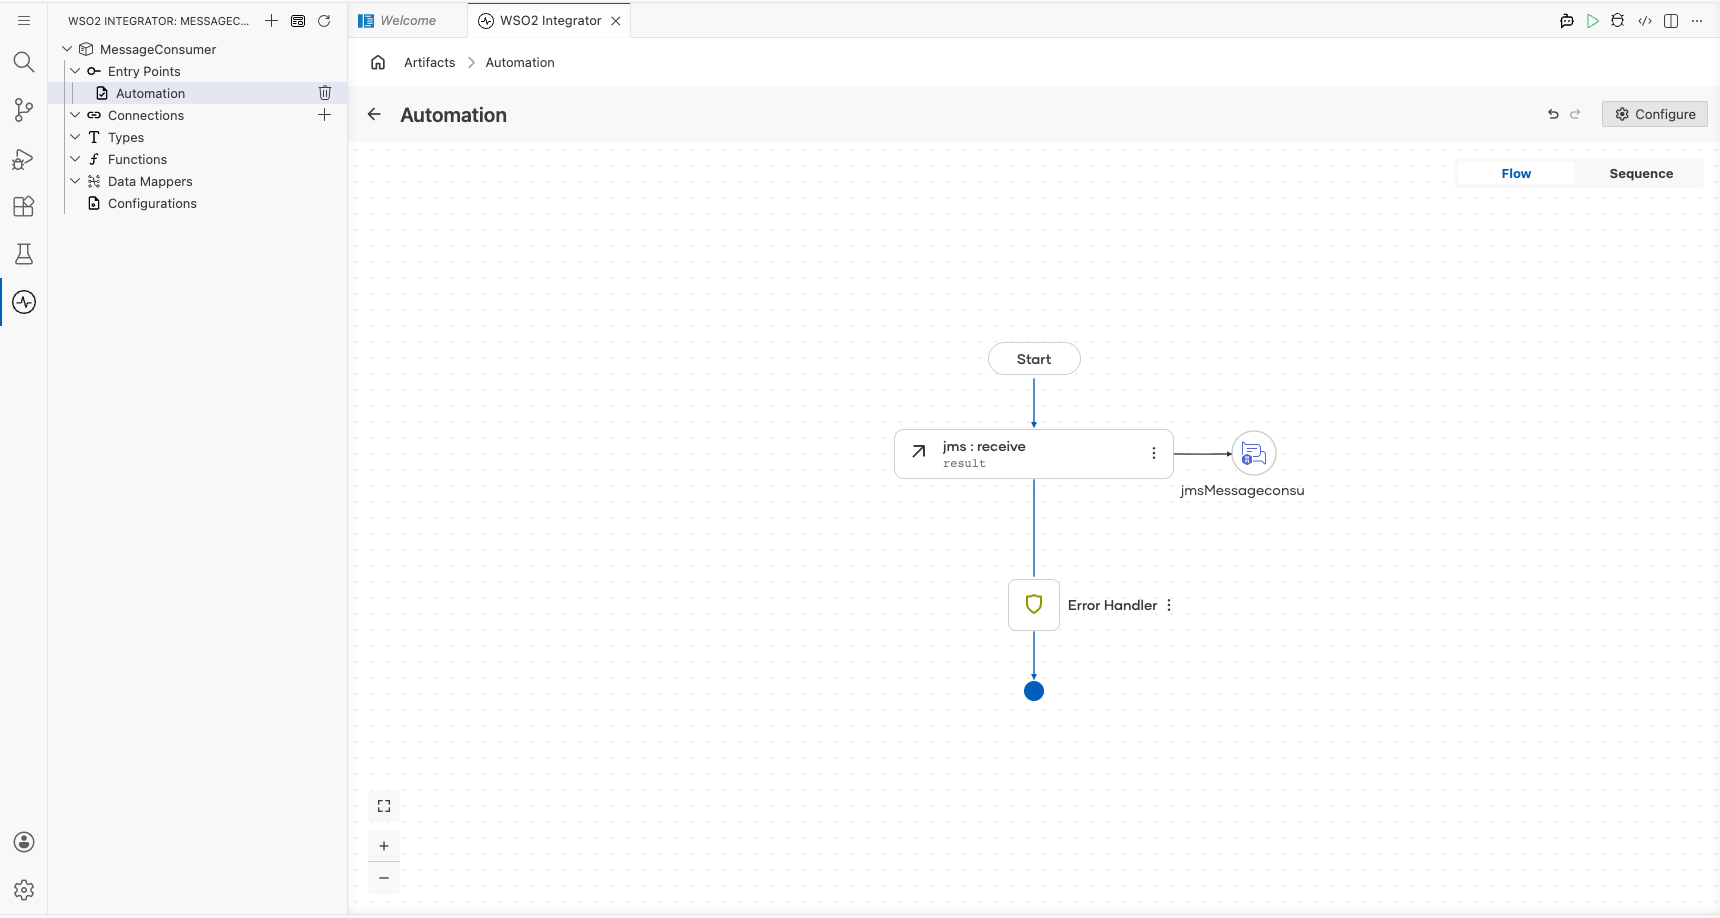
Select Save. The canvas shows a new jms : receive node with the label result connected to the jmsMessageconsumer icon.
Try it yourself
Try this sample in WSO2 Integration Platform.