Example
What you'll build
Build a WSO2 Integrator automation that connects to a NATS server and publishes a message to a subject. The integration uses a configurable variable for the NATS server URL, making it easy to switch environments without changing the integration logic.
Operations used:
- Publish Message (
publishMessage) : Publishes a byte-encoded message to theintegrations.eventssubject on the configured NATS server
Architecture
Prerequisites
- A running NATS server accessible from your integration environment
Setting up the NATS integration
New to WSO2 Integrator? Follow the Create a New Integration guide to set up your integration first, then return here to add the connector.
Adding the NATS connector
Step 1: Open the Add connection panel
In the WSO2 Integrator panel, expand your project and select the + button next to Connections to open the Add Connection palette.
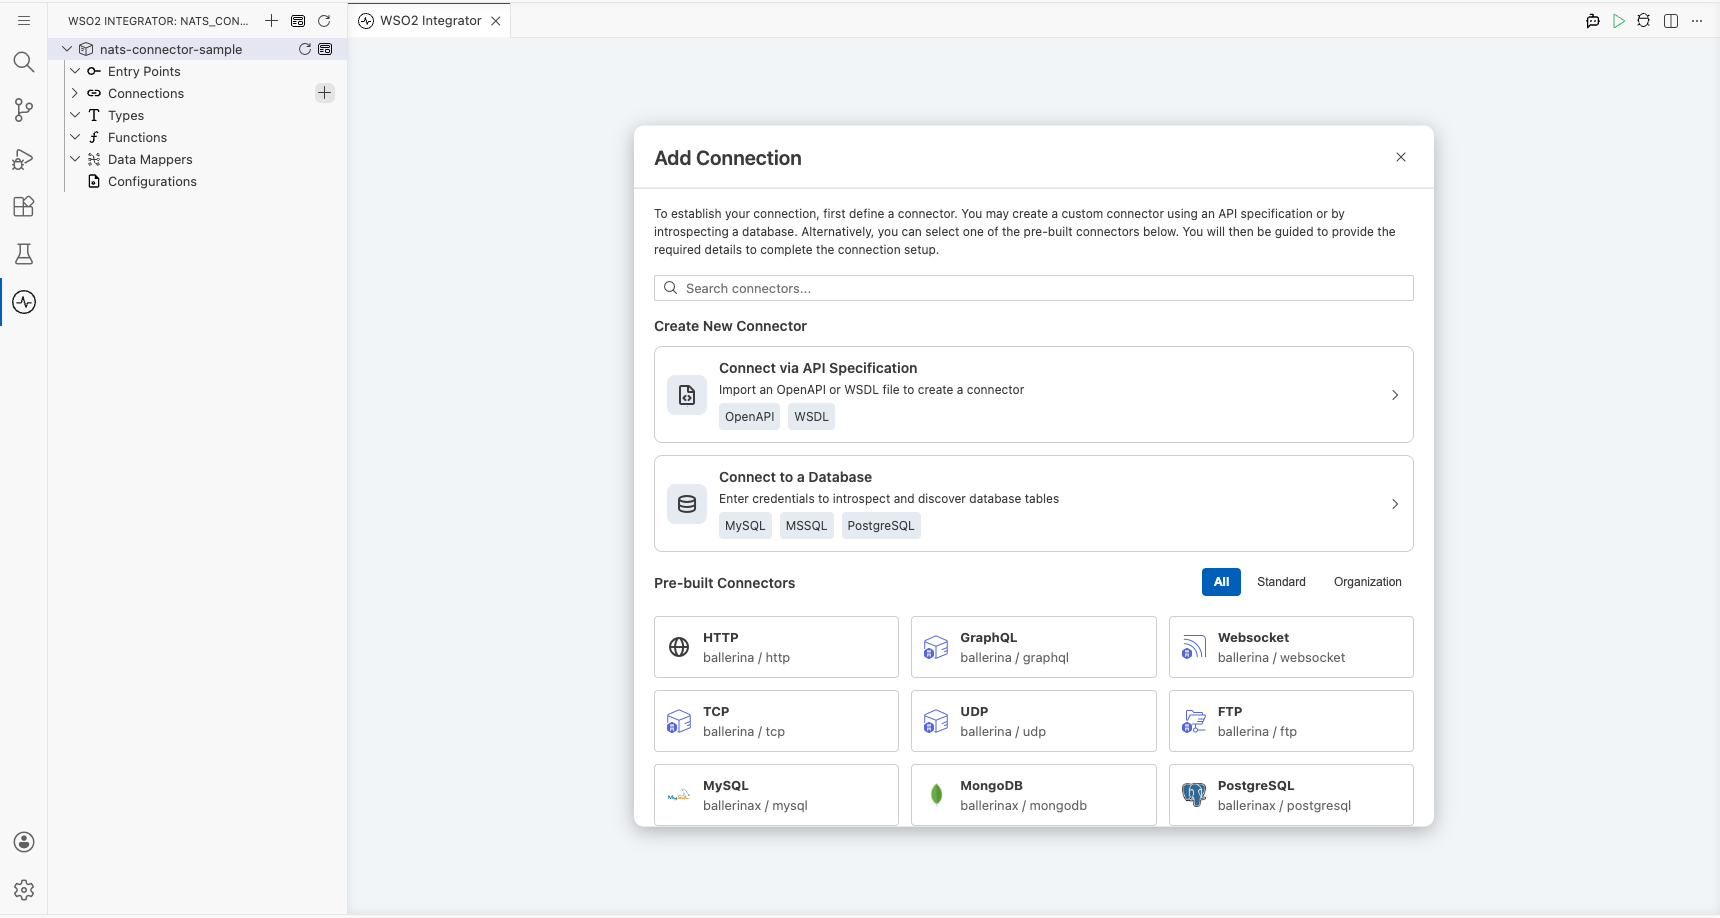
Step 2: Select the NATS connector
- Enter
natsin the search box. - Select the card labelled Nats (the standard, non-JetStream connector, not "Nats JetStream" or "Nats JetStream Listener").
Configuring the NATS connection
Step 3: Fill in the connection parameters
Fill in the Configure Nats form, binding each field to a configurable variable:
- Connection Name : Enter
natsClientas the connection identifier - Url : Bind to a new configurable variable named
natsUrlof typestringusing the Configurables tab in the helper panel
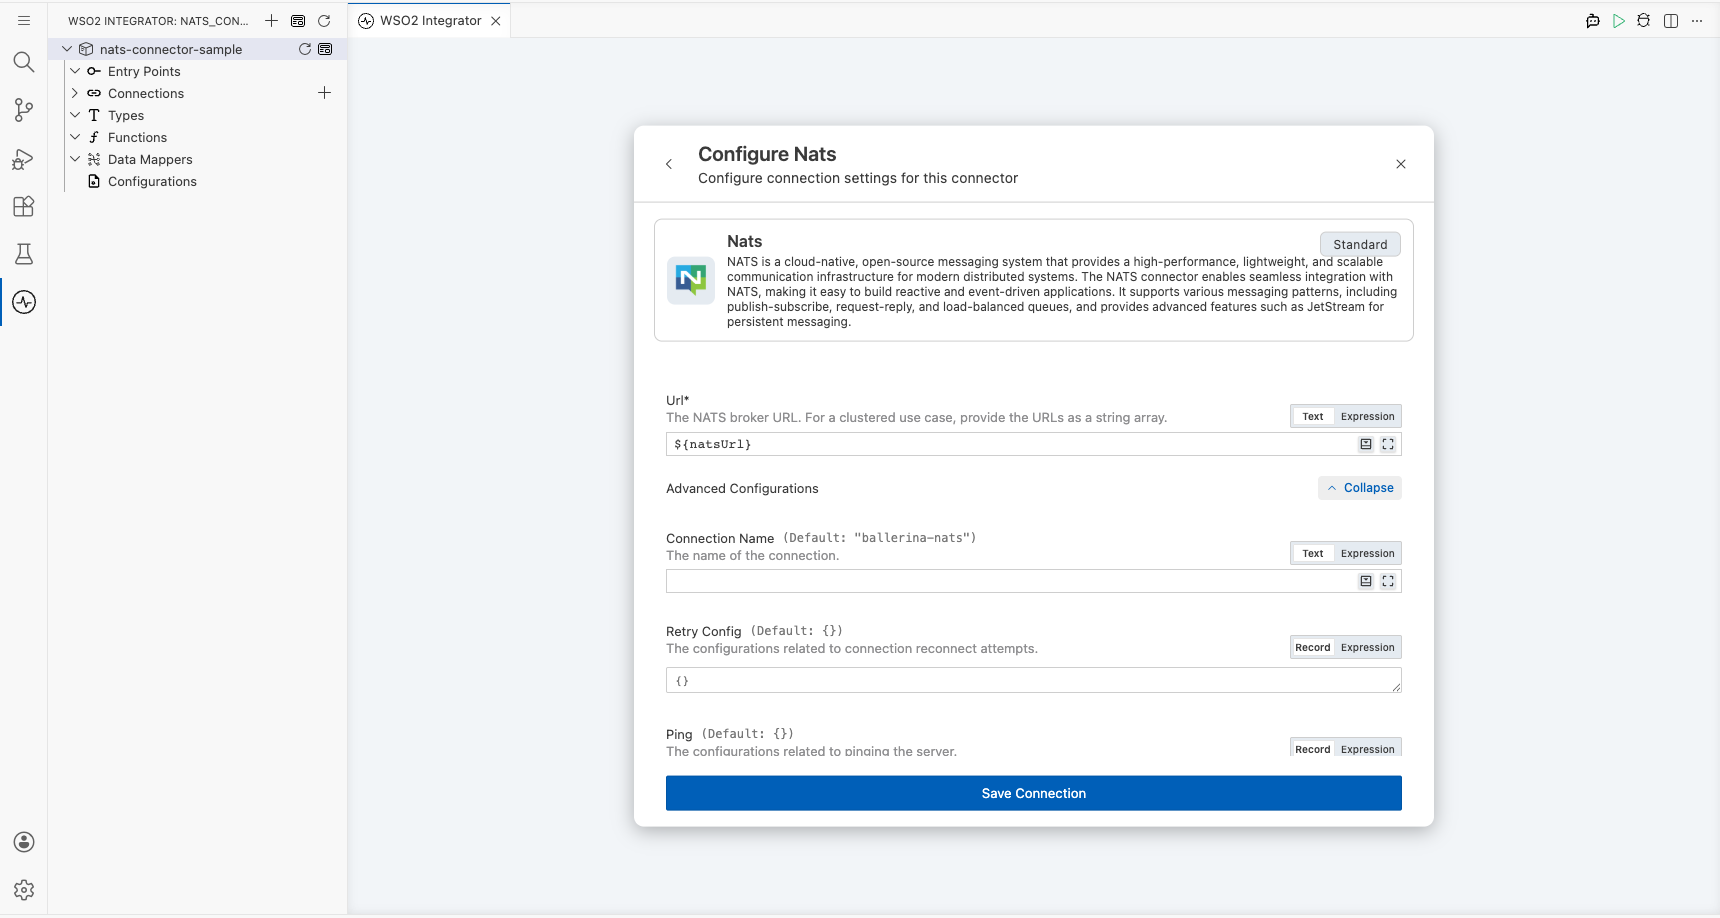
Step 4: Save the connection
Select Save to persist the connection. The natsClient connection node appears on the canvas.
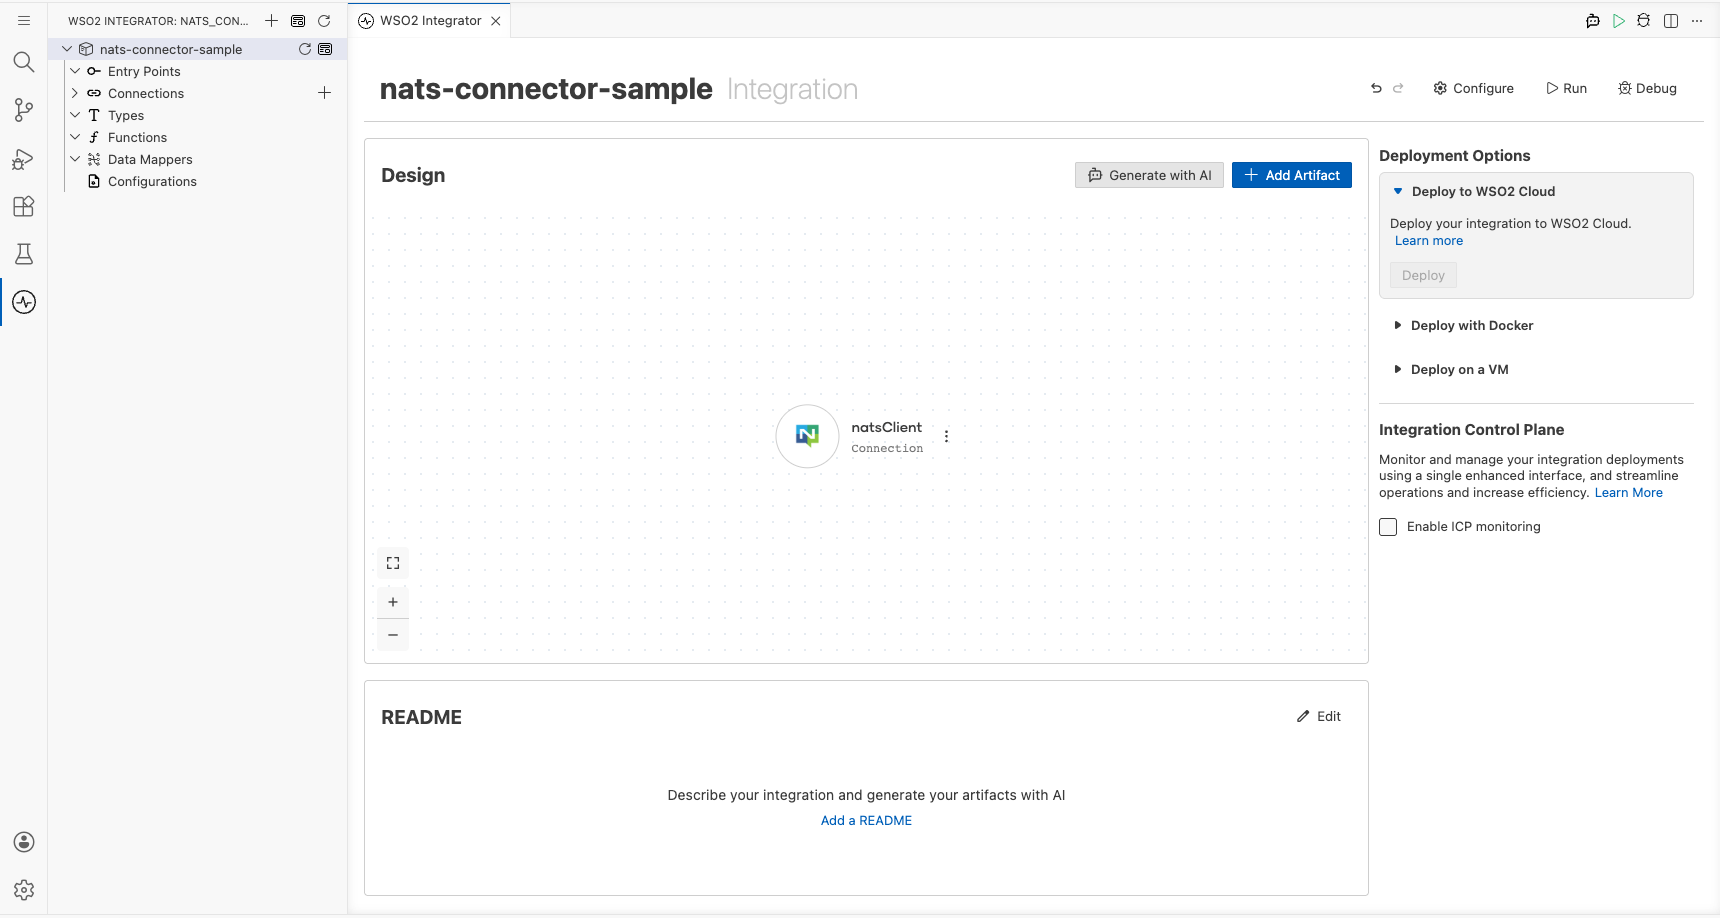
Step 5: Set actual values for your configurables
- In the left panel, select Configurations.
- Set a value for each configurable listed below.
- natsUrl (string) : The URL of your NATS server (for example,
nats://your-nats-server:4222)
Configuring the NATS Publish Message operation
Step 6: Add an Automation entry point
- In the WSO2 Integrator panel, expand your project and select Entry Points.
- Select the + button, choose Automation from the options, and select Save.
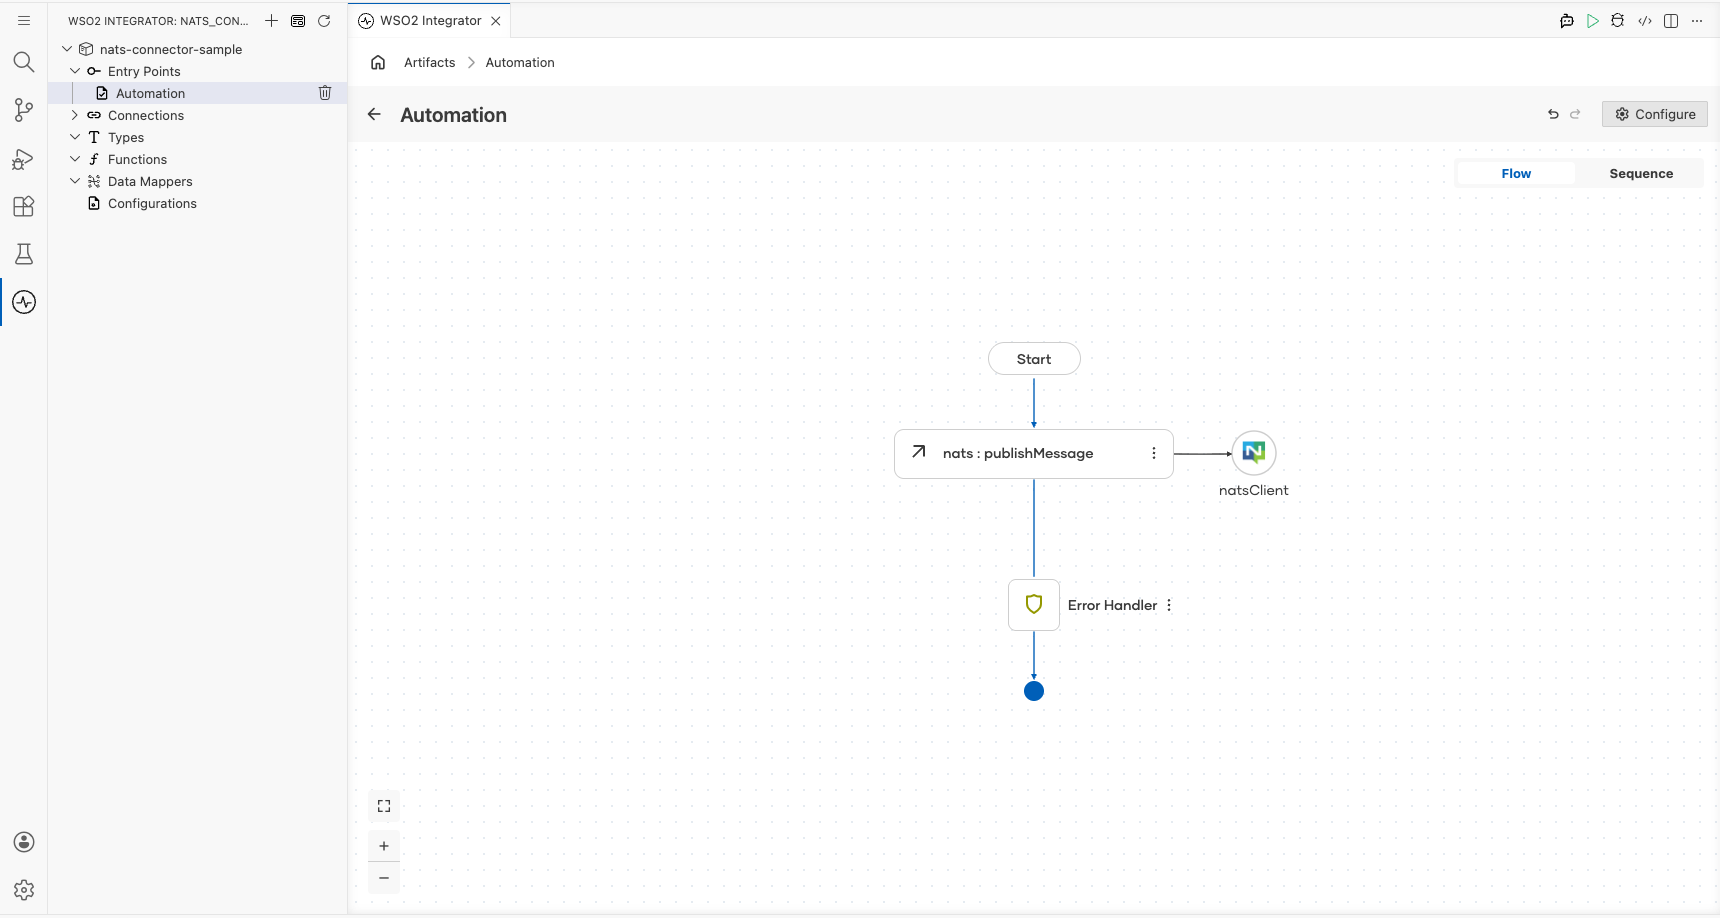
The Automation canvas opens showing a Start node and an Error Handler node.
Step 7: Select and configure the Publish Message operation
- On the Automation canvas, select the + button between Start and Error Handler.
- Under the Connections section, expand natsClient to reveal available operations.

- Select Publish Message to open the
natsClient → publishMessageform. - In the Message field, select the Expression tab and enter the message record with
contentandsubjectfields.
- Message : An
AnydataMessagerecord containingcontent(the byte-encoded payload) andsubject(integrations.events)
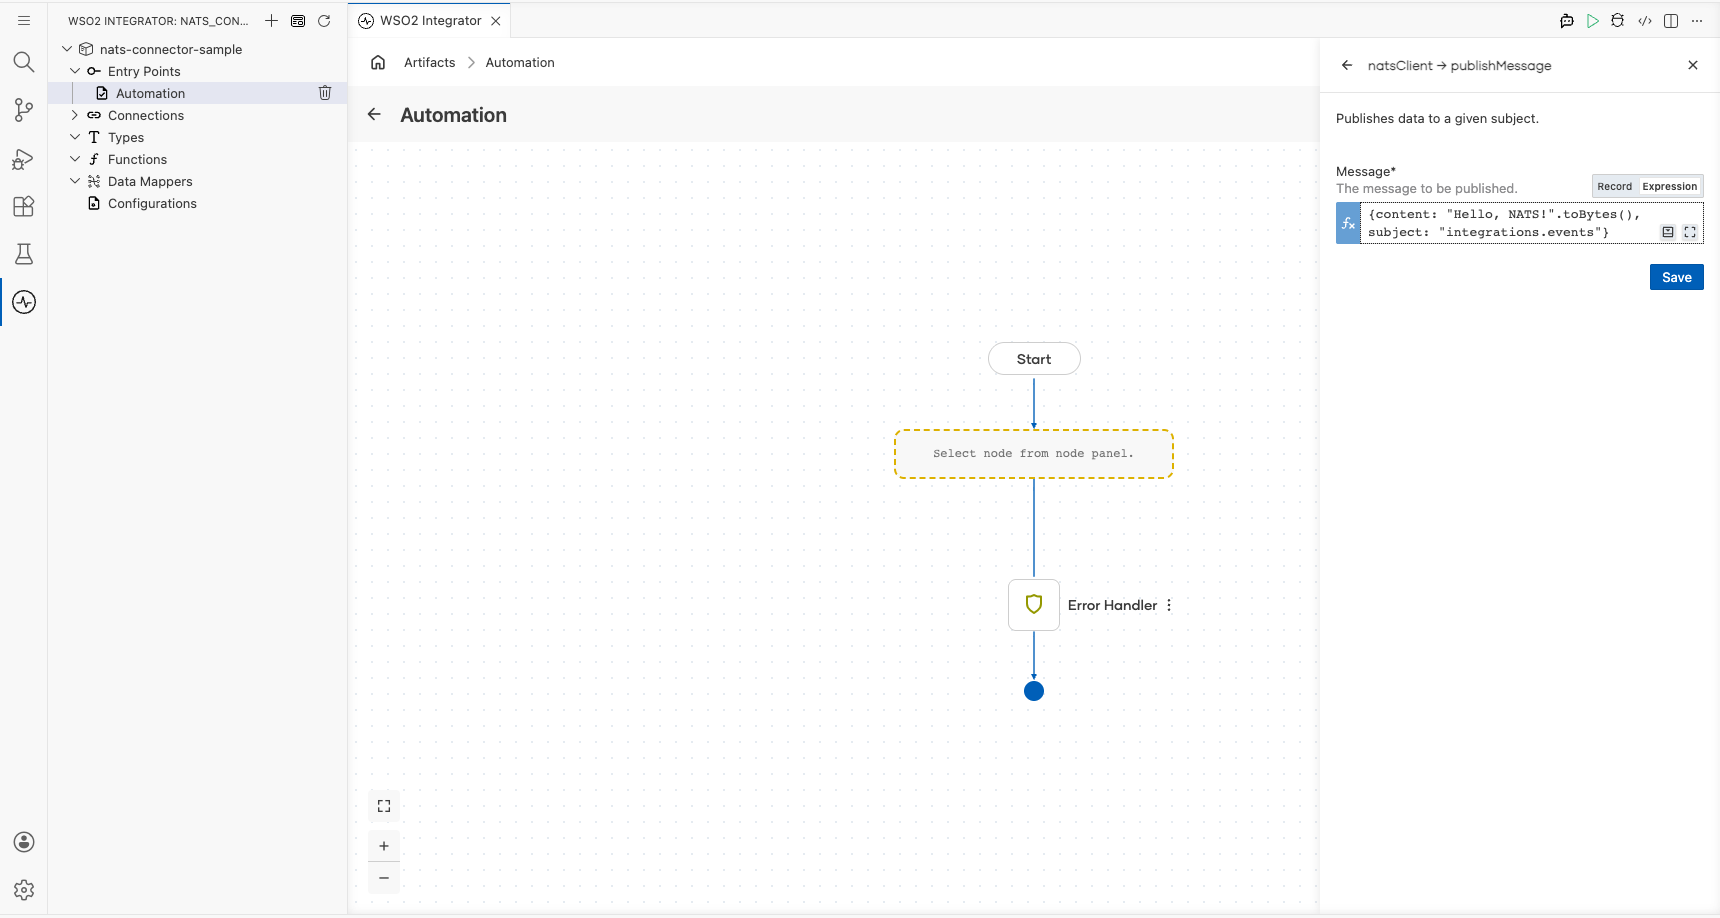
Select Save. The nats : publishMessage node is added to the Automation flow.
Try it yourself
Try this sample in WSO2 Integration Platform.
