Setup Guide
This guide walks you through creating an Asana personal access token to authenticate with the Asana connector.
Prerequisites
- An active Asana account. If you do not have one, sign up for free.
Step 1: Navigate to the developer console
-
Log in to your Asana account.
-
Go to the Asana Developer Console.
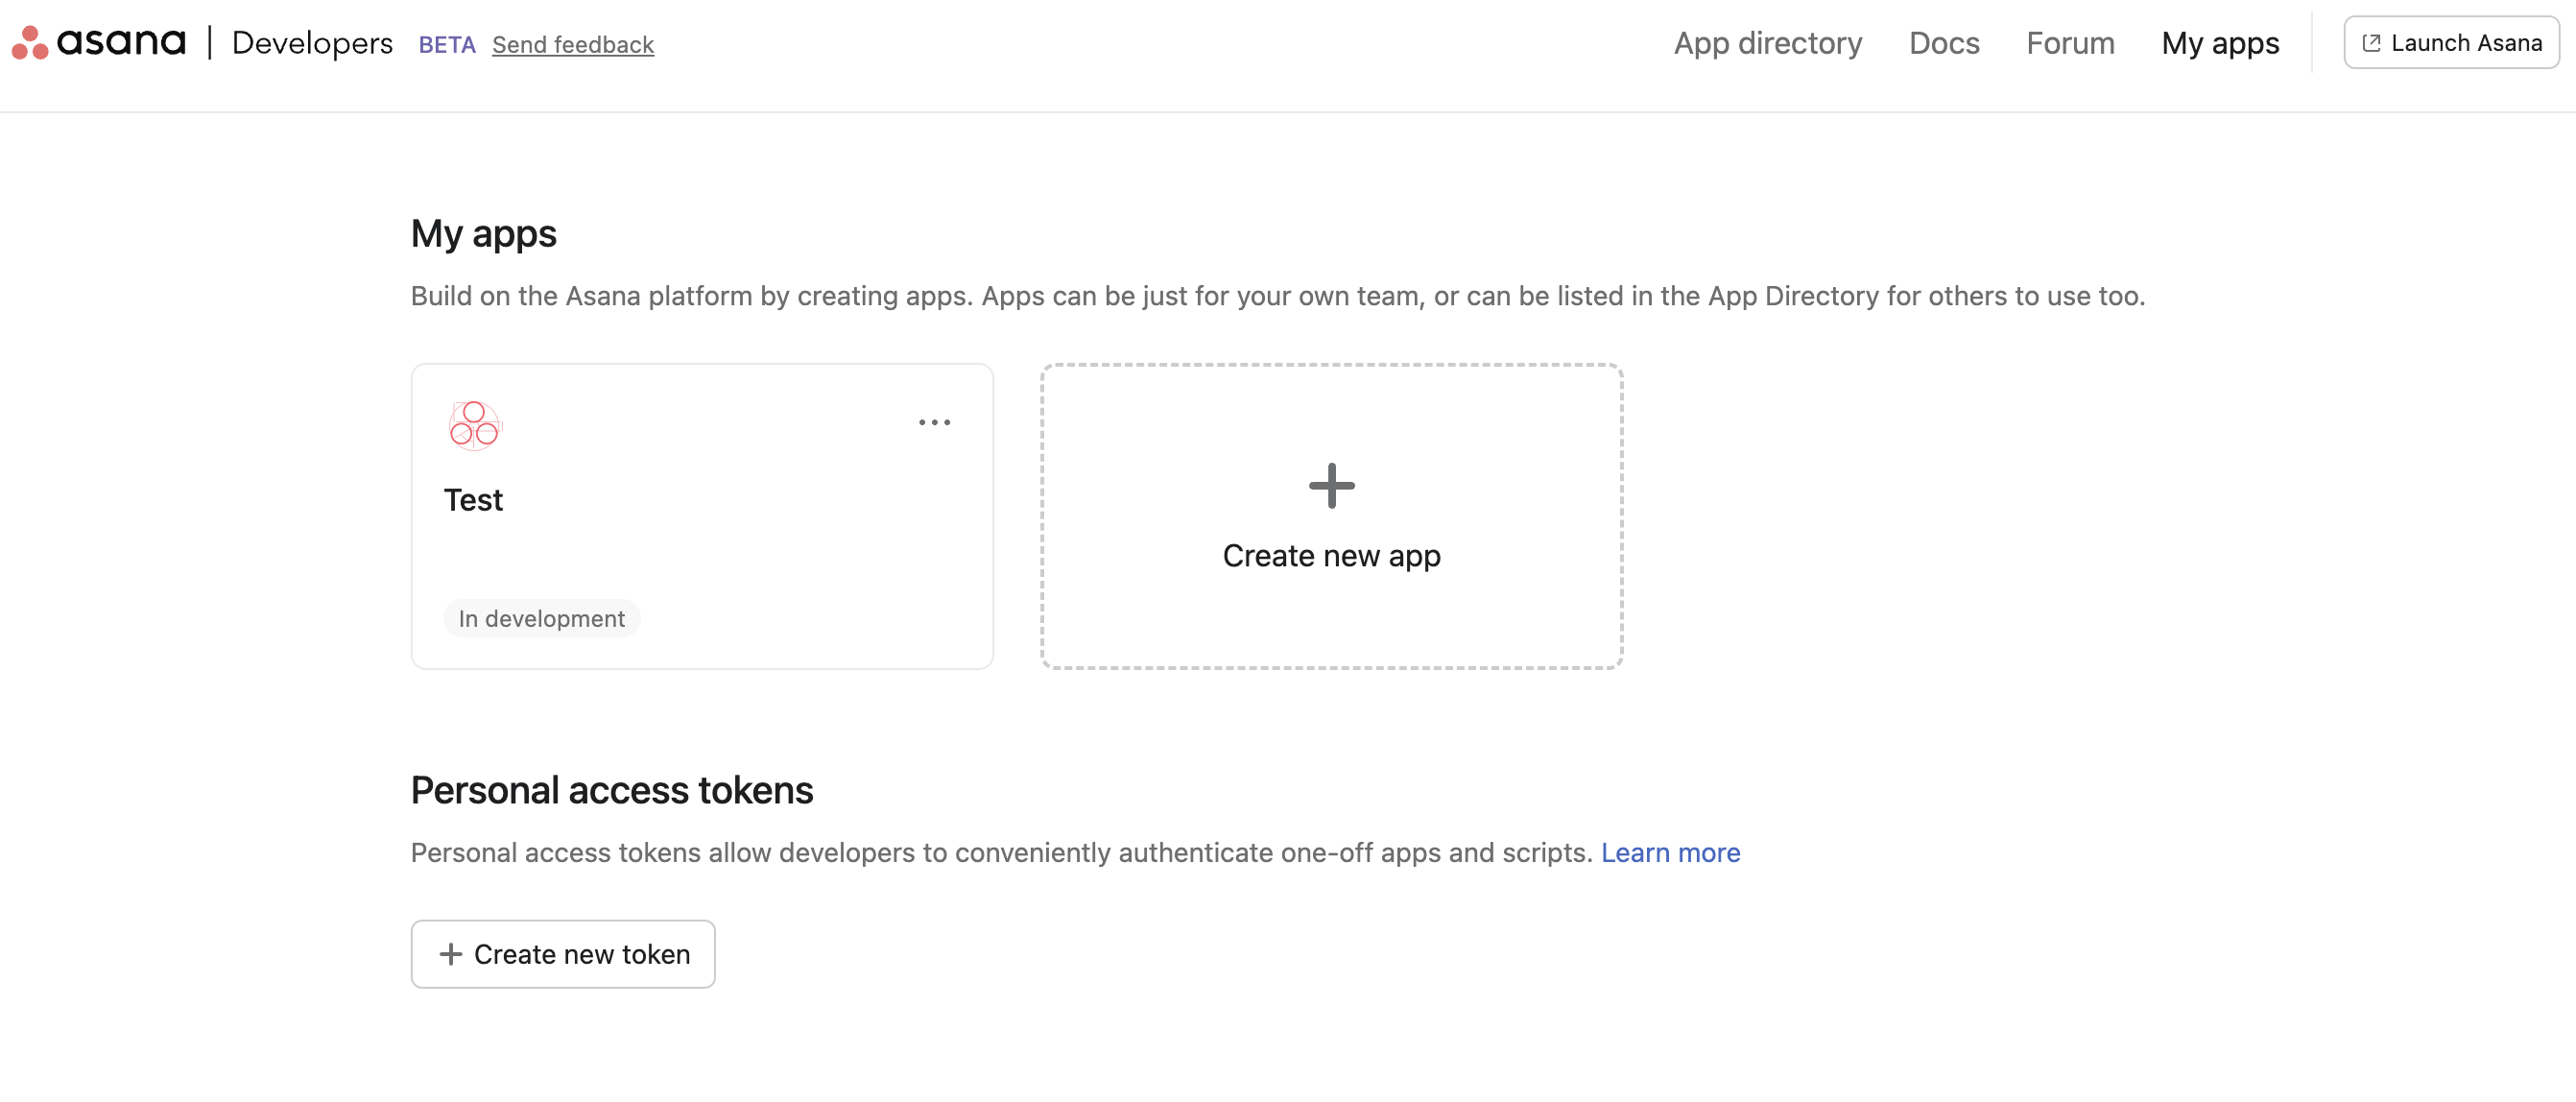
Step 2: Create a personal access token
-
Select + Create new token.
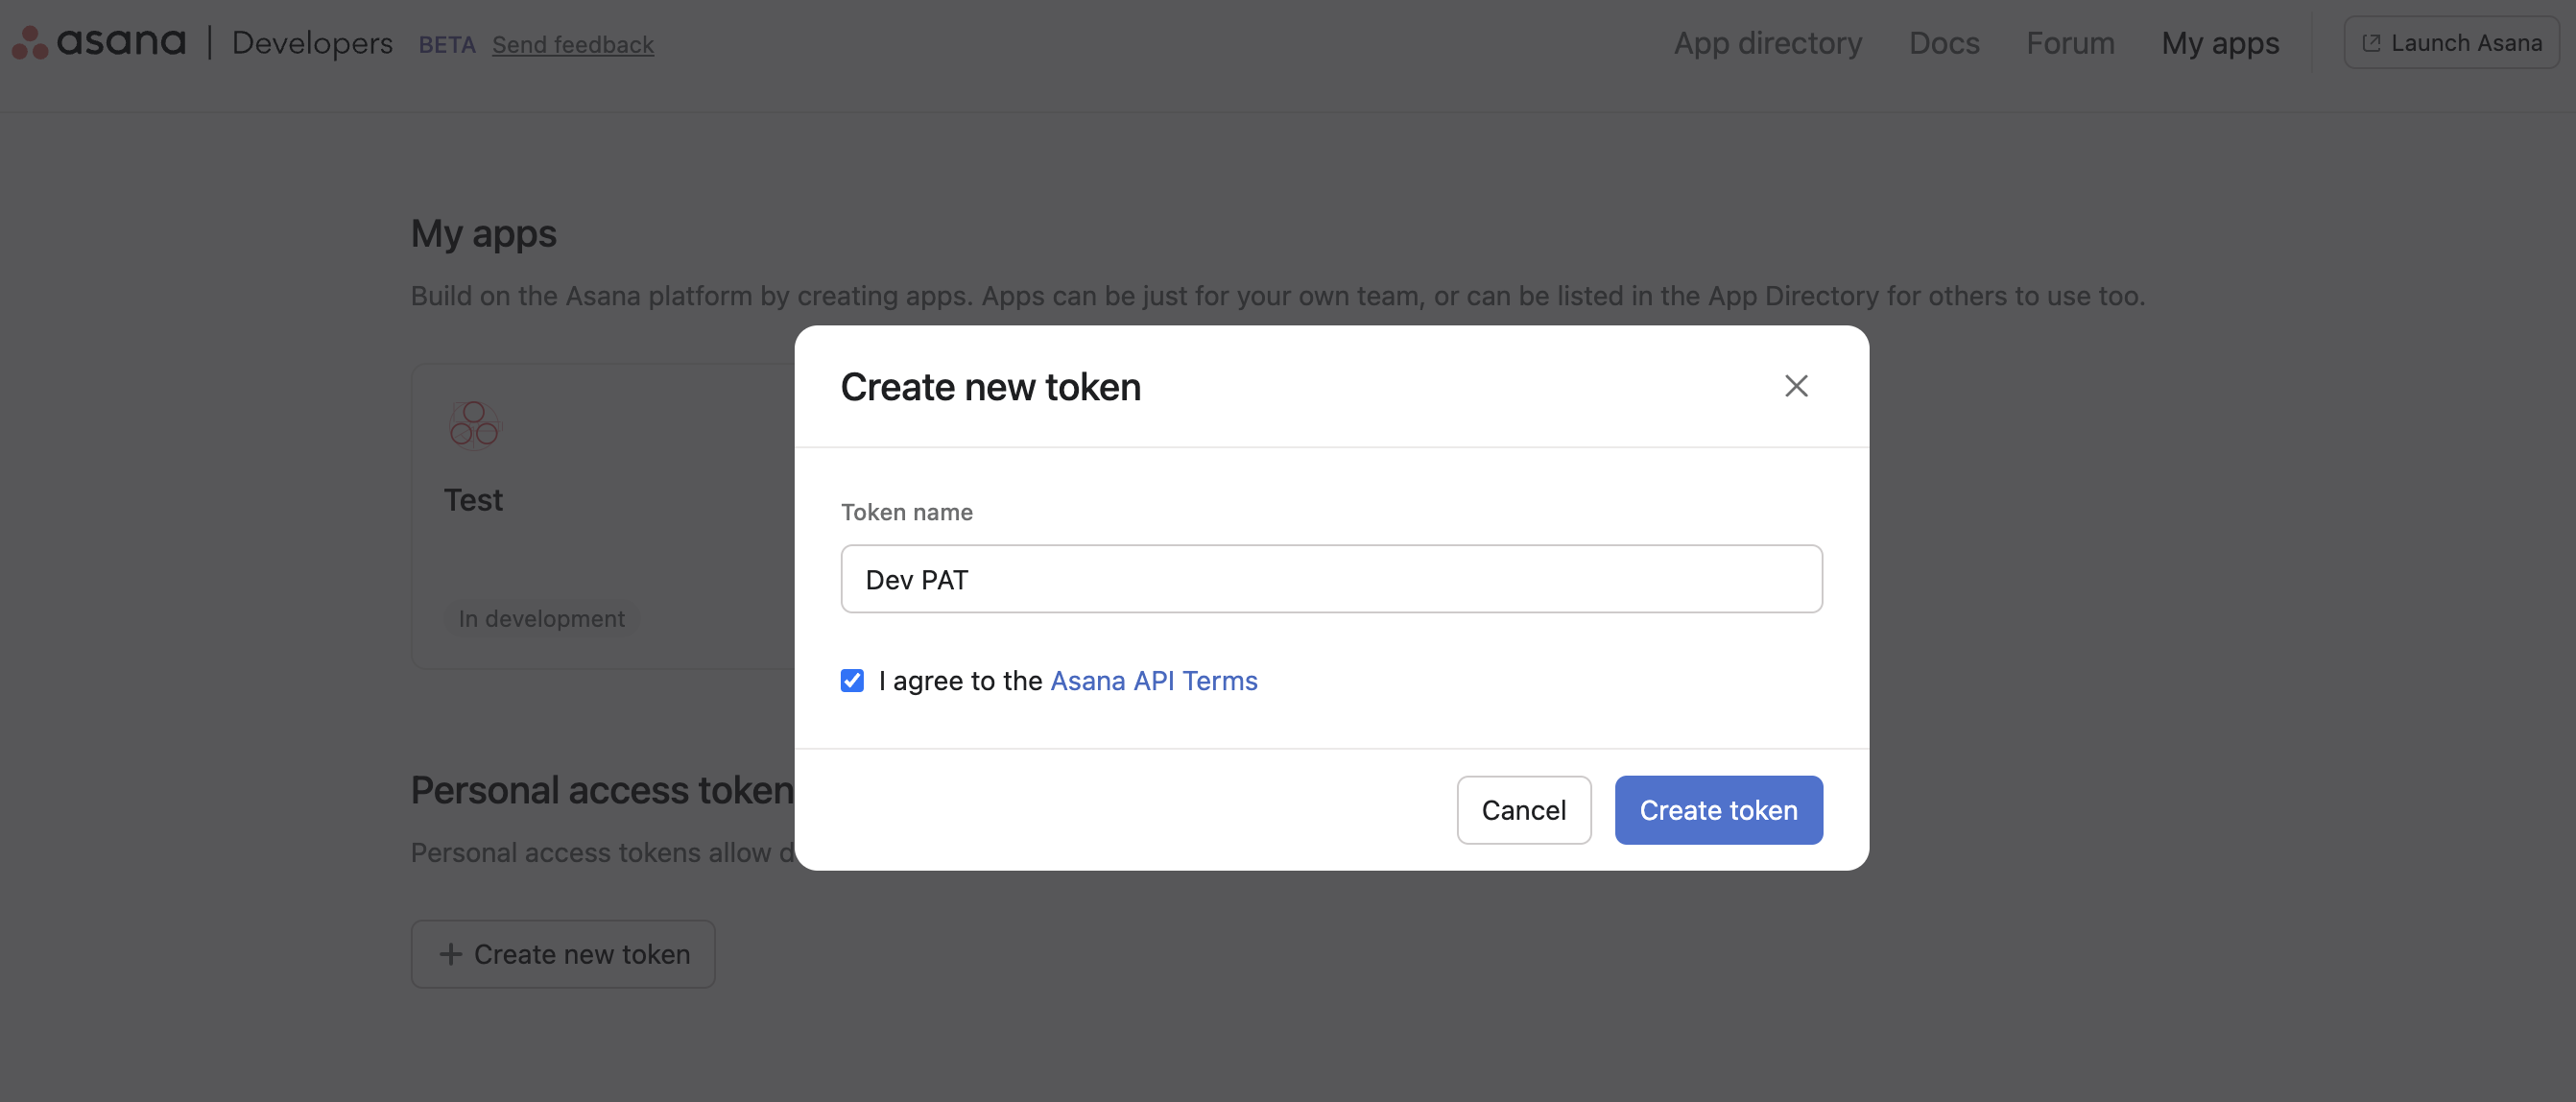
-
Enter a descriptive Token name (for example,
Ballerina Asana Connector). -
Read and accept the Asana API Terms and Conditions.
-
Select Create token.
-
Copy the generated token immediately — it will not be shown again.
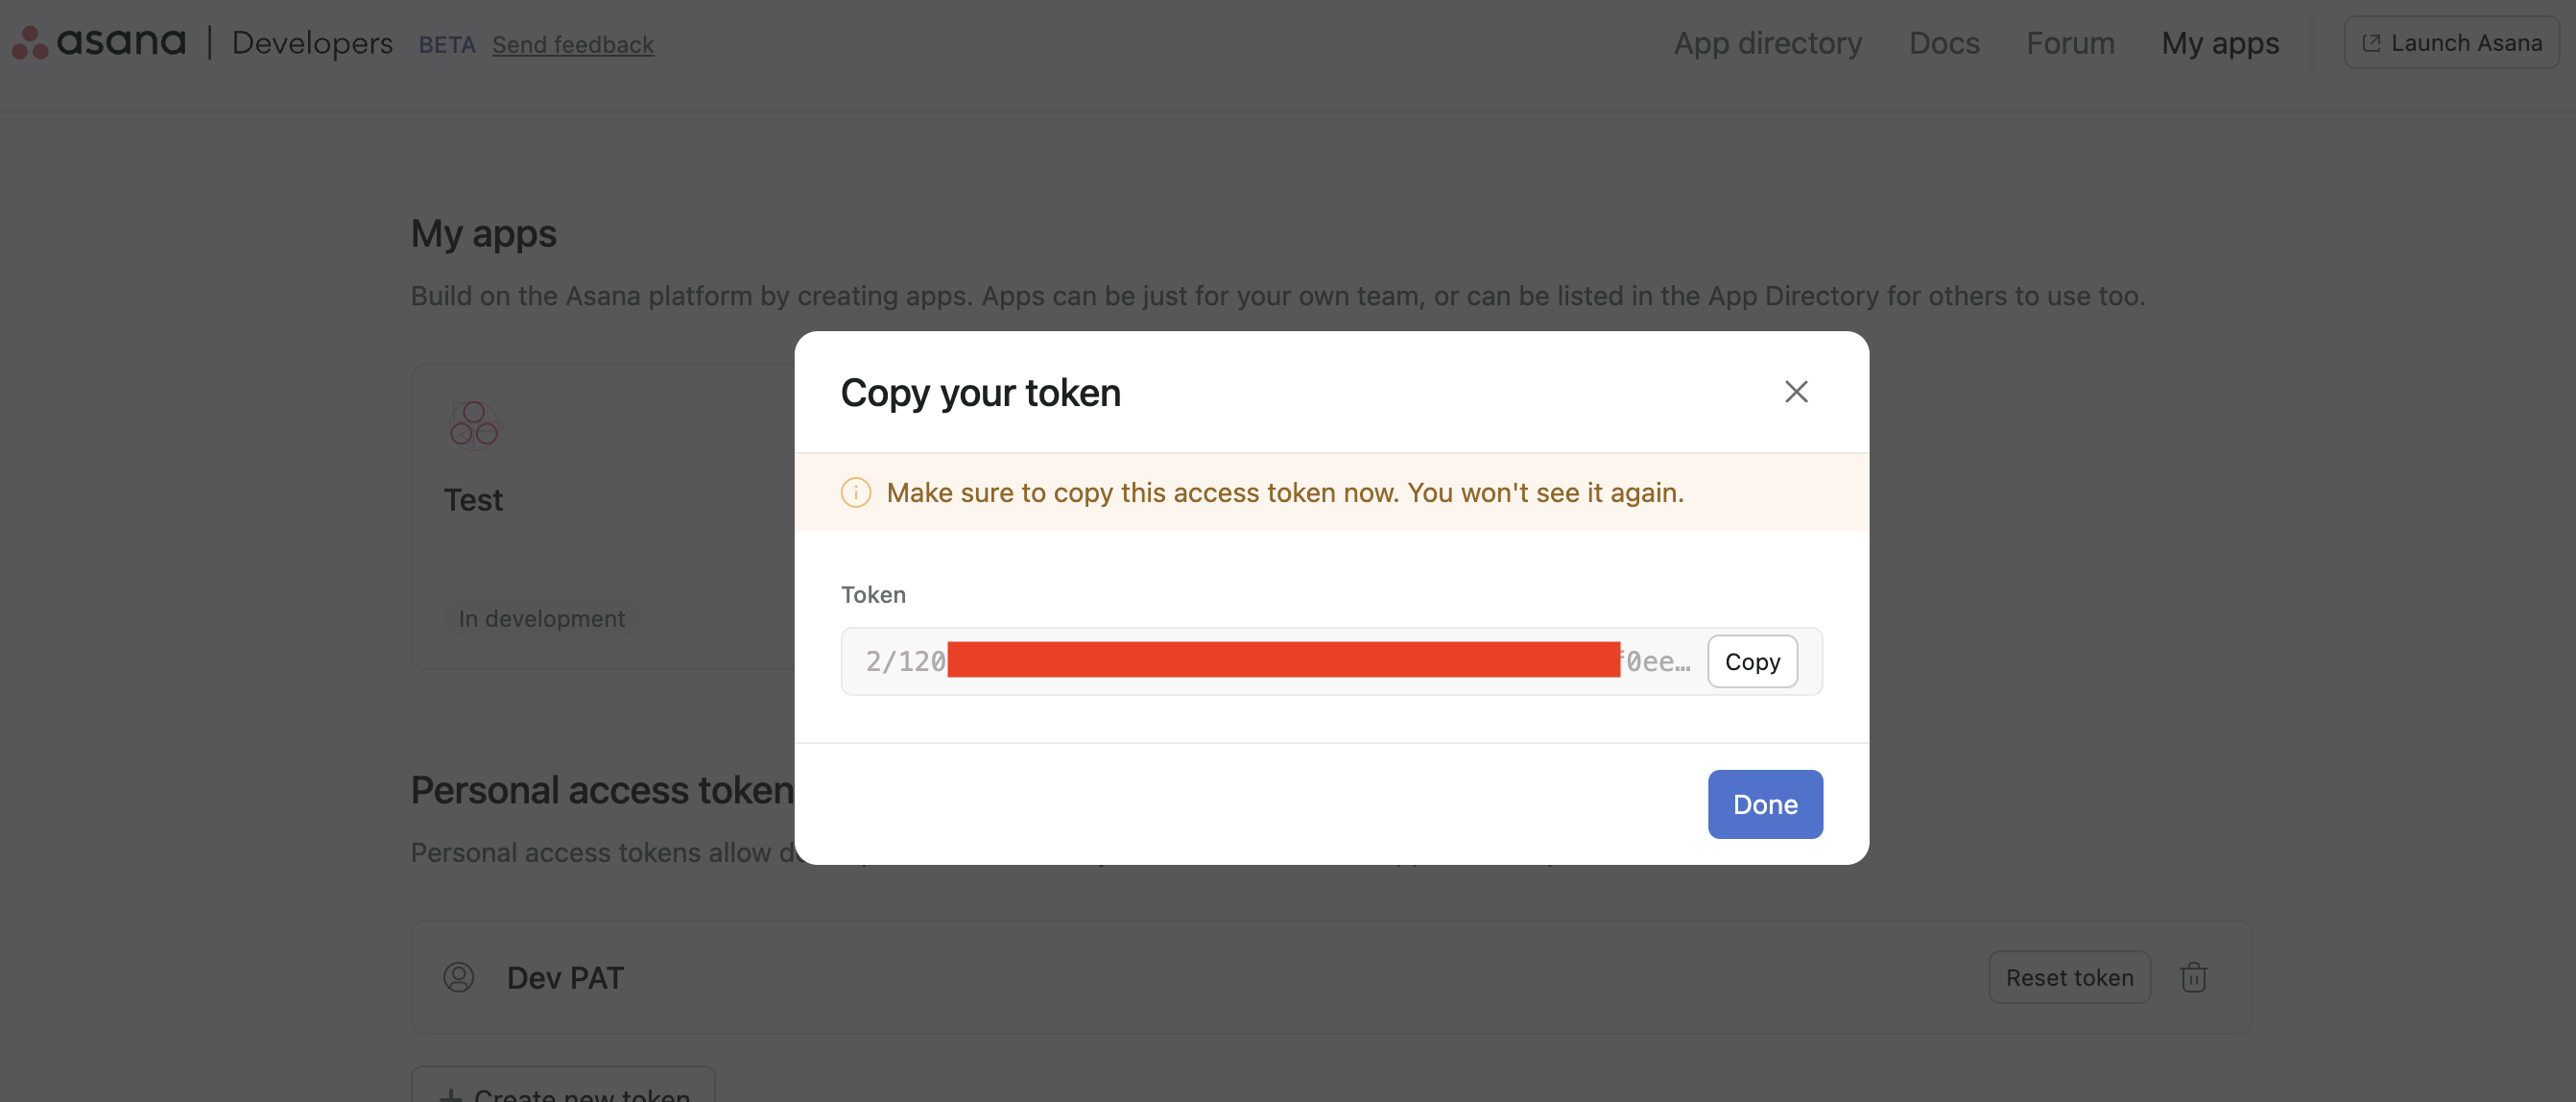
Store the personal access token securely. Do not commit it to source control. Use Ballerina's configurable feature and a Config.toml file to supply it at runtime.
Step 3: Find your workspace GID
Most Asana API operations require a workspace GID. To find yours:
- Open Asana in your browser and navigate to any project.
- The workspace GID appears in the URL, or you can retrieve it via the
GET /workspacesendpoint after configuring the connector.
You can also use the Asana API Explorer at developers.asana.com/explorer to test API calls and discover resource GIDs.
What's next
- Action reference: Available operations