Setup Guide
This guide walks you through creating a Google Cloud Platform project and obtaining the OAuth 2.0 credentials required to use the Google Calendar connector.
Prerequisites
- A Google account. If you do not have one, sign up here.
- Access to Google Cloud Platform (GCP).
Step 1: Create a Google Cloud Platform project
-
Open the Google Cloud Platform console.
-
Select the project drop-down menu in the top navigation bar.
-
Select an existing project or select New Project to create a new one.
-
Enter a project name (for example,
Ballerina Calendar Integration) and select Create.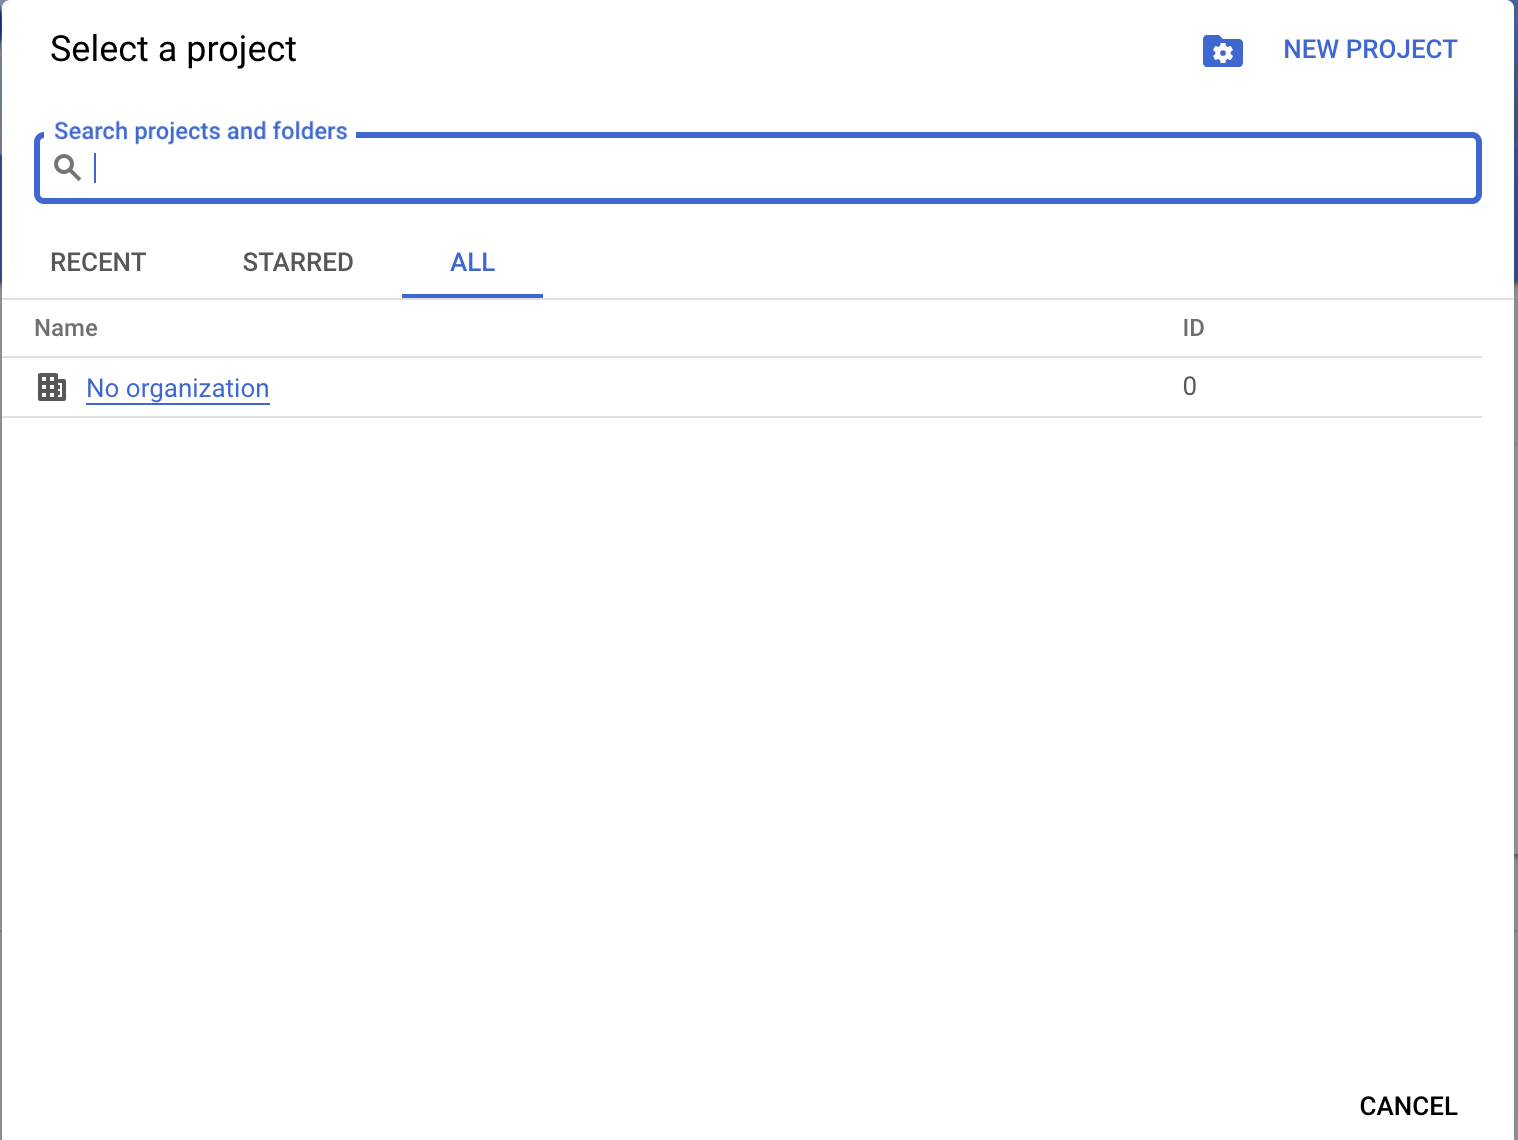
Step 2: Enable the Google Calendar API
-
In the GCP console, navigate to APIs & Services > Library.
-
Search for Google Calendar API.
-
Select the Google Calendar API result and select Enable.
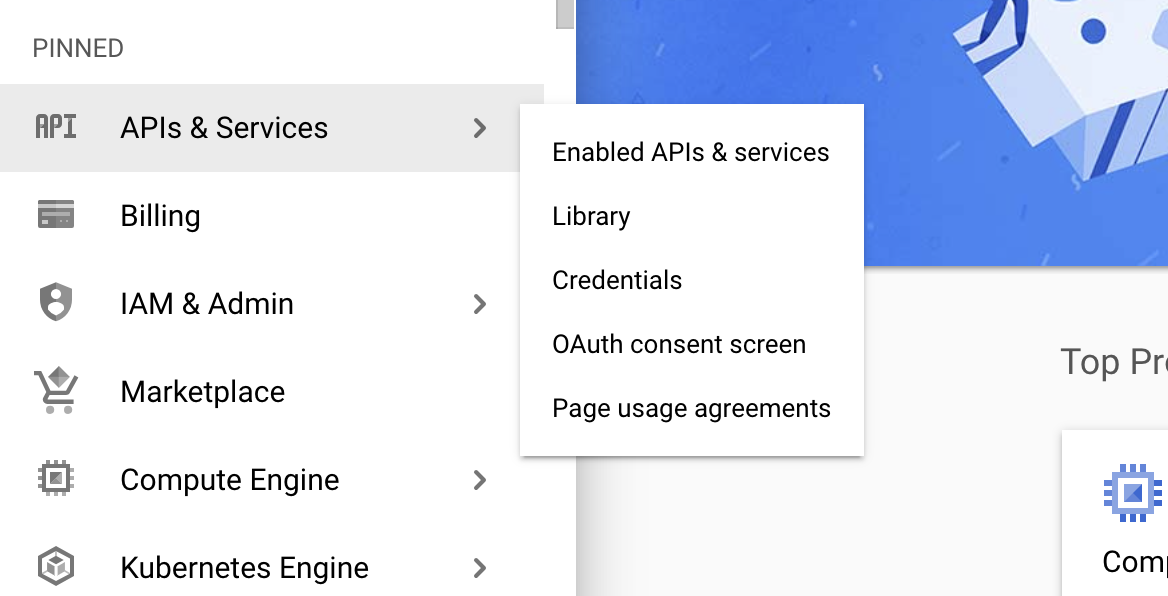
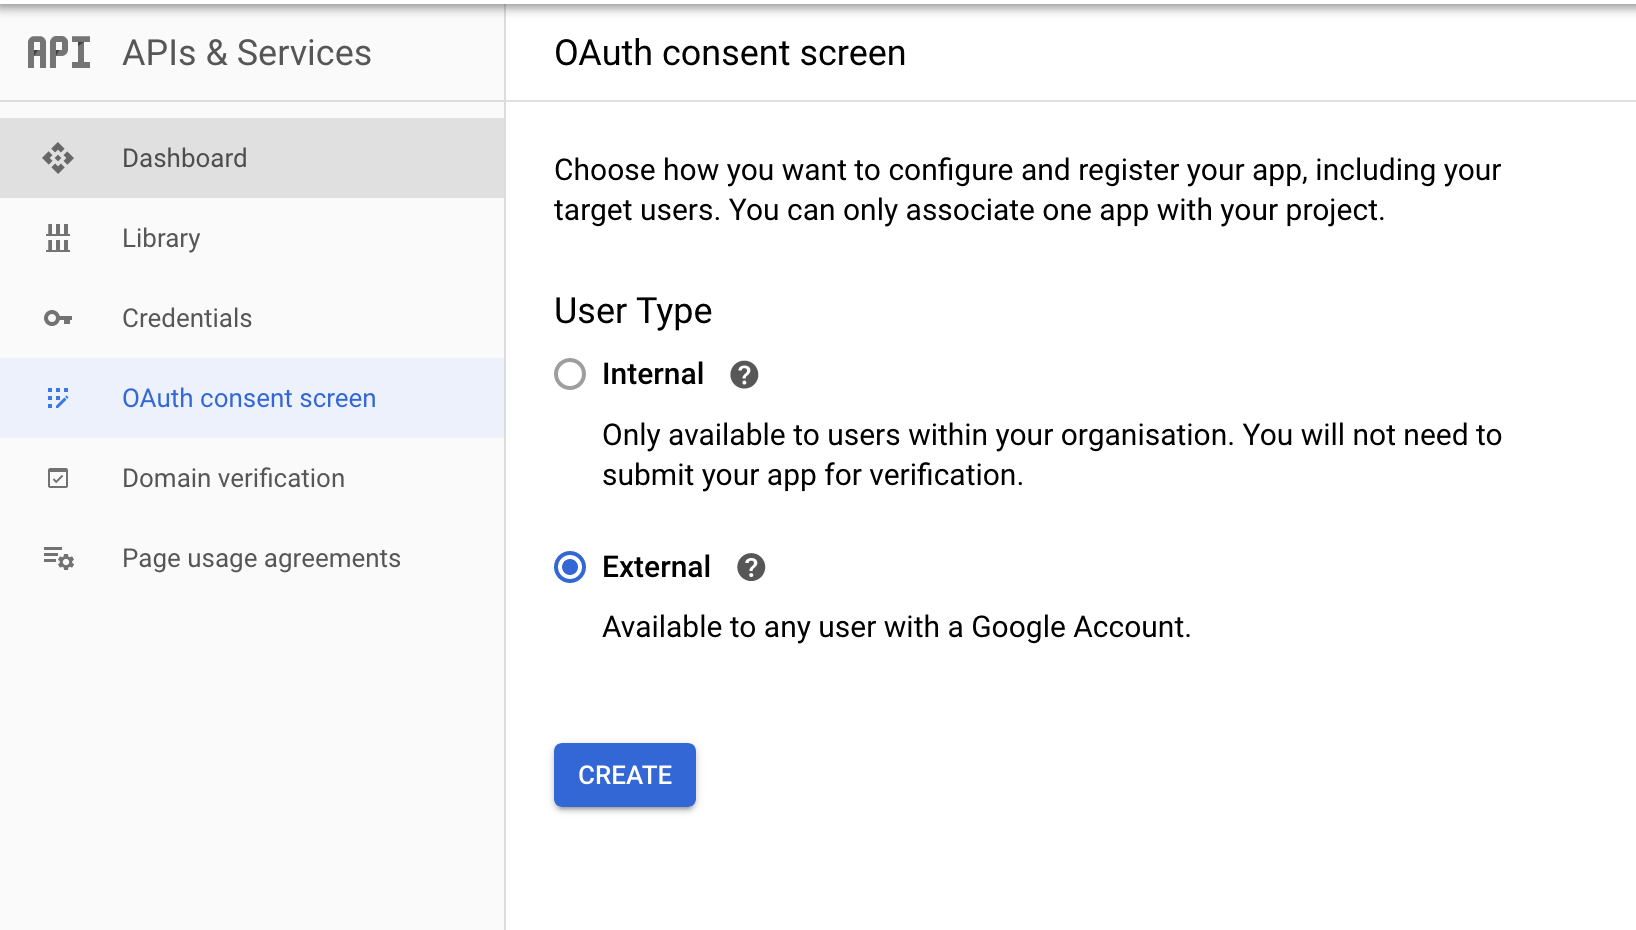
Step 3: Configure the OAuth consent screen
-
Navigate to APIs & Services > OAuth consent screen.
-
Select External as the user type (or Internal if you are using Google Workspace and only need access within your organization).
-
Fill in the required fields:
- App name: Enter a name (for example,
Ballerina Calendar Connector). - User support email: Select your email address.
- Developer contact information: Enter your email address.
- App name: Enter a name (for example,
-
Select Save and Continue.
-
On the Scopes page, select Add or Remove Scopes and add:
https://www.googleapis.com/auth/calendar
-
Select Save and Continue through the remaining steps.
For production applications, you need to complete the verification process. For development and testing, you can add test users on the OAuth consent screen.
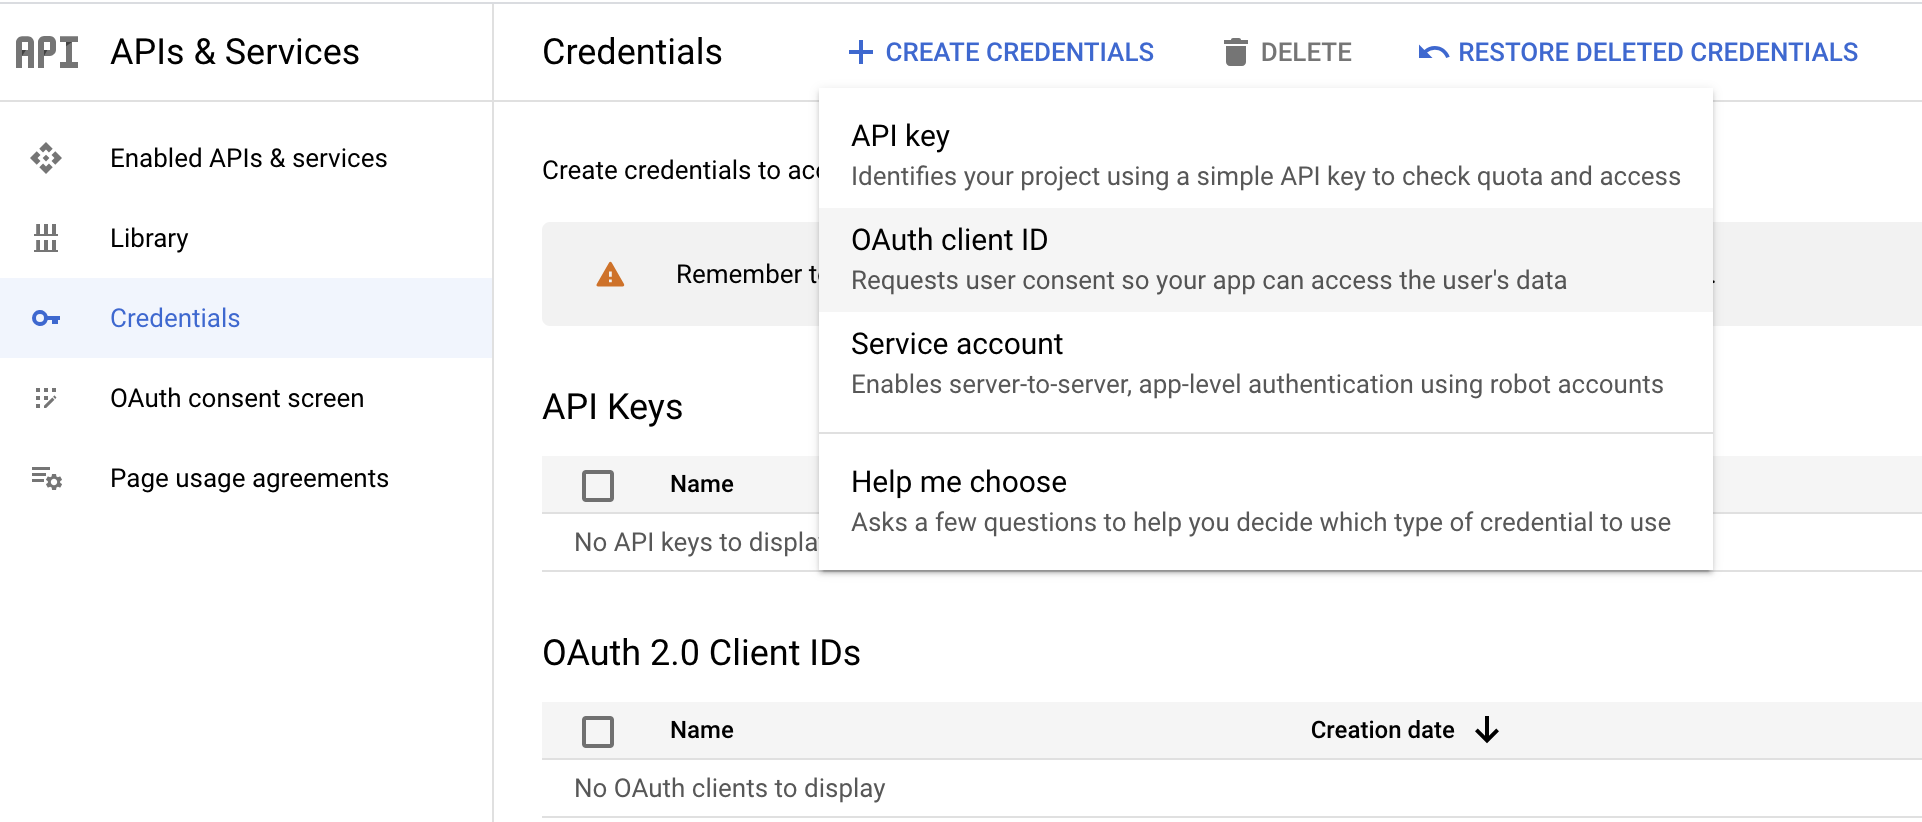
Step 4: Create OAuth client credentials
-
Navigate to APIs & Services > Credentials.
-
Select Create Credentials and select OAuth client ID.
-
Set the Application type to Web application.
-
Enter a name (for example,
CalendarConnector). -
Under Authorized redirect URIs, add:
https://developers.google.com/oauthplayground -
Select Create.
-
Copy the Client ID and Client Secret from the dialog that appears.
Store the Client ID and Client Secret securely. Do not commit them to source control. Use Ballerina's configurable feature and a Config.toml file to supply them at runtime.
Step 5: Obtain a refresh token
-
Open the Google OAuth 2.0 Playground.
-
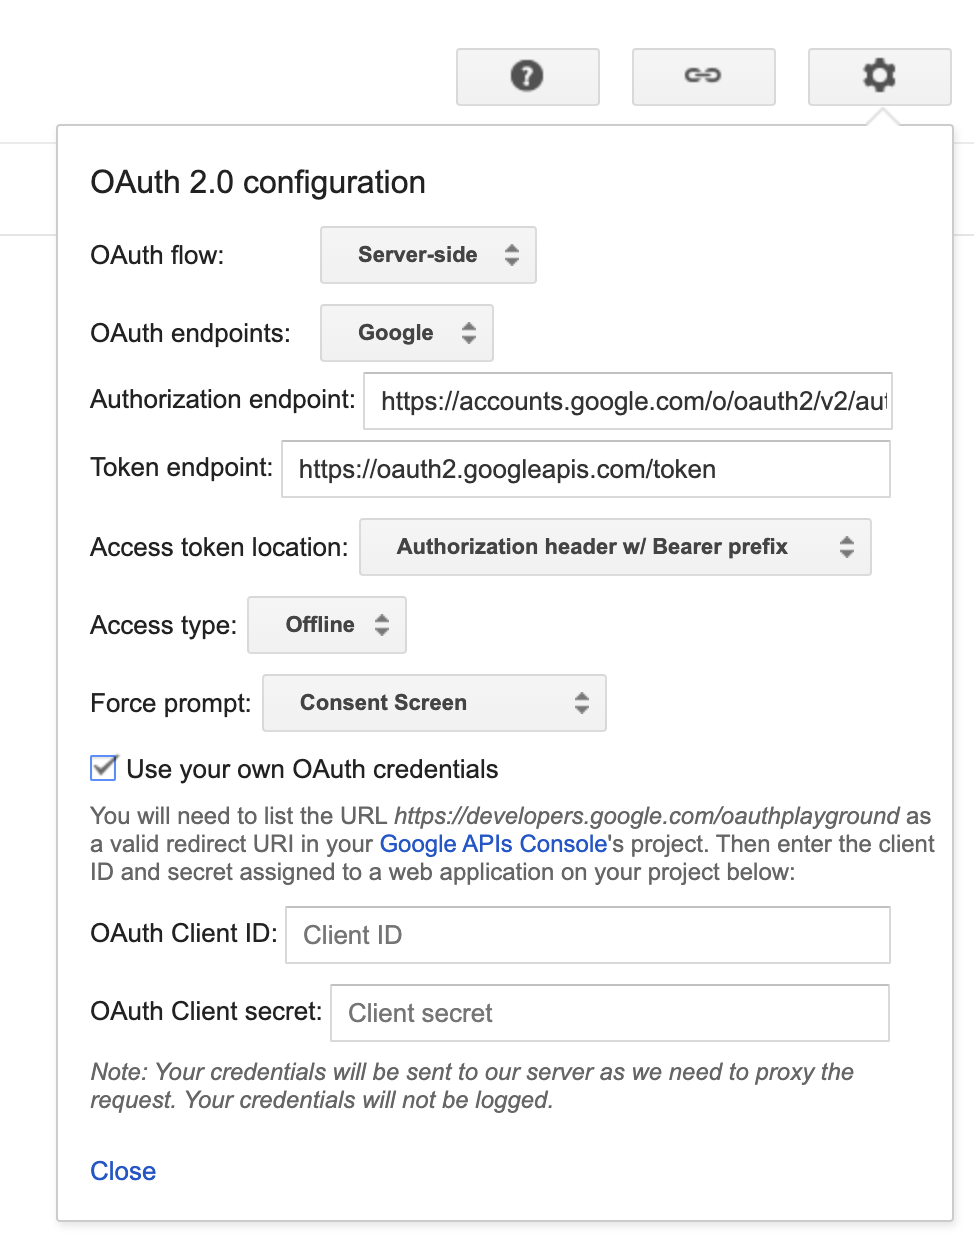
Select the gear icon in the top-right corner and check Use your own OAuth credentials.
-
Enter your Client ID and Client Secret.
-
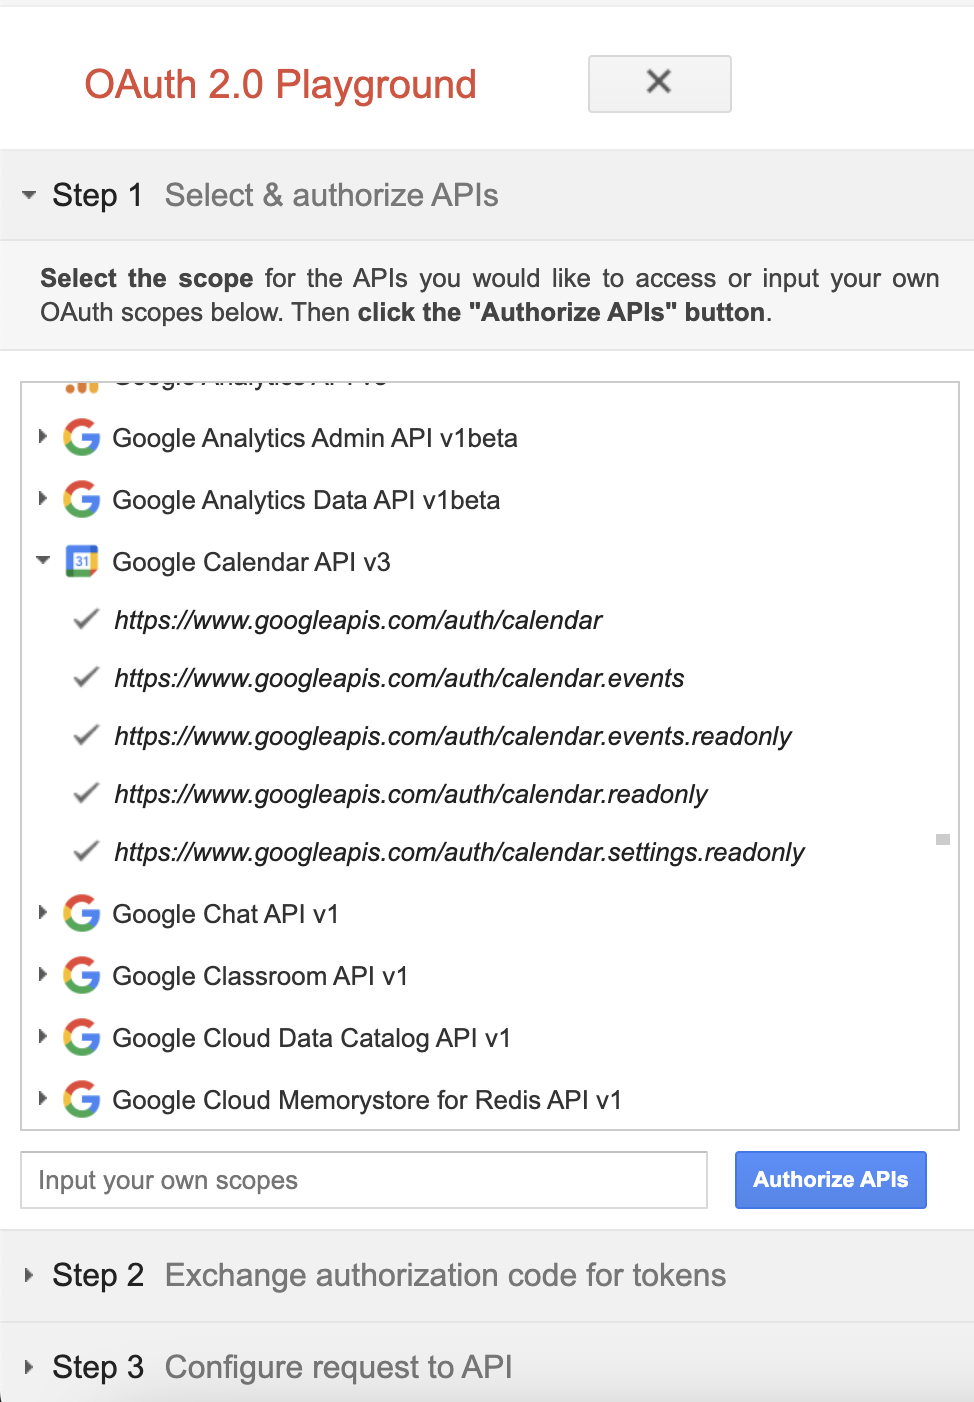
In the left panel under Step 1: Select & authorize APIs, find Calendar API v3 and select the scope
https://www.googleapis.com/auth/calendar. -
Select Authorize APIs and sign in with your Google account. Grant the requested permissions.
-
In Step 2: Exchange authorization code for tokens, select Exchange authorization code for tokens.
-
Copy the Refresh token from the response.
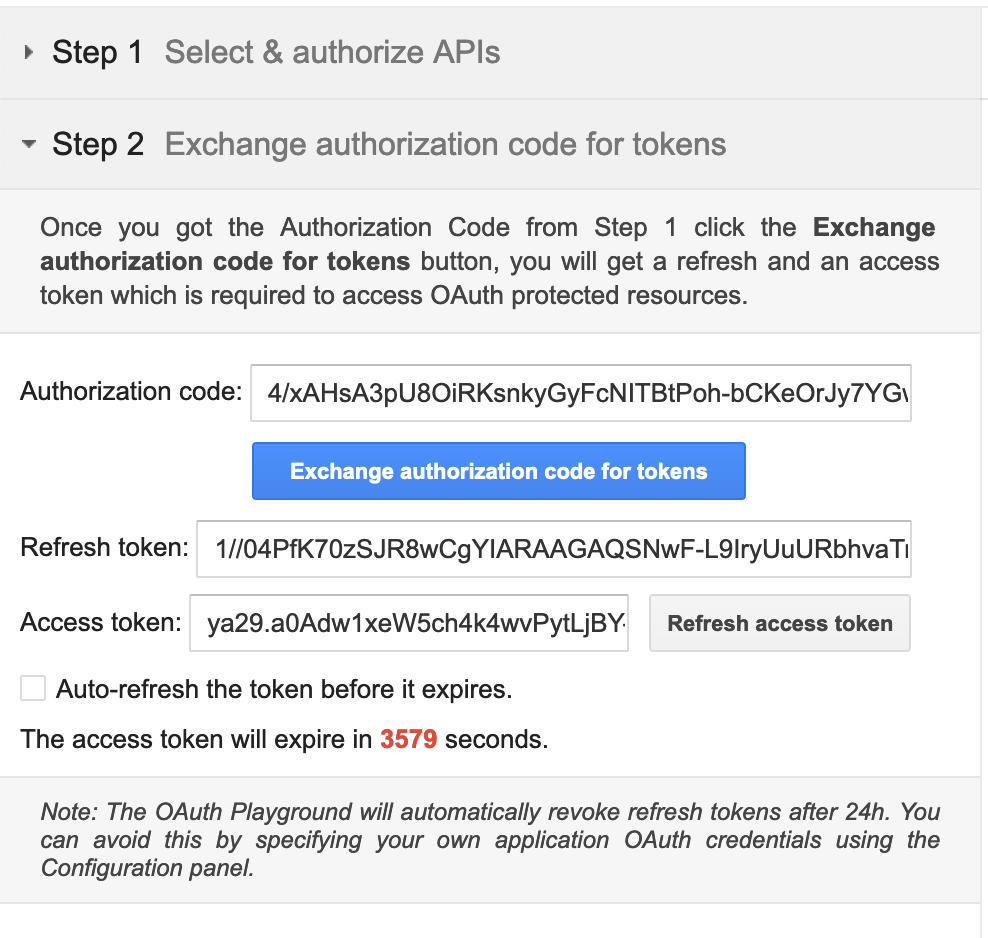
The refresh URL for Google services is https://oauth2.googleapis.com/token.
What's next
- Action reference: Available operations