Setup Guide
This guide walks you through creating an Atlassian API token required to use the Jira connector.
Prerequisites
- An Atlassian Cloud account with access to a Jira project. If you do not have one, sign up for a free Jira account.
Step 1: Log in to your Atlassian account
-
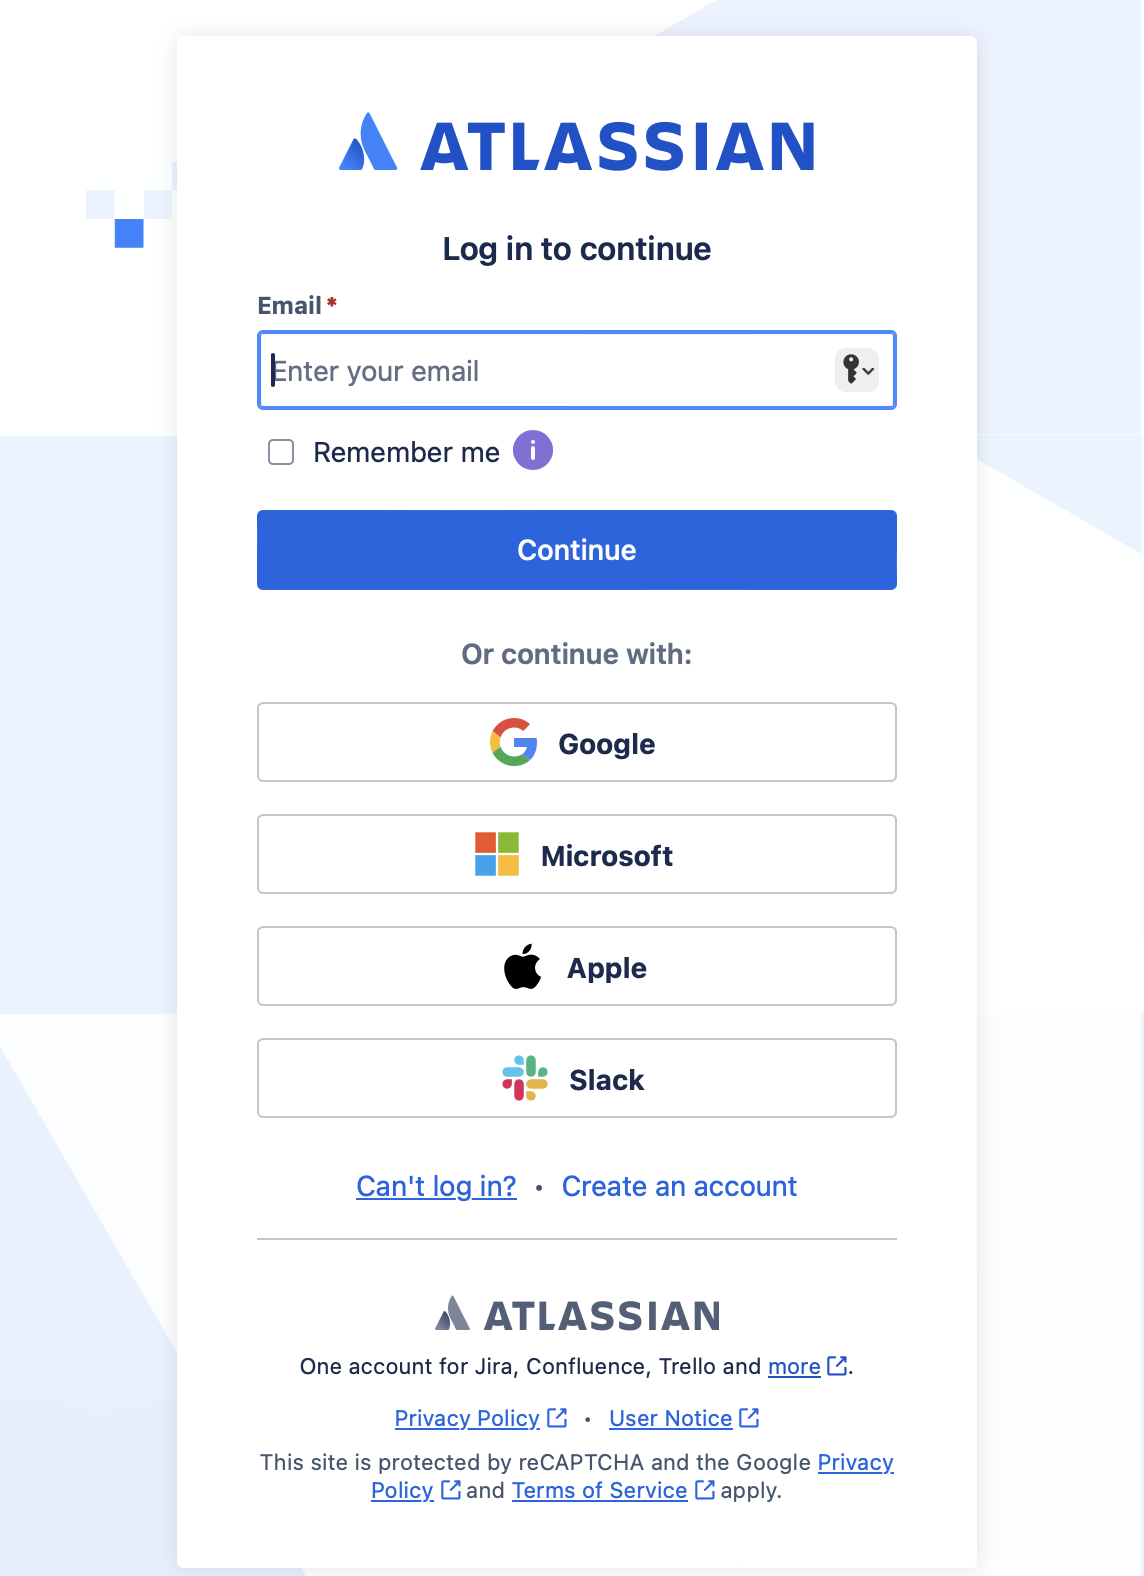
Go to id.atlassian.com and log in.
-
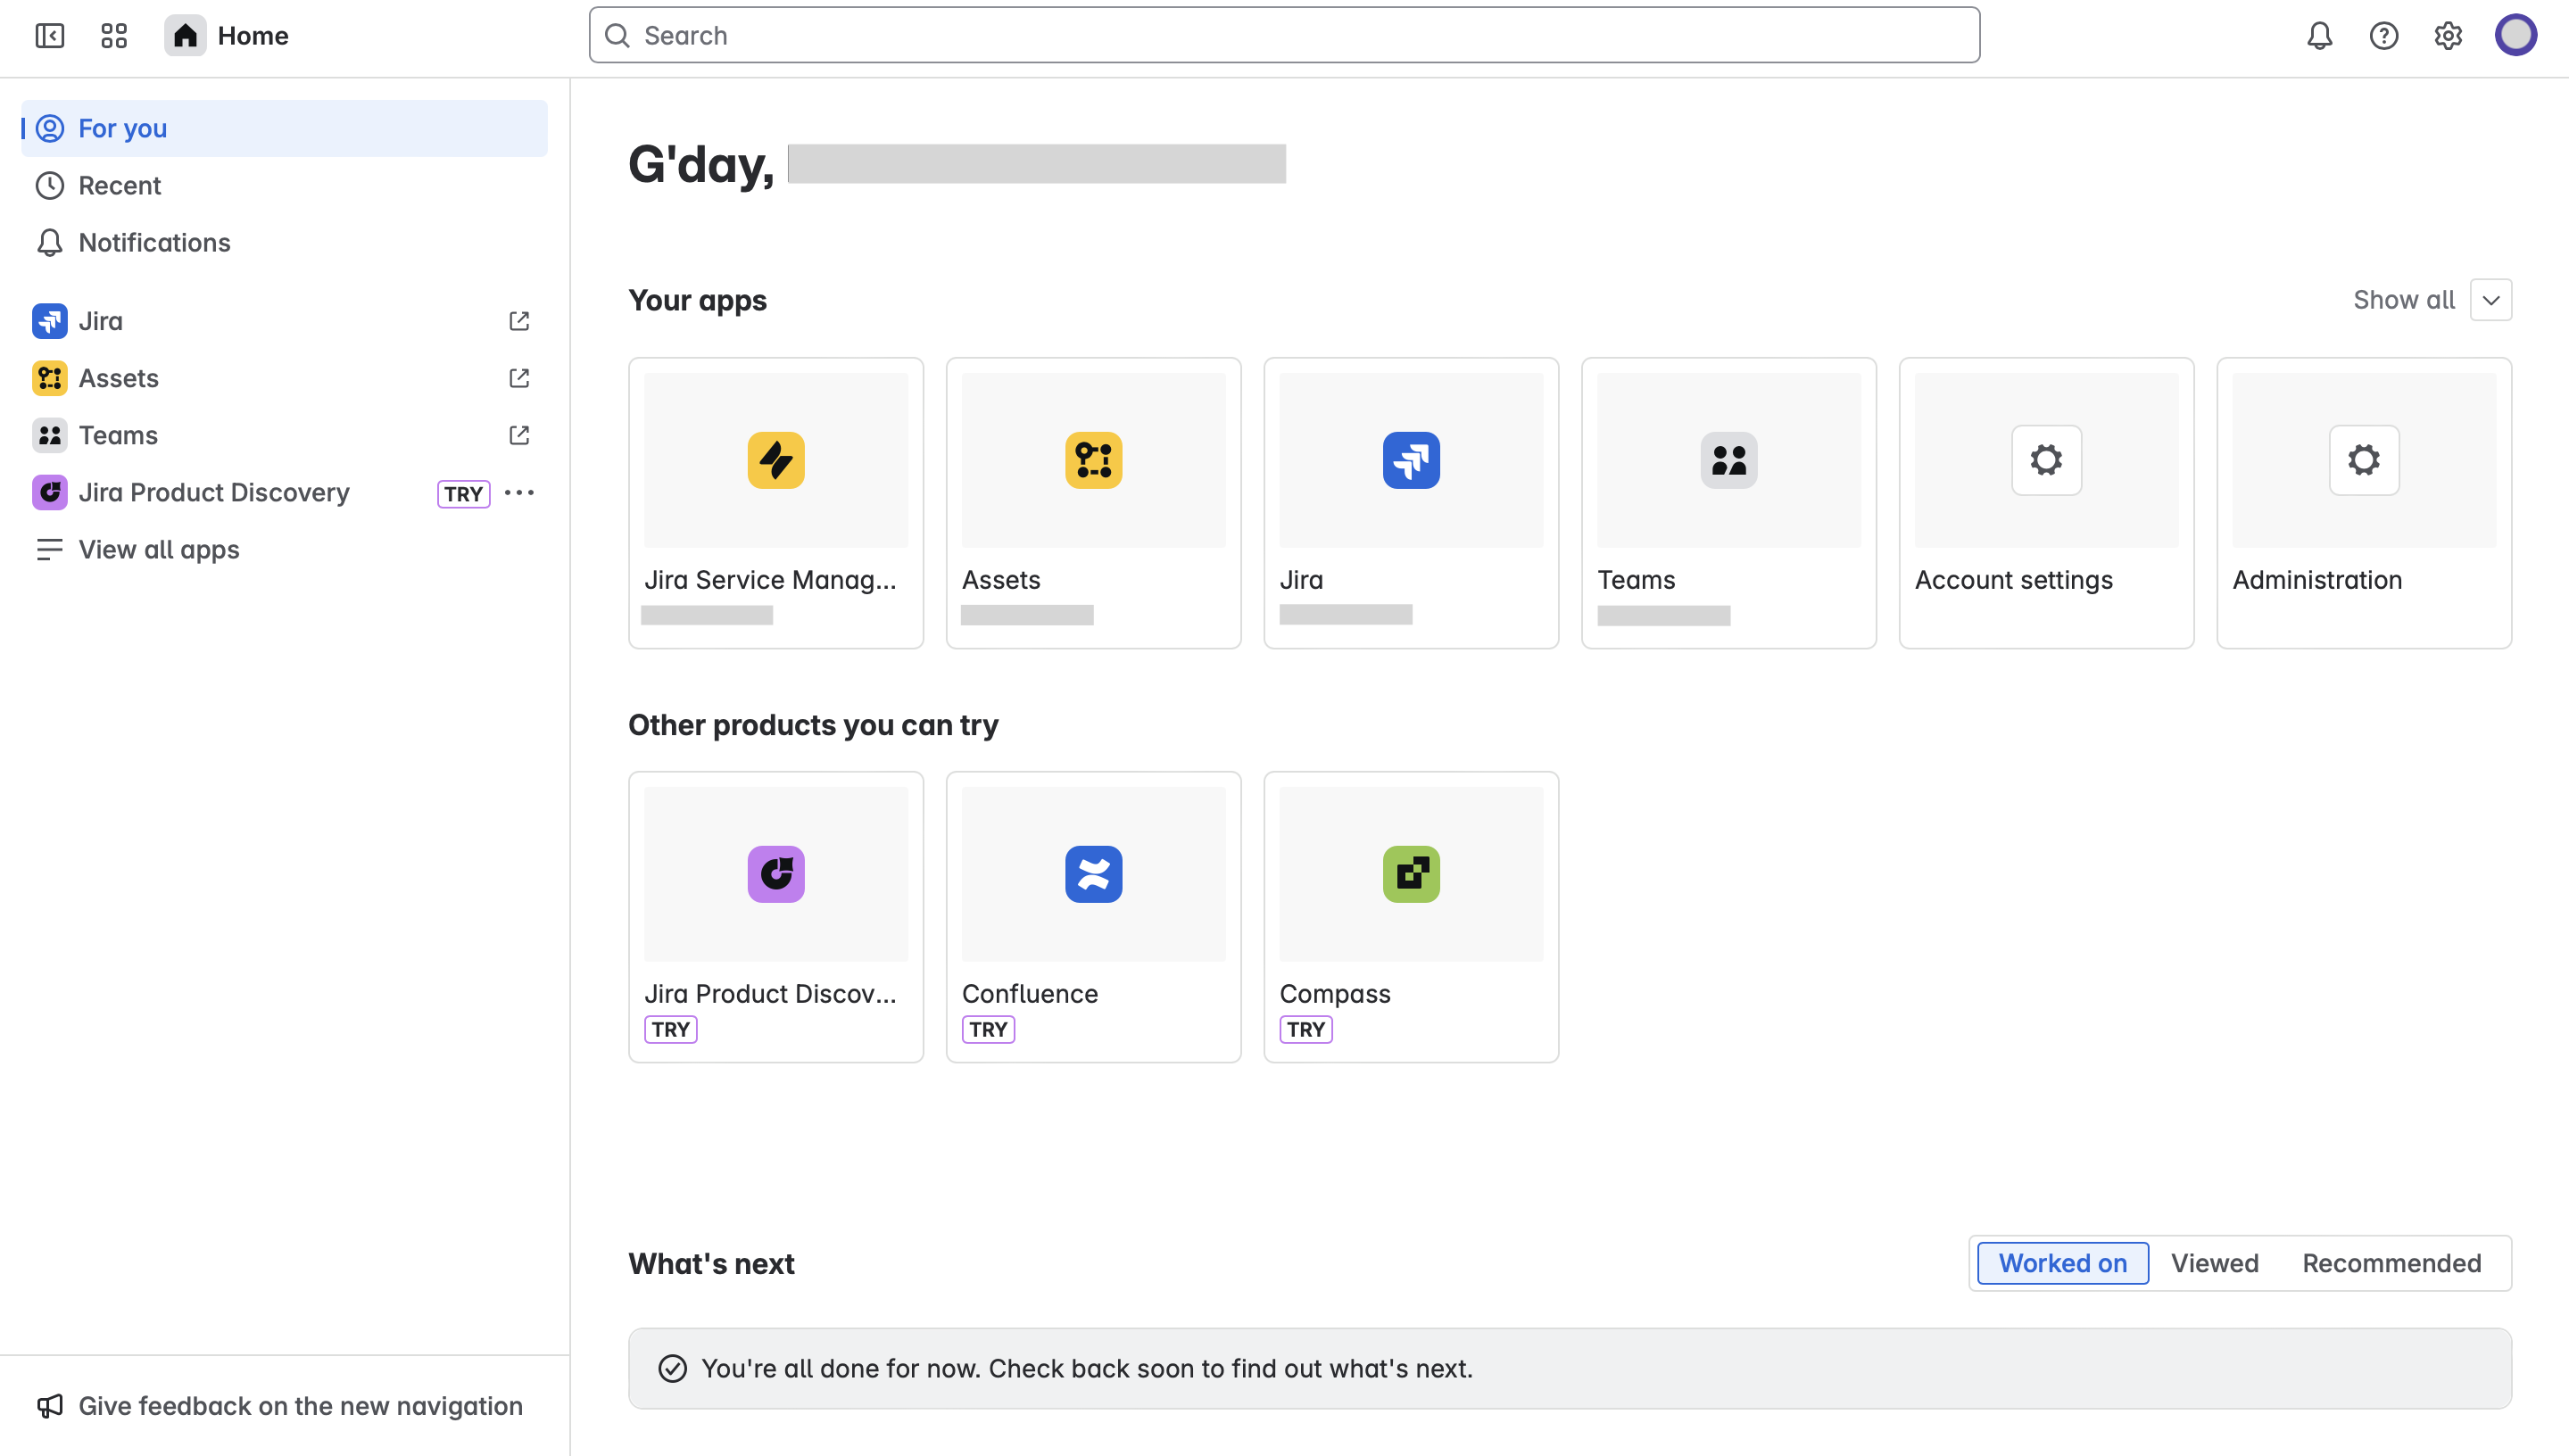
After logging in, you are redirected to your Atlassian account dashboard.
Step 2: Create an API token
-
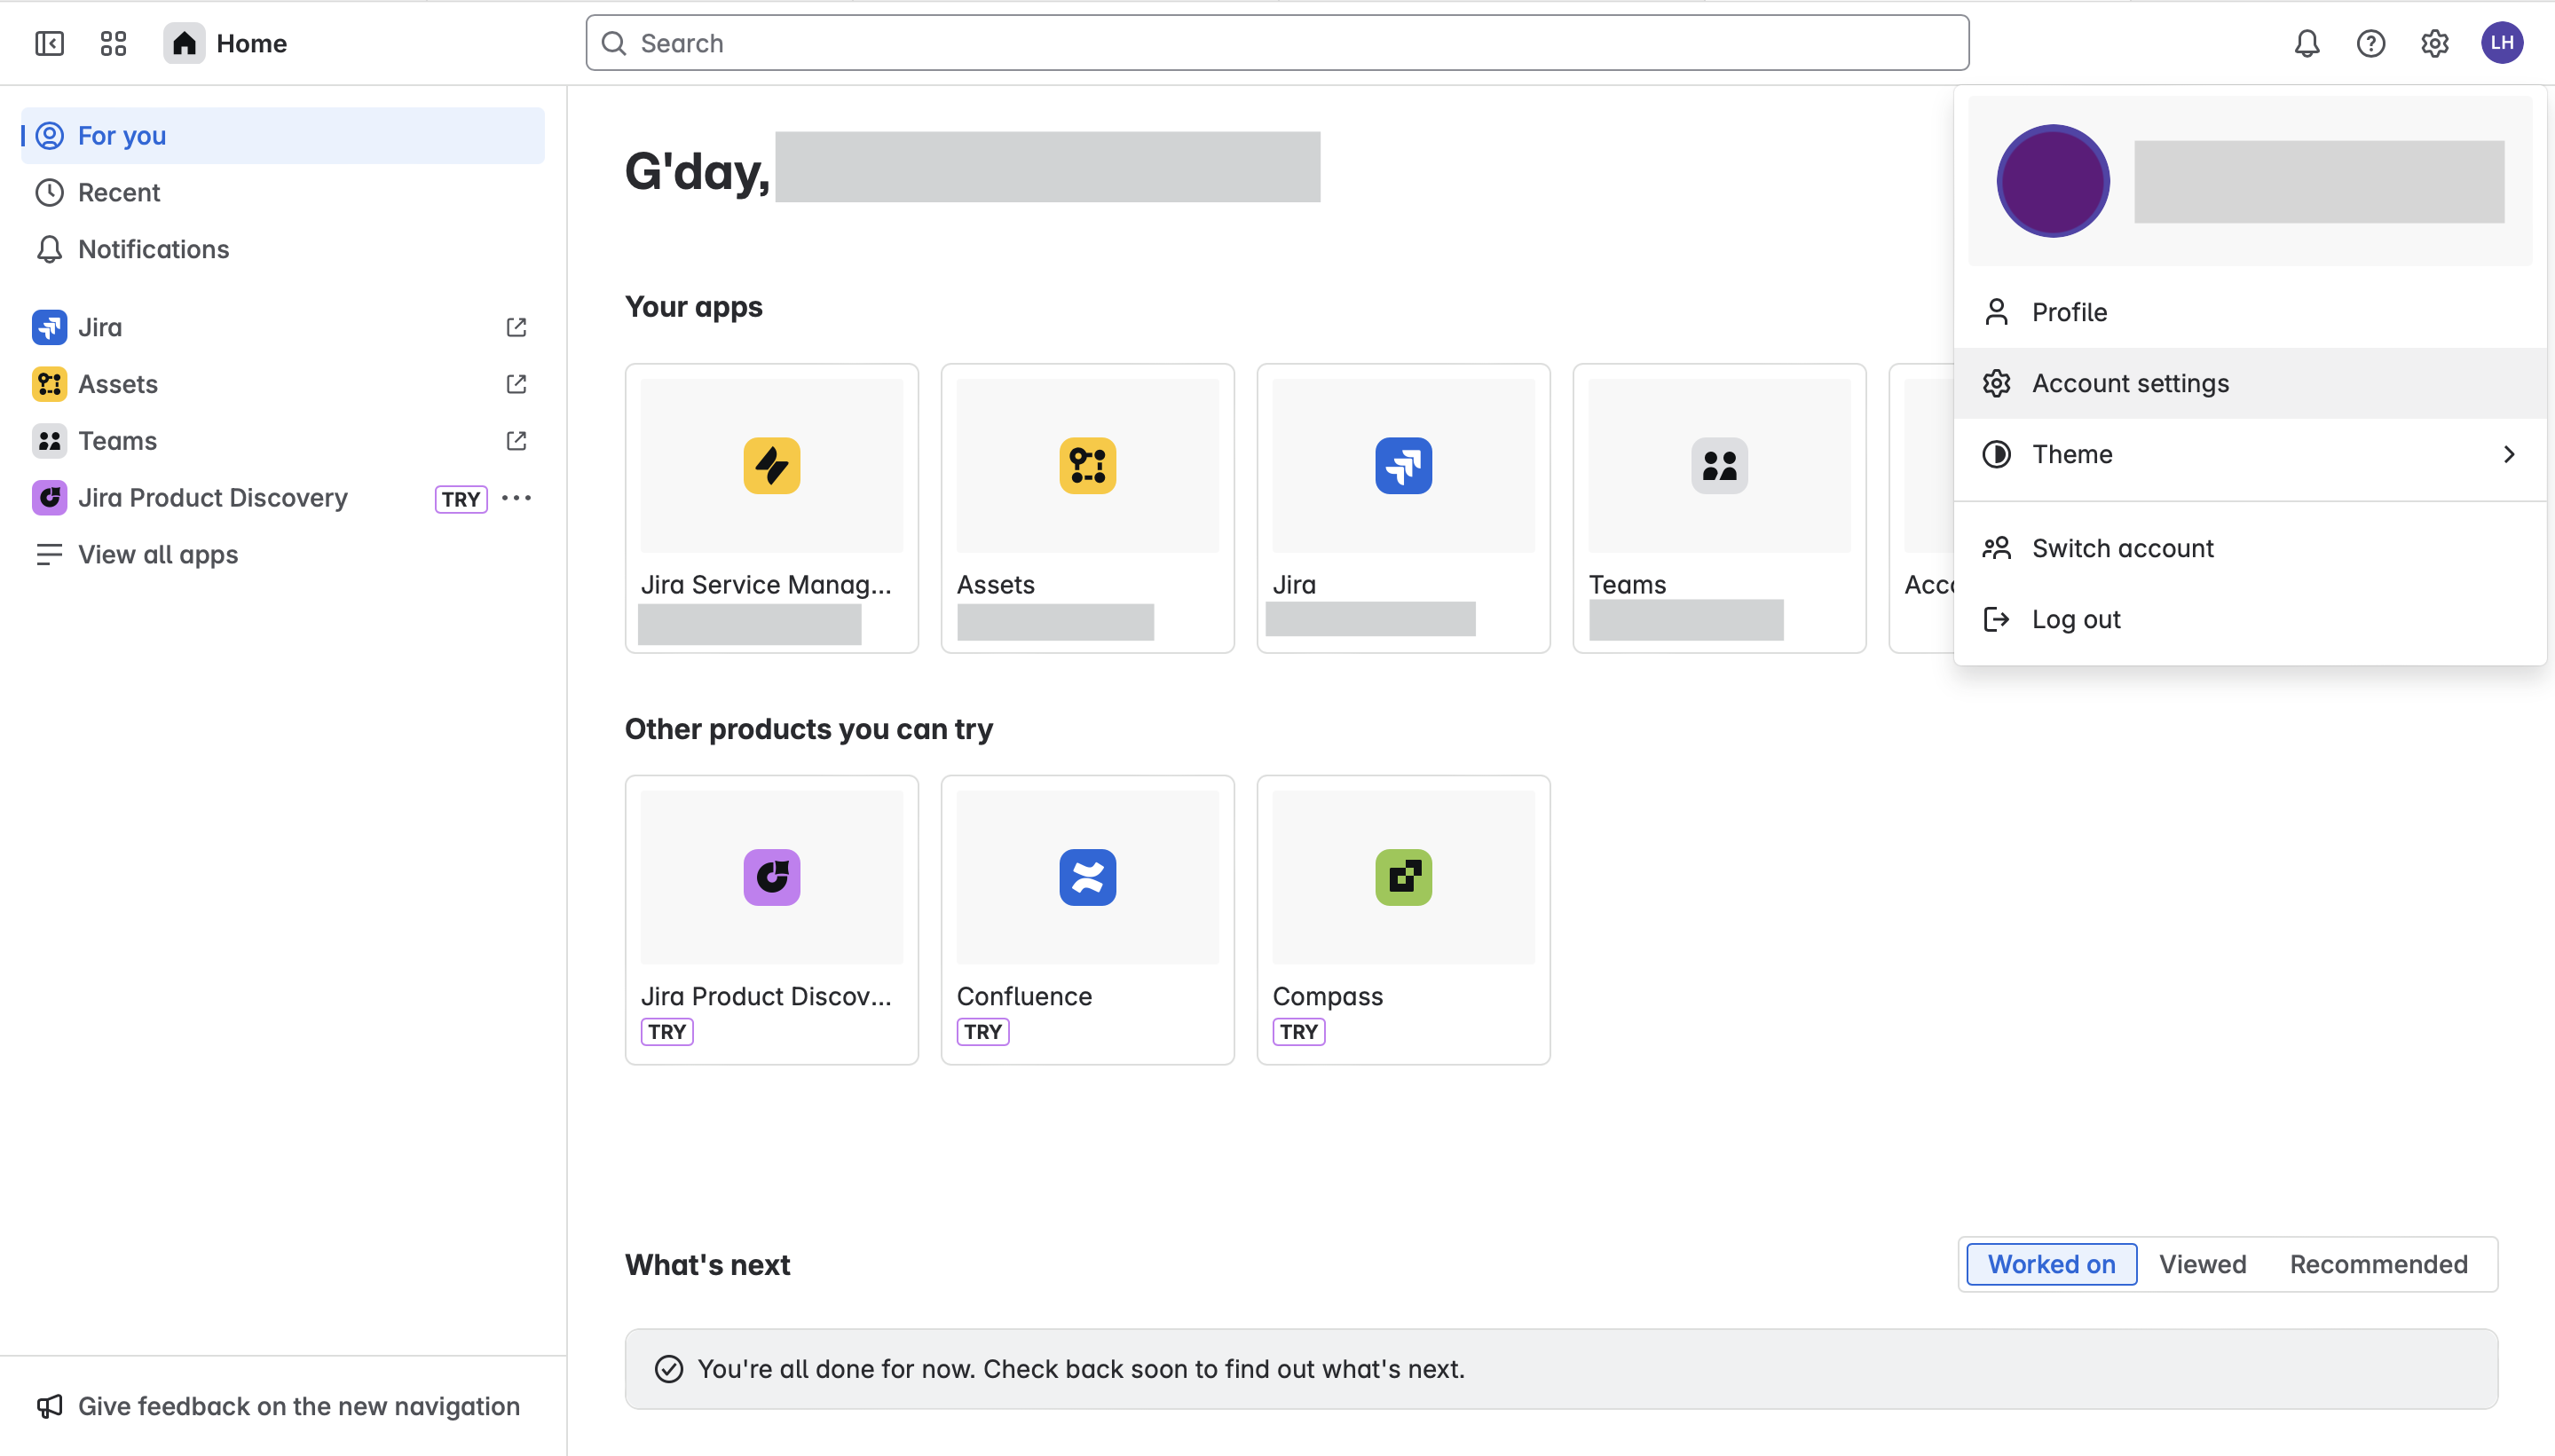
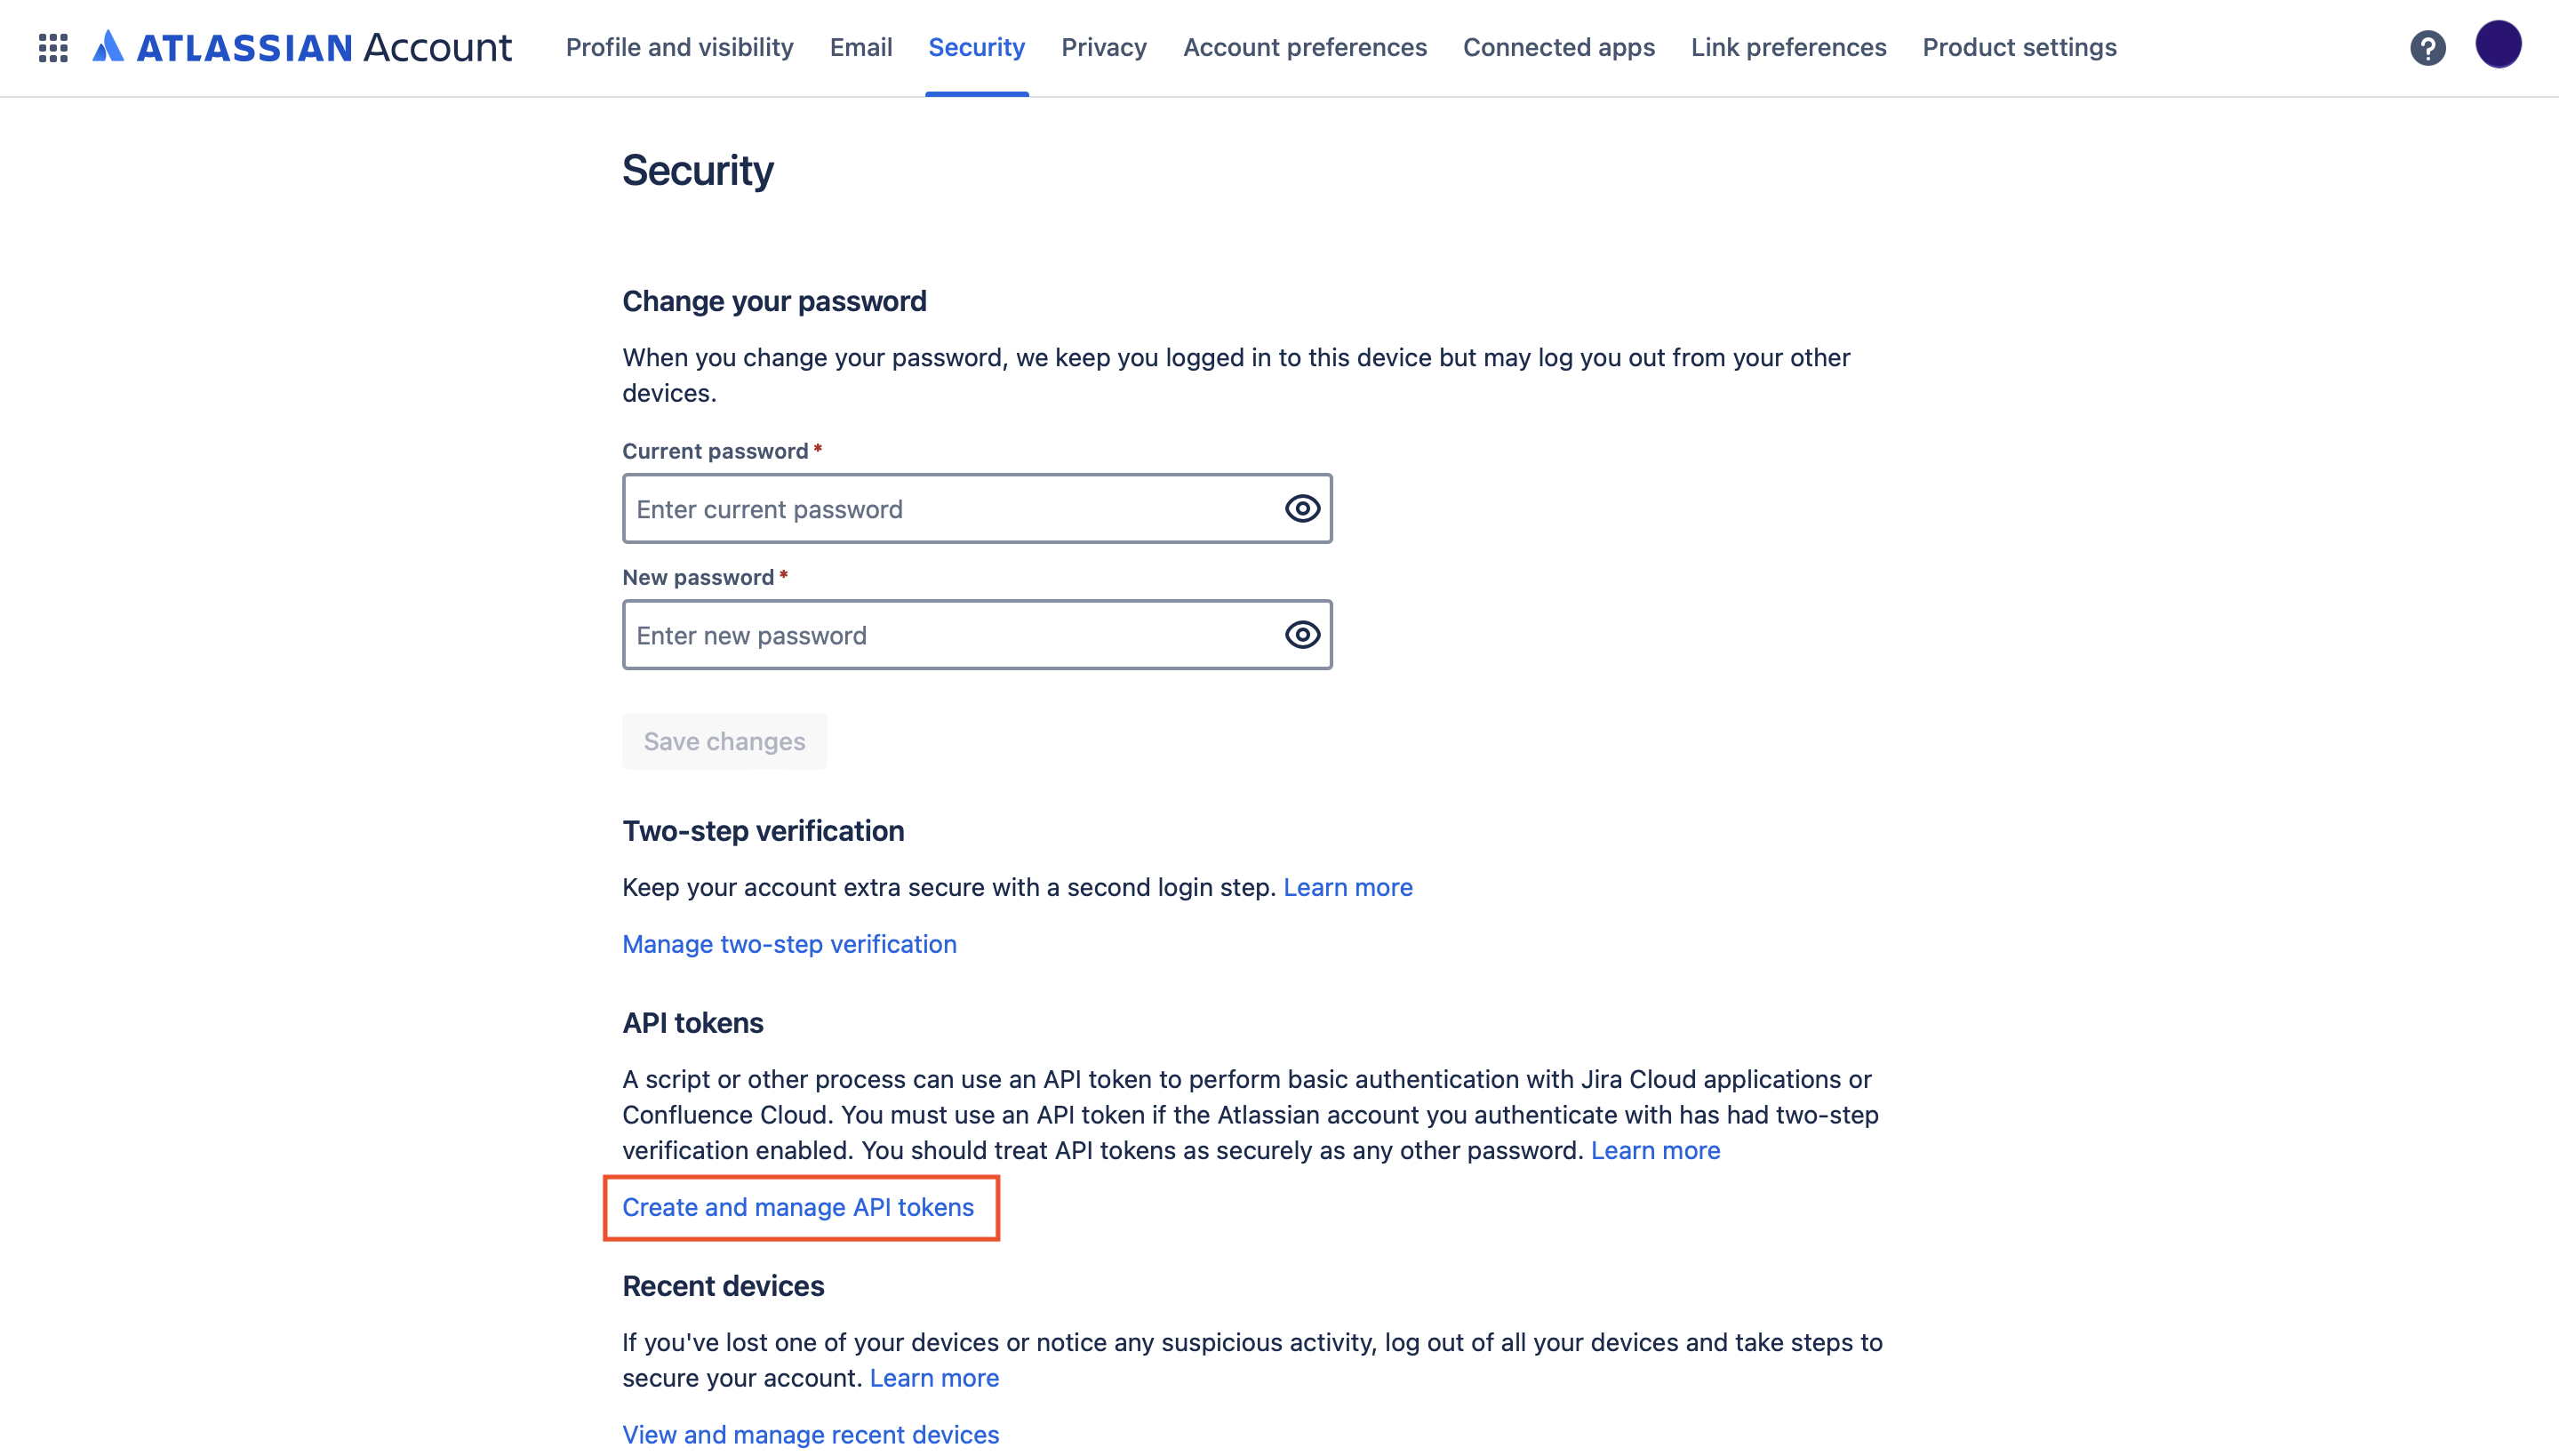
Navigate to your profile by selecting your avatar in the top-right corner, then select Manage account.
-
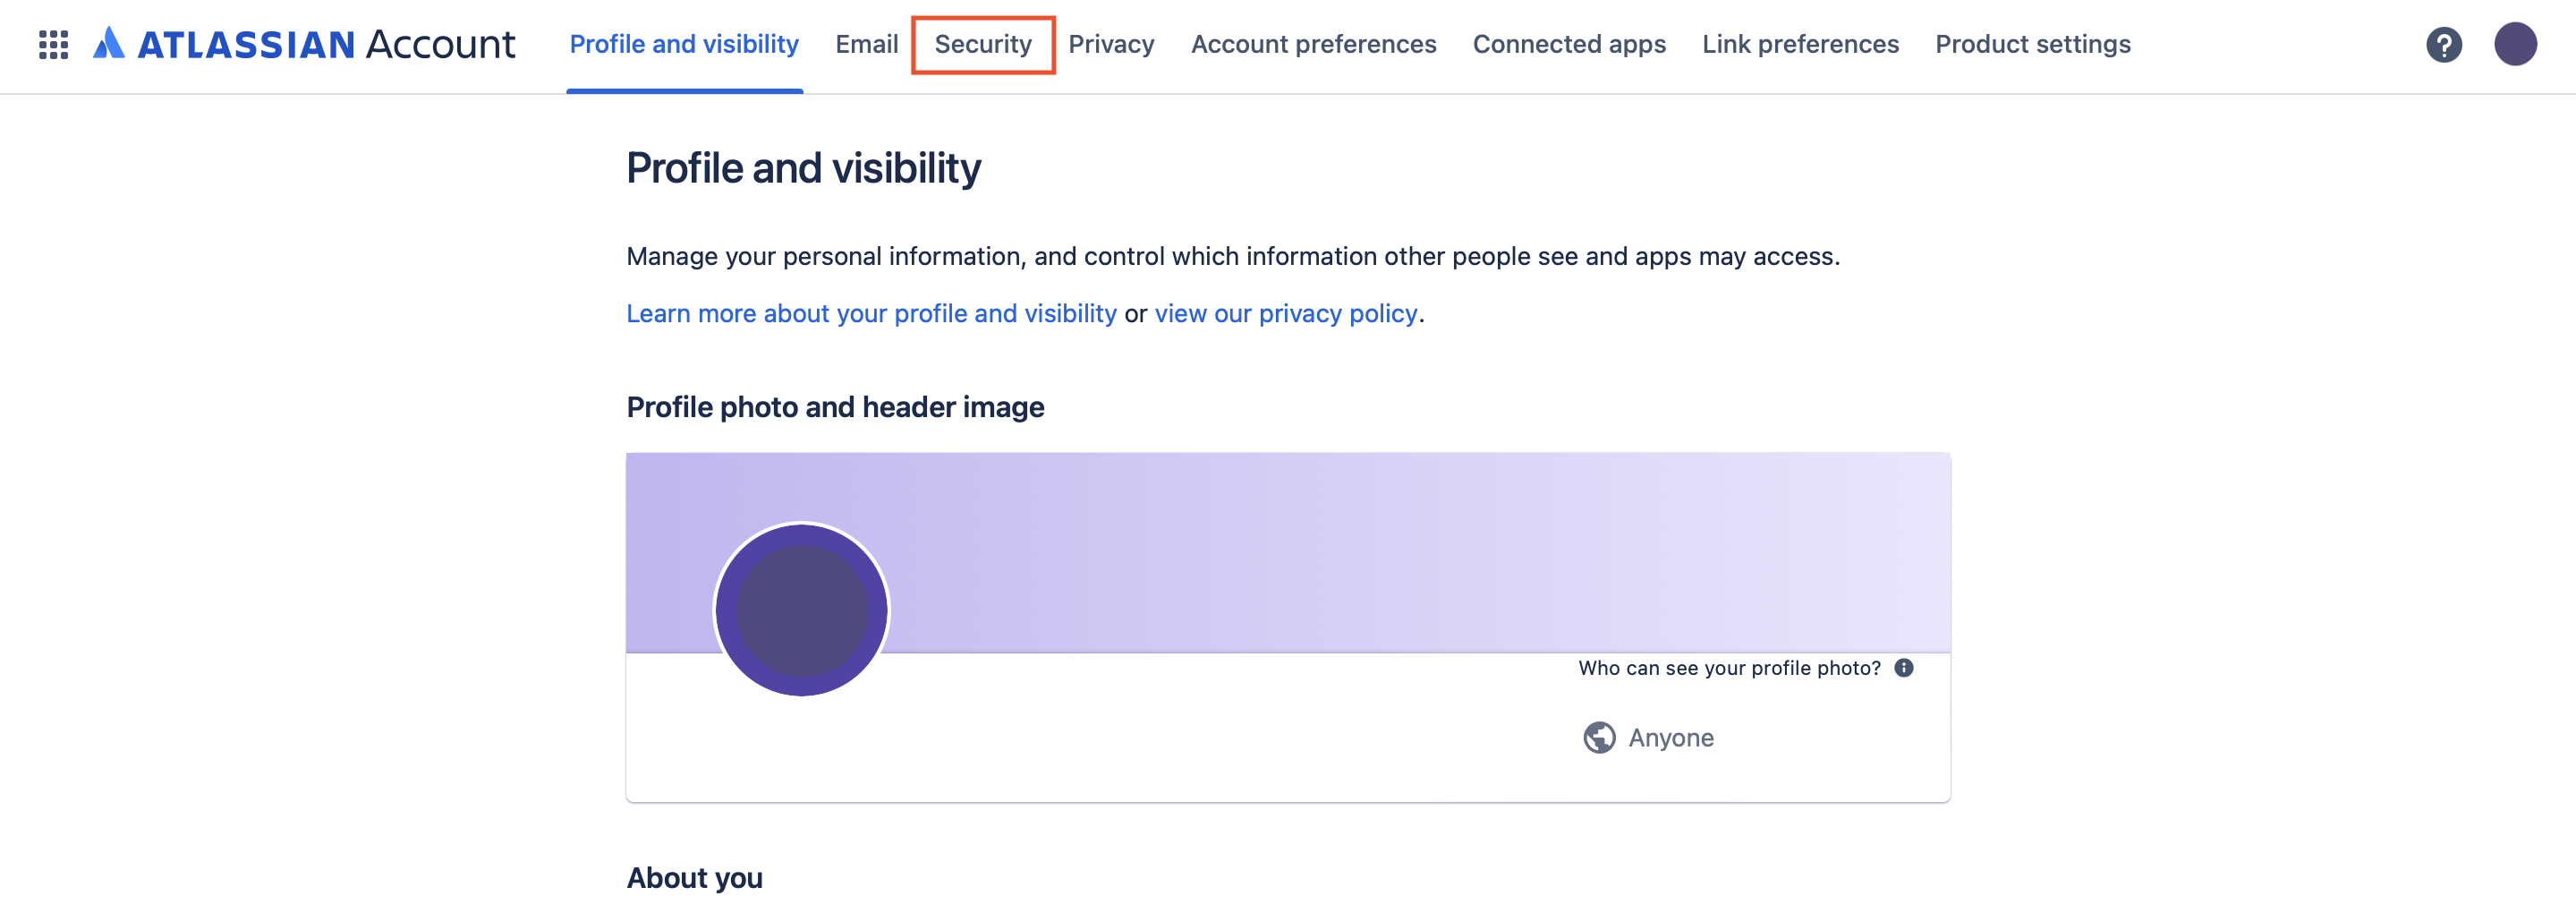
Select Security in the left sidebar.
-
Under API token, select Create and manage API tokens.
-
Select Create API token.
-
Enter a Label for the token (for example,
Ballerina Jira Connector) and select Create.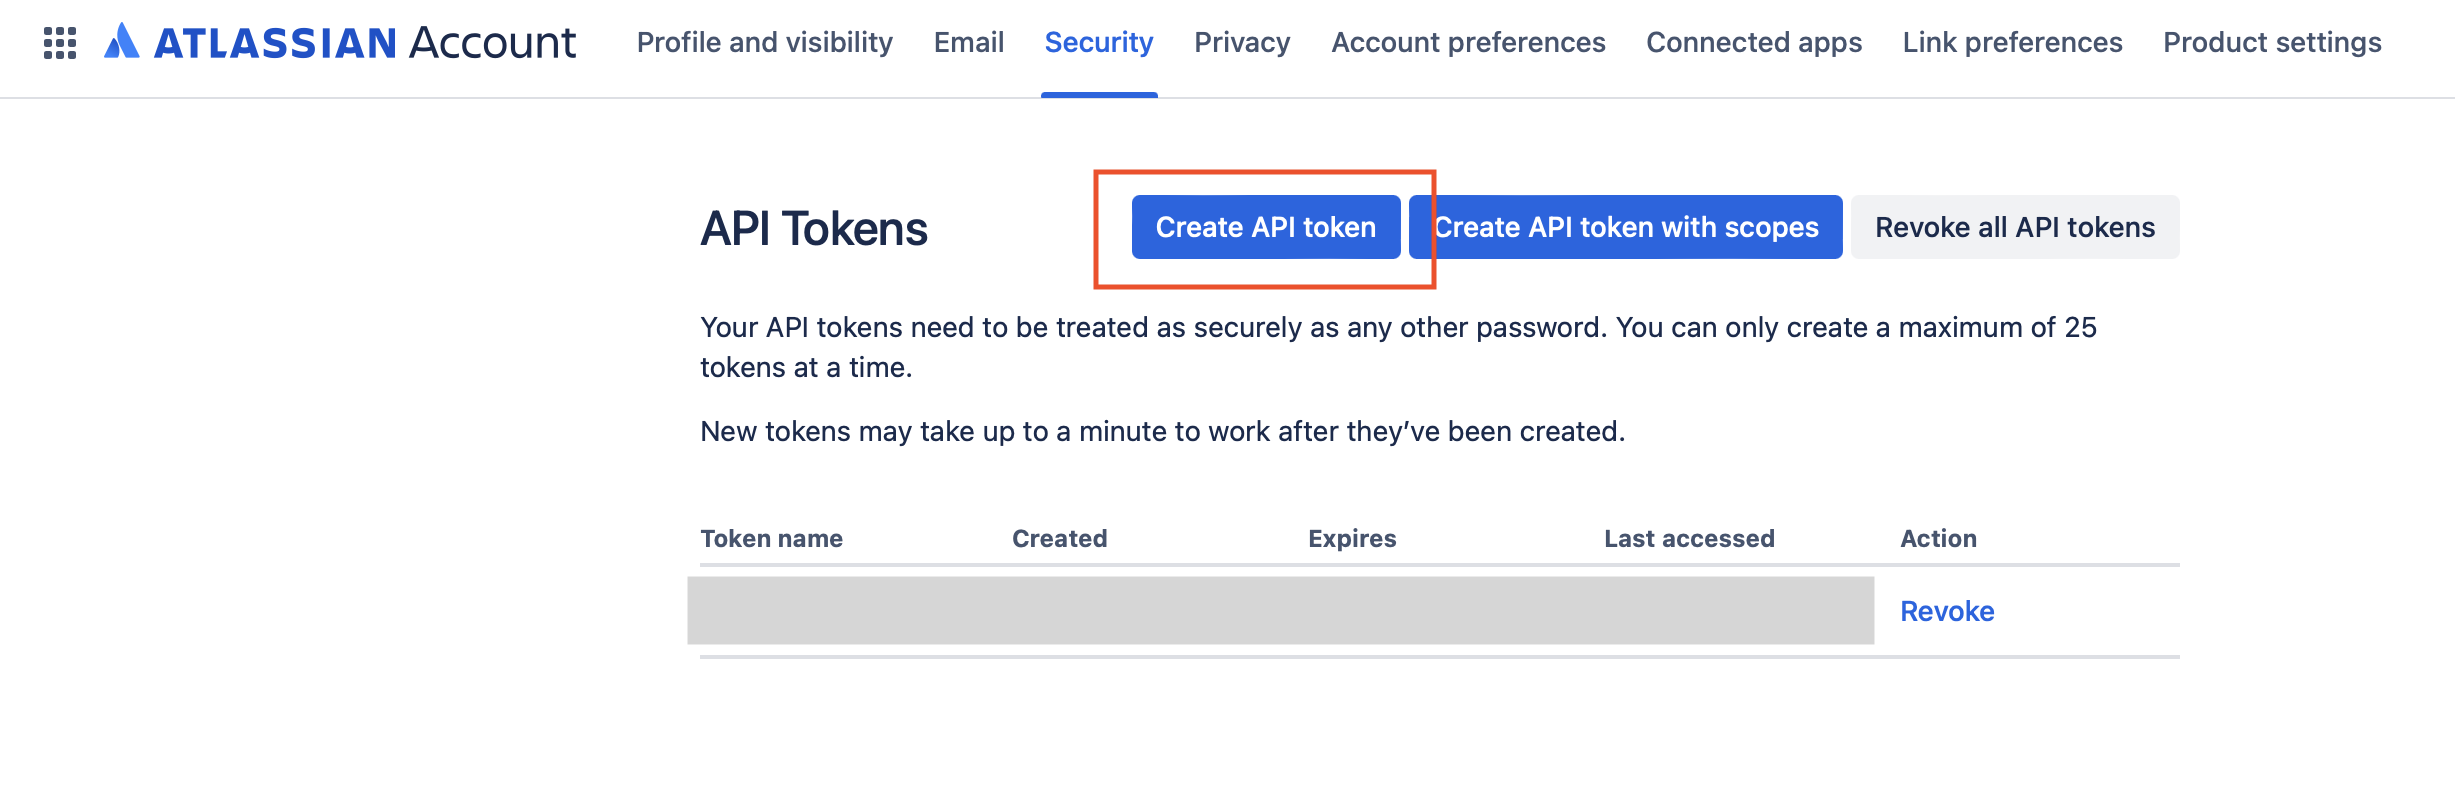
-
Copy the generated token — this is your
password(API token) for authentication.
The API token is shown only once. Store it securely and do not commit it to source control. Use Ballerina's configurable feature and a Config.toml file to supply it at runtime.
Step 3: Identify your Jira Cloud instance URL
Your Jira Cloud instance URL follows the pattern:
https://<your-domain>.atlassian.net
You can find your domain by logging into Jira Cloud and checking the URL in your browser. The serviceUrl for the connector is:
https://<your-domain>.atlassian.net/rest
Replace <your-domain> with your actual Atlassian organization domain name.
What's next
- Action reference: Available operations