Example
What you'll build
Build a Jira Cloud integration that creates a new issue using the ballerinax/jira connector. The integration uses an Automation entry point to call the Create issue operation, with all secrets safely externalised as configurable variables.
Operations used:
- Create issue : Creates a new Jira issue in a specified project with a given summary and issue type
Architecture
Prerequisites
- A Jira Cloud account with an API token that has project write permission
- A Jira project key (for example,
PROJ)
Setting up the Jira integration
New to WSO2 Integrator? Follow the Create a New Integration guide to set up your integration first, then return here to add the connector.
Adding the Jira connector
Step 1: Open the add connection palette
In the WSO2 Integrator sidebar, hover over the Connections tree item and select the Add Connection (➕) button to open the connector palette.
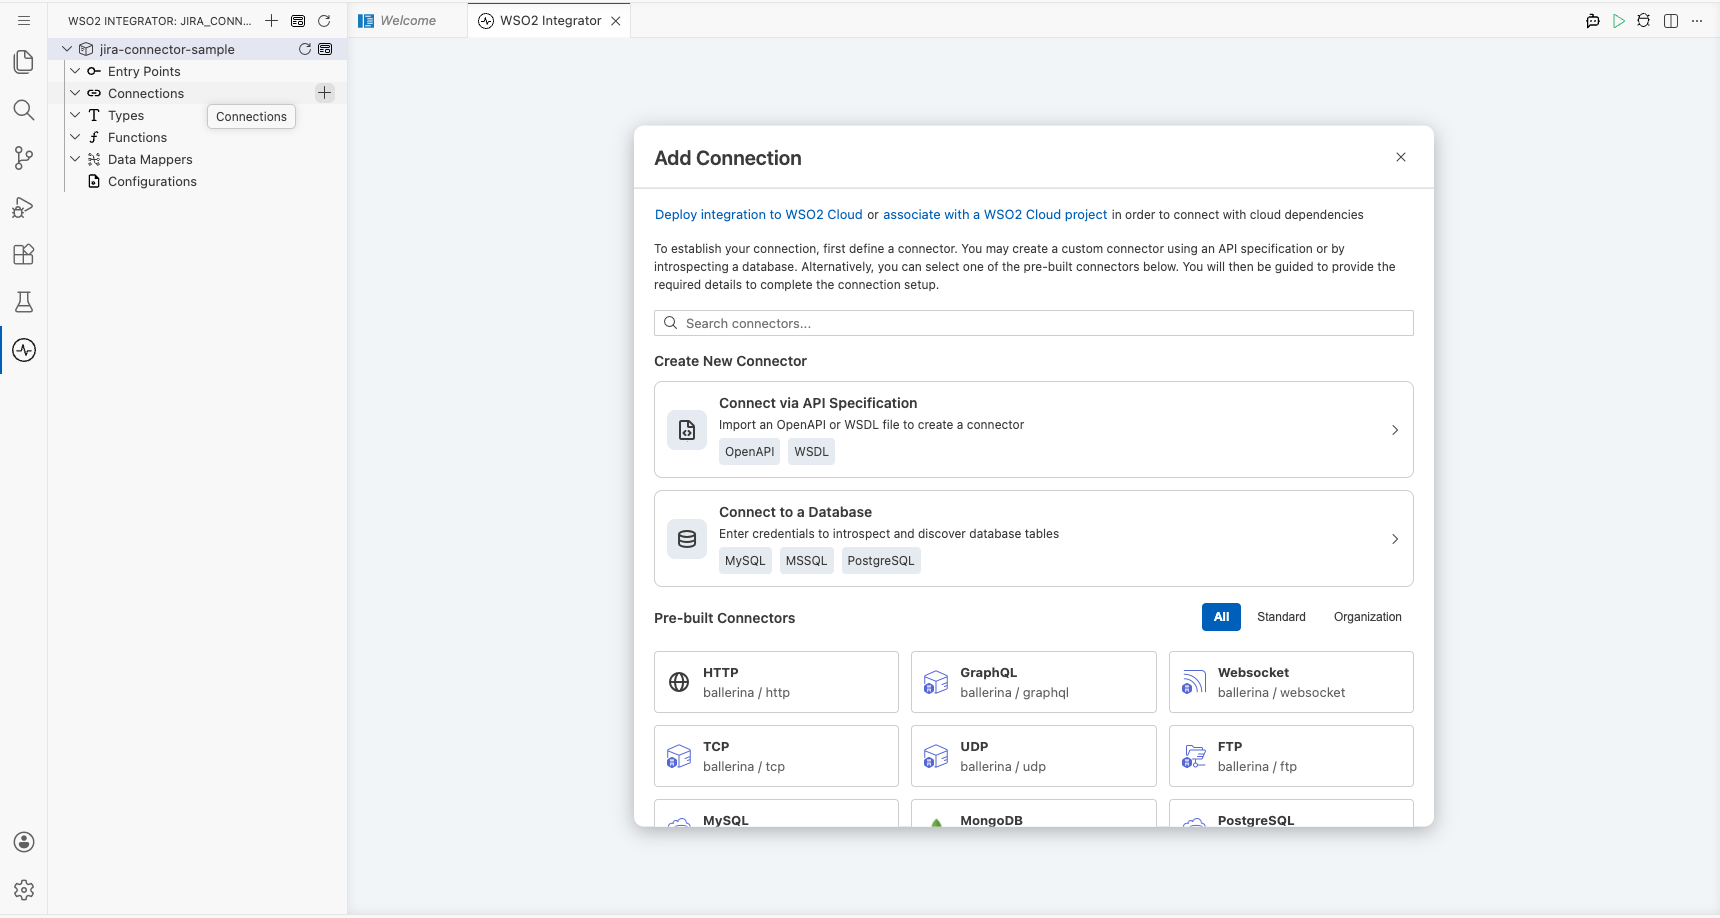
Step 2: Select the Jira connector
- Enter
jirain the search box. - Locate ballerinax/jira in the results.
- Select the connector card to open the Configure Jira form.
Configuring the Jira connection
Step 3: Fill in the connection parameters
In the Configure Jira form, bind each field to a configurable variable:
- Config : Accepts a
jira:ConnectionConfigrecord; select the Record toggle and setauth.tokento a new configurable variablejiraToken(typestring, no default value) - Service Url : Expand Advanced Configurations, open the helper panel for Service Url, and create a new configurable variable
jiraServiceUrl(typestring) - Connection Name : Leave the default value
jiraClient

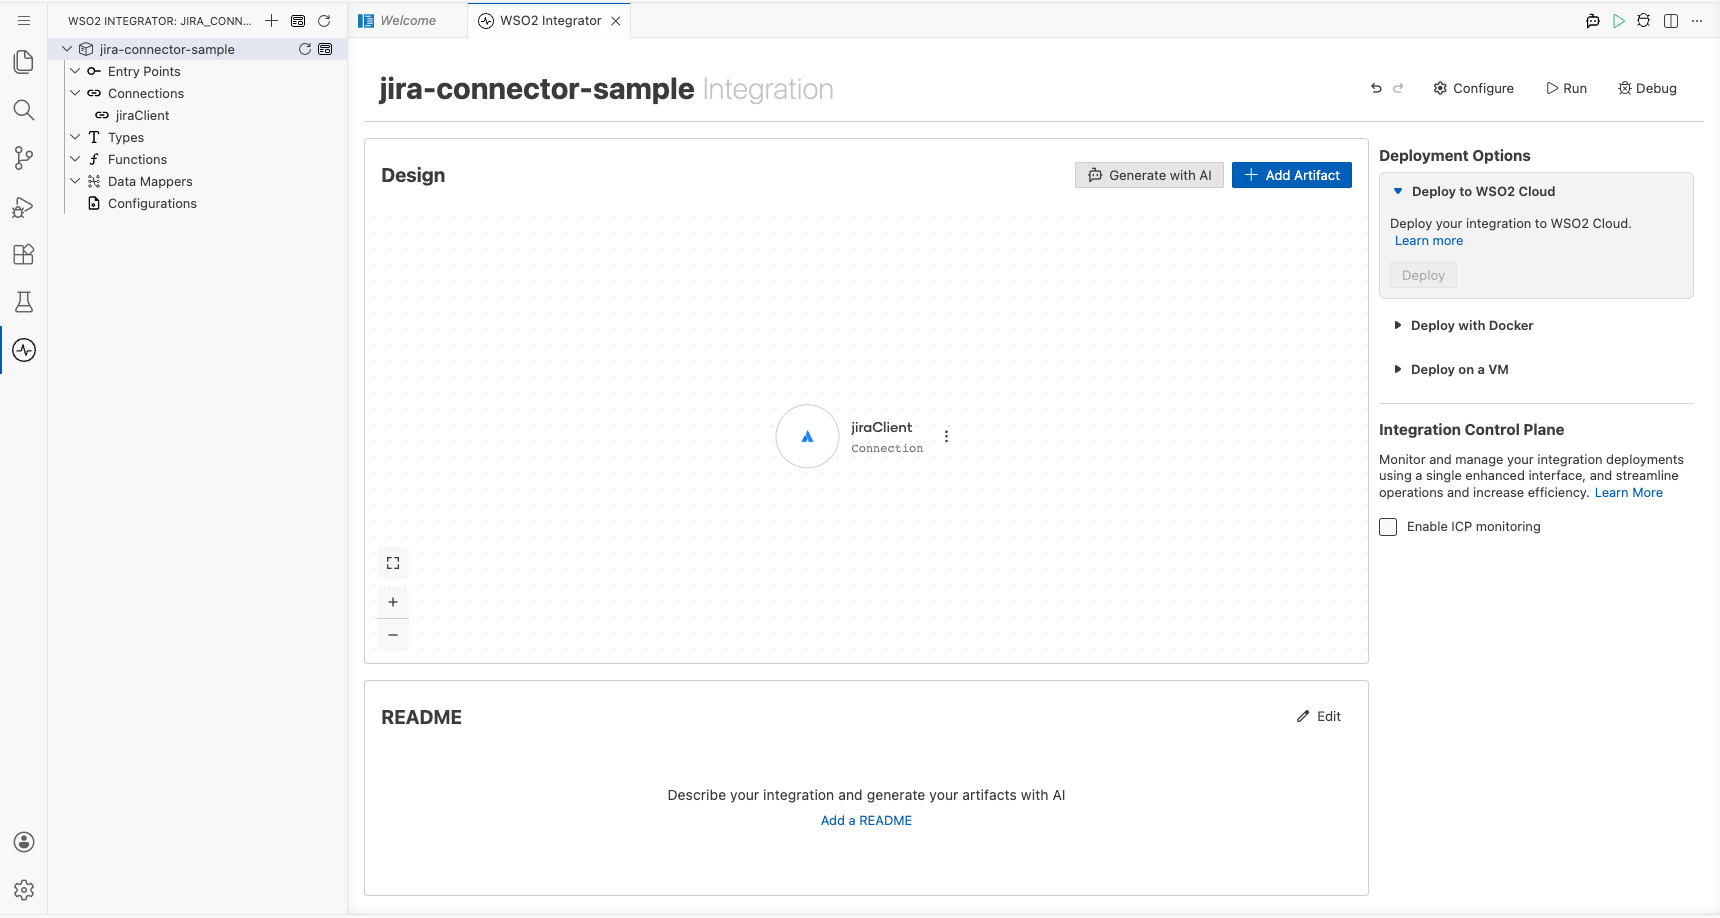
Step 4: Save the connection
Select Save Connection. The form closes and jiraClient appears under Connections in the left sidebar and as a connection node on the integration canvas.
Step 5: Set actual values for your configurables
In the left panel, select Configurations and set a value for each configurable listed below:
- jiraToken (string) : Your Jira API token.
- jiraServiceUrl (string) : Your Jira Cloud REST API base URL (for example,
https://your-domain.atlassian.net/rest)
Configuring the Jira create issue operation
Step 6: Add an automation entry point
- Select + Add Artifact on the canvas.
- Select Automation from the artifact picker.
- Select Create on the Create New Automation dialog, leaving all defaults.
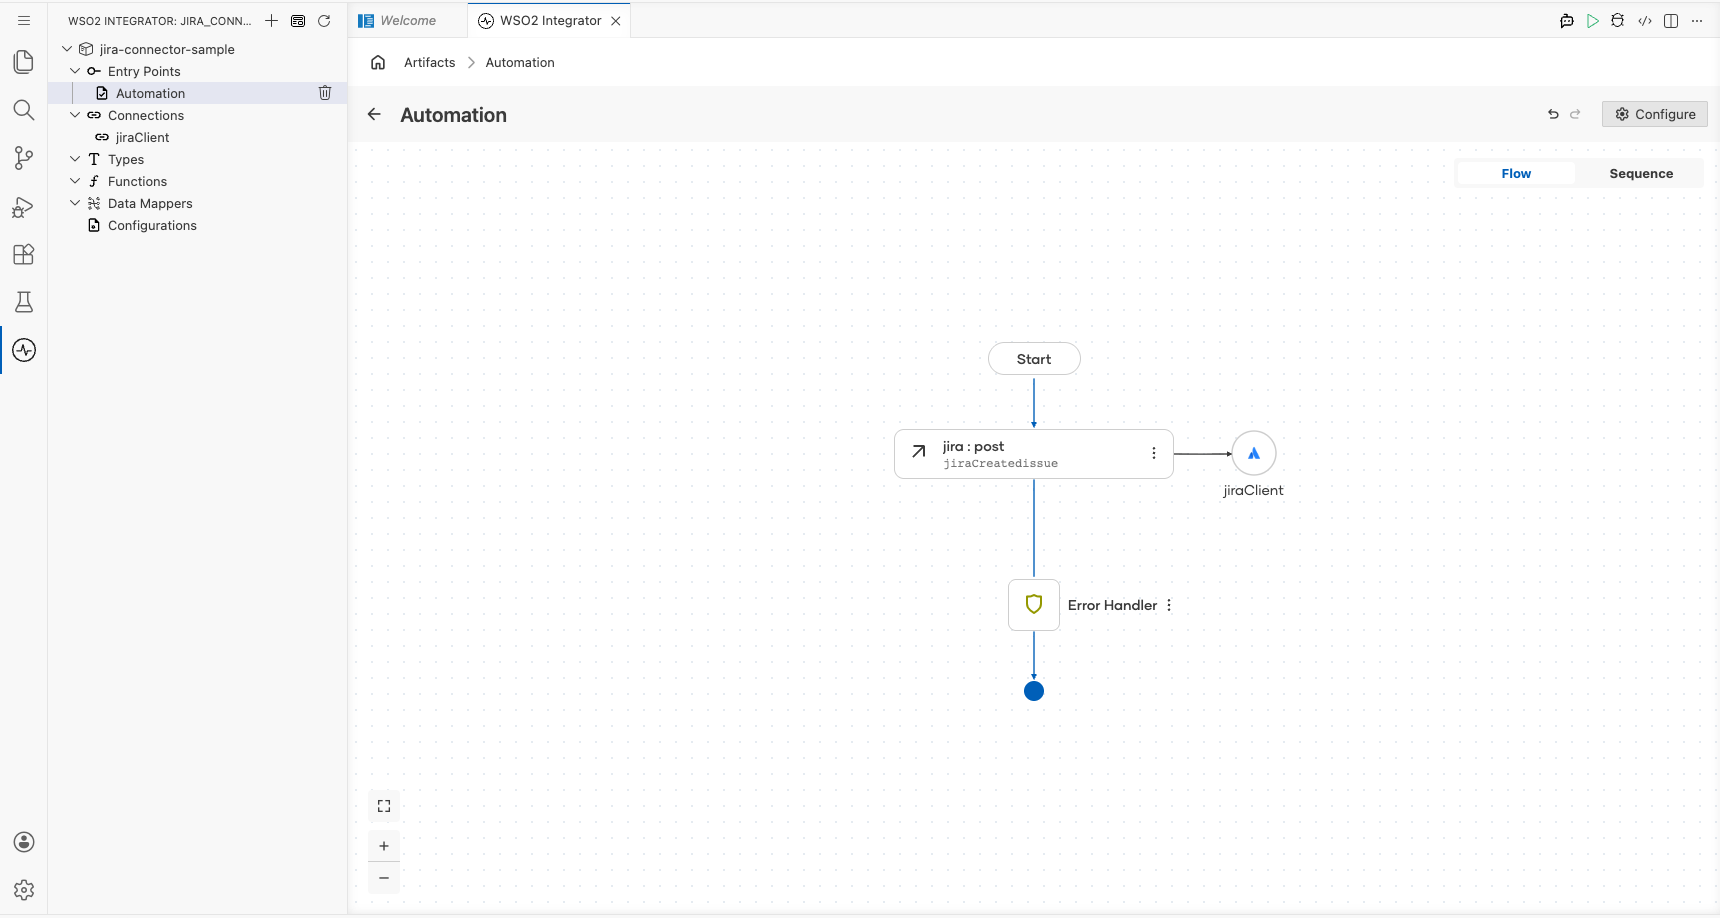
The Automation (main) appears under Entry Points in the sidebar and the flow canvas opens, showing Start → [empty step] → Error Handler → End.
Step 7: Select the create issue operation and configure its parameters
- Select the + (add step) button between Start and Error Handler on the canvas.
- The node panel opens on the right, showing all available connections and statement types.
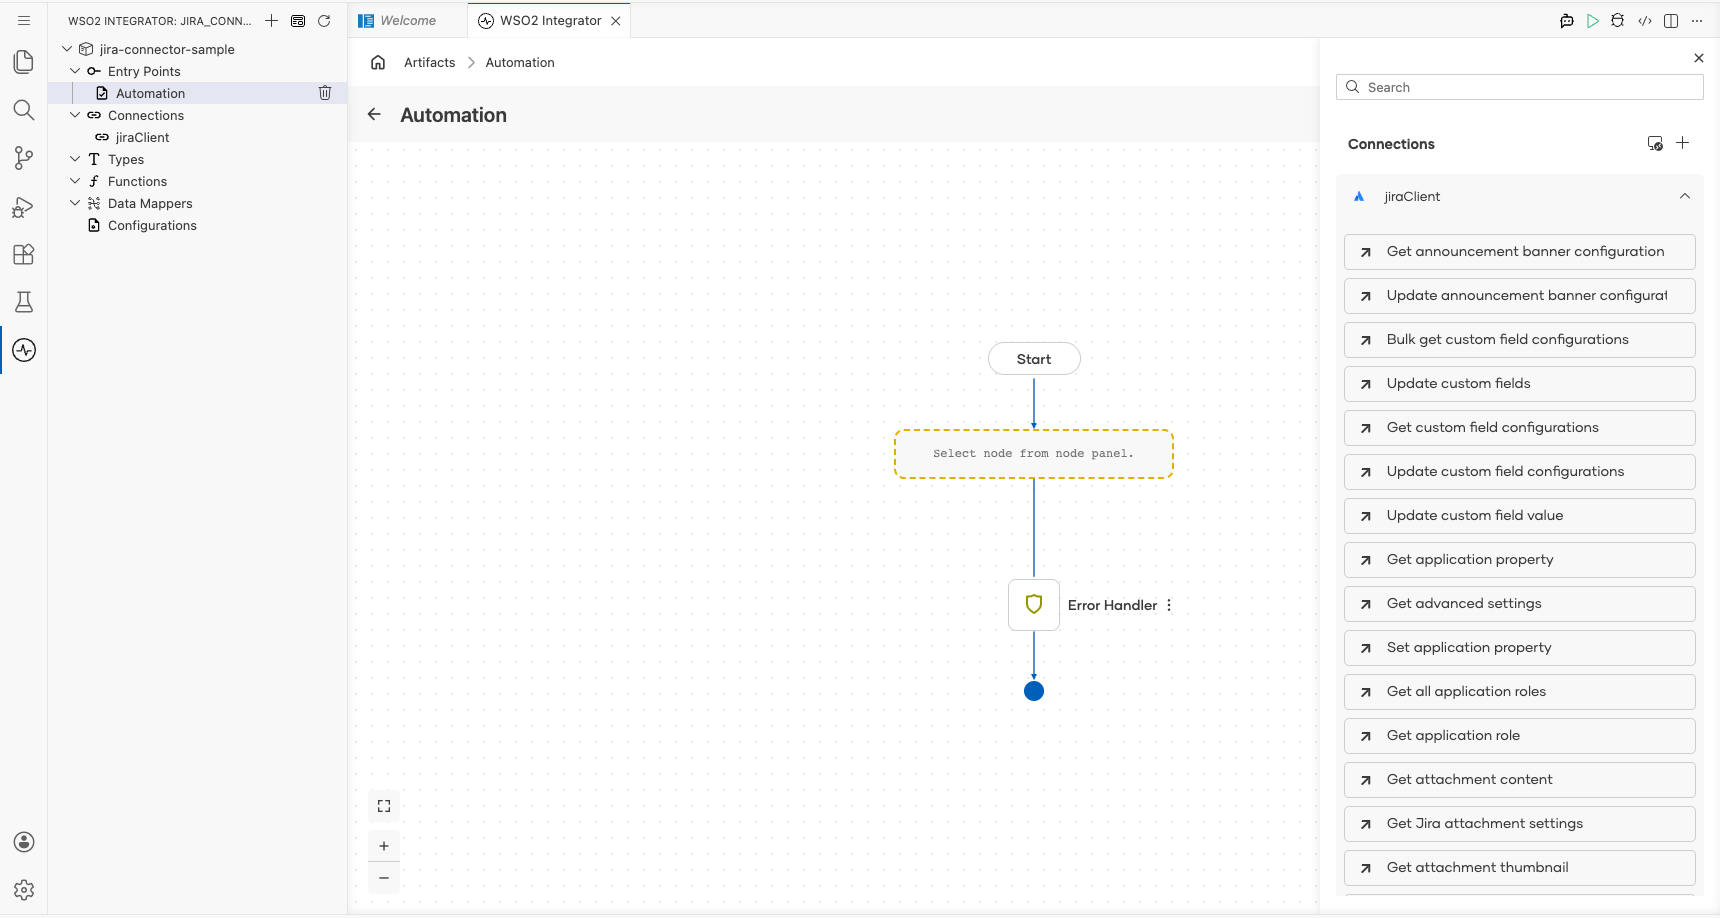
- Enter
issuein the Search box to filter operations. - Select Create issue from the
jiraClientgroup. - In the Create issue configuration panel, switch Payload to Expression mode and enter the payload record literal.
Configure the following parameters:
- Payload : A
jira:IssueUpdateDetailsrecord containingfieldswithsummary,project.key, andissuetype.name; for example,{fields: {"summary": "Integration test issue", "project": {"key": "PROJ"}, "issuetype": {"name": "Task"}}} - Result :
jiraCreatedissue(auto-generated)
Tip: Replace
"PROJ"with your actual Jira project key and updatesummaryfor your use case.
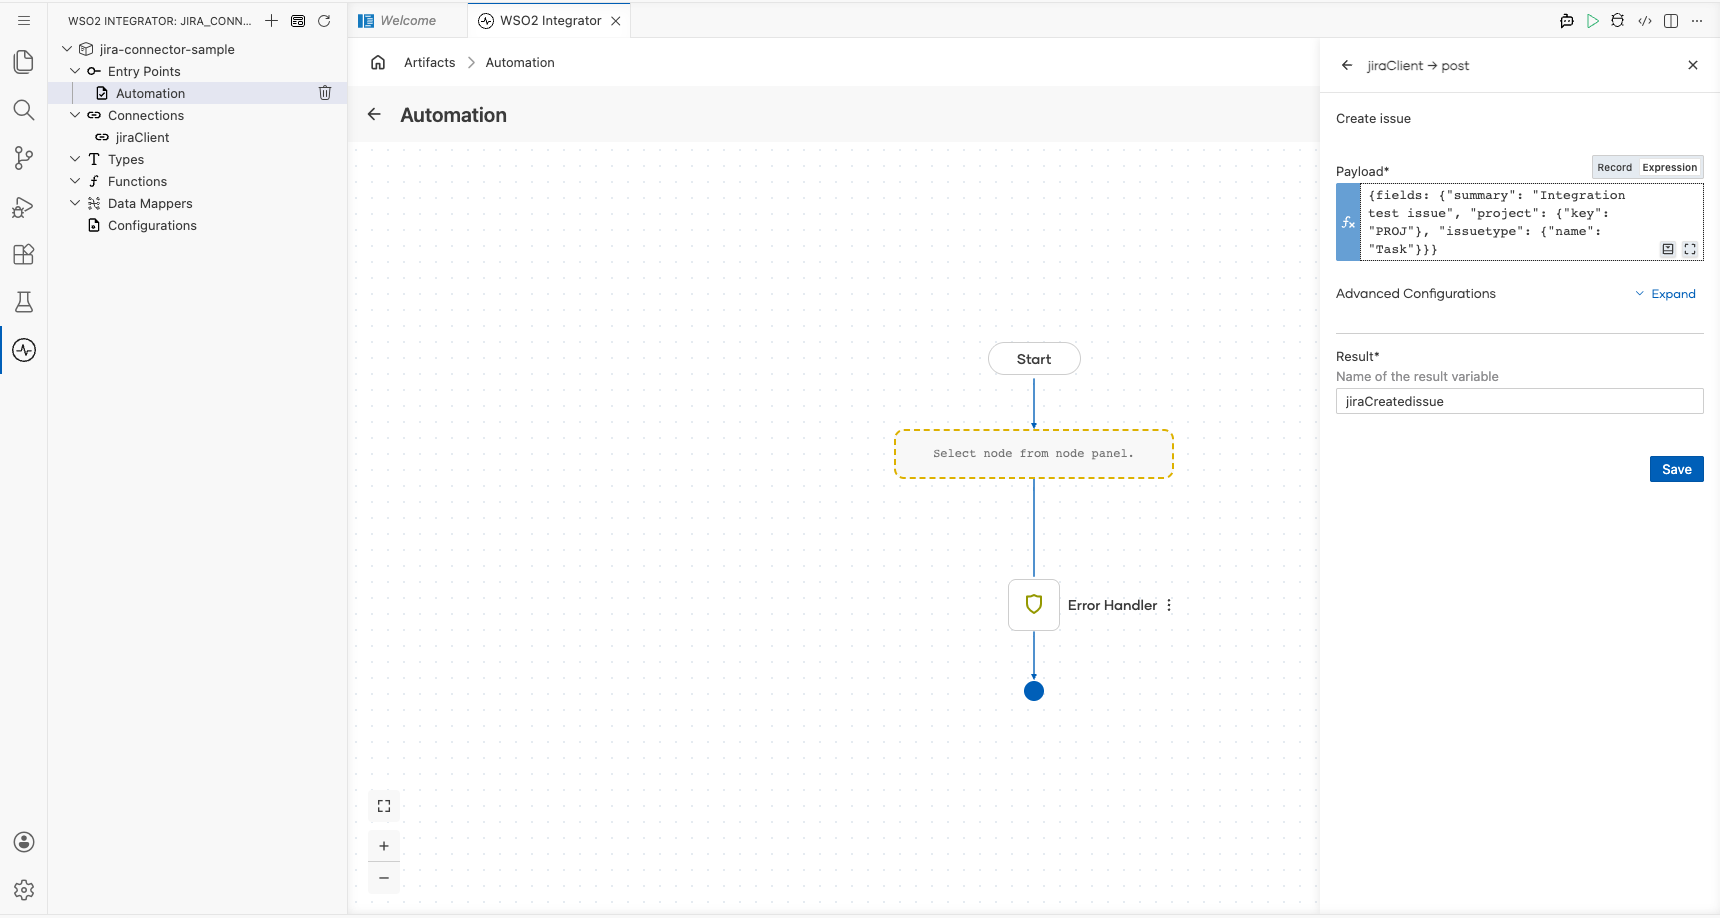
Select Save. The canvas updates to show the completed automation flow with Start → jira:post → Error Handler → End.
Try it yourself
Try this sample in WSO2 Integration Platform.

More code examples
The Jira connector provides practical examples illustrating usage in various scenarios. Explore these examples, covering the following use cases:
- Create Project and Issue: Creates a new Jira project and adds an issue to it.
- Create Issue and Add Comment: Creates a new issue in an existing Jira project and adds a comment to it.