Verify credentials from a Digital Wallet
This guide walks you through configuring WSO2 Identity Platform to act as a verifier in an OpenID4VP flow. Users can present credentials stored in an OID4VP-compatible digital wallet to authenticate or register with your application. Any wallet that supports the OID4VP specification and the dc+sd-jwt credential format can present credentials to WSO2 Identity Platform.
Prerequisites
Before you begin, ensure the following:
- An OID4VP-compatible digital wallet that supports the
dc+sd-jwtcredential format is installed on your device. - The wallet contains at least one verifiable credential issued by a trusted issuer.
Step 1: Create a presentation definition
A presentation definition describes the type and format of credentials that WSO2 Identity Platform will request from a wallet, along with the specific claims that must be present.
To create a presentation definition:
-
On the WSO2 Identity Platform Console, go to Verifiable Credentials and select Presentation Definitions.
-
Click + New Presentation Definition.
-
Fill in the presentation definition details:
Field Description Example Display Name A human-readable name. Employee IDIdentifier A unique, URL-safe identifier for this definition. employee-idDescription A brief description of what this presentation definition is used for. Presentation definition for verifying employee ID credentialsCredential Type The type of credential to request from the wallet. employee-identityFormat The credential format the wallet must present. dc+sd-jwt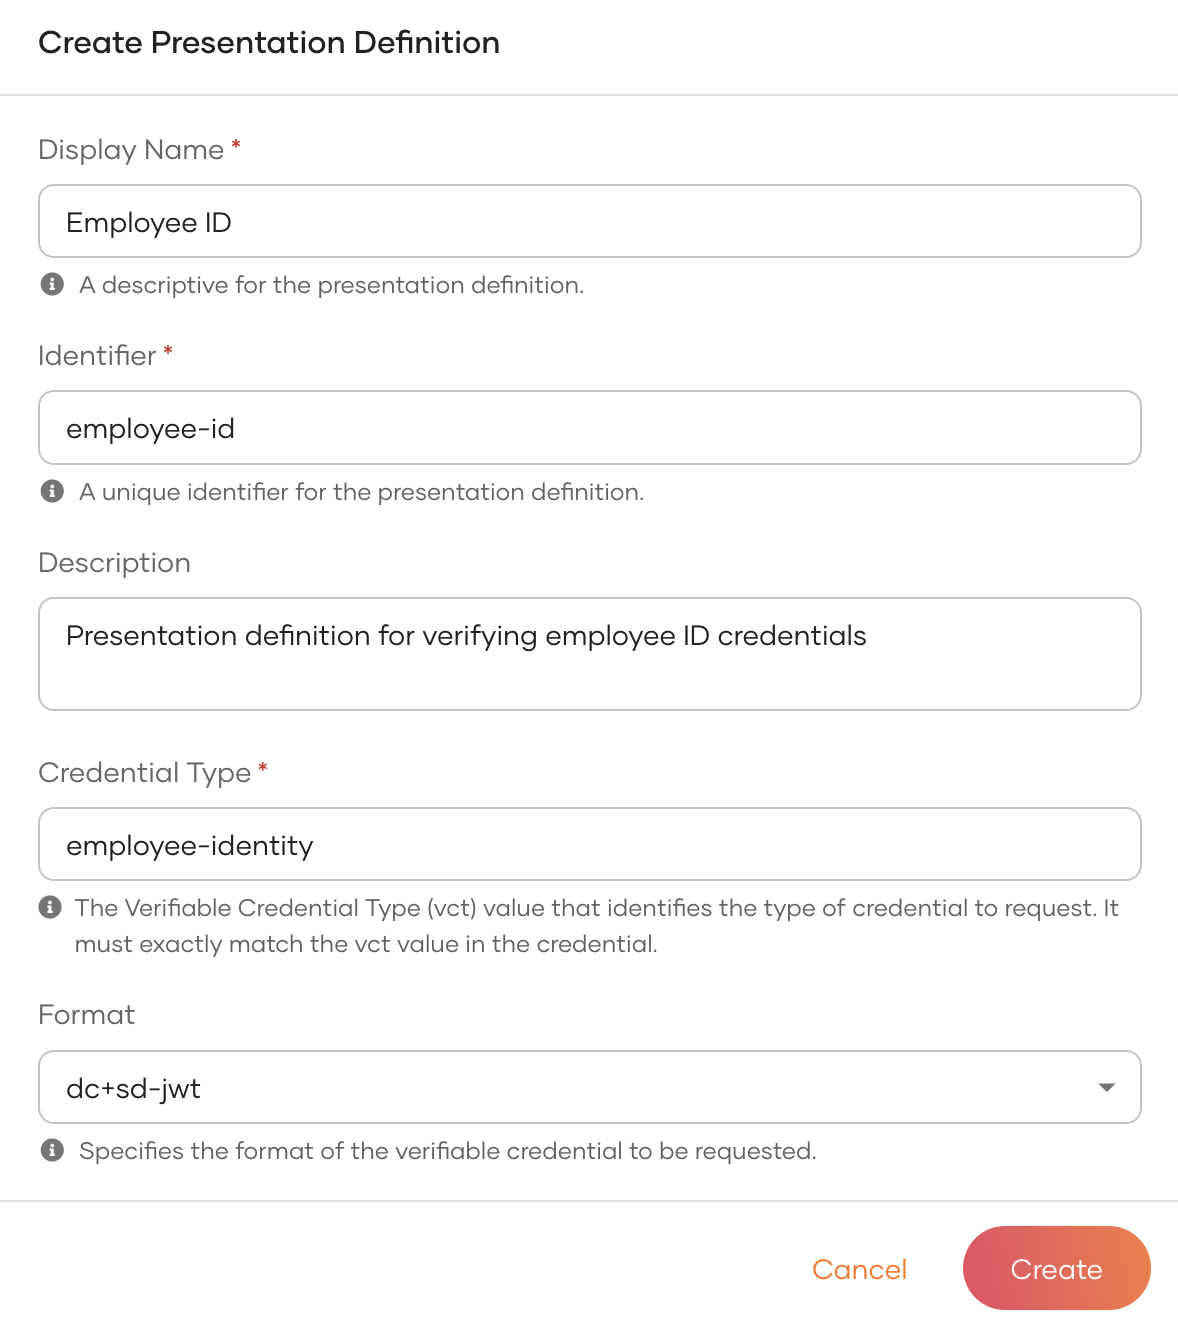
-
Click Create.
-
Open the Attributes tab and click Add Attribute to specify which claims to request. For each attribute, provide the Claim Name (the claim key as it appears inside the credential) and mark whether it is Required. If a required claim is absent, the credential cannot satisfy the request.
For example, add the
emailclaim as shown below: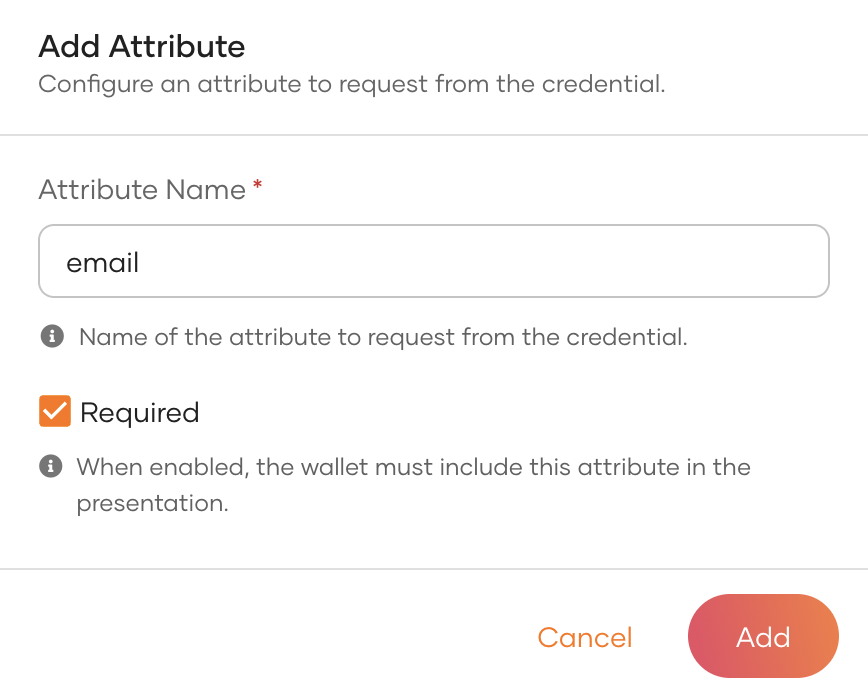
Repeat this for each of the following claims from the
employee-identity:Claim Name Required emailYes given_nameYes family_nameYes -
Click Save.
Step 2: Configure trusted issuers
WSO2 Identity Platform verifies that the presented credential was signed by an issuer you trust. You must configure at least one trusted issuer before the presentation definition can be used.
-
On the presentation definition, go to the Trusted Issuers tab and click Add Trusted Issuer. This opens a dialog where you select a trust method.
Note
Three trust methods are supported: JWKS Endpoint (recommended for remote issuers), PEM (for issuers that share a public key directly), and x5c (for certificate chain validation). Select the method that matches how your credential issuer publishes its signing keys.
-
Select JWKS Endpoint, then fill in the issuer details:
Field Description Example Issuer URL The issclaim value in credentials issued by this issuer.https://issuer.example.com/oid4vciJWKS URI URL of the issuer's JSON Web Key Set. https://issuer.example.com/.well-known/jwks.json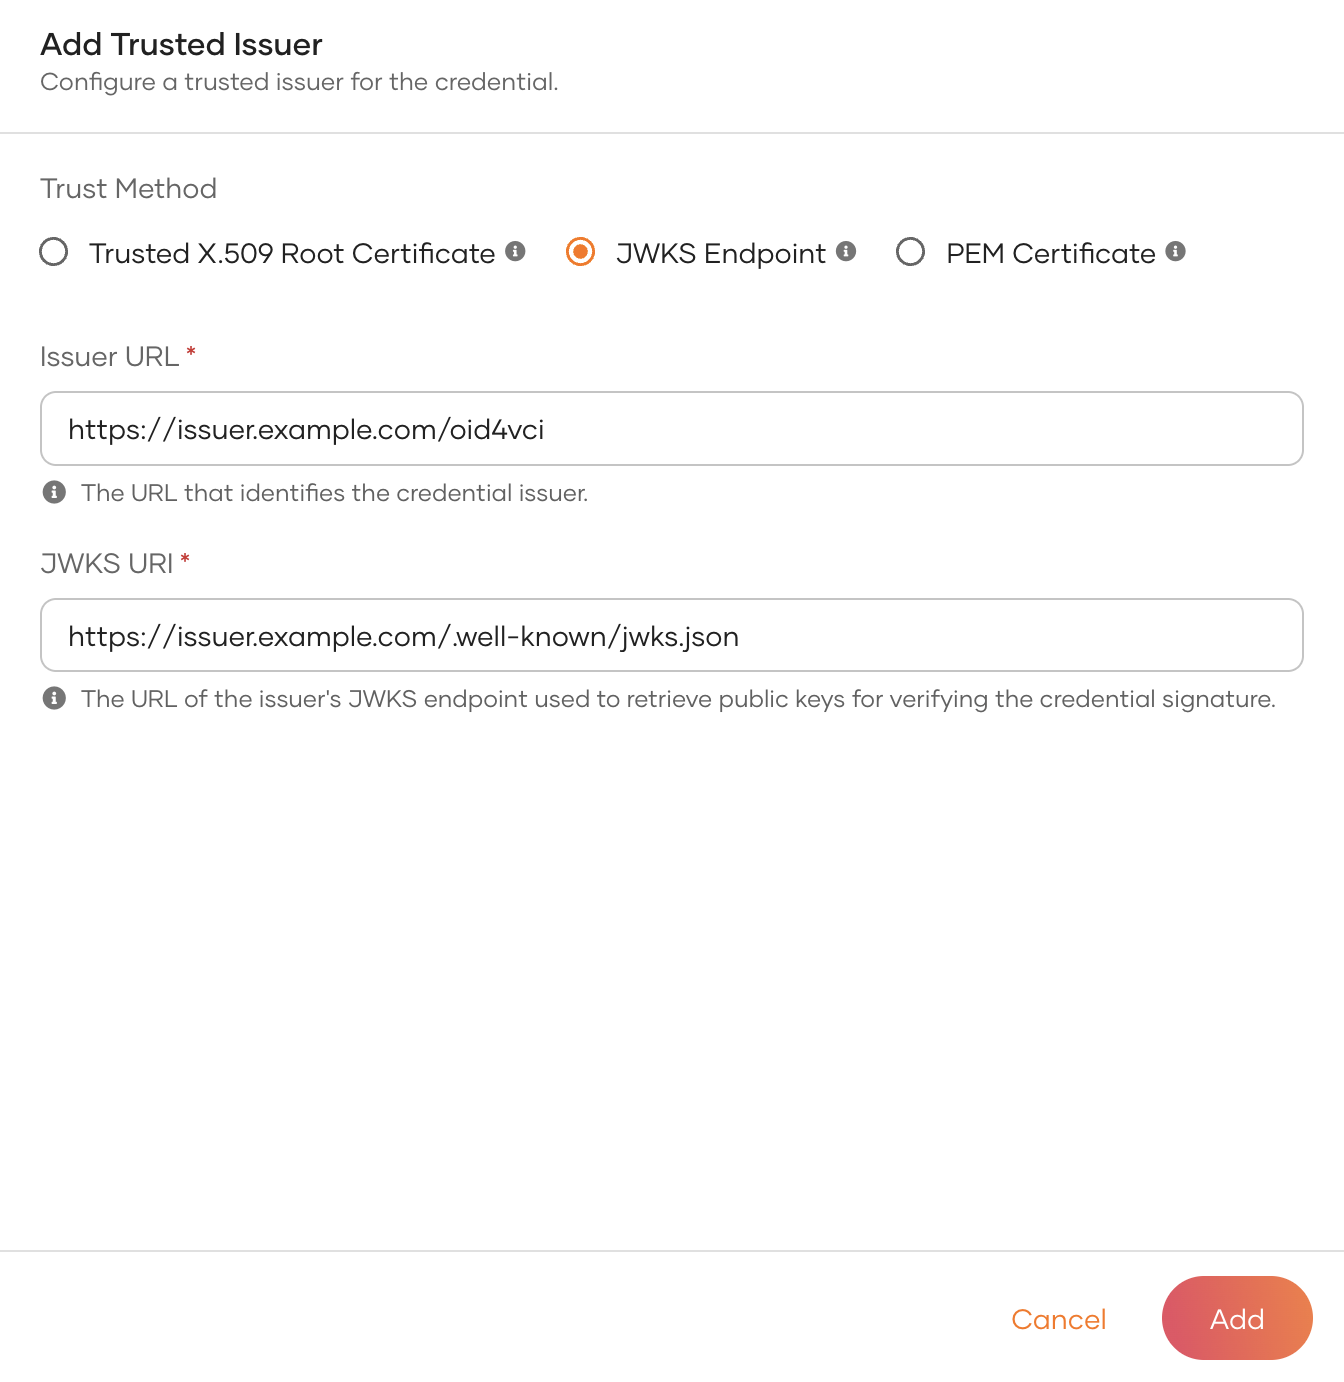
-
Click Add.
With the presentation definition and trusted issuers in place, you can now use it in one of the following scenarios.
Authenticate with a Digital Wallet
In this scenario, users log in to your application by presenting a credential from their digital wallet instead of entering a username and password. WSO2 Identity Platform verifies the presented credential and uses the verified claims to authenticate the user.
Create a Digital Wallet connection
A Digital Wallet connection links the presentation definition to an authenticator that can be offered as a sign-in option.
-
On the WSO2 Identity Platform Console, go to Connections and click New Connection.
-
Select Digital Wallet from the connection type list.
-
Fill in the connection details:
Field Description Example Name A descriptive name for the connection. Employee WalletPresentation Definition The presentation definition that defines what credentials to request. Employee ID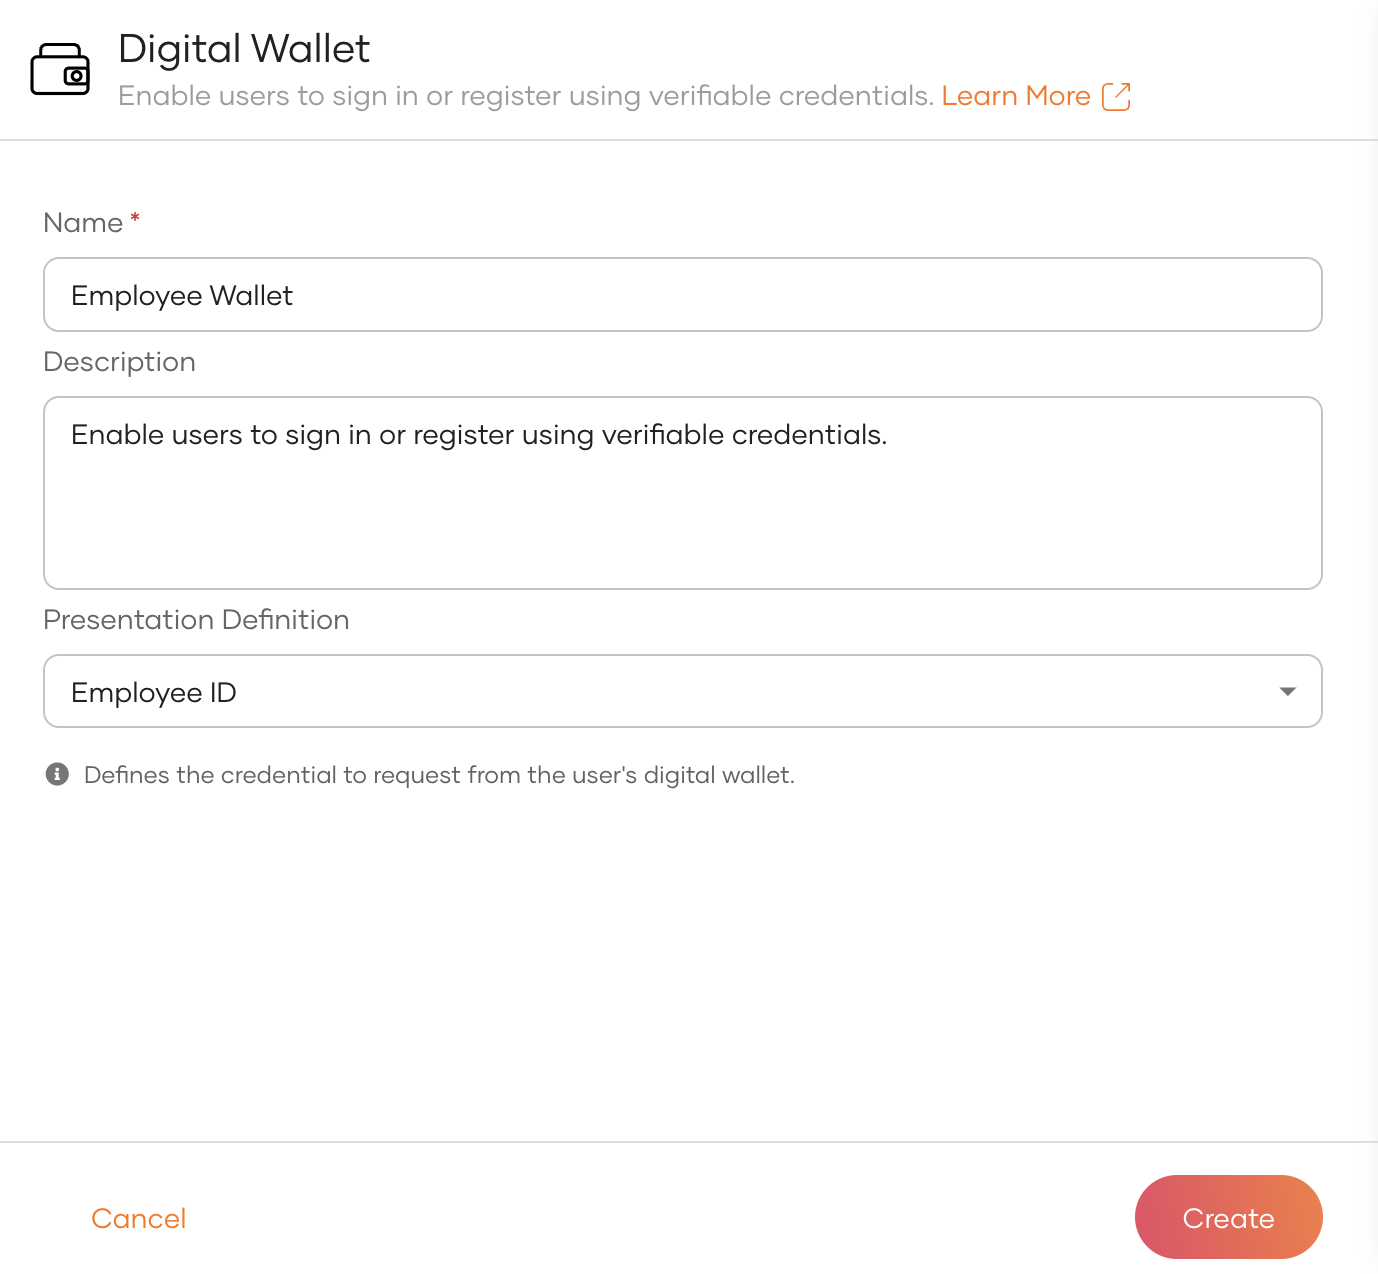
-
Click Create.
Configure attribute mappings
Map the credential claims to the corresponding local claims in WSO2 Identity Platform so they can be used during authentication.
-
Open the connection and go to the Attributes tab.
-
Under Credential Attribute Mappings, click Add Attribute Mapping.
-
Add mappings for the claims in your credential:
Credential Claim Local Claim URI emailhttp://wso2.org/claims/emailaddressgiven_namehttp://wso2.org/claims/givennamefamily_namehttp://wso2.org/claims/lastname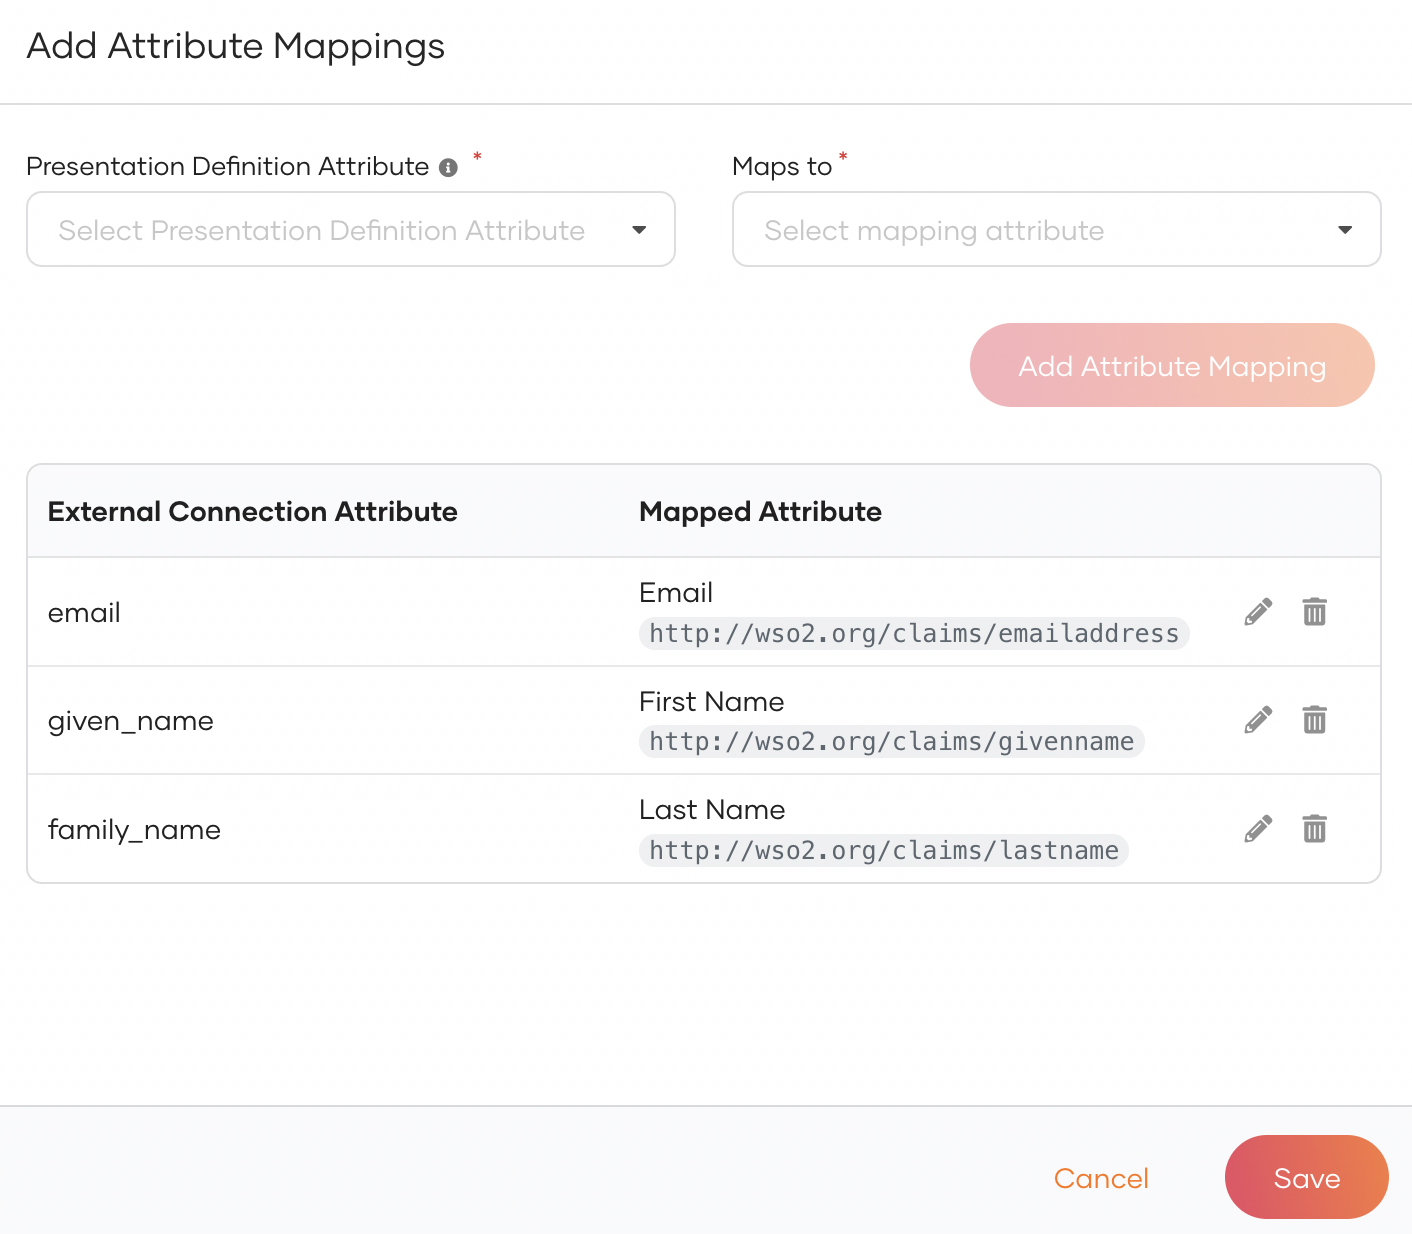
-
Click Save.
Configure the subject attribute
The subject attribute tells WSO2 Identity Platform which claim to use to look up the authenticated user.
- Under Subject, open the Subject Attribute dropdown.
- Select
emailas the subject attribute. WSO2 Identity Platform uses this claim to look up the user's account during authentication. - Click Update.
Note
If no subject attribute is configured, WSO2 Identity Platform falls back to the cnf (confirmation) claim from the credential. This claim holds the public key that the credential is cryptographically bound to, and WSO2 Identity Platform uses it to identify the user instead of a regular profile attribute.
Add the connection to your application
-
On the WSO2 Identity Platform Console, go to Applications and open your application.
-
Go to the Login Flow tab.
-
In the login flow canvas, click Add Sign-in Option.
-
Select the Digital Wallet connection you created (e.g., Employee Wallet).
-
Click Add, then click Update to save the login flow.
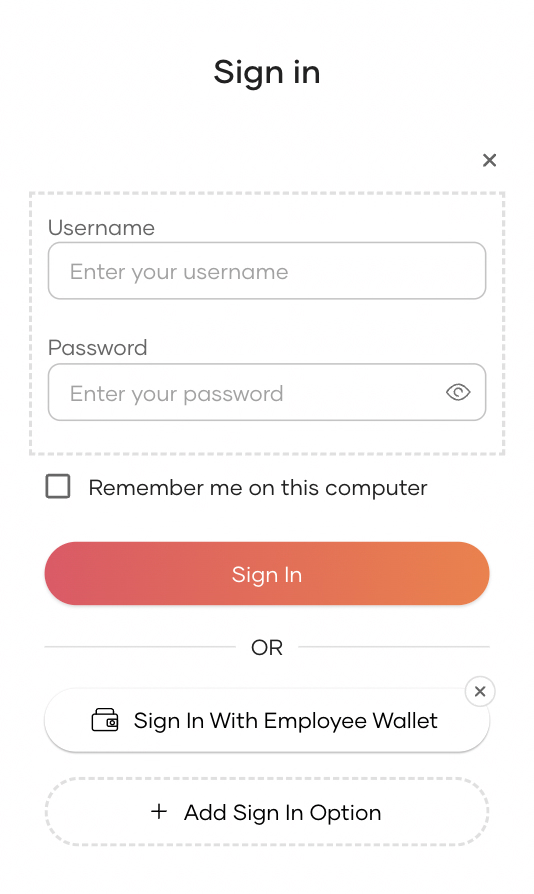
Users can now select the wallet sign-in option on your application's login page. When selected, WSO2 Identity Platform generates a QR code. The user scans it with their wallet, reviews the requested claims, consents to sharing them, and WSO2 Identity Platform verifies the presentation and authenticates the user.
Self-registration with a Digital Wallet
In this scenario, new users create an account by presenting a credential from their digital wallet instead of filling in a registration form. WSO2 Identity Platform verifies the credential and uses the disclosed claims to populate the user's profile during registration.
Note
The Digital Wallet connection and its attribute mappings configured in Authenticate with a Digital Wallet are reused for this flow. Complete that setup before continuing.
Configure the registration flow
-
On the WSO2 Identity Platform Console, go to Flows and select Registration.
-
Go to Starter Templates and locate the Basic + Wallet template.
-
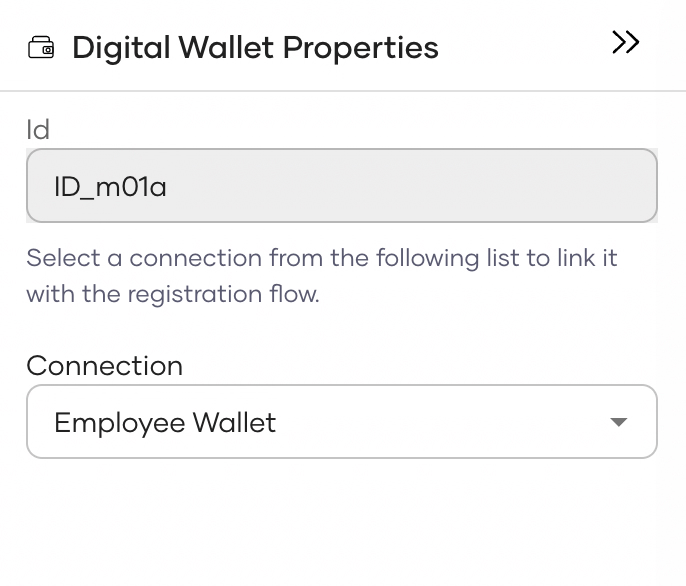
Click + to apply the template. The registration flow now includes a Digital Wallet step.
-
Click the gear icon on the Digital Wallet step and select your Digital Wallet connection (e.g., Employee Wallet) from the Connection dropdown.
-
Optionally, in the Flow Completion Properties panel, enable Auto Login to sign the user in immediately after registration.
-
Click Publish to activate the registration flow.
Users can now register by selecting Register with Digital Wallet on the registration page, scanning the QR code with their wallet, and consenting to share the requested claims. WSO2 Identity Platform verifies the presentation and creates the user account using the disclosed attributes.
Tested wallets
WSO2 Identity Platform has been tested with the following OID4VP-compatible wallets:
| Wallet App | Platforms |
|---|---|
| Heidi | iOS, Android |
| Lissi | iOS, Android |
Note
Any digital wallet that implements the OID4VP specification and supports the dc+sd-jwt format should be able to present credentials. WSO2 Identity Platform currently supports verifying credentials in this format only.
Presenting a credential:
-
On the application's login or registration page, select the wallet sign-in option. A QR code is displayed.
-
Open the wallet app on your mobile device and use its QR scan feature to scan the code.
-
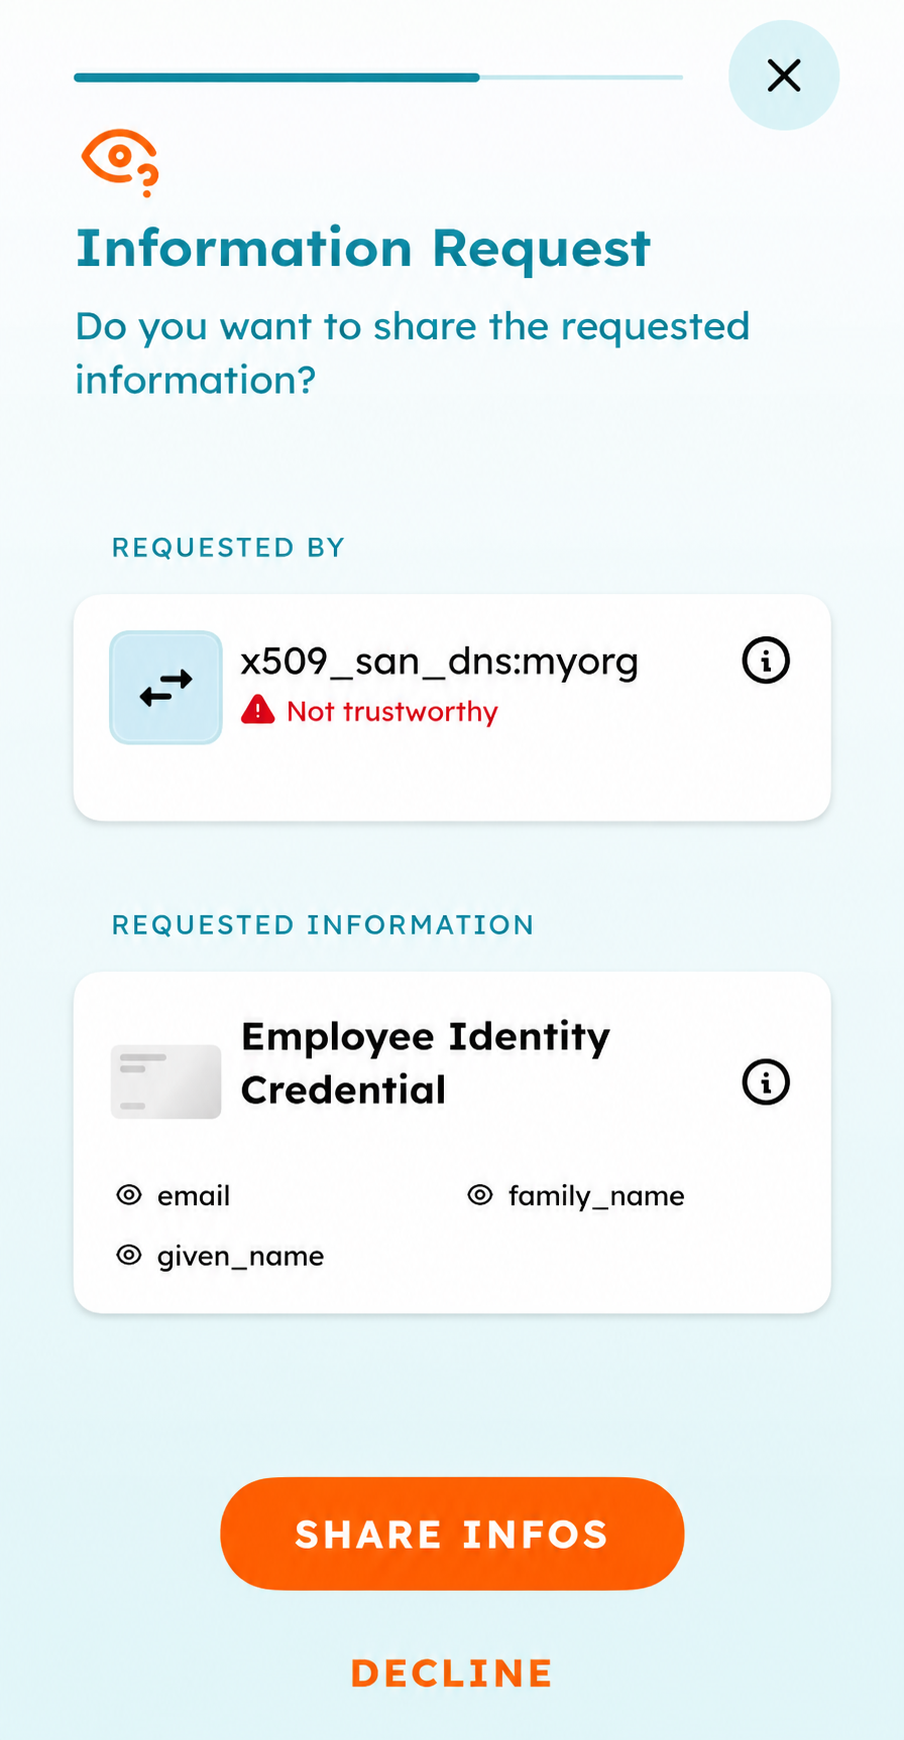
The wallet displays the claims that the verifier is requesting.
-
Review the requested information and confirm sharing the credential (for example, by tapping SHARE INFOS in Heidi).
-
WSO2 Identity Platform verifies the presentation and completes the flow.