Example
What you'll build
Build a WSO2 Integrator automation that creates a new contact in Intercom using the Intercom Contacts API. The integration stores all sensitive values as configurable variables and logs the API response after the contact is created.
Operations used:
- Create contact : Creates a new contact in Intercom by submitting an email address and role via the Contacts API.
Architecture
Prerequisites
- An Intercom account with a valid API bearer token.
Setting up the Intercom integration
New to WSO2 Integrator? Follow the Create a New Integration guide to set up your integration first, then return here to add the connector.
Adding the Intercom connector
Select + Add Artifact → Connection from the design canvas to open the Add Connection panel.
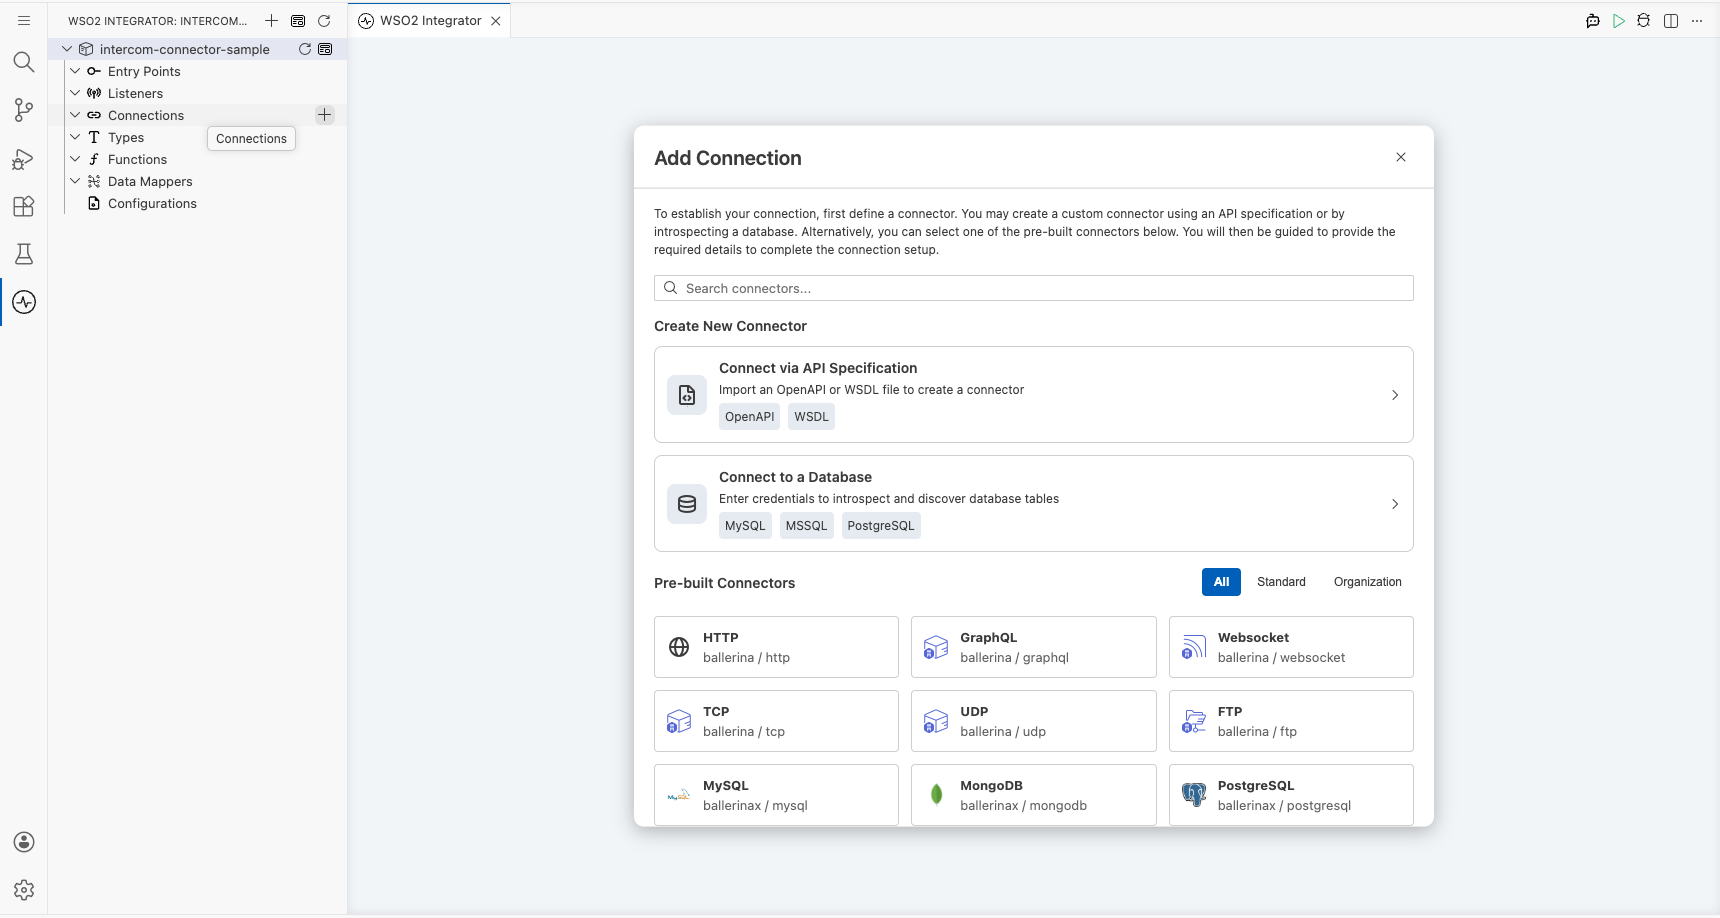
Step 1: Search for and add the Intercom connector
- Enter
intercomin the search box. - Select Intercom from the results to open the connection form.
Configuring the Intercom connection
Step 2: Fill in the connection parameters
Bind the connection's auth token to a configurable variable. In the Config field, enter the following expression using a new configurable named intercomToken:
- Config : Set to
{auth: {token: intercomToken}}, whereintercomTokenis astringconfigurable variable holding your Intercom bearer token.
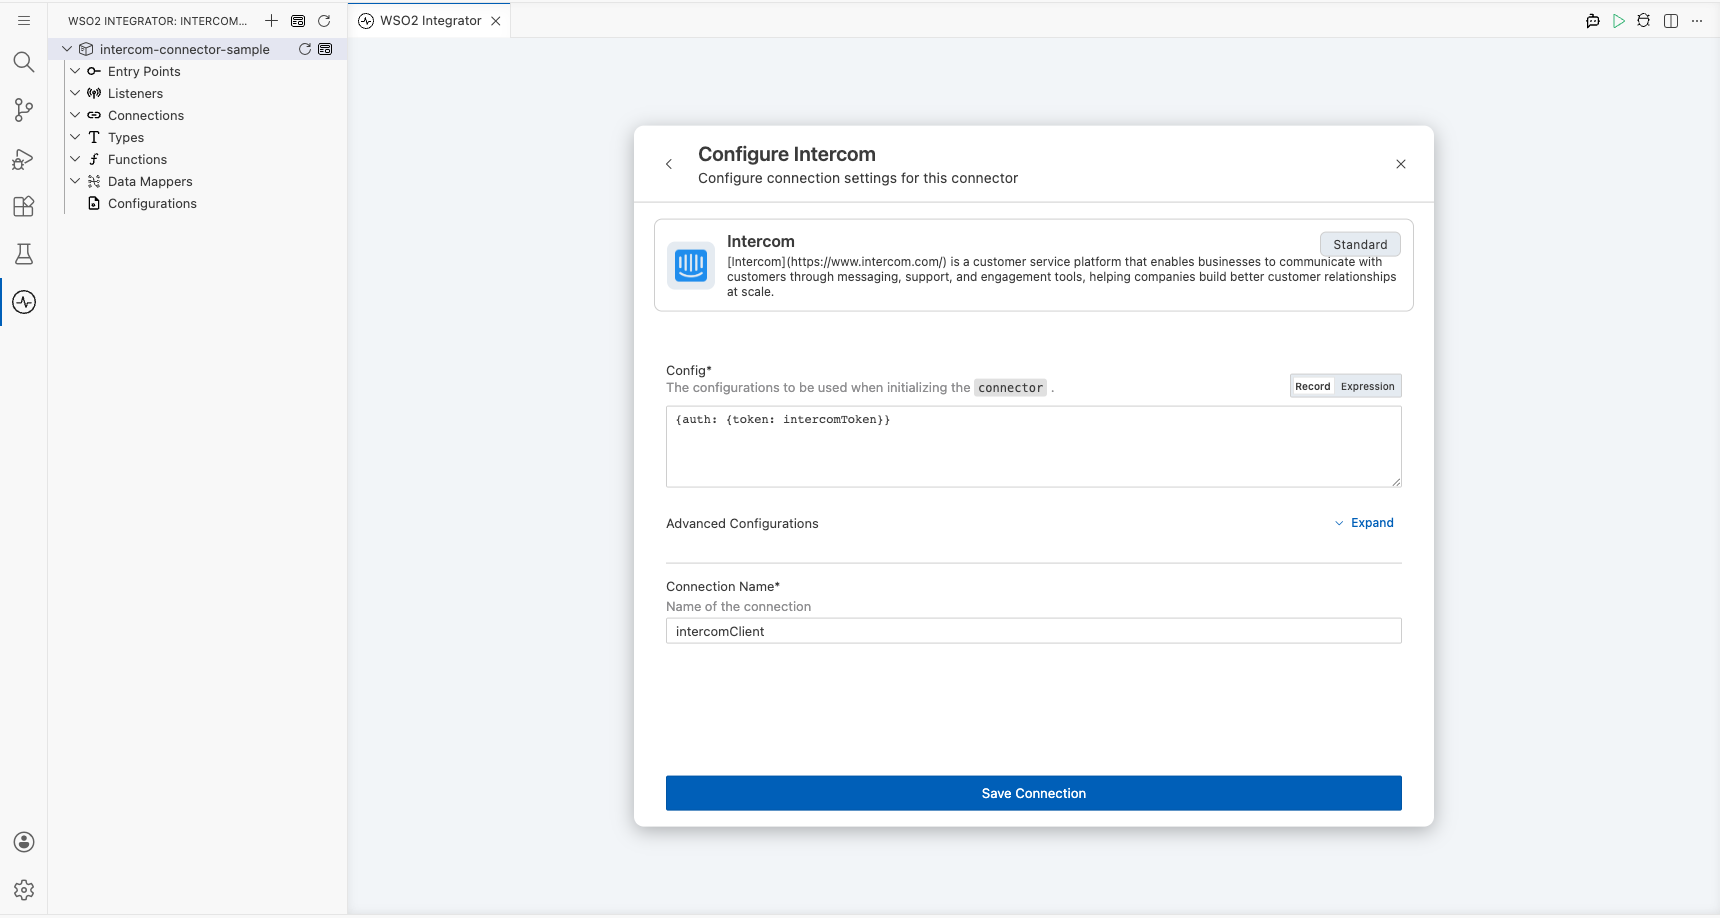
Step 3: Save the connection
Select Save Connection to persist the connection. intercomClient now appears under Connections in the left sidebar and as a node on the design canvas.
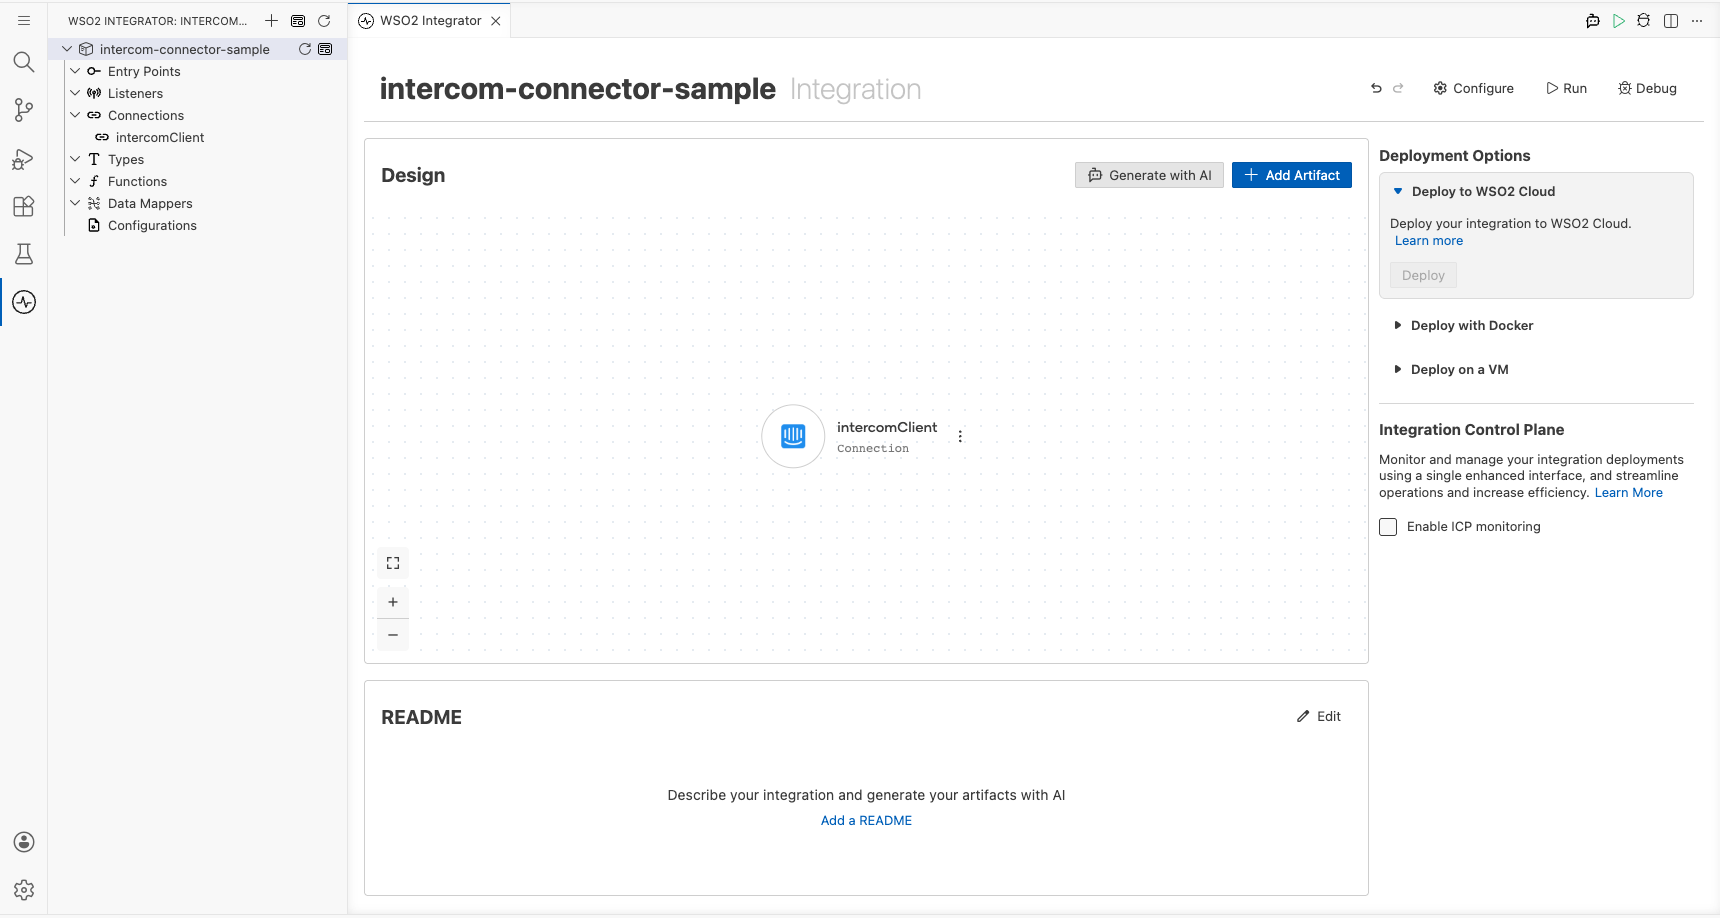
Step 4: Set actual values for your configurables
- In the left panel, select Configurations.
- Set a value for each configurable listed below.
- intercomToken (string) : Your Intercom API bearer token.
- contactEmail (string) : The email address of the contact to create.
Configuring the Intercom Create contact operation
Step 5: Add an Automation entry point
Select + Add Artifact on the canvas, then select Automation from the artifact picker and select Create. The canvas switches to the Automation flow view showing a Start node and an Error Handler.
Step 6: Select and configure the Create contact operation
- Select the + (add step) button on the canvas between Start and Error Handler.
- Under Connections, select intercomClient to expand its operations.
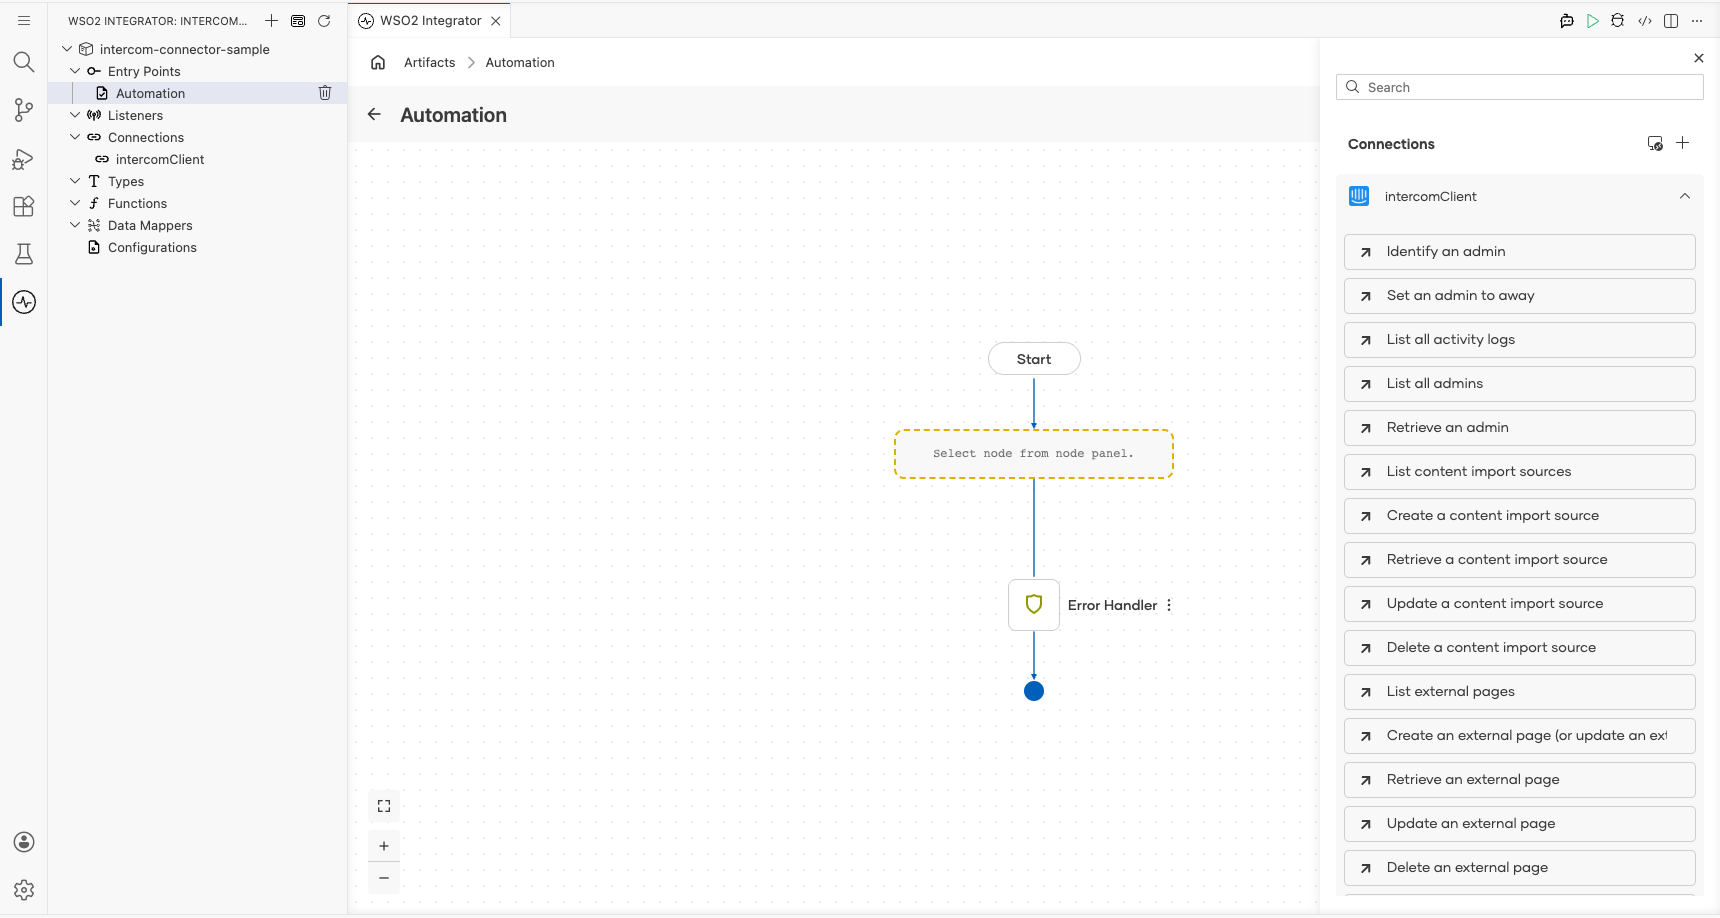
- Enter
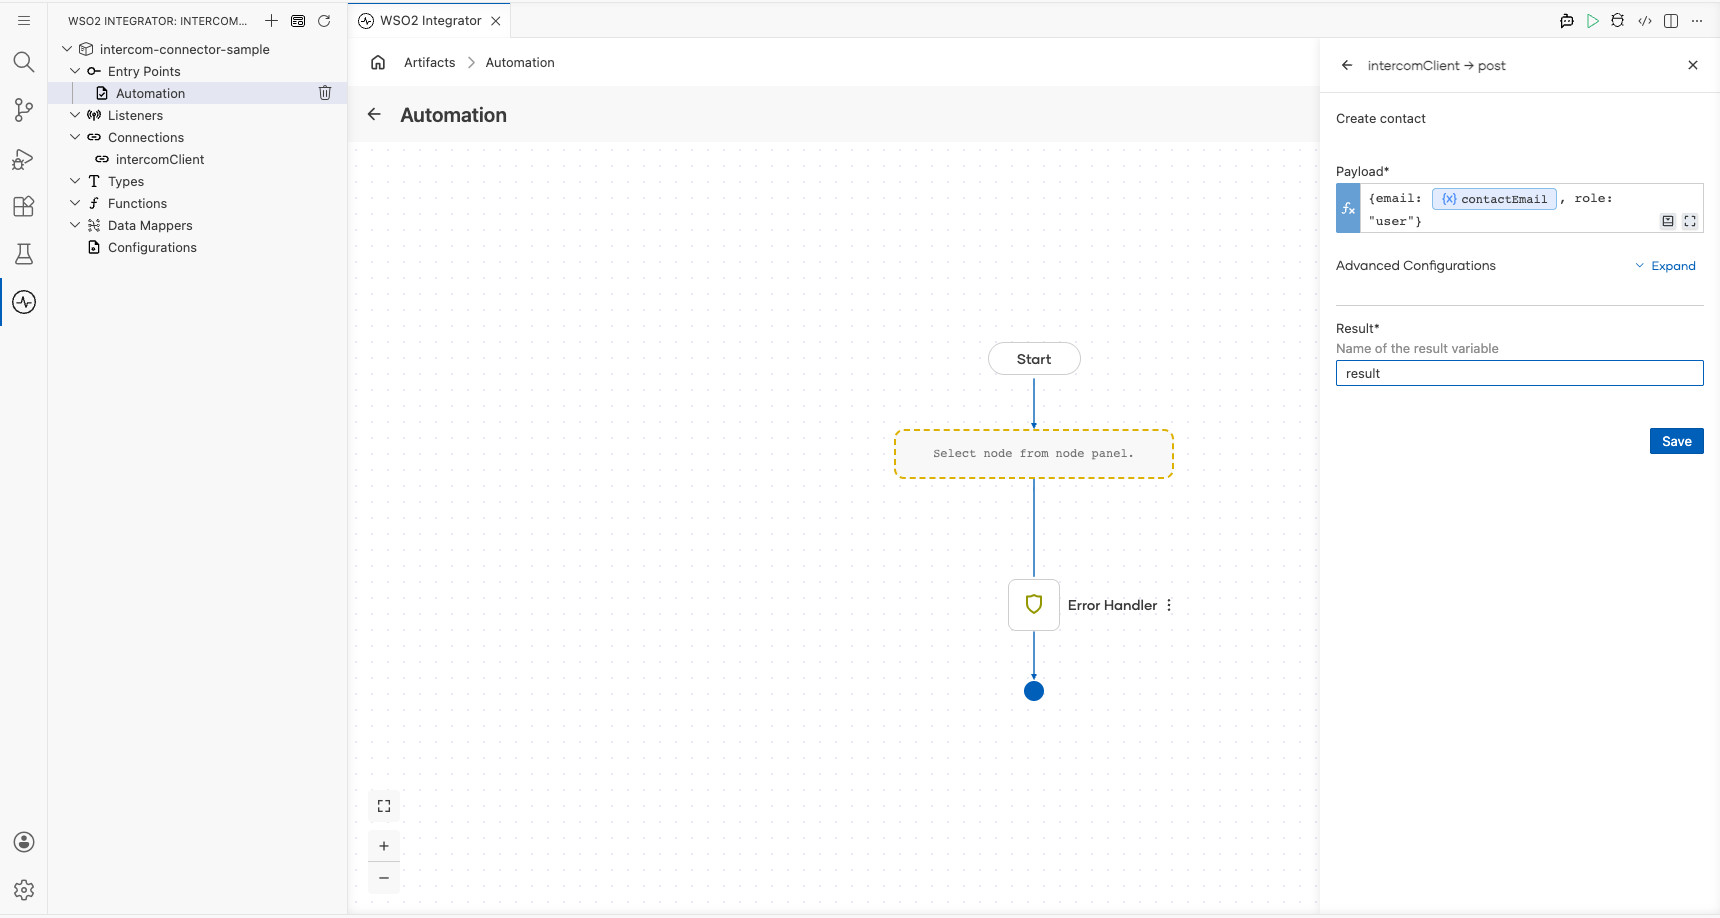
contactin the search box to filter, then select Create contact. - Configure the operation fields:
- Payload : Set to
{email: contactEmail, role: "user"}, wherecontactEmailis astringconfigurable variable holding the contact's email address. - Result : Set the result variable name to
result.
Try it yourself
Try this sample in WSO2 Integration Platform.

More code examples
The ballerinax/intercom connector provides practical examples illustrating usage in various scenarios. Explore these examples, covering the following use cases:
- Support team analytics - Demonstrates how to analyze support team performance metrics using the Ballerina Intercom connector.
- Priority ticket escalation - Illustrates automating the escalation of high-priority support tickets.
- Support ticket automation - Shows how to automate support ticket creation and management workflows.
- Knowledge base management - Demonstrates managing and updating knowledge base articles programmatically.