Example
What you'll build
Build a WSO2 Integrator automation that subscribes a new member to a Mailchimp mailing list. The integration authenticates via HTTP Basic Auth and calls the Mailchimp Marketing API to add a member to a specified audience list.
Operations used:
- Add member to list : Subscribes a new member to a Mailchimp audience list by providing the list ID and member details
Architecture
Prerequisites
- A Mailchimp account with API access
- Your Mailchimp username and API key (used as the HTTP Basic Auth password)
- A Mailchimp List ID (also called Audience ID) for the target mailing list
Setting up the Mailchimp marketing integration
New to WSO2 Integrator? Follow the Create a New Integration guide to set up your integration first, then return here to add the connector.
Adding the Mailchimp marketing connector
Step 1: Open the connector palette
In the left sidebar, hover over Connections to reveal the + button, then select + to open the connector palette.
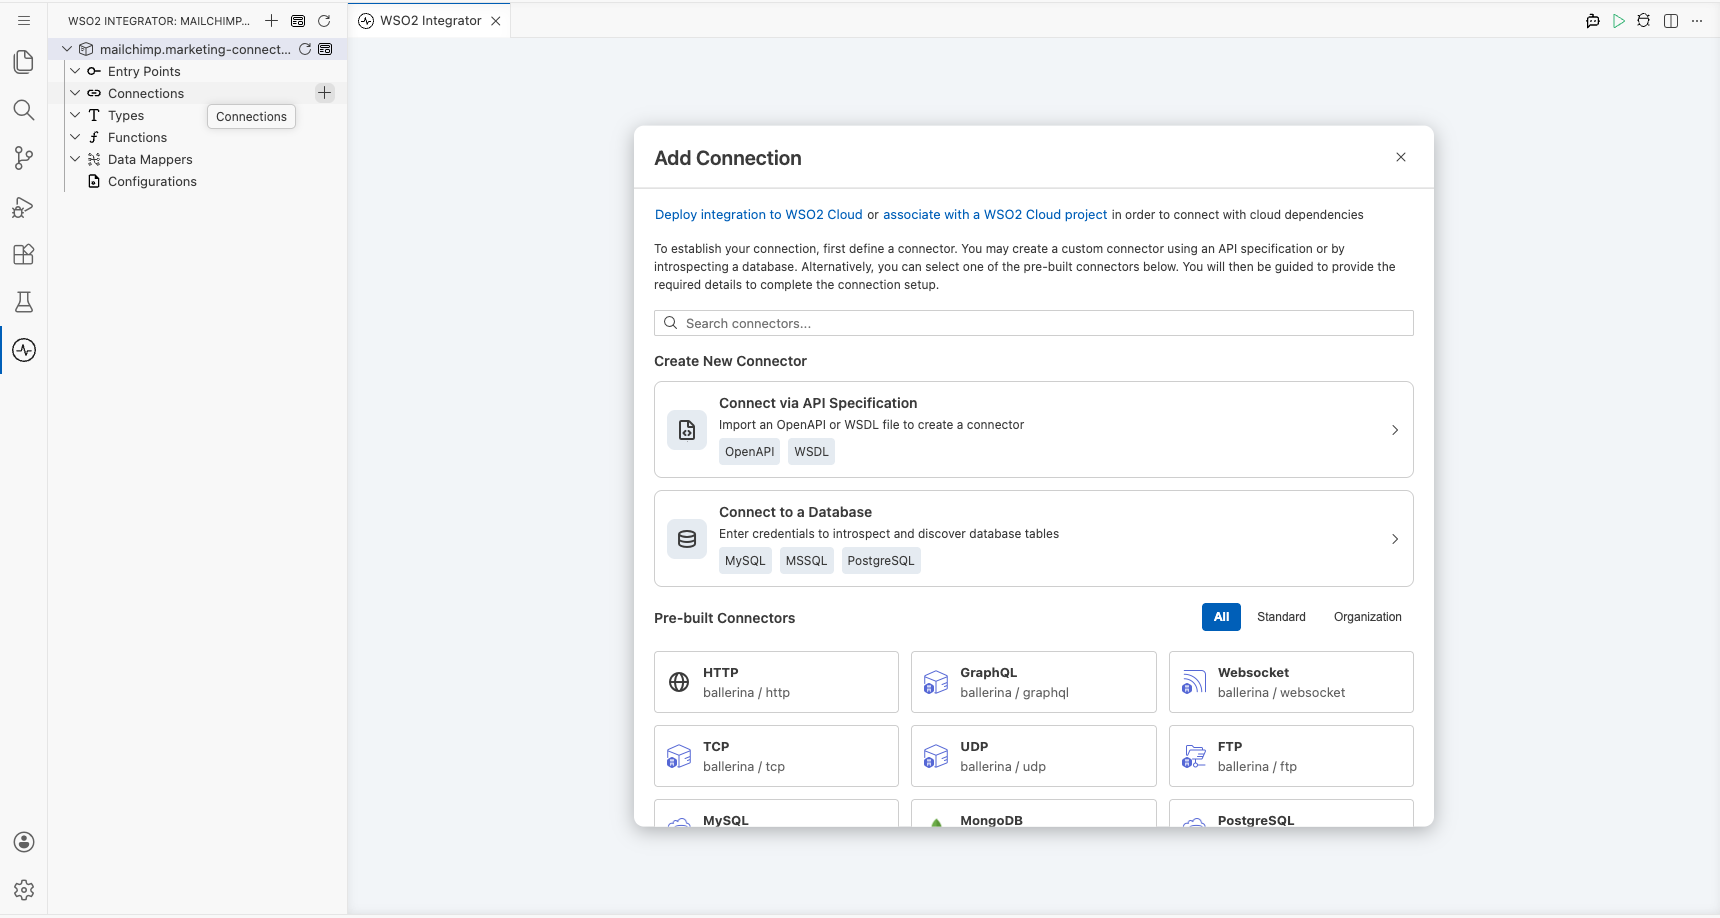
Step 2: Search for and select the connector
- In the Search field, enter
mailchimpto filter the results. - Select Marketing (the
ballerinax/mailchimp.marketingconnector) from the search results.
Configuring the Mailchimp marketing connection
Step 3: Fill in the connection parameters
In the Configure Marketing form, bind each connection parameter to a configurable variable:
- Connection Name : Enter
marketingClient - username : Bind to a new configurable variable named
mailchimpUsernameof typestring - password : Bind to a new configurable variable named
mailchimpPasswordof typestring
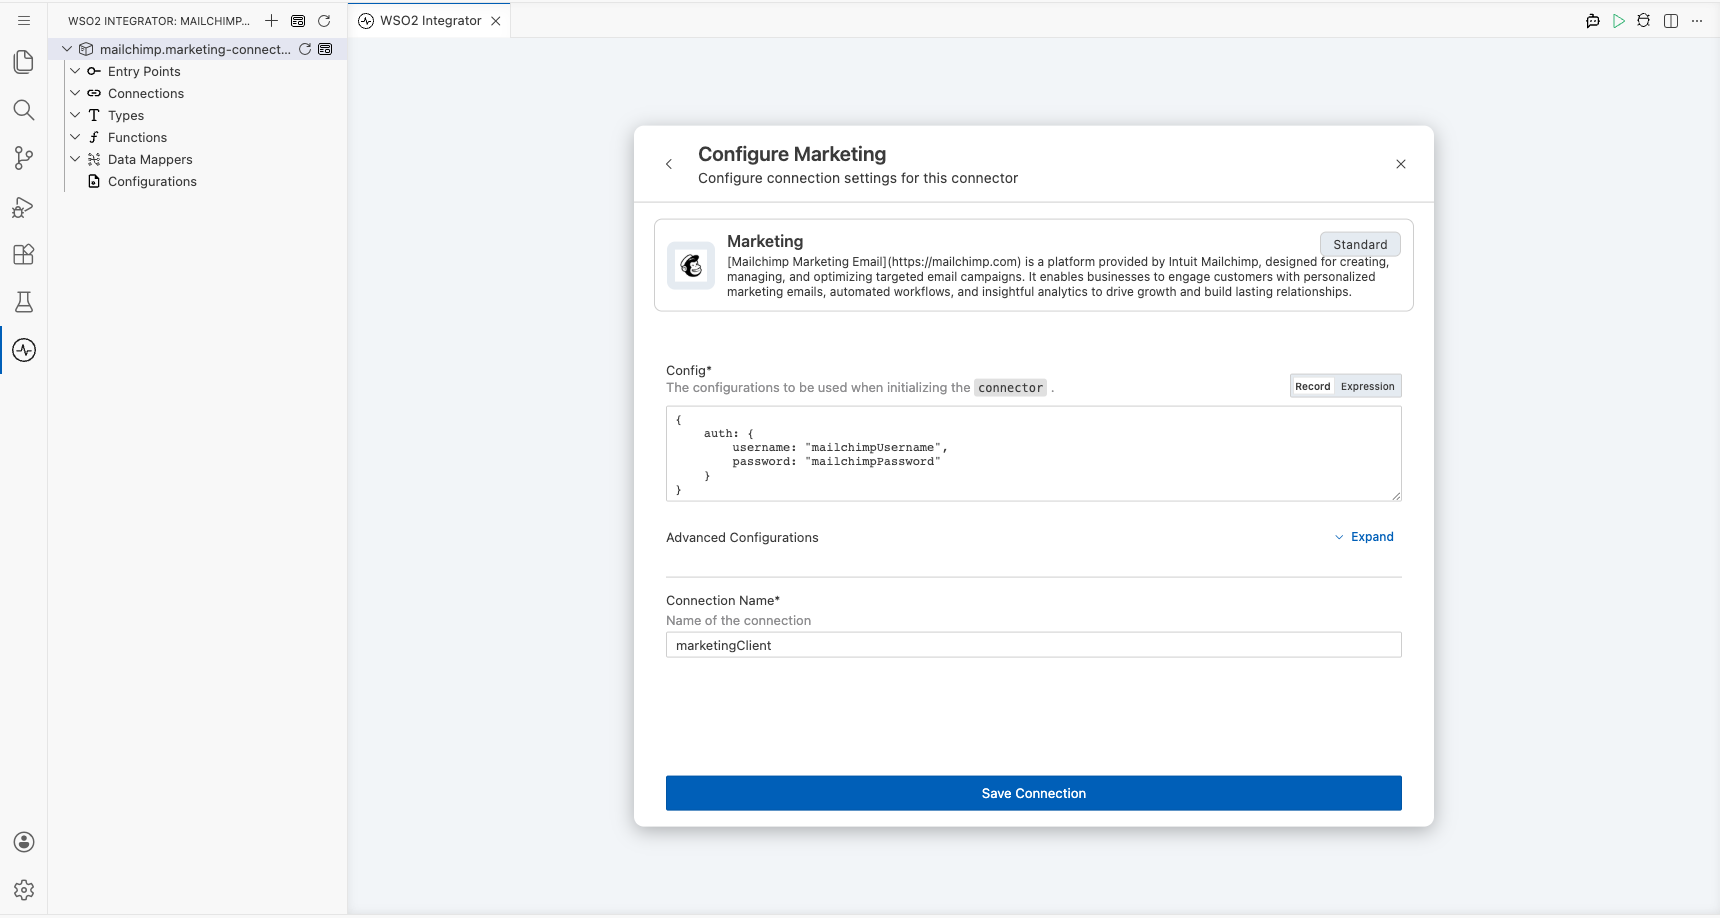
Step 4: Save the connection
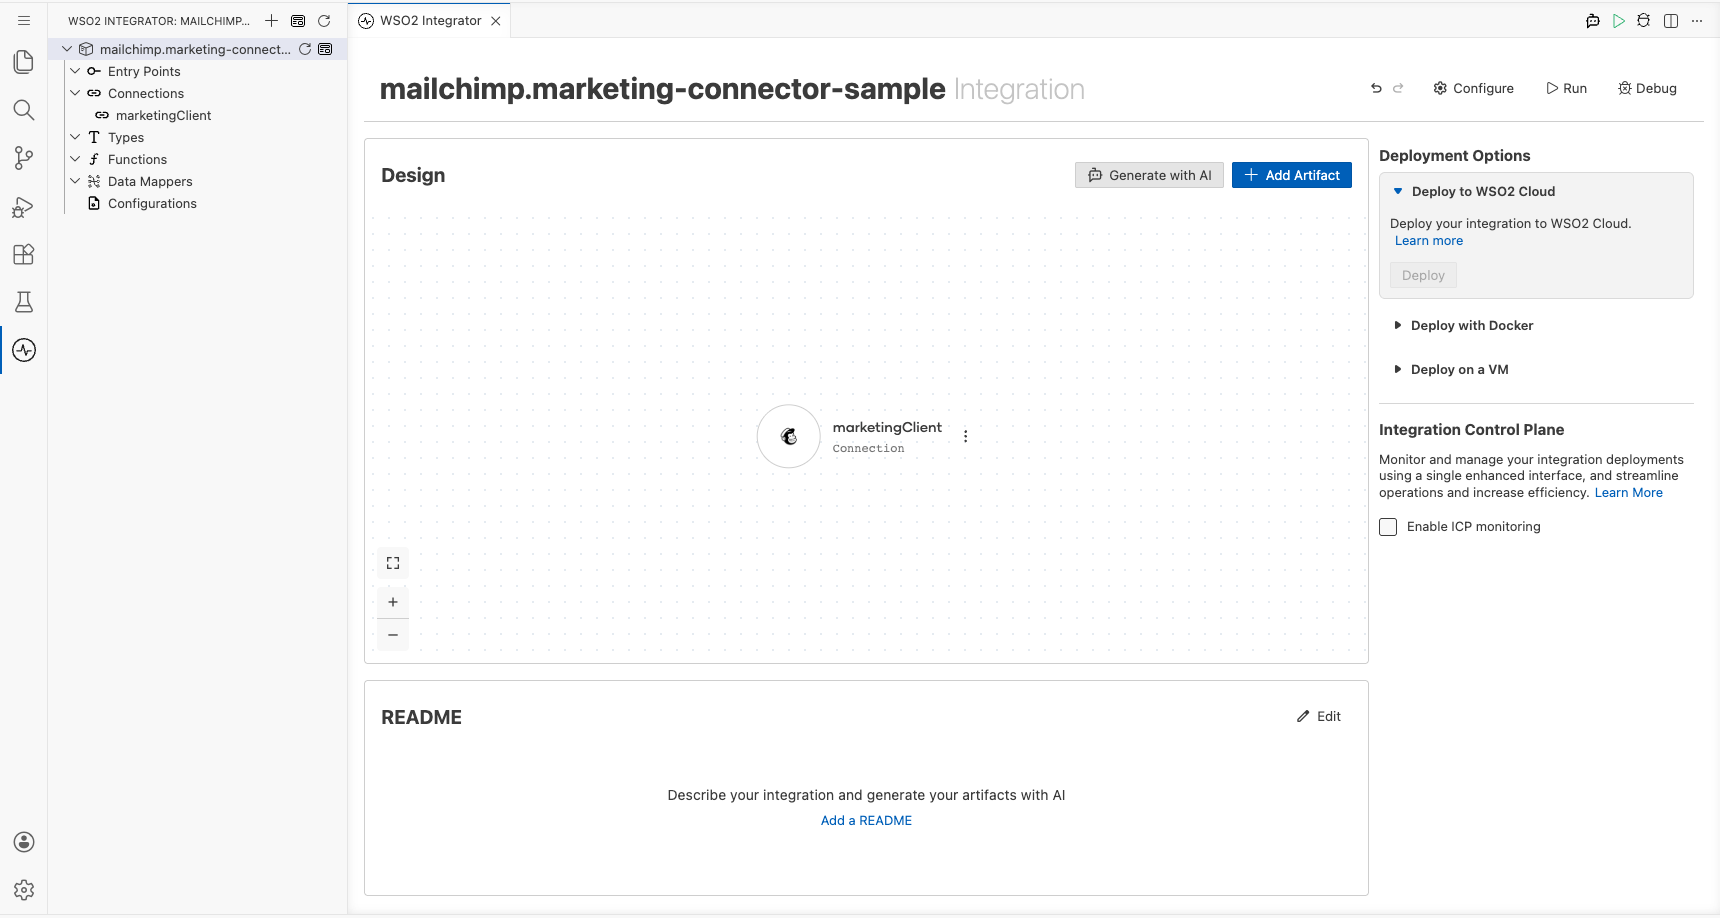
Select Save to create the connection. The marketingClient connection node now appears on the design canvas and in the left sidebar under Connections.
Step 5: Set actual values for your configurables
- In the left panel, select Configurations.
- Set a value for each configurable listed below.
- mailchimpUsername (string) : Your Mailchimp account username
- mailchimpPassword (string) : Your Mailchimp API key, used as the HTTP Basic Auth password
Configuring the Mailchimp marketing add member to list operation
Step 6: Add an automation entry point
- Select + Add Artifact in the design canvas area.
- Under Automation, select Automation.
- In the Create New Automation dialog, accept the default settings and select Create.
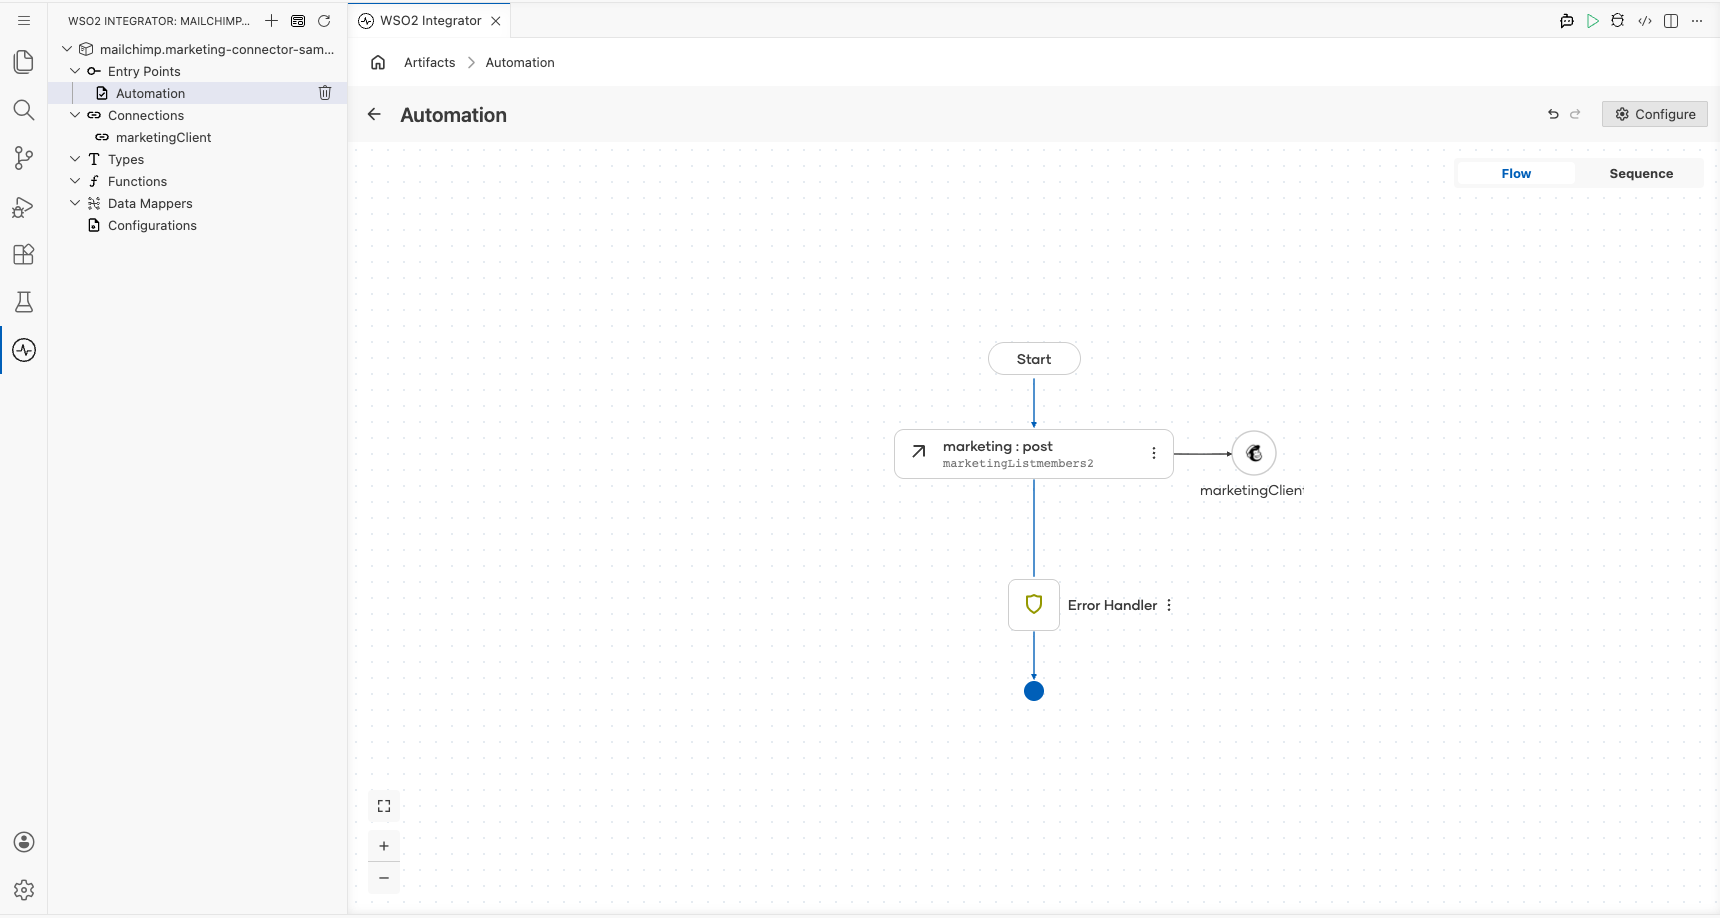
The canvas switches to the Automation flow view, showing a Start node, an Error Handler node, and an End node.
Step 7: Select and configure the add member to list operation
- Select the + button between Start and Error Handler.
- In the Node Panel, select marketingClient to expand its list of available operations.
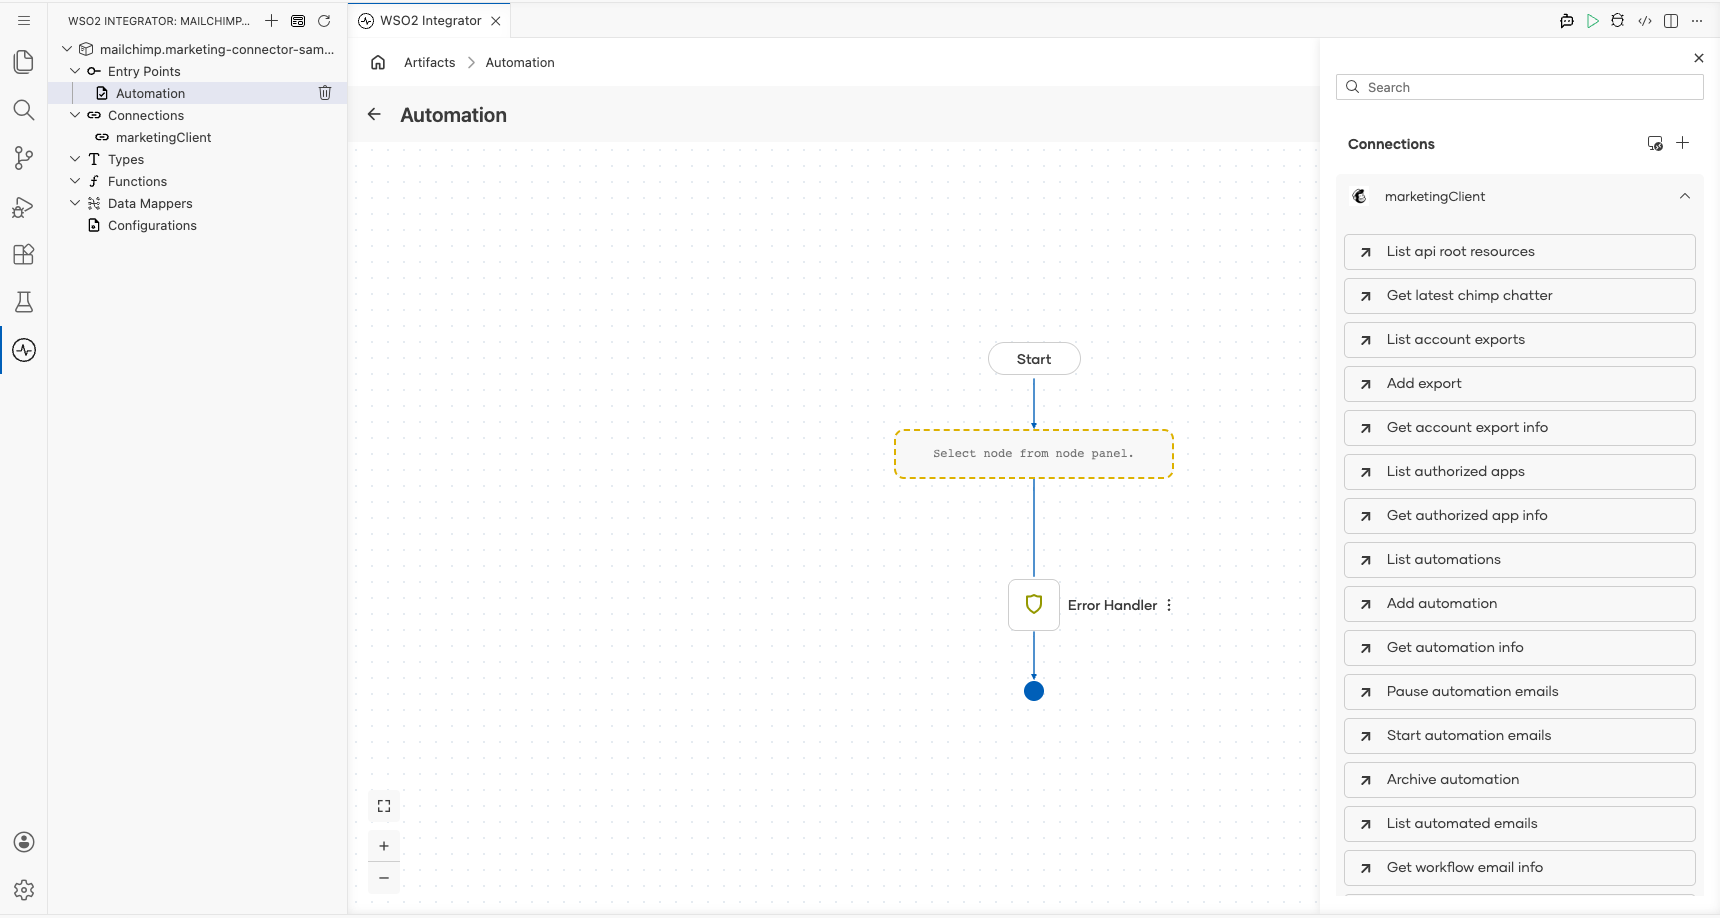
- Scroll to the Lists section and select Add member to list.
- Fill in the required fields:
- ListId : The unique Mailchimp Audience/List ID to subscribe to
- Payload : Member details including email address and subscription status
- Result : Variable name to store the API response
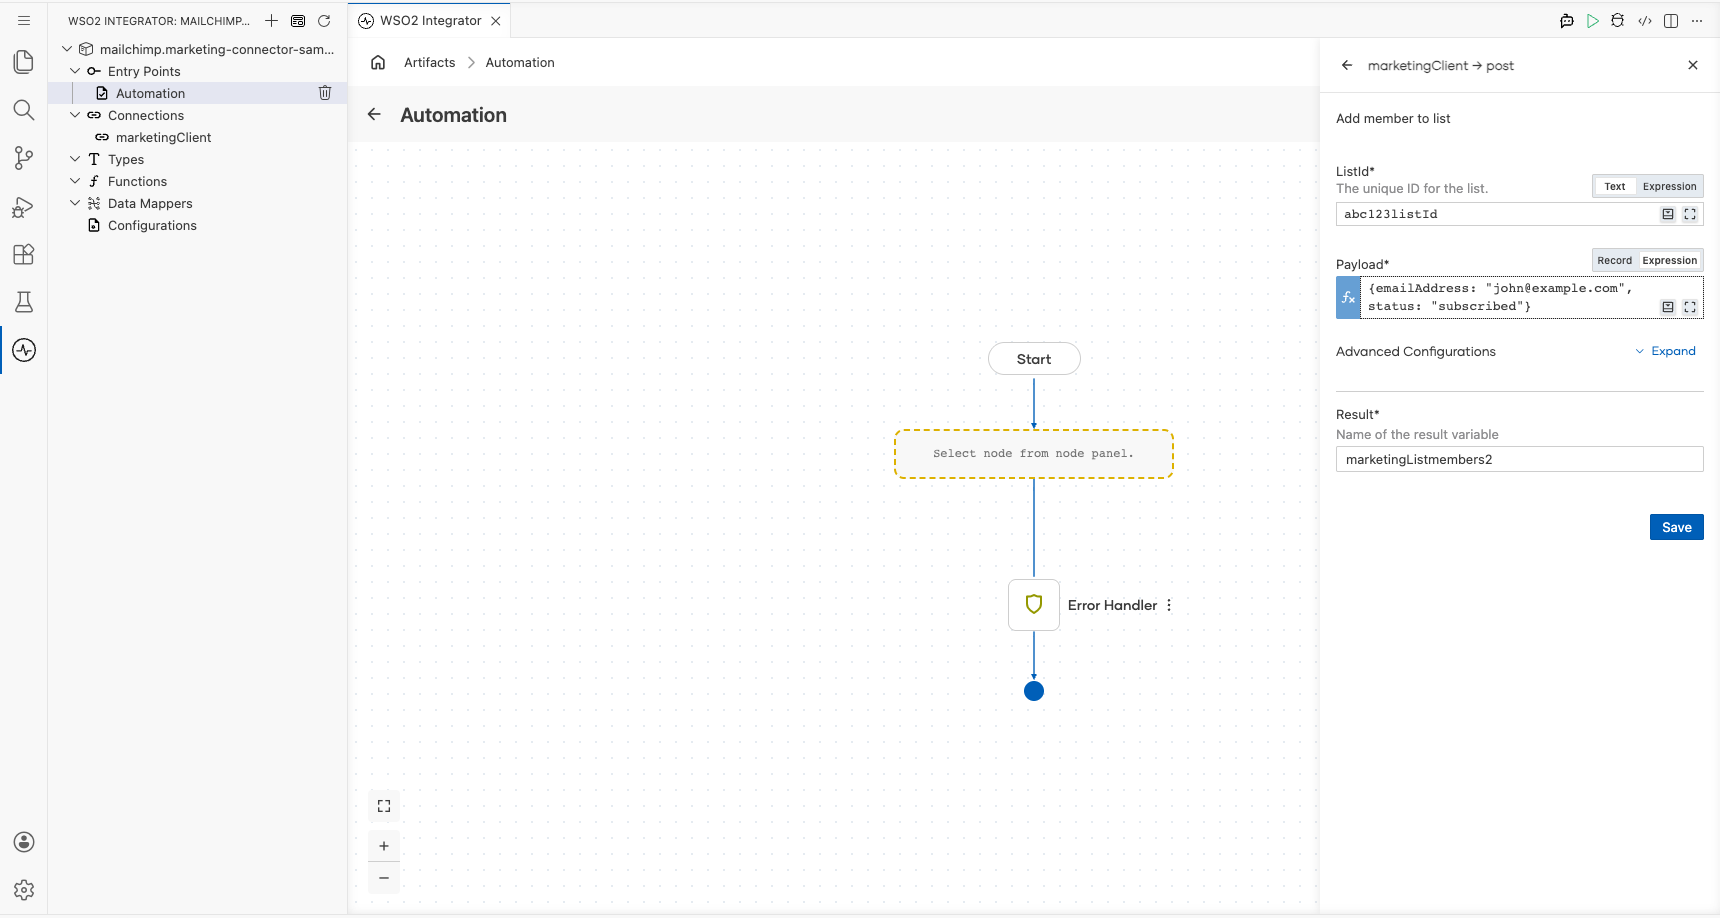
Select Save to add the operation to the automation flow.
Try it yourself
Try this sample in WSO2 Integration Platform.

More code examples
The Mailchimp Marketing connector provides practical examples illustrating usage in various scenarios. Explore these examples, covering the following use cases:
- Add Mailchimp Subscriber – Add a new subscriber to a specific Mailchimp audience list.
- List Mailchimp Audiences – Fetch and display a list of all your Mailchimp audience lists.