Managing Integrations
After pushing your integrations to WSO2 Cloud - Integration Platform, you can view and manage them from the console. Each integration shows its build status, deployment status, and configuration options from its overview page. If you haven't created an integration on WSO2 Cloud yet, see the Deploy section.
View integrations
- Log in to WSO2 Cloud. The default project opens automatically.
- On the project home, all integrations within the project are listed.
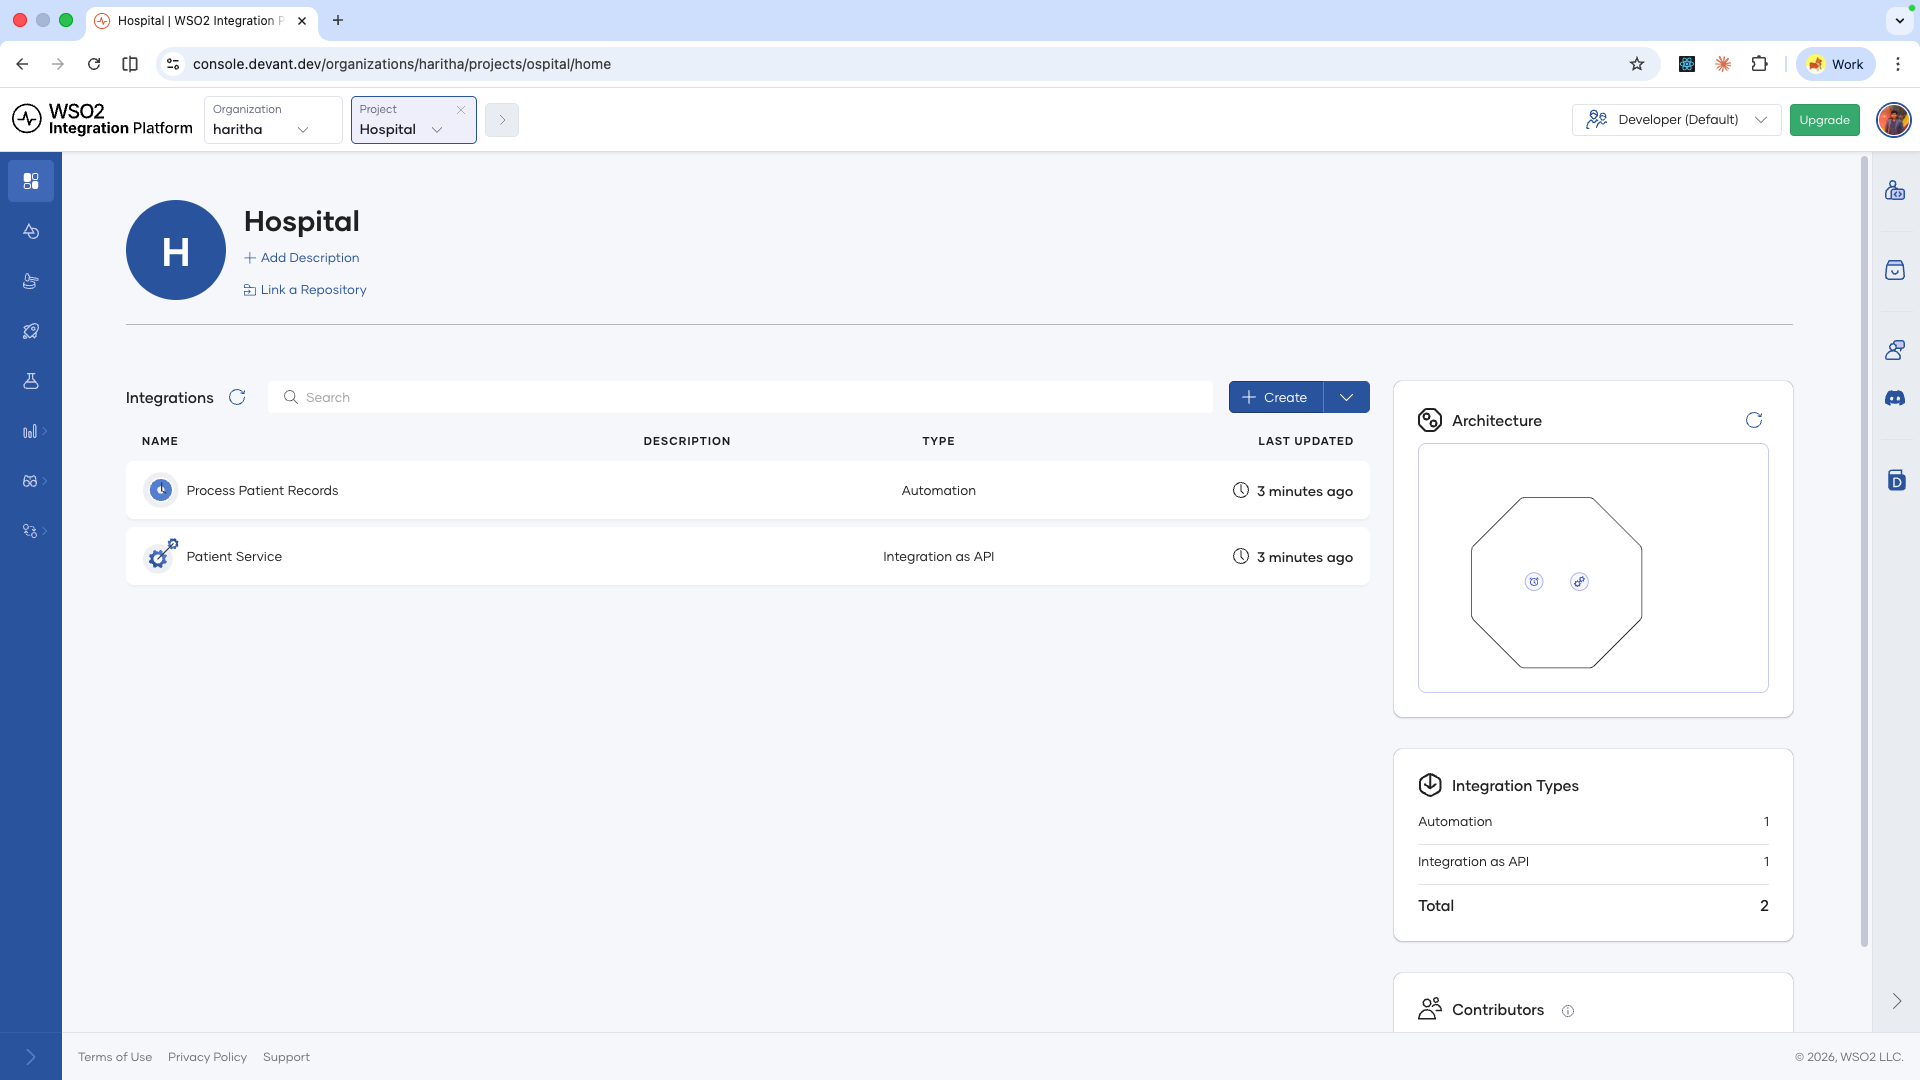
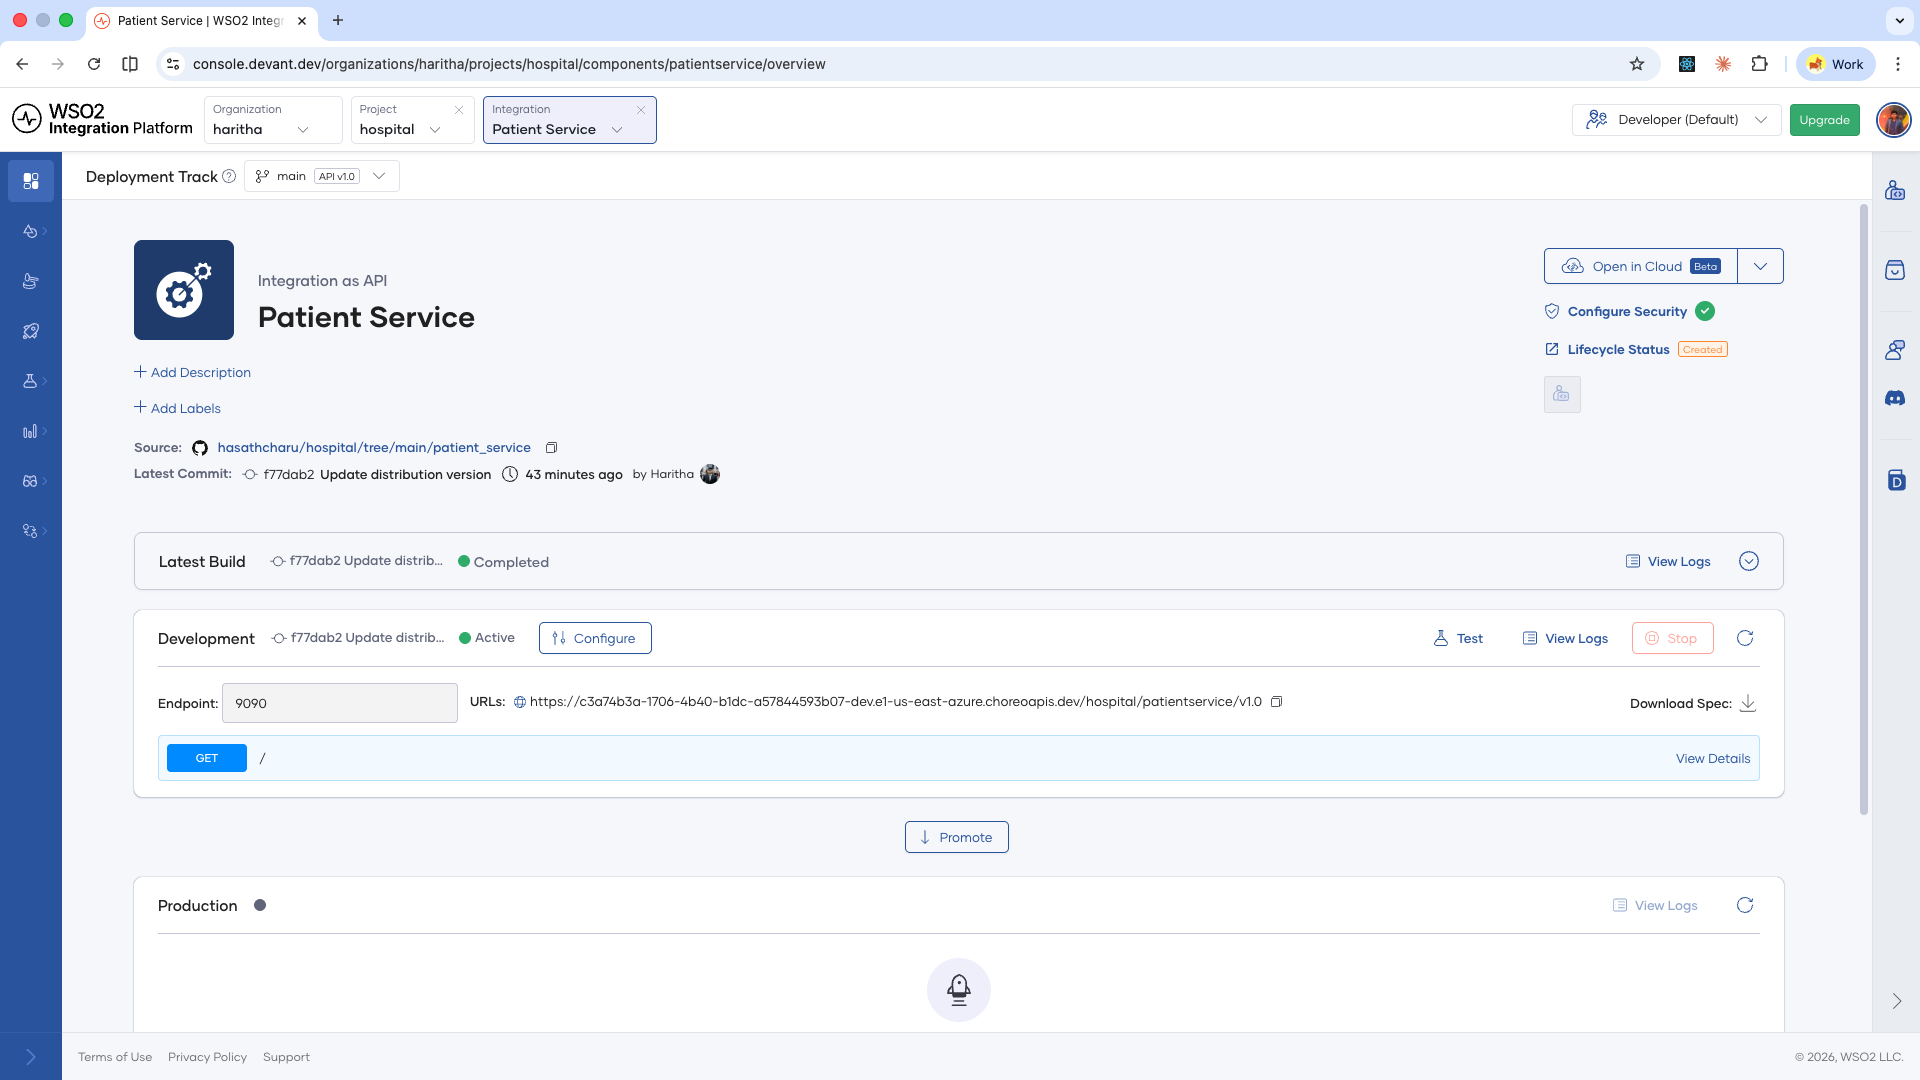
- Click an integration to open its overview page, where you can view its build status, deployment status, and configuration options.
To work with a different project, use the project navigator at the top of the console to switch between projects.
Manage deployment lifecycle
Deployment lifecycle management options depend on the integration type.
Automation
From the integration overview page, you can manage the schedule for each environment independently:
- Schedule: Set a schedule to run the automation. You can use a cron expression or select from predefined options like hourly, daily, or weekly.
- Edit schedule: Modify the existing schedule.
- Stop schedule: Disable the schedule without deleting the integration. You can still run the integration manually.
Integration as API
The deployment status for each environment is visible from the overview page. Because scale to zero is enabled by default, you cannot manually stop a deployment.
To manually stop or start a deployment:
- In the console, go to Admin > Scaling.
- Disable Scale to zero for the relevant environment.
- Return to the integration overview page. You can now stop and start the deployment for each environment.
AI agent
Lifecycle management works the same as Integration as API. Scale to zero is enabled by default, and you must disable it from Admin > Scaling before you can manually stop or start a deployment.
Event integration
From the integration overview page, you can restart the deployment for each environment independently.
File integration
Lifecycle management works the same as Event integration. Use the overview page to restart deployments for each environment.
Edit an integration
From the integration overview page, you can update the integration's name, description, and labels inline.
- Name: Click the integration name to edit it in place.
- Description: Click the description text to edit it in place.
- Labels: Click + Add Labels to add one or more labels to the integration. You can filter by these labels in the project overview page.
Delete an integration
Deleting an integration is permanent. All deployment history and configuration for the integration are removed and cannot be recovered.
- Click the project name in the top navigation to go to the project view.
- In the list of integrations, hover over the integration you want to delete. A Delete button appears.
- Click Delete, then enter the integration name to confirm.
The integration is permanently deleted.
What's next
- Configure your integration — Configure integration settings, runtime configurations, build configurations, and scaling options.
- Manage projects — Create, edit, and remove projects in your organization.