Add MFA based on advanced conditions (using WSO2 Choreo)
# Add MFA based on advanced conditions (using WSO2 Choreo)
You can secure your applications' login flow based on data from an API hosted on WSO2 Choreo (opens new window). Choreo by WSO2 is an integration platform as a service (iPaaS) for innovation, productivity, and simplicity—designed in the cloud for the cloud.
# Scenario
Consider a scenario where the login flow of the application should be stepped up after an API call to a service endpoint hosted on Choreo. The API call should be executed after the first authentication step is successfully completed. The second authentication step should be prompted based on the decision made by the service during the API call.
Let's consider an API hosted on Choreo that reads an IP address from the request body, retrieves geolocation from the IP address, evaluates the risk of the login attempt, and sends back the result in the hasRisk parameter in the response. And the second authentication step should be prompted if the hasRisk is true.

# Prerequisites
You need to register an application with Asgardeo. You can register your own application or use one of the sample applications provided.
Get an API key from ipgeolocation (opens new window). For more information, refer to ipgeolocation documentation (opens new window).
# Define the MFA conditions
To define the MFA conditions with Choreo, you need to:
# Desgin the REST API
You need to implement your REST API in Ballerina (opens new window) or any other language and containerize it. You can use the Ballerina VS code extension (opens new window) to develop the REST API in Ballerina. Learn more (opens new window).
To implement your REST API to fit the explained scenario:
On the VS Code editor, create a
.balfile and add the following code segment.Code snippet
import ballerina/http;

type RiskResponse record {
boolean hasRisk;
};

type RiskRequest record {
string ip;
};

type ipGeolocationResp record {
string ip;
string country_code2;
};

final string geoApiKey = "<API key from ipgeolocation.io>";

service / on new http:Listener(8090) {
resource function post risk(@http:Payload RiskRequest req) returns RiskResponse|error? {

     string ip = req.ip;
     http:Client ipGeolocation = check new ("https://api.ipgeolocation.io");
     ipGeolocationResp geoResponse = check ipGeolocation->get(string `/ipgeo?apiKey=${geoApiKey}&ip=${ip}&fields=country_code2`);

     RiskResponse resp = {
          // hasRisk is true if the country code of the IP address is not the specified country code.
          hasRisk: geoResponse.country_code2 != "<Specify a country code of your choice>"
     };
     return resp;
}
}
1
2
3
4
5
6
7
8
9
10
11
12
13
14
15
16
17
18
19
20
21
22
23
24
25
26
27
28
29
30
31Update the following details:
Parameter Description geoApiKeyThe API key obtained from ipgeolocation (opens new window). geoResponse.country_code2Country code you would like to allow login attempts. Upload the file to your GitHub repository.
# Integrate the REST API with Choreo
To create the REST API component and integrate it with your REST API:
Create an application (opens new window) on WSO2 Choreo to integrate your REST API with your Asgardeo app.
Note the Consumer Key and Consumer Secret.
Deploy (opens new window) and publish (opens new window) the REST API.
Subscribe (opens new window) the application you created on Choreo to the REST API.
The Choreo application exposes the REST API to external clients. Therefore, you can connect to this application from Asgardeo and invoke the REST API.
# Configure the login flow
Follow the steps given below.
On the Asgardeo Console, click Applications.
Select the relevant application and go to its Login Flow tab.
Add MFA based on advanced conditions using your preferred editor:
Using the Classic Editor
To add MFA based on advanced conditions using the classic editor:
Click Add TOTP as a second factor to define the login flow, starting with
username and passwordand stepping up withTOTP.Turn on Conditional Authentication by switching the toggle.
Using the Visual Editor
To add MFA based on advanced conditions using the visual editor:
Switch to the Visual Editor tab and go to Predefined Flows > Basic Flows > Add Multi-factor login.
Select
Username + Password -> TOTPand click Confirm.Expand the Script Editor to add the script for MFA based on advanced conditions using Choreo.
Add the following authentication script.
Important
As a security measure, Asgardeo does not allow the usage of two consecutive full stops (
..) in authentication scripts.var connectionMetadata = { "url": "<Choreo API URL>", "consumerKey": "<Consumer key of the Choreo application>", "consumerSecret": "<Consumer secret of the Choreo application>", "asgardeoTokenEndpoint": "<Token endpoint of the tenant in Asgardeo>" }; var onLoginRequest = function(context) { executeStep(1, { onSuccess: function(context) { // Set the IP address of the authentication request as the body of the API call. var requestPayload = { "ip": context.request.ip }; Log.info("Calling the API hosted in Choreo!"); callChoreo(connectionMetadata, requestPayload, { onSuccess: function(context, data) { Log.info('Received risk:' + data.hasRisk); if (data.hasRisk === true) { // Prompt the second authentication factor if the hasRisk is true. executeStep(2); } }, onFail: function(context, data) { Log.info('Failed to call Choreo API. Stepping up authentication by default.'); executeStep(2); }, onTimeout: function(context, data) { Log.info('Call to Choreo API timed out. Stepping up authentication by default.'); executeStep(2); } }); } }); };1
2
3
4
5
6
7
8
9
10
11
12
13
14
15
16
17
18
19
20
21
22
23
24
25
26
27
28
29
30
31
32
33
34
35Update the following parameters in the script.
Parameter Description urlThe URL of the Choreo API. consumerKeyThe consumer key of the Choreo application. consumerSecretThe consumer secret of the Choreo application. asgardeoTokenEndpointToken endpoint of the organization in Asgardeo. For example: https://api.asgardeo.io/t/{org_name}/oauth2/tokenUse a stored `Secret`
If you don't want to enter the
consumerkeyandconsumerSecretobtained from the Choreo application every time you use the conditional authentication script, you can store them as Secrets on Asgardeo.Using a stored
consumer keyandconsumer secretin the conditional authentication script.If you are using a stored
consumerSecret, replace theconnectionMetadataobject of the conditional authentication script as follows:var connectionMetadata = { "url": "<Choreo API URL>", "consumerKeyAlias": "<The name of the secret that stores the consumer key of Choreo application>", "consumerSecretAlias": "<The name of the secret that stores the consumer secret of Choreo application>" };1
2
3
4
5Add a stored
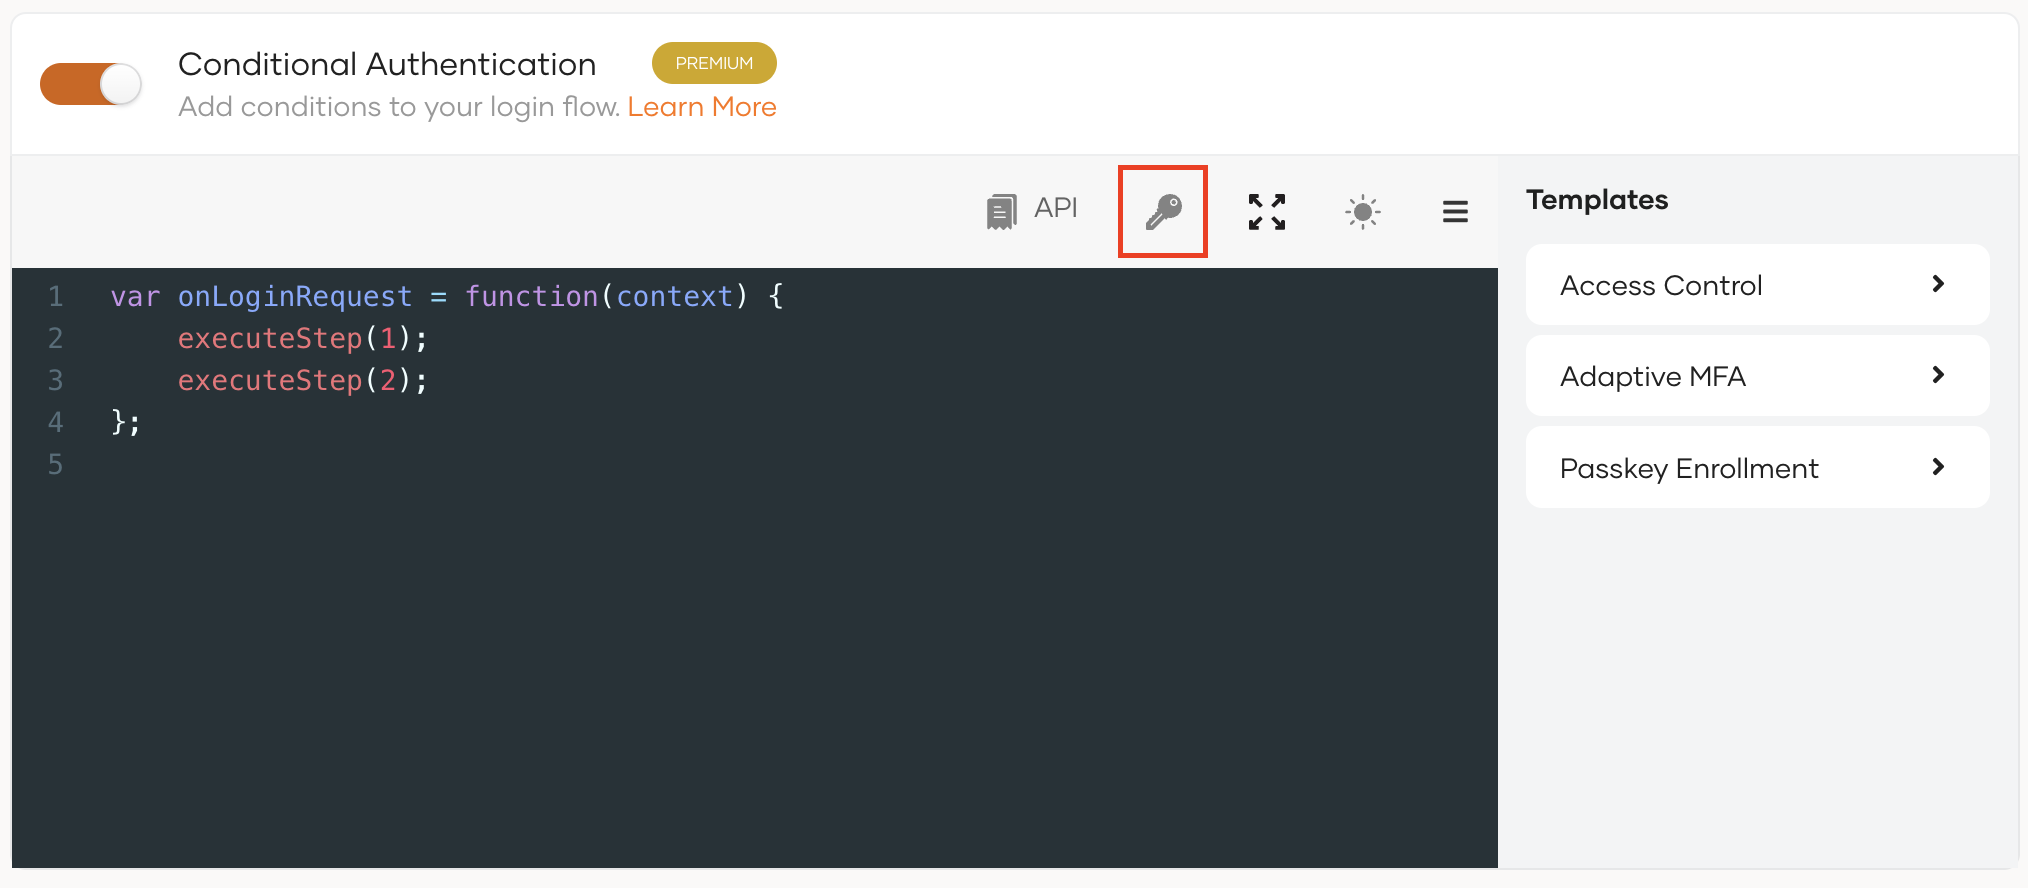
consumer keyandconsumer secretto the script.Select the location in the script where the secret should be inserted, click the key icon above the script, and use one of the following options:

- If you are adding an existing secret, click "+" next to the secret in the drop-down menu.
- If you need a new secret, you can first create a new secret. Now the new secret will be listed when you click the key icon. You can click "+" to add it to the script.
Click Update to save the configurations.
# How it works
Let's look at how this script works.
The
connectionMetadataobject specifies the required values obtained from the WSO2 Choreo application.On successful completion of the authentication step one,
onSuccess()callback function is called.onSuccesscallback function calls thecallChoreo()function, which sends an API call to the API hosted on Choreo.If the API call is successful, the
onSuccesscallback function passed as an argument to thecallChoreo( )function is called.- If the
hasRiskvalue in the response istrue, step two of the authentication flow is executed. - If the API call fails or times out, step 2 of the authentication flow will be executed by default.
- If the
# Try it out
Follow the steps given below.
Access the application URL.
Try to log in from an IP address within the allowed geolocation. You will successfully log in to the application.
Log out of the application.
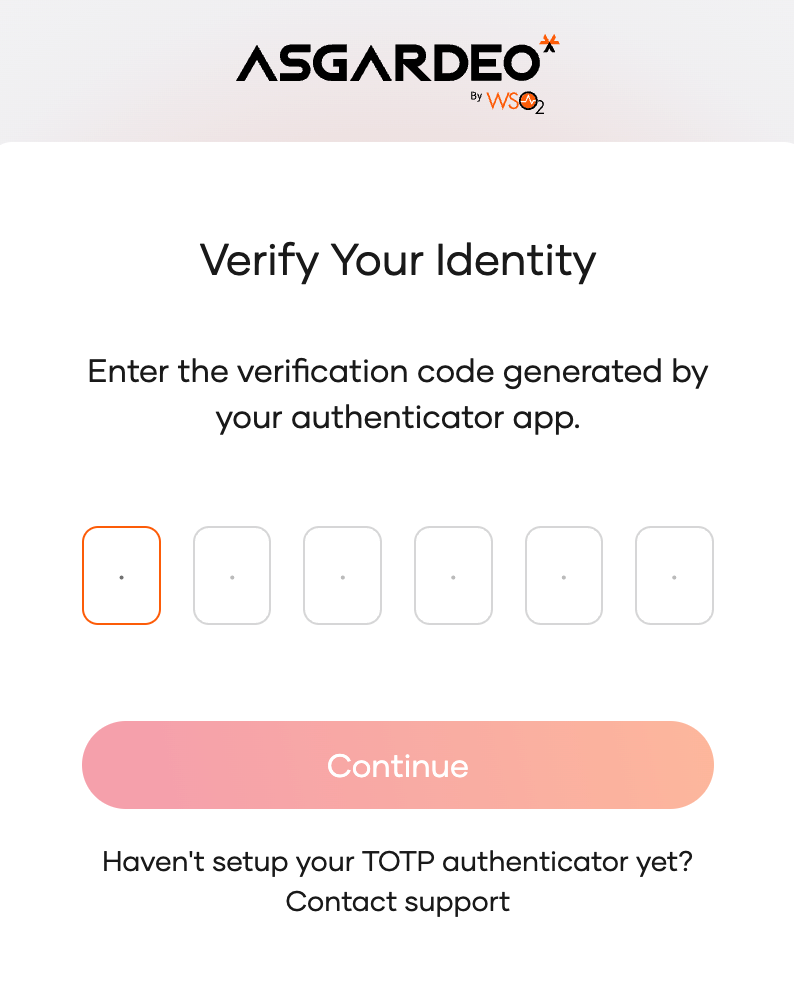
Login from an IP address outside the allowed geolocation. TOTP authentication is prompted.

