Add iProov login
iProov is a passwordless authentication method that allows users to log in to applications using facial biometrics. iProov's patented Flashmark biometric technology ensures that the user is a real person and not a spoof or a replay.
This guide explains how you can use iProov to add passwordless login to applications registered in your WSO2 Identity Platform organization.
Prerequisites
You need to configure the iProov environment and have access to the iProov portal. Reach out to iProov to get started.
Register service providers in iProov
Follow the steps below to register your service provider in the iPortal.
Note
You can follow the iProov documentation for detailed instructions.
-
Log into iPortal and click Service providers.
-
Click Create a service provider.
-
Enter a value for Service provider name.
-
Complete the service provider details form and click Create to create the service provider.
-
Select your application from the Choose an App menu and note down the App ID.
-
After you create the service provider, you will receive the following details:
- OAuth username
- OAuth password
- API key
- API secret
Register iProov in WSO2 Identity Platform as a connection
Follow the steps below to register iProov as a connection in WSO2 Identity Platform.
-
On the WSO2 Identity Platform Console, go to Connections.
-
Click Create Connection and select iProov.
-
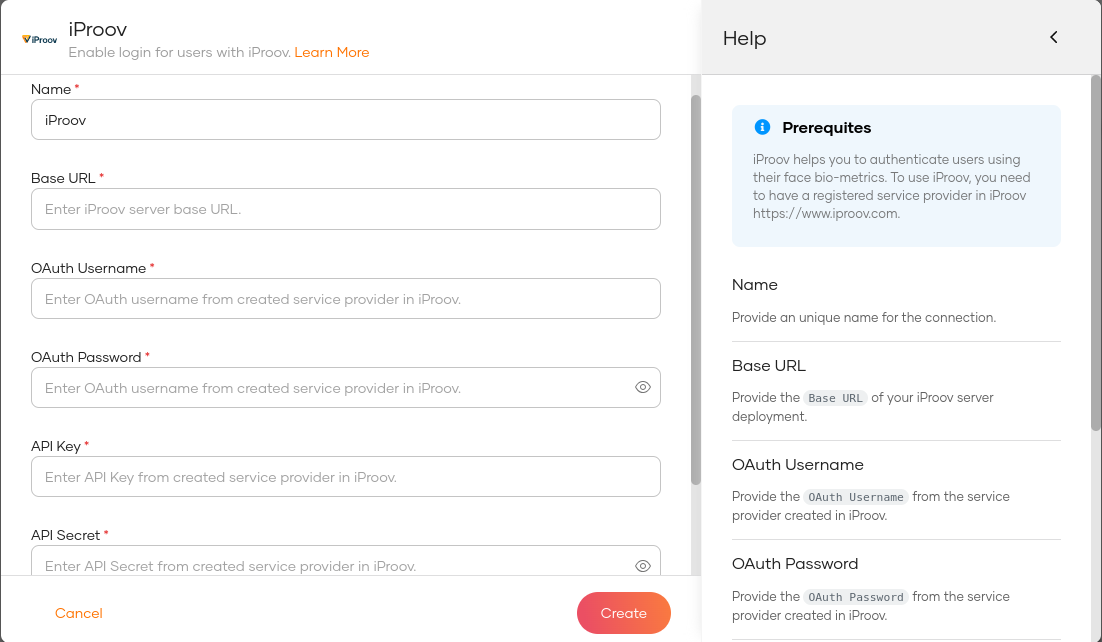
Enter the following details and click Finish:
Parameter Description Name A unique name to identify the connection. Base URL Provide the base URL of your iProov server deployment. OAuth Username Provide the OAuth Username from the service provider created in iProov. OAuth Password Provide the OAuth password from the service provider created in iProov. API Key Provide the API key obtained from the service provider created in iProov. API Secret Provide the API secret obtained from the service provider created in iProov.
Enable iProov login
Before you begin
You need to register an application with WSO2 Identity Platform. You can register your own application or use one of the sample applications provided.
To enable iProov login for your application:
-
On the WSO2 Identity Platform Console, go to Applications.
-
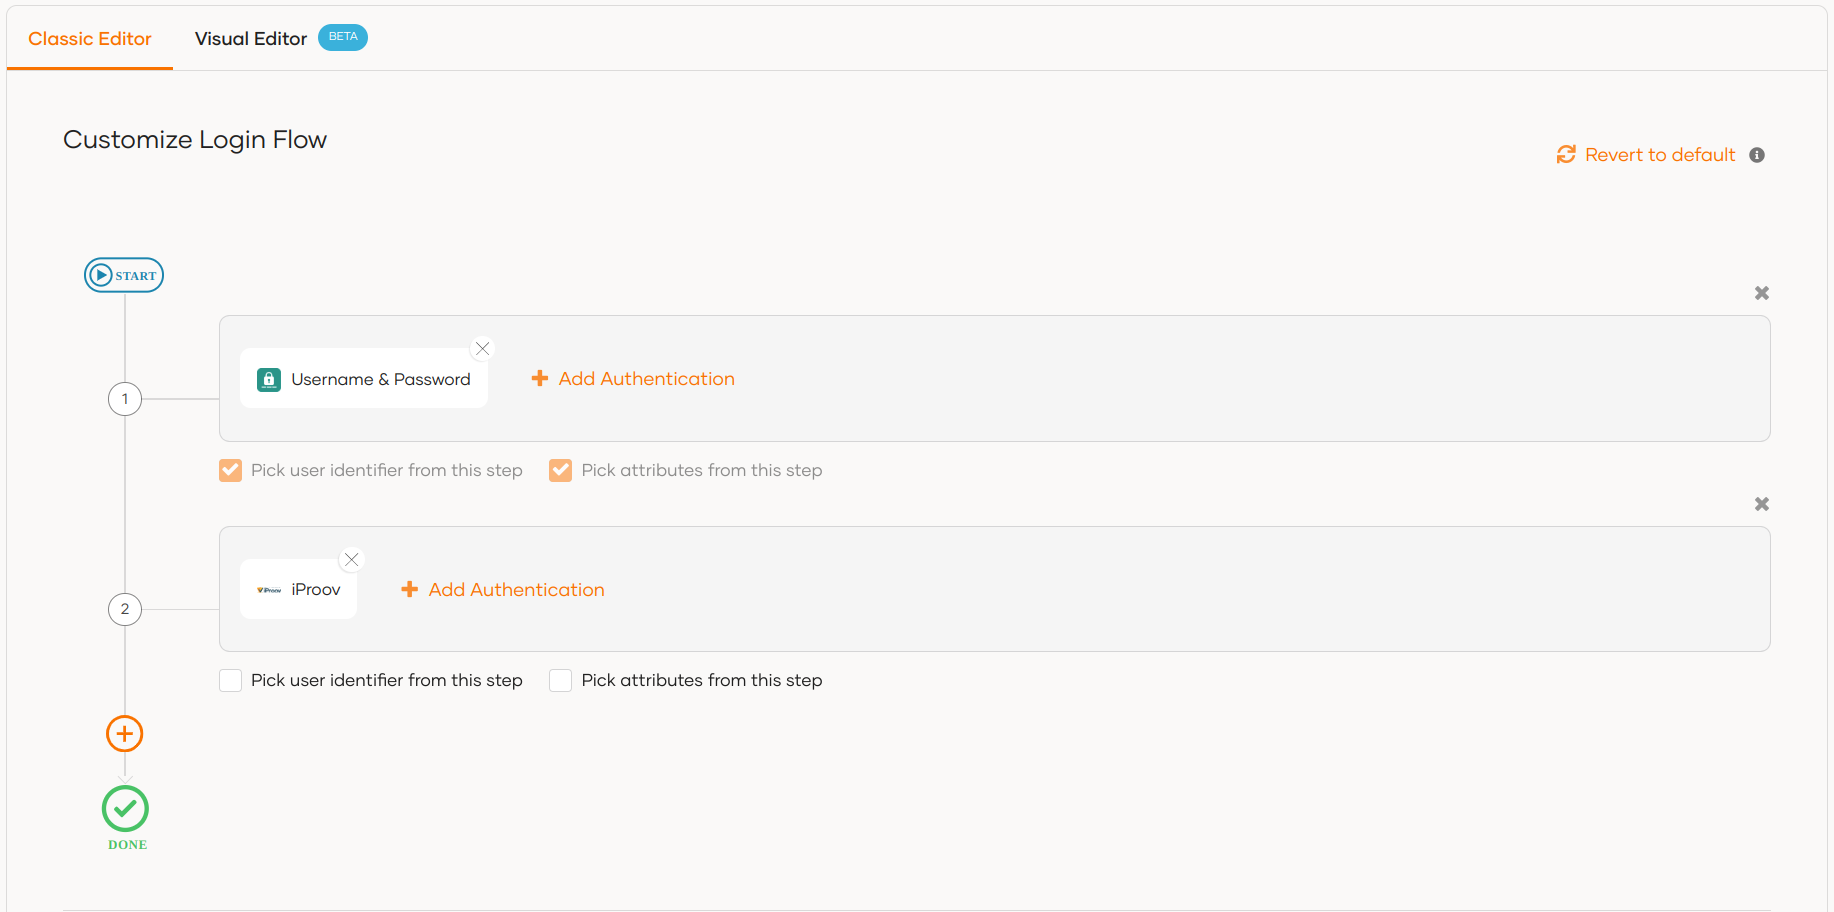
Go to the Login Flow tab of the application and add iProov login from your preferred editor:
To add iProov login using the Visual Editor:
- Switch to the Visual Editor tab.
-
Add a second authentication step by clicking the + icon and add your iProov connection to this step.

-
If you haven't already configured an authentication flow,
- Click Start with default configuration to begin.
- Add a second authentication step by clicking the + icon and add your iProov connection to this step.
-
If you have an already customized login flow, you can add a second authentication step by clicking the + icon and add your iProov connection to this step.
-
Click Update to save the sign-in flow.
Try it out
Follow the steps given below:
-
Access the application URL.
-
Click Login to open the WSO2 Identity Platform login page.
-
Complete the preceding authentication steps.
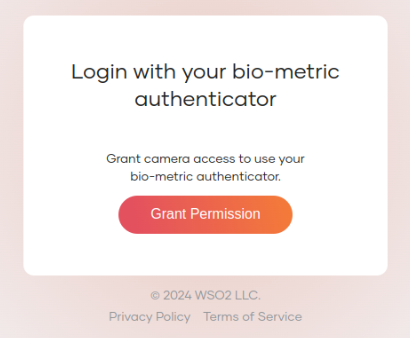
-
Grant camera access for iProov to authenticate the user.
-
Click Scan Face with iProov , and complete the iProov authentication process by starting the face scan.