Deploy from the Cloud Editor
WSO2 Cloud includes a browser-based editor where you can create and develop integrations without installing anything locally. Once your integration is ready, you can deploy it to WSO2 Cloud directly from the editor.
- A WSO2 Cloud account and a project. Sign up at WSO2 Cloud if you don't have one.
Open the cloud editor
-
Sign in to WSO2 Cloud and open your project.
-
On the project home page, click Create on Cloud.
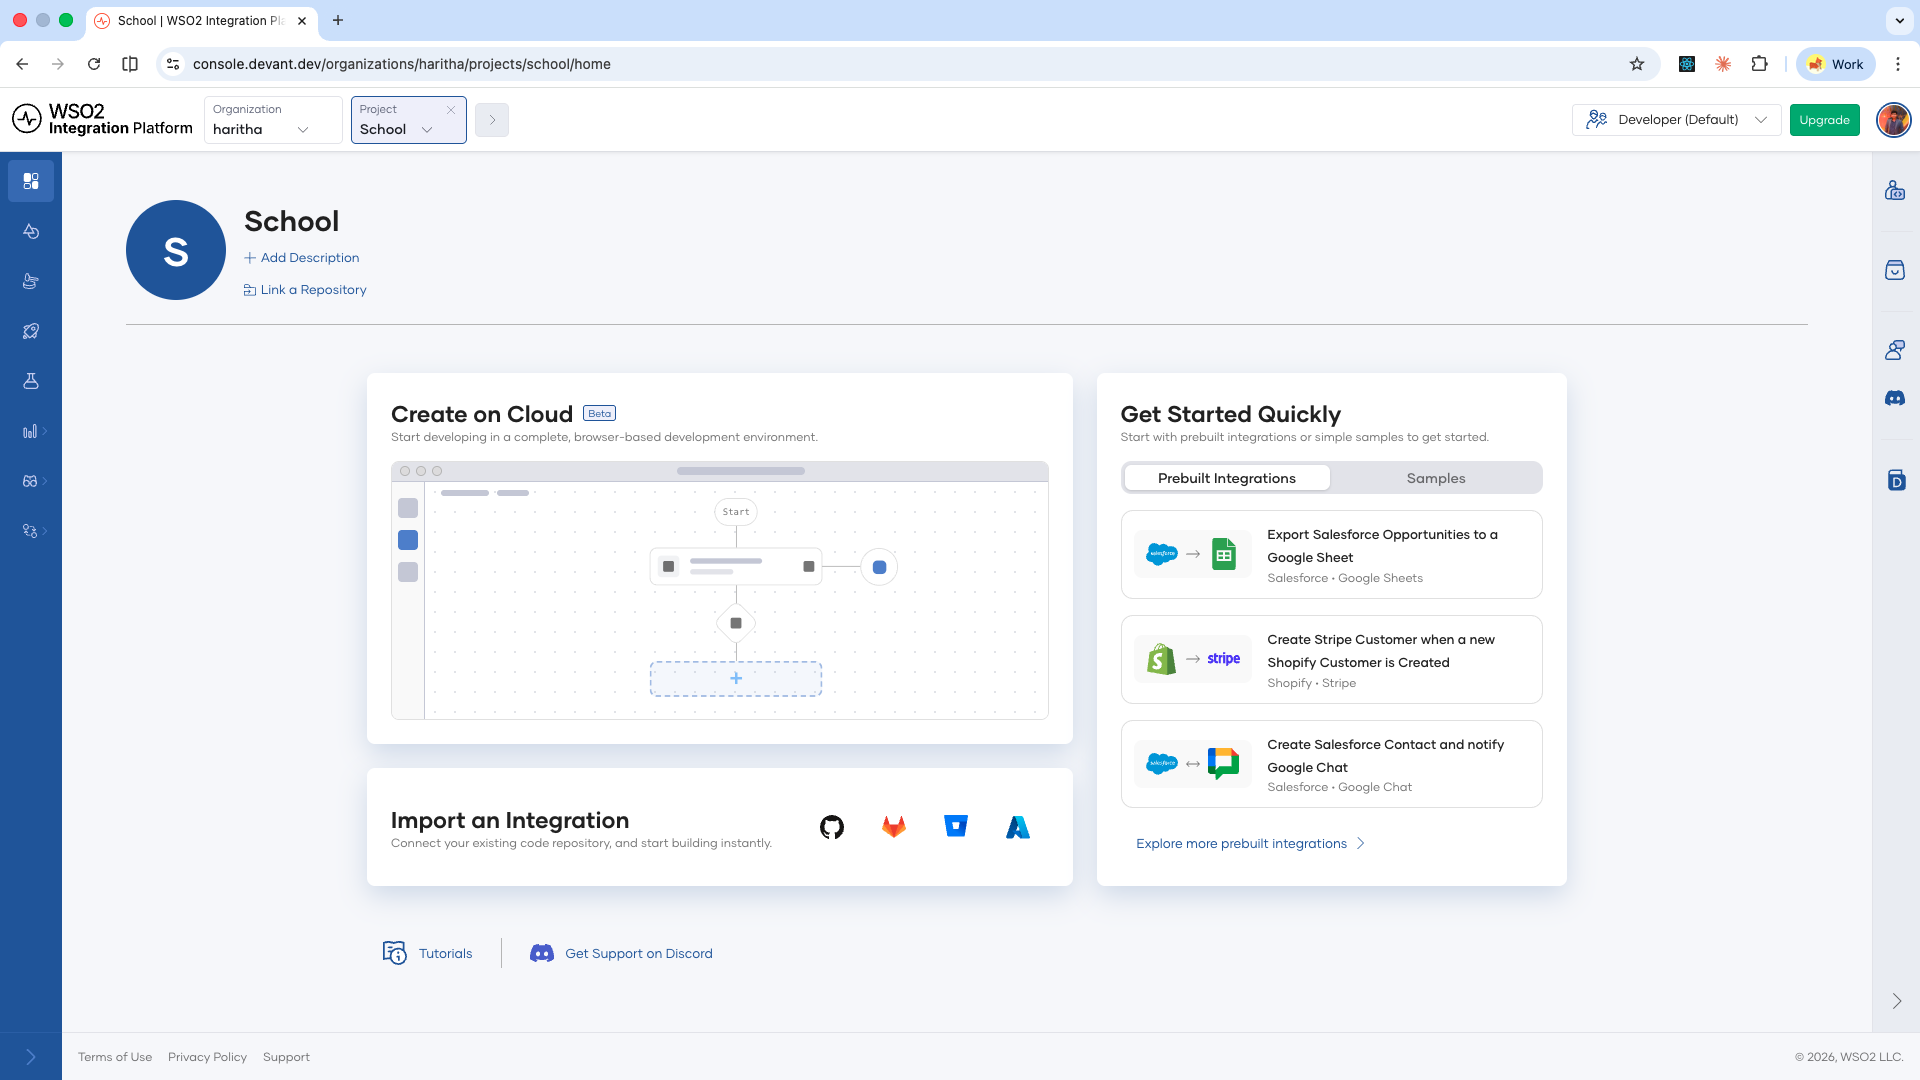
The cloud editor opens in a new browser tab.
Develop your integration
Develop your integration in the cloud editor as you would in the WSO2 Integrator IDE. You can add artifacts, configure connections, define data mappers, and more.
Save and deploy
-
In the cloud editor, open the integration overview for the integration you want to deploy.
-
In the Deploy to WSO2 Cloud panel on the right, click Save and Deploy.
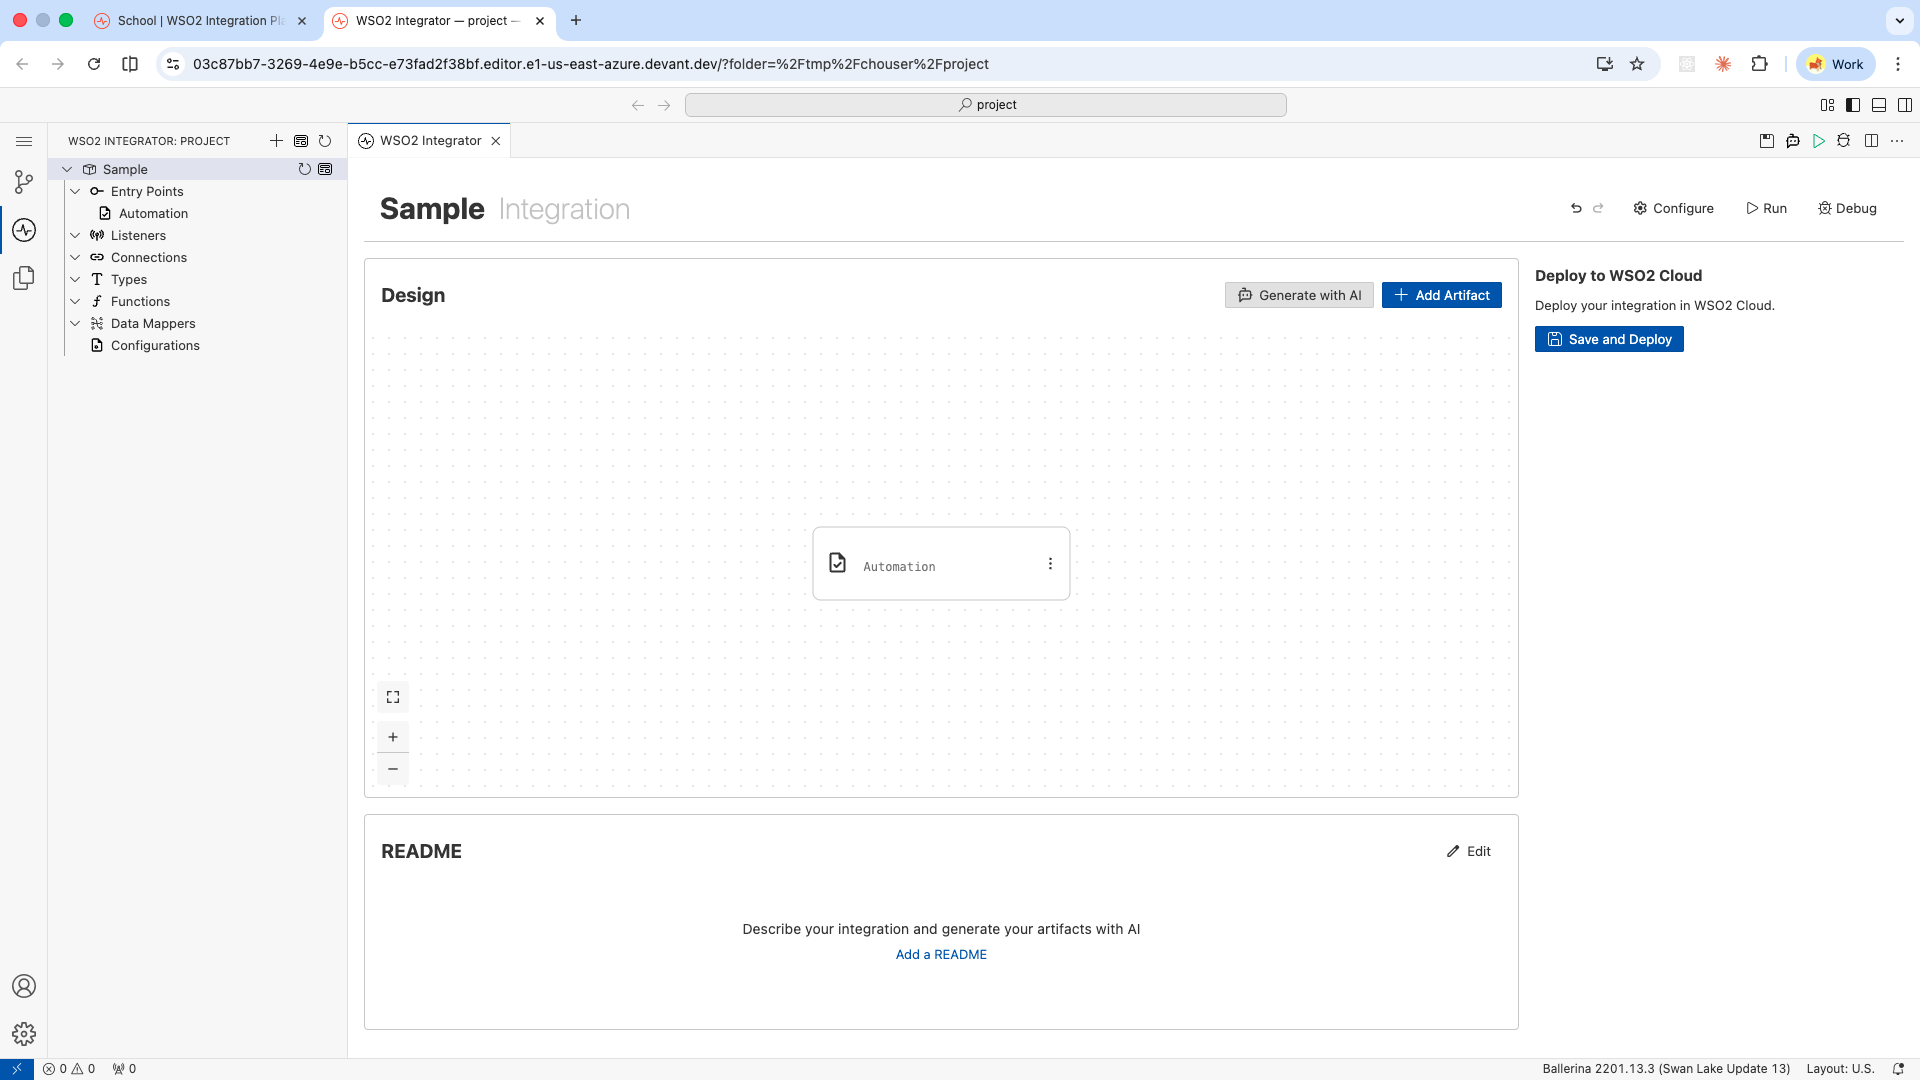
A Deploy Integration tab opens within WSO2 Integrator.
-
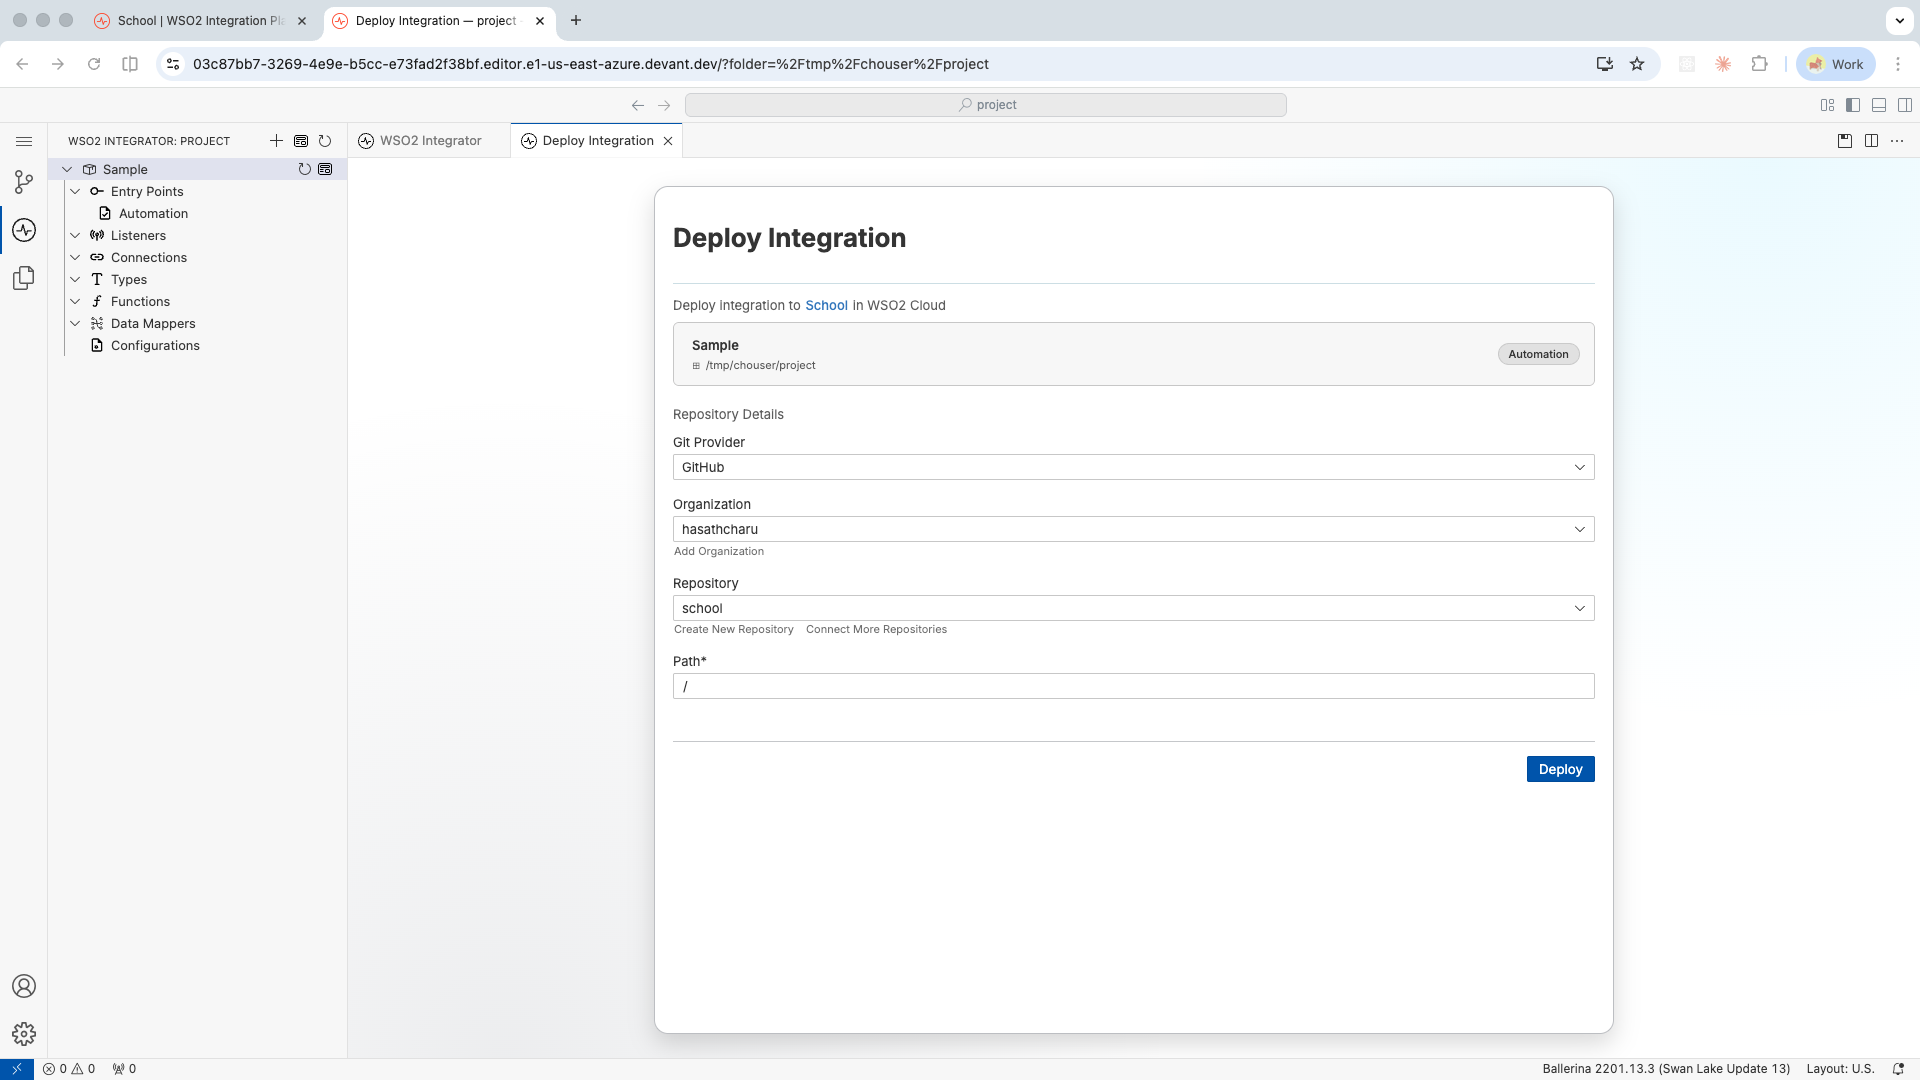
Select the Git provider, then the organization, and then the repository where the integration will be saved. When you pick the repository, if it is not empty, make sure you provide an empty path.
If you don't have a repository ready, click Create New Repository to create one.
If WSO2 Cloud does not have access to the repository, click Connect Newly Created Repository and grant access. This is required only if you have not already authorized WSO2 Cloud to access all repositories in your organization.
-
Click Deploy.
WSO2 Cloud pushes the integration to the repository, builds it, and deploys it to the Development environment.
What's next
- View and manage integrations — Inspect build status, deployment status, and manage the lifecycle of your deployed integrations.
- Runtime configurations — Set configurable values per environment and manage reusable configuration groups.
- Security configurations — Secure your integration endpoints with API Key or OAuth2 authentication.
- Endpoint configurations — Control endpoint visibility levels for integrations deployed as Integration as APIs.