Deploy to WSO2 Cloud from the IDE
You can deploy your integrations to WSO2 Cloud directly from the WSO2 Integrator IDE. You can deploy the entire project at once or deploy a single integration individually.
- An integration or project with integration(s) created in the WSO2 Integrator IDE.
Deploy the whole project
-
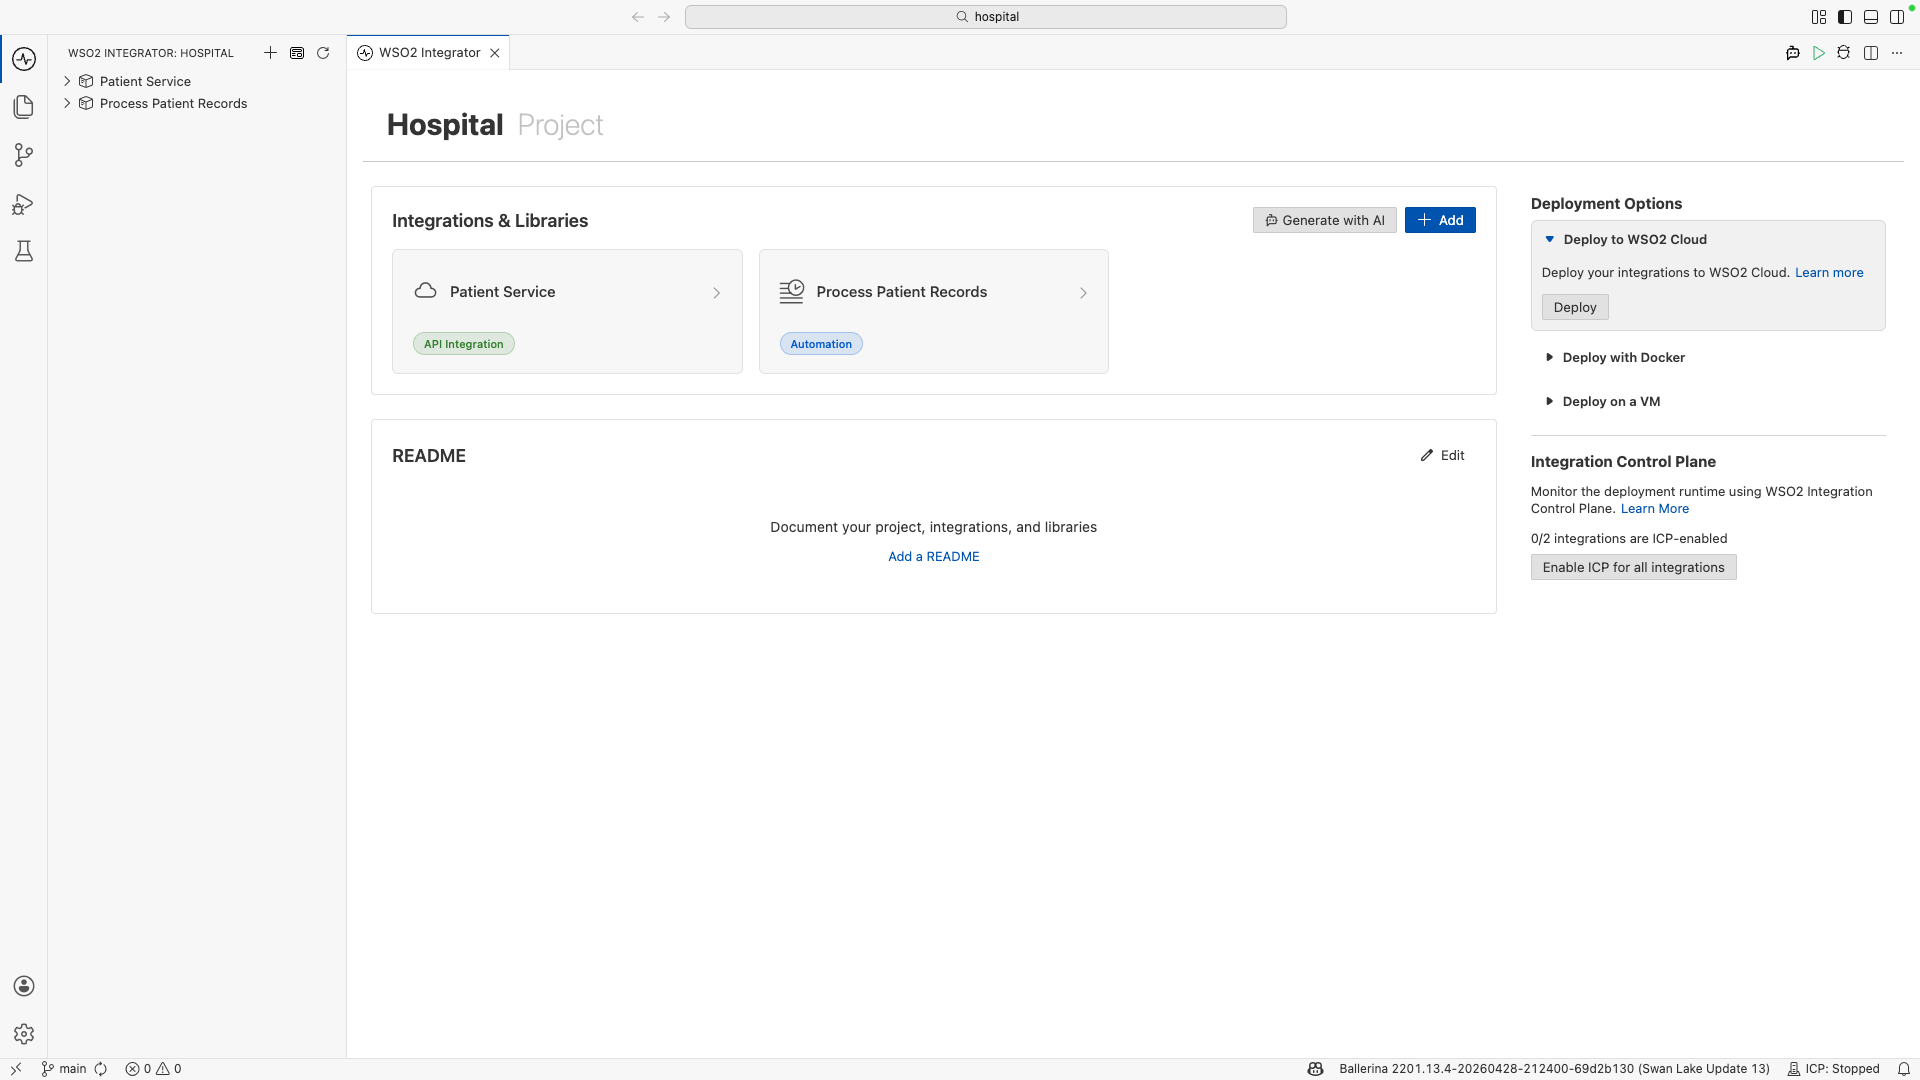
In the WSO2 Integrator IDE, open the project overview canvas.
-
Under Deployment Options in the right column, locate the Deploy to WSO2 Cloud box and click Deploy.
-
If you are not already signed in to WSO2 Cloud, the IDE prompts you to sign in. Click Sign In and complete the authentication in the browser, then return to the IDE.
-
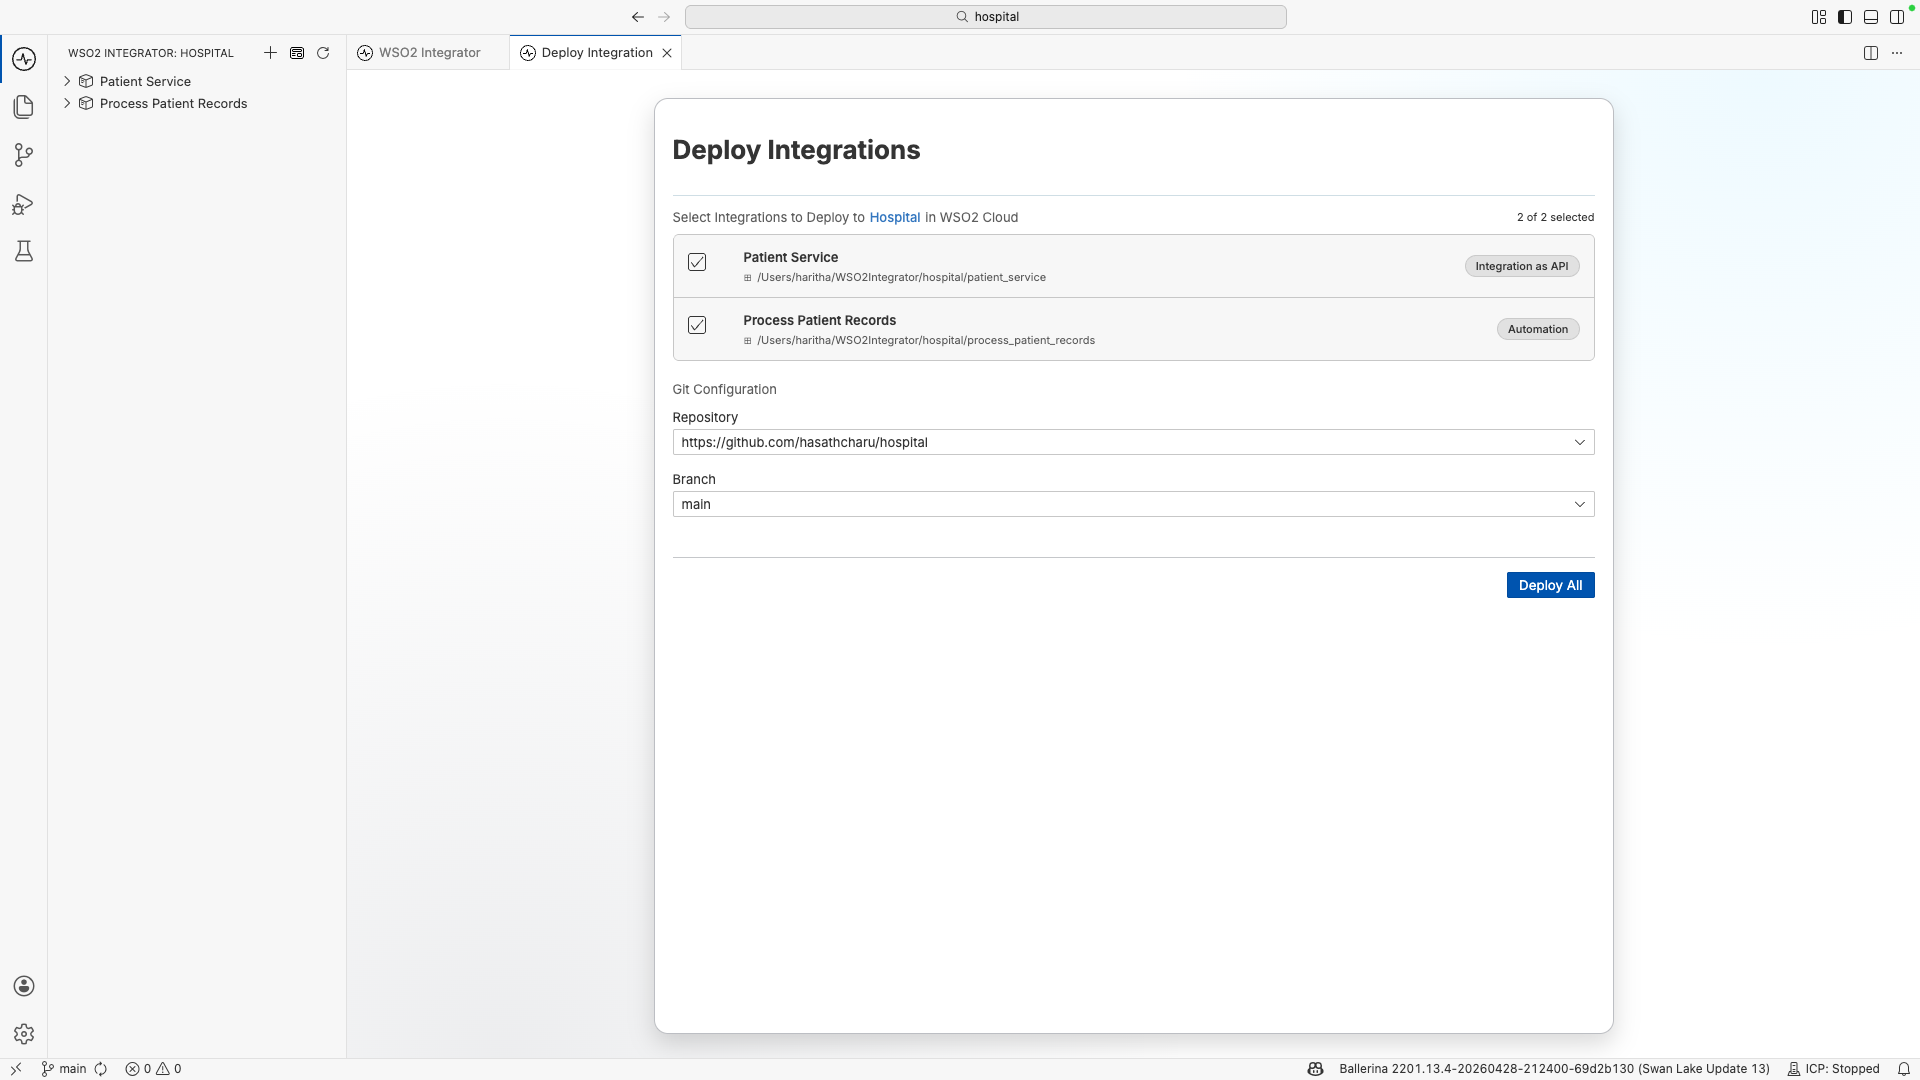
When prompted, select the organization on WSO2 Cloud. You can select an existing project or click Create New to create one.
A new tab opens showing your project's integrations. By default, all integrations are selected for deployment.
-
If your project is not yet connected to a remote repository, you will see a warning as shown below. You will need to set one up before continuing. If it is already connected, skip to step 6.
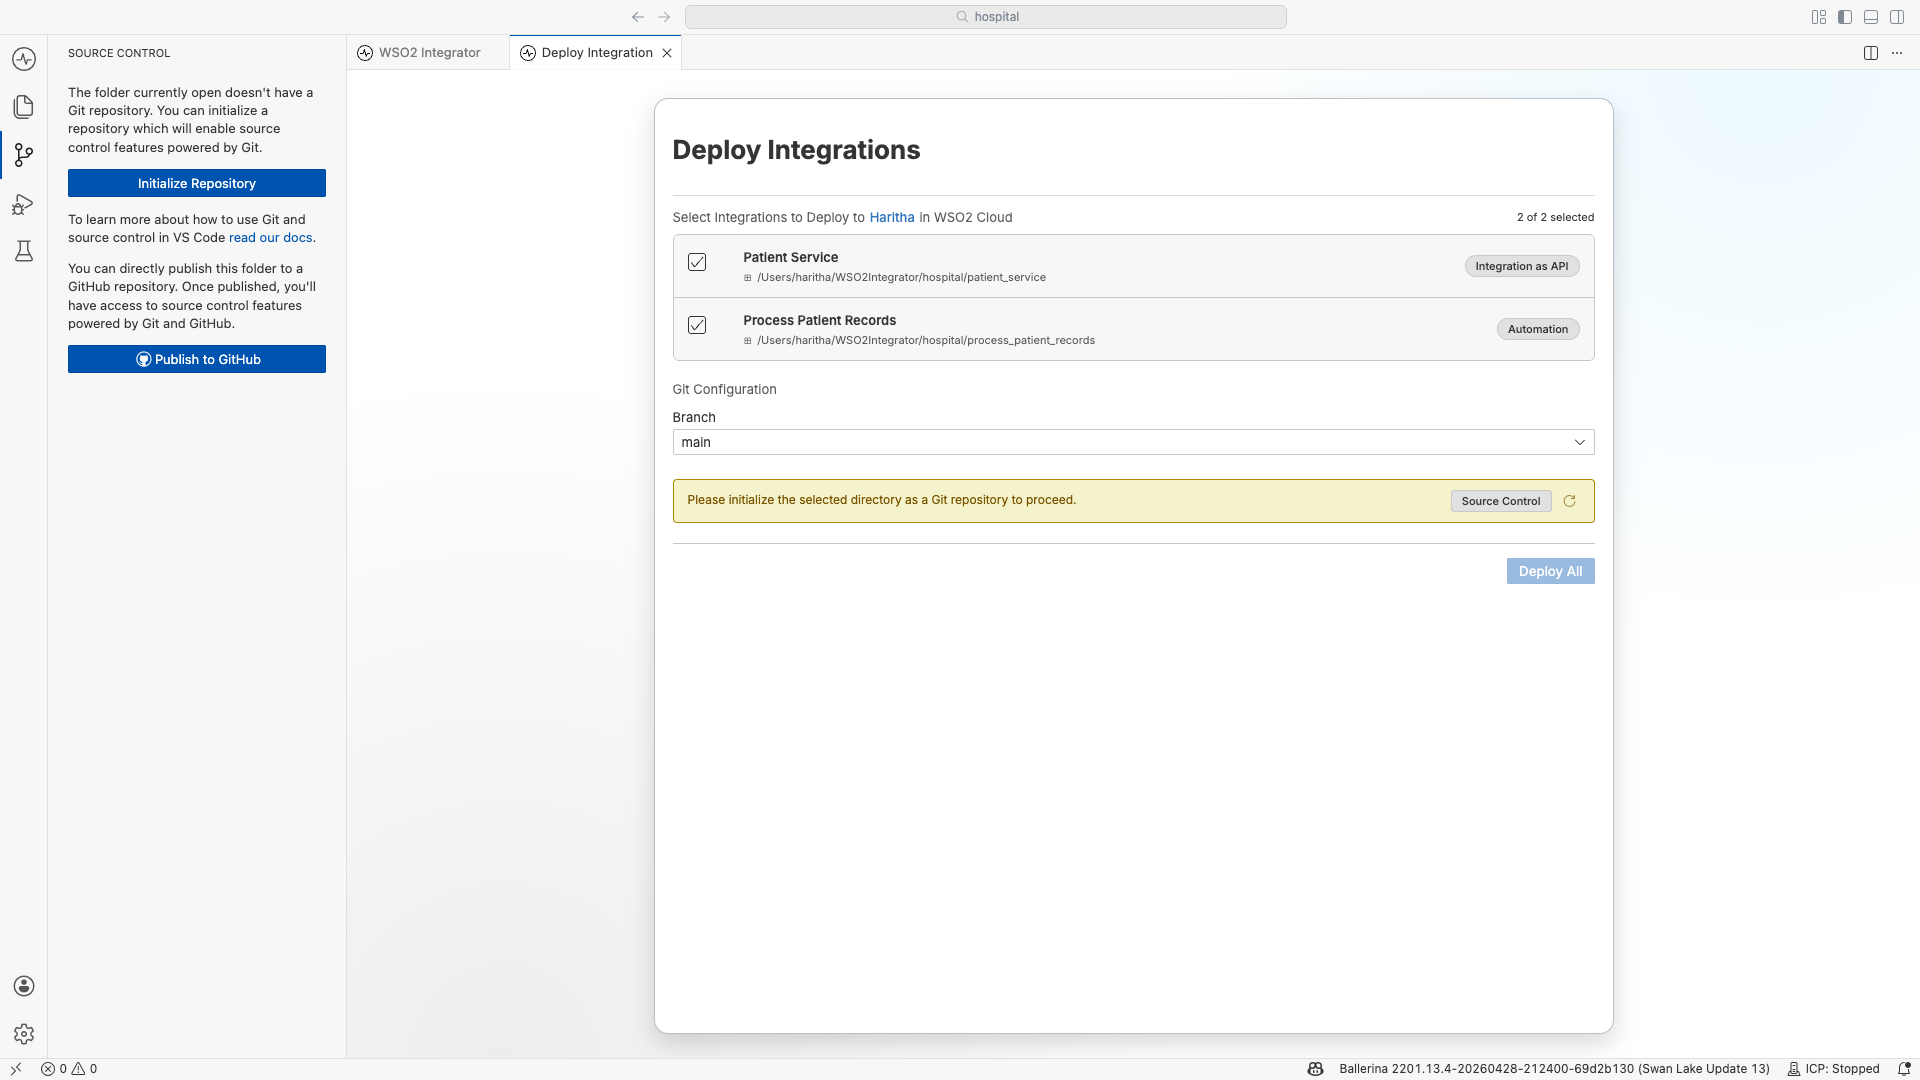
a. In the WSO2 Integrator IDE, click Source Control in the left sidebar.
b. Click Initialize Repository. This creates a local Git repository inside your project folder.
c. In the Source Control sidebar, type a commit message and click Commit. When prompted, click Yes to stage and commit all files.
d. Click Publish. If you are not signed in to GitHub, the IDE prompts you to authorize access. Complete the sign-in in the browser and return to the IDE.
e. When prompted, select a repository name and visibility (Public or Private). The IDE creates the repository on GitHub and pushes your code to it.
-
If WSO2 Cloud does not have access to your remote repository, a warning appears. Click the link to grant access on GitHub, complete the authorization, then return to the IDE and click Refresh to validate access.
-
Click Deploy All.
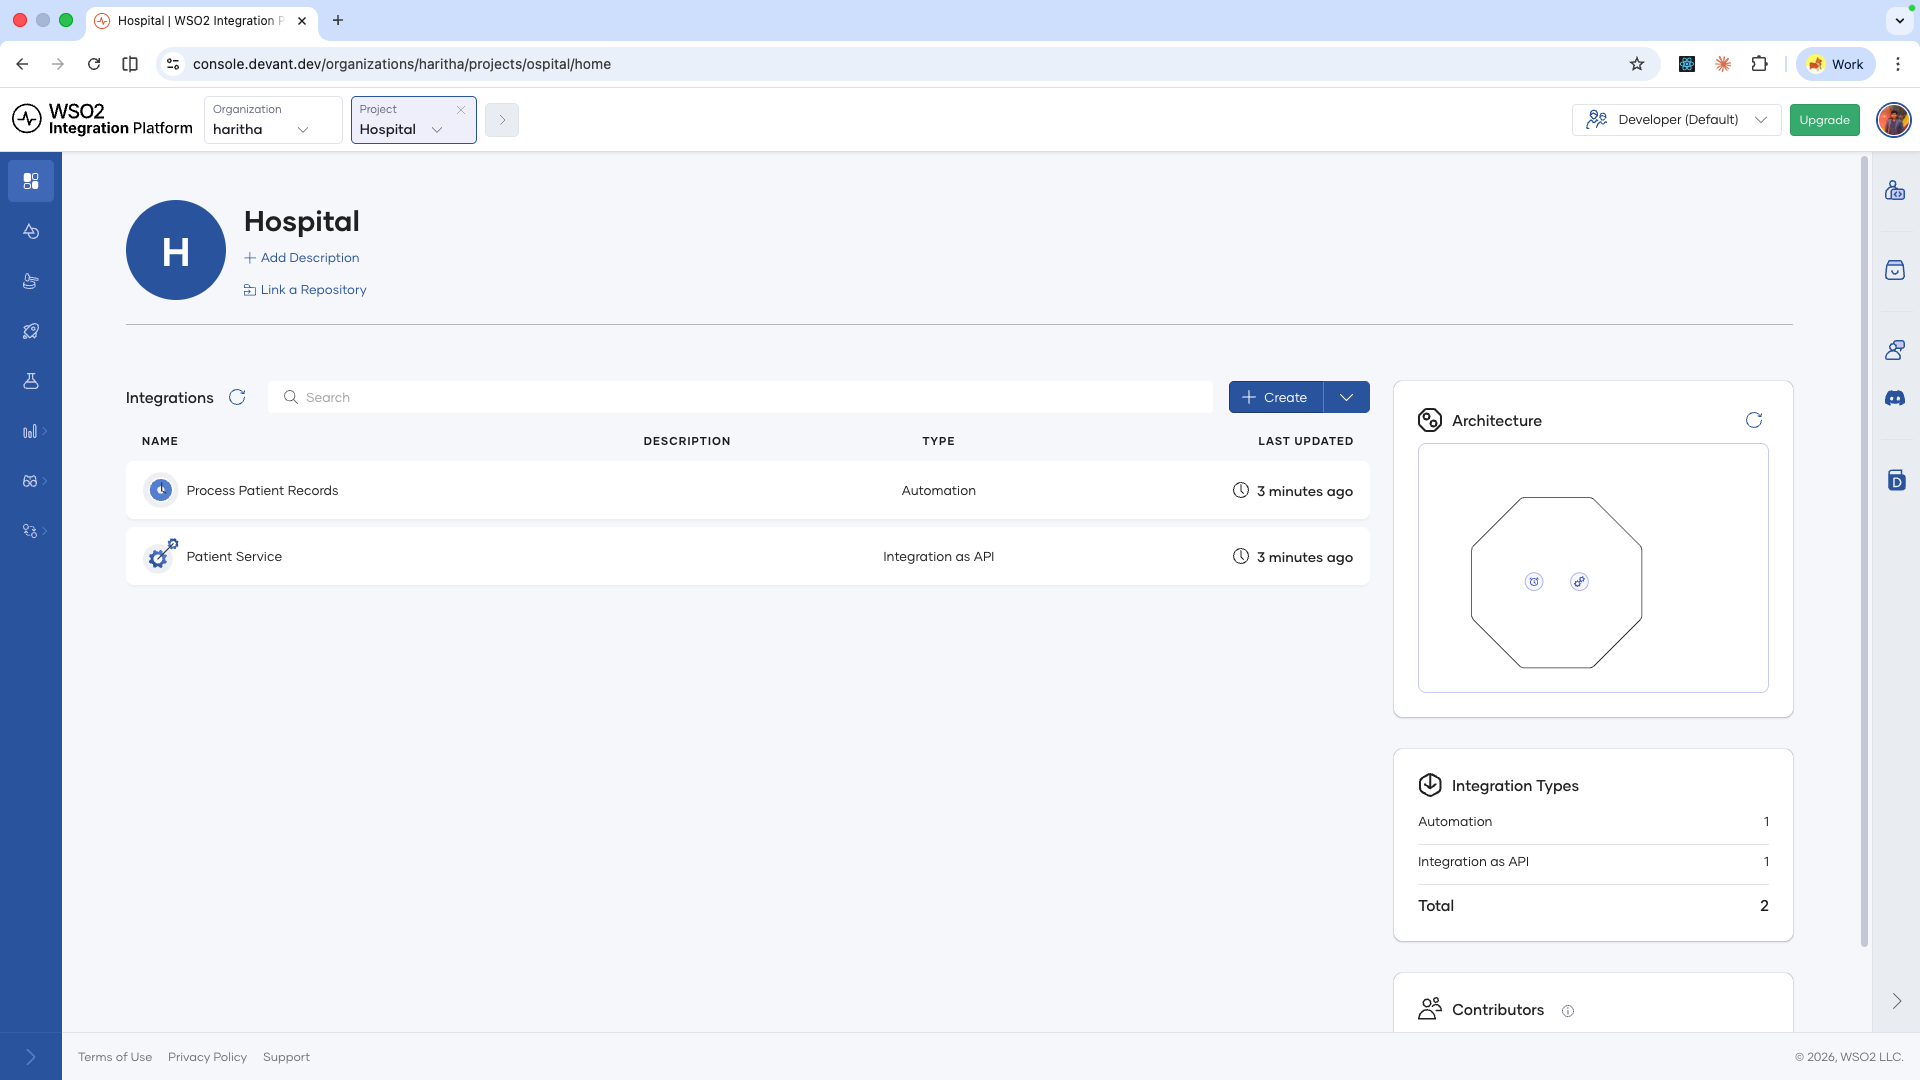
WSO2 Cloud creates the integrations. Once the deployment is complete, click View in Console.
A browser opens showing your project on WSO2 Cloud.
Deploy a single integration
-
In the WSO2 Integrator IDE, open the integration overview canvas for the integration you want to deploy.
-
Under Deployment Options in the right column, locate the Deploy to WSO2 Cloud box and click Deploy.
-
Follow the same steps as the whole-project flow, and click Deploy.
Once the deployment is complete, click View in Console.
A browser opens showing the deployed integration directly on WSO2 Cloud.
What's next
- View and manage integrations — Inspect build status, deployment status, and manage the lifecycle of your deployed integrations.
- Runtime configurations — Set configurable values per environment and manage reusable configuration groups.
- Security configurations — Secure your integration endpoints with API Key or OAuth2 authentication.
- Endpoint configurations — Control endpoint visibility levels for integrations deployed as Integration as APIs.