Security Configurations
The WSO2 Integration Platform lets you configure authentication for integrations deployed as Integration as APIs or AI Agents. You can secure each endpoint with an API Key scheme, an OAuth2 scheme, or both at the same time.
Supported security schemes
| Scheme | Header | Description |
|---|---|---|
| API Key | api-key | Clients include a static key in a request header. Simple to set up and suitable for service-to-service calls. |
| OAuth2 | Authorization | Clients obtain an access token and include it as a Bearer token. Supports scoped access per resource. |
When both schemes are enabled:
- Resources with no OAuth2 scope assigned accept either an API Key or an OAuth2 access token.
- Resources with OAuth2 scopes assigned require an OAuth2 access token.
Configure security
-
Open your integration from the project home.
-
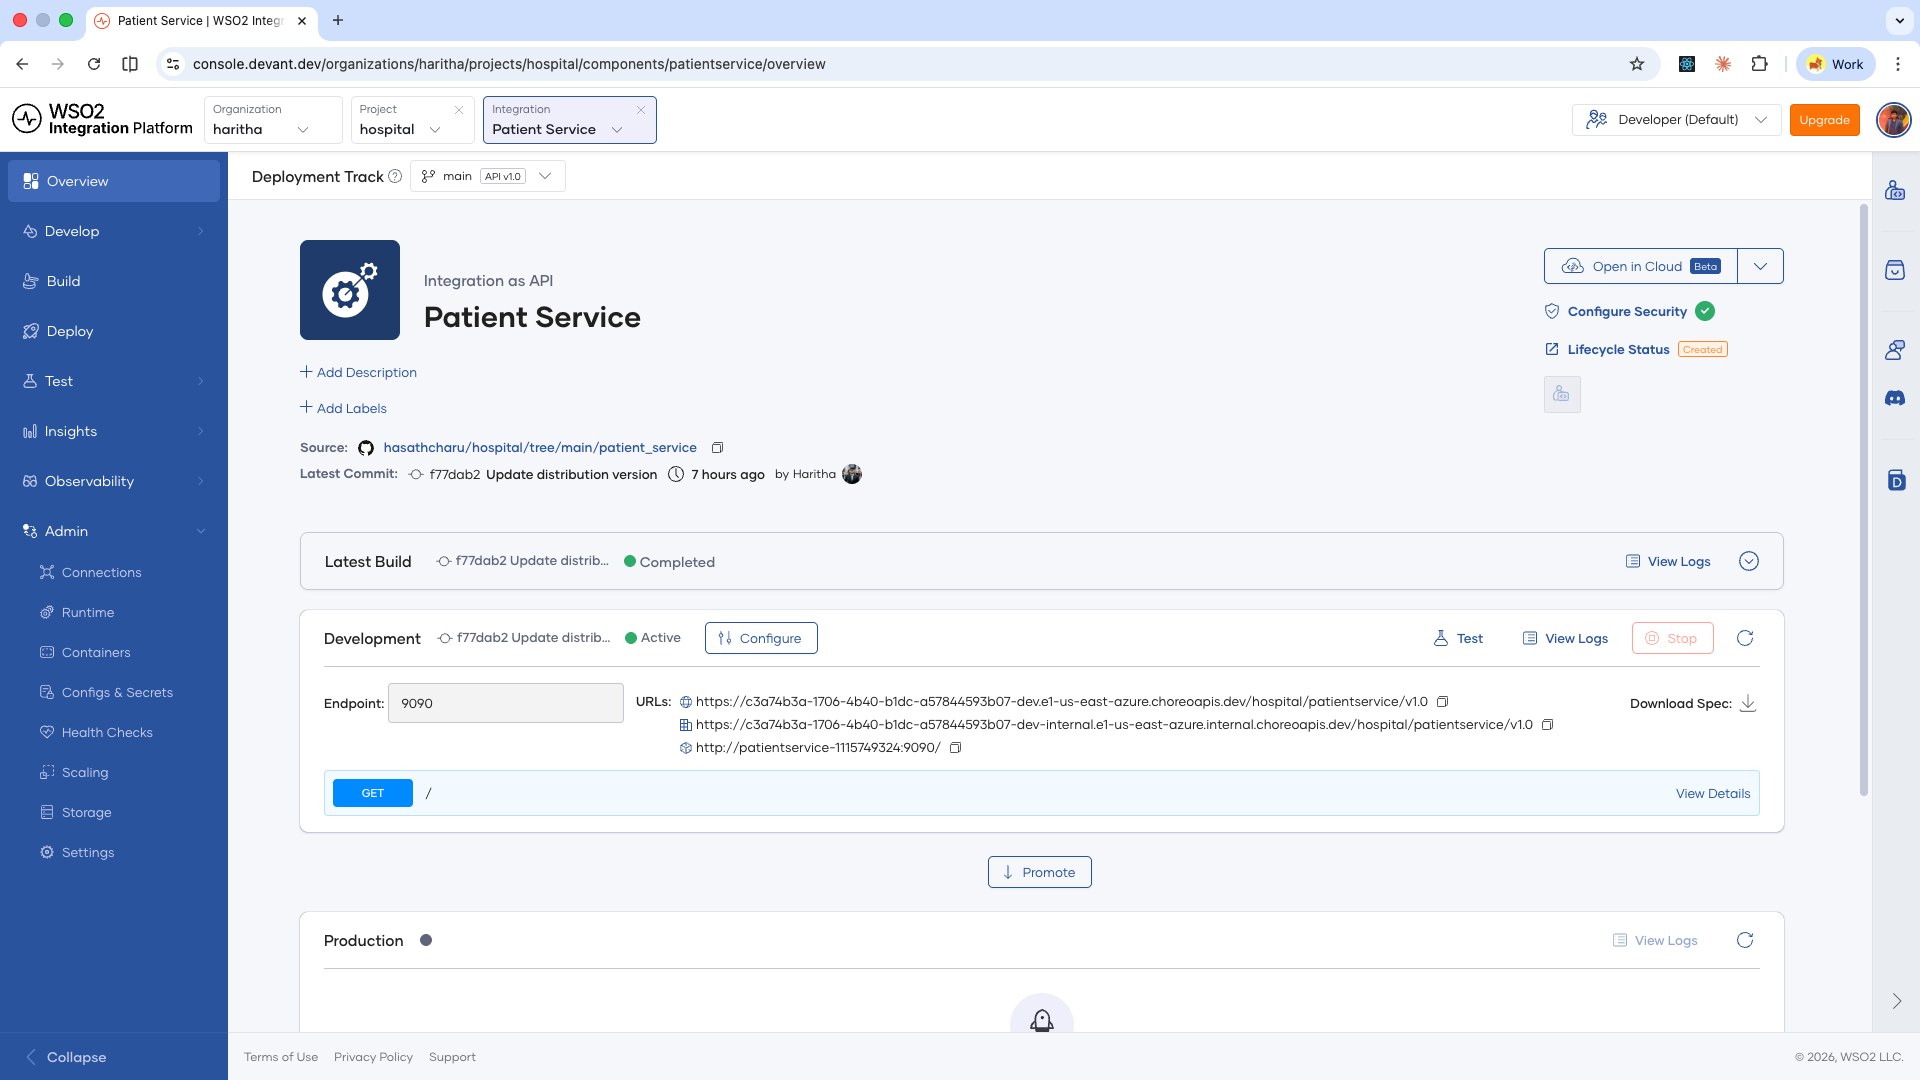
On the integration overview page, click Configure Security in the top-right panel.
-
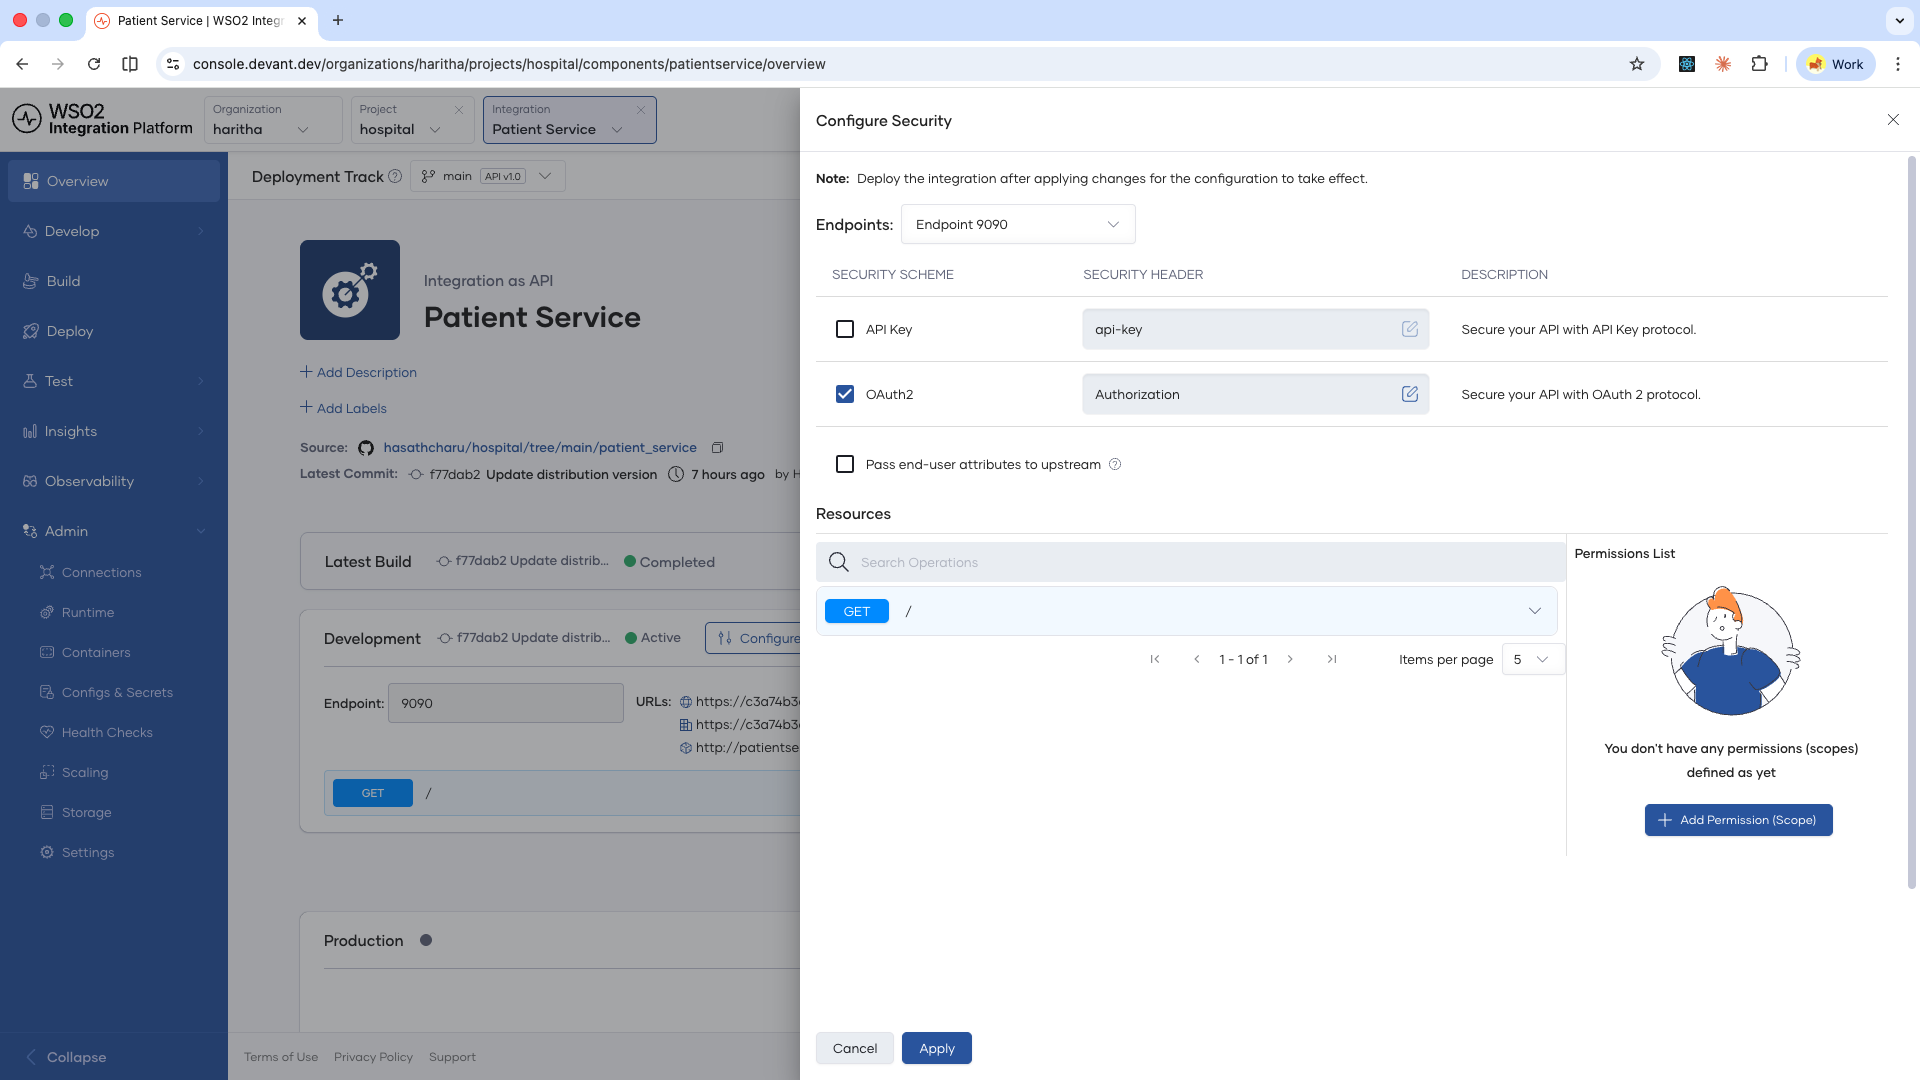
In the Configure Security panel, select the endpoint you want to secure from the Endpoints dropdown.
-
Enable the security schemes you want to apply:
- API Key — Check the API Key checkbox. You can edit the security header name if your client uses a different header.
- OAuth2 — Check the OAuth2 checkbox. You can edit the security header name if your client uses a different header, but it must support Bearer tokens.
-
If you want the authenticated user's identity to be forwarded to your backend service, enable Pass end-user attributes to upstream.
-
To assign OAuth2 scopes to specific resources:
- In the Permissions List panel, click Add Permission (Scope).
- In the Add Permission dialog, select the required scope and click + Add New.
- In the Resources list, expand the resource you want to restrict.
- Click Permission (Scopes) dropdown and select the desired scopes.
- Add the required scopes and assign them to the resource.
-
You can also disable security for specific resources by turning the Security toggle off for that resource.
-
Once you have configured the security settings as needed, click Apply to save the changes.
Security configuration changes take effect after the integration is deployed. The change applies immediately to the Development environment. To apply it to other environments, promote the integration.
Consume a secured API
You can test the secured endpoint by navigating to the Test > Console page in left navigation. To consume the API from an external client, you need to obtain the required credentials based on the enabled security schemes.
API Key
-
In the integration overview, click Developer Portal.
-
Subscribe to the API by selecting or creating an application.
-
In your application, click Generate Key under the API Key column.
-
Copy the generated key and include it in the configured security header of your requests:
curl --request GET \
  --url <endpoint_url> \
  --header 'api-key: <your_api_key>'
OAuth2
-
In the integration overview, click Developer Portal.
-
Subscribe to the API by selecting or creating an application.
-
In your application, click Generate Key under the OAuth2 section.
-
Use the generated credentials to obtain an access token, then include it as a Bearer token:
curl --request GET \
  --url <endpoint_url> \
  --header 'Authorization: Bearer <access_token>'
What's next
- Endpoint configurations — Configure endpoint visibility levels per environment.
- Scaling and resource limits — Configure CPU and memory limits, and scaling behavior for your integration.