Add Passkey login
Based on FIDO concepts, Passkeys are a replacement for traditional passwords that allows users to log in to applications without a password using the following methods.
- Roaming authenticators - platform-independant FIDO2-supported hardware security keys such as YubiKey.
- Platform authenticators - built-in biometrics bound to a single device such as fingerprint scanners or facial recognition features.
Passkeys are phishing resistant and they provide an enhanced user experience as users are not required to manage and remember multiple passwords.
What is FIDO2?
The FIDO Alliance, whose mission is to reduce the world's reliance on passwords, introduced its latest specifications, collectively called FIDO2. FIDO2 specifications are the World Wide Web Consortium's (W3C) Web Authentication specification (WebAuthn) and FIDO alliance's corresponding Client to Authenticator Protocol (CTAP). Learn more about FIDO2.
There are two types of passkeys based on how they are synchronized.
-
Single-Device Passkeys
These passkeys are bound to a single device and are not meant to be shared across multiple devices. Single-device passkeys are useful if you want to reduce the impact of an attack if the credentials are compromised.
-
Multi-Device Passkeys
These passkeys enable synchronization across multiple devices allowing users to log into an application from any device, even when their credentials are stored on another.
Major vendors have already introduced their passkey implementations.
-
Apple users will find their passkeys synced across all devices that are signed into the same Apple ID and iCloud Keychain. Refer to the Apple documentation for more information.
-
Android users will have their passkeys synced across all devices linked to their Google account. Refer to the Google documentation for more information.
If the devices do not sync through the cloud, a user can generate a QR code in the other device and scan it using the device that stores the passkeys to successfully log into the application.
Refer to the passkeys documentation to stay up-to-date with the device support for FIDO2 passkeys.
-
Info
- WSO2 Identity Platform uses the WebAuthn API to enable FIDO-based authentication for browsers that no longer support the u2f extension.
- The following browser versions support the WebAuthn API by default:
- Chrome 67 and above
- Firefox 60 and above
- Edge 17723 and above
- Passkey login with platform authenticators will NOT work on the Firefox browser in macOS Catalina, Big Sur, and Monterey due to browser limitations.
- Passkey login with roaming authenticators will NOT work on the Firefox browser as the browser doesn't support CTAP2 (Client to Authenticator Protocol 2) with PIN.
The following guide explains how you can enable log in with passkeys in your application.
Prerequisites
-
To get started, you need to register an application with WSO2 Identity Platform. You can register your own application or use one of the sample applications provided.
-
You need to have a user account in WSO2 Identity Platform. If you don't already have one, create a user account in WSO2 Identity Platform.
Enable passkey login
Follow the steps given below to enable login with passkeys for your application.
-
On the WSO2 Identity Platform Console, go to Applications.
-
Select the application to which you wish to add passkey login.
-
Go to the Login Flow tab of the application and add passkey login as follows:
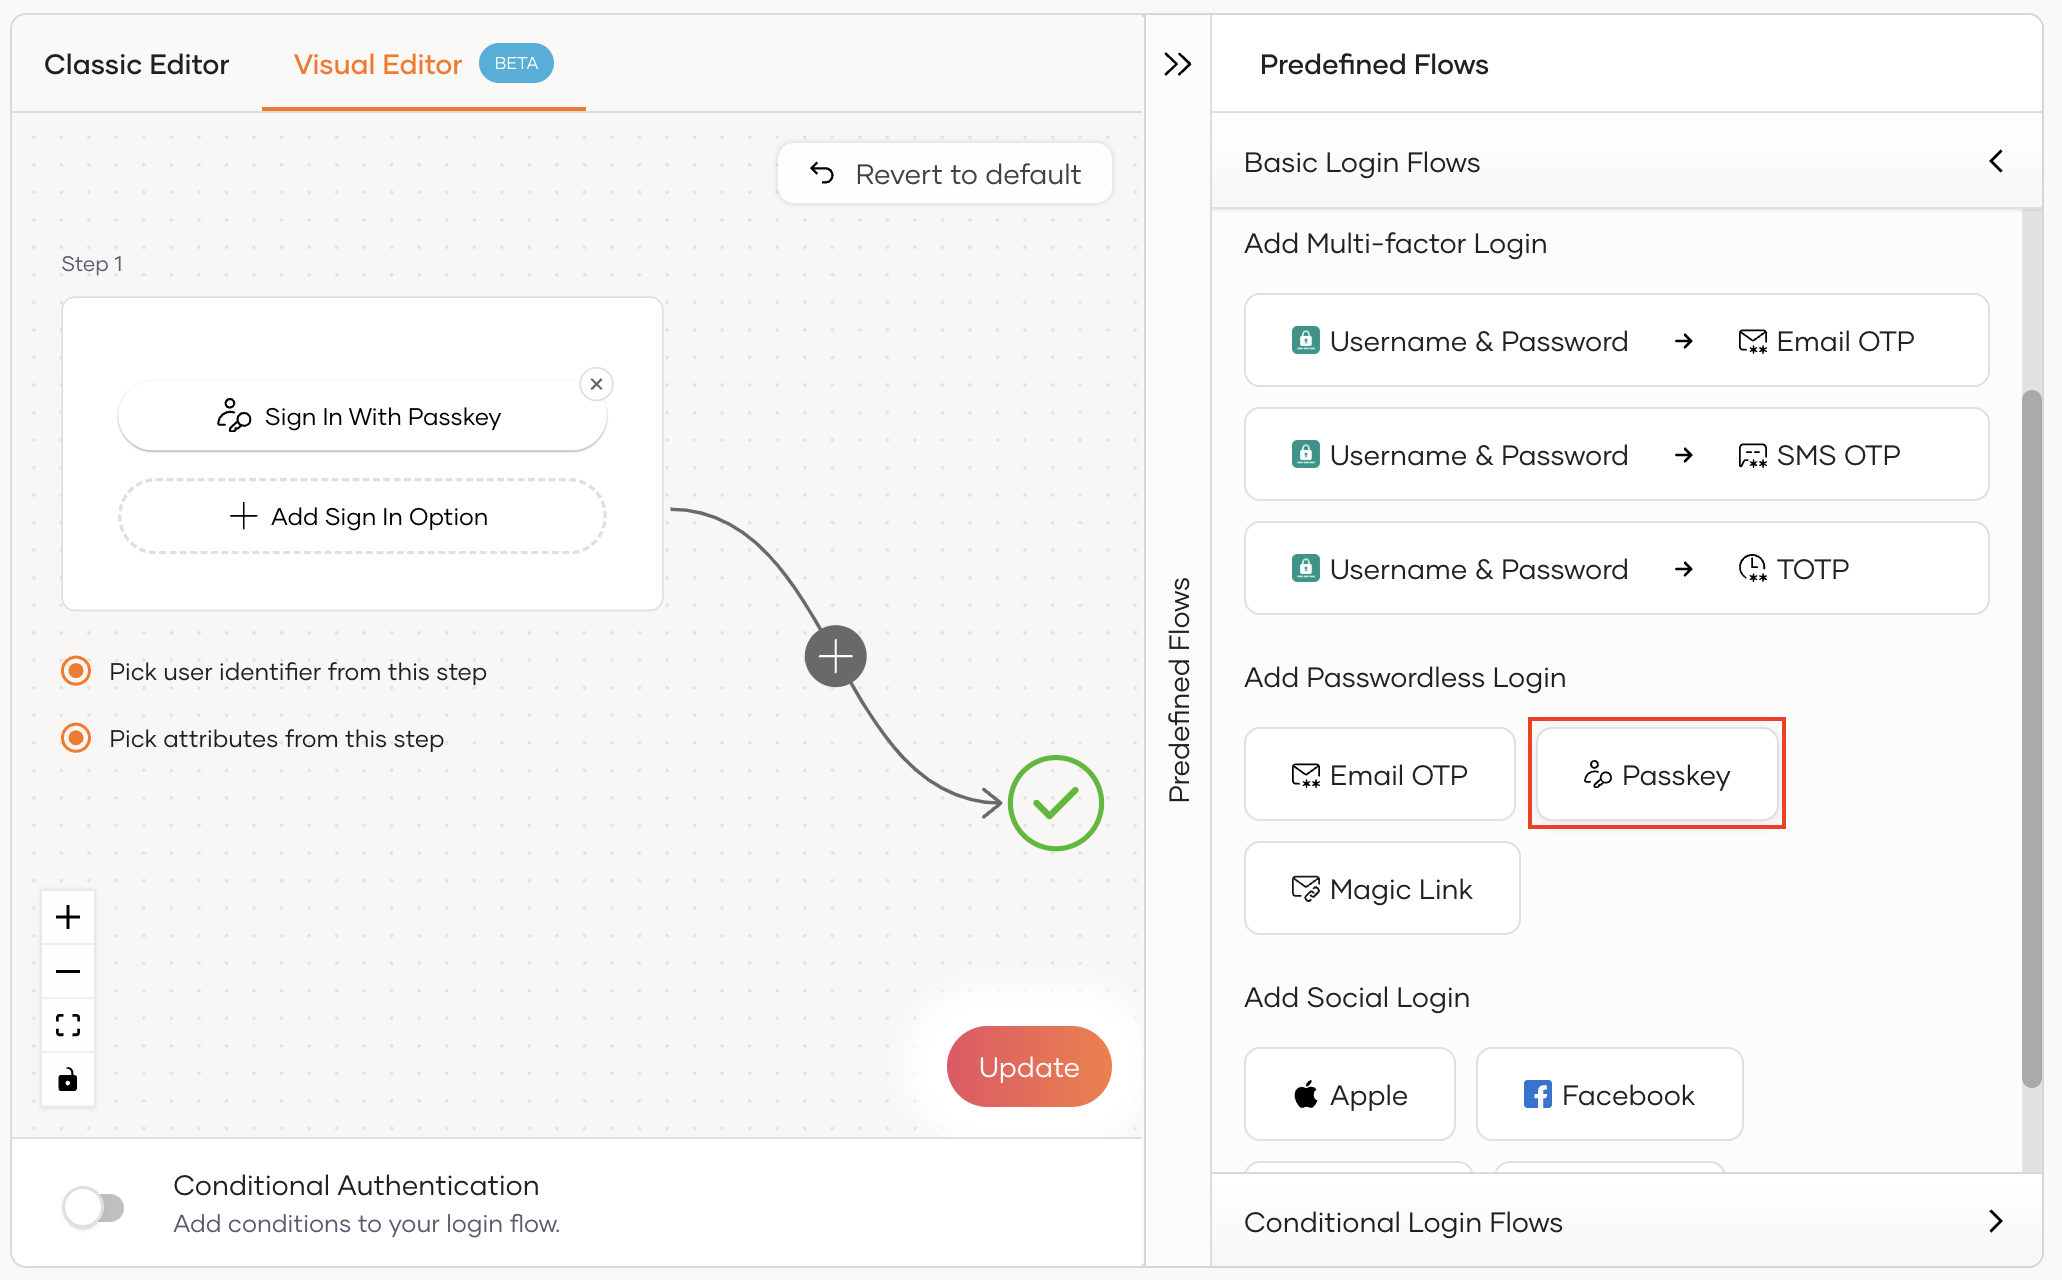
To add passwordless login with passkey using the Visual Editor:
-
Go to Predefined Flows > Basic Flows > Add Passwordless login.
-
Select Passkey.
-
Click Confirm to add passwordless login with passkey to the sign-in flow.
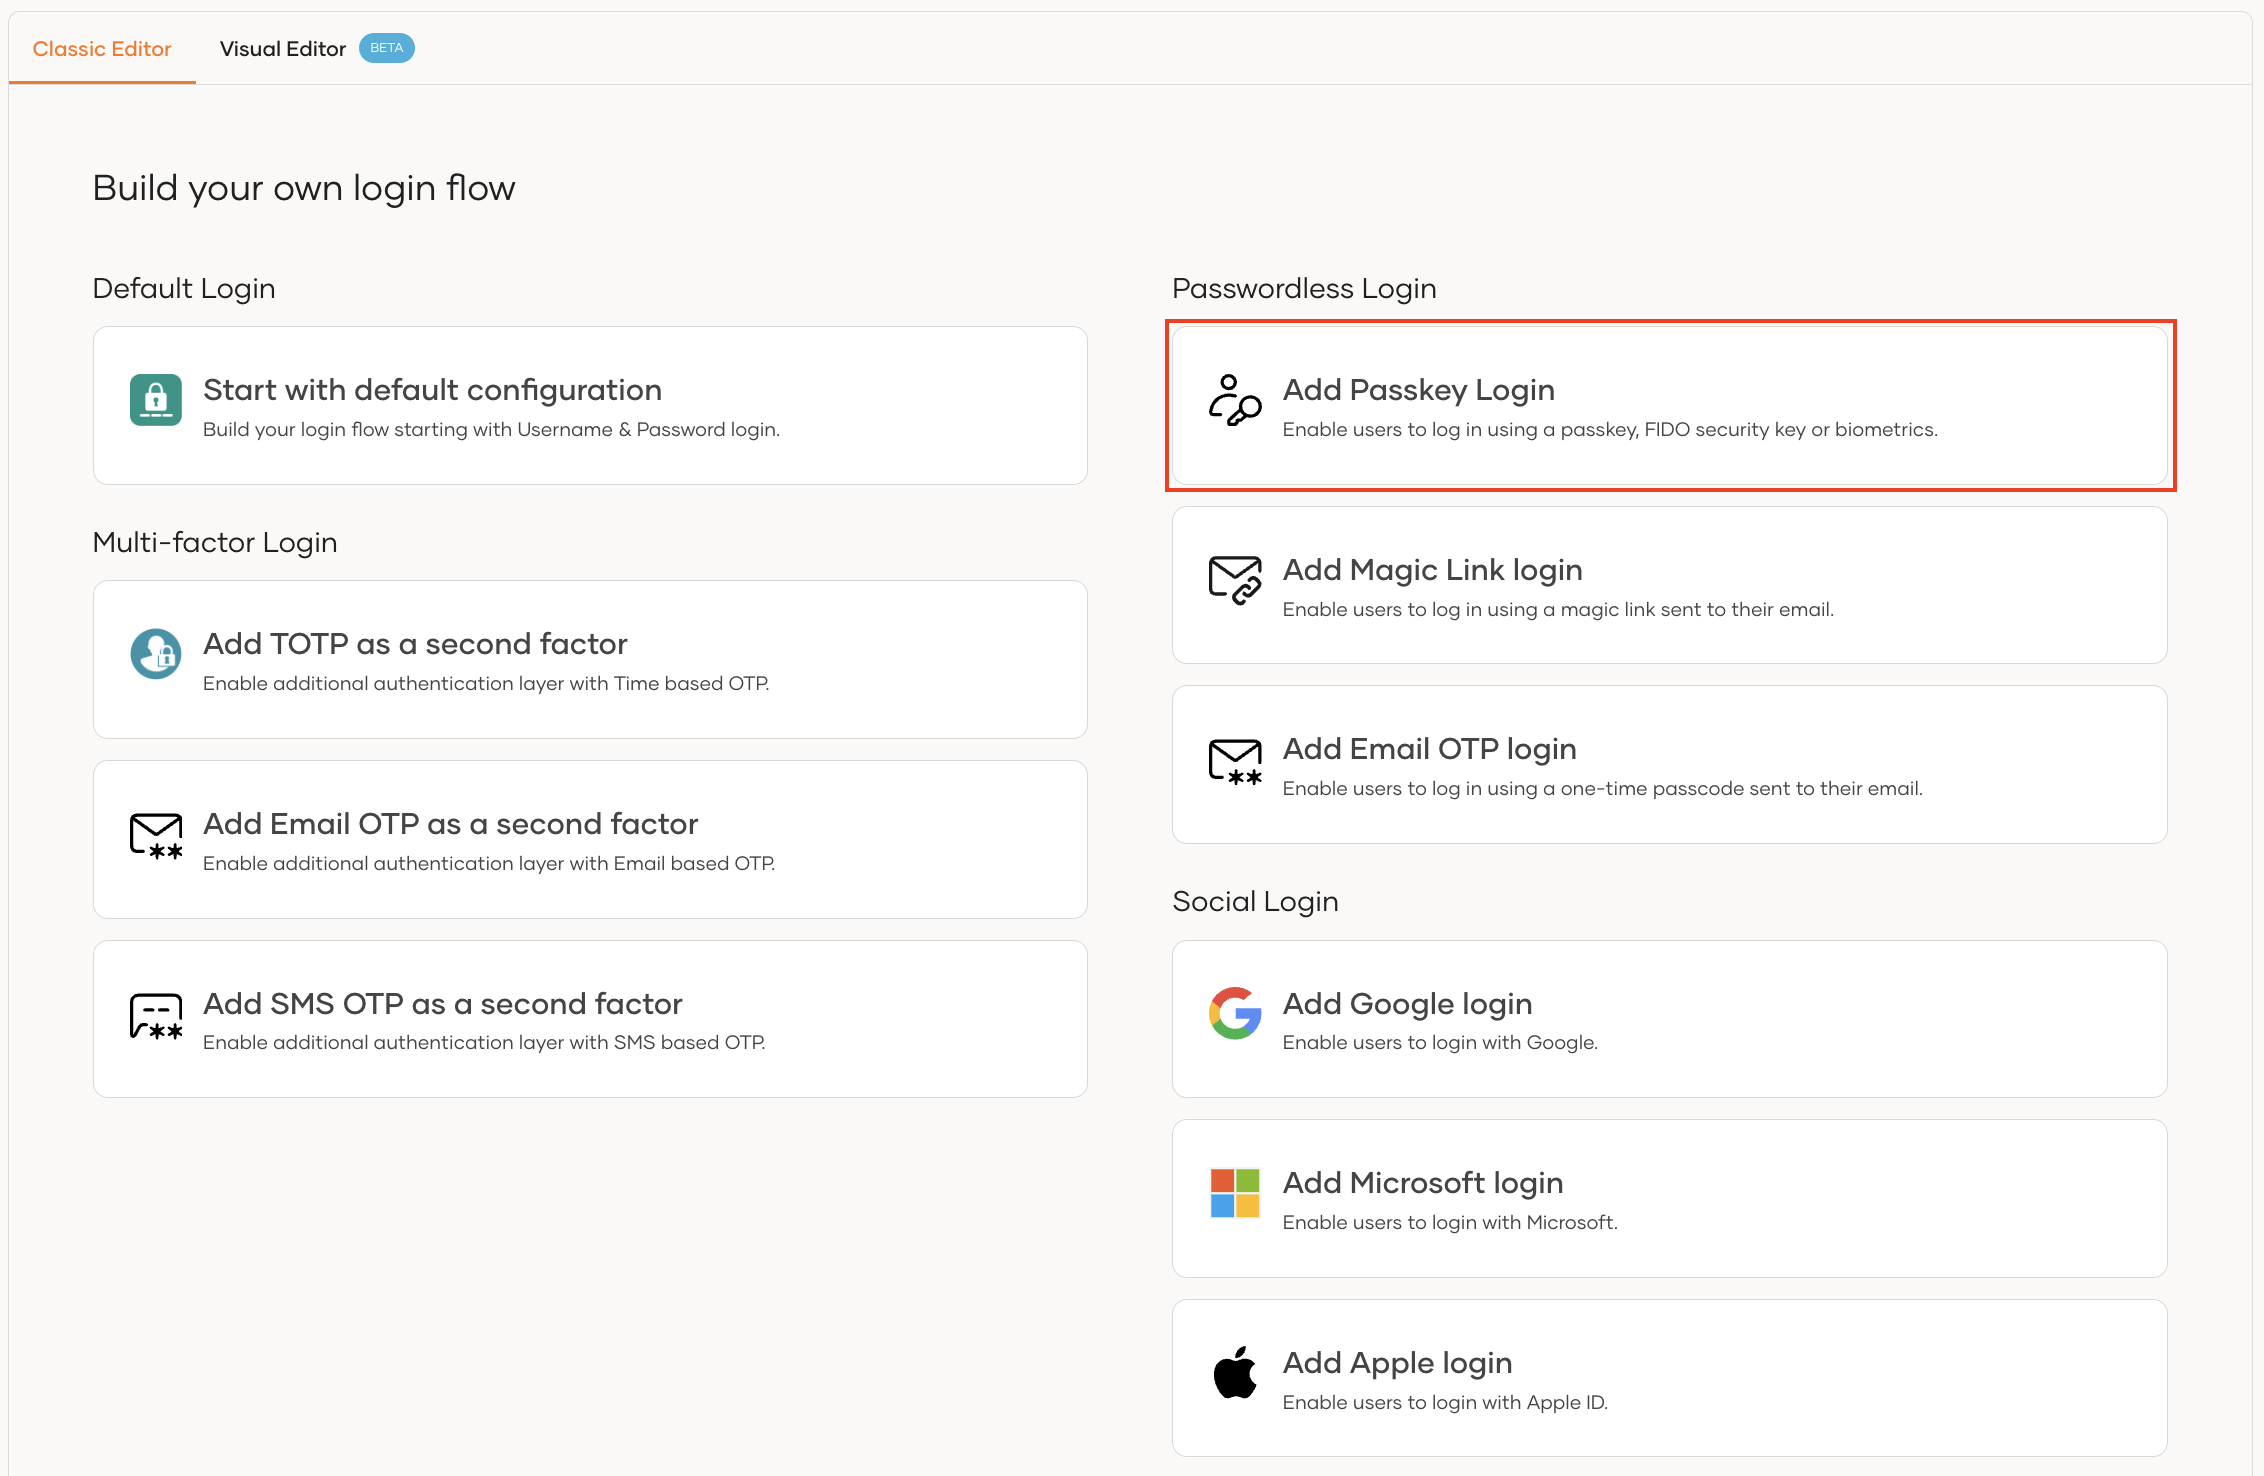
To add passwordless login with passkey using the Classic Editor:
-
Select Add Passkey login from the list if you haven't already built a login flow for the application.
-
If you already have a login flow, click Add authentication > Passkey and click Add for the first authentication step.
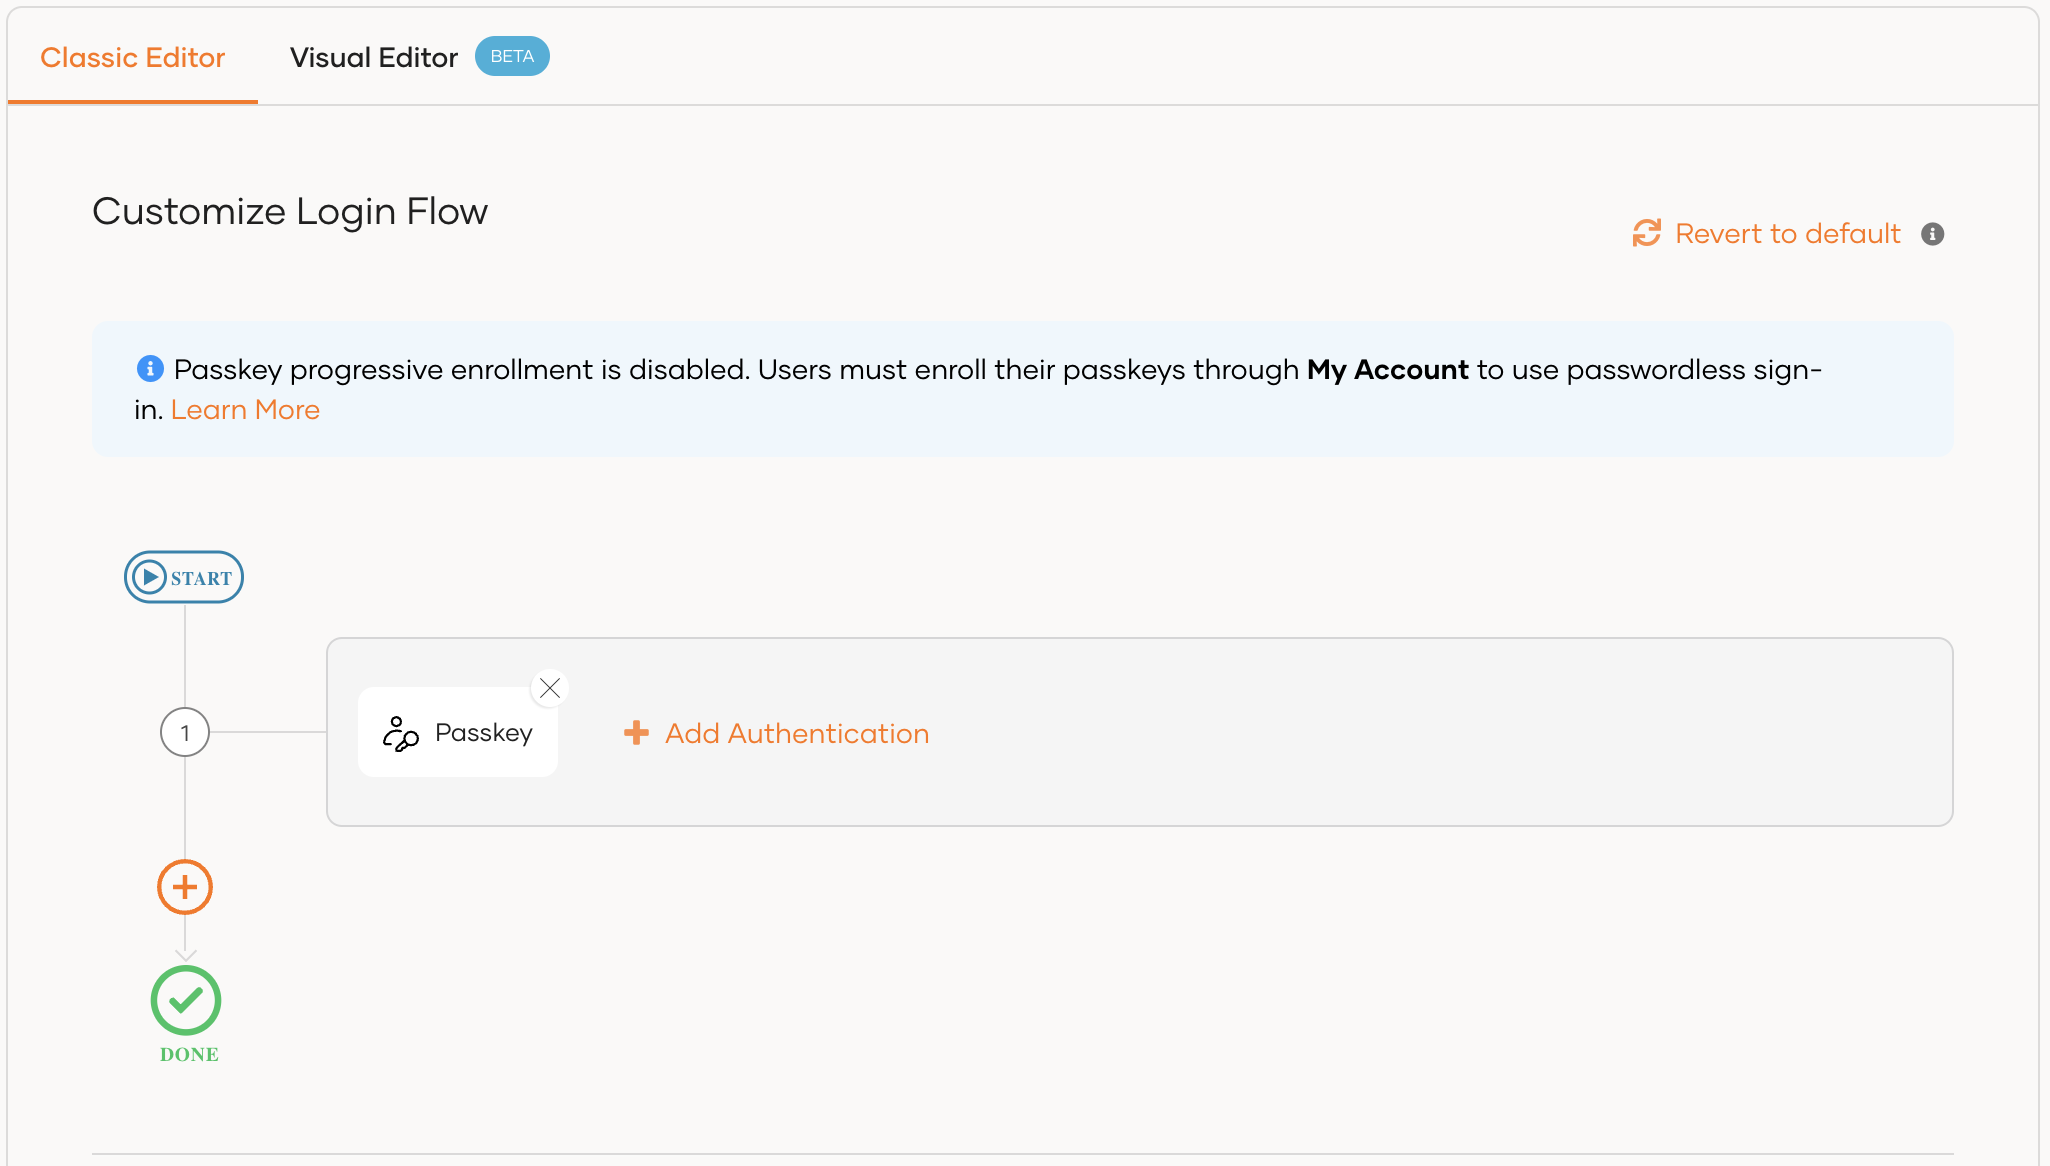
-
-
Click Update to save your changes.
Enable users to register passkeys during login
Enabling users to enroll their passkeys on the fly offers a blend of convenience and security. To do so:
-
On the WSO2 Identity Platform Console, go to Connections.
-
Select the
Passkeyconnection and go to its Settings tab. -
Select the Allow passkey progressive enrollment checkbox.
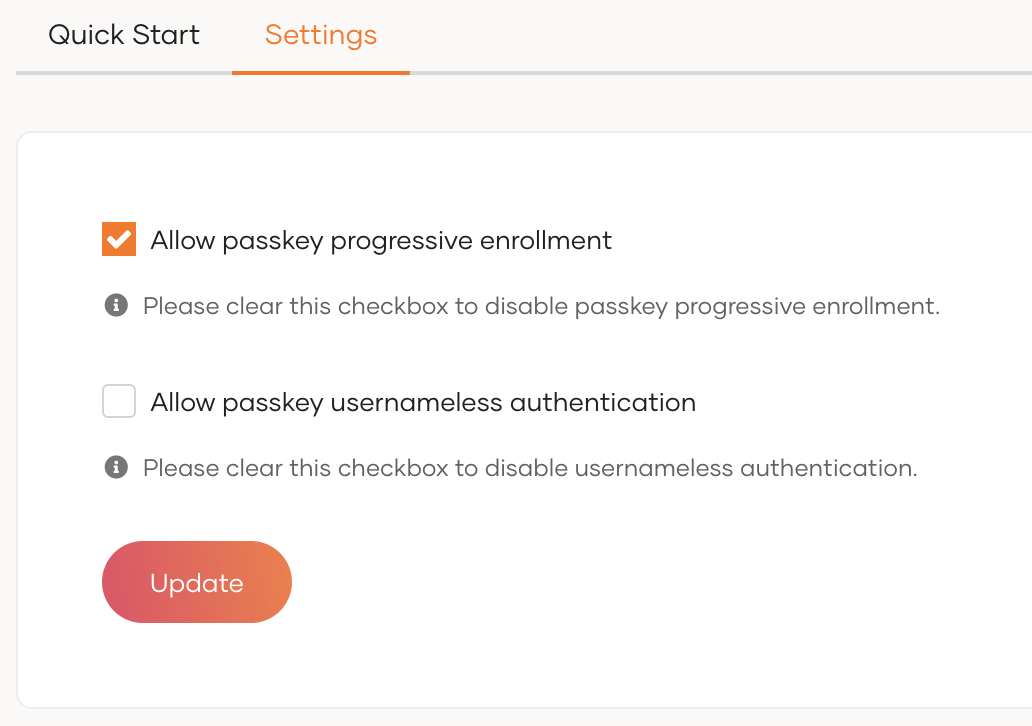
-
Click Update to save your changes.
-
Add the passkey progressive enrollment adaptive script to the login flow of the application.
Note
-
If progressive enrollment is disabled, users need to pre-register their passkeys from the MyAccount portal. Learn how to do so in Register passkeys.
-
Passkey progressive enrollment can only be configured at the organizational level and cannot be modified at the application level.
Configure usernameless passkey login
Usernameless authentication enhances user experience by eliminating the need for users to enter a username during login with passkeys. This is the default behavior in WSO2 Identity Platform. Follow the steps given below to configure passkey usernameless authentication for your application.
-
On the WSO2 Identity Platform Console, go to Connections.
-
Select the Passkey connection.
-
Go to the Settings tab of the connection.
-
Select the Allow passkey usernameless authentication checkbox to enable usernameless authentication.
Note
If this option is disabled, users are prompted to enter the username during login with passkeys.

-
Click Update to save your changes.
Note
Passkey usernameless authentication can only be configured at the organizational level and cannot be modified at the application level.
Try it out
The following guides let you try out a scenario where, passkey progressive enrollment is enabled and passkey usernameless authentication is disabled.
Enroll a passkey
Follow the steps below to enroll a passkey on the fly during login.
-
Access the application URL.
-
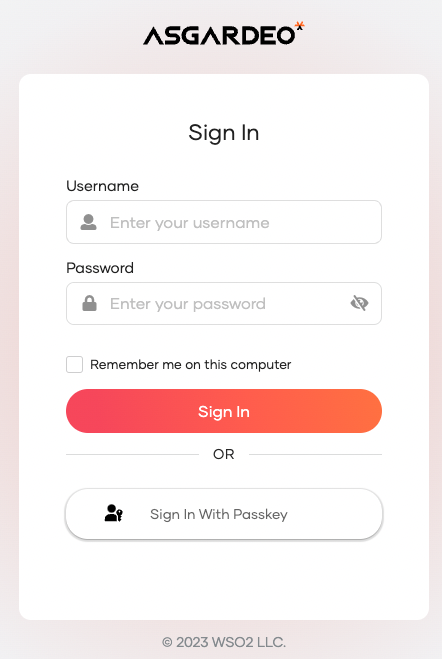
Click Login to access the WSO2 Identity Platform login page.
-
Select Sign In With Passkey.
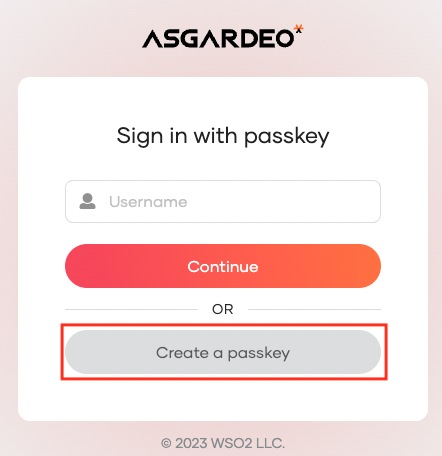
-
To enroll a new passkey, enter your username and select Create a passkey.
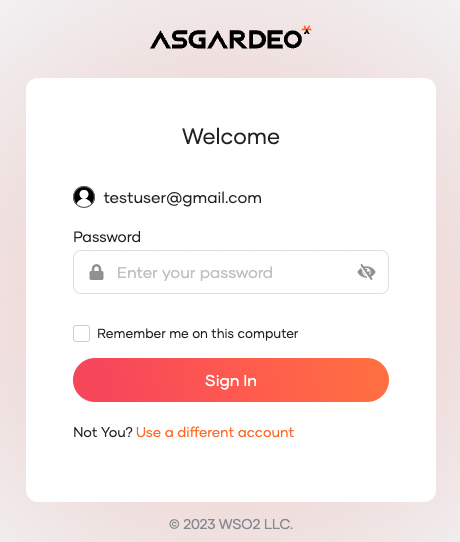
-
Enter the corresponding password for the user and click Sign In.
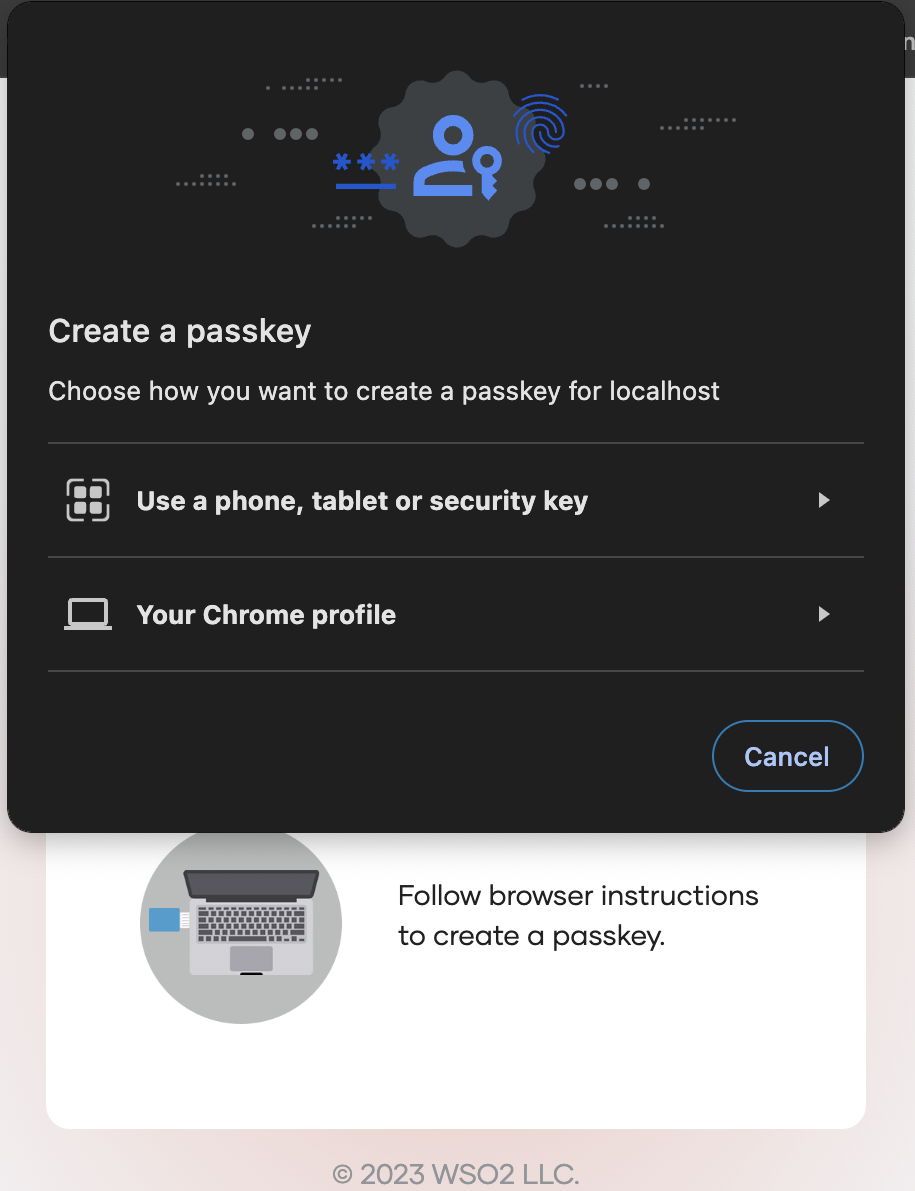
-
Follow the instructions given by your browser or device to enroll the passkey.
-
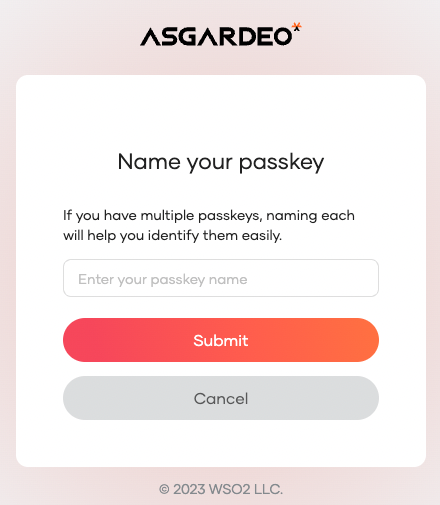
Provide a name to uniquely identify your passkey.
-
Click Submit to complete the enrollment. You'll be authenticated in the application.
Sign in with passkey
Follow the steps below to use an enrolled passkey to sign in to an application.
-
Navigate to the login page of the application.
-
Click Login to access the WSO2 Identity Platform login page.
-
Select Sign In With Passkey.
-
Enter your username and select Continue.
-
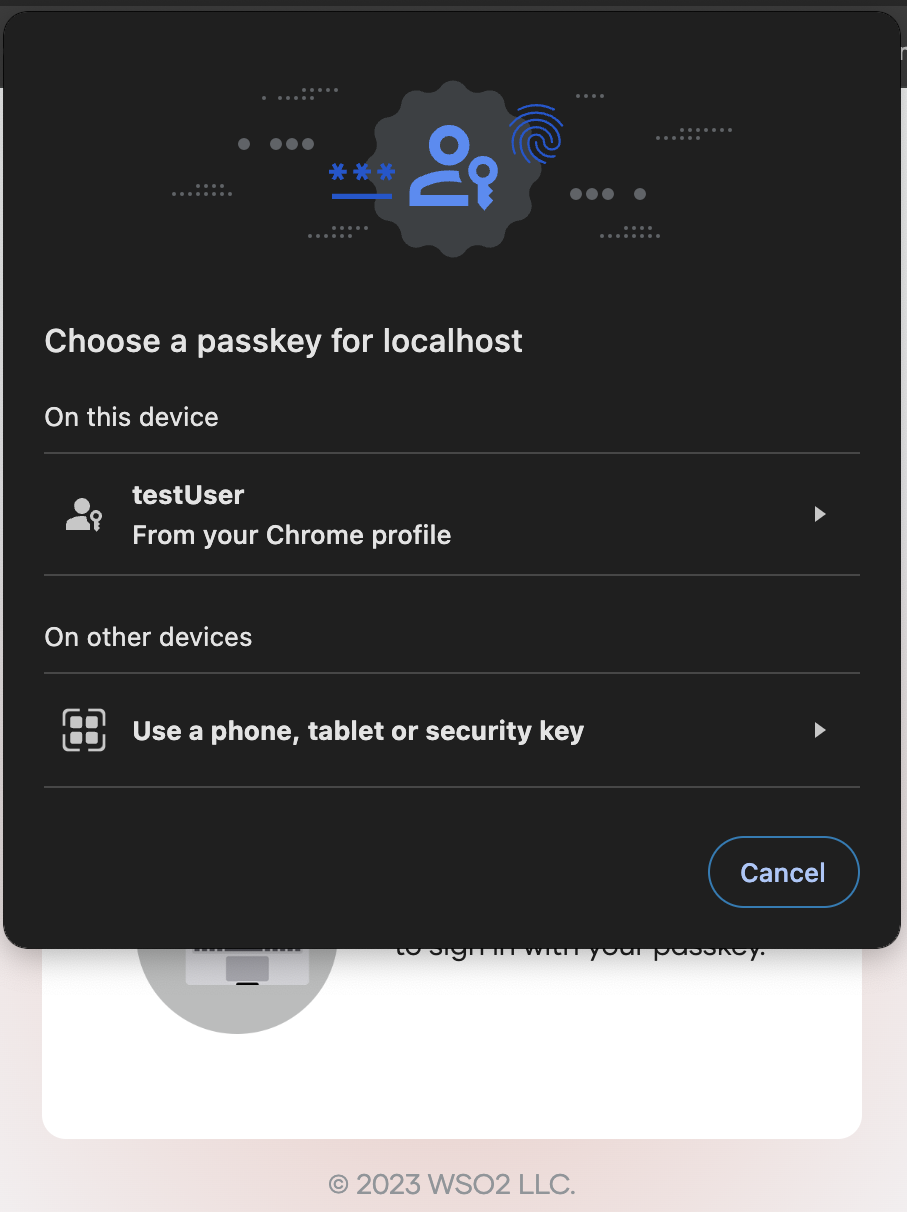
Follow the browser/device instructions to log in with a passkey.
Note
During passkey progressive enrollment, if a user wishes to use a federated authenticator, they should have their external accounts already provisioned within WSO2 Identity Platform. If, for example, a user logs in with Google using an account not provisioned in WSO2 Identity Platform, passkey enrolment results in an error and the login flow fails.
Use passkeys with app-native authentication
What is app-native authentication?
App-native authentication is an API-based mechanism that provides users with a seamless login experience right within the application. This eliminates the need to redirect users to an external web browser for authentication. Follow the guide to learn more about app-native authentication.
Passkeys support app-native authentication. This is especially useful for mobile applications to provide a seamless, passwordless login experience. Since users enter their passkeys directly within the application, iOS and Android platforms enforce mandatory validation processes to verify an application's association with the identity provider's domain. These validations ensure the authenticity of the authentication requests and help protect against credential theft by malicious actors.
To learn how to implement this, follow the guide that is relevant to you based on whether you are a user of WSO2 Identity Platform domains or custom domains.
For WSO2 Identity Platform domains
Validation services of iOS and Android require details about applications to be available in the following publicly accessible URLs.
-
For Android -
https://asgardeo.io/.well-known/assetlinks.json -
For iOS -
https://asgardeo.io/.well-known/apple-app-site-association
As a WSO2 Identity Platform domain user, follow the guide below to publish details about your app.
-
On the WSO2 Identity Platform Console, go to Applications and select your application.
-
In its Advanced tab, under Trusted App Settings, select Add as a FIDO trusted app.
-
Under Platform Settings, enter the following platform-specific details.
-
For an Android app:
-
Provide the package name of the application which takes the reverse domain format (e.g. com.example.myapp)
-
Provide key hashes, which are SHA256 fingerprints of the app's signing certificate.
-
-
For an iOS app:
- Provide the app ID of your application which consists of the team ID and the bundle ID separated by a period (.). (e.g. A1B2C3D4E5.com.domainname.applicationname)
-
-
Click Update to save the changes.
Third-party data exposure
WSO2 Identity Platform publishes app details to URLs which are common to all organizations. This means your app details will reside together with the app details of other organizations. While this is not a security concern, it is important to note that other organization users may learn details about your applications through these URLs.
If this is not desirable for your use case, you may use custom domains for your organization and publish app details to custom endpoints.
For custom domains
Validation services of iOS and Android require details about applications to be available in the following publicly accessible URLs.
-
For Android -
{custom_domain}/.well-known/assetlinks.json -
For iOS -
{custom_domain}/.well-known/apple-app-site-association
As a custom domain user, make sure you implement this by hosting details about your mobile applications according to the format expected by iOS and Android.