Integrator View
The Integrator view is the primary development interface in WSO2 Integrator. Use it to build, test, and deploy a single integration. It combines a project explorer, a visual design canvas, and deployment options in one unified workspace.
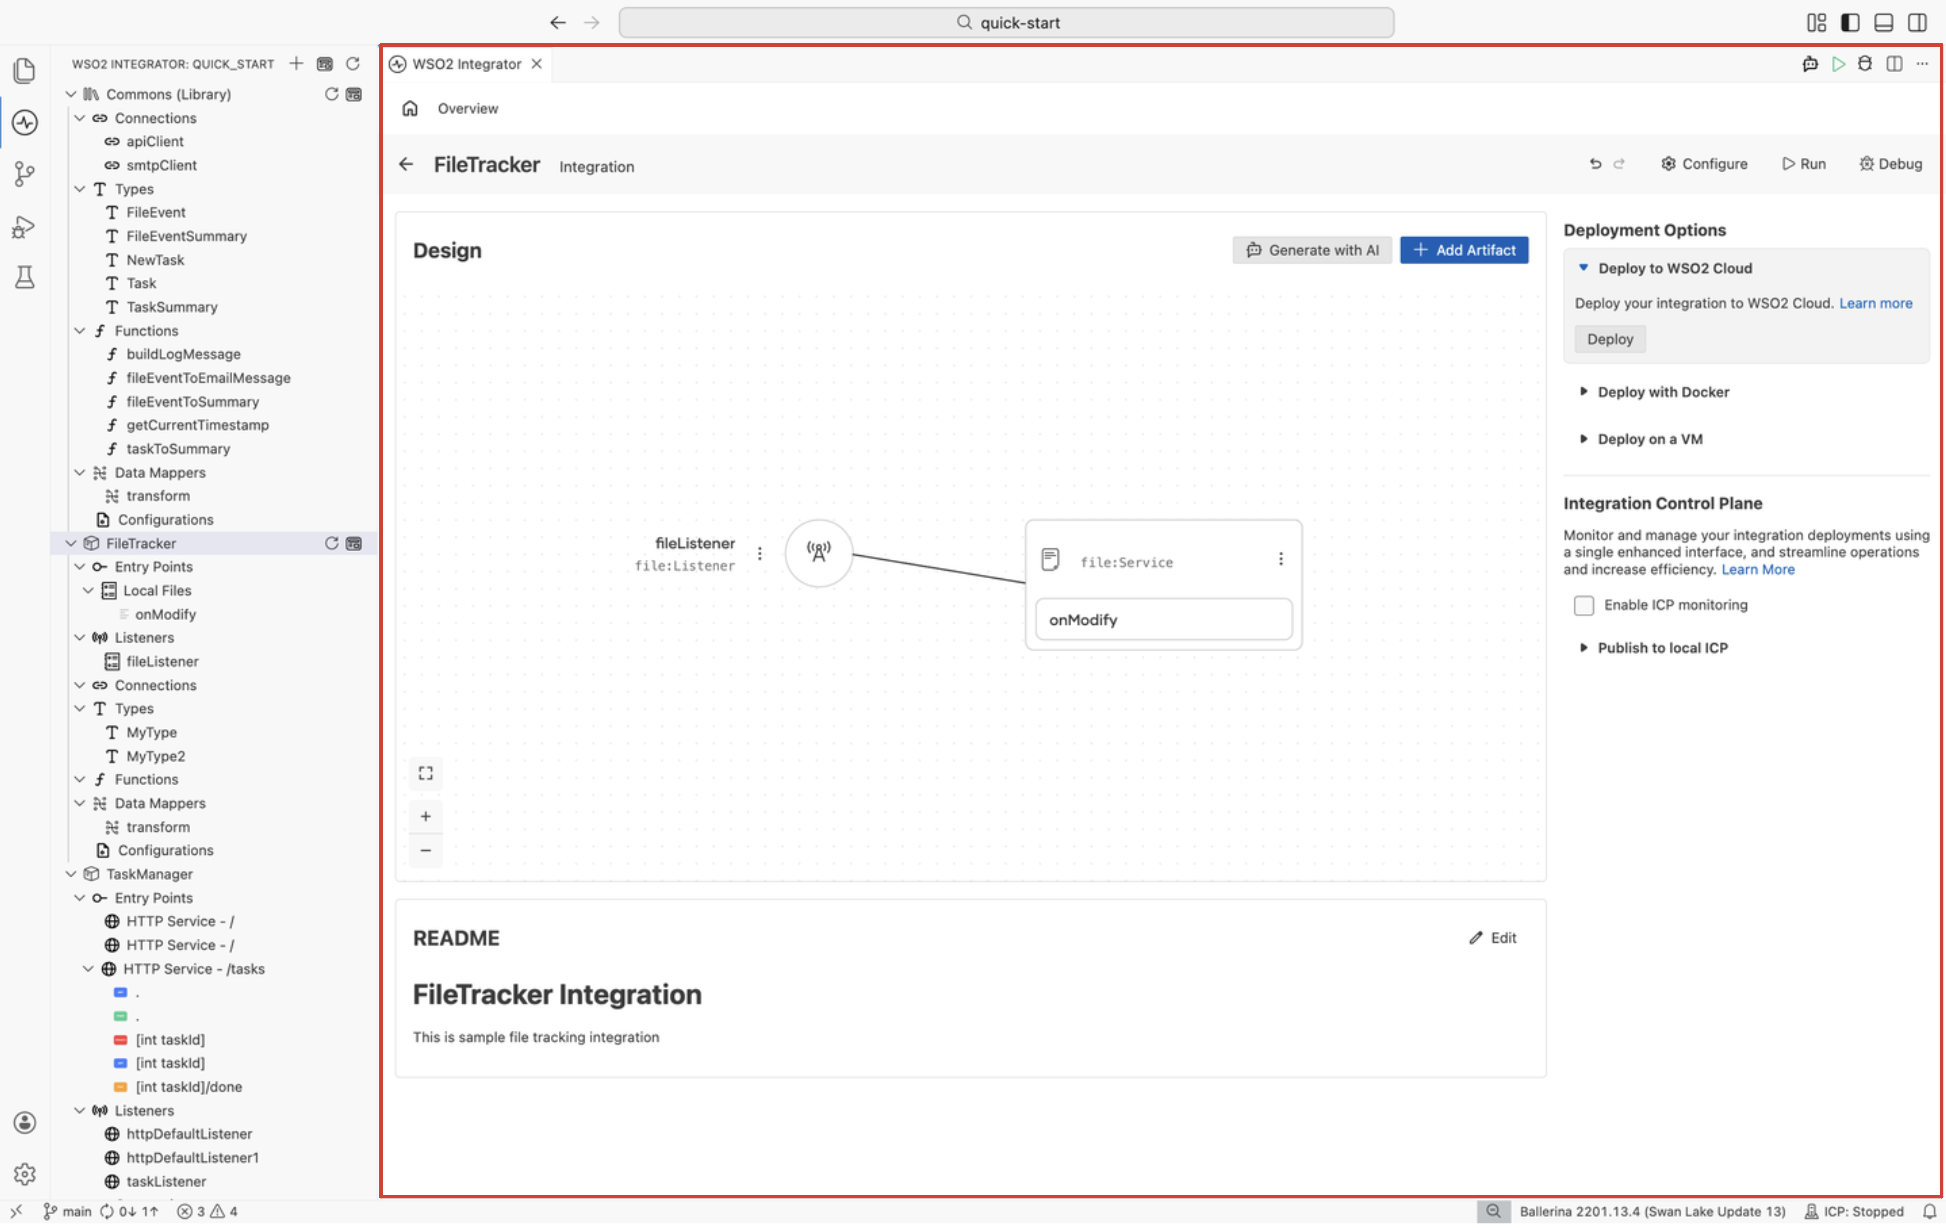
Design canvas
The design canvas is the central area of the Integrator view. It displays a visual overview of your integration, showing how entry points, listeners, connections, and services relate to each other.
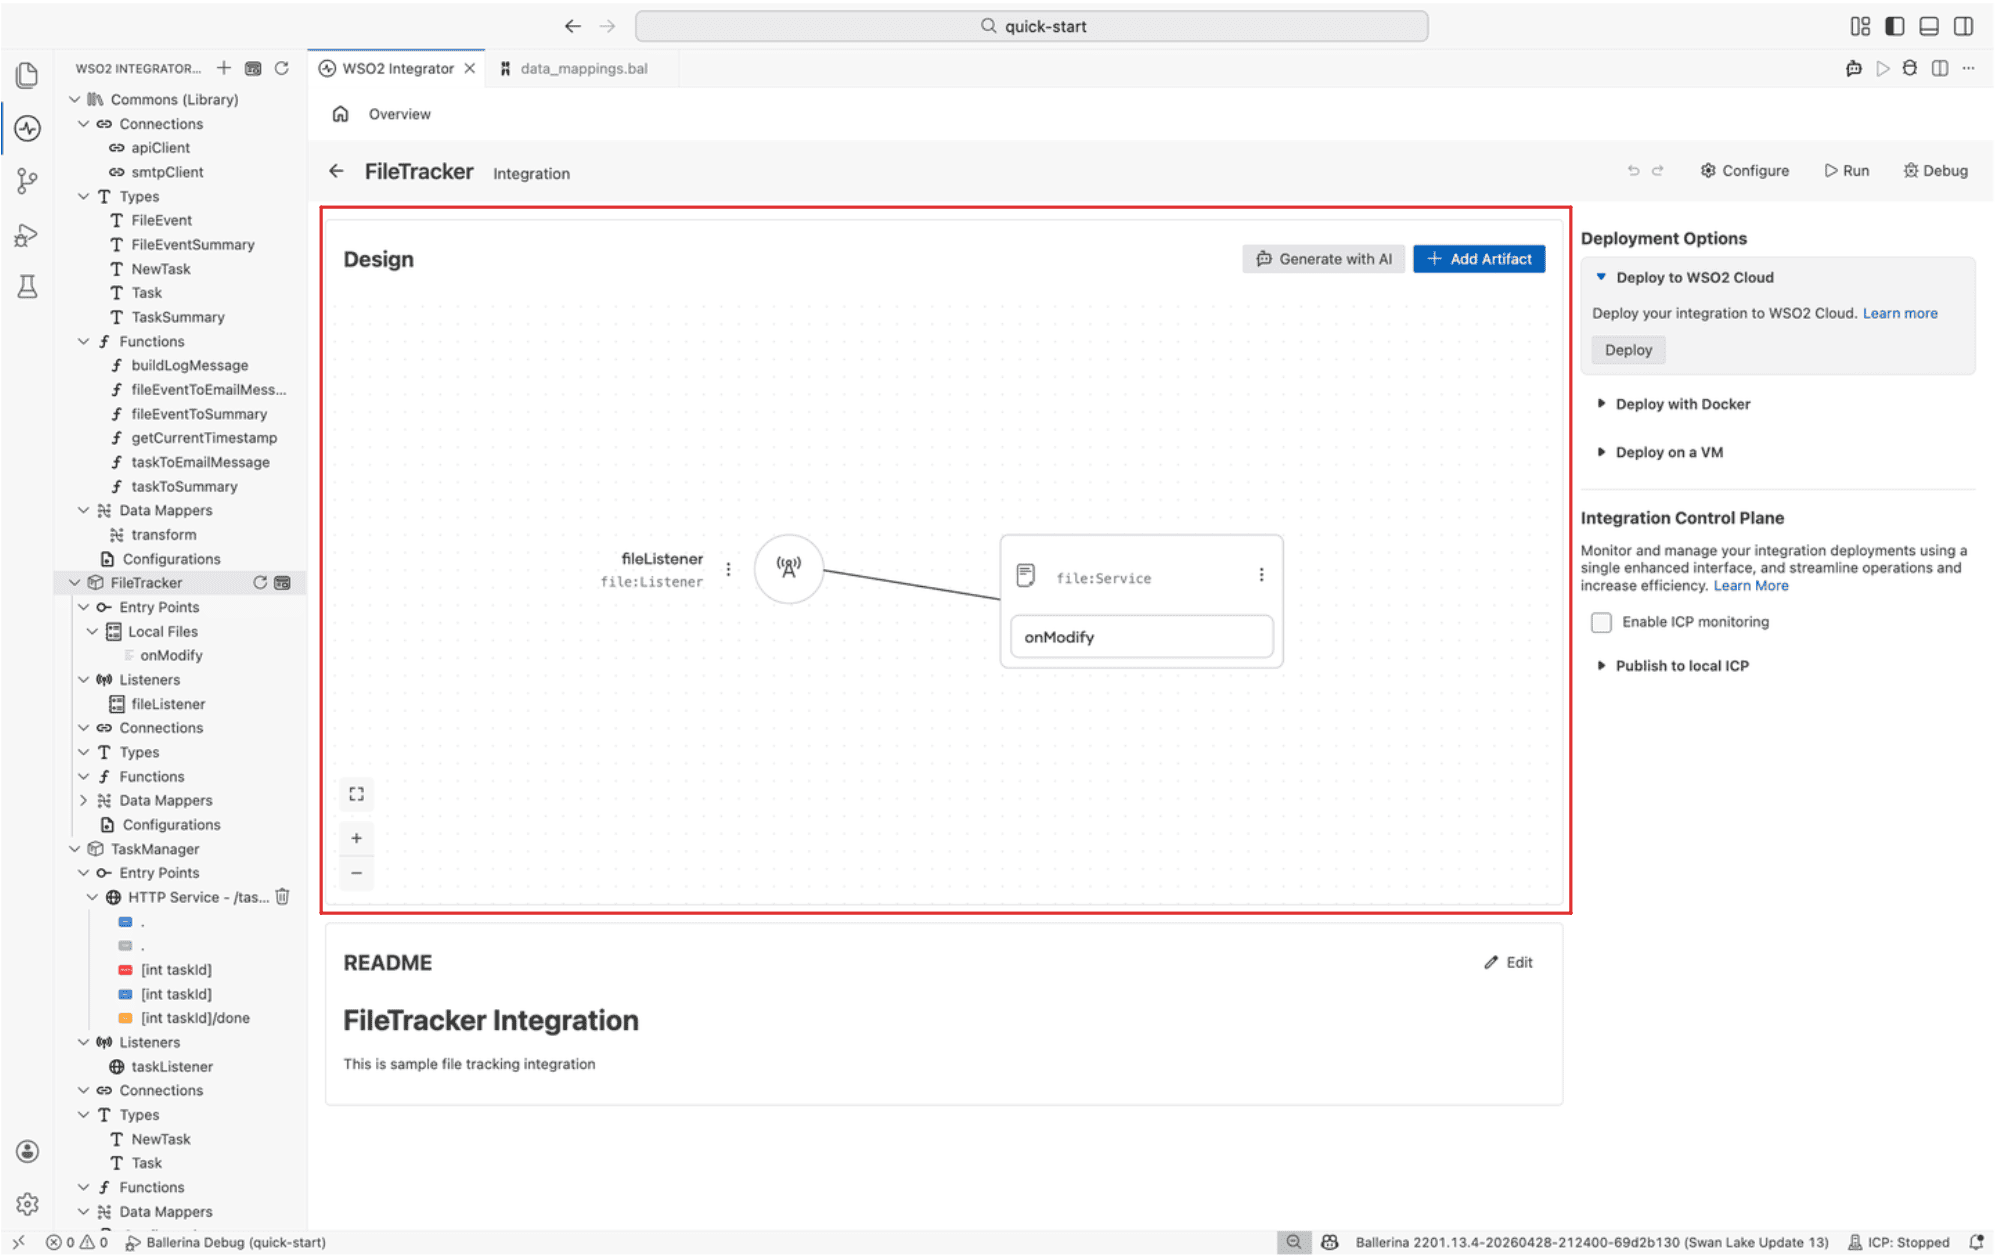
Service diagram
The service diagram renders your integration as an interactive graph. Each node represents a component:
- Entry points appear as the primary nodes on the left.
- Listeners connect to the entry points they serve.
- External connections appear on the right, showing which services your integration calls.
- Lines between nodes indicate data flow and dependencies.
Click any node to open that component in the visual designer. Right-click a node or click its three-dot menu (⋮) to access context actions such as Edit and Delete.
Zoom and navigation controls
Use the controls in the bottom-right corner of the canvas to adjust the view:
- +: zoom in.
- −: zoom out.
- Fit to screen: automatically adjusts the zoom level to show all nodes.
You can also scroll to zoom and drag to pan across the canvas.
Generate with AI
Click the Generate with AI button at the top of the canvas to open the WSO2 Integrator Copilot. Describe what you want in natural language, and WSO2 Integrator Copilot generates the integration with the appropriate entry points, connections, and logic.
Add artifact
Click the + Add Artifact button at the top of the canvas to add a new component to your integration. This opens a menu with all available artifact types organized by category:
- Entry Points: HTTP services, GraphQL services, automations, and event listeners that trigger your integration.
- Connections: Configured links to external systems such as databases, HTTP APIs, and message brokers.
- Types: Custom records, enums, arrays, service classes, and unions used in your integration.
- Functions: Reusable logic blocks callable from entry points or other functions.
- Data Mappers: Visual transformations between source and target types.
- Configurations: Variables sourced from
Config.tomlat runtime.
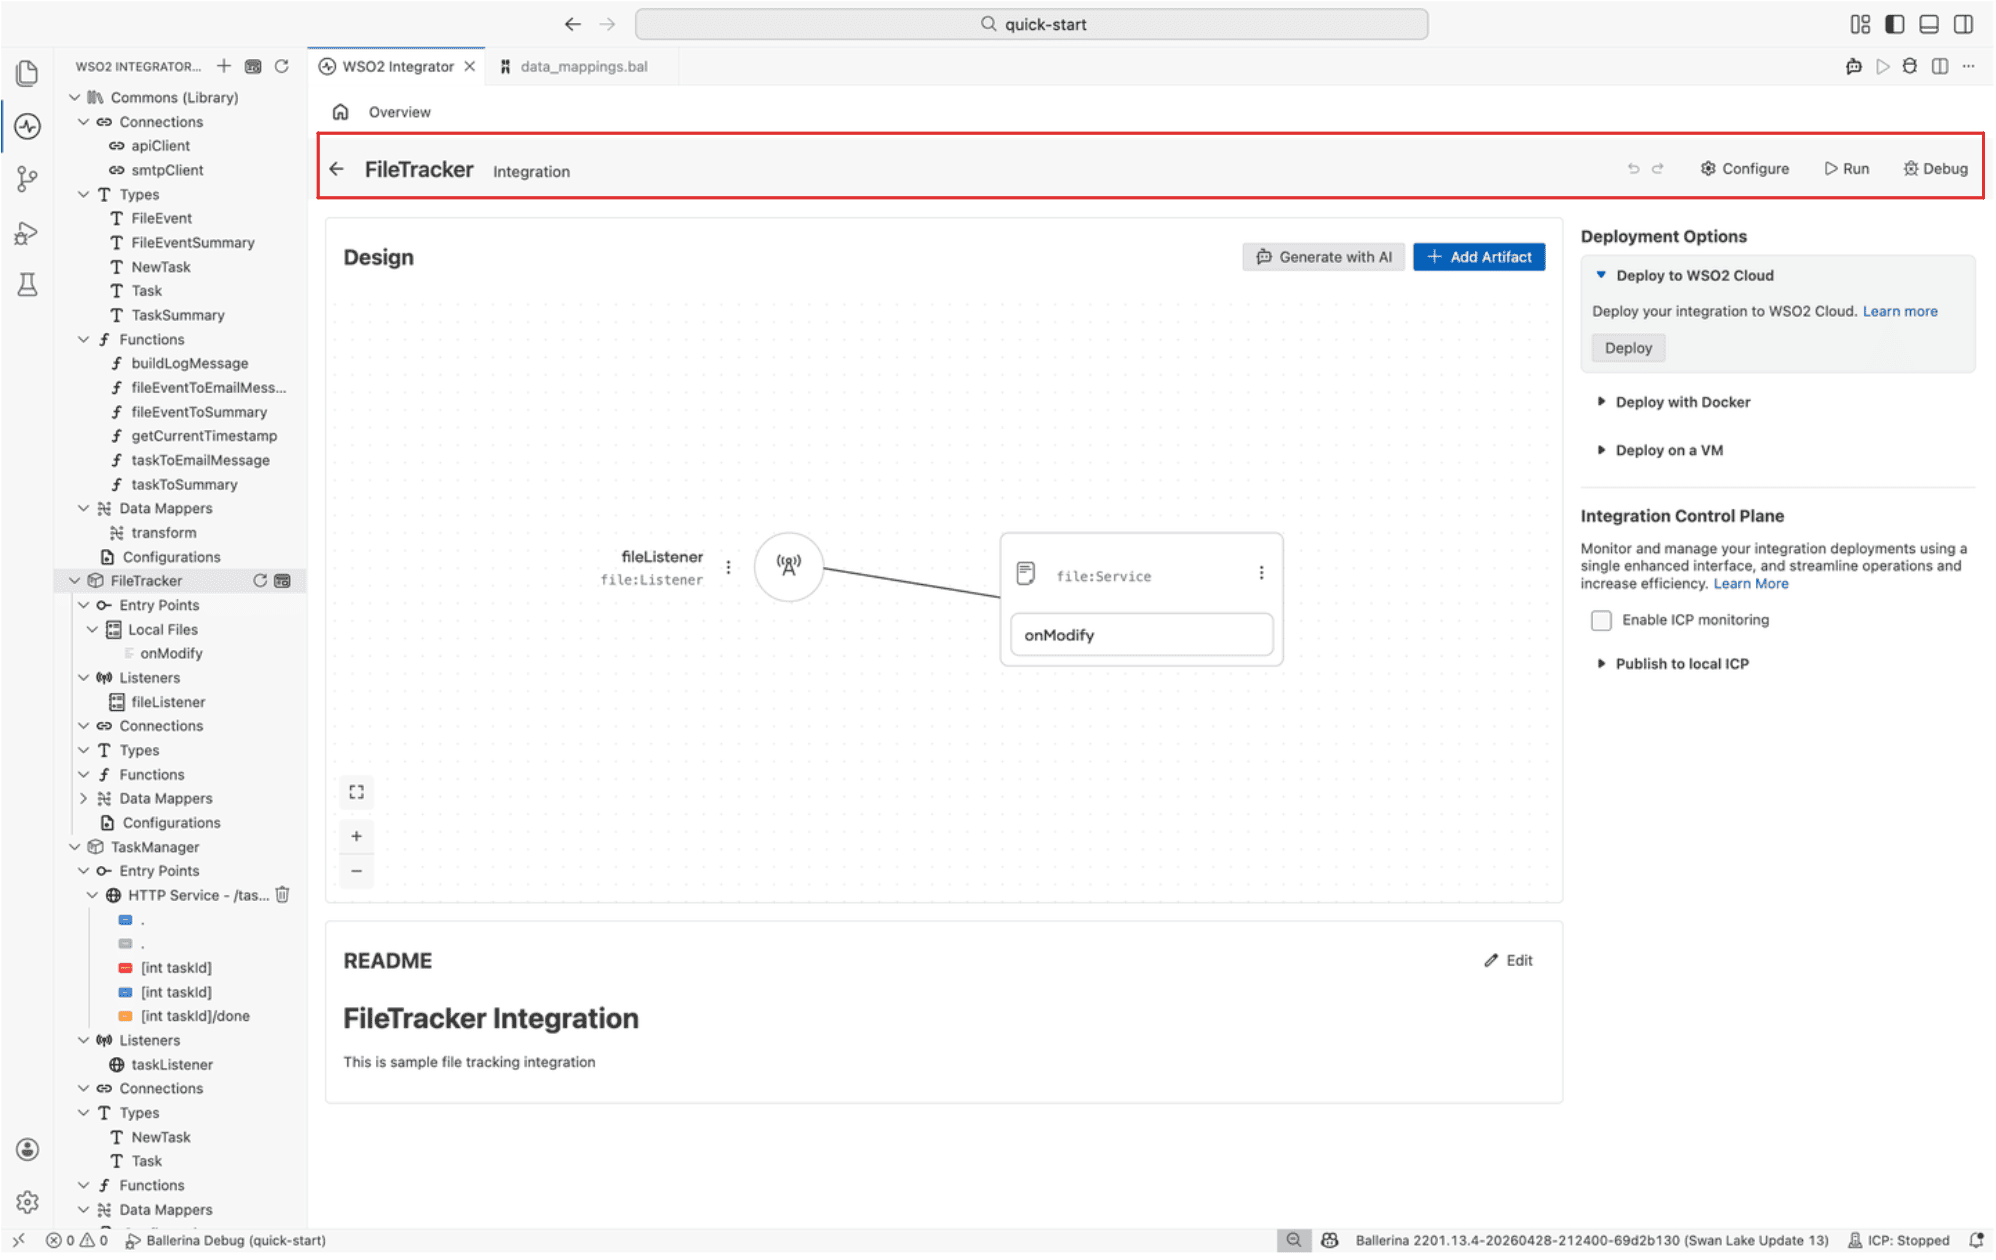
Toolbar
The toolbar sits at the top of the Integrator view and provides quick access to common actions for building, running, and debugging your integration.
| Action | Description |
|---|---|
| Undo / Redo | Reverses or reapplies recent changes. Works across both the visual designer and the code editor. |
| Configure | Opens the configuration panel, equivalent to adding a configuration from the project explorer. |
| Run | Builds and runs your integration locally. WSO2 Integrator compiles the Ballerina code, starts the services, and displays the output in the terminal panel. |
| Debug | Starts a debug session with the debugger attached. Set breakpoints, step through execution, inspect variables and payloads, and evaluate expressions at runtime. |
Deployment options panel
The deployment options panel appears on the right sidebar and provides shortcuts to deploy the integration to different environments.

| Option | Target |
|---|---|
| Deploy to WSO2 Cloud | Fully managed cloud platform for hosting and running integrations. |
| Deploy with Docker | Build Docker images and deploy integrations to Kubernetes clusters. |
| Deploy on a VM | Run integrations as standalone JAR files on virtual machines. |
| Integration Control Plane (ICP) | Monitor and manage running integrations from a centralized dashboard. |
Select Enable ICP monitoring to activate ICP for this integration, or expand Publish to local ICP to push the integration to a local Integration Control Plane instance.
README section
The README section at the bottom of the Integrator view displays the contents of your project's README.md file. Use it to document the purpose, setup instructions, and usage notes for your integration.
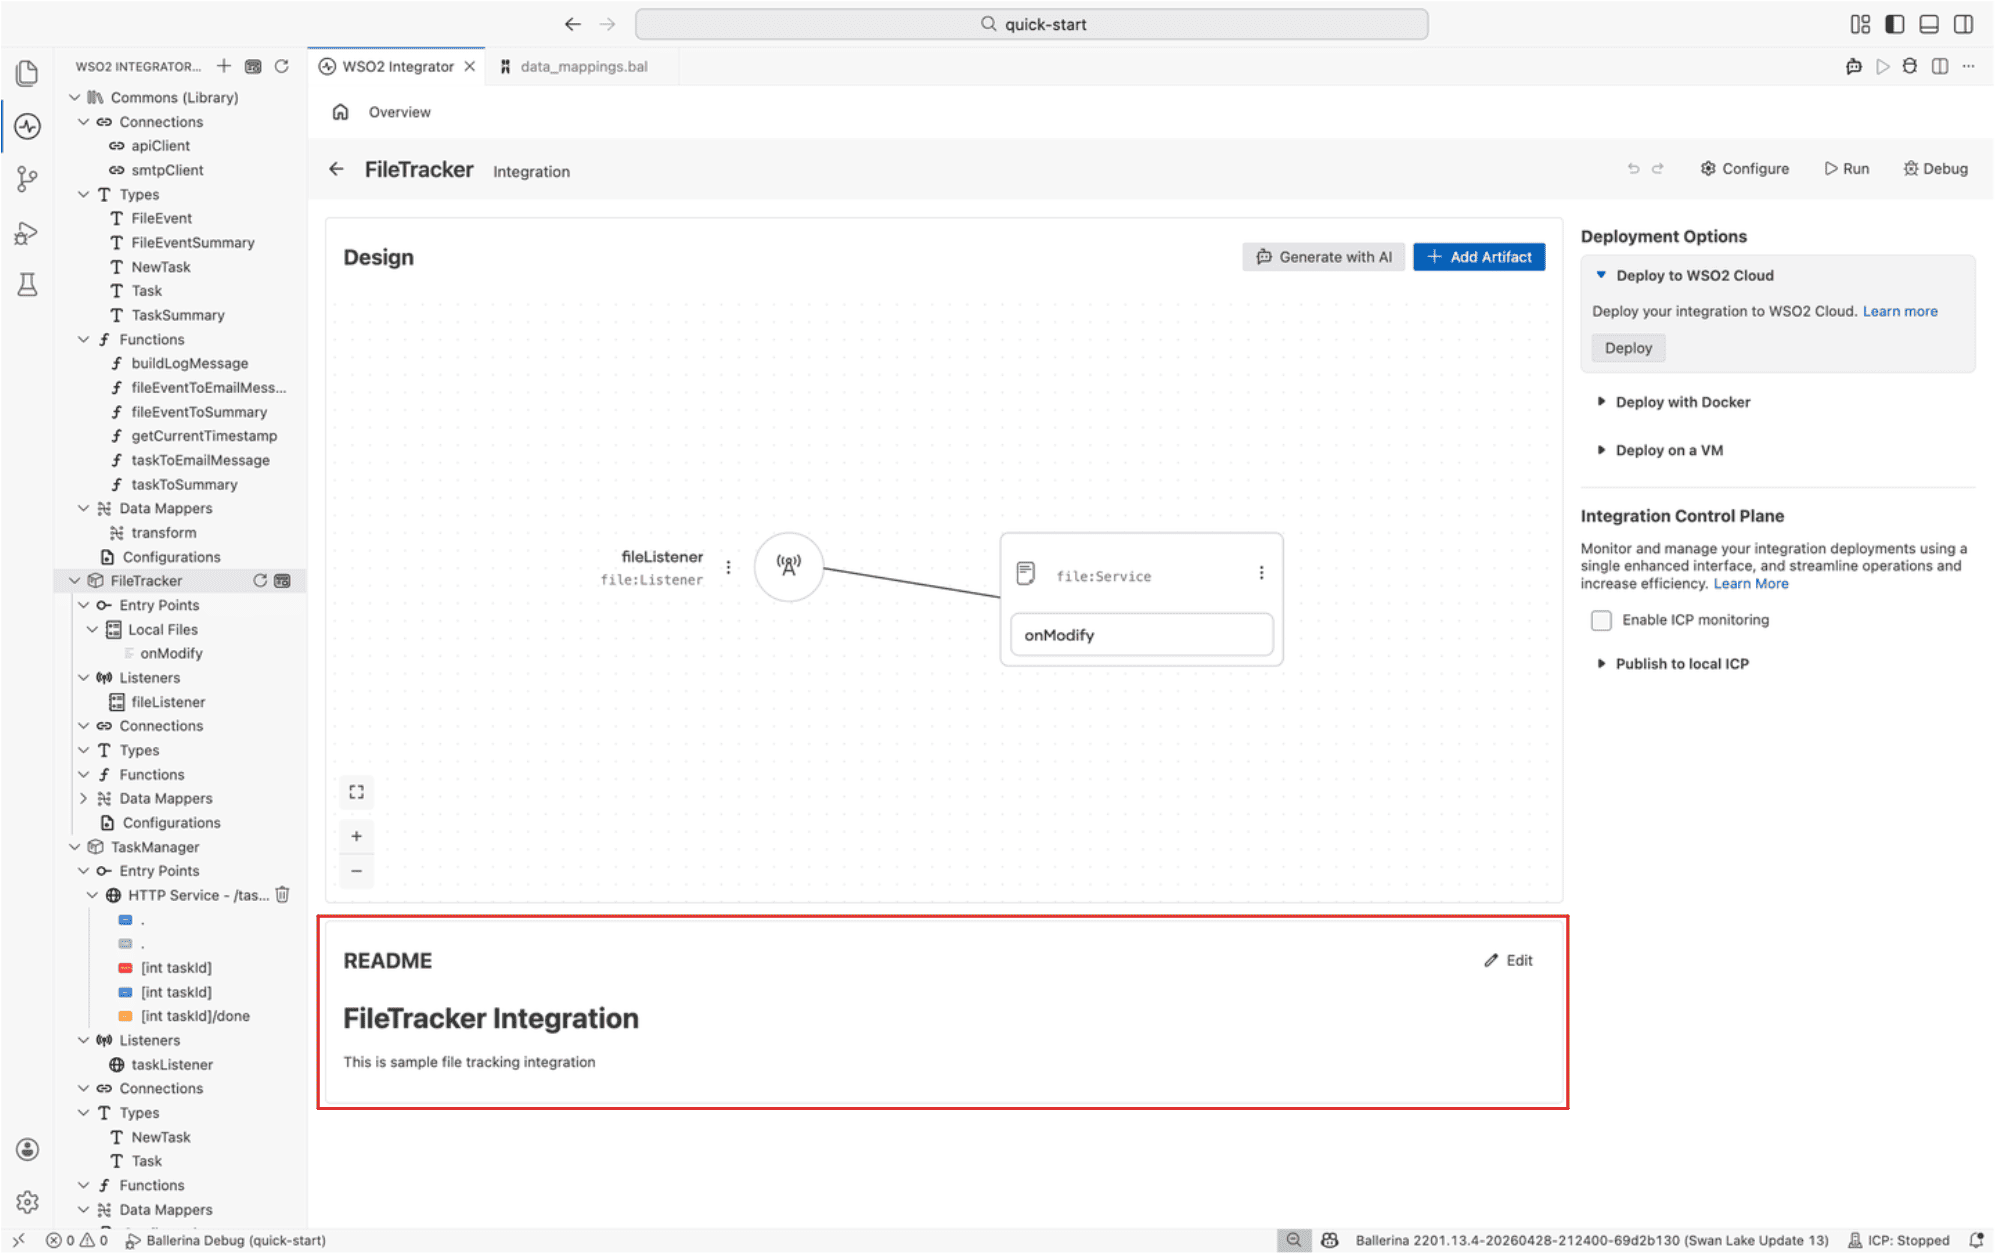
Click Edit to modify the README directly. You can also click Generate with AI to create a README automatically based on your project's components and configuration.
What's next
- Flow Diagram editor — Build logic using the visual designer.
- Integration artifacts — Learn about artifact types and their configuration.
- Deploy to WSO2 Cloud — Deploy your integration to the cloud.