How to deploy a web application in StratosLive using Carbon Studio

- Dakshitha Ratnayake
- Director - Developer Relations - WSO2
This article has been curated on 13th March 2012.
Contents
1) Create a CApp
2) Create a Web Application Project
3) Create the Web Application
4) Deploy the Web Application via Carbon Studio
5) Deploy the Web Application manually
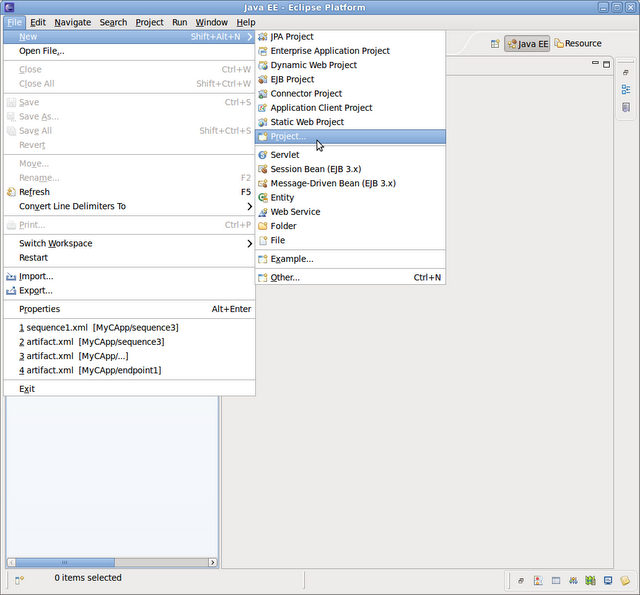
Select Carbon Application Project

Give a name to the project. Give TestProject as the name of the CApp.
2) Create a Web Application Project
Right click on TestProject -> New -> Web Application (WAR)

A wizard will be shown for the creation process of the WAR. Select Web Application from web project as shown. Since we don't have any web projects in the workspace, let's create one from scratch. So click on New Dynamic Web Project.

Give the 'WebApp' as the project name. If not present, provide path to "Target Runtime" by clicking on "New Runtime". At the time of writing this article, the latest Runtime of WSO2 servers is "WSO2 Carbon 3.2 based server". Set "Minimal Configuration" for "Configuration". After setting that, click on next.

The following page will be shown. Click on next.

In the next page, the information is given for you. Just click on Finish to finish creating the web project. (The contents for this project will be added later).

When you clicked on 'Finish' you will see the newly-created web application in your workspace and it will be selected in the drop down box. Click on Next.

We need the web application to be contained in the CApp, therefore select TestProject and click on Finish.

You will now have two separate projects in your workspace. WebApp is the dynamic web project and TestProject is the CApp project which contains a reference to the WebApp.


The new index.jsp file is now created inside the 'WebContent' folder.

<%@ page language="java" contentType="text/html; charset=UTF-8"
	pageEncoding="UTF-8"%>
<!DOCTYPE html PUBLIC "-//W3C//DTD HTML 4.01 Transitional//EN" "https://www.w3.org/TR/html4/loose.dtd">
<html>
<head>
<meta http-equiv="Content-Type" content="text/html; charset=UTF-8">
<title></title>
</head>
<body>
<h2>Welcome to the tutorial on how to deploy a Web App in StratosLive!</h2>
<form method="get" action="welcome.jsp">
Enter your name here :
<input type="text" name="name">
<input type="submit" value="Submit"></form>
</body>
</html>
Let's create the servlet for the web app now.
Right click on WebApp -> New -> Servlet
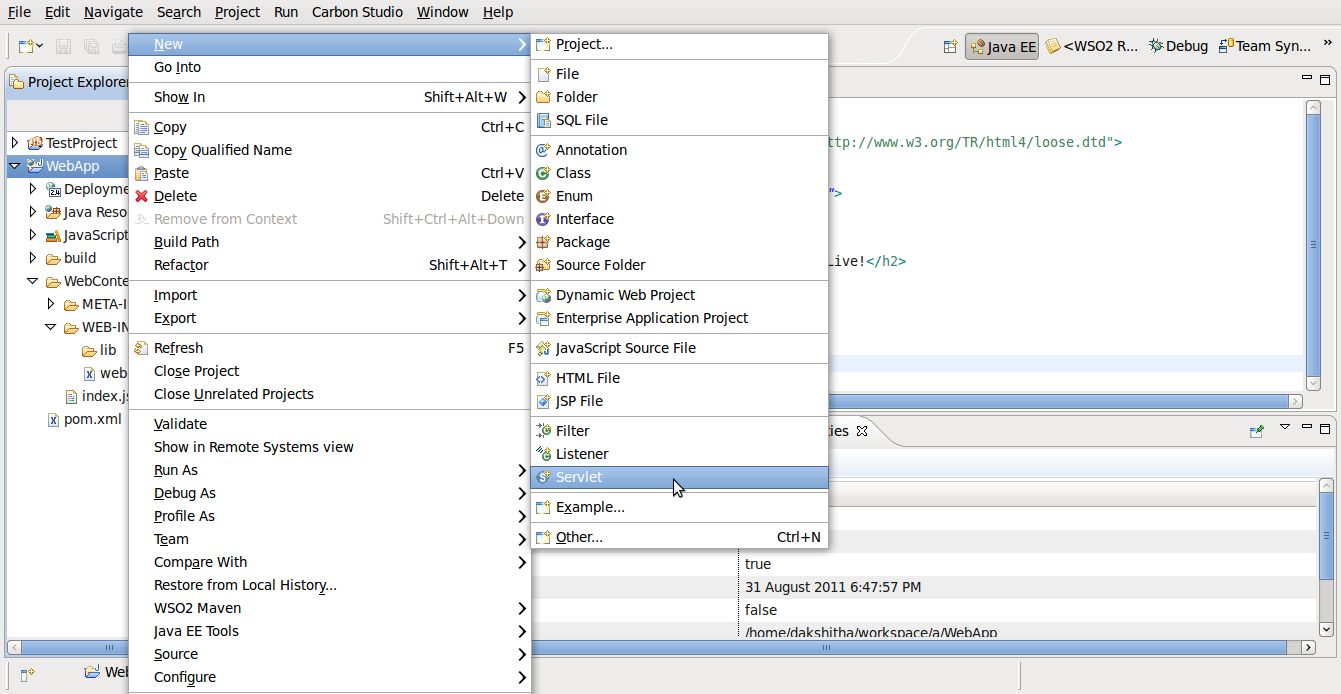
You will now see a wizard. In the first page, Project will be already selected. Source folder is the location of the servlet that we are creating. Give wso2.sample as the package name and WelcomeServlet as the class name as shown below. Click on Next.


package wso2.sample;


import java.io.IOException;
import java.io.PrintWriter;

import javax.servlet.ServletException;
import javax.servlet.http.HttpServlet;
import javax.servlet.http.HttpServletRequest;
import javax.servlet.http.HttpServletResponse;

public class WelcomeServlet extends HttpServlet {

	private static final long serialVersionUID = 1L;
	private String userName;

	public void init() throws ServletException {
		userName = "default";
	}

	protected void doGet(HttpServletRequest request,
			HttpServletResponse response) throws ServletException, IOException {
		userName = (String) request.getParameter("name");
		response.setContentType("text/html");
		PrintWriter out = response.getWriter();
		out.println("<h2>" + "<font color=\"blue\">" + "Welcome " + userName
				+ " :) !!" + "</font></h2>");
	}

	protected void doPost(HttpServletRequest req, HttpServletResponse resp)
			throws ServletException, IOException {
		doGet(req, resp);
	}
}
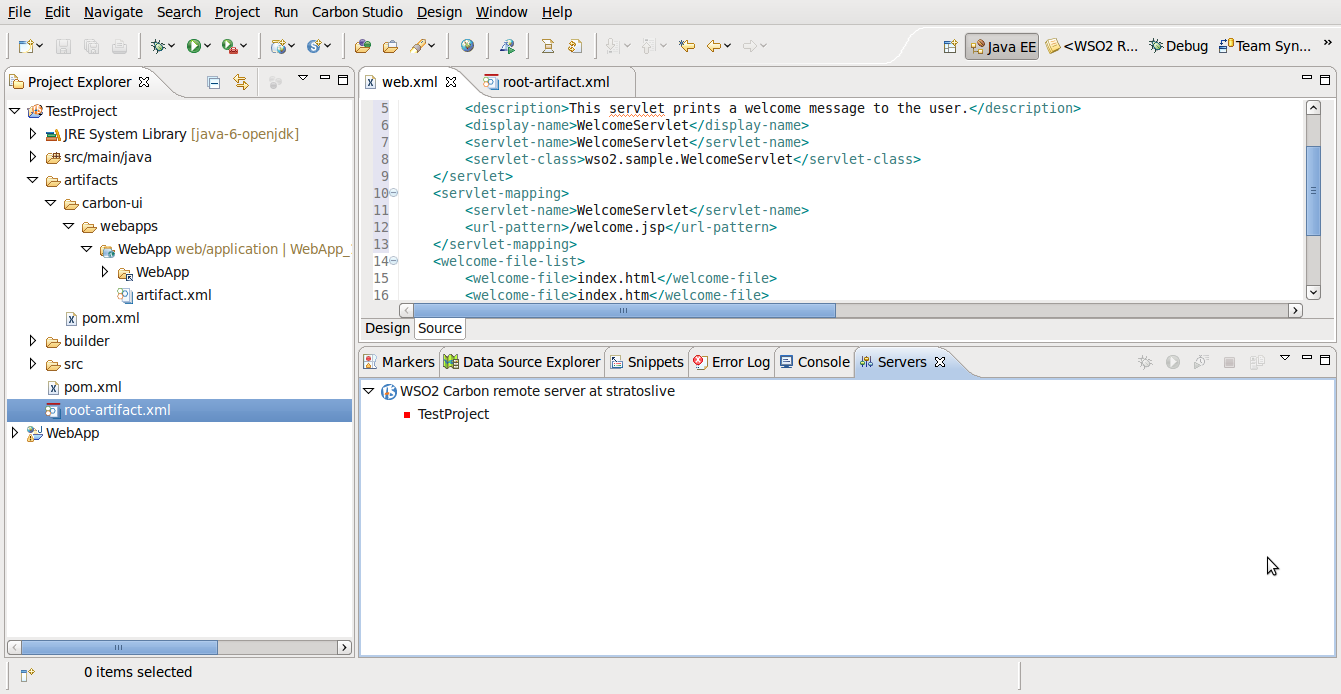
Let's now add a URL pattern for the servlet mapping in the web.xml file. The web.xml file can be found in WebApp -> WebContent -> WEB-INF. Replace your web.xml file with the following code. Save the file.
<?xml version="1.0" encoding="UTF-8"?>
<web-app id="WebApp_ID" version="2.4" xmlns="https://java.sun.com/xml/ns/j2ee"
xmlns:xsi="https://www.w3.org/2001/XMLSchema-instance"
xsi:schemaLocation= "https://java.sun.com/xml/ns/j2ee https://java.sun.com/xml/ns/j2ee/web-app_2_4.xsd">
	<display-name>WebApp</display-name>
	<servlet>
		<description>This servlet prints a welcome message to the user.</description>
		<display-name>WelcomeServlet</display-name>
		<servlet-name>WelcomeServlet</servlet-name>
		<servlet-class>wso2.sample.WelcomeServlet</servlet-class>
	</servlet>
	<servlet-mapping>
		<servlet-name>WelcomeServlet</servlet-name>
		<url-pattern>/welcome.jsp</url-pattern>
	</servlet-mapping>
	<welcome-file-list>
		<welcome-file>index.html</welcome-file>
		<welcome-file>index.htm</welcome-file>
		<welcome-file>index.jsp</welcome-file>
		<welcome-file>default.html</welcome-file>
		<welcome-file>default.htm</welcome-file>
		<welcome-file>default.jsp</welcome-file>
	</welcome-file-list>
</web-app>
We have now finished creating the web application.
4) Deploy the Web Application via Carbon Studio

You will now see the Servers view/tab at the bottom. Right click on the Servers tab -> New -> Server.

You will now see a list of server types in this view. Scroll down to find the servers under WSO2.
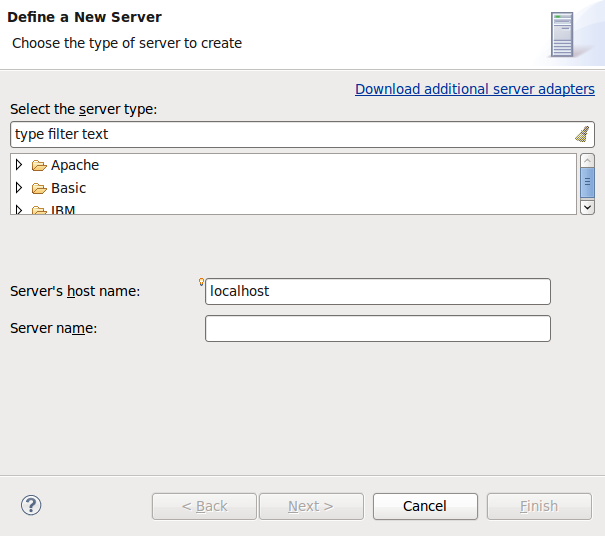
Under WSO2 server types, select WSO2 Carbon remote server. Provide the server's host name and name (you can give names of your preference). Click Next.


Now you will be able to add resources to your remote server. We need to add TestProject to the remote server, select TestProject and click on Add>. Click Finish.

Now you will see that TestProject has been added to the server. Click on the server to start the server and to deploy TestProject.
When the server has started, the server will indicate that it has started as shown below.

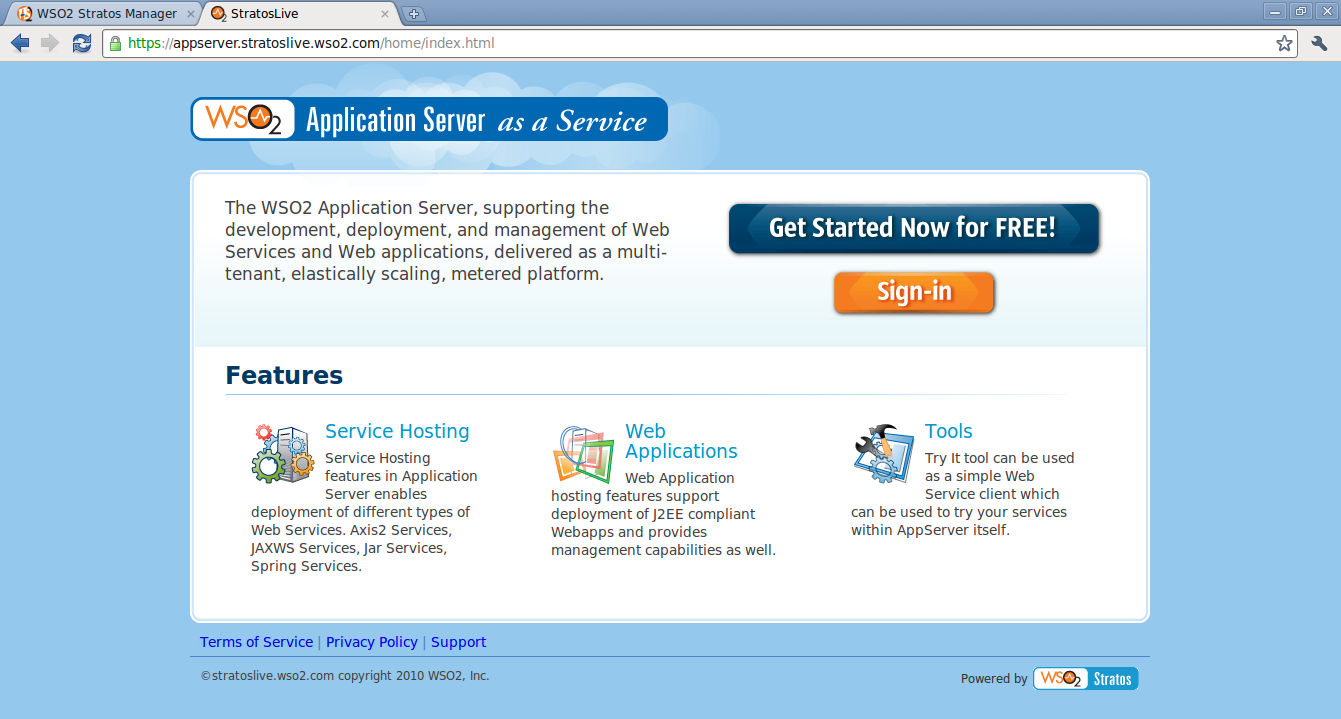
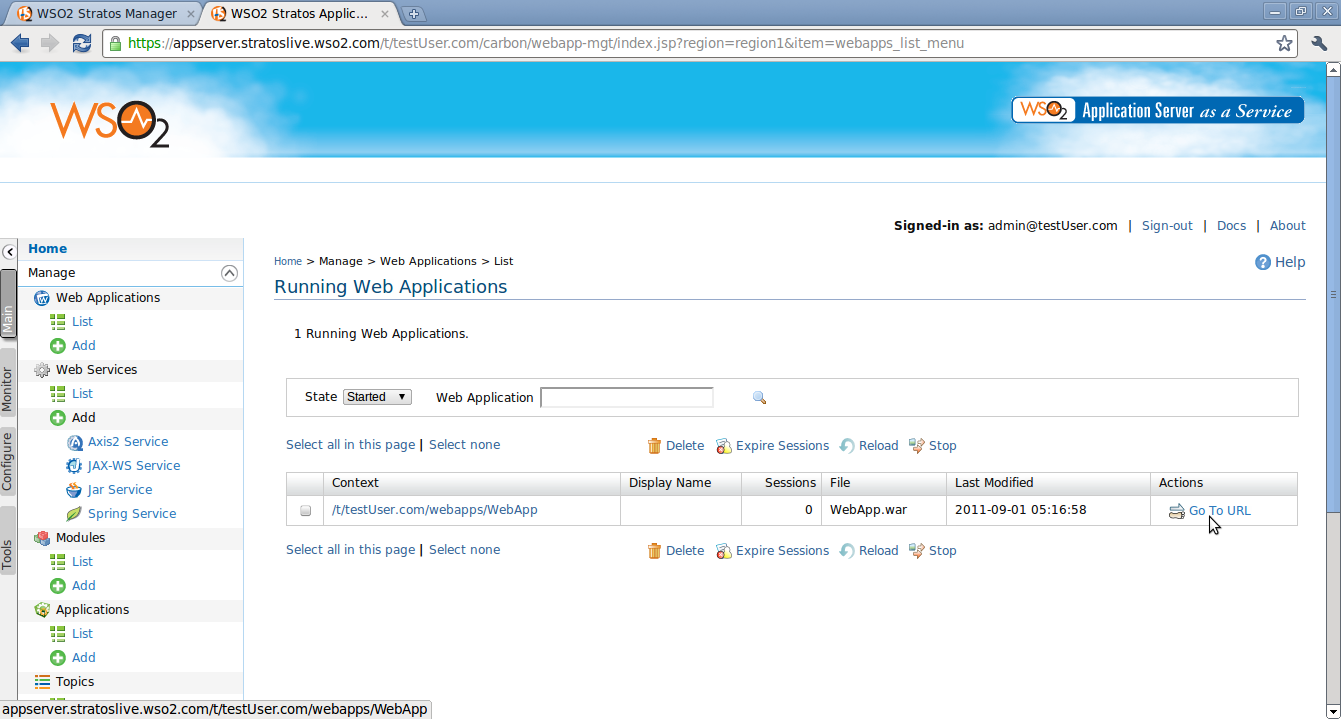
Let's see if our application has been properly deployed in the Application Server in StratosLive. Open your browser and enter https://appserver.stratoslive.wso2.com/t/(your tenant domain).Sign in to the Application Server.


Next go to Manage -> Web Applications -> List. You will now be able to view the web application 'WebApp' deployed in the server.

5) Deploy the Web Application manually
i) Package the Web Application inside a CAR file
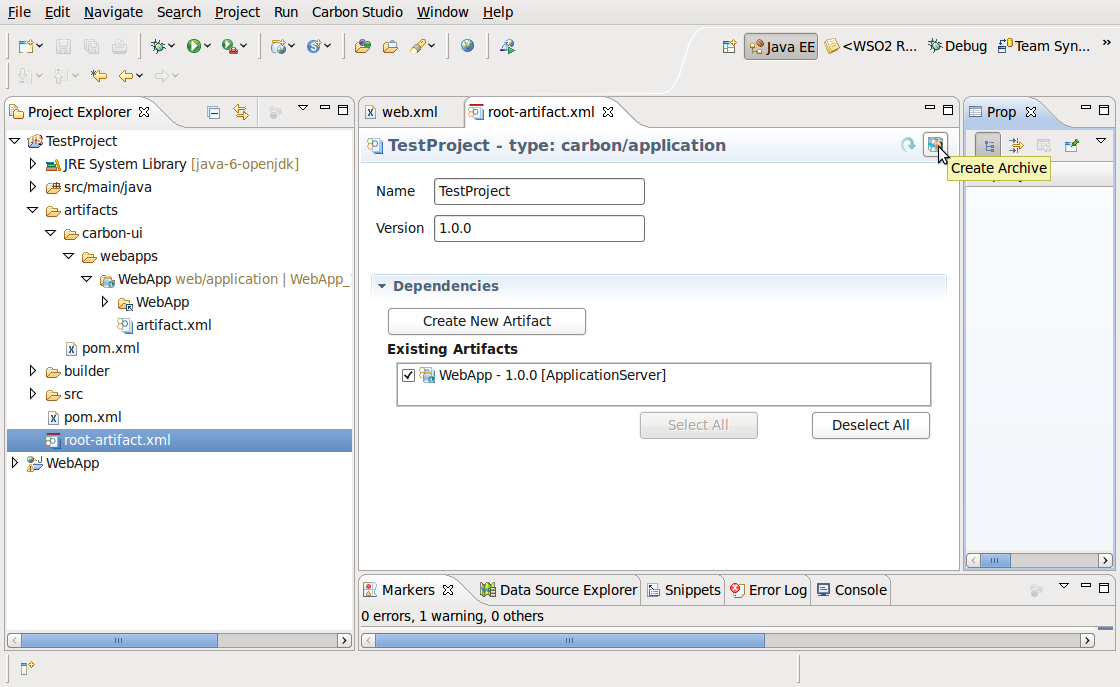
Create and save the CAR file. (Click here for more information on creating CAR files). Open the created .car archive and make sure the WebApp WAR file is there.
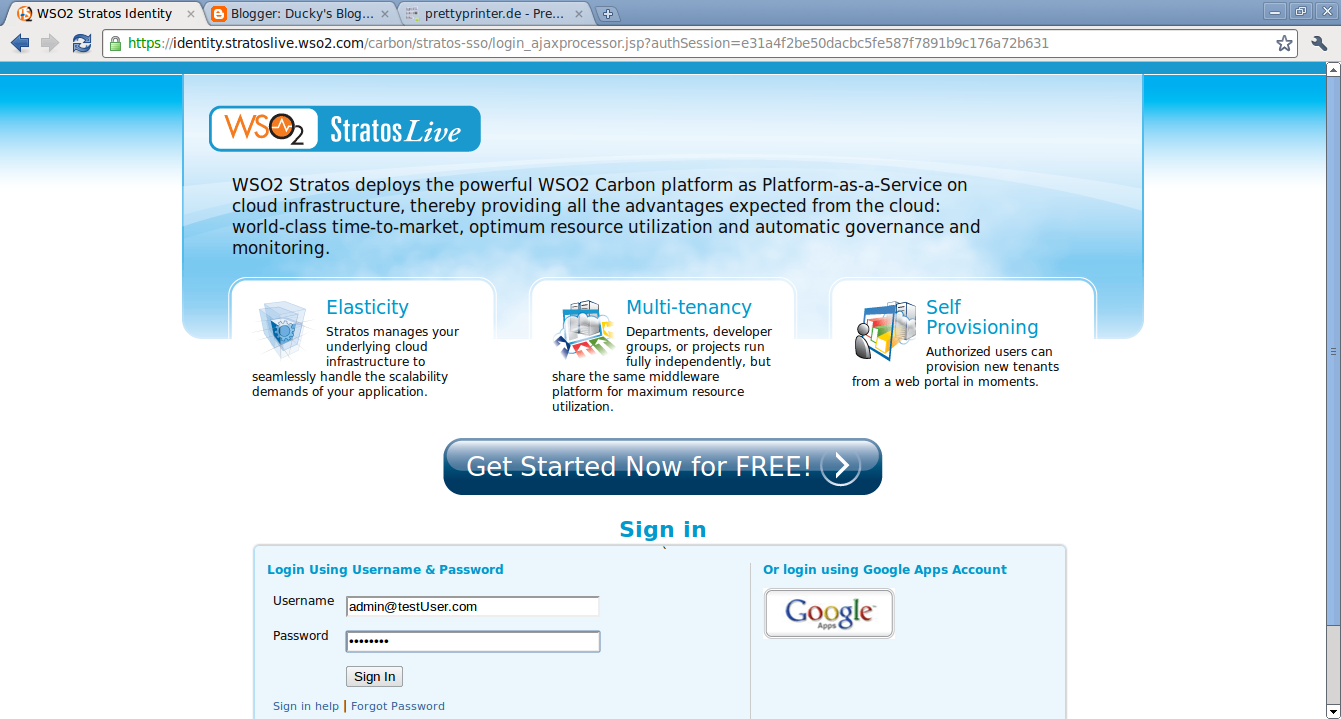
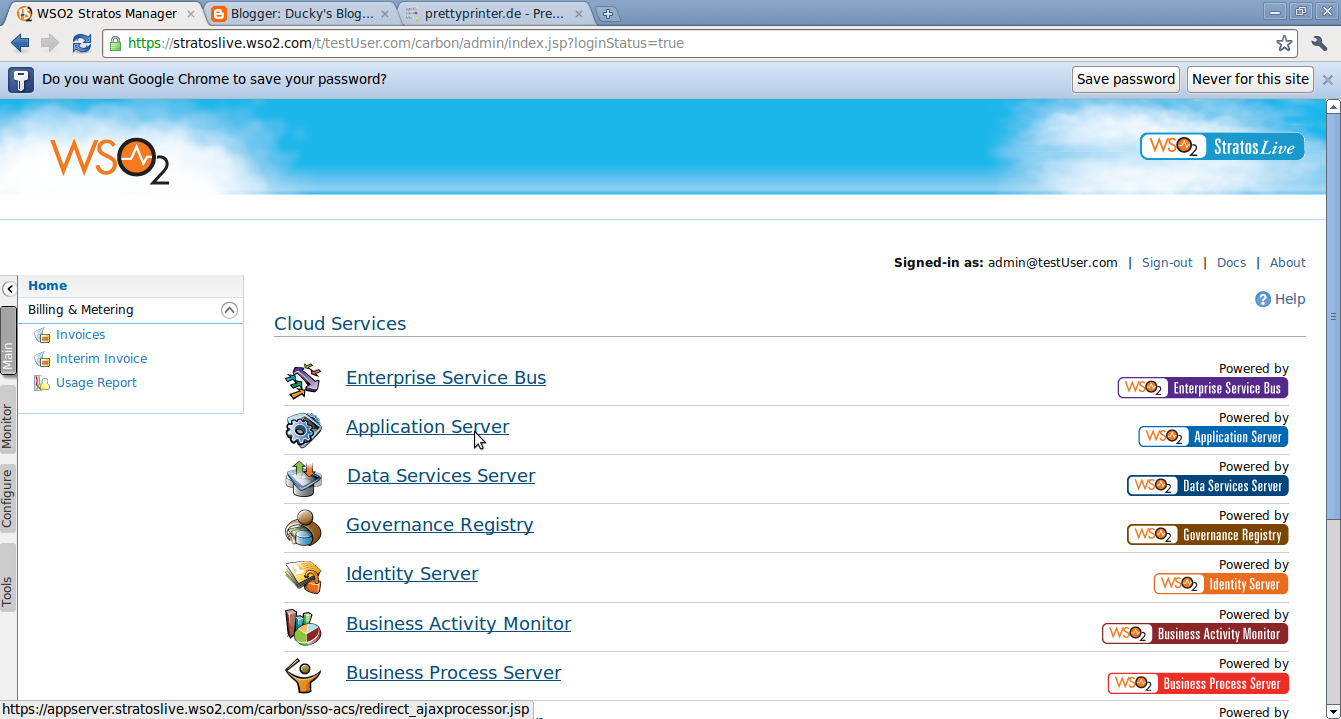
Sign-in with your tenant id and password.
When you go to the StratosLive manager page. Click on Application Server. The Application Server is where the web app will be hosted.
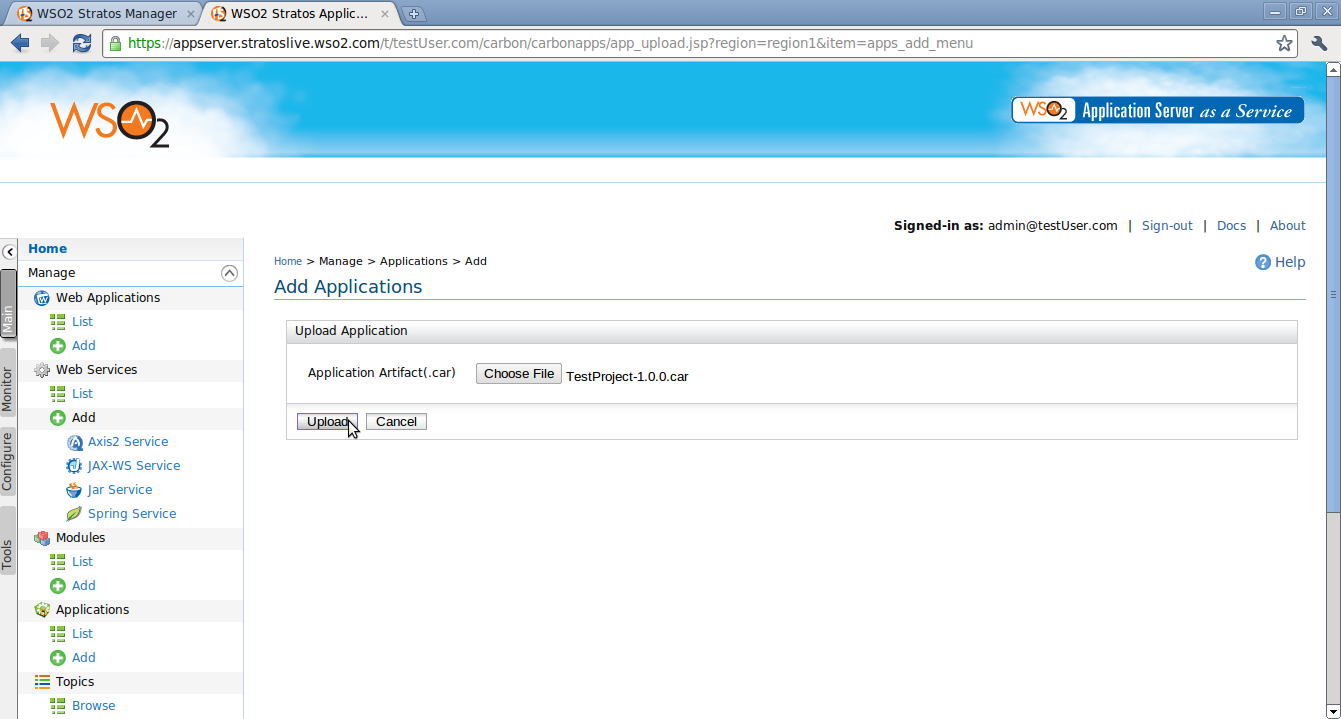
Go to Manage -> Applications -> Add.

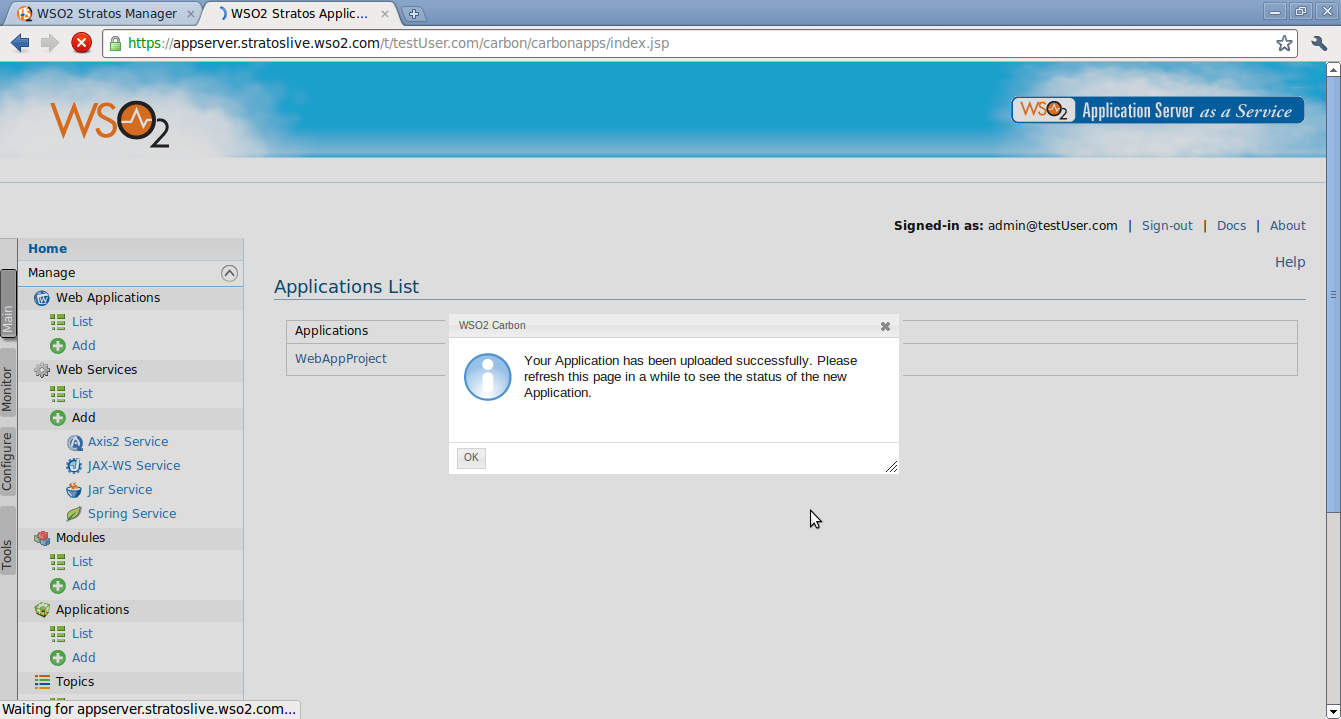
Under Add Applications you will be able to browse for a CAR file. Choose TestProject-1.0.0.car and upload it as shown.


About Author
- Dakshitha Ratnayake
- Director - Developer Relations
- WSO2