Develop an AI Agent Created Using WSO2 Integrator: BI
This guide walks you through developing an AI Agent created using WSO2 Integrator: BI to Devant, using the Deploy to Devant option available in its UI.
Note
This guide assumes you have already created an AI Agent by following the tutorial Integrating AI Agents with External Endpoints.
Pre-requisites
Before you begin, ensure that you have:
- Installed WSO2 Integrator: BI on your local machine.
- Created an AI Agent using the AI Agent Integration Tutorial.
- A Devant account with access to at least one organization and project.
- A GitHub account with a public repository to push your integration code.
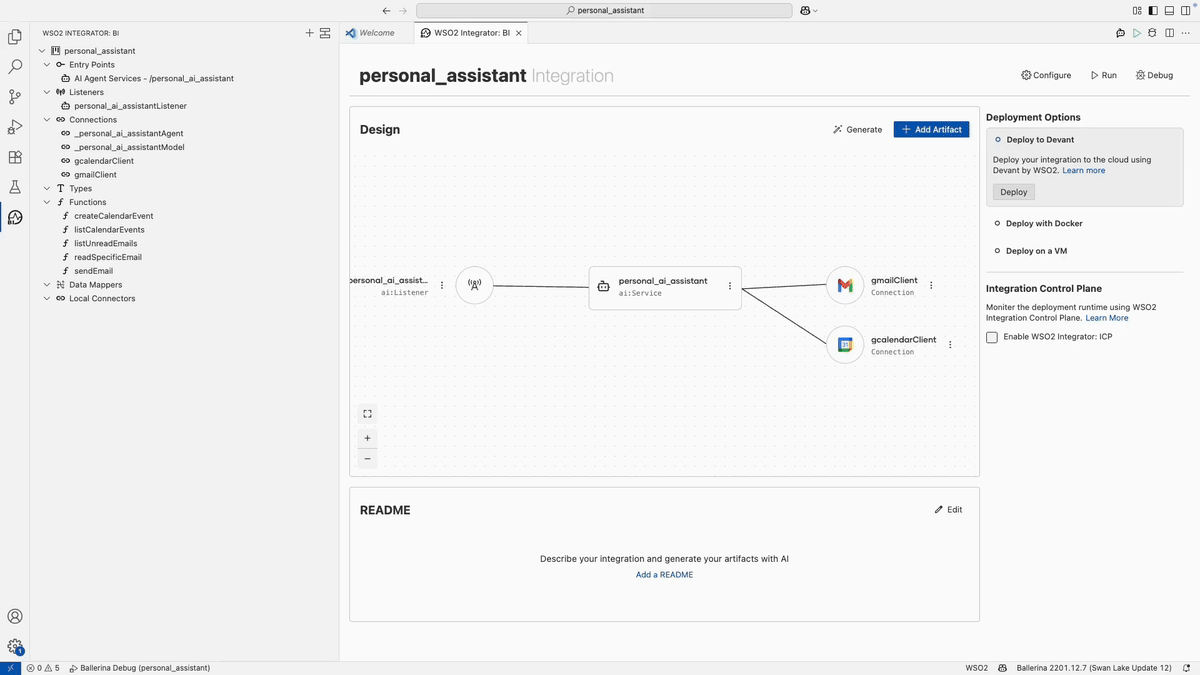
Step 1: Start the deployment from WSO2 Integrator: BI
- In the Home Screen, under Deployment Options, you’ll see that Deploy to Devant is selected by default.
- Click Deploy to initiate the process.
Step 2: Select Organization and Project
- From the pop-up that appears, select the Organization you want to use.
- Then, select the Project you want to deploy your AI Agent into.
Step 3: Publish to GitHub
Since this integration was created locally, you’ll need to push it to GitHub before deploying.
- Click Source Control and then select Publish to GitHub from left panel.
- In the pop-up, choose a public GitHub repository.
- After publishing, click Open repository in GitHub from the snackbar notification.
- A new browser tab will open with the repository—verify the contents.
Step 4: Authorize Devant to access your repository
- In Devant, click Grant Access to authorize access to your GitHub repository.
- Select the same repository and click Save.
Step 5: Open in Visual Studio Code
- Once authorized, click Open Visual Studio Code in the confirmation message.
- When prompted, click Open and allow the WSO2 Platform extension to open the URI.
Step 6: Review integration settings
- The repository URL and branch will be automatically detected. Click Next.
- The technology will be auto-detected as Ballerina. Click Next to continue.
- On the Summary screen, review all details and click Create.
Step 7: View integration in Devant
- Once the integration is created, click Open in Devant from the snackbar.
- A new tab will open showing your integration’s Overview page.
- Wait for the build to complete.
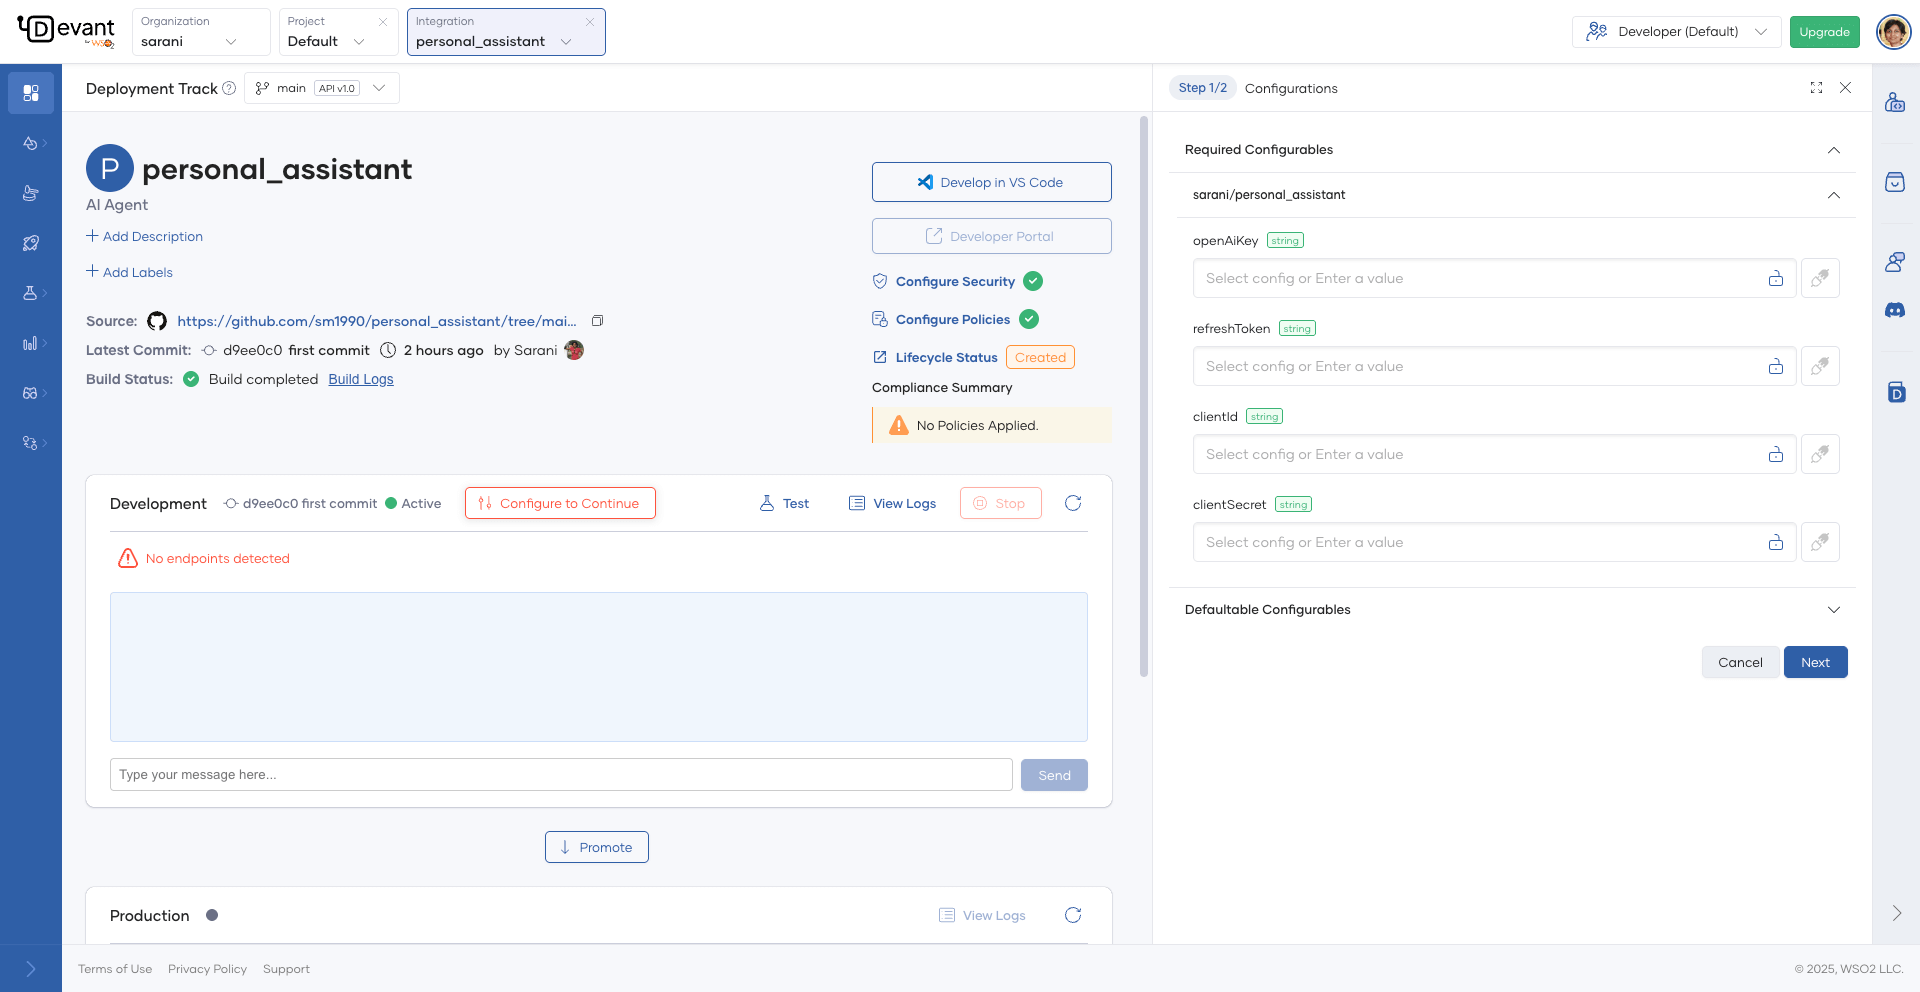
Step 8: Configure environment variables
- Once the build succeeds, your integration will be automatically deployed to the Development environment.
- Click Configure to Continue to enter any required API keys or tokens.
- Click Next and then Apply—this will trigger a redeployment with the updated configuration.
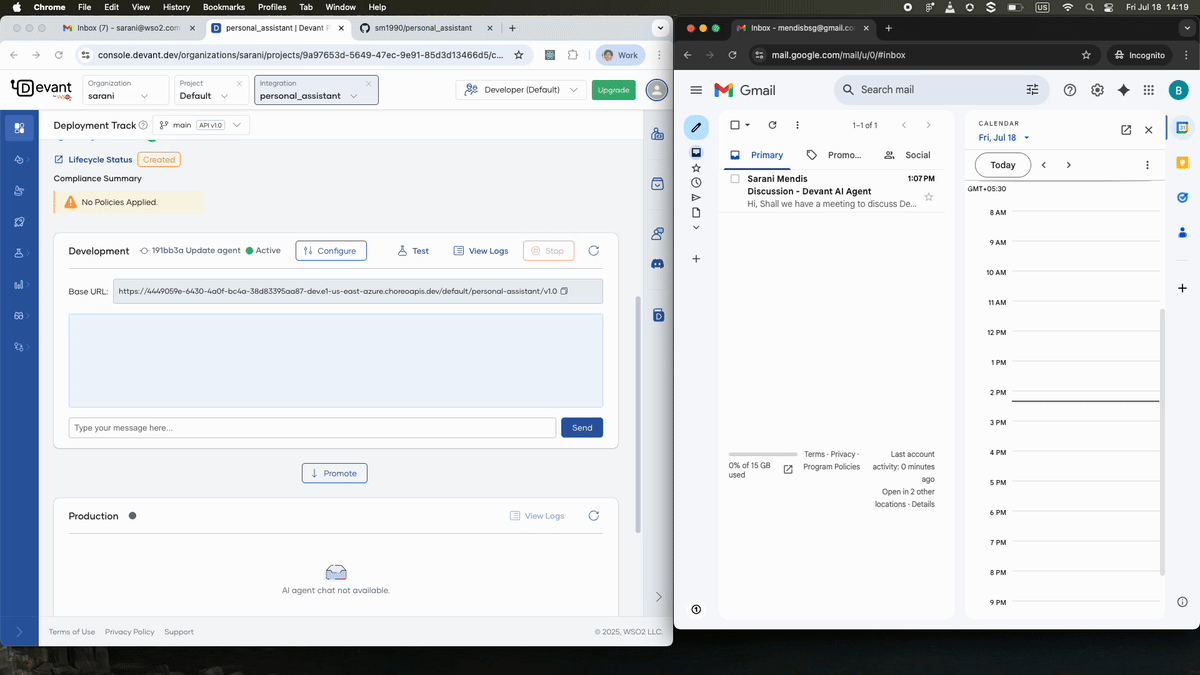
Step 9: Test and promote
- Once the deployment status is marked Active, you can test the AI Agent.
-
Try chatting with the Personal Assistant AI Agent to:
- Schedule meetings
- Send emails
-
When ready, click Promote to deploy your integration to Production.