Import a Repository
Once you’ve logged into Devant Console, you’ll land in the default project automatically created under your organization. Alternatively, you can choose to create a new project within the organization.
Once you're inside the desired project, follow the steps below to start creating an integration by importing a repository.
The steps provided are for a GitHub repository, but you can follow a similar approach to authorize and connect with Bitbucket or GitLab.
-
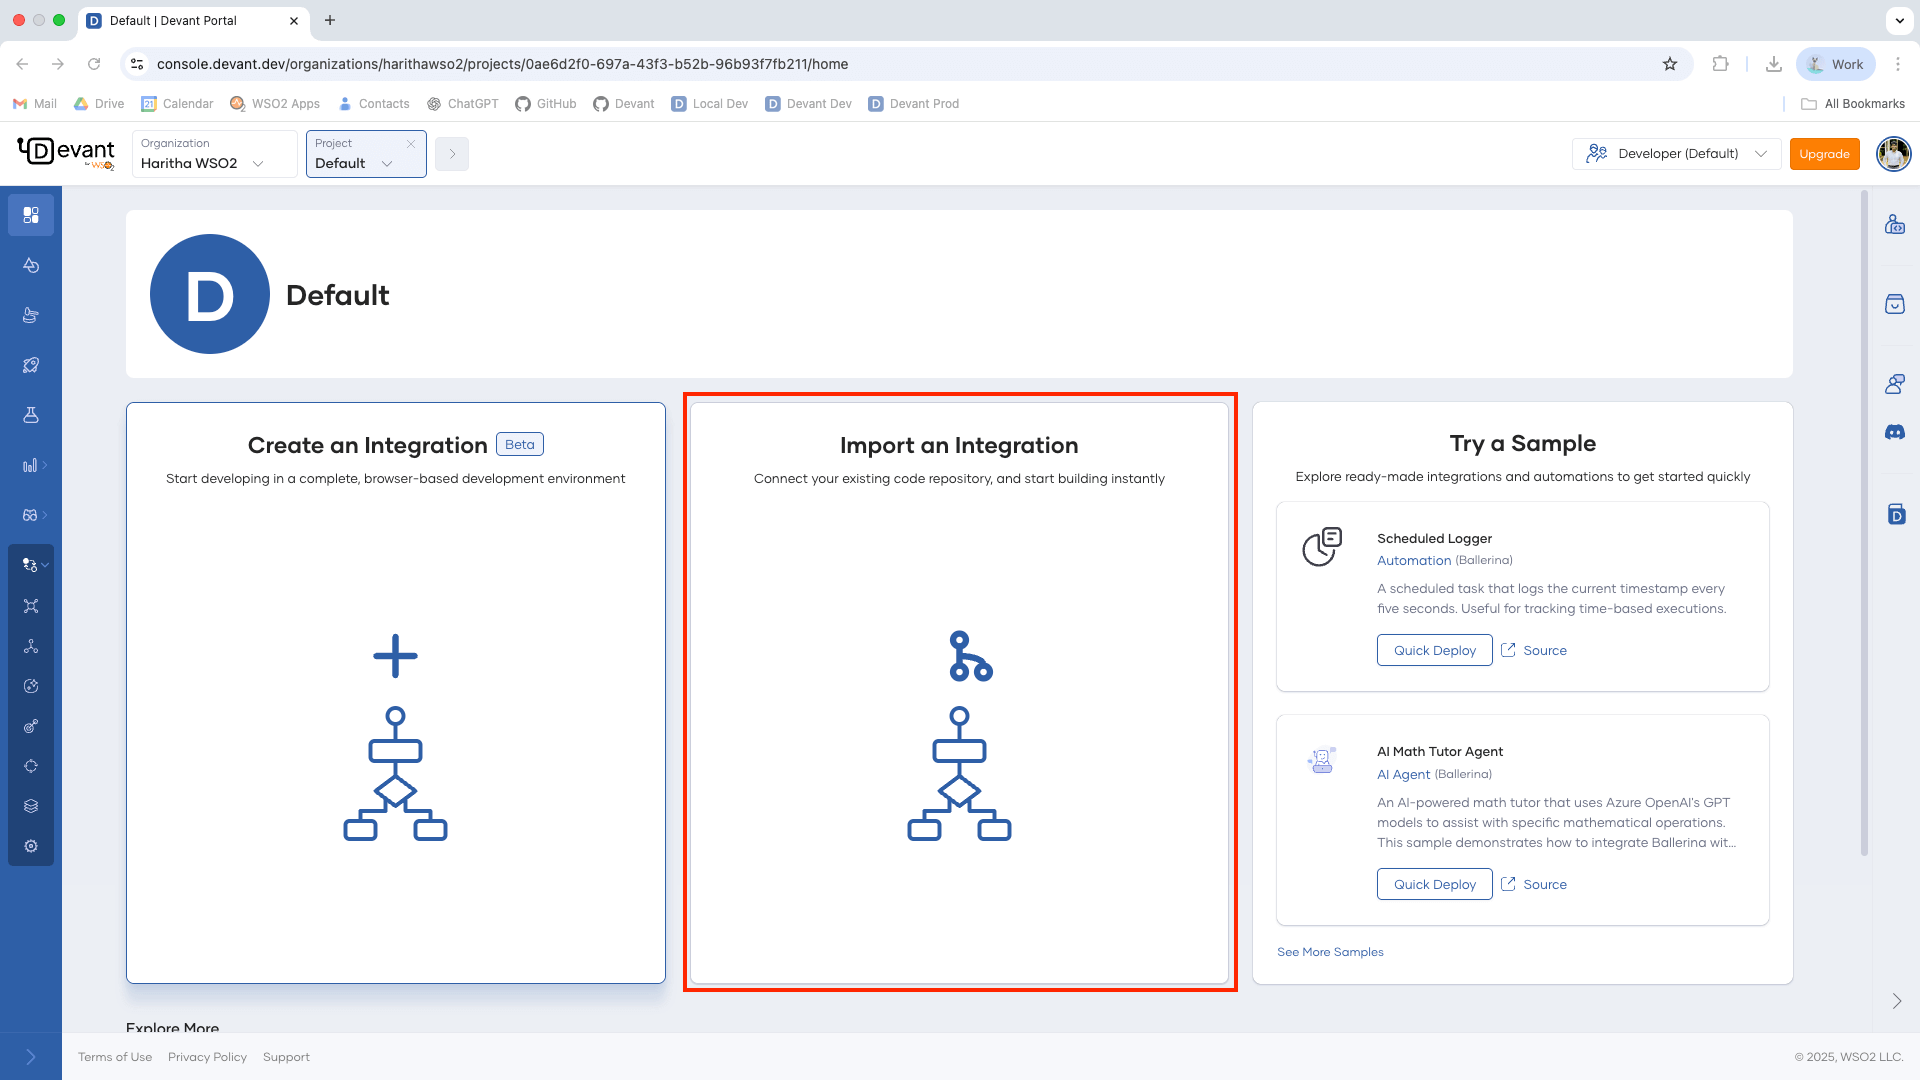
On the Project Overview page, click Import an Integration to get started with a new project.
Note
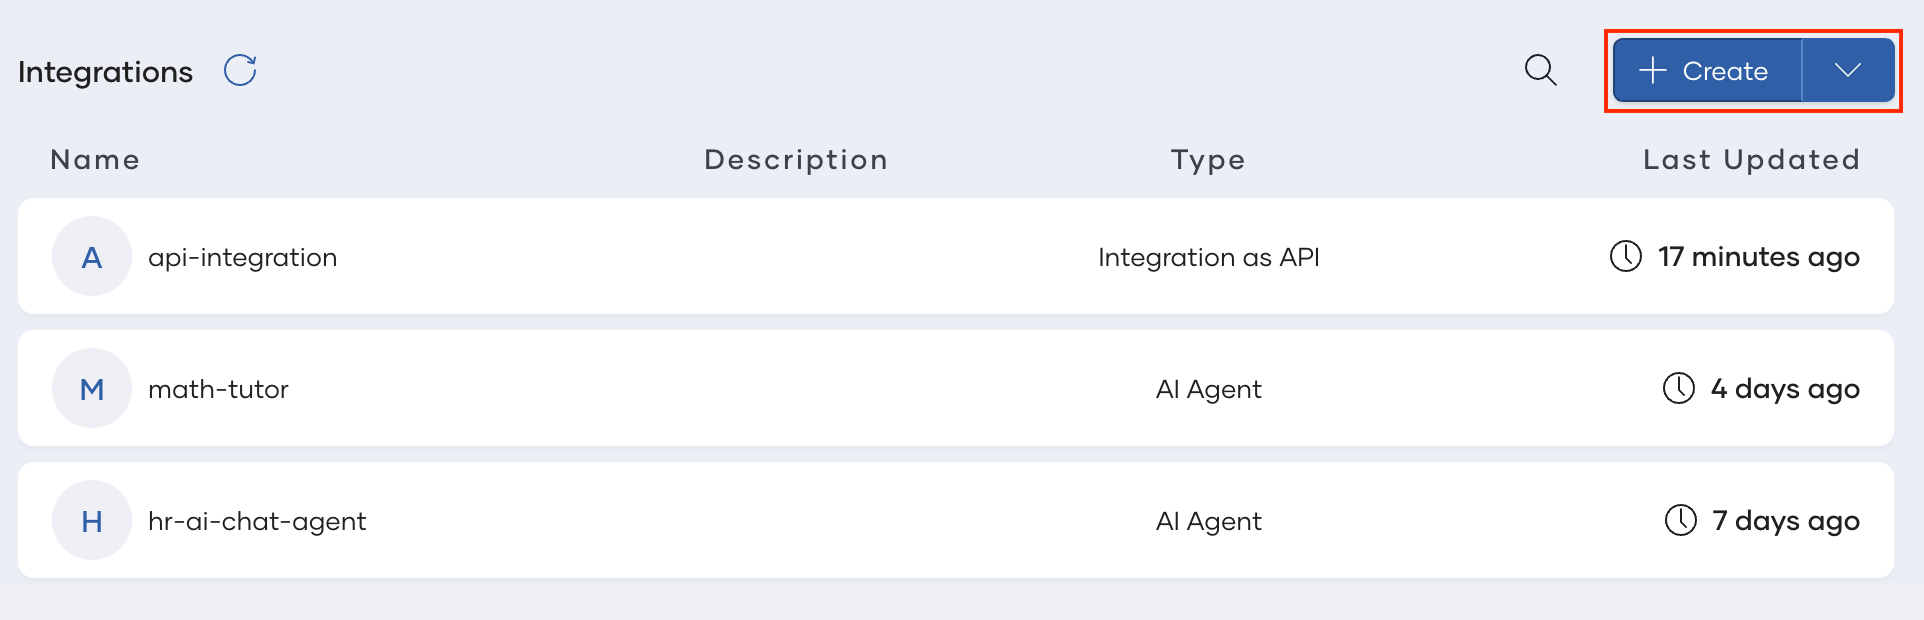
If your project already contains integrations, first click Create to add a new one. Then, select Import an Integration.
-
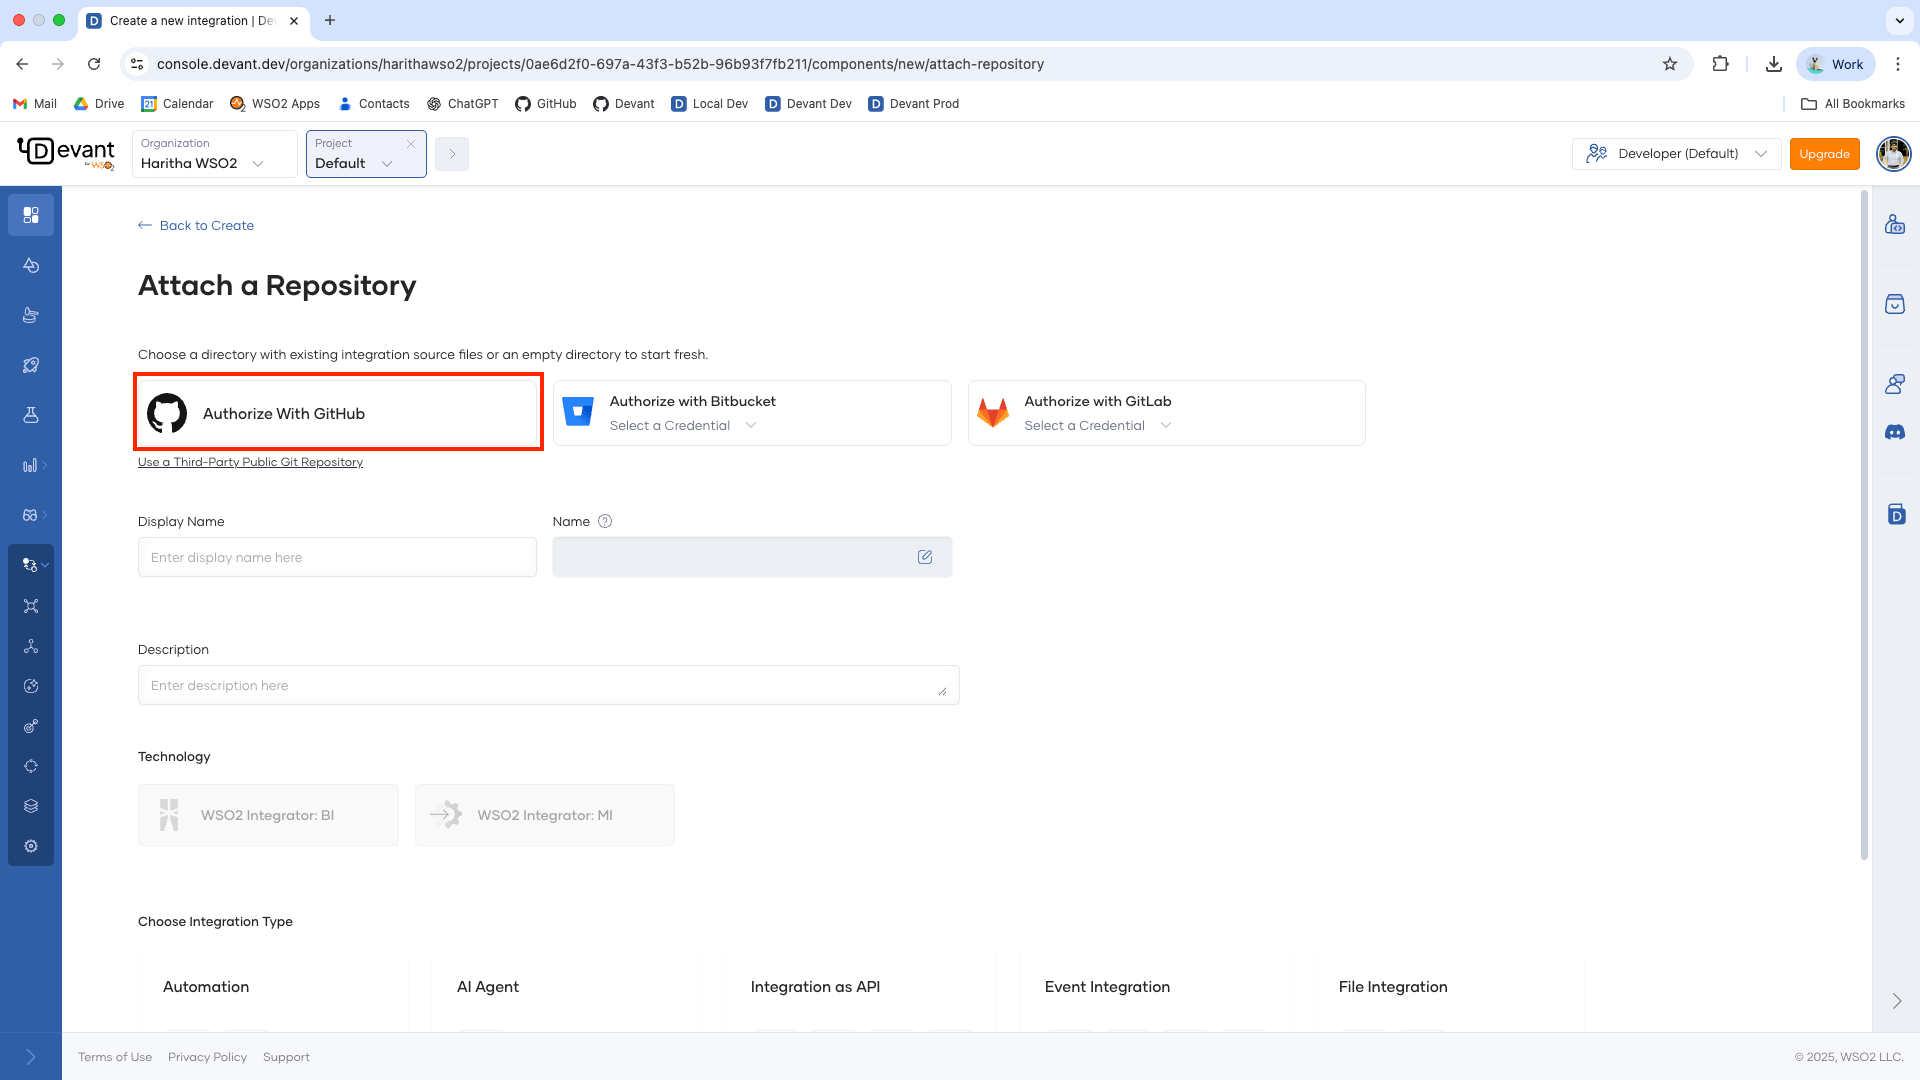
Click Authorize with GitHub to connect Devant to your GitHub account.
Tip
If you're using a public Git repository, you can skip ahead to Step 8. Click Use a Third-Party Public Git Repository and enter the repository URL.
-
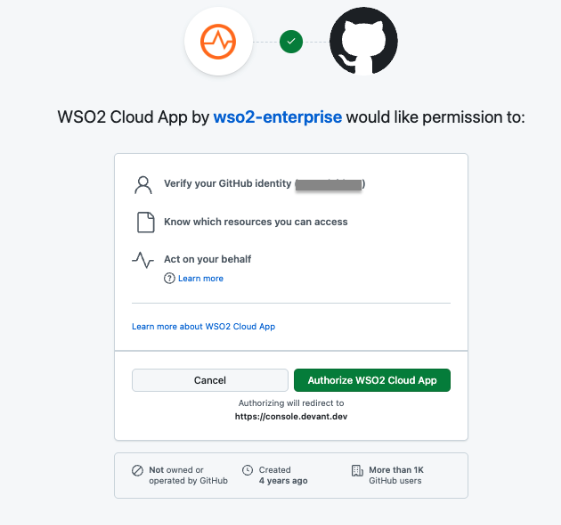
If you haven't connected your GitHub repository to Devant, authorize the WSO2 cloud app with your GitHub account WSO2 Cloud App. Under the Organization dropdown, click + Add. This redirects you to the Install WSO2 Cloud App page.
-
Select your GitHub account and install WSO2 Cloud App.
Note
The WSO2 Cloud App requires:
- Read and write access to code and pull requests.
- Read access to issues and metadata.
You can revoke access at any time. Write access is used to push changes directly to your repository.
-
Select your organization under the Organization dropdown. If your organization is not listed, click the Refetch button.
-
Select a repository to save your integration. You can either create a new repository or choose an existing one. You’ll be prompted to authorize the WSO2 Cloud App for the selected repository to enable integration.
-
Select a Branch and a Path of the selected repository to save your integration.
-
The Name and Identifier fields are automatically populated. Optionally, you can edit them to your preference.