Enforce token-based rate limiting on an LLM proxy
Overview
This guide shows you how to put a token quota on an LLM proxy so no single application can exhaust your OpenAI budget in a burst. Without this, any caller can drain your token allowance before you notice and your provider rate limits apply without warning. By the end, you'll have a live LLM proxy that blocks further requests with HTTP 429 once the quota is reached. A companion sample is available to run locally and verify the same behavior without real credentials.
Learning objectives
- Register an OpenAI LLM provider so the gateway holds the API key and your applications don't
- Create an LLM proxy that sits in front of OpenAI and serves as the single entry point for your applications
- Attach a token-based rate limit policy that caps token consumption within a rolling time window
- Verify that the gateway enforces the quota and returns
HTTP 429once the limit is reached
Prerequisites
- A WSO2 API Platform account. Sign up for free.
- An OpenAI API key
curlfor testing
Architecture
Your application
    |  HTTPS + API key
    v
+---------------------------------------+
|  WSO2 AI Gateway                      |
|  [ LLM Proxy ]                        |
|  auth · rate limiting · audit logging |
+---------------------------------------+
    |  HTTPS + OpenAI API key
    v
OpenAI API
The LLM proxy is deployed on the AI Gateway, which sits between your application and OpenAI. The AI Gateway authenticates incoming requests using an API key, tracks token consumption from each OpenAI response, and blocks new requests once the configured quota is reached within the time window. Your application never holds the OpenAI API key.
Step 1: Create an organization and project
Go to the WSO2 AI Workspace and sign in with your Google, GitHub, or Microsoft account.
If this is your first time signing in, you'll be prompted to create an organization. Enter a name, accept the privacy policy and terms of use, and click Create.
Once you're on the organization home page, create a project:
- Click + Create Project.
-
Enter the following details:
Field Value Display Name Sample Project Identifier sample-project Description My sample project -
Click Create.
Expected result: The project home page opens.
Step 2: Create and start an AI gateway
The AI gateway is the runtime that hosts your proxy and enforces your policies. If you already have a gateway running and shown as Active in the console, skip this step and proceed to Step 3.
Create the gateway:
- In the left navigation menu, click AI Gateways.
- Click + Add AI Gateway.
-
Enter the following details:
Field Value Name my-ai-gateway Associated Environment Production -
Click Add Gateway.
Warning
The gateway detail page shows a Gateway Registration Token once, in the Get Started section. Copy and store it before leaving the page. If you lose it, click Reconfigure to generate a new one. This revokes the old token.
Start the gateway runtime:
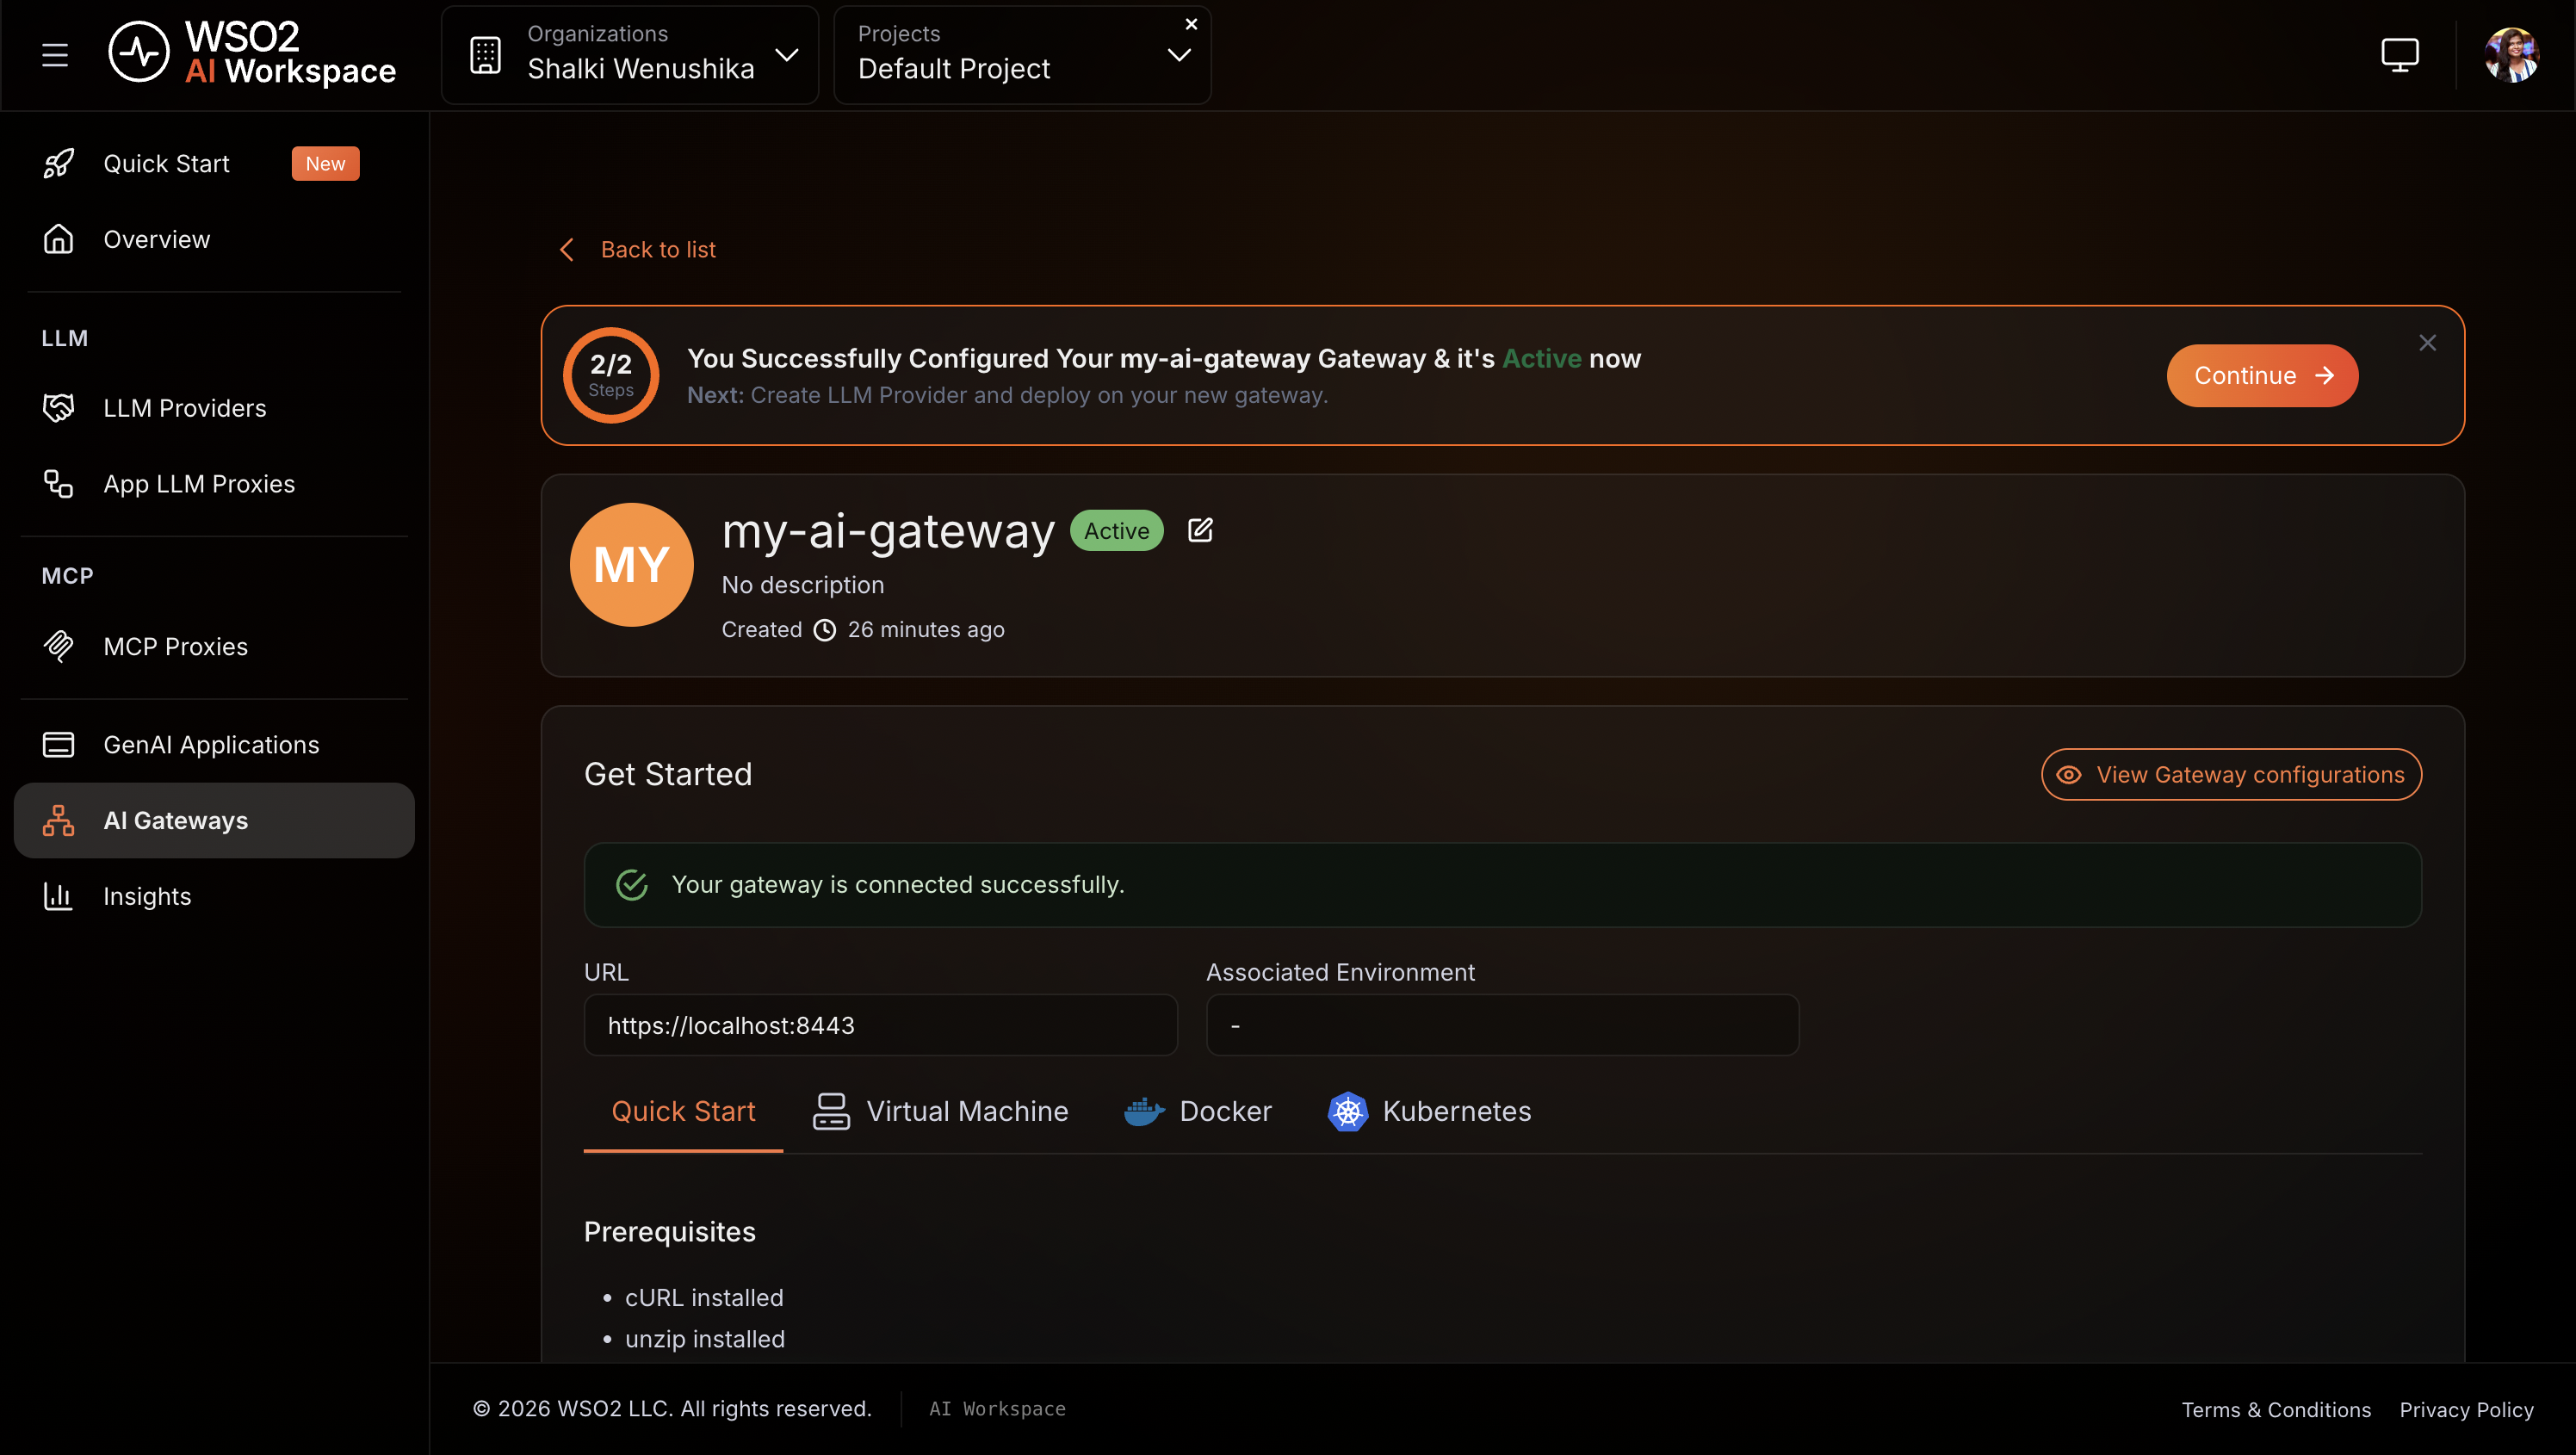
Open the Get Started guide on the gateway detail page and follow the instructions to install and start the gateway runtime using your preferred method: Docker, VM, or Kubernetes.
Expected result: The console displays Your gateway is connected successfully. and the gateway status changes to Active.
Step 3: Add OpenAI as an LLM provider
Registering the provider stores your OpenAI API key in the platform. Your application never handles the key directly. The proxy uses it to authenticate with OpenAI on every request.
- In the left navigation menu, click LLM Providers.
- Click + Create Provider.
- Select OpenAI from the provider list.
- Enter OpenAI as the provider name and paste your OpenAI API key.
- Click Add Provider.
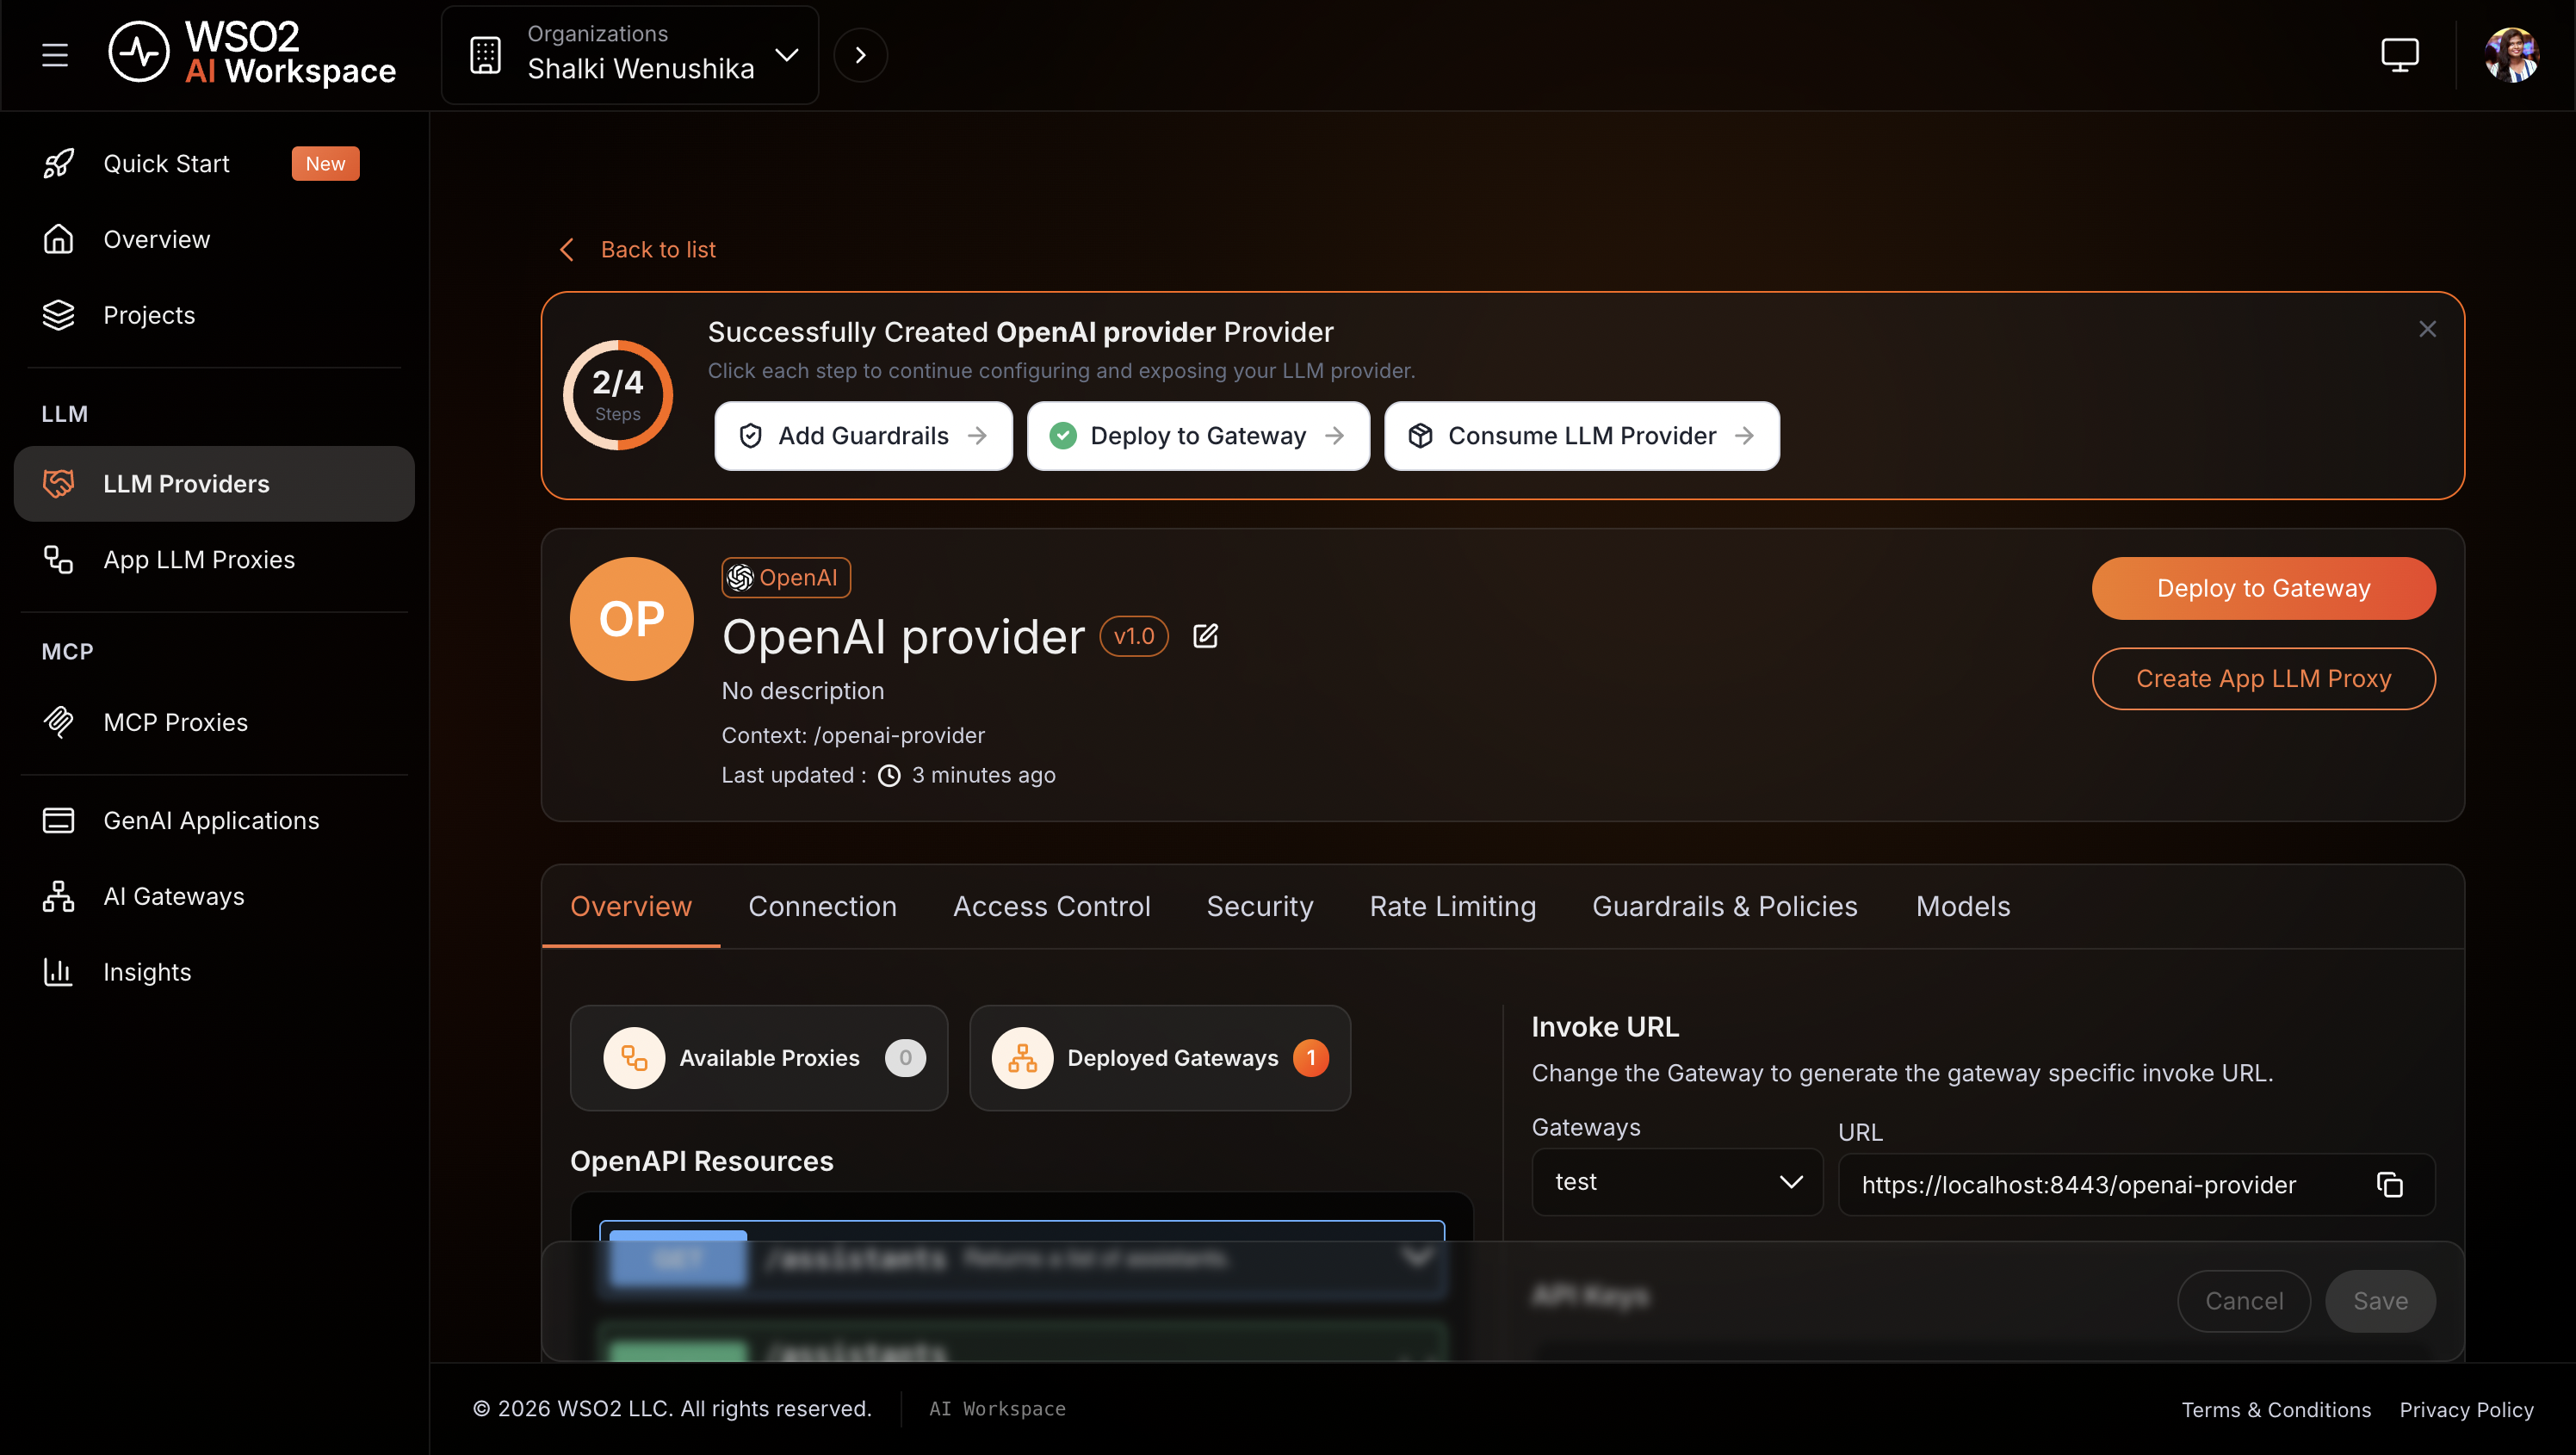
Deploy the provider to the gateway:
- On the provider detail page, click Deploy to Gateway.
- Select my-ai-gateway and click Deploy.
Expected result: OpenAI appears in the LLM Providers list with a deployment status of Active.
Step 4: Create the LLM proxy
The LLM proxy is the endpoint your applications call. It abstracts the provider and is where you'll attach the rate limit policy in the next step.
- In the left navigation menu, click App LLM Proxies.
- Click + Create App LLM Proxy.
-
Enter the following details:
Field Value Name rate-limited-proxy Version v1.0 Context rate-limited-proxy -
Under Provider Configuration, select OpenAI as the LLM Service Provider.
- Click Generate API Key to create a platform-issued key that the proxy uses to call this provider. This is separate from the OpenAI API key you entered in Step 3.
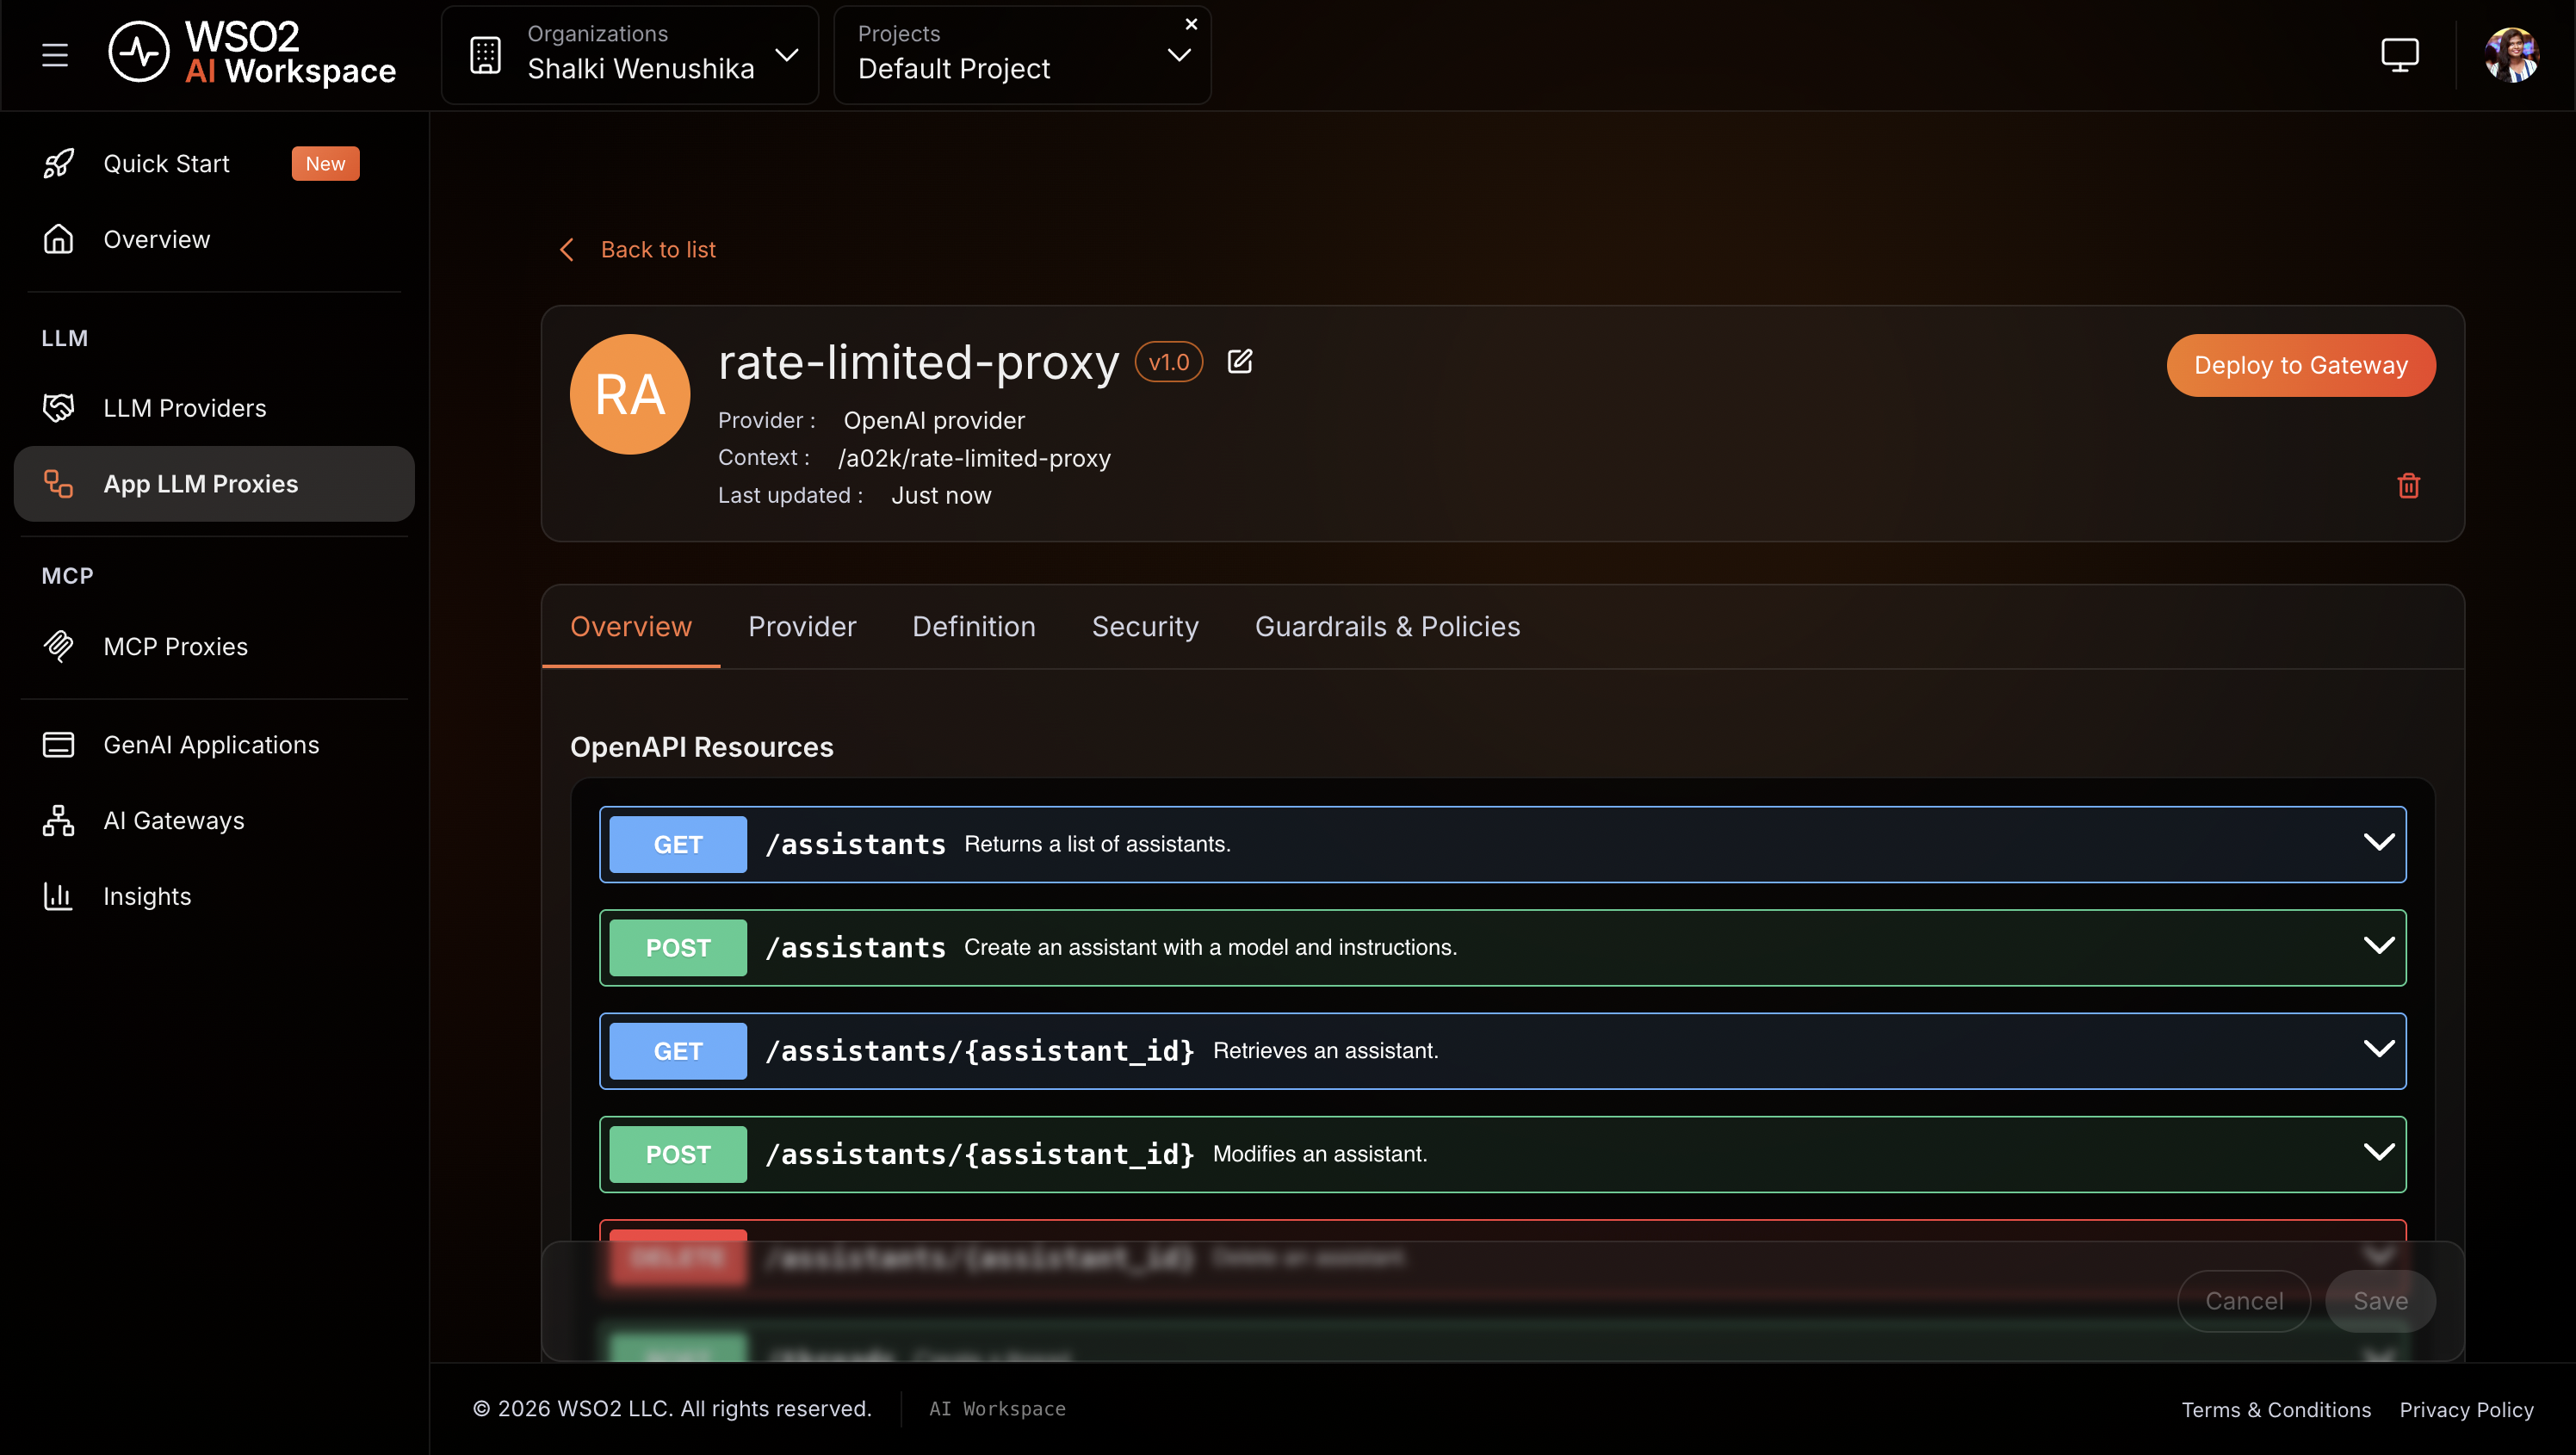
- Click Create Proxy.
Expected result: The rate-limited-proxy proxy is created and the proxy detail page opens.
Step 5: Add a token-based rate limit policy
This policy reads the token count from each OpenAI response and blocks further requests once the configured total is reached within the time window.
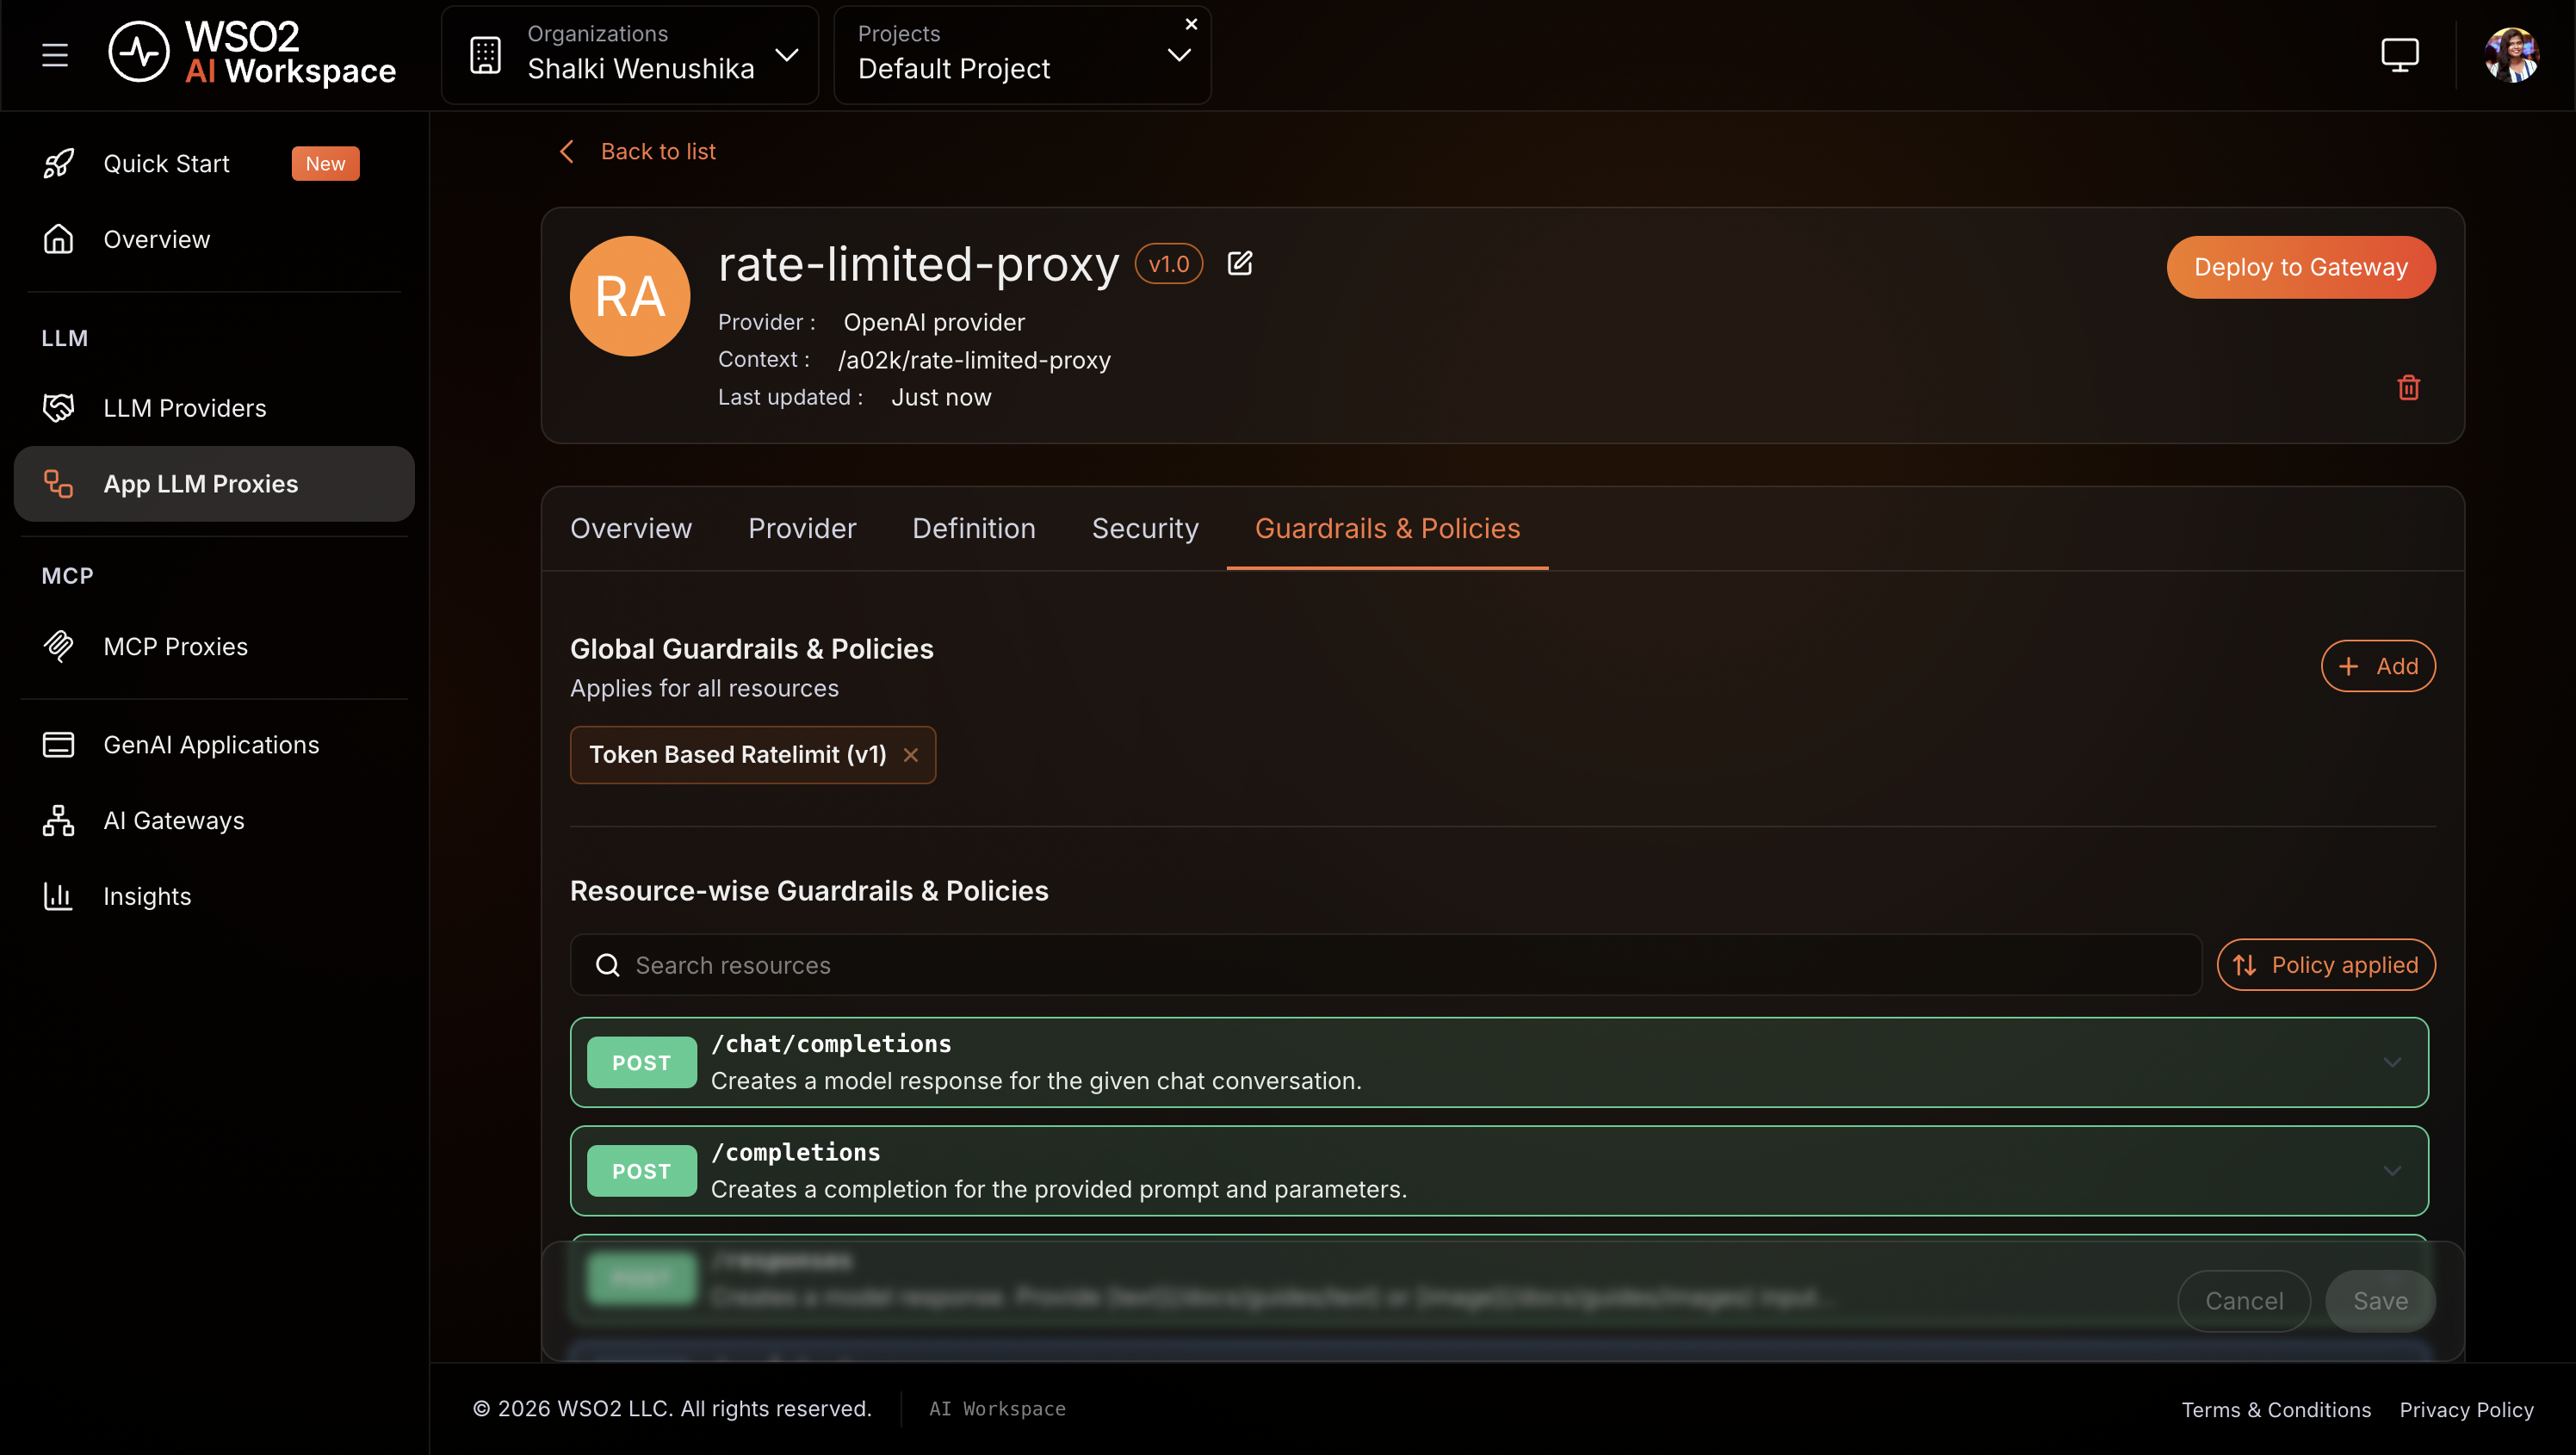
- On the proxy detail page, click the Guardrails & Policies tab.
- Click + Add ** and select **Token Based Rate Limit.
- Under Total Token Limits, click + Add Item.
-
Set the following values:
Field Value count 100duration 1m -
Click Add.
- Click Save.
Expected result: Token Based Rate Limit appears in the Guardrails & Policies tab.
Tip
A quota of 100 tokens per minute is intentionally low for testing. It makes the 429 easy to trigger. For production workloads, set count to match your actual per-application budget, for example 100000 for 100,000 tokens per minute.
Note
You can configure limits for prompt tokens, completion tokens, or total tokens independently. When multiple limits are configured, the gateway enforces the most restrictive one.
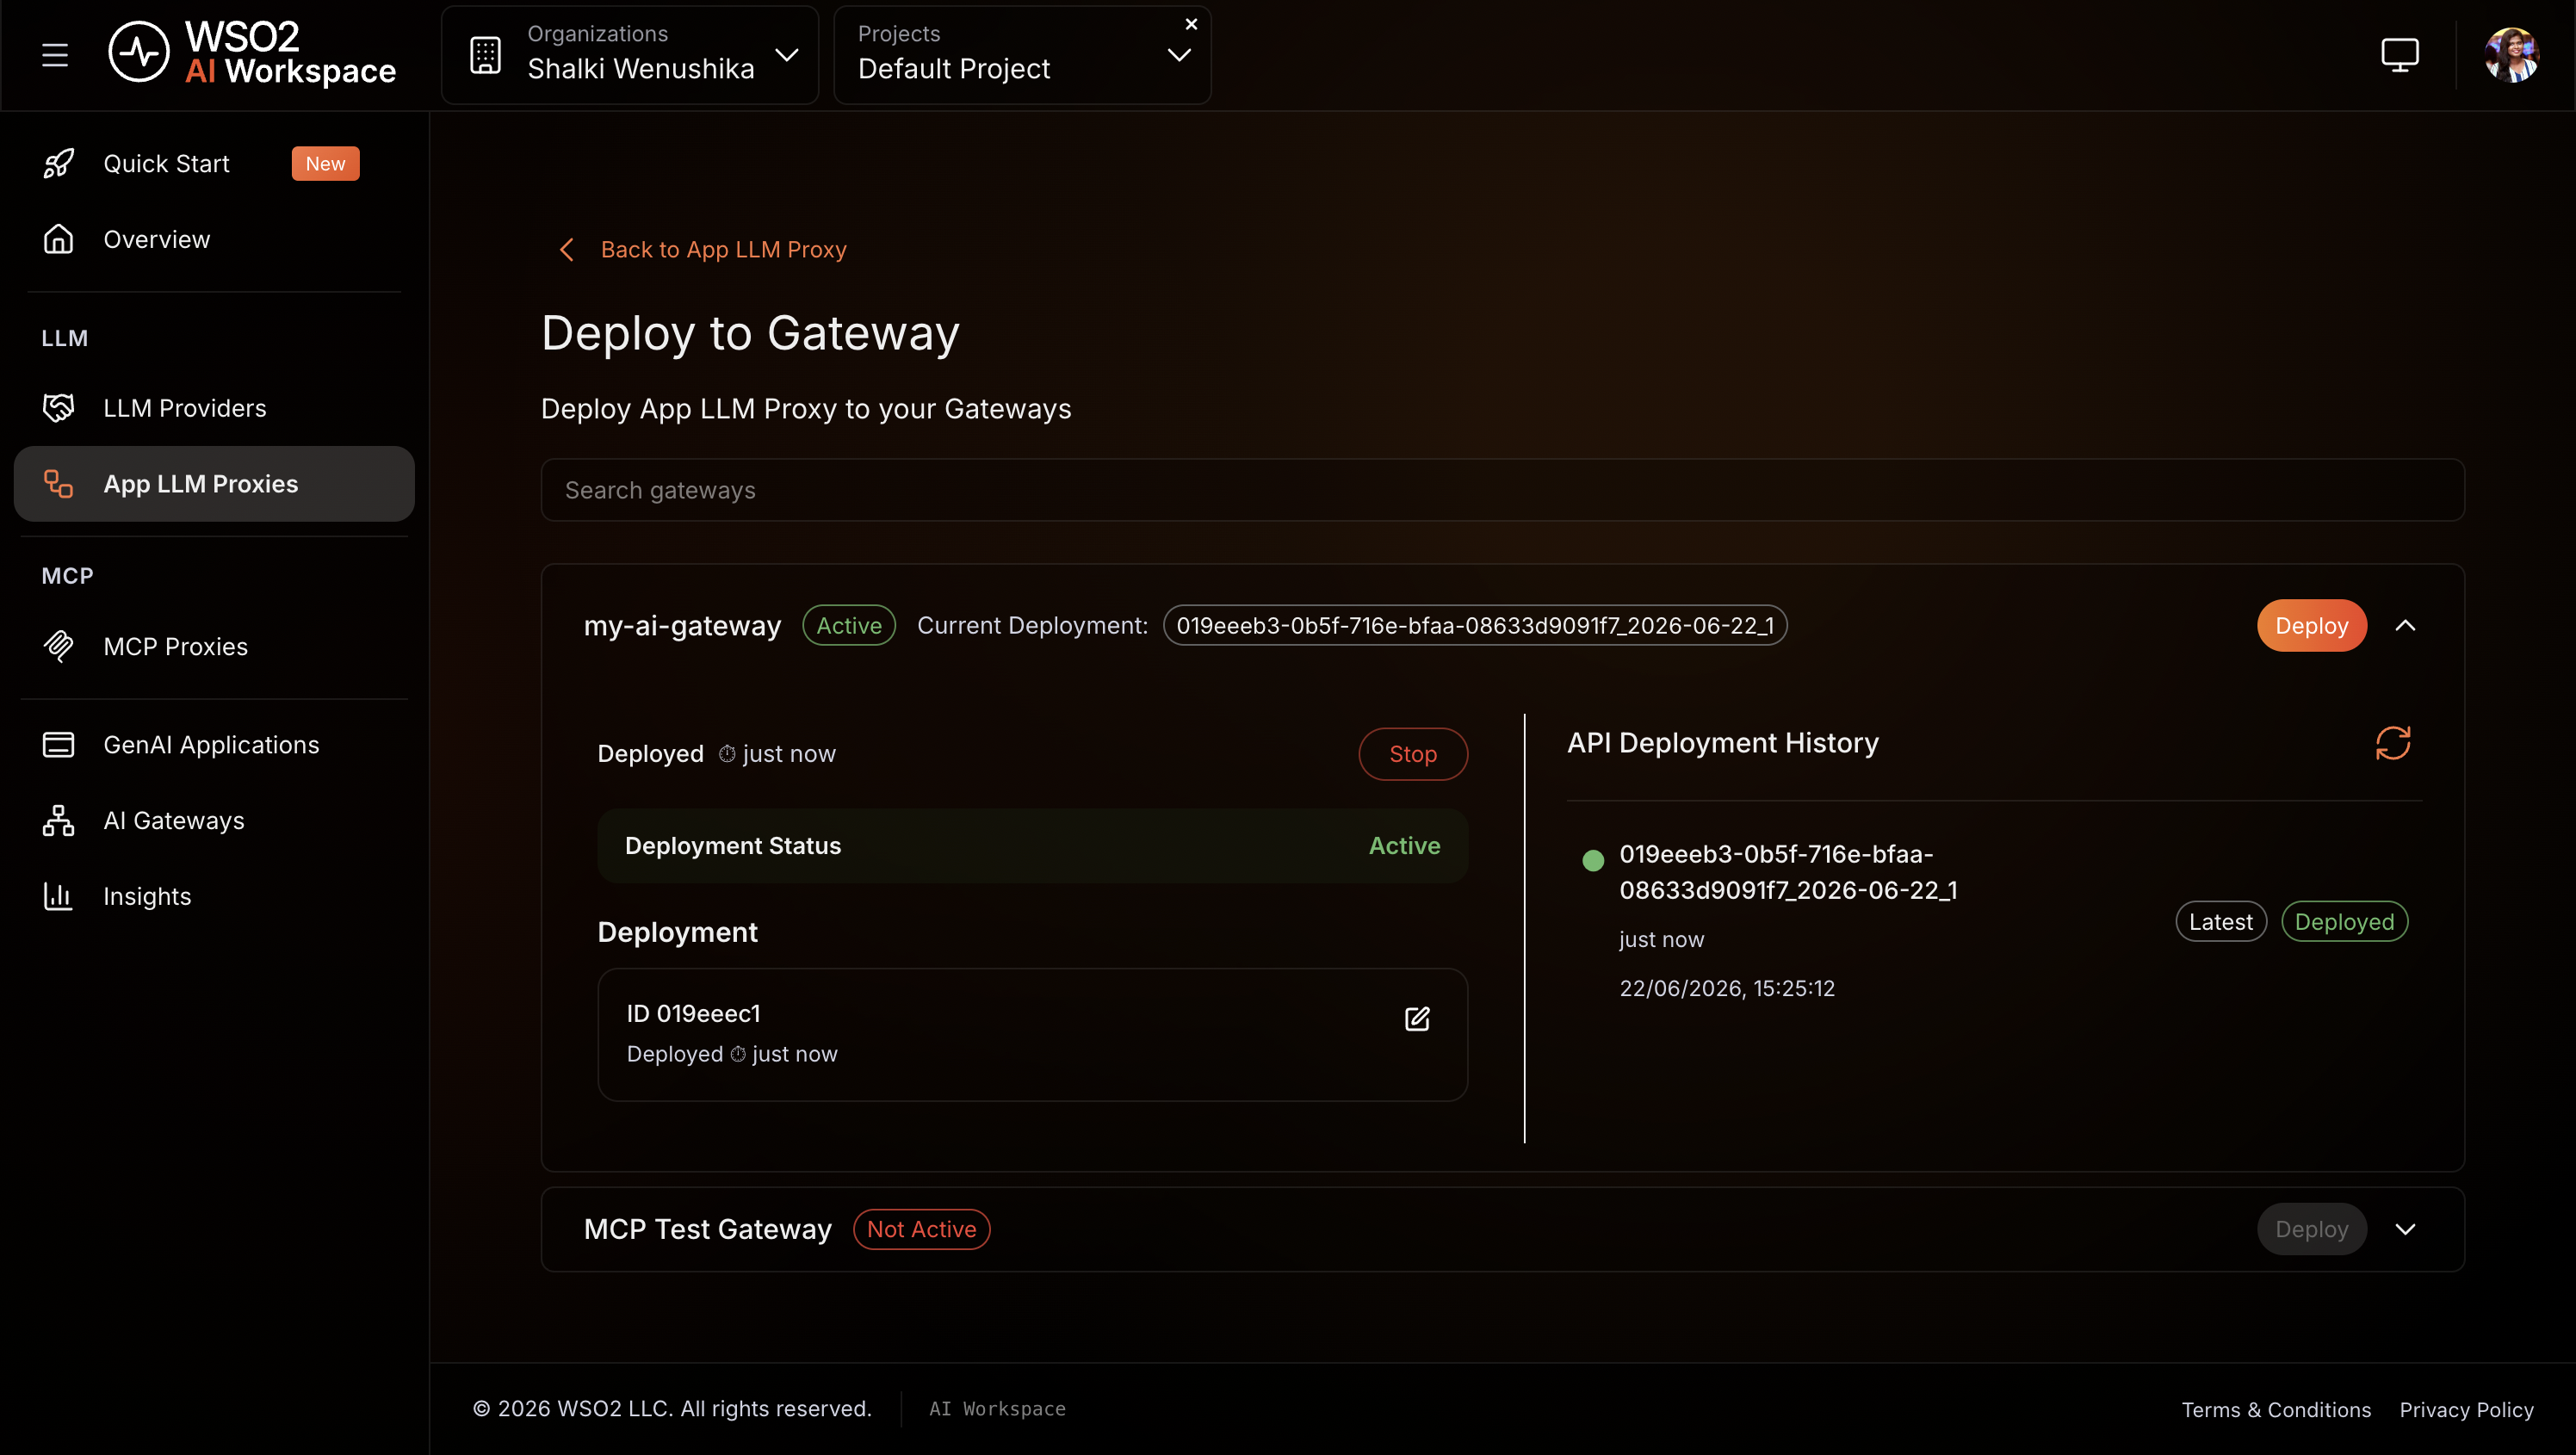
Step 6: Deploy the proxy to the gateway
Deploying pushes your proxy configuration, including the rate limit policy, to the gateway runtime.
- On the proxy detail page, click Deploy to Gateway.
- Select my-ai-gateway and click Deploy.
Expected result: The gateway card shows Deployment Status as Active.
Step 7: Generate an API key
Your application uses this key to authenticate with the proxy. The proxy validates the key before forwarding any request to OpenAI.
- On the proxy detail page, open the Get Started panel.
- Click Generate API Key, enter a name (for example,
test-key), and click Generate. - Copy the key immediately. It's shown only once.
- Also copy the proxy's Invoke URL from the Get Started panel.
Expected result: The API key and invoke URL are ready to use.
Verify
Use the API key and invoke URL from Step 7 for all requests below.
-
Send a request to the proxy:
curl -k -X POST https://<PROXY-INVOKE-URL>/chat/completions \
  -H "X-API-Key: <YOUR-API-KEY>" \
  -H "Content-Type: application/json" \
  -d '{
    "model": "gpt-4o-mini",
    "messages": [{"role": "user", "content": "What is the capital of France?"}]
  }'
Expected result:
HTTP 200with an OpenAI response. Check the response headers.X-RateLimit-Remainingshows your remaining token budget for the current window. -
Send a second request immediately after:
curl -k -X POST https://<PROXY-INVOKE-URL>/chat/completions \
  -H "X-API-Key: <YOUR-API-KEY>" \
  -H "Content-Type: application/json" \
  -d '{
    "model": "gpt-4o-mini",
    "messages": [{"role": "user", "content": "What is the capital of Germany?"}]
  }'
Expected result:
HTTP 429 Too Many Requests. TheX-RateLimit-Resetheader shows the epoch time when the window resets and new requests are accepted. -
Send a request without an API key:
curl -k -X POST https://<PROXY-INVOKE-URL>/chat/completions \
  -H "Content-Type: application/json" \
  -d '{
    "model": "gpt-4o-mini",
    "messages": [{"role": "user", "content": "Hello"}]
  }'
Expected result:
HTTP 401 Unauthorized. Unauthenticated requests are rejected before reaching OpenAI. -
In the AI Workspace, navigate to Insights tab. Confirm your requests appear in the LLM traffic view with the correct response codes and that token consumption is visible.
Note
Allow up to two minutes for traffic to appear in Insights after the first request.
Troubleshooting
| Symptom | Resolution |
|---|---|
HTTP 401 Unauthorized on every request |
Confirm the X-API-Key header is present and matches the key generated in Step 7. |
HTTP 429 on the first request |
The token quota is already exhausted from a previous test run. Wait for the 1-minute window to reset, then retry. The X-RateLimit-Reset header shows when the window resets. |
| Proxy not reachable after deployment | Confirm the gateway shows Deployment Status as Active on the Deploy to Gateway page. |
| Rate limit not enforced after configuration | Confirm Token Based Rate Limit is visible in the Guardrails tab and the proxy has been redeployed since the guardrail was added. |
| Provider connection failing | Confirm your OpenAI API key is valid and has not expired. Navigate to LLM Providers, open OpenAI, and check the connection status. |
What you learned
- Registered an OpenAI LLM provider so the gateway manages the API key and your applications never handle it directly
- Created an LLM proxy to abstract the provider and serve as the single governed entry point for applications
- Attached a token-based rate limit policy that caps total token consumption within a rolling time window
- Verified that the gateway returns
HTTP 429once the quota is exhausted andHTTP 401for unauthenticated requests
Next steps
- Set up a governed multi-model LLM proxy with cost controls and failover — extend this proxy with model round-robin distribution, PII masking, and semantic caching
- Token-based rate limit policy reference — configure separate limits for prompt tokens, completion tokens, and total tokens independently
- LLM cost-based rate limiting — enforce a monetary spending budget instead of a token count
Try the sample
The companion sample runs this setup end to end using Docker, with a mock OpenAI backend and a pre-configured token-based rate limit policy. No real API credentials required.