Getting started
The API Portal & MCP Hub is where developers discover, subscribe to, and consume the APIs and MCP servers you publish. This guide gets the API Portal & MCP Hub running locally with Docker Compose in a few minutes, then walks you through publishing your first API.
Prerequisites
- Docker with the Compose plugin (
docker compose version) opensslon yourPATH(used by the setup script to generate certificates and secrets)curlandunzipinstalled- Ports 9543 (API Portal & MCP Hub) and 9243 (Platform API) available on your machine
Step 1: Download the API Portal & MCP Hub
Run this command in your terminal to download and unzip the standalone API Portal distribution:
curl -sLO https://github.com/wso2/api-platform/releases/download/api-portal%2Fv1.0.0-rc/wso2apip-api-portal-1.0.0-rc.zip && \
unzip wso2apip-api-portal-1.0.0-rc.zip
Step 2: Run the setup script
Navigate to the API Portal directory:
Run this command to set up the API Portal:This one-time script provisions everything the containers need to start:
- a self-signed TLS certificate under
resources/certificates/ - the API Portal and Platform API secrets—the encryption keys, the session secret, and the RS256 JWT signing keypair—written as files under
resources/keys/ - your admin credentials, bcrypt-hashed into
APIP_CP_ADMIN_USERNAMEandAPIP_CP_ADMIN_PASSWORD_HASHinapi-platform.env
It also prompts you for an admin username and password. Press Enter at the password prompt to have a strong one generated for you—it's printed once at the end, so copy it before continuing.
Save the printed admin credentials
The admin password is shown only once and is never stored in plaintext—only its bcrypt hash is written to api-platform.env. If you lose it, remove APIP_CP_ADMIN_USERNAME and APIP_CP_ADMIN_PASSWORD_HASH from api-platform.env and rerun ./scripts/setup.sh to generate a new one.
Re-running the script
The script is idempotent—re-running it only fills in what's missing and never overwrites an existing value. To rotate a secret, remove it from api-platform.env, or delete the relevant file under resources/certificates/ or resources/keys/, then re-run.
Step 3: Start the portal
This starts the API Portal & MCP Hub backed by SQLite by default. On first boot, the database schema and a default organization (default) with a default view are created automatically.
Verify the Platform API sidecar is healthy:
Step 4: Open the portal
Navigate to:
You'll see the API Portal home page.
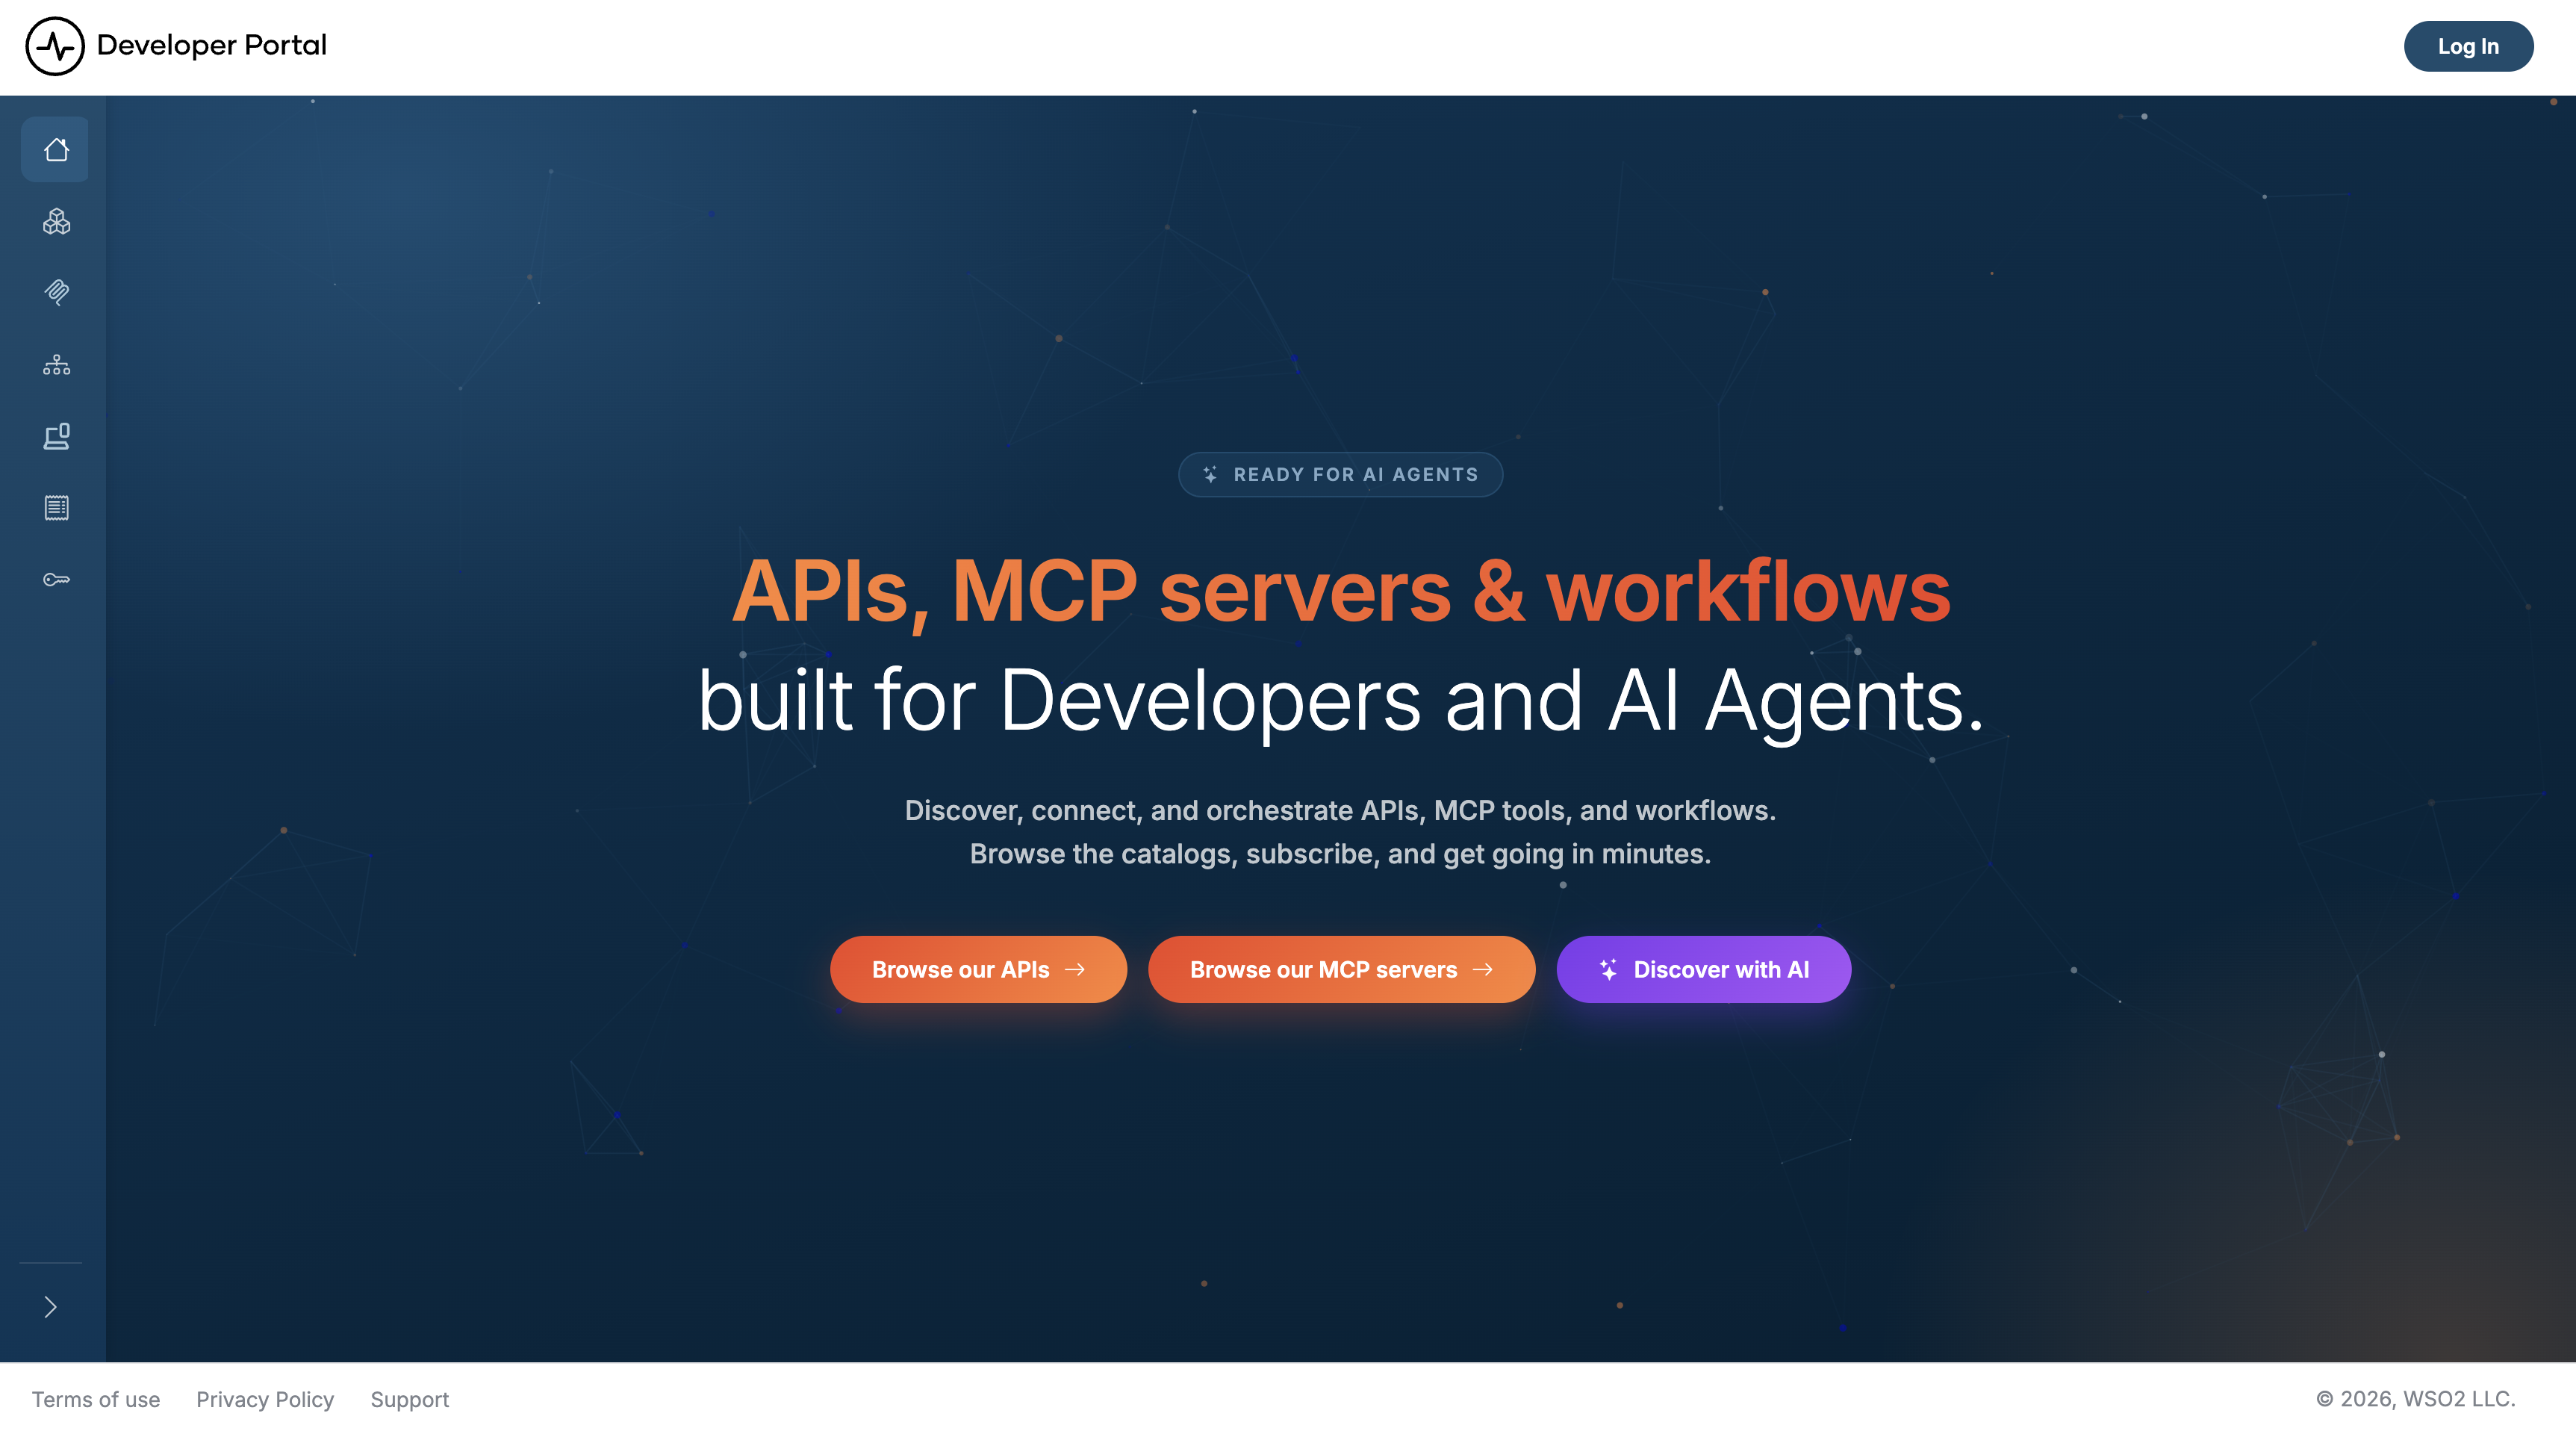
Click Log In and sign in with the admin username and password from Step 2.
Browser trust warning?
The generated TLS certificate is self-signed. Click Advanced > Proceed to continue.
You should see the default API catalog page. It stays empty until you add APIs—either seed the bundled samples or publish your own, both covered next.
Step 5: Seed sample APIs (optional)
The fastest way to see a populated catalog is to deploy the bundled sample APIs and MCP servers:
This deploys everything under resources/samples/ into the default organization through the public REST API. It prompts for the admin username and password from Step 2—or set ADMIN_USERNAME / ADMIN_PASSWORD to skip the prompt. It's safe to re-run: samples that already exist (matched by name and version) are skipped.
Note
Requires curl, jq, and zip on your PATH, and the portal must already be running (Step 3).
Refresh the catalog page and the sample APIs appear as a grid of cards, each showing the API's name, version, type, and a Subscribe button.
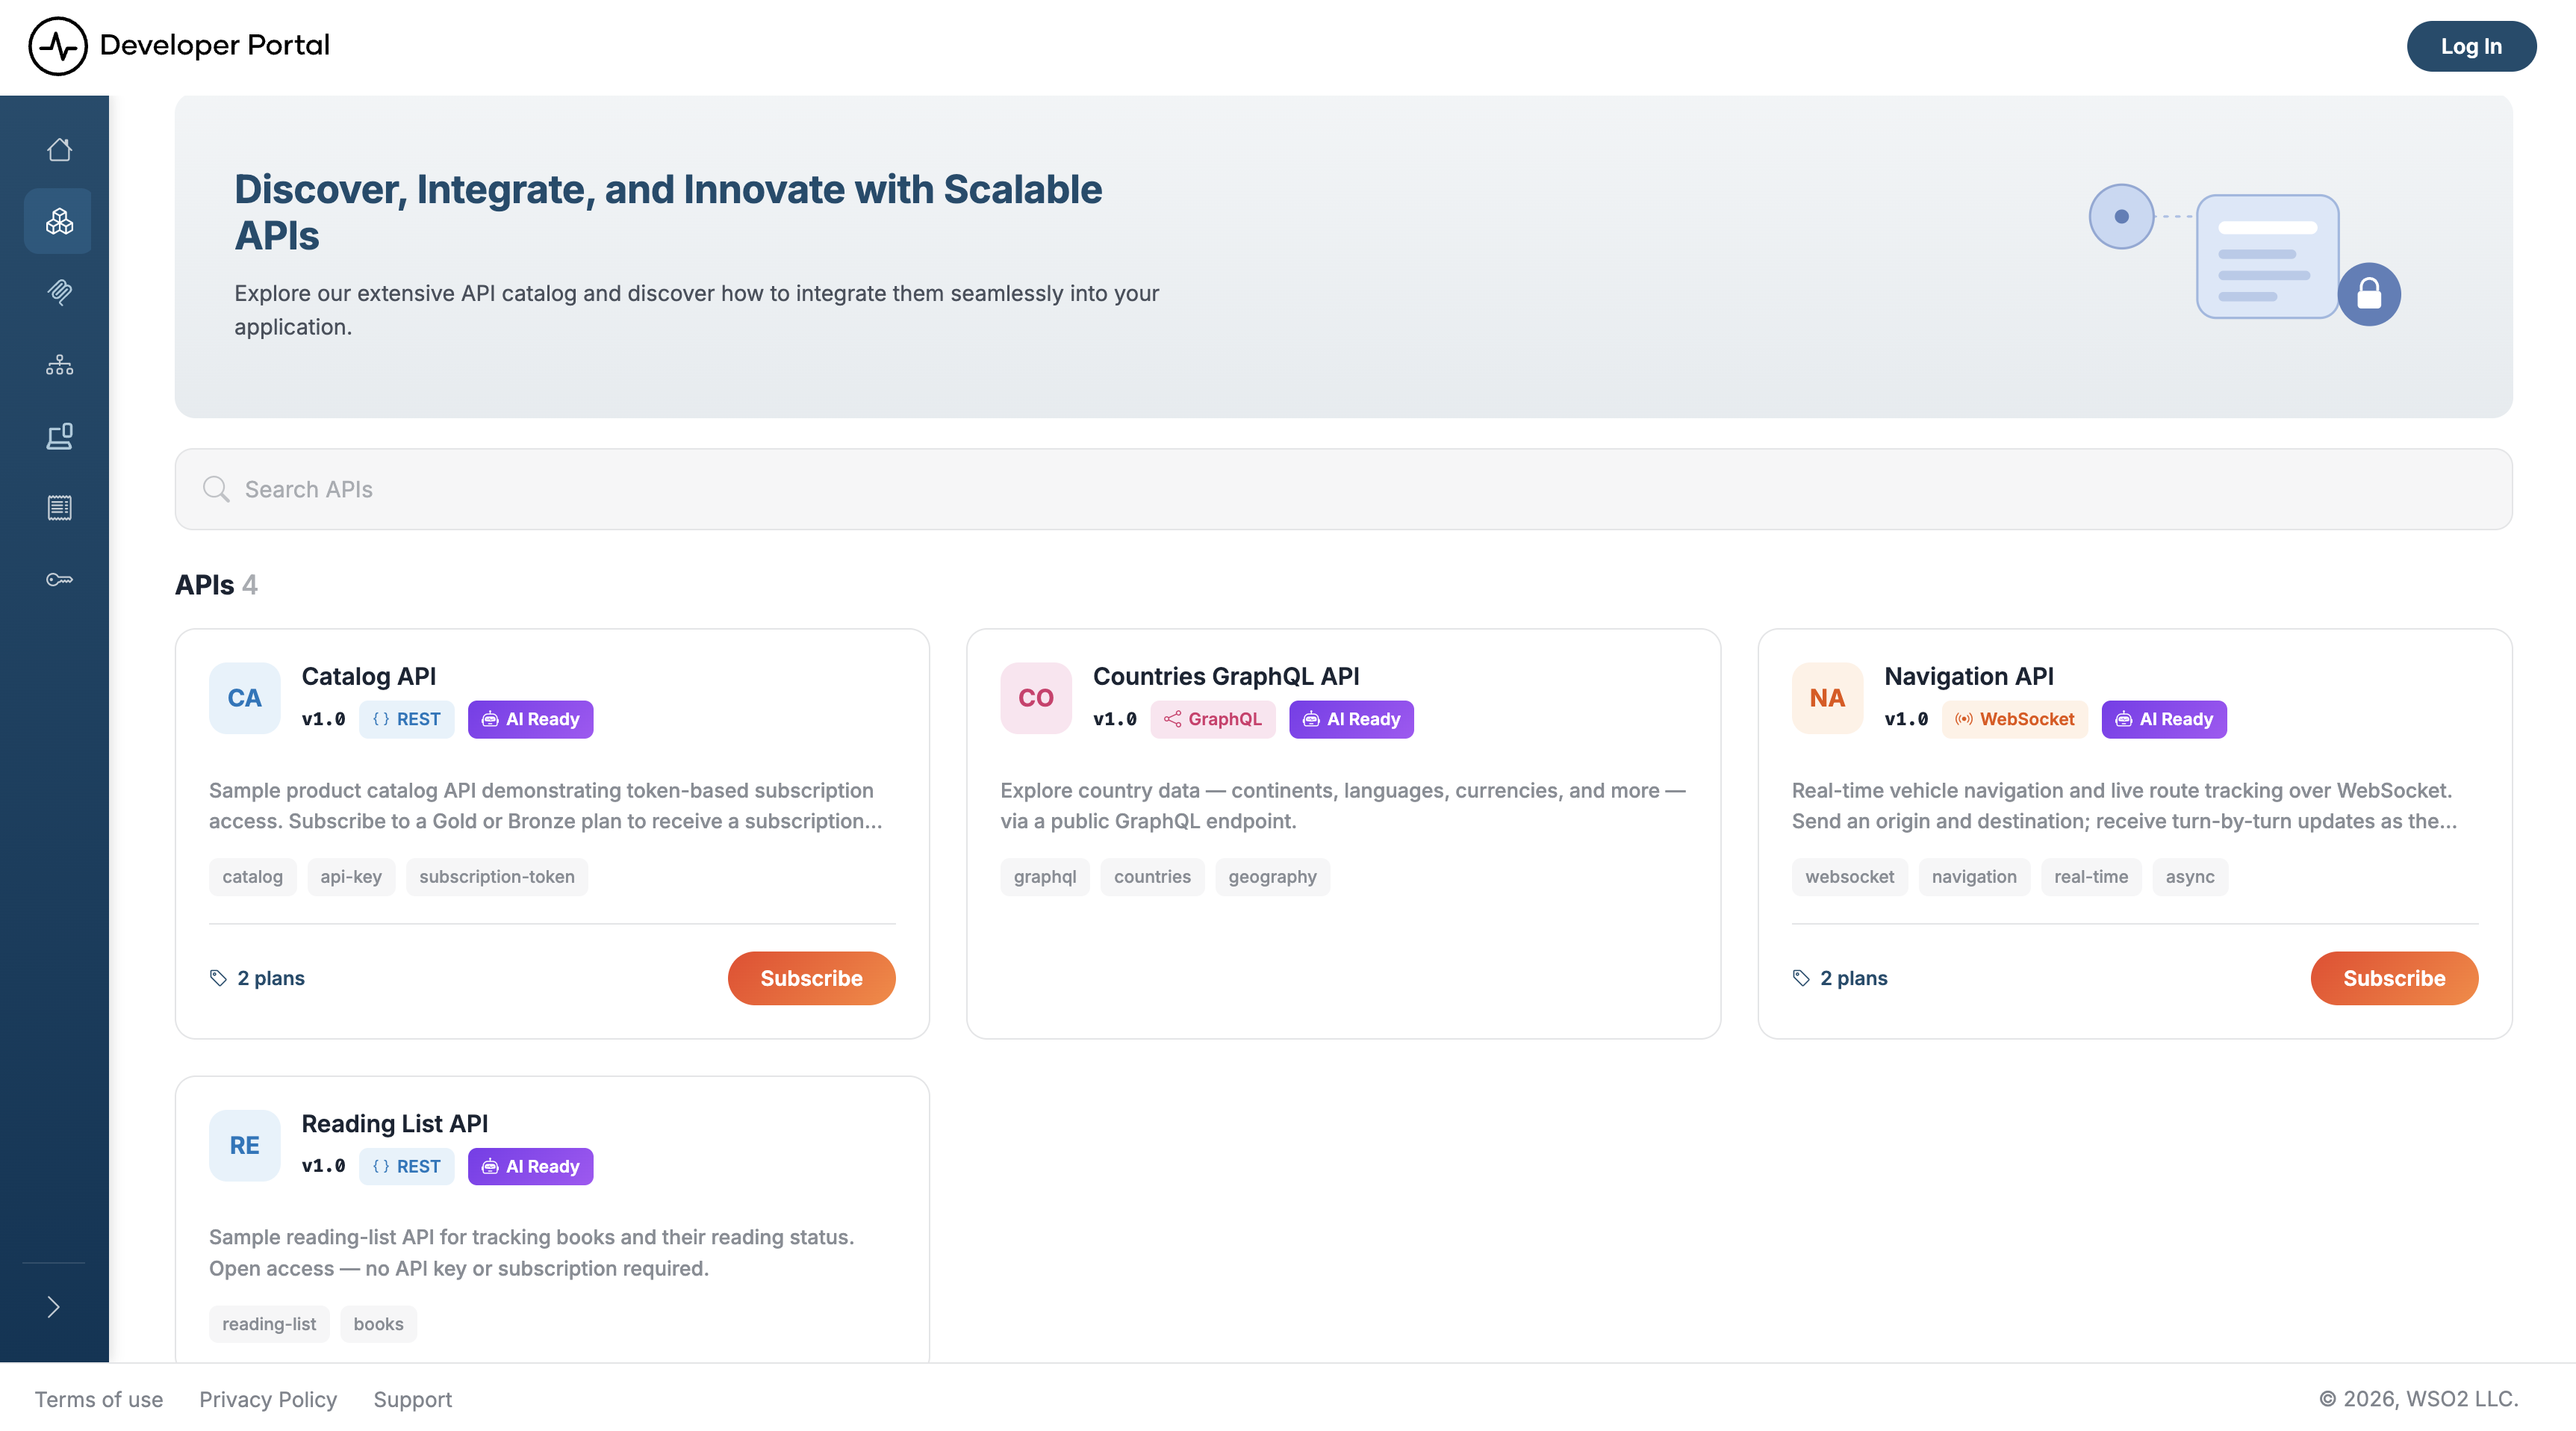
To publish an API of your own instead, continue below.
Step 6: Publish your first API
Publish an API by uploading a manifest and an OpenAPI definition. This example uses the Reading List API, whose backend is already hosted, so it works without deploying a gateway of your own.
Create the API manifest:
# api.yaml
apiVersion: api-portal.api-platform.wso2.com/v1
kind: RestApi

metadata:
  name: reading-list-api-v1.0

spec:
  type: REST
  displayName: Reading List API
  version: v1.0
  description: Sample reading-list API for tracking books and their reading status. Open access — no API key or subscription required.
  status: PUBLISHED
  referenceId: reading-list-api-v1.0

  tags:
    - reading-list
    - books

  labels:
    - default

  subscriptionPlans: []

  agentVisibility: VISIBLE

  businessInformation:
    businessOwner: Platform Owner
    businessOwnerEmail: [email protected]
    technicalOwner: API Team
    technicalOwnerEmail: [email protected]

  # Points at the hosted sample backend, so the API works in a fresh portal with
  # no gateway deployed. Front it with a gateway by swapping these for its URL.
  endpoints:
    sandboxUrl: https://apis.bijira.dev/samples/reading-list-api-service/v1.0
    productionUrl: https://apis.bijira.dev/samples/reading-list-api-service/v1.0
Create the OpenAPI definition:
# definition.yaml
openapi: 3.0.1
info:
  title: Reading List API
  version: v1.0
  description: |
    Track a personal reading list — add books, update their reading status, and
    remove them when you're done. Open access: no API key required.
servers:
  - url: https://apis.bijira.dev/samples/reading-list-api-service/v1.0
components:
  schemas:
    Book:
      type: object
      required: [title, author, status]
      properties:
        id:
          type: string
          format: uuid
          readOnly: true
        title:
          type: string
          example: The Great Gatsby
        author:
          type: string
          example: F. Scott Fitzgerald
        status:
          type: string
          enum: [to_read, reading, read]
paths:
  /books:
    get:
      summary: List books
      responses:
        '200':
          description: OK. The reading list.
    post:
      summary: Add a book
      responses:
        '201':
          description: Created. The newly added book.
  /books/{id}:
    parameters:
      - name: id
        in: path
        required: true
        schema:
          type: string
          format: uuid
    get:
      summary: Get a book
      responses:
        '200':
          description: OK. The requested book.
    put:
      summary: Update a book
      responses:
        '200':
          description: OK. The updated book.
    delete:
      summary: Remove a book
      responses:
        '204':
          description: No Content. The book was removed.
Then get a bearer token from the Platform API using the admin credentials from Step 2, and publish:
# Get a token from the Platform API (runs alongside the API Portal)
TOKEN=$(curl -sk -X POST "https://localhost:9243/api/portal/v0.9/auth/login" \
  -d "username=<admin-username>&password=<admin-password>" | jq -r .token)

# Publish the API — the login is scoped to the "default" organization
curl -k -X POST "https://localhost:9543/api/v0.9/apis" \
  -H "Authorization: Bearer $TOKEN" \
  -F "[email protected];type=application/yaml" \
  -F "[email protected];type=application/yaml"
Refresh the portal—the Reading List API now appears in the catalog. Click it to view its documentation and try-out console.
What's next
- Search APIs: browse and search the catalog
- MCP Servers: publish and connect to Model Context Protocol servers
- AI Agent Discovery: the
llms.txtand Markdown endpoints agents use - Manage Applications: set up a container for OAuth2 credentials
- Manage Subscriptions: subscribe to a published API under a plan
- Consume an API Secured with an API Key or Consume an API Secured with OAuth2
- Theming: customize the portal's look and feel