Monetize a REST API with Stripe
Overview
This guide shows you how to charge for an existing REST API without writing any billing code. WSO2 API Platform syncs usage to Stripe, handles payment processing, enforces subscription access, and gives consumers a self-service billing portal. By the end, you'll have a published Reading List API with a Pay-as-you-go plan and per-request Stripe metering on every authenticated call.
Prerequisites
- A WSO2 API Platform account. Sign up for free at console.bijira.dev.
- A Stripe account with your Publishable Key and Secret Key. These are available in the Stripe Dashboard under Developers > API Keys.
curlfor testing.
Architecture
API consumers (developers / apps)

    |  HTTPS + OAuth2 bearer token
    v

+---------------------------+
|     WSO2 API Gateway      |
|  auth · rate limit · audit|
+---------------------------+

    |  HTTP                          |  usage records
    v                                v

Your backend API             +---------------------------+
                             |     Stripe                |
                             |  metering · invoicing     |
                             |  payment · portal         |
                             +---------------------------+
API consumers subscribe to a plan in the Developer Portal, pay via Stripe checkout, and call the API with an OAuth2 bearer token. The platform reports usage records to Stripe, which handles invoicing, payment collection, and the consumer billing portal — WSO2 API Platform never touches payment details.
Step 1: Create an organization and project
Go to the API Platform Console and sign in with your Google, GitHub, or Microsoft account.
If this is your first time signing in, you'll be prompted to create an organization. Enter sampleorganization as the name, accept the privacy policy and terms of use, and click Create.
Once you're on the organization home page, create a project:
- Click + Create Project.
-
Enter the following details:
Field Value Display Name Sample Project Identifier sample-project Description My sample project -
Click Create.
Expected result: The project home page opens.
Step 2: Create and deploy an API proxy
Create an API proxy from the Reading List OpenAPI spec. This is the endpoint the gateway protects and meters.
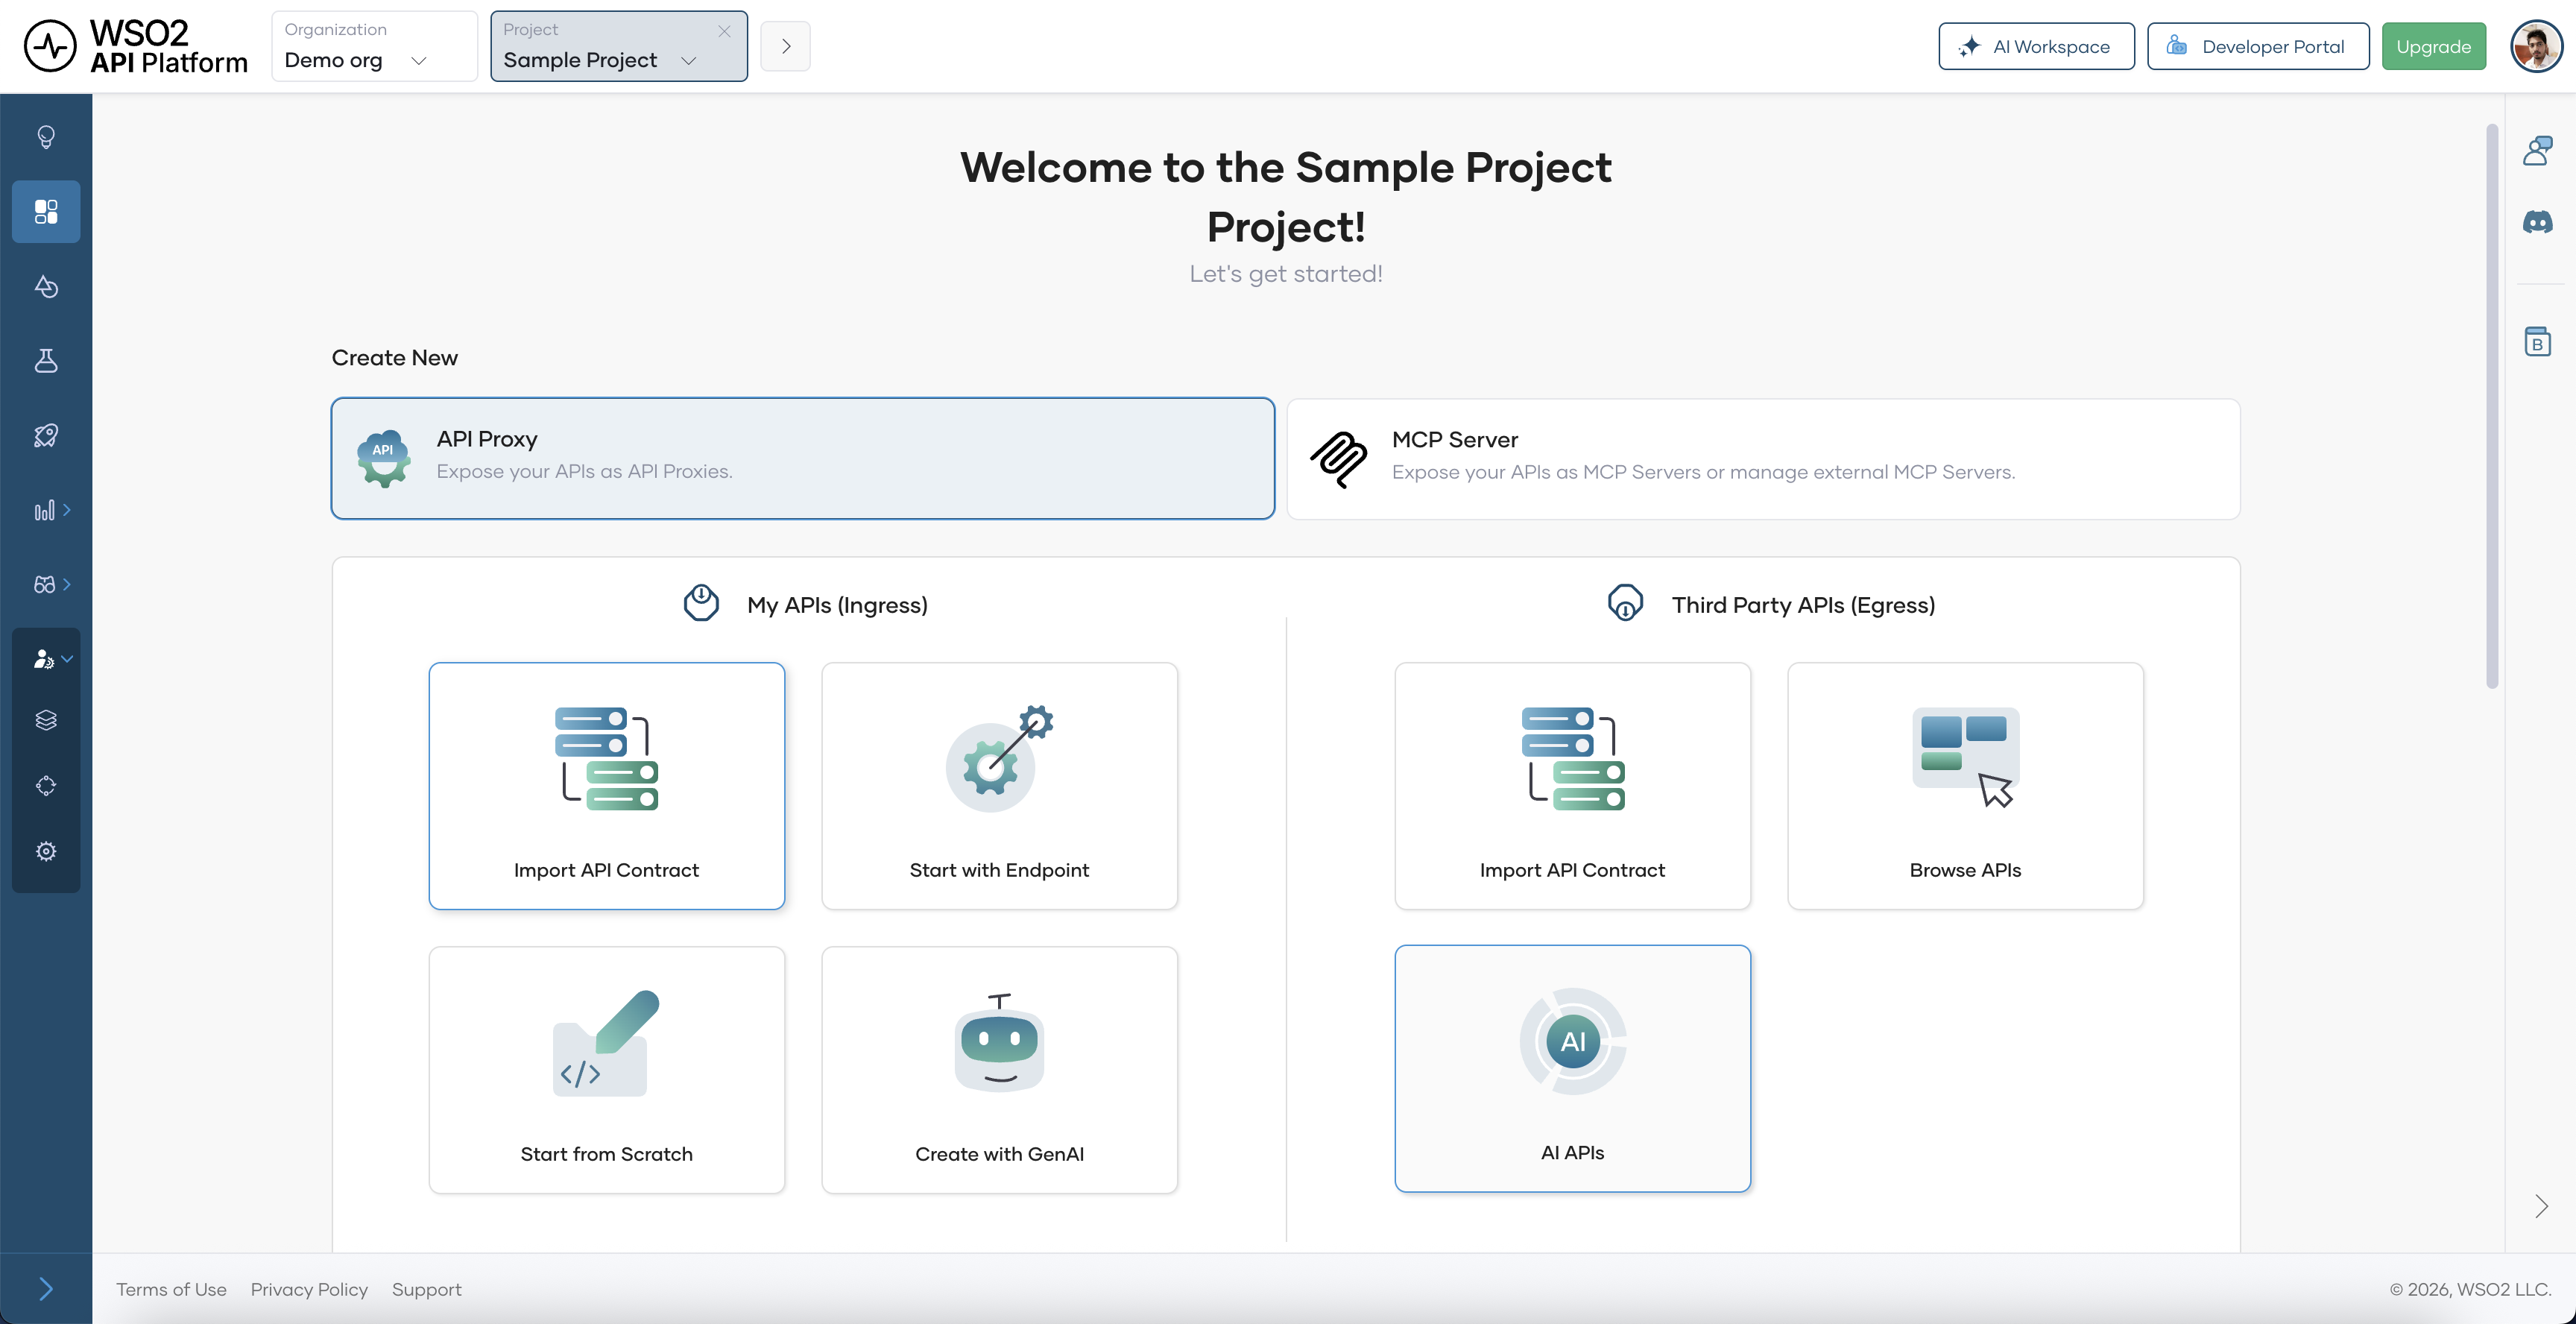
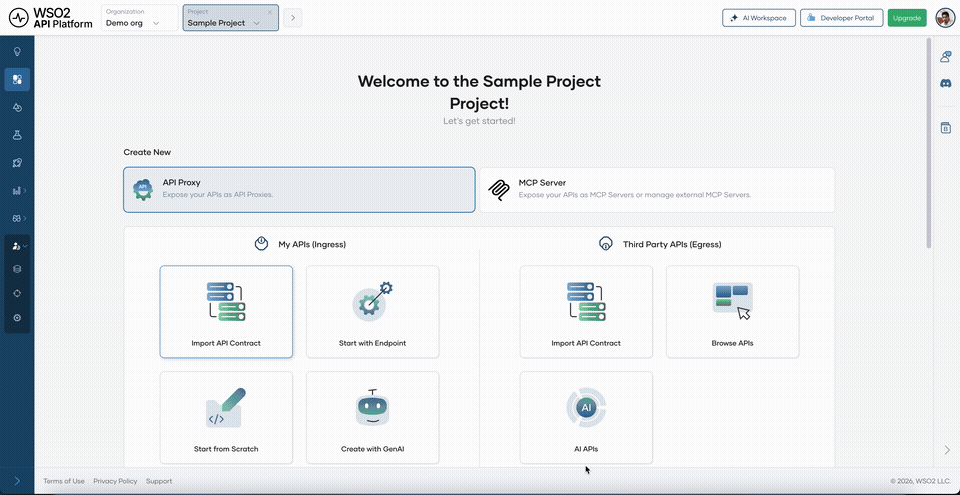
- On the project home page, select API Proxy.
- Click Import API Contract.
-
Click URL for API Contract, paste the following URL, and click Next:
-
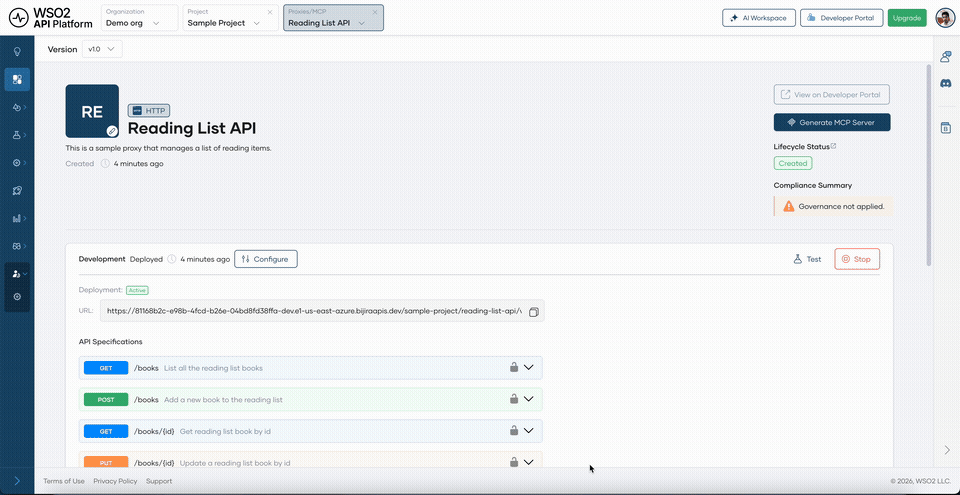
On the Create API Proxy page, click Create.
Expected result: The API proxy is created with operations auto-generated from the Reading List API spec.
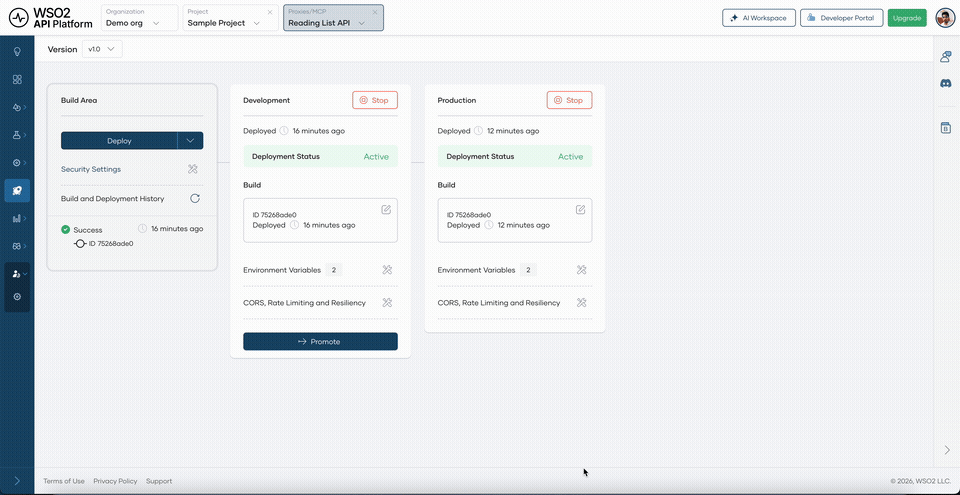
Then deploy the proxy to make it reachable:
- In the left navigation menu, click Deploy.
- Click Deploy in the Development card.
- Click Promote to promote the proxy to Production. Select Use Development endpoint configuration and click Next.
Expected result: The Production card shows Deployment Status as Active.
Step 3: Connect Stripe
Connect your Stripe account at the organization level. The platform uses these credentials to create Stripe products, prices, and usage records on your behalf — you don't write any billing code.
- In the API Platform Console header, go to the Organization list and select your organization.
- In the left navigation menu, click Admin, then click Settings.
- Click the Credentials tab, then the Stripe Credentials sub-tab.
- Click Add Stripe Credentials.
- Enter your Secret Key and Publishable Key from the Stripe Dashboard.
- Click Save.
Expected result: Your Stripe account is connected and ready to process payments for API subscriptions.
Note
You can use a Standard secret key or a Restricted secret key. For Restricted keys, see Getting Started with API Monetization for the minimum permissions required.
Step 4: Create subscription plans
Create a Pay-as-you-go subscription plan that charges consumers per API request.
- In the left navigation menu, click Admin, then click Settings.
- Click the Subscription Plans tab, then click + Create.
-
Enter the following details:
Field Value Name Pay-as-you-go Description Pay $0.02 per API request, billed monthly Request Count 1000 Request Count Time Unit Minute Pricing Model Unit Currency USD Billing Period Monthly Unit Amount 0.02 -
Click Create.
Expected result: The Pay-as-you-go plan appears in the Subscription Plans list.
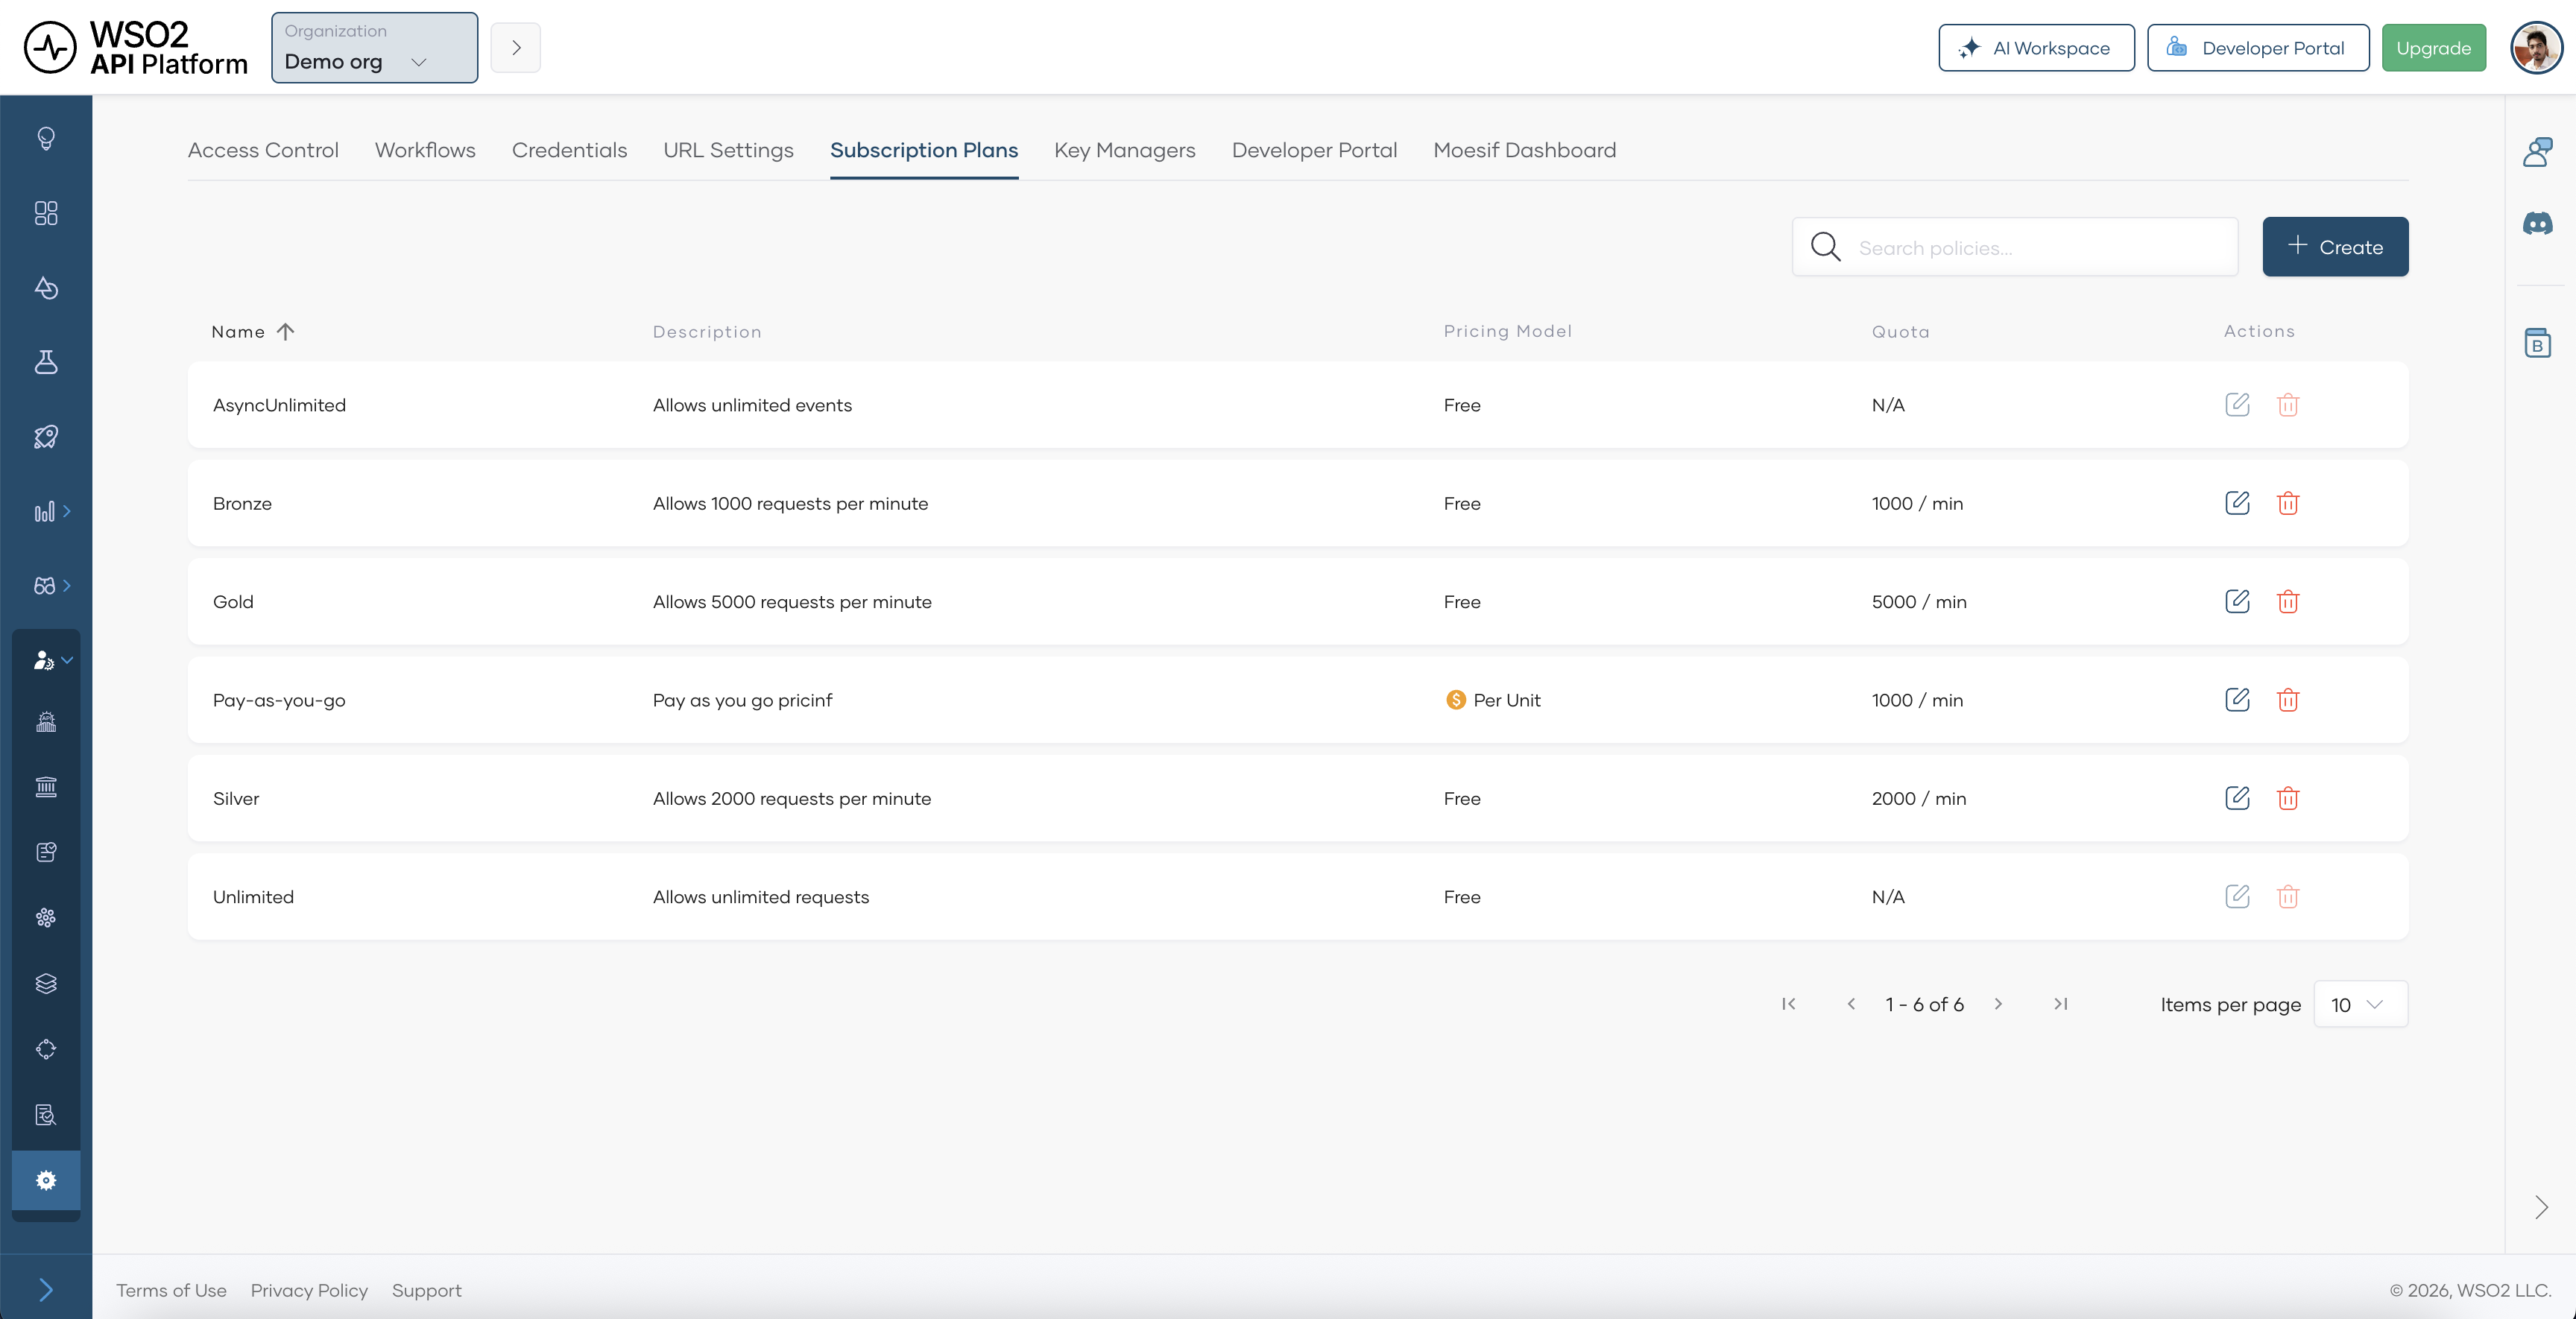
Note
In usage-based models, a unit equals one API request. With the Unit model, the total charge is request count × unit price. For tiered pricing, use Volume or Graduated instead.
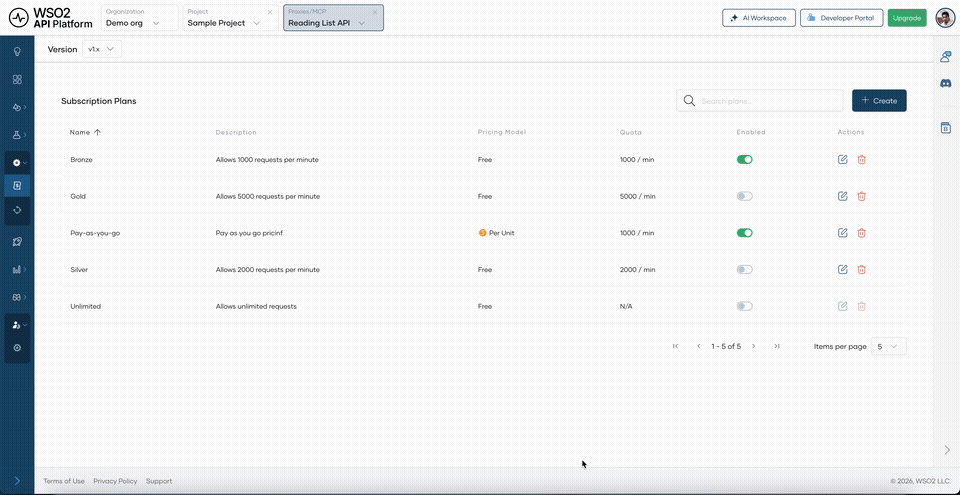
Step 5: Enable the plan on the API
Enable the Pay-as-you-go plan on the Reading List API so consumers can discover and subscribe to it in the Developer Portal.
- In the left navigation menu of your Reading List API proxy, click Manage, then click Monetize.
- Enable the toggle for Pay-as-you-go.
- Click Save.
Expected result: The Pay-as-you-go plan is active on the API and appears in the Developer Portal subscription dialog.
Tip
You can enable multiple plans on the same API to offer tiered pricing — for example, a flat-rate tier alongside this pay-as-you-go tier — without managing separate APIs.
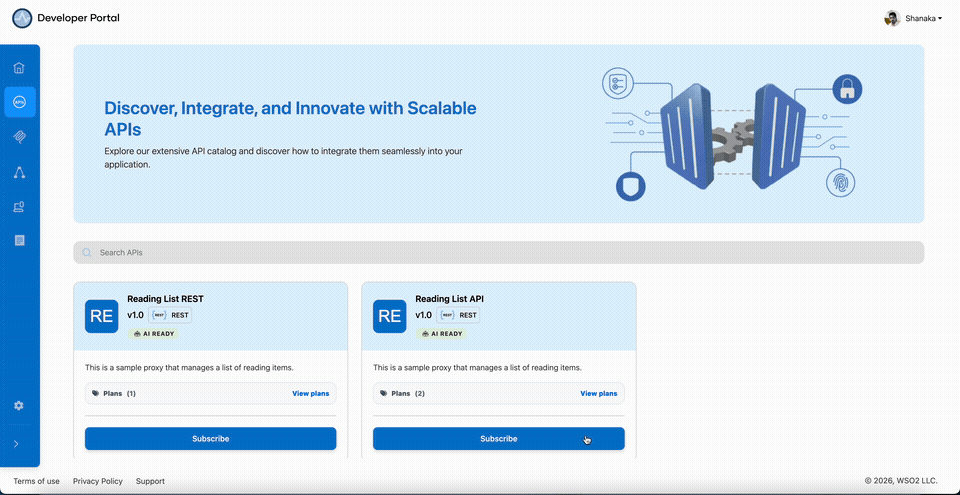
Step 6: Publish the API to the Developer Portal
Publish the API so consumers can discover it, review available plans, and subscribe.
- In the left navigation menu, click Manage, then click Lifecycle.
- Click Publish.
- In the Publish API dialog, confirm the details and click Confirm.
Expected result: The lifecycle state changes to Published and the API appears in the Developer Portal.
Step 7: Subscribe to the paid plan
As an API consumer, subscribe to the Pay-as-you-go plan through the Developer Portal.
- Go to devportal.bijira.dev and sign in.
- In the sidebar, click APIs.
- Find the Reading List API and click Subscribe.
- In the Choose Your Subscription Plan dialog, select an application from the dropdown, or create one named
Reading List App. - Click Subscribe on the Pay-as-you-go plan.
- A Stripe checkout window opens. Enter your payment details and complete the payment.
Expected result: The application is subscribed to the Reading List API under the Pay-as-you-go plan. The Stripe checkout confirmation is shown.
Note
Payments are processed by Stripe, and WSO2 API Platform doesn't store your payment details. If your Stripe account is in test mode, use the test card 4242 4242 4242 4242 with any future expiry date and any CVC to complete checkout.
Step 8: Generate API credentials
Generate OAuth2 credentials for your application so you can make authenticated API calls.
- In the Developer Portal, click Applications and open Reading List App.
- Click Manage Keys.
- On the Production tab, click Generate Key.
- Copy the Consumer Key and Consumer Secret.
- Click Generate to generate an access token and copy it.
Expected result: You have an access token ready to use in API calls.
Note
Bearer tokens expire after 3600 seconds by default. To extend the lifetime, click Modify on the Manage Keys page and increase the Application Access Token Expiry Time before generating.
Step 9: Invoke the API
Make your first authenticated call to the monetized API using the access token.
Replace <your-gateway-url> with the API proxy URL from the API's Overview page in the Developer Portal and <your-token> with the access token you just copied.
Expected result: HTTP 200 with a JSON list of books. Each successful call increments your usage meter in Stripe.
Step 10: View billing and usage
After making API calls, check your usage, upcoming charges, and invoices from the Developer Portal.
- In the Developer Portal, click your profile icon in the top right corner.
- Click Billing.
- On the Usage Summary tab, review your Total Billed API Calls, Active Subscriptions, and Estimated Cost for the current period.
- Click the Invoices tab to view and download past invoices.
- Click the Billed Subscriptions tab to see subscription details and click Manage to update or cancel.
Expected result: Your Reading List API calls appear in the usage breakdown with the Pay-as-you-go plan, and the estimated cost reflects your request count × $0.02.

Note
Allow a few minutes for usage to appear in the Billing page after the first request.
Verify
-
Confirm authenticated calls are billed. Call the API with your token and then check the Usage Summary — the call count should increment.
Expected result: The request count in Billing > Usage Summary increases by the number of calls made.
-
Confirm unauthenticated requests are rejected. Call the API without an Authorization header.
Expected result:
HTTP 401Unauthorized. -
Confirm subscription enforcement. In the Developer Portal, cancel the Pay-as-you-go subscription under Billing > Billed Subscriptions > Manage > Cancel. Then attempt to call the API with the same token.
Expected result:
HTTP 403Forbidden — the gateway revokes access when the subscription lapses.
Troubleshooting
| Symptom | Resolution |
|---|---|
| Stripe Credentials save fails | Confirm your Secret Key and Publishable Key are from the same Stripe account and that the secret key has the required permissions. |
| Plans don't appear in Developer Portal subscription dialog | Confirm the plan toggles are enabled in Manage > Monetize and the API is in the Published lifecycle state. |
| Stripe checkout doesn't open | Confirm your Stripe account is active and not in restricted mode. Check the Stripe Dashboard for any pending account verification. |
HTTP 401 on every call after subscribing |
Confirm your access token is not expired. Generate a new token in Manage Keys and update your request. |
HTTP 403 after subscribing |
Confirm the subscription is active in Billing > Billed Subscriptions. If payment failed, the subscription may be inactive. |
| Usage not appearing in Billing page | Allow a few minutes after making calls. Usage reporting to Stripe is near-real-time but not instantaneous. |
| Cannot cancel subscription | Subscription cancellation is available in the Developer Portal under Billing > Billed Subscriptions > Manage. Only the consumer who created the subscription can cancel it. |
What you learned
- Connected a Stripe account to WSO2 API Platform so the platform manages all billing infrastructure without custom code.
- Created a Unit-priced Pay-as-you-go subscription plan, then enabled and published it to the Developer Portal for consumer self-service.
- Subscribed to a paid plan via a Stripe-powered checkout, with access granted immediately after payment.
- Invoked a monetized API using OAuth2 credentials, with each request automatically metered and reported to Stripe.
- Viewed real-time usage, invoices, and subscription management from the Developer Portal Billing page.
Next steps
- Attach and manage policies — pair your subscription plans with rate limiting and other policies to protect your backend from overuse.
- Manage paid subscription plans — edit, version, or deactivate your plans as your pricing evolves.
- Insights — track request volume, error rates, and latency per plan in the API Platform Console.