Getting Started
The Developer Portal is where developers discover, subscribe to, and consume the APIs and MCP servers you publish. This guide gets the Developer Portal running locally with Docker Compose in a few minutes, then walks you through publishing your first API.
Prerequisites
- Docker with the Compose plugin (
docker compose version) opensslon yourPATH(used by the setup script to generate certificates and secrets)curlandunzipinstalled- Ports 9543 (Developer Portal) and 9243 (Platform API) available on your machine
Step 1: Download the Developer Portal
Run this command in your terminal to download and unzip the standalone Developer Portal distribution:
curl -sLO https://github.com/wso2/api-platform/releases/download/developer-portal/v1.0.0-beta/wso2apip-developer-portal-1.0.0-beta.zip && \
unzip wso2apip-developer-portal-1.0.0-beta.zip
Step 2: Run the Setup Script
This one-time script provisions everything the containers need to start:
- a self-signed TLS certificate under
resources/certificates/ - the portal's encryption/session secrets and the shared JWT signing key, written to
api-platform.env - the Platform API sidecar config that validates login credentials and issues signed tokens
It also prompts you for an admin username and password. Press Enter at the password prompt to have a strong one generated for you — it's printed once at the end, so copy it before continuing.
Save the printed admin credentials
The admin password is shown only once and is never stored in plaintext — only its bcrypt hash is written to api-platform.env. If you lose it, remove APIP_CP_ADMIN_USERNAME and APIP_CP_ADMIN_PASSWORD_HASH from api-platform.env and rerun ./scripts/setup.sh to generate a new one.
Re-running the script
The script is idempotent — re-running it only fills in what's missing and never overwrites an existing value. To rotate a secret, remove it from api-platform.env (or delete resources/certificates/ for the TLS certificate) and re-run.
Step 3: Start the Portal
This starts the Developer Portal backed by SQLite by default. On first boot, the database schema and a default organization (default) with a default view are created automatically.
Verify the Platform API sidecar is healthy:
Step 4: Open the Portal
Navigate to:
You'll see the Developer Portal home page.
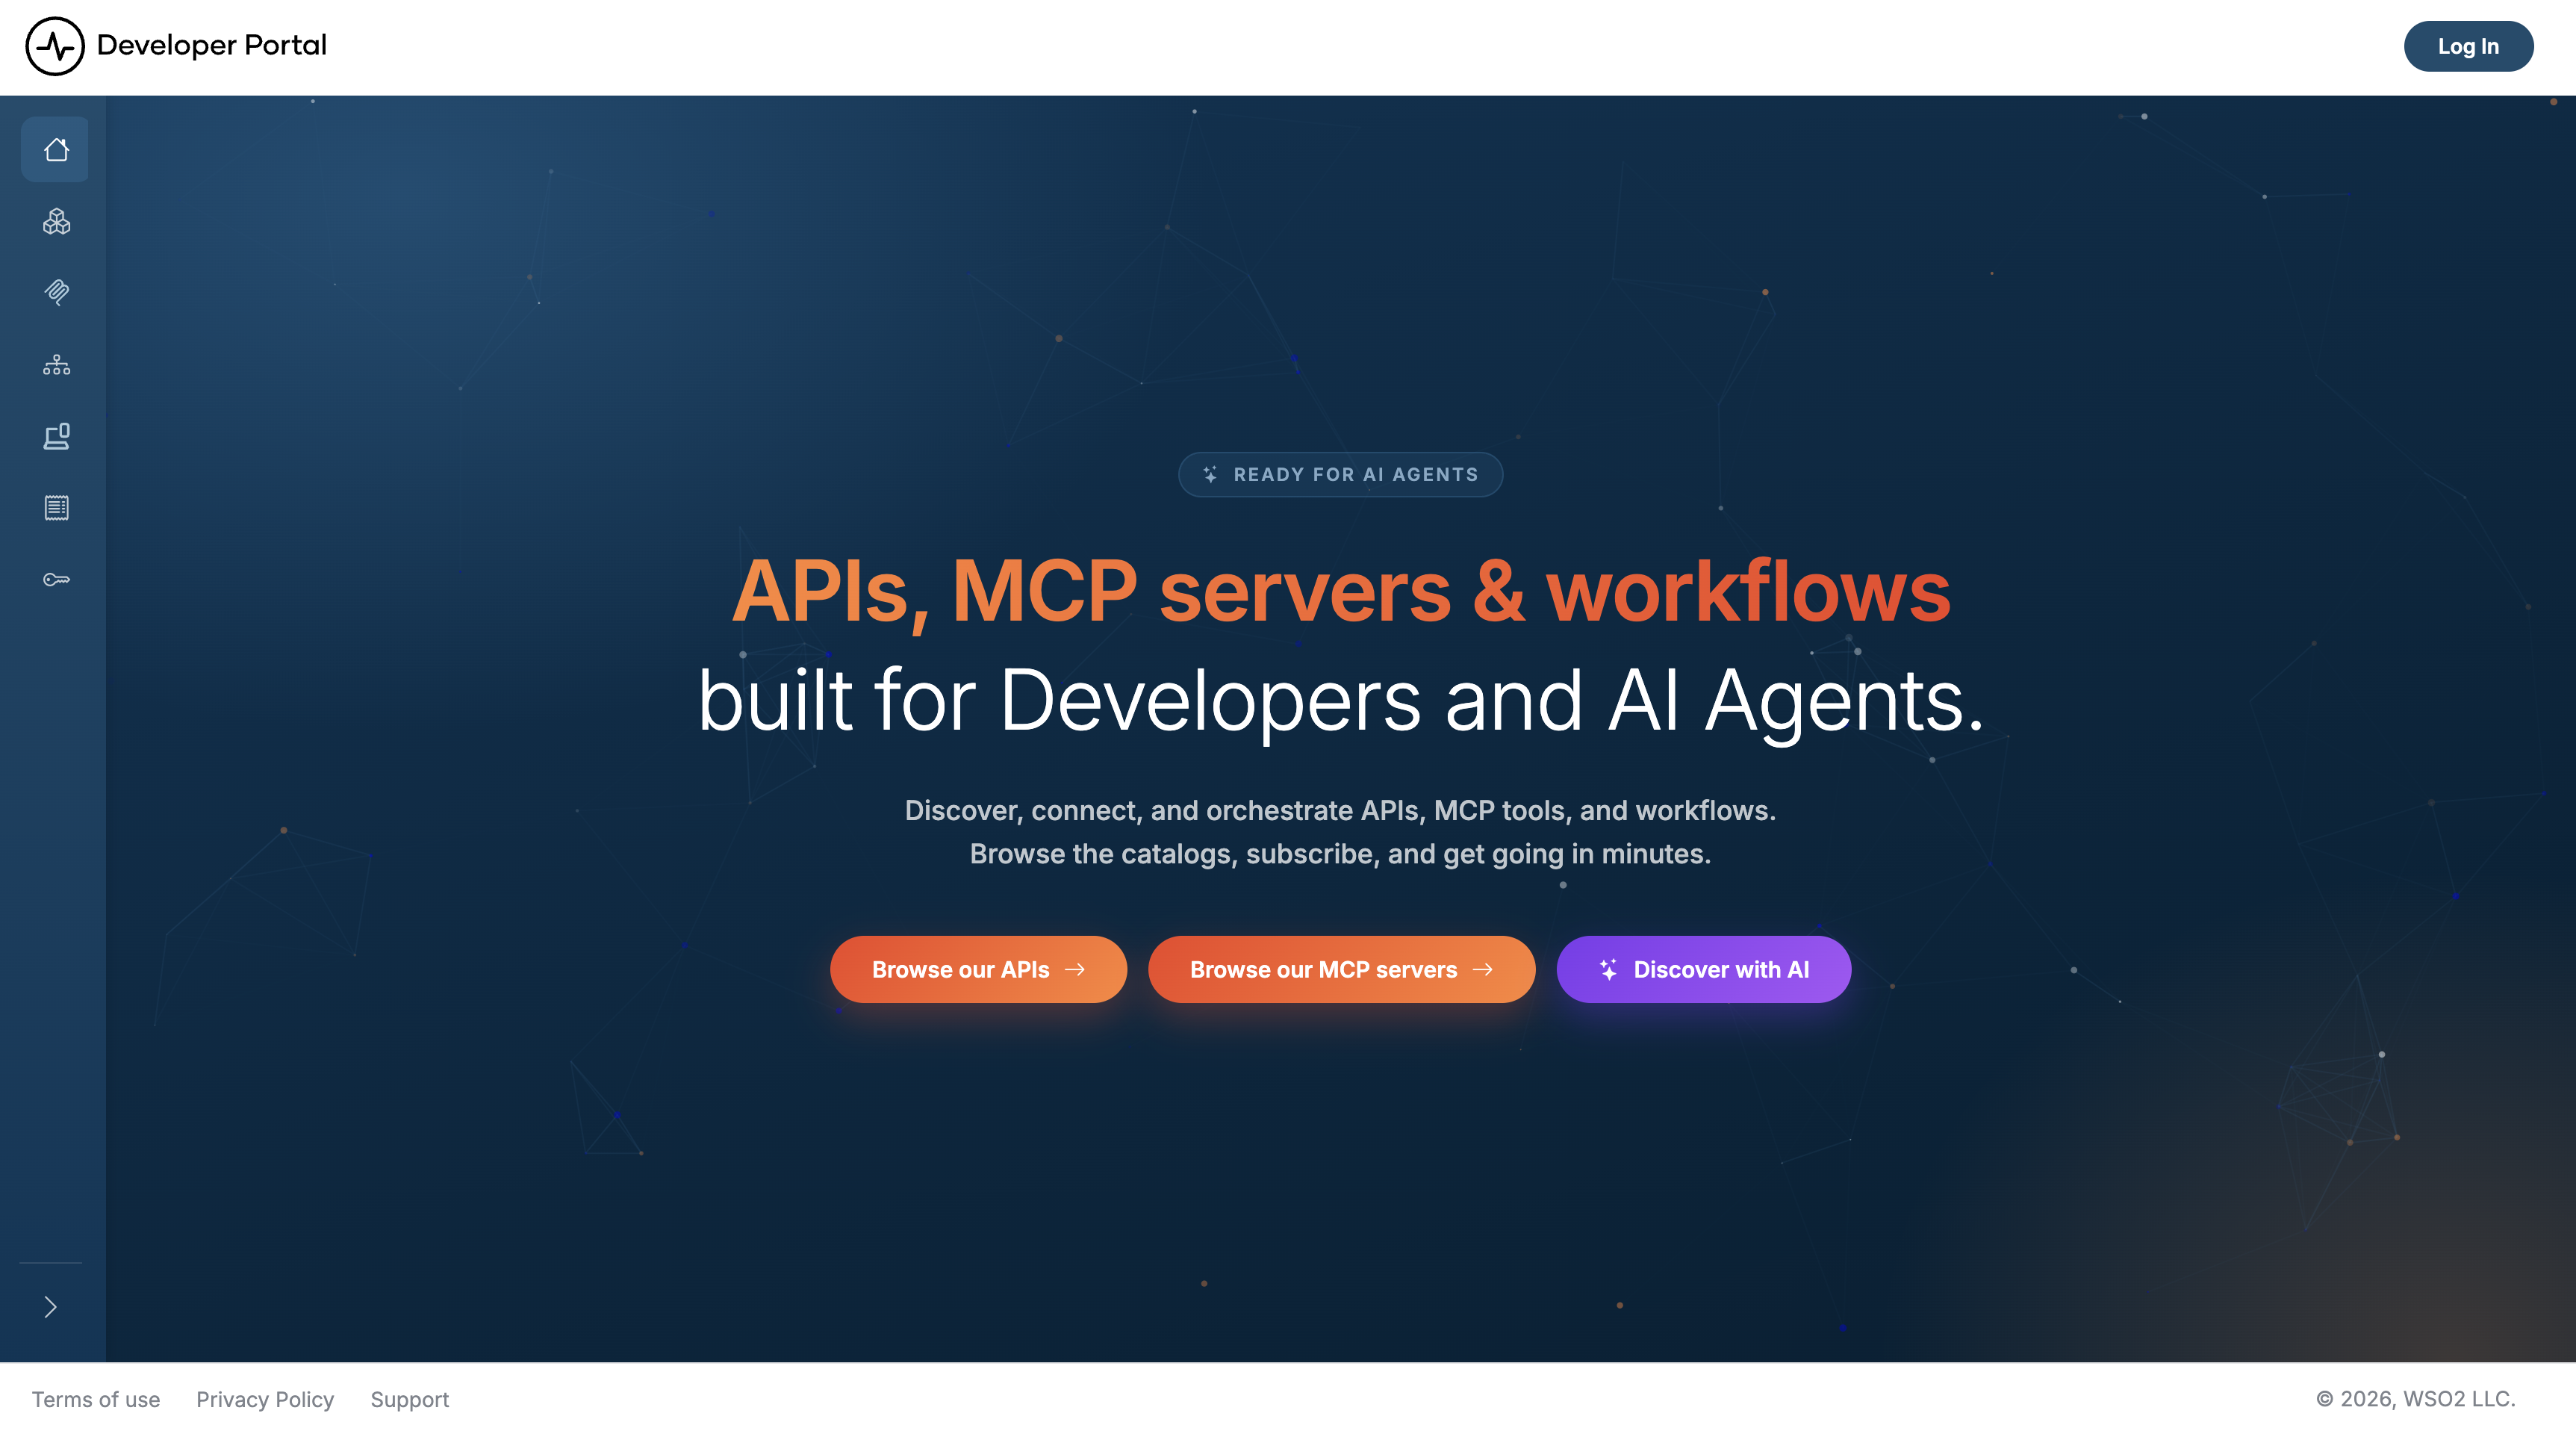
Click Log In and sign in with the admin username and password from Step 2.
Browser trust warning?
The generated TLS certificate is self-signed. Click Advanced > Proceed to continue.
You should see the default API catalog page. It stays empty until you add APIs — either seed the bundled samples or publish your own, both covered next.
Step 5: Seed Sample APIs (Optional)
The fastest way to see a populated catalog is to deploy the bundled sample APIs and MCP servers:
This deploys everything under resources/samples/ into the default organization through the public REST API. It prompts for the admin username and password from Step 2 — or set ADMIN_USERNAME / ADMIN_PASSWORD to skip the prompt. It's safe to re-run: samples that already exist (matched by name and version) are skipped.
Note
Requires curl, jq, and zip on your PATH, and the portal must already be running (Step 3).
Refresh the catalog page and the sample APIs appear as a grid of cards, each showing the API's name, version, type, and a Subscribe button.
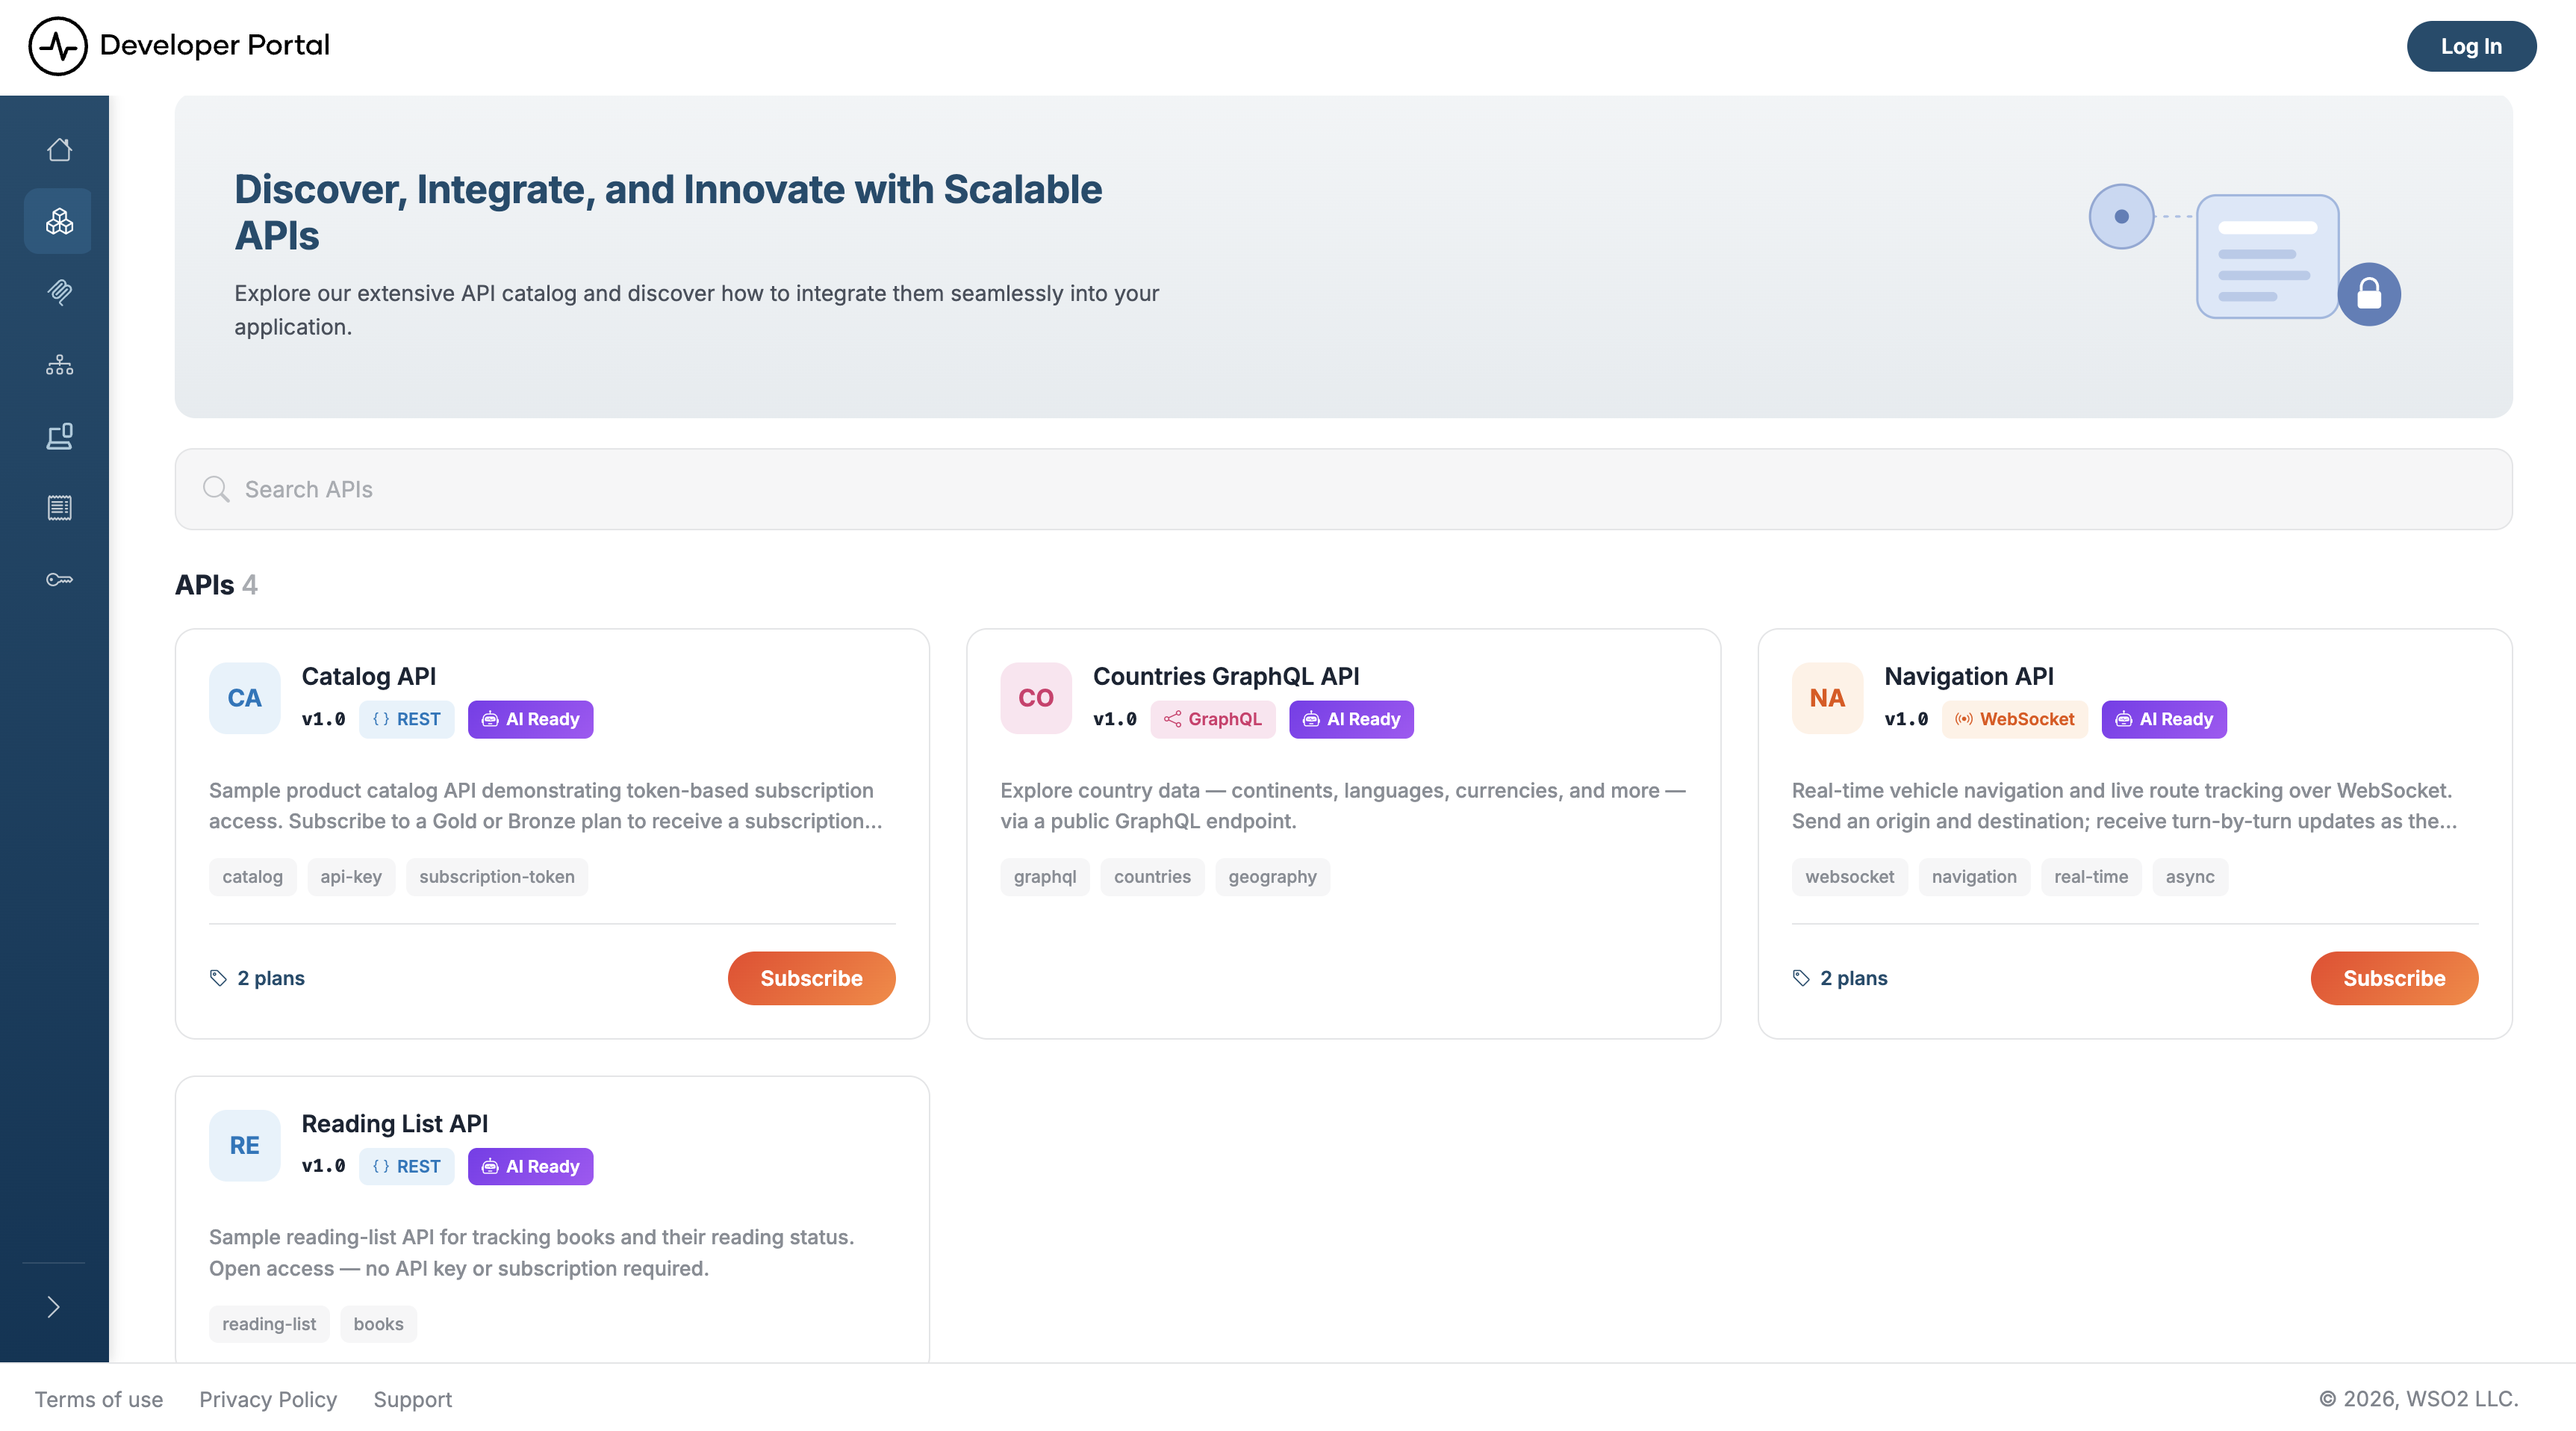
To publish an API of your own instead, continue below.
Step 6: Publish Your First API
Create an API manifest and an OpenAPI definition:
# api.yaml
apiVersion: devportal.api-platform.wso2.com/v1alpha2
kind: RestApi

metadata:
  name: ping-api-v1.0

spec:
  type: REST
  displayName: Ping API
  version: v1.0
  description: Sample HTTP echo/probe API. Requires API key authentication. No subscription plans.
  status: PUBLISHED
  referenceID: ping-api-v1.0

  tags:
    - ping
    - api-key

  labels:
    - default

  subscriptionPlans: []

  visibility: PUBLIC
  visibleGroups: []

  businessInformation:
    businessOwner: Platform Owner
    businessOwnerEmail: [email protected]
    technicalOwner: API Team
    technicalOwnerEmail: [email protected]

  endpoints:
    sandboxUrl: http://localhost:8080/ping
    productionUrl: http://localhost:8080/ping
# openapi.yaml
openapi: 3.0.1
info:
  title: Ping API
  version: 1.0.0
  description: |
    HTTP echo/probe API secured with an API key (`X-API-Key` header).
servers:
  - url: /ping
security:
  - ApiKeyHeader: []
components:
  securitySchemes:
    ApiKeyHeader:
      type: apiKey
      in: header
      name: X-API-Key
  schemas:
    PingResponse:
      type: object
      description: Response returned by the ping/echo service
      additionalProperties: true

paths:
  /get:
    get:
      summary: Echo a GET request
      responses:
        '200':
          description: OK
          content:
            application/json:
              schema:
                $ref: '#/components/schemas/PingResponse'
Then get a bearer token from the Platform API using the admin credentials from Step 2, and publish:
# Get a token from the Platform API (runs alongside the devportal)
TOKEN=$(curl -sk -X POST "https://localhost:9243/api/portal/v0.9/auth/login" \
  -d "username=<admin-username>&password=<admin-password>" | jq -r .token)

# Publish the API (the token's org_handle claim scopes this to the "default" org)
curl -sk -X POST "https://localhost:9543/api/v0.9/apis" \
  -H "Authorization: Bearer $TOKEN" \
  -F "[email protected];type=application/yaml" \
  -F "[email protected];type=application/yaml"
Refresh the portal — the Ping API now appears in the catalog. Click it to view its documentation and try-out console.
What's Next
- Search APIs: find published APIs by name, type, version, or description
- Create an Application: set up a container for OAuth2 credentials
- Subscribe to an API: subscribe to a published API under a plan
- Consume an API Secured with API Key or Consume an API Secured with OAuth2
- Theming: customize the portal's look and feel