Self Manage Your WSO2 Support Portal Users

- Shayan Malinda
- Senior Software Engineer, WSO2

We're thrilled to announce the latest feature in our customer support portal that allows you to take charge of your users. Now, you no longer need to rely on your account manager to add or remove users. You can do it quickly and easily directly from the portal.
Advantages of the Updated Self User Management Feature:
- More Control: This new feature gives you more authority over who has access to your support portal. You can directly add or remove users whenever you want, without having to wait for your account manager.
- Increased Efficiency: Managing your own users can save you time and effort. You can add or remove users in a few clicks, giving you more time to focus on other important tasks.
- Improved Security: With a better understanding of your users, you can ensure that only authorized users have access to your support portal. As a result, you can be more responsive to changes in your organization, such as new hires or departures. In turn, this helps to prevent unauthorized access, which can lead to data breaches or other security issues.
View Your Current Users
To view your existing list of support users, simply follow these steps.
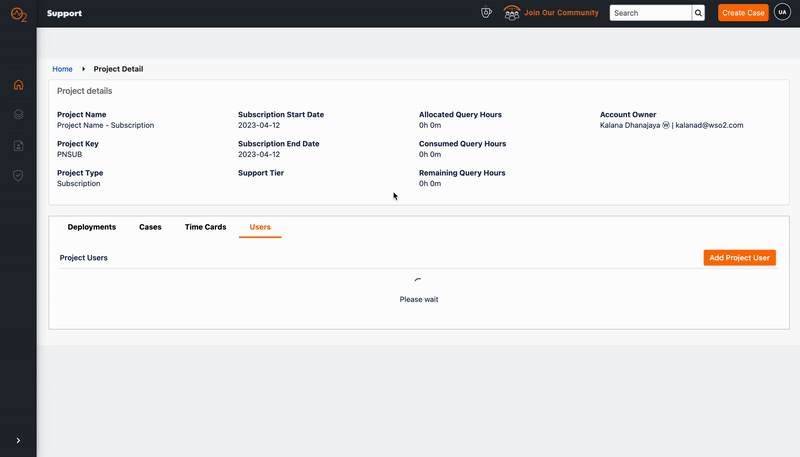
Step 1: Log in to your WSO2 support portal and navigate to the Project Details page.
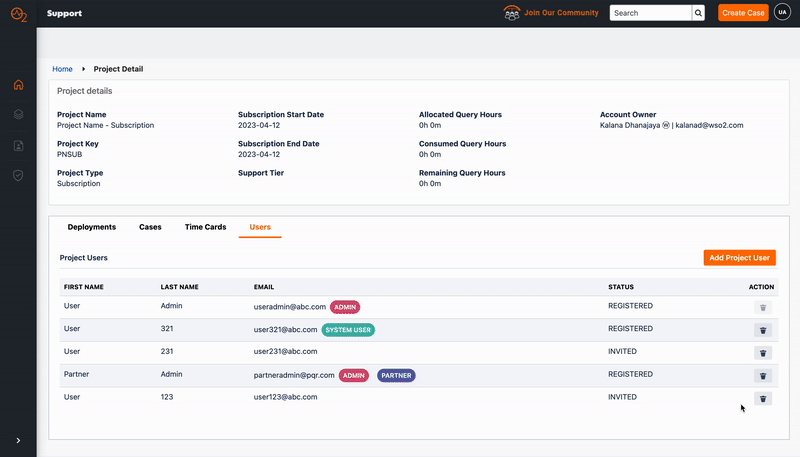
Step 2: Click on the Users tab.
In this list, you’ll be able to see each user type, including whether they are an admin or system user. You can also view the status of the user and see if they are registered and active, or invited and still in the registration process.
How to Add a New User
As shown above, follow these steps to add new users to the support portal.
Step 1: Log in to your WSO2 support portal and go to the Project Details page.
Step 2: Click on the Users tab.
Step 3: Click on the Add Project User button.
Step 4: Fill in the relevant email address and click Next.
Step 5: Enter the user details such as their First name and Last Name. If the new user is required for integrations such as taking U2 Updates, tick the System User check box.
Note: System users are not allowed to log into the support portal using a browser. However, they can obtain U2 updates and pull docker images.
Step 6: Click on the Next button. You will see a Finish button on the next page if the user is successfully added.
Now, your new user will receive an email with instructions on how to set up their account and access the support portal.
How to Remove an Existing User
As illustrated above, follow these steps to remove new users from the support portal.
Step 1: Log in to your WSO2 support portal and go to the Project Details page.
Step 2: Click on the Users tab.
Step 3: Find the user you want to remove.
Step 4: Click on the Delete button next to their name.
Step 5: Confirm you wish to remove the user by clicking the Yes button.
Now your user will be removed from your support account.
Summary
We’re excited to bring this new feature to our customer portal to make managing your users easier and more convenient. Alongside this, we will no longer support the creation of 'Admin task' cases on the support portal as we aim to provide a better user experience. If you have any questions or feedback, please feel free to contact your account manager or our support team.