Deploy a Web Application that Consumes a Backend Service
WSO2 Developer Platform is an Internal Developer Platform (IDevP) that simplifies building, deploying, monitoring, and managing cloud-native applications.
In this guide, you will learn how to:
- Expose a service endpoint via WSO2 Developer Platform.
- Securely consume the service from a web application.
- Use WSO2 Developer Platform's managed authentication to set up authentication for your web application without dealing with complex security protocols.
The sample web application allows users to: - Sign in and view their reading lists. - Add books to a reading list. - Delete books from the reading list. - Sign out of the application.
This guide walks you through the following steps:
- Deploy and test a service component.
- Create a web application to consume the service.
- Create a connection to the deployed service.
- Enable managed authentication and deploy the web application.
- Consume the deployed service via the web application.
Prerequisites
-
GitHub account: Fork the WSO2 Developer Platform sample book list app repository, which contains the sample for this guide.
-
If you're signing in to the WSO2 Developer Platform Console for the first time, create an organization:
- Go to the WSO2 Developer Platform Console and sign in using your Google, GitHub, or Microsoft account.
- Enter a unique organization name. For example,
Stark Industries. - Read and accept the privacy policy and terms of use.
- Click Create.
This creates the organization and opens the organization home page.
Step 1: Create a project
- Go to the WSO2 Developer Platform Console and sign in. This opens the organization home page.
- On the organization home page, click + Create Project.
-
Enter the following details:
Tip
The Name field must be unique and cannot be changed after creation.
Field Value Project Display Name Sample project Name sample-project Project Description My sample project -
Click Create. This creates the project and opens the project home page.
Step 2: Connect your sample repository and configure the service
- On the project home page, click Start under Create Multiple Components.
- Go to the GitHub tab.
-
Click Authorize with GitHub to connect WSO2 Developer Platform to your GitHub account. If you haven't connected your GitHub repository to WSO2 Developer Platform, enter your credentials and select the repository you forked earlier to install the WSO2 Developer Platform GitHub App.
Alternatively, paste the WSO2 Developer Platform sample book list app repository URL in the Provide Repository URL field. However, enabling Auto Deploy requires authorizing the repository with the WSO2 Developer Platform GitHub App.
Note
The WSO2 Developer Platform GitHub App requires: - Read and write access to code and pull requests. - Read access to issues and metadata.
You can revoke access at any time. Write access is only used for sending pull requests; WSO2 Developer Platform will not push changes directly to your repository.
-
Enter the following information:
Field Value Organization Your GitHub account Repository WSO2 Developer Platform-sample-book-list-app Branch main -
In the Add Component Directories pane under Configure Components, click the + icon next to
reading-list-service. -
In the Component Configuration dialog, specify the following:
Field Value Component Display Name Reading List Service Component Name reading-list-service Path reading-list-service Component Type Service Build preset NodeJS Language Version 20.x.x -
Click Save. This adds the
Reading List Servicecomponent to the Configured Components pane. -
Click Finish. This initializes the service with the implementation from your GitHub repository and takes you to the project home page.
You can see the
Reading List Servicecomponent listed under Component Listing on the project home page.
Step 3: Build the service
- On the project home page, click the
Reading List Servicecomponent under Component Listing. This takes you to the component overview page. - In the left navigation menu, click Build.
-
In the Builds pane, click Build Latest.
Note
The build process may take some time. You can track progress in the Build Details pane. Once complete, the build status changes to Success.
Step 4: Deploy the service
- In the left navigation menu, click Deploy.
- In the Set Up card, click Configure & Deploy.
- In the Environment Configurations pane, click Next to skip the configuration.
- In the File Mount pane, click Next to skip the configuration.
- In the Endpoint Details pane, verify that Network Visibility is set to Public. This securely exposes the endpoint for consumption.
- Click Deploy. This deploys the service to the development environment and lists it in the WSO2 Developer Platform Marketplace.
Step 5: Test the service
- In the WSO2 Developer Platform Console left navigation menu, click Test and then click Console.
- In the OpenAPI Console, select Development from the environment drop-down.
- In the Endpoint list, select Books REST Endpoint.
- Expand the GET/books method, click Try it out, then click Execute.
- Check the Server Response section. You will see an empty response. You can add an entry using the POST method and retry the GET/books method.
- Expand the POST/books method and click Try it out.
-
Update the request body with the following values:
Parameter Value author Bram Stoker status to_read title Dracula The request body should look like this:
-
Click Execute.
Check the Server Response section. On successful invocation, you will receive the
201HTTP code.
You can also try out the GET and DELETE methods.
Step 6: Consume the service
Now that the Reading List Service is deployed and available in the WSO2 Developer Platform Marketplace, you can discover and consume it. In this section, you will deploy a front-end application to interact with the service.
Step 6.1: Create a web application to consume the service
- In the WSO2 Developer Platform Console header, click the Project list and select the project you created in Step 1.
- On the project home page, click + Create under Component Listing.
- Click the Web Application card.
-
Click Authorize with GitHub to connect WSO2 Developer Platform to your GitHub account. If you haven't connected your GitHub repository to WSO2 Developer Platform, enter your credentials and select the repository you forked earlier to install the WSO2 Developer Platform GitHub App.
Alternatively, select the Use Public GitHub Repository option and paste the WSO2 Developer Platform sample Book List Service repository URL in the Provide Repository URL field. However, enabling Auto Deploy requires authorizing the repository with the WSO2 Developer Platform GitHub App.
Note
The WSO2 Developer Platform GitHub App requires:
- Read and write access to code and pull requests.
- Read access to issues and metadata.
You can revoke access at any time. Write access is only used for sending pull requests; WSO2 Developer Platform will not push changes directly to your repository.
-
Enter the following information:
Field Description Organization Your GitHub account Repository WSO2 Developer Platform-sample-book-list-app Branch main Component Directory /WSO2 Developer Platform-sample-book-list-app/reading-list-front-end-with-managed-auth -
Select React as the build preset because the sample front-end application is a React application built with Vite.
-
Enter the following details:
Field Value Build Command npm install && npm run build Build Path dist Node Version 18 -
Enter the following details:
Info
The Component Name field must be unique and cannot be changed after creation.
Field Value Component Display Name Reading List Web App Component Name reading-list-web-app Description Front-end application for the reading list service -
Click Create. This initializes the component with the implementation from your GitHub repository and takes you to the Overview page of the component.
Step 6.2: Create a connection between the web application and the deployed service
A connection allows you to integrate the service with other services or external resources. For more information, refer to the Connection documentation.
- In the left navigation menu, click Connections.
- Click + Create.
- In the Select a Service pane, click
Reading List Service. -
Specify the following:
Field Value Name Reading List Connection Description Connection to the reading list -
Click Create. This creates the connection and displays the service URL for the Development environment. Copy the service URL for later use.
Step 6.3: Build the web application component
- In the left navigation menu, click Build.
- In the Builds pane, click Build Latest.
!!! note The build process may take some time. You can track progress in the Build Details pane. Once complete, the build status changes to Success.
Step 6.4: Configure and deploy the web application
- In the left navigation menu, click Deploy.
- In the Set Up card, click Configure and Deploy.
-
In the
config.jsfile mount, replace<Service URL>with the value you copied when creating the connection to theReading List Servicein Step 6.2.Tip
You can refer to the mounted configuration file as
./config.jswithin your web application. -
Click Next to open the Authentication pane.
-
Under Authentication Settings, ensure that Managed authentication with WSO2 Developer Platform is enabled.
Tip
Managed authentication is enabled by default for React, Angular, or Vue.js build presets.
-
Specify the following:
Field Value Post Login Path / Post Logout Path / Error Path / -
Under Manage Users, click + Create.
-
Click Create to proceed with the default username and password. Copy the credentials for testing.
Tip
By default, your test user base consists of a demo user. For instructions on modifying the test user base, see Configure a User Store with the Built-In Identity Provider.
-
In the Authentication pane, click Deploy. The deployment may take a few minutes.
- Once deployed, copy the Web App URL from the development environment card.
- Navigate to the web app URL to verify that the web application is hosted successfully.
Step 7: Test the front-end application
- Access the front-end application via its web URL.
-
Click Login and sign in with the credentials you created.
The application opens as follows:
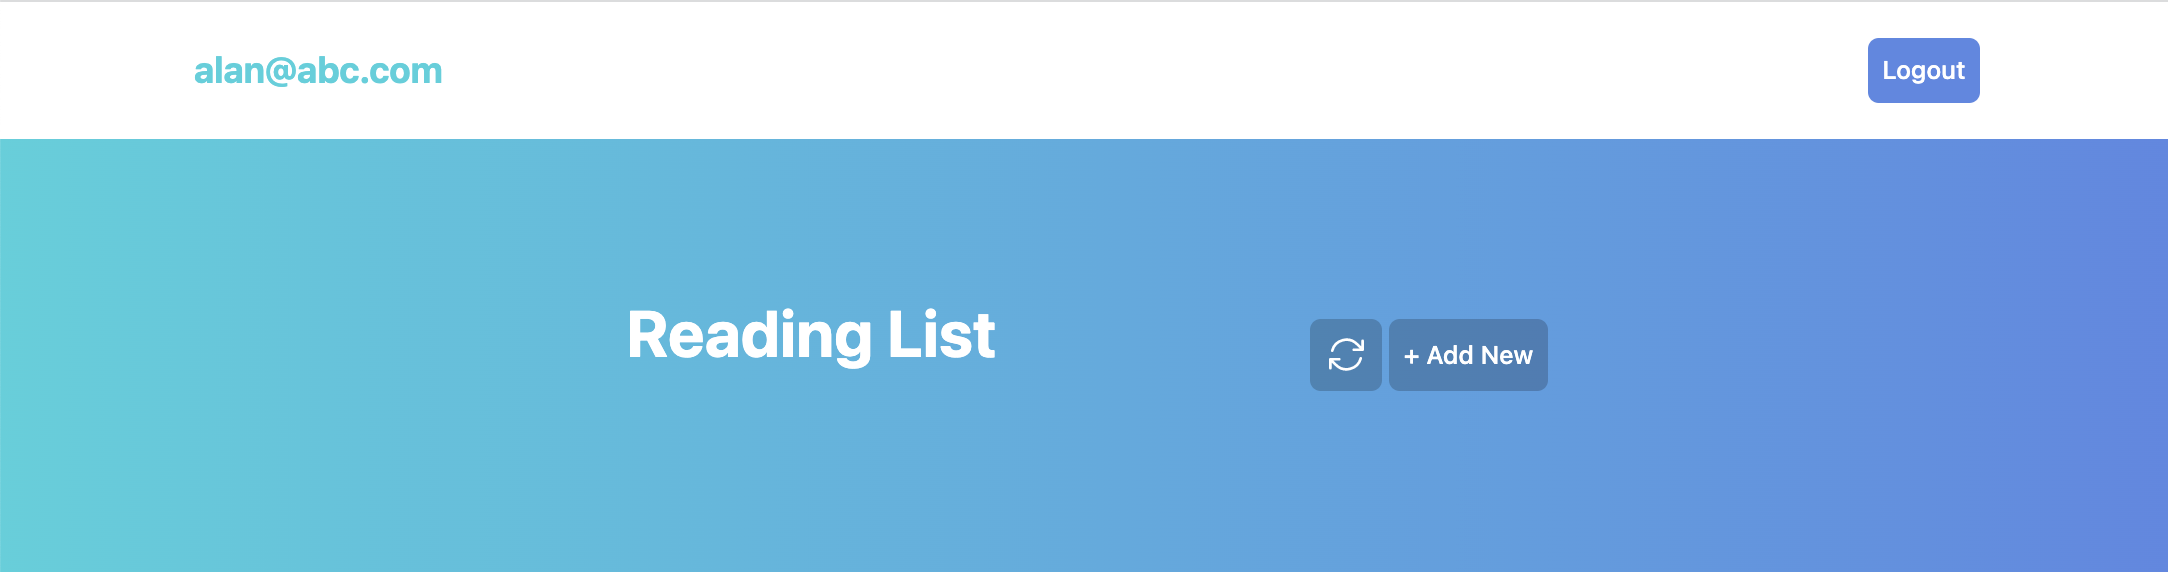
-
Add three new reading items with different statuses. For example:
Title Author Status The Museum of Innocence Orhan Pamuk reading The Remains of the Day Kazuo Ishiguro to_read David Copperfield Charles Dickens read To add each record: 1. Click + Add New. 2. Enter values for the Name, Author, and Status fields. 3. Click Save.
To delete a reading list item, click Delete.
To verify that the reading list is personalized for each user, sign in as a different user. The reading list items you entered will not appear for the other user.
Congratulations! You have successfully exposed a service endpoint via WSO2 Developer Platform and securely consumed it from a web application.
After testing your service and web application, explore other WSO2 Developer Platform features like managing, observing, and DevOps.