Configure Self-Sign-Up
With WSO2 Developer Platform, you can set up a self-sign-up page for your Developer Portal. The self-sign-up page allows users to easily access your Developer Portal and subscribe to APIs. When you configure self-sign-up, users can create their accounts and access your Developer Portal without any manual intervention from you.
This page walks you through the steps to configure self-sign-up for your Developer Portal.
Prerequisites
- Sign in to the WSO2 Developer Platform Console using your Google, GitHub, or Microsoft account.
- If you are a new user, create an organization with a unique organization name. For example, "Stark Industries".
Configure Developer Portal self-sign-up
To configure self-sign-up, follow the steps given below:
-
Send an email to
requesting to configure enterprise IdP for the Developer Portal of your organization. Tip
Ensure you include the organization name or handle in the request.
Sample email
Subject : [Stark Industries] Configure enterprise IdP for Developer Portal
Hi CS team,
I need to configure enterprise IdP for my organization’s Developer Portal to enable self-sign-up. Can you please do the necessary configurations to proceed?
My organization details are as follows:
- Organization name: Stark Industries
- Organization handle: starkindustries
Thank you
The WSO2 Developer Platform support team will perform the necessary configurations and respond to your request.
-
When you receive a response, sign in to Asgardeo using the same credentials that you used to sign in to WSO2 Developer Platform.
-
In the Asgardeo Console, click View all applications.
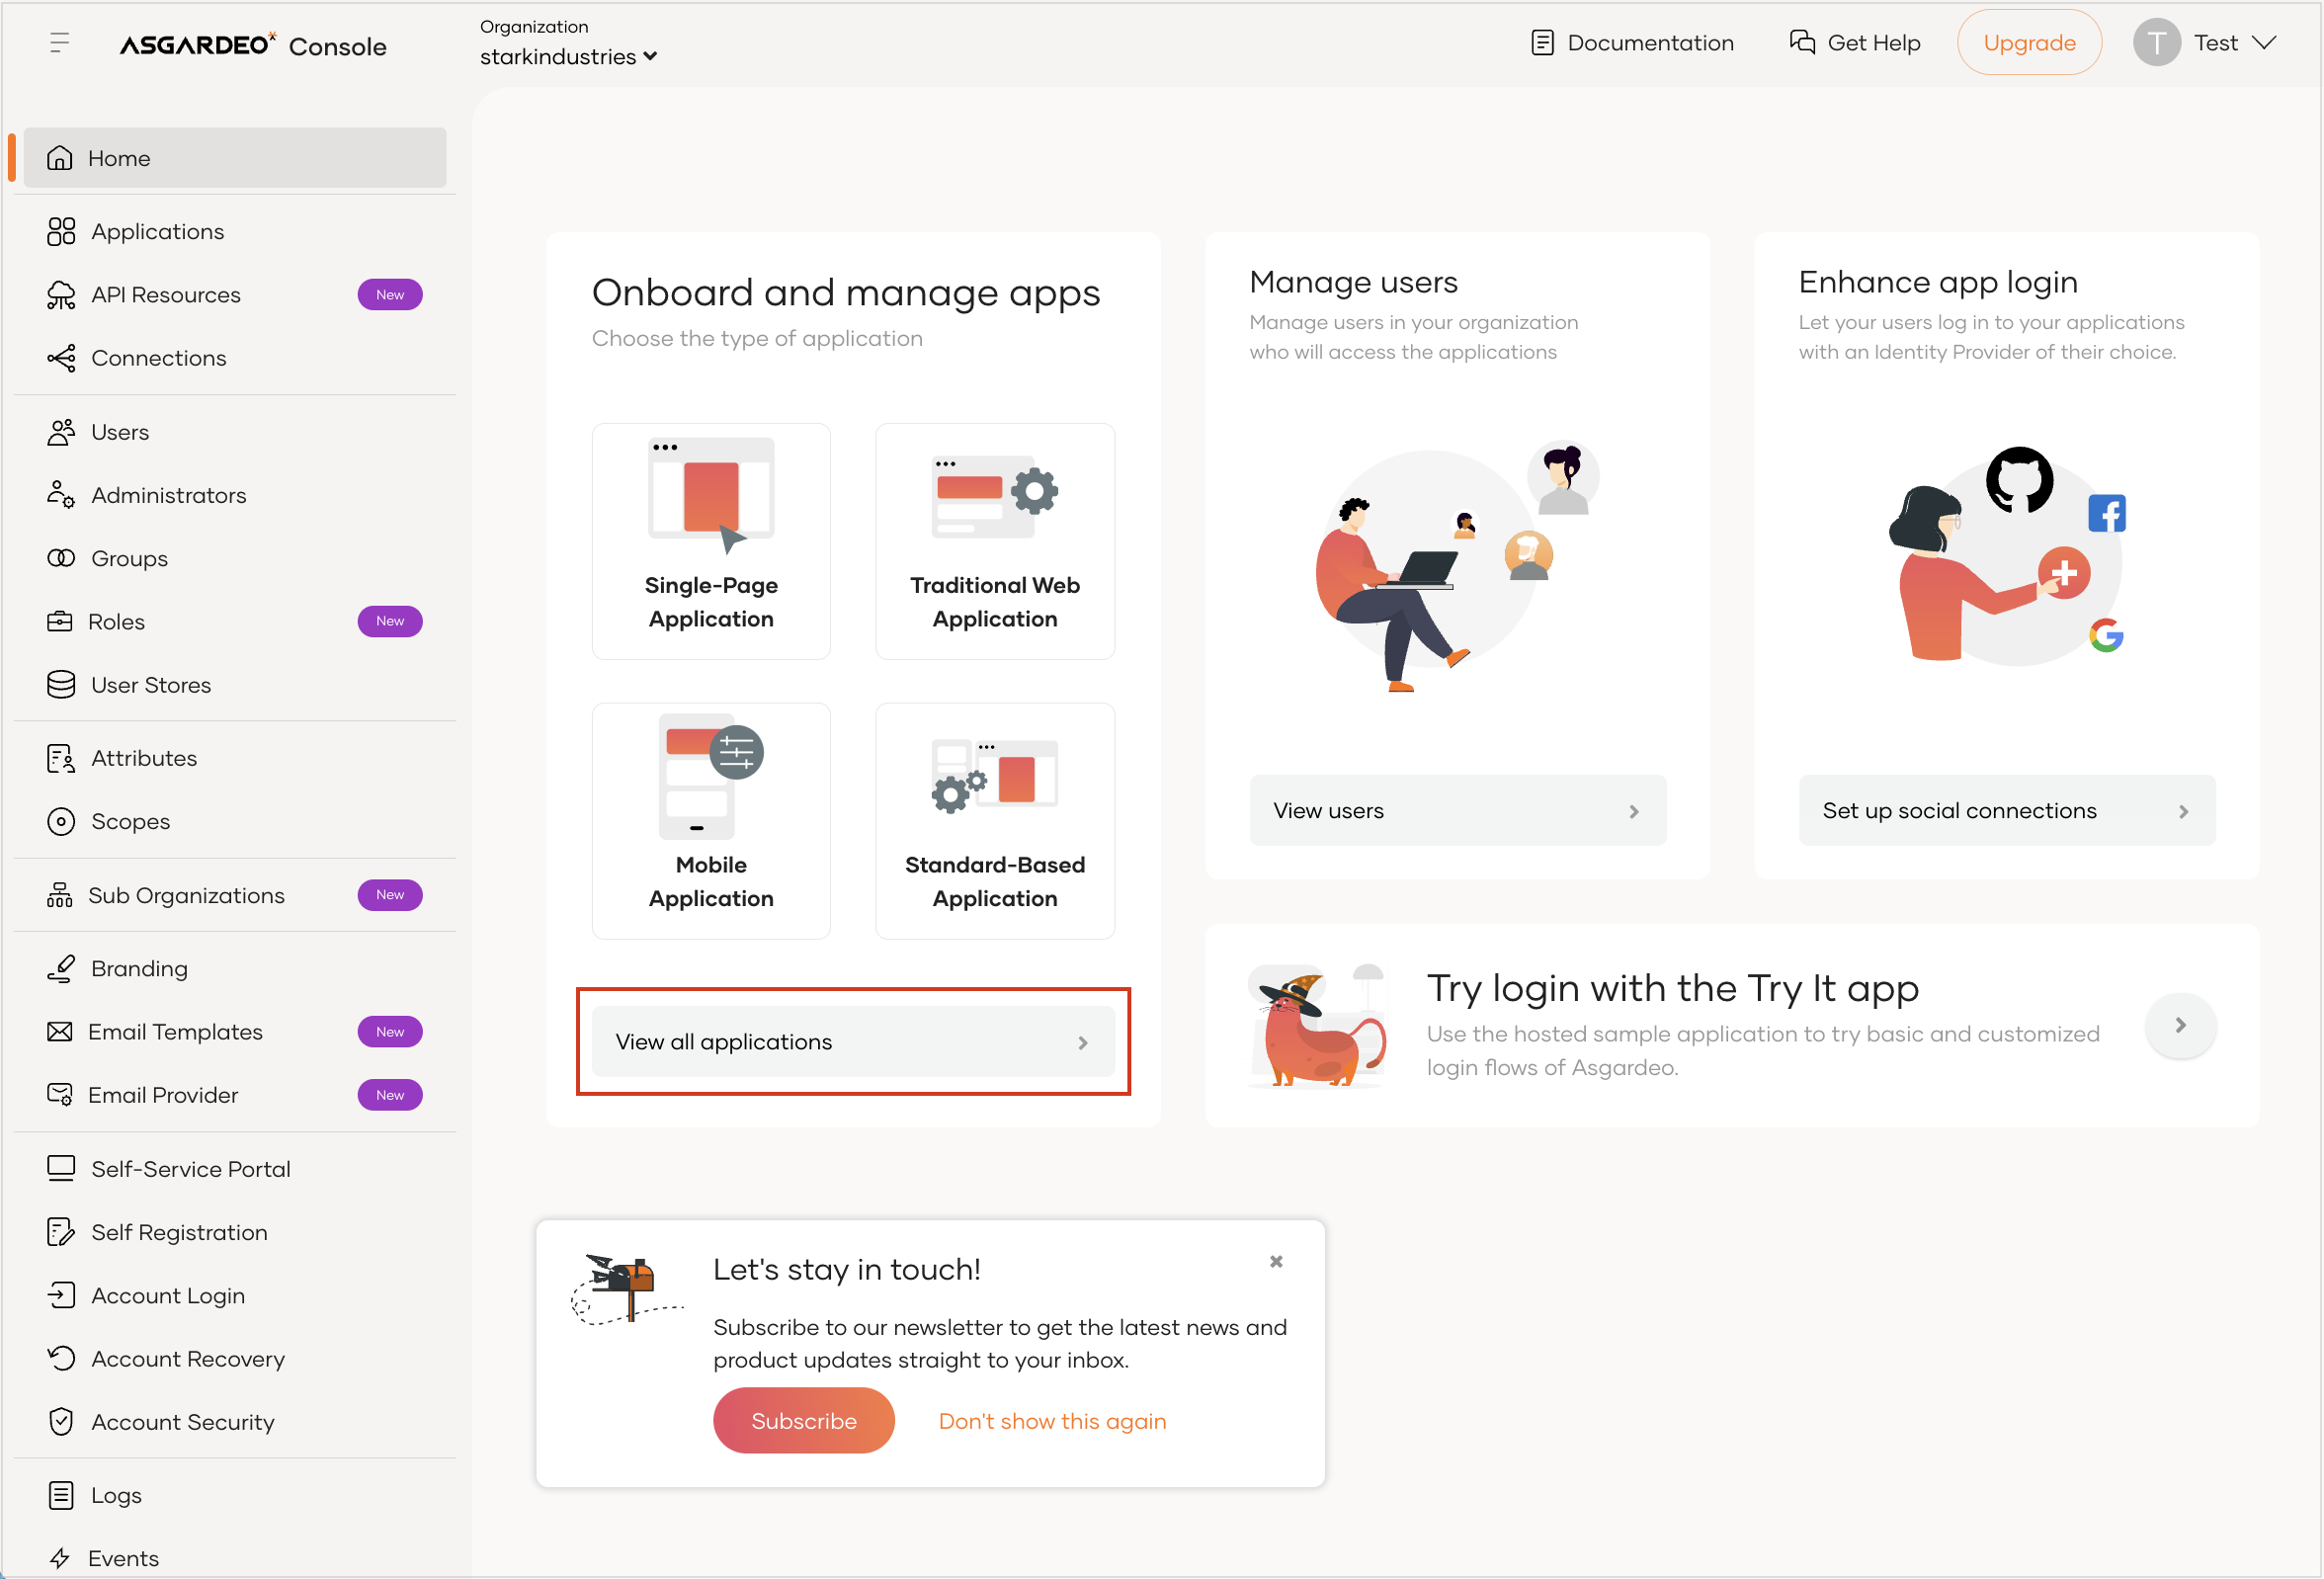
You will see an application named WSO2_LOGIN_FOR_CHOREO_DEV_PORTAL.
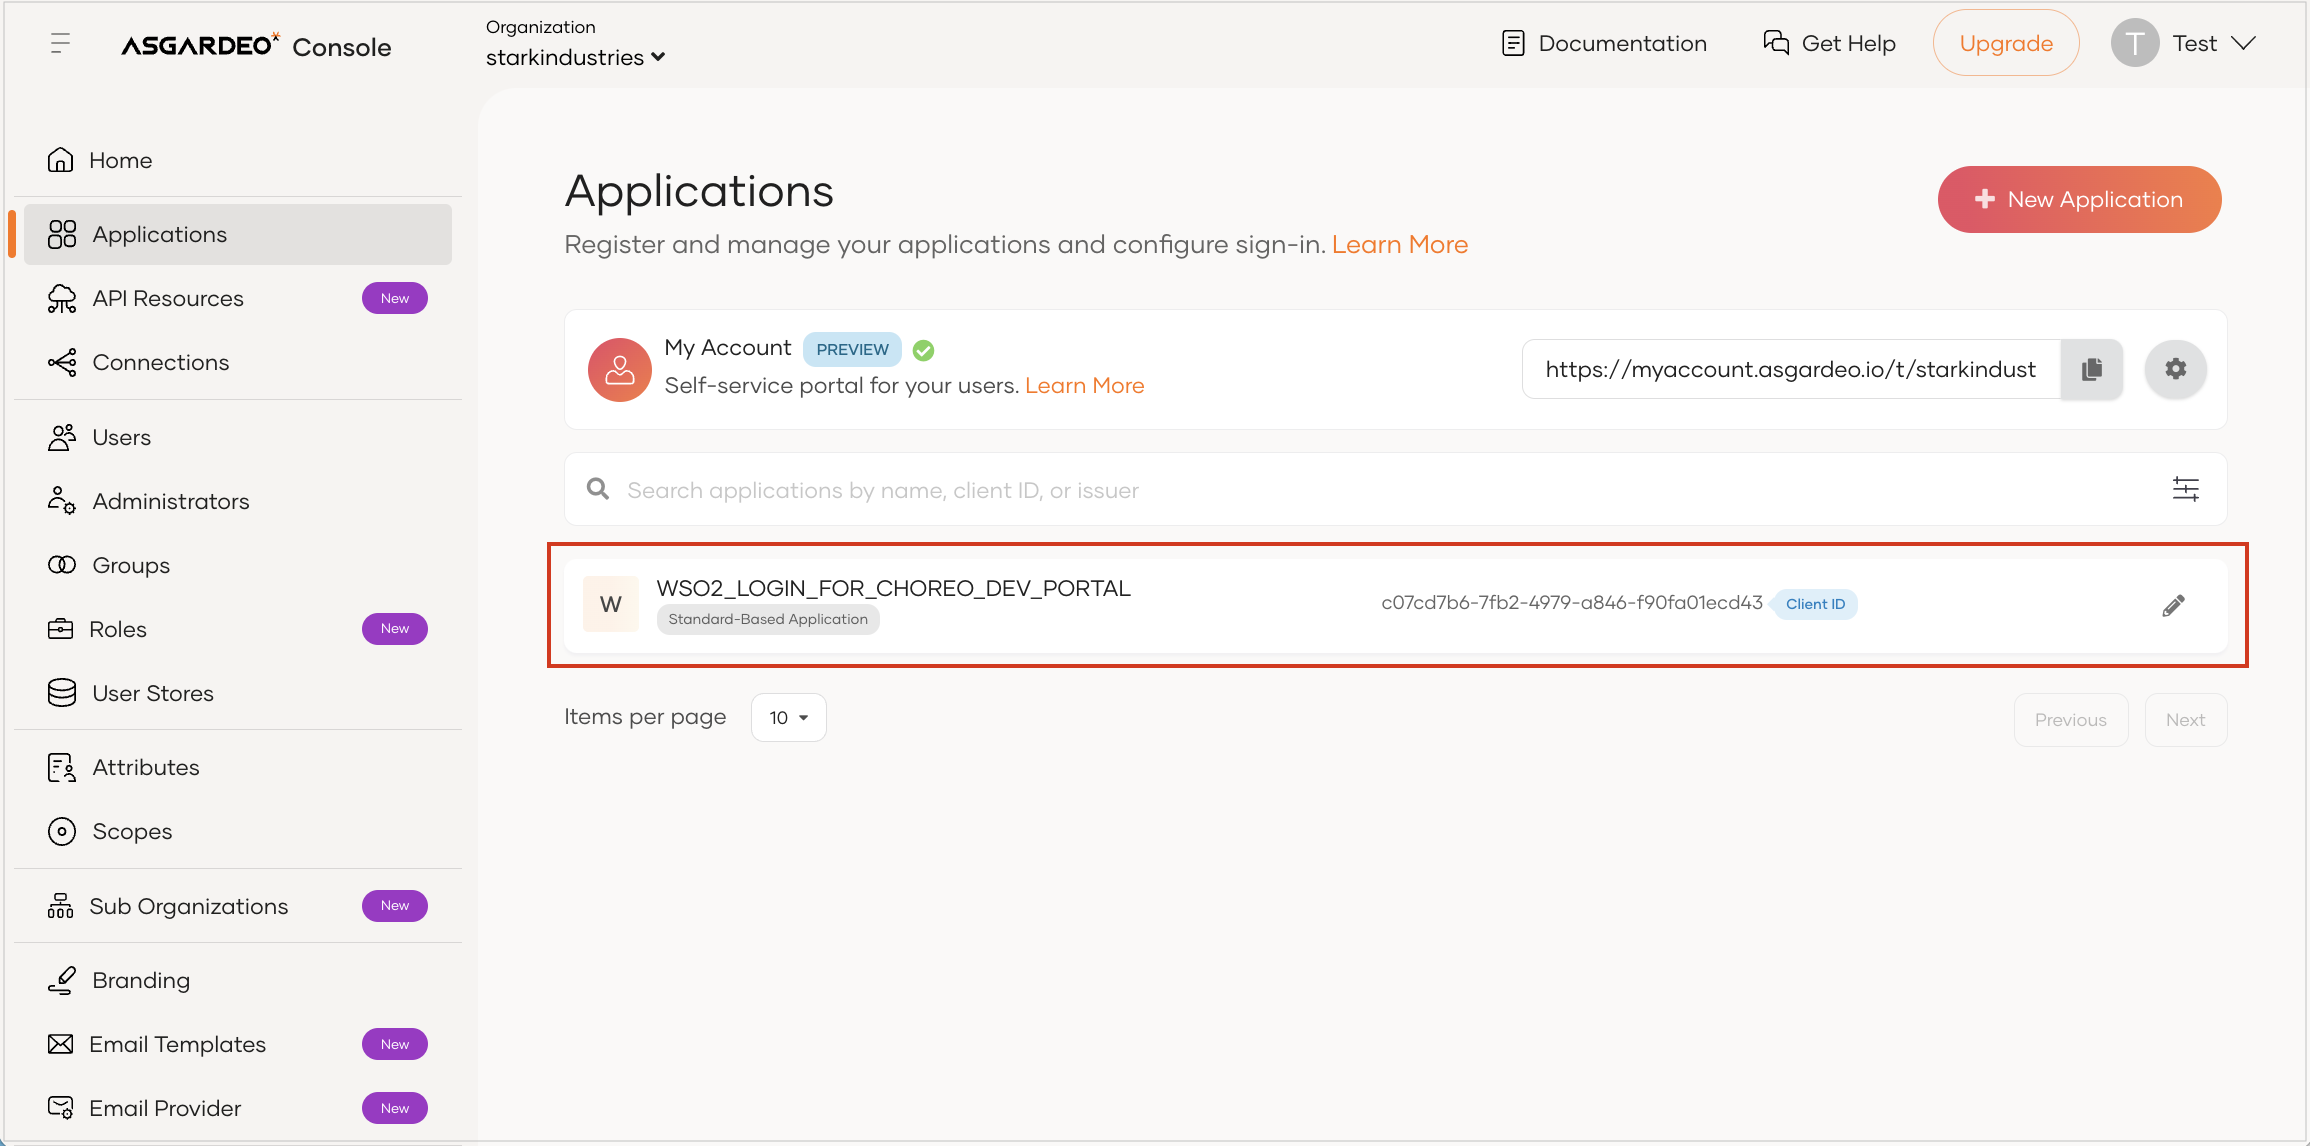
-
Click on the application to edit it and enter your organization’s Developer Portal URL as the Access URL of the application. For example,
https://devportal.choreo.dev/starkindustries. - Click Update.
-
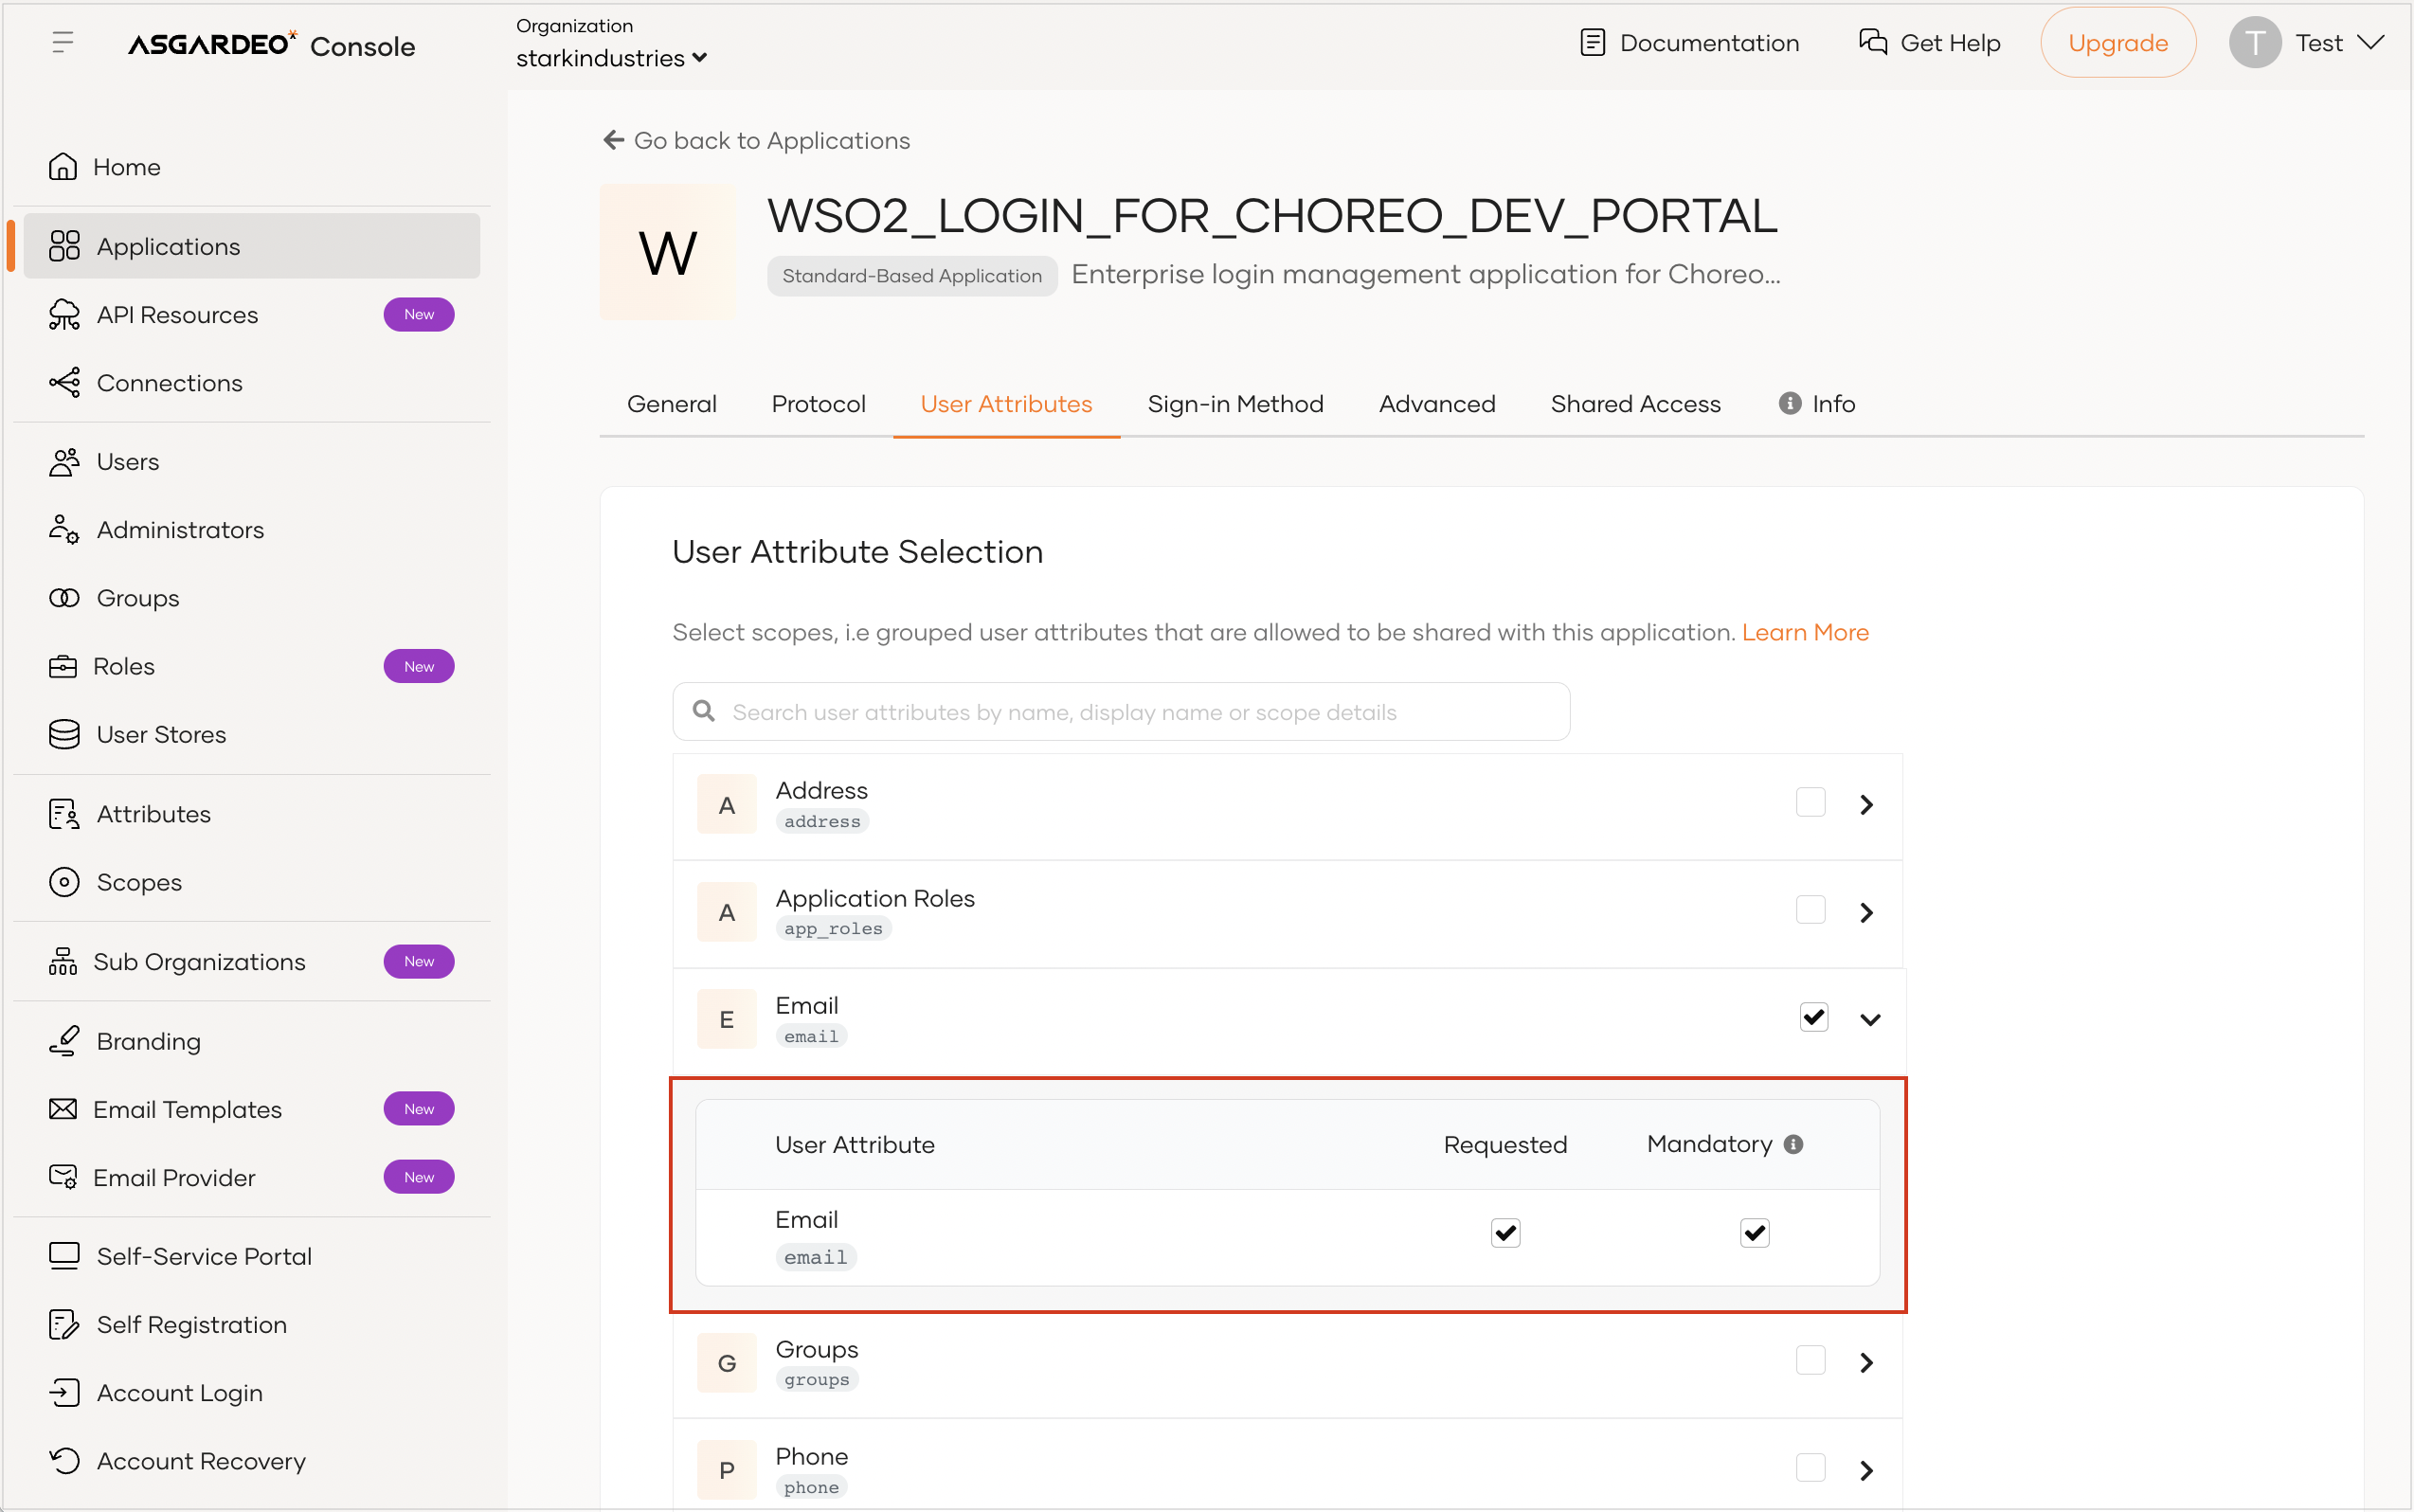
To add user attributes, follow these steps:
Note
If you have enabled enterprise login and you want to add the Groups attribute during self-sign-up configuration, avoid making it mandatory. This ensures proper access control and prevents unauthorized privileges. If you make the Groups attribute mandatory, it allows self-signed-up users to specify a group and assume roles associated with it.
- Click the User Attributes tab.
-
To add the email as a mandatory user attribute, select Email and click the arrow to expand the section. Then, select the Requested and Mandatory checkboxes.
-
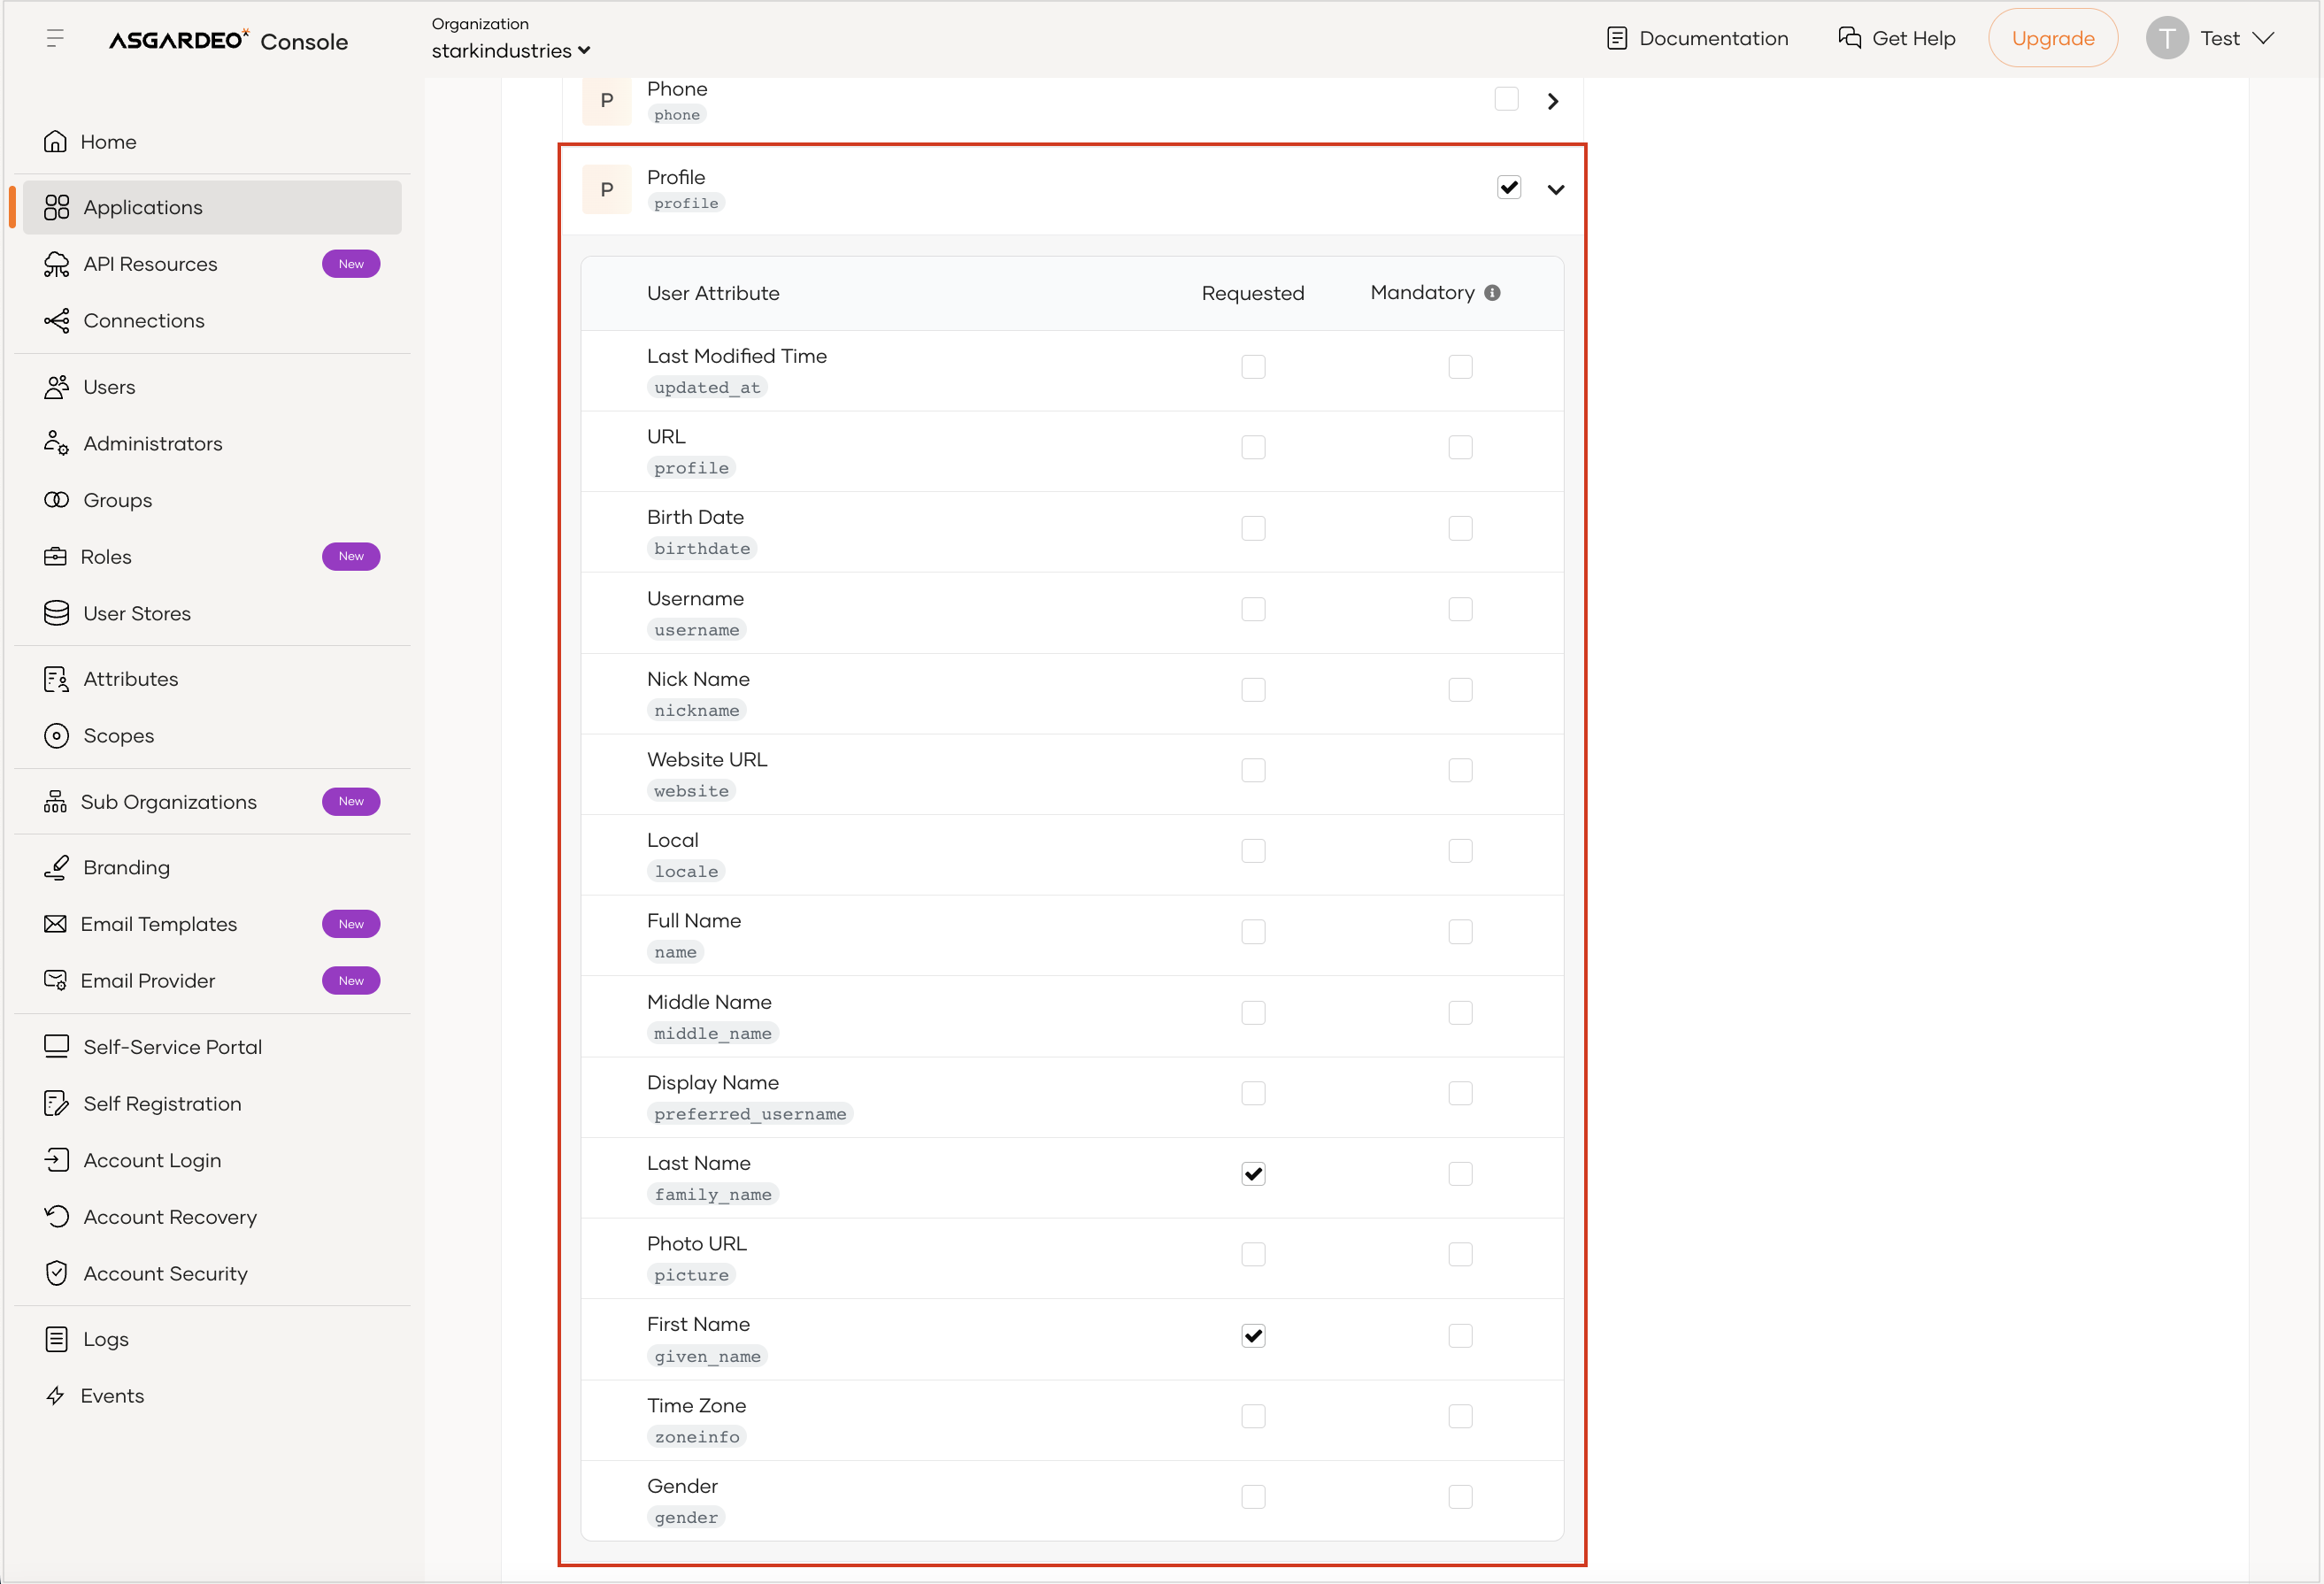
To add the first name and last name as optional attributes, select Profile and click the arrow to expand the section. Then, select the Requested checkbox for the First Name and the Last Name attributes.
-
Click Update.
-
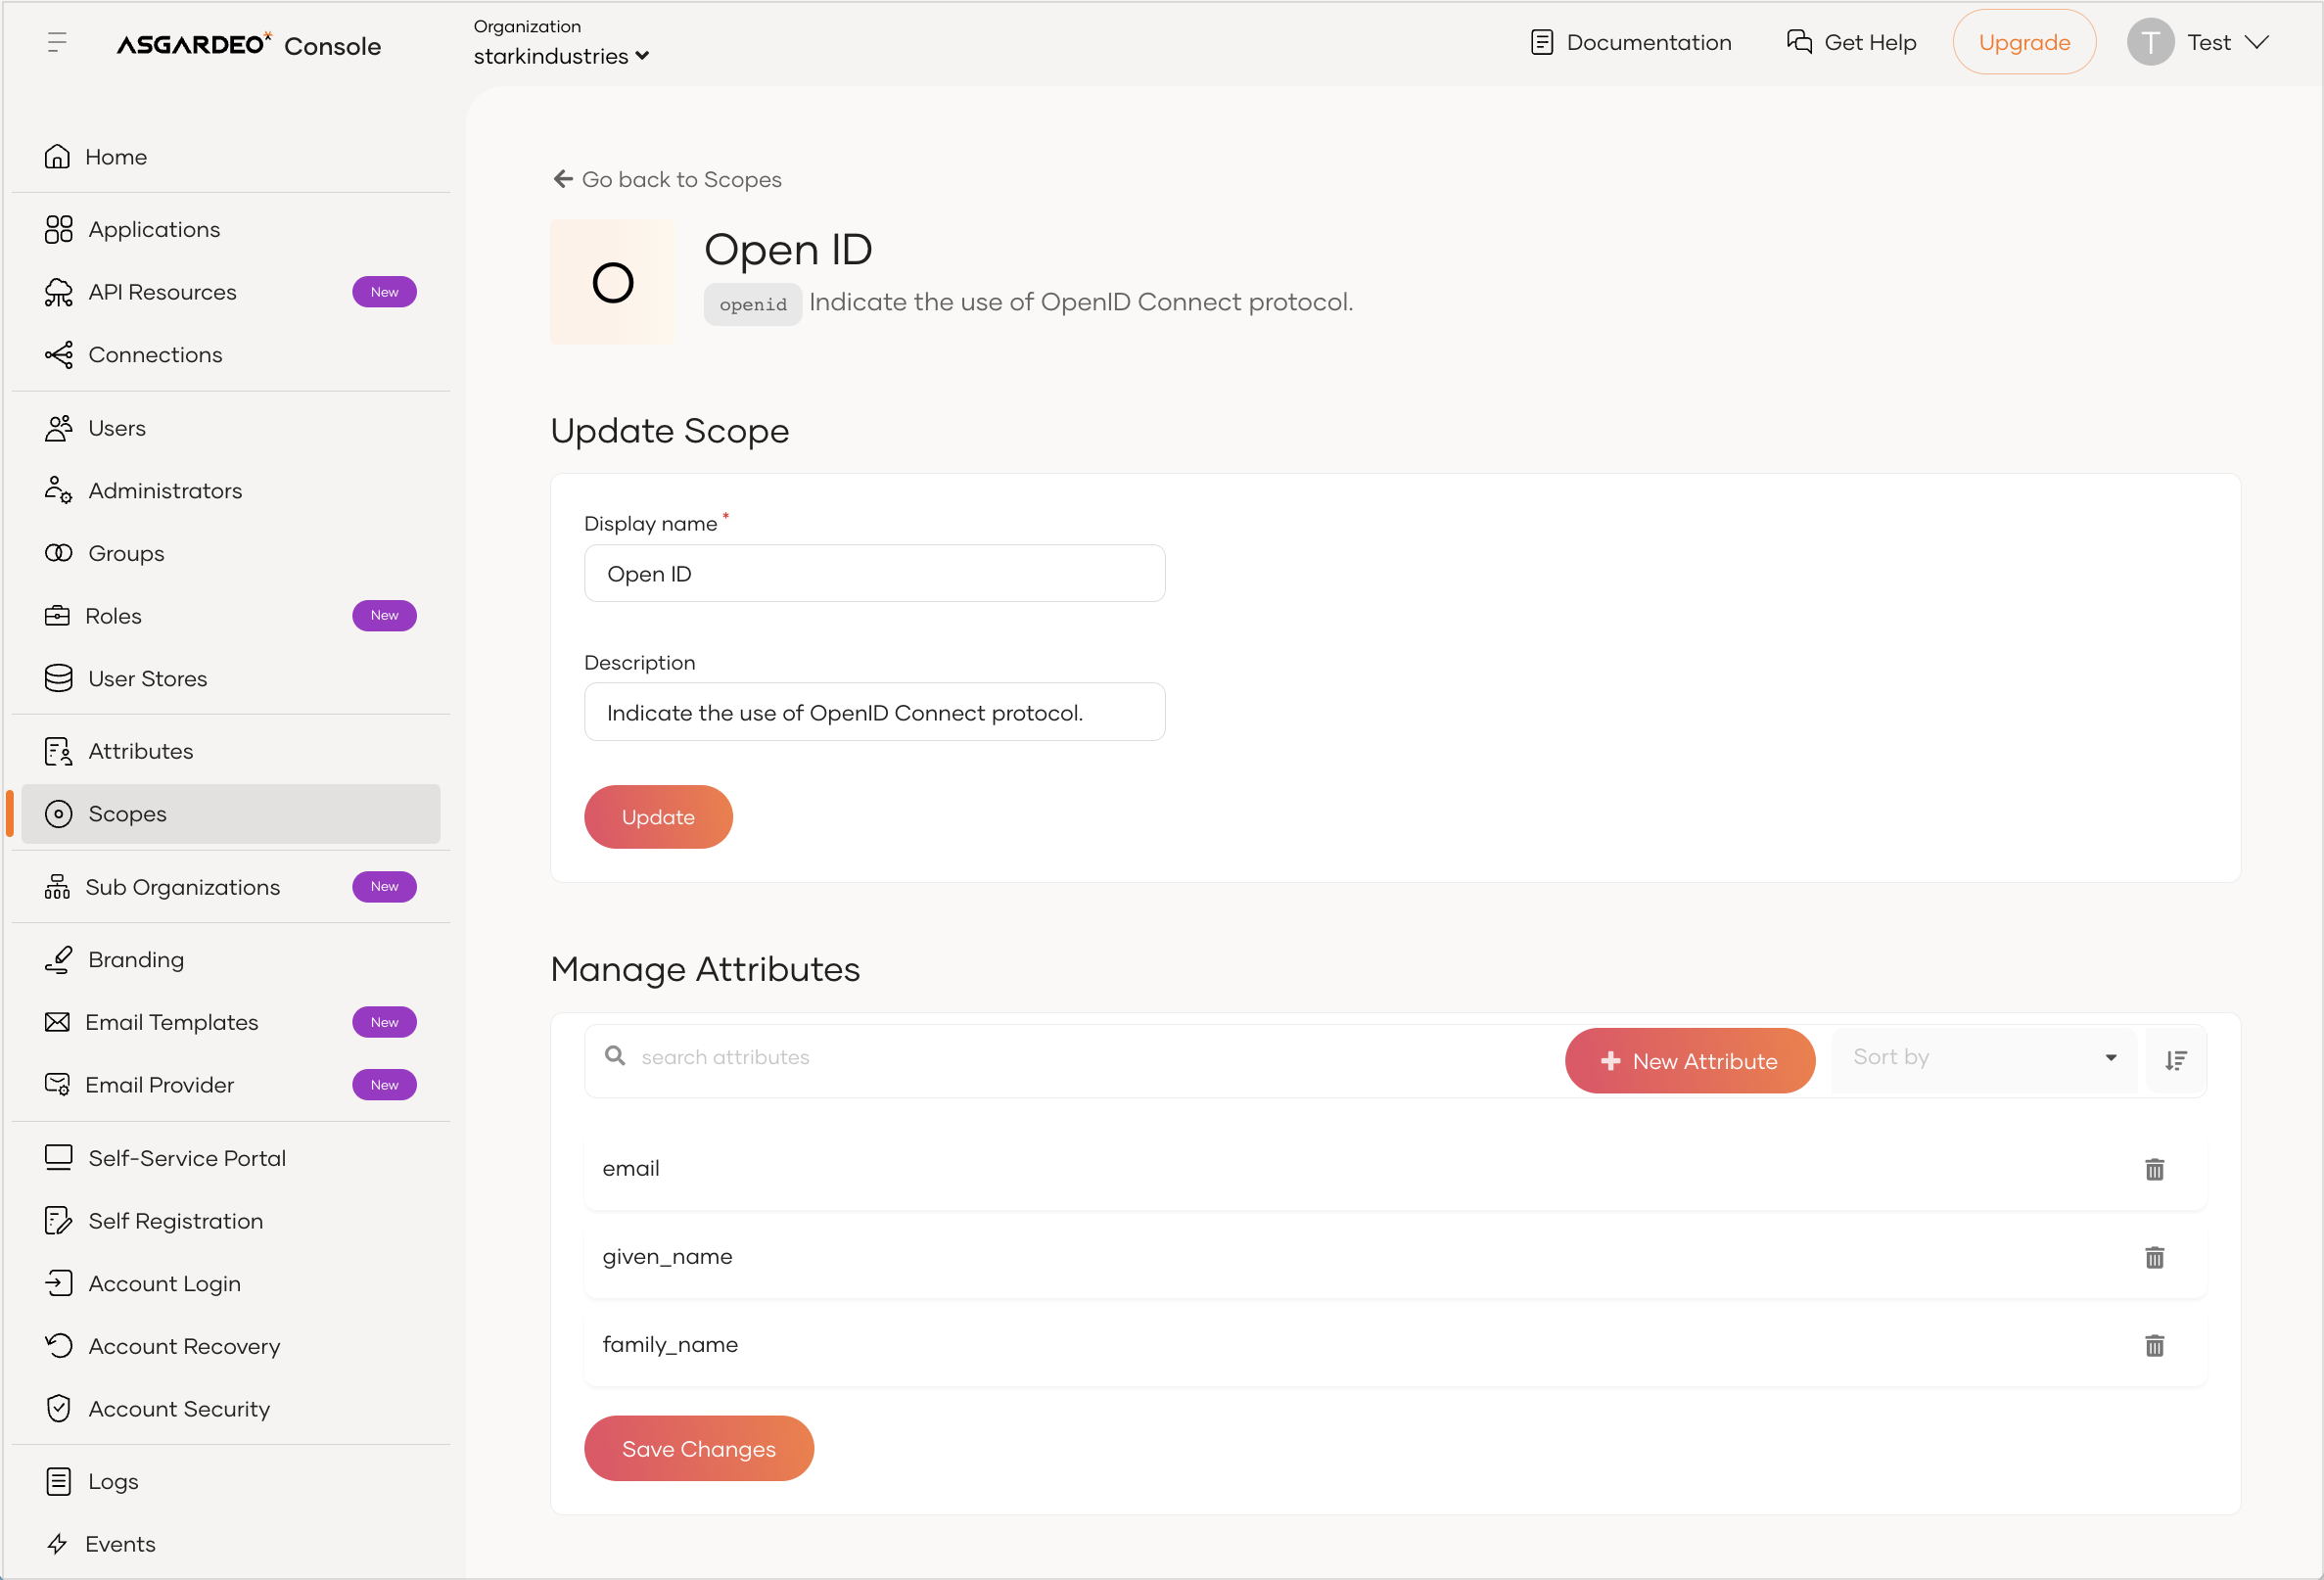
To add the user attributes as OpenID Connect scopes, follow these steps:
- In the Asgardeo Console left navigation menu, click Scopes.
- In the OpenID Connect Scopes pane, click OpenID to edit it.
- Click + New Attribute.
- Select Email, First Name, and Last Name as the attributes to associate with the OpenID scope.
-
Click Save and then click Save Changes.
-
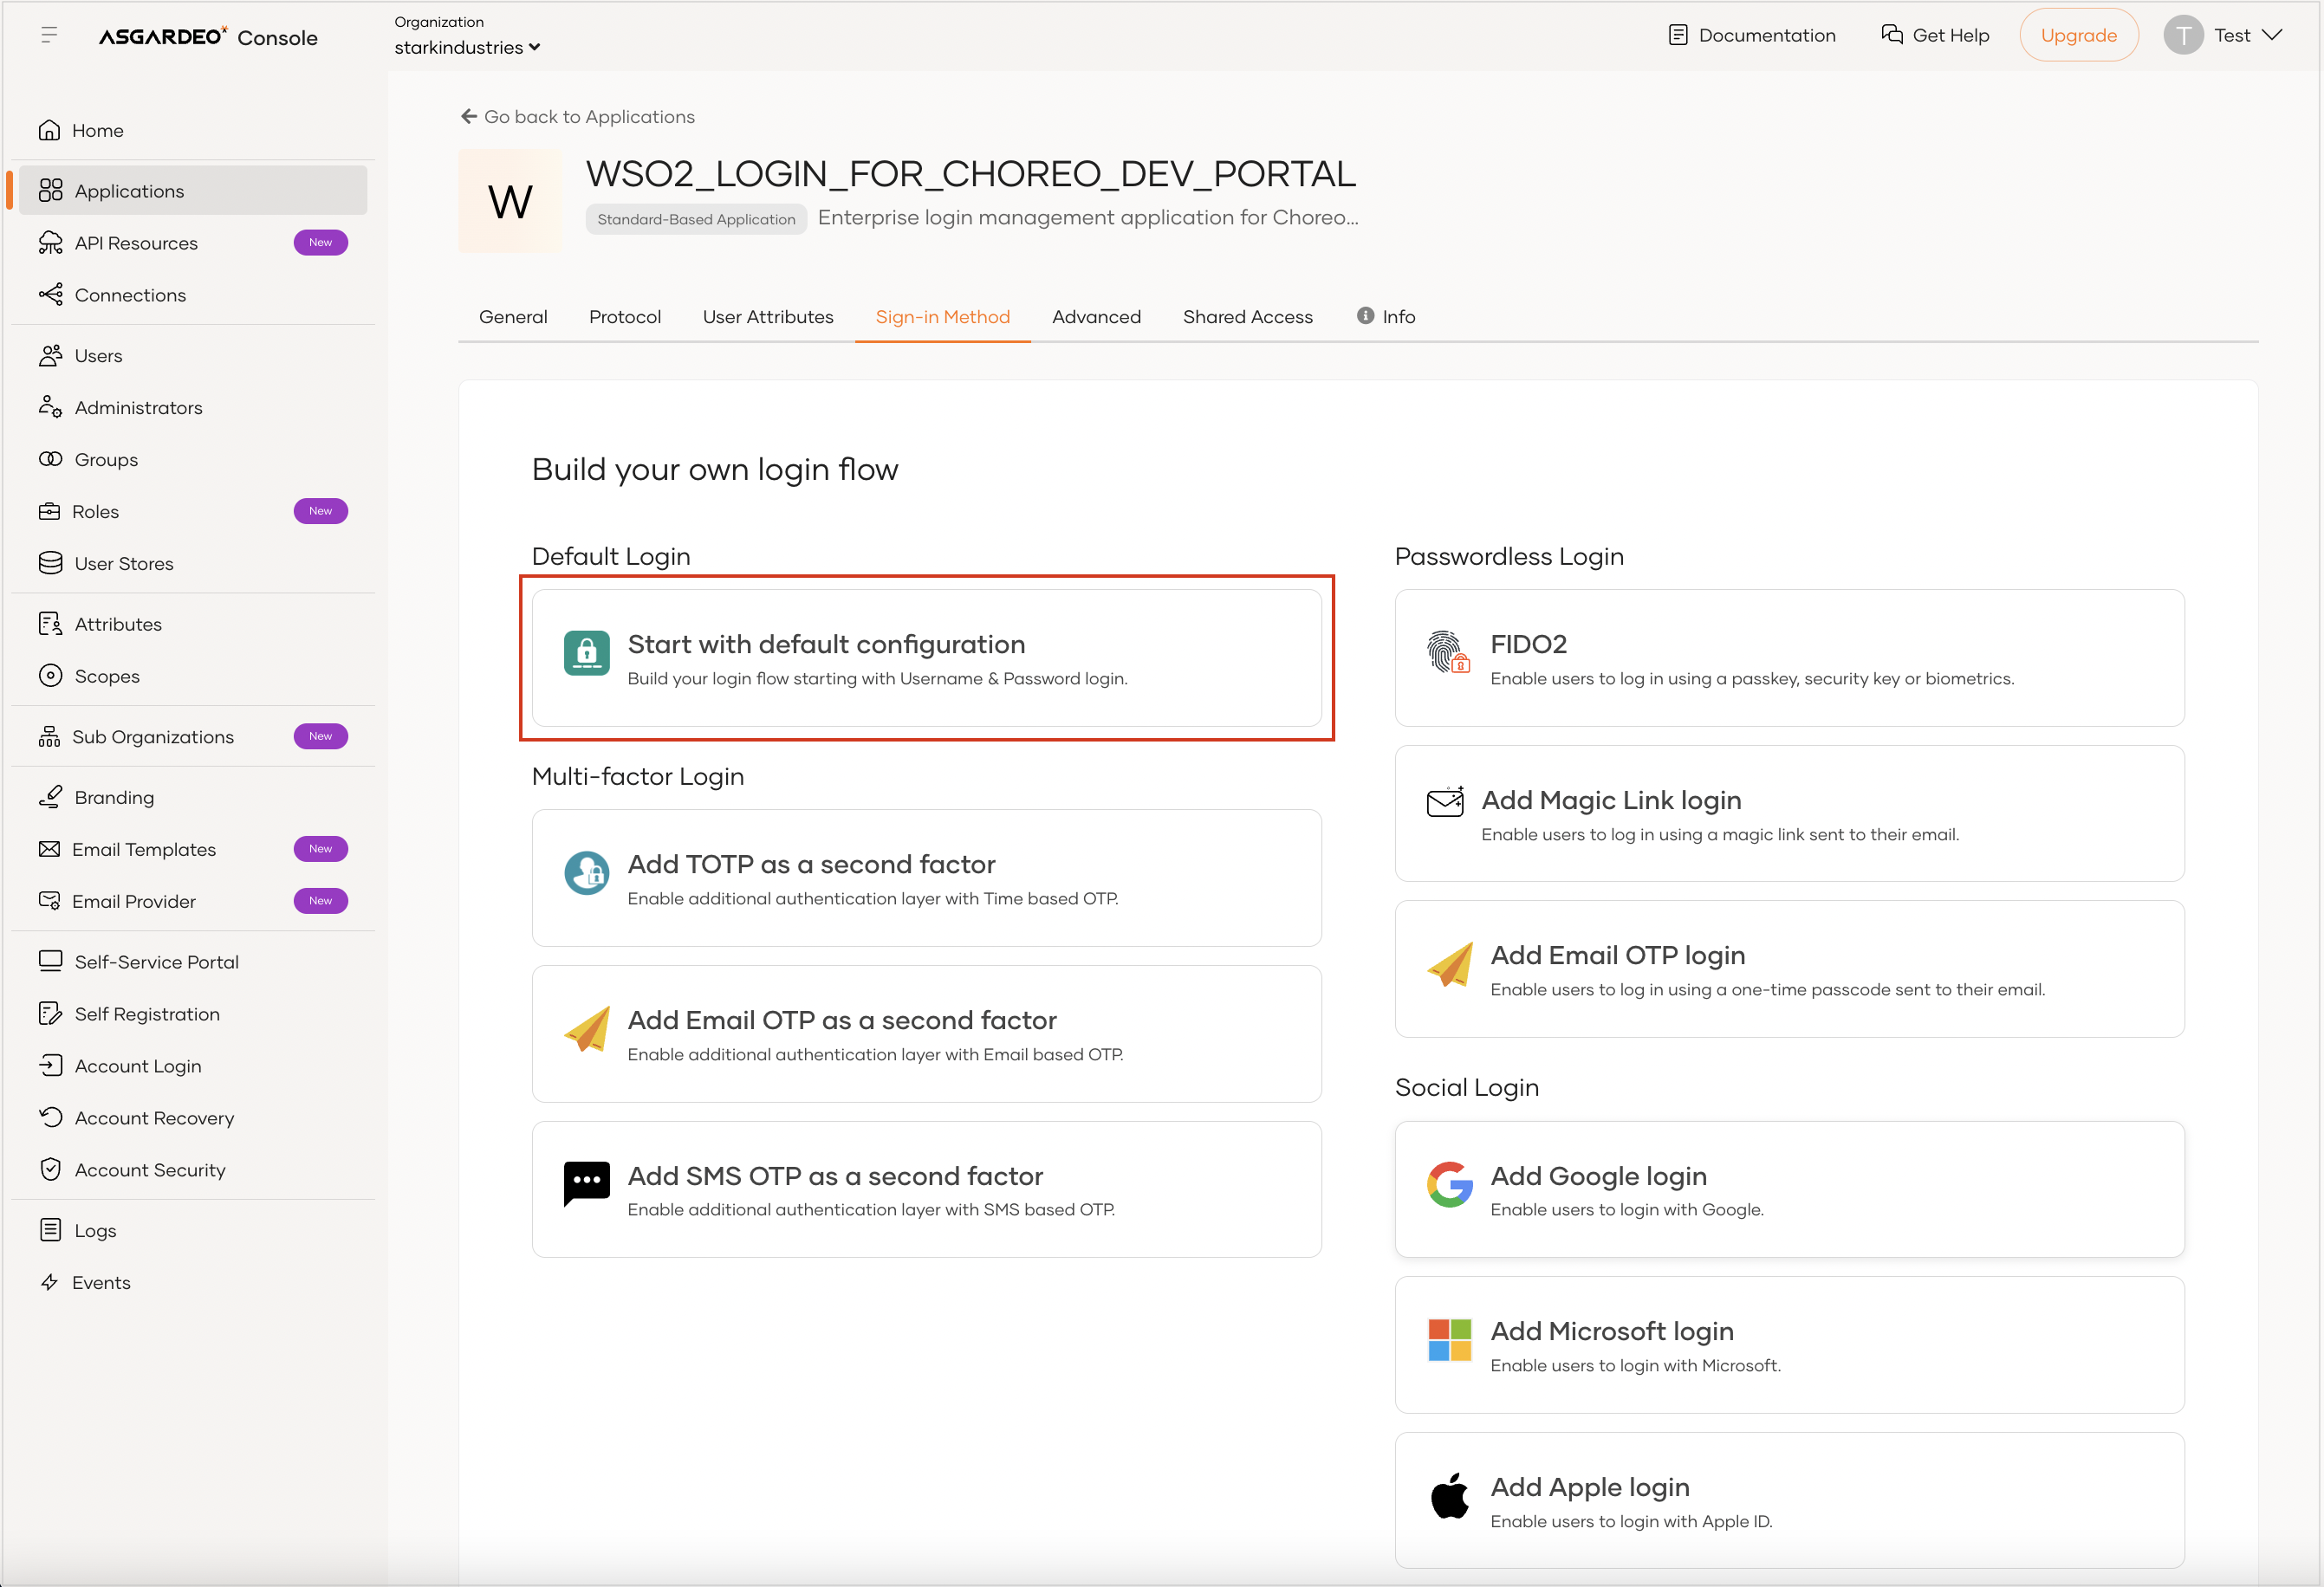
To configure basic authentication as the sign-in method, follow these steps:
- In the Asgardeo Console left navigation menu, click Applications.
- In the Applications pane, click the WSO2_LOGIN_FOR_CHOREO_DEV_PORTAL application to edit it.
-
Click the Sign-in Method tab and then click Start with default configuration.
-
Click Update.
-
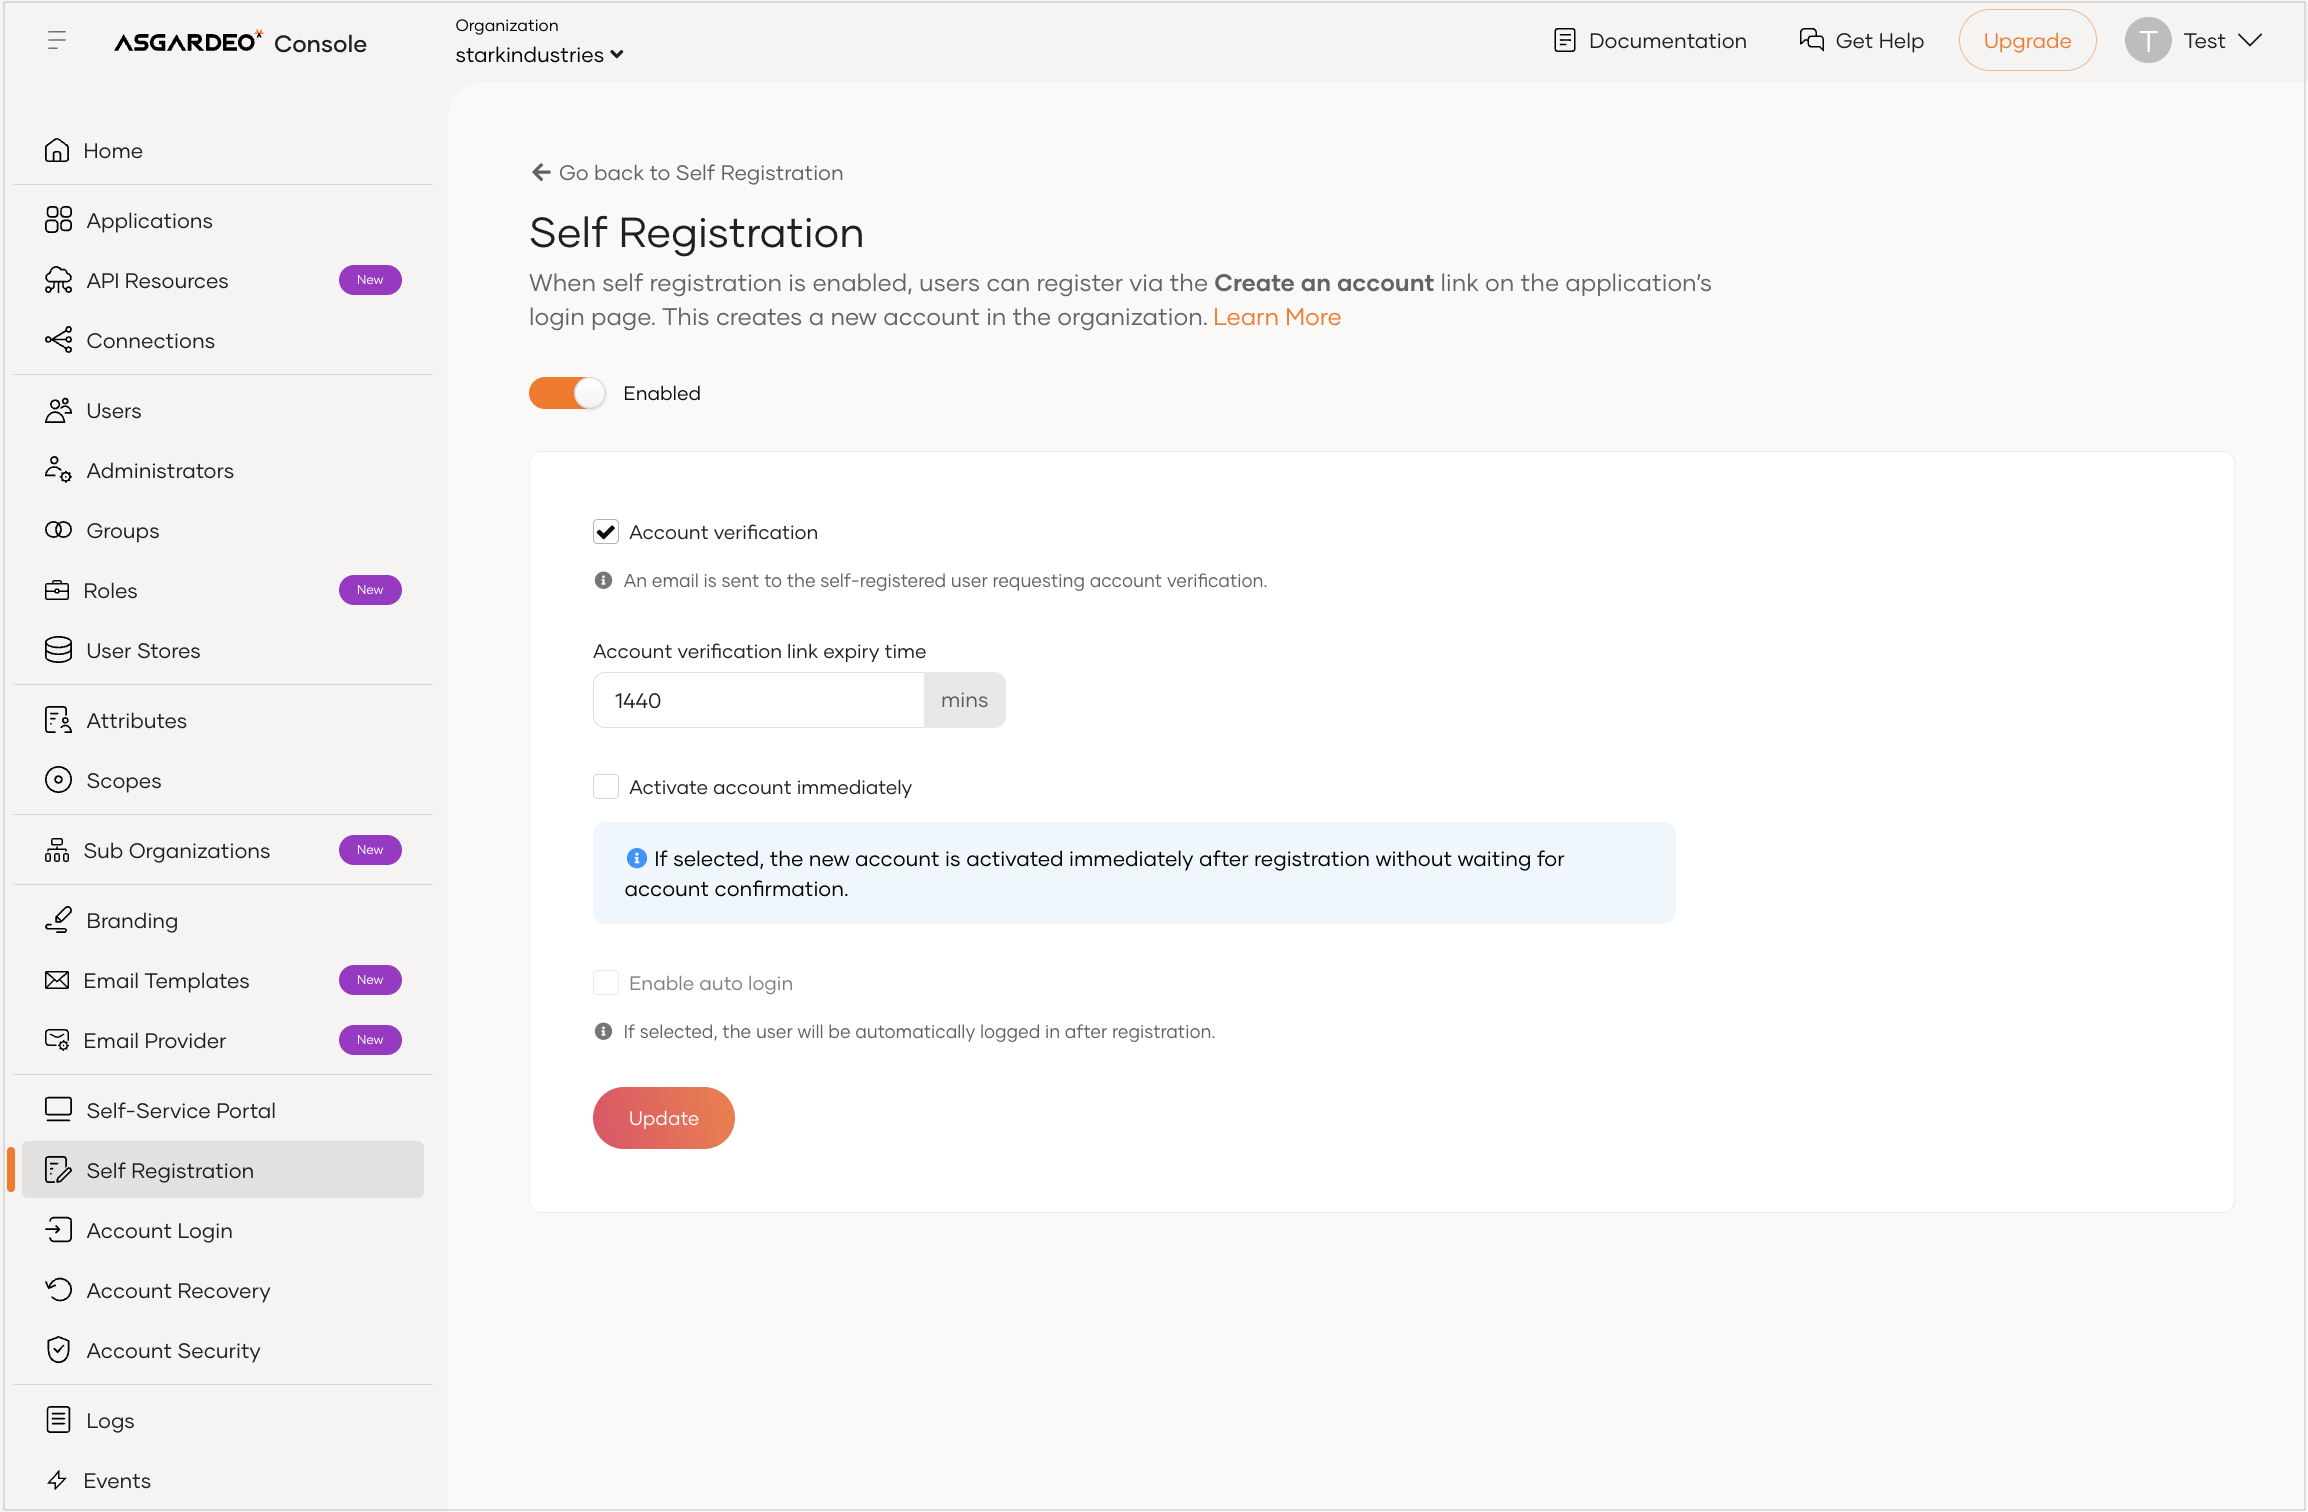
To configure self-registration, follow these steps:
- In the Asgardeo Console left navigation menu, click Self Registration.
- In the Self Registration pane, click Configure.
- To enable self-registration, turn on the toggle.
- Select Account verification. This displays a confirmation message to enable account verification.
- Click Continue.
- Specify an appropriate value in the Account verification link expiry time field.
-
Click Update.
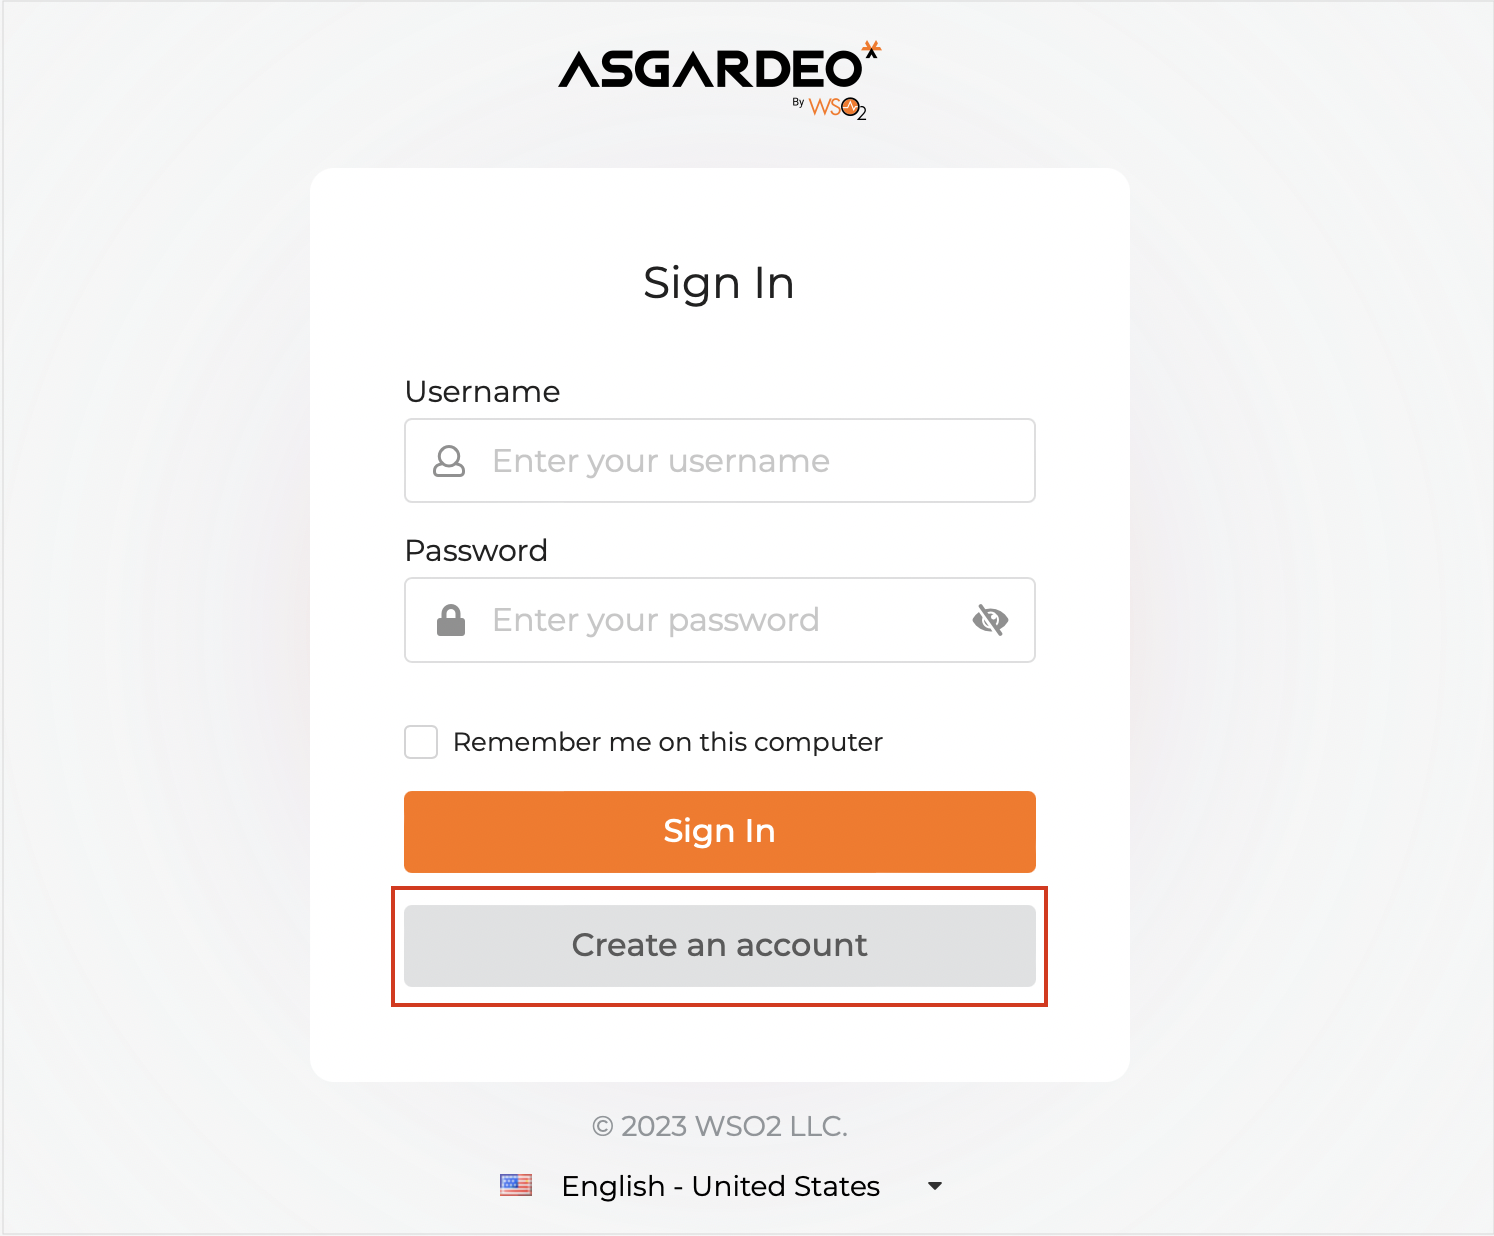
Once you complete these steps, you will see a sign up link similar to the following in your Developer Portal:
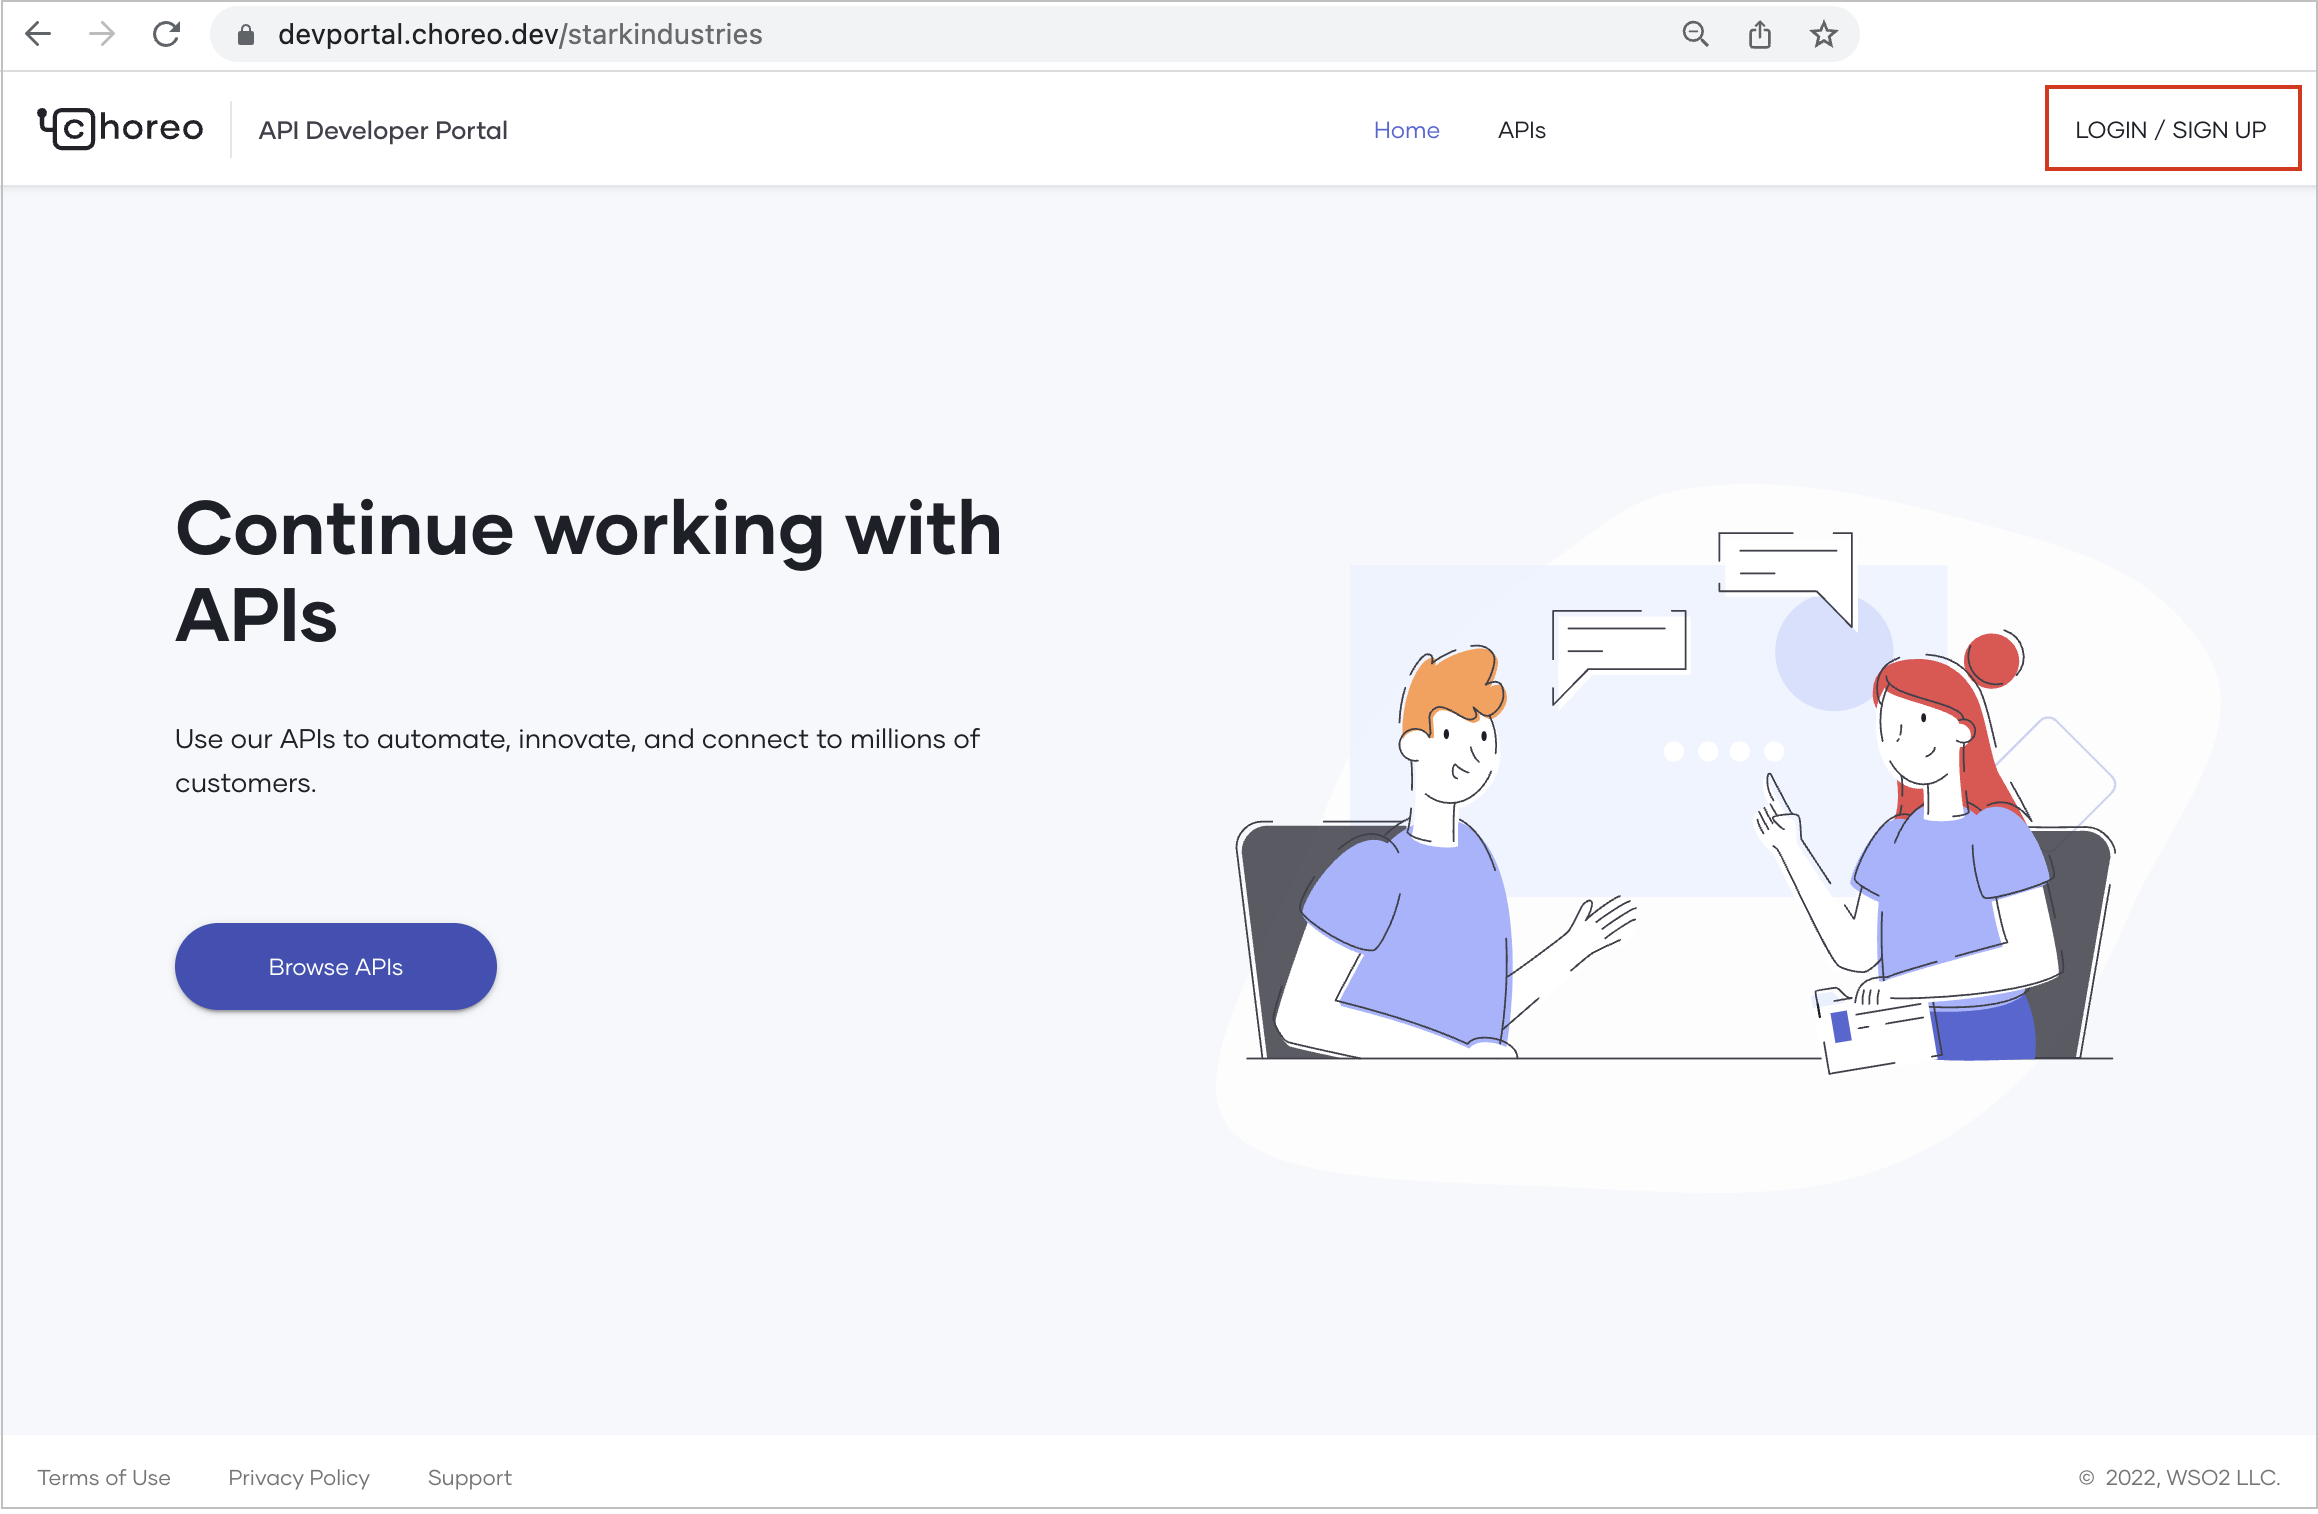
Users can click LOGIN/SIGN UP and then click Create an account to sign up to access your Developer Portal.
Manage new users
To manage users who want to access your Developer Portal via self-sign-up, you have two possible approaches:
- Enable auto-approval for new user registrations: This approach automates the user approval process. When you enable auto-approval, each user who creates an account and signs up to your Developer Portal can access it by default.
- Manually approve or reject user accounts: This allows you to review the list of user registrations and manually approve or reject each registration as needed.
Enable auto-approval for new user registrations
To automatically approve each new user account registered on your Developer Portal, follow the steps given below:
- In the WSO2 Developer Platform Console, click your username in the top right corner.
- In the drop-down menu, click Settings. This opens the Organization pane, where you can make necessary changes to organization settings.
- In the Organization pane, click Self Signups.
- To enable auto-approval, turn on the toggle.
Once you enable auto-approval, users can sign in to your Developer Portal and view your APIs and applications immediately after creating an account.
Manually approve or reject user accounts
If you have not enabled auto-approval, you can manually approve or reject new user registrations. Once a user creates an account, WSO2 Developer Platform sends an email to ask the user to confirm the account. To manually approve or reject user accounts, follow the steps given below:
- In the WSO2 Developer Platform Console, click your username in the top right corner.
- In the drop-down menu, click Settings. This opens the Organization pane, where you can make necessary changes to organization settings.
- In the Organization pane, click Self Signups. You will see the user accounts listed for approval.
-
To approve a user account, click Approve. To reject an account, click Reject.
- If you approve an account, the user will receive an email confirming the approval.
-
If you reject an account, the user will receive an email mentioning that their account is rejected.
Note
A rejected user cannot sign up to your Developer Portal using the same account again.