Secure an API with Role-Based Access Control
Role-based access control (RBAC) is a flexible and scalable approach to manage access to API resources. In this approach, each user or group is assigned a specific role that determines the permissions granted to perform operations on an API resource.
This tutorial explains how to implement RBAC using WSO2 Developer Platform and Asgardeo. It includes a real-world scenario with instructions to create and publish an API proxy component in WSO2 Developer Platform and apply role-based access control.
Scenario
An organization needs to implement a user management service to keep track of users. The service needs to perform the following operations:
- List existing users
- List a specific user
- Create new users
- Delete a user
There are two types of users in the organization:
- Human resource manager (HR manager): Can perform all operations (list users, list a user, create users, and delete a user).
- Human resource officer (HR officer): Can only list existing users and list a specific user.
Implement role-based access control with WSO2 Developer Platform and Asgardeo
Let’s take a look at the steps to implement the scenario described above using WSO2 Developer Platform and Asgardeo.
Prerequisites
- If you're signing in to the WSO2 Developer Platform Console for the first time, create an organization:
- Go to the WSO2 Developer Platform Console and sign in using your preferred method.
- Enter a unique organization name. For example,
Stark Industries. - Read and accept the privacy policy and terms of use.
- Click Create.
This creates the organization and opens the home page of the default project created for you.
Step 1: Create an API proxy component and deploy it
- Go to the WSO2 Developer Platform Console and sign in. This opens the project home page.
- To create an API proxy component, follow the instructions in Develop an API Proxy: Step 1. This opens the Resources pane, where you can define resources for the API proxy.
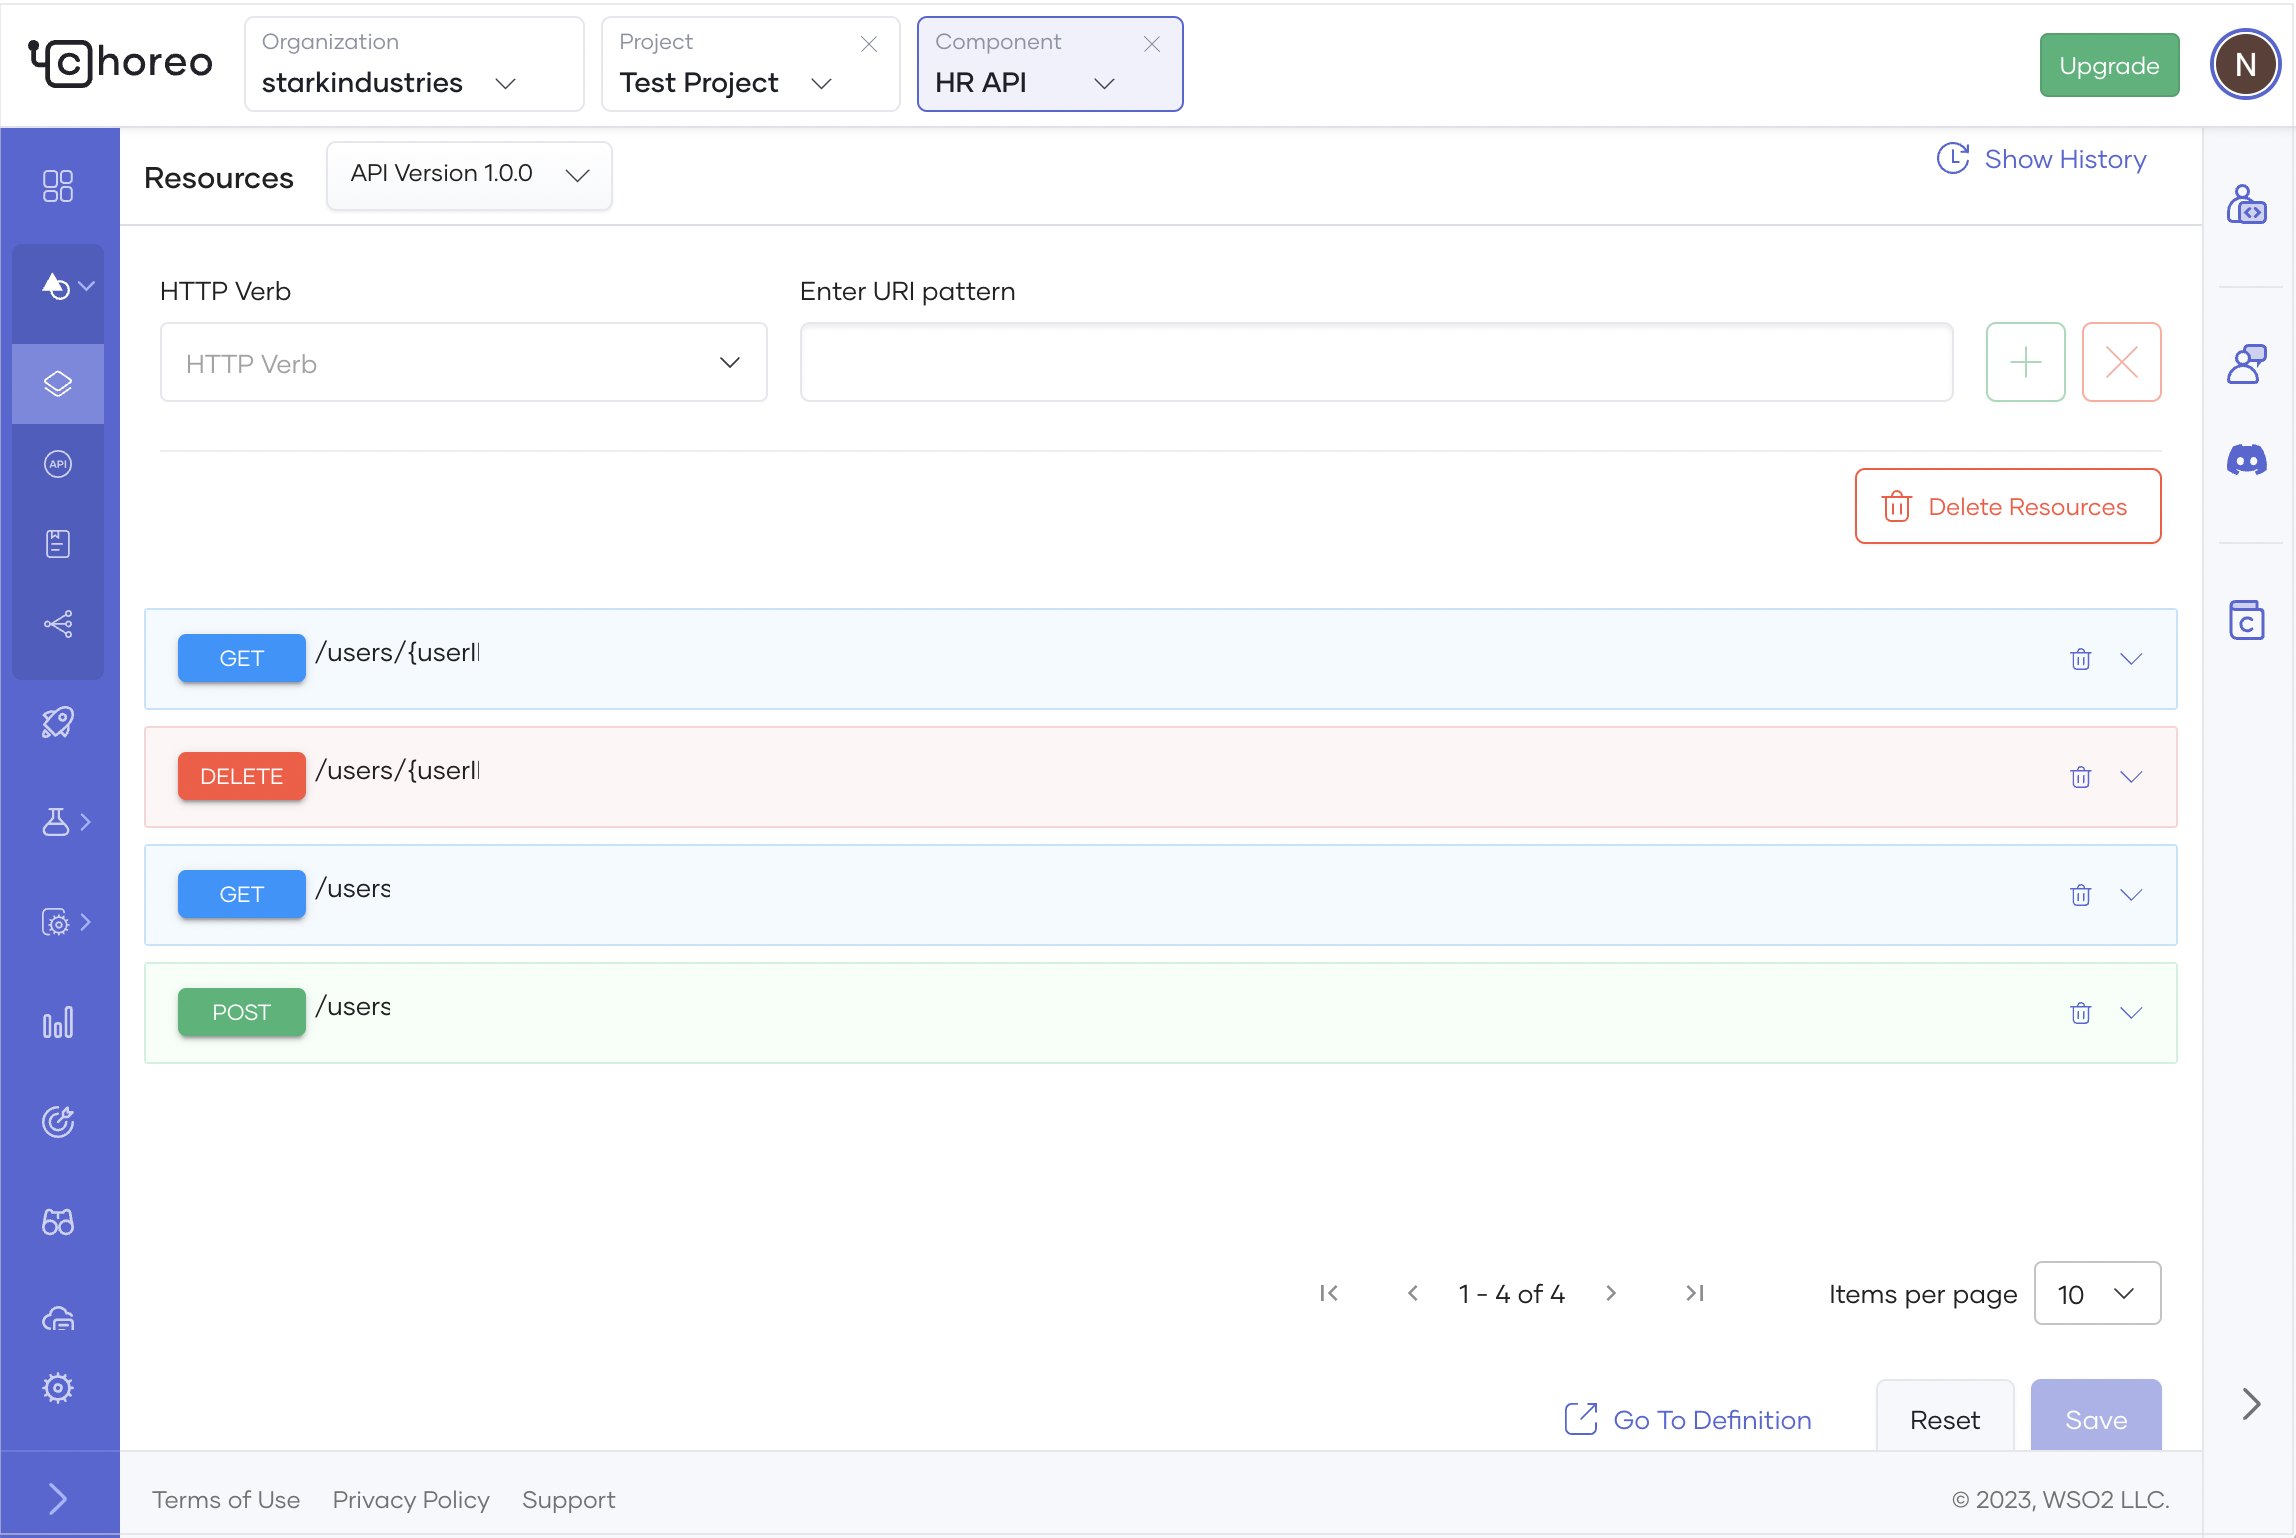
- In the Resources pane, add the following resources:
- GET
/users - GET
/users/{userID} - POST
/users - DELETE
/users/{userID}
- GET
- Remove the five default resources that start with
/*by clicking the delete icon corresponding to each resource. -
Click Save. The API resources will look like this:
-
In the left navigation menu, click Deploy.
- Go to the Build Area card and click Configure & Deploy.
- In the Configure API Access Mode pane, select External to make the API publicly accessible.
- Click Deploy.
Step 2: Apply permissions to resources and publish the API
- On the Deploy page, go to the Build Area card and click Configure & Deploy.
- In the Configure & Deploy pane, go to the Operation Level Security section and click Manage Permissions.
- Add the following permission values:
get_user_listget_usercreate_userdelete_user
-
In the Operation Level Security section, assign permissions to resources as follows:
Resource Permission GET /users get_user_listGET /users/{userID} get_userPOST /users create_userDELETE /users/{userID} delete_user -
Click Deploy.
- Promote the API to production:
- In the left navigation menu, click Deploy.
- Go to the Development card and click Promote.
- In the Configure & Deploy pane, click Next to promote the API to production.
- Publish the API:
- In the left navigation menu, click Manage and then click Lifecycle.
- In the Lifecycle Management pane, click Publish. This changes the API status to Published.
Now, application developers can discover the API, subscribe to it, and invoke it.
Step 3: Subscribe to the published API
- Go to the WSO2 Developer Platform Developer Portal and click Applications on the top menu.
- Click +Create.
- Enter
User Management Appas the Application Name and click Create. - In the Developer Portal left navigation menu, click Production under Credentials.
- Expand Advanced Configurations and:
- Select Code as the grant type.
- Enter the hosted URL of the application as the Callback URL.
- Click Generate Credentials.
- Subscribe to the API:
- In the Developer Portal left navigation menu, click Subscriptions.
- In the Subscription Management pane, click Add APIs.
- In the Add APIs list, go to the API you created and click Add.
Step 4: Define roles and assign them to groups
- In the Developer Portal left navigation menu, click Production under Credentials.
- In the Permissions section, click Manage Permissions. This takes you to the Roles tab of the
User Management Appapplication in Asgardeo. - Add the following roles:
- admin: Assign permissions
get_user_list,get_user,create_user, anddelete_user. - user: Assign permissions
get_user_listandget_user.
- admin: Assign permissions
- Create groups and assign roles:
- HR-Manager: Assign the admin role.
- HR-Officer: Assign the user role.
Step 5: Define users and assign them to groups
- Define two users:
CameronandAlex. For instructions, see Manage Users in the Asgardeo documentation. - Assign
Cameronto the HR-Manager group andAlexto the HR-Officer group. For instructions, see Assign Groups.
Step 6: Obtain an access token and try out the API
-
Construct the authorization URL as follows:
- Replace
<authorize_URL>with the Authorize Endpoint URL. - Replace
<redirect_URL>with the Callback URL. - Replace
<scopes>with the applicable permissions (e.g.,get_user_list get_userforAlex). - Replace
<clientID>with the Consumer Key.
- Replace
-
Open the constructed URL in a web browser and sign in with
Alex's credentials. Click Allow to approve the consent. -
Copy the code from the callback URL and use it to replace
<code>in the following cURL command:curl <token_url> -d "grant_type=authorization_code&code=<code>&redirect_uri=<redirect_uri>" -H "Authorization: Basic <base64(clientId:clientSecret)>"- Replace
<token_url>with the Token Endpoint URL. - Replace
<redirect_uri>with the Callback URL. - Replace
<base64(clientId:clientSecret)>with the Base64-encoded value ofclientId:clientSecret.
- Replace
-
Extract the access token from the response.
-
Go to the WSO2 Developer Platform Developer Portal and try out the API using the access token. Observe that
Alexcan only access the following resources:- GET /users
- GET /users/{userID}
Attempting to access other resources will result in a scope validation error.
Similarly, if you use
Cameron's credentials, you can access all four resources because the token includes all required permissions.
Now you have gained hands-on experience in implementing role-based access control with WSO2 Developer Platform and Asgardeo.