Configure Pre-Update Password Action with Choreo
5 mins
Using Choreo
In this section, we will walk through how to implement and deploy the Pre-Update Password Action using Choreo based on the scenario discussed earlier.
This implementation is done using Node.js and follows the logic of validating the new password using the Have I Been Pwned (HIBP) service to determine if it has been exposed in any known data breaches. If the password is identified as compromised, the update will be prevented, and the user will be prompted to select a more secure alternative.
Set Up Your Node.js Project
Create a new project folder on your local machine. Open your terminal or command prompt and create a new directory where your project files will be stored. You can do this by running:
This command creates a new folder named password-update-validator. Then, move inside that folder by running:
Now, any new files or commands you use will be applied inside this project folder. Once you're inside the folder, run:
This will create a file named package.json automatically. The package.json file is very important, it keeps track of
your project details (like name, version, and dependencies) and will help others (or platforms like Choreo) understand
how to run your project.
The -y flag automatically fills in default values for you, so you don’t need to answer any setup questions manually.
Please make sure to open the generated package.json file and set the value of type to module.
Install the required dependencies. In this guide, we use express to build the service, validator for input validation, axios to make HTTP requests, and Node.js built-in crypto for secure hashing.
Still inside your project folder, install the necessary libraries by running:
express: A fast, lightweight framework that makes building web servers in Node.js very simple and structured.
validator: A library that provides a set of string validation and sanitization functions, making it easy to validate and clean user input in your application.
axios: A promise-based HTTP client that allows you to make asynchronous HTTP requests, both in the browser and Node.js, simplifying interactions with APIs and external services.
This command will download the libraries and save them inside a folder called node_modules and also update your
package.json file under dependencies, showing that your project uses these libraries.
Create a file named index.js and add the following basic structure: In your project folder, create a new file called
index.js. (You can right-click and choose “New File” if using a code editor like VS Code, or create it via terminal
using the command touch index.js.)
import express from "express";
import crypto from "node:crypto";
import validator from "validator";
import axios from "axios";
import {json} from "express";

const app = express();

const PORT = 3000;

app.use(json({limit: "100kb"}));
After saving this file, you will have a basic server ready that you can expand by adding routes (like /passwordcheck)
in the next steps.
Implement the Password Update Validation Logic
Implement the /passwordcheck API endpoint by creating a POST API that listens for user password update requests from
WSO2 Identity Platform.
Inside this API:
- Check if the request is for a password check.
- Extract the password credential.
- Check if the credential type is password and if it is in plain text or hash.
- Perform an external validation (check if the password is compromised using HIBP).
- Respond based on the outcome (compromised or not).
app.post("/passwordcheck", async (req, res) => {
    try {
        if (!validator.isJSON(JSON.stringify(req.body))) {
            return res.status(400).json({
                actionStatus: "ERROR",
                error: "invalid_request",
                errorDescription: "Invalid JSON payload."
            });
        }

        const cred = req.body?.event?.user?.updatingCredential;
        if (!cred || cred.type !== "PASSWORD") {
            return res.status(400).json({
                actionStatus: "ERROR",
                error: "invalid_credential",
                errorDescription: "No password credential found."
            });
        }

        // Handle encrypted (base64-encoded) or plain text passwords
        let plain = cred.value;
        if (cred.format === "HASH") {
            try {
                plain = Buffer.from(cred.value, "base64").toString("utf8");
            } catch {
                return res.status(400).json({
                    actionStatus: "ERROR",
                    error: "invalid_credential",
                    errorDescription: "Expects the encrypted credential."
                });
            }
        }

        const sha1 = crypto.createHash("sha1").update(plain).digest("hex").toUpperCase();
        const prefix = sha1.slice(0, 5);
        const suffix = sha1.slice(5);

        const hibpResp = await axios.get(
            `https://api.pwnedpasswords.com/range/${prefix}`,
            {
                headers: {
                    "Add-Padding": "true",
                    "User-Agent": "hibp-demo"
                }
            }
        );

        const hitLine = hibpResp.data
            .split("\n")
            .find((line) => line.startsWith(suffix));

        const count = hitLine ? parseInt(hitLine.split(":")[1], 10) : 0;

        if (count > 0) {
            return res.status(200).json({
                actionStatus: "FAILED",
                failureReason: "password_compromised",
                failureDescription: "The provided password is compromised."
            });
        }

        return res.json({
            actionStatus: "SUCCESS",
            message: "Password is not compromised."
        });
    } catch (err) {
        console.error("🔥", err);
        const status = err.response?.status || 500;
        const msg =
            status === 429
                ? "External HIBP rate limit hit—try again in a few seconds."
                : err.message || "Unexpected server error";
        res.status(status).json({error: msg});
    }
});
The final source code should look similar to the following.
import express from "express";
import crypto from "node:crypto";
import validator from "validator";
import axios from "axios";
import {json} from "express";

const app = express();

const PORT = 3000;

app.use(json({limit: "100kb"}));

app.get("/", (_req, res) => {
    res.json({
        message: "Pre-password update service up and running!",
        status: "OK",
    });
});

app.post("/passwordcheck", async (req, res) => {
    try {
        if (!validator.isJSON(JSON.stringify(req.body))) {
            return res.status(400).json({
                actionStatus: "ERROR",
                error: "invalid_request",
                errorDescription: "Invalid JSON payload."
            });
        }

        const cred = req.body?.event?.user?.updatingCredential;
        if (!cred || cred.type !== "PASSWORD") {
            return res.status(400).json({
                actionStatus: "ERROR",
                error: "invalid_credential",
                errorDescription: "No password credential found."
            });
        }

        // Handle encrypted (base64-encoded) or plain text passwords
        let plain = cred.value;
        if (cred.format === "HASH") {
            try {
                plain = Buffer.from(cred.value, "base64").toString("utf8");
            } catch {
                return res.status(400).json({
                    actionStatus: "ERROR",
                    error: "invalid_credential",
                    errorDescription: "Expects the encrypted credential."
                });
            }
        }

        const sha1 = crypto.createHash("sha1").update(plain).digest("hex").toUpperCase();
        const prefix = sha1.slice(0, 5);
        const suffix = sha1.slice(5);

        const hibpResp = await axios.get(
            `https://api.pwnedpasswords.com/range/${prefix}`,
            {
                headers: {
                    "Add-Padding": "true",
                    "User-Agent": "hibp-demo"
                }
            }
        );

        const hitLine = hibpResp.data
            .split("\n")
            .find((line) => line.startsWith(suffix));

        const count = hitLine ? parseInt(hitLine.split(":")[1], 10) : 0;

        if (count > 0) {
            return res.status(200).json({
                actionStatus: "FAILED",
                failureReason: "password_compromised",
                failureDescription: "The provided password is compromised."
            });
        }

        return res.json({
            actionStatus: "SUCCESS",
            message: "Password is not compromised."
        });
    } catch (err) {
        console.error("🔥", err);
        const status = err.response?.status || 500;
        const msg =
            status === 429
                ? "External HIBP rate limit hit—try again in a few seconds."
                : err.message || "Unexpected server error";
        res.status(status).json({error: msg});
    }
});

app.listen(PORT, () => {
    console.log(
        `🚀  Pre-password update service started on http://localhost:${PORT} — ` +
        "press Ctrl+C to stop"
    );
});
Run an Express Node Project Locally
Navigate to the root of your project and install all required dependencies using npm:
Once dependencies are installed, you can start the Express server using:
Or, if a custom script is defined (e.g., dev), run:
This will start the server, and your API will be accessible on:
If you're using tools like nodemon for auto-reloading during development, make sure it's installed and used in the dev script.
Push Your Code to GitHub
First, initialize a Git repository in your project folder:
Then, add all your project files to the Git repository. Make sure not to commit files containing sensitive information
or unnecessary files, you can use the .gitignore file to exclude them.
Commit your changes with a message:
Finally, link your local Git repository to a remote repository (e.g., on GitHub) and push your code:
This makes your code available in the cloud and allows easy collaboration or version control.
Deploy on Choreo
Log in to your Choreo Console and create a new project by signing in to your Choreo account and creating a new project from the dashboard.
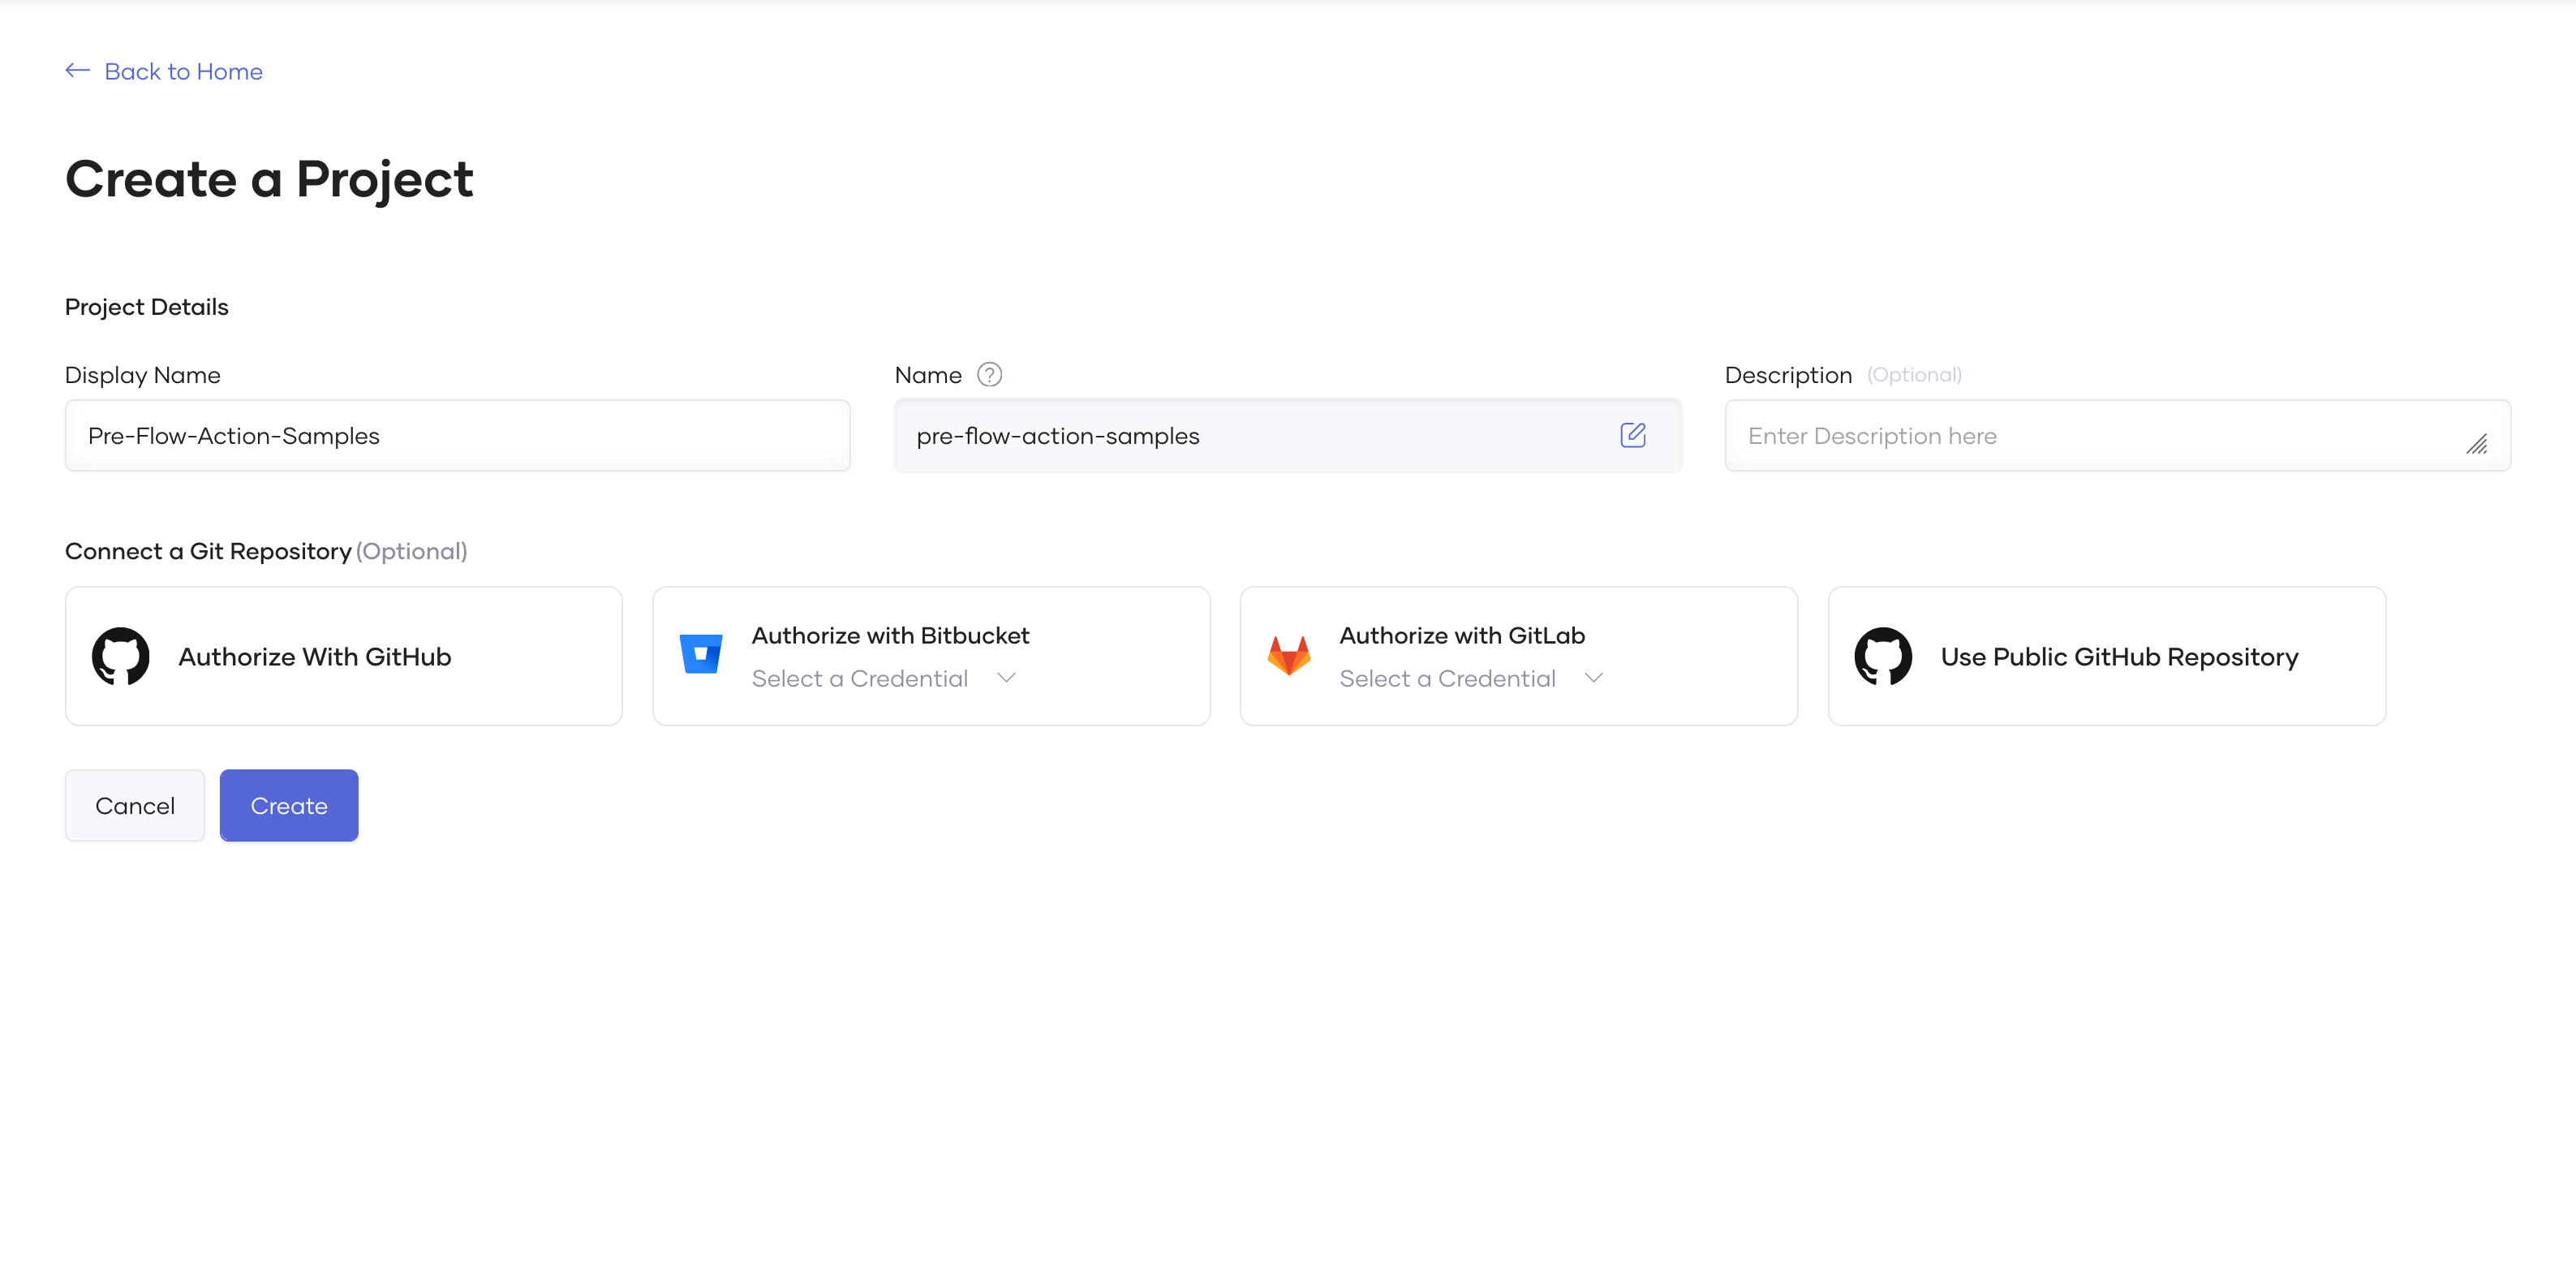
Within the created project, go to the "Components" section and create a new component. Select 'API Service' as the component type.
Link your GitHub account and select the password-update-validator repository that contains your code. Choreo will use this to build the project.

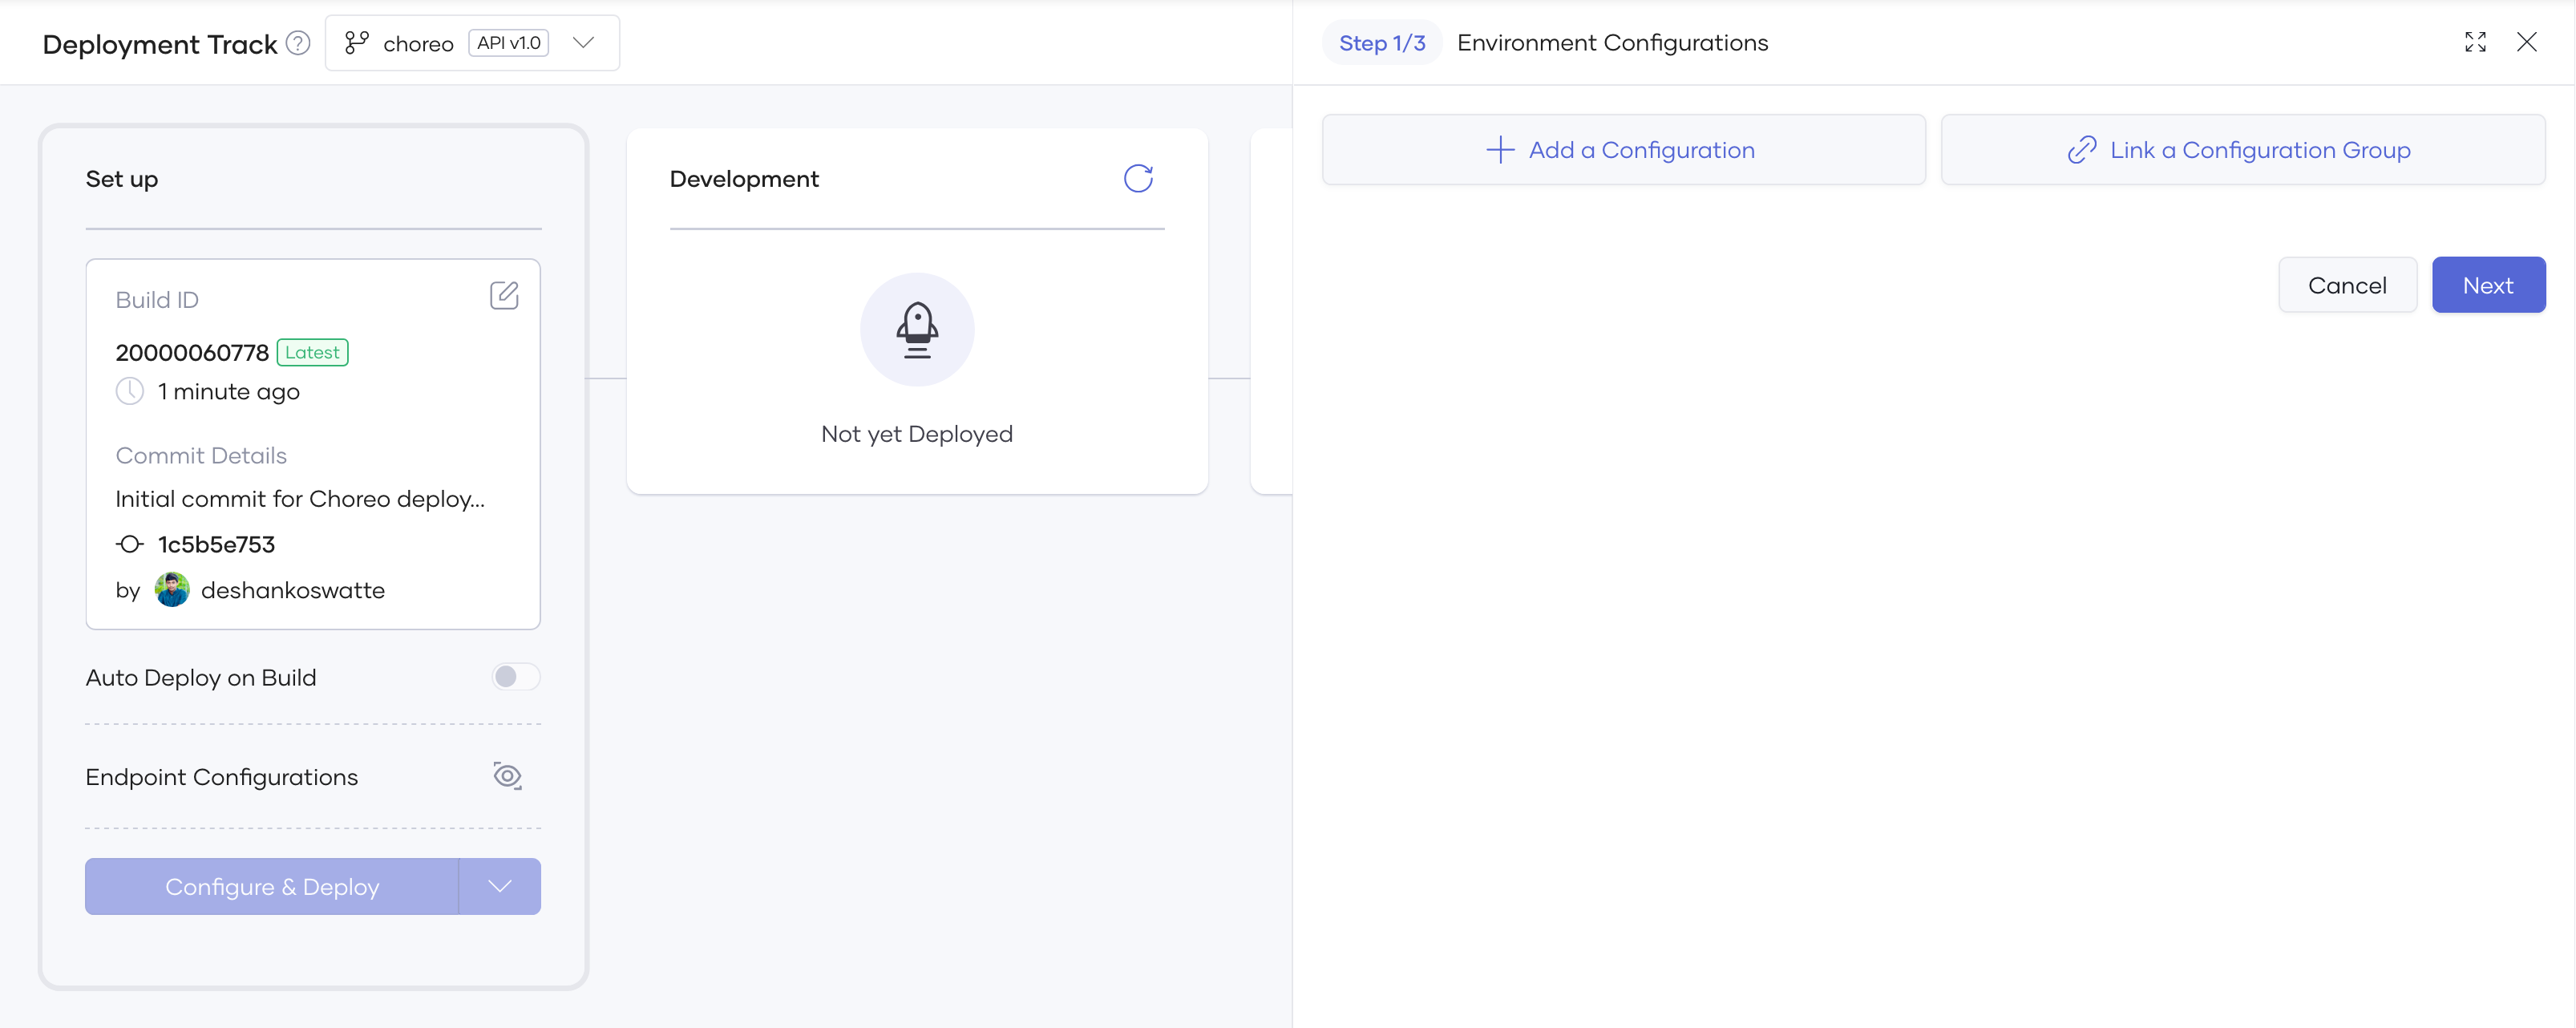
After the build is complete, go to the "Deploy" tab and click on 'Configure and Deploy' to set up the deployment settings and initiate the deployment process.
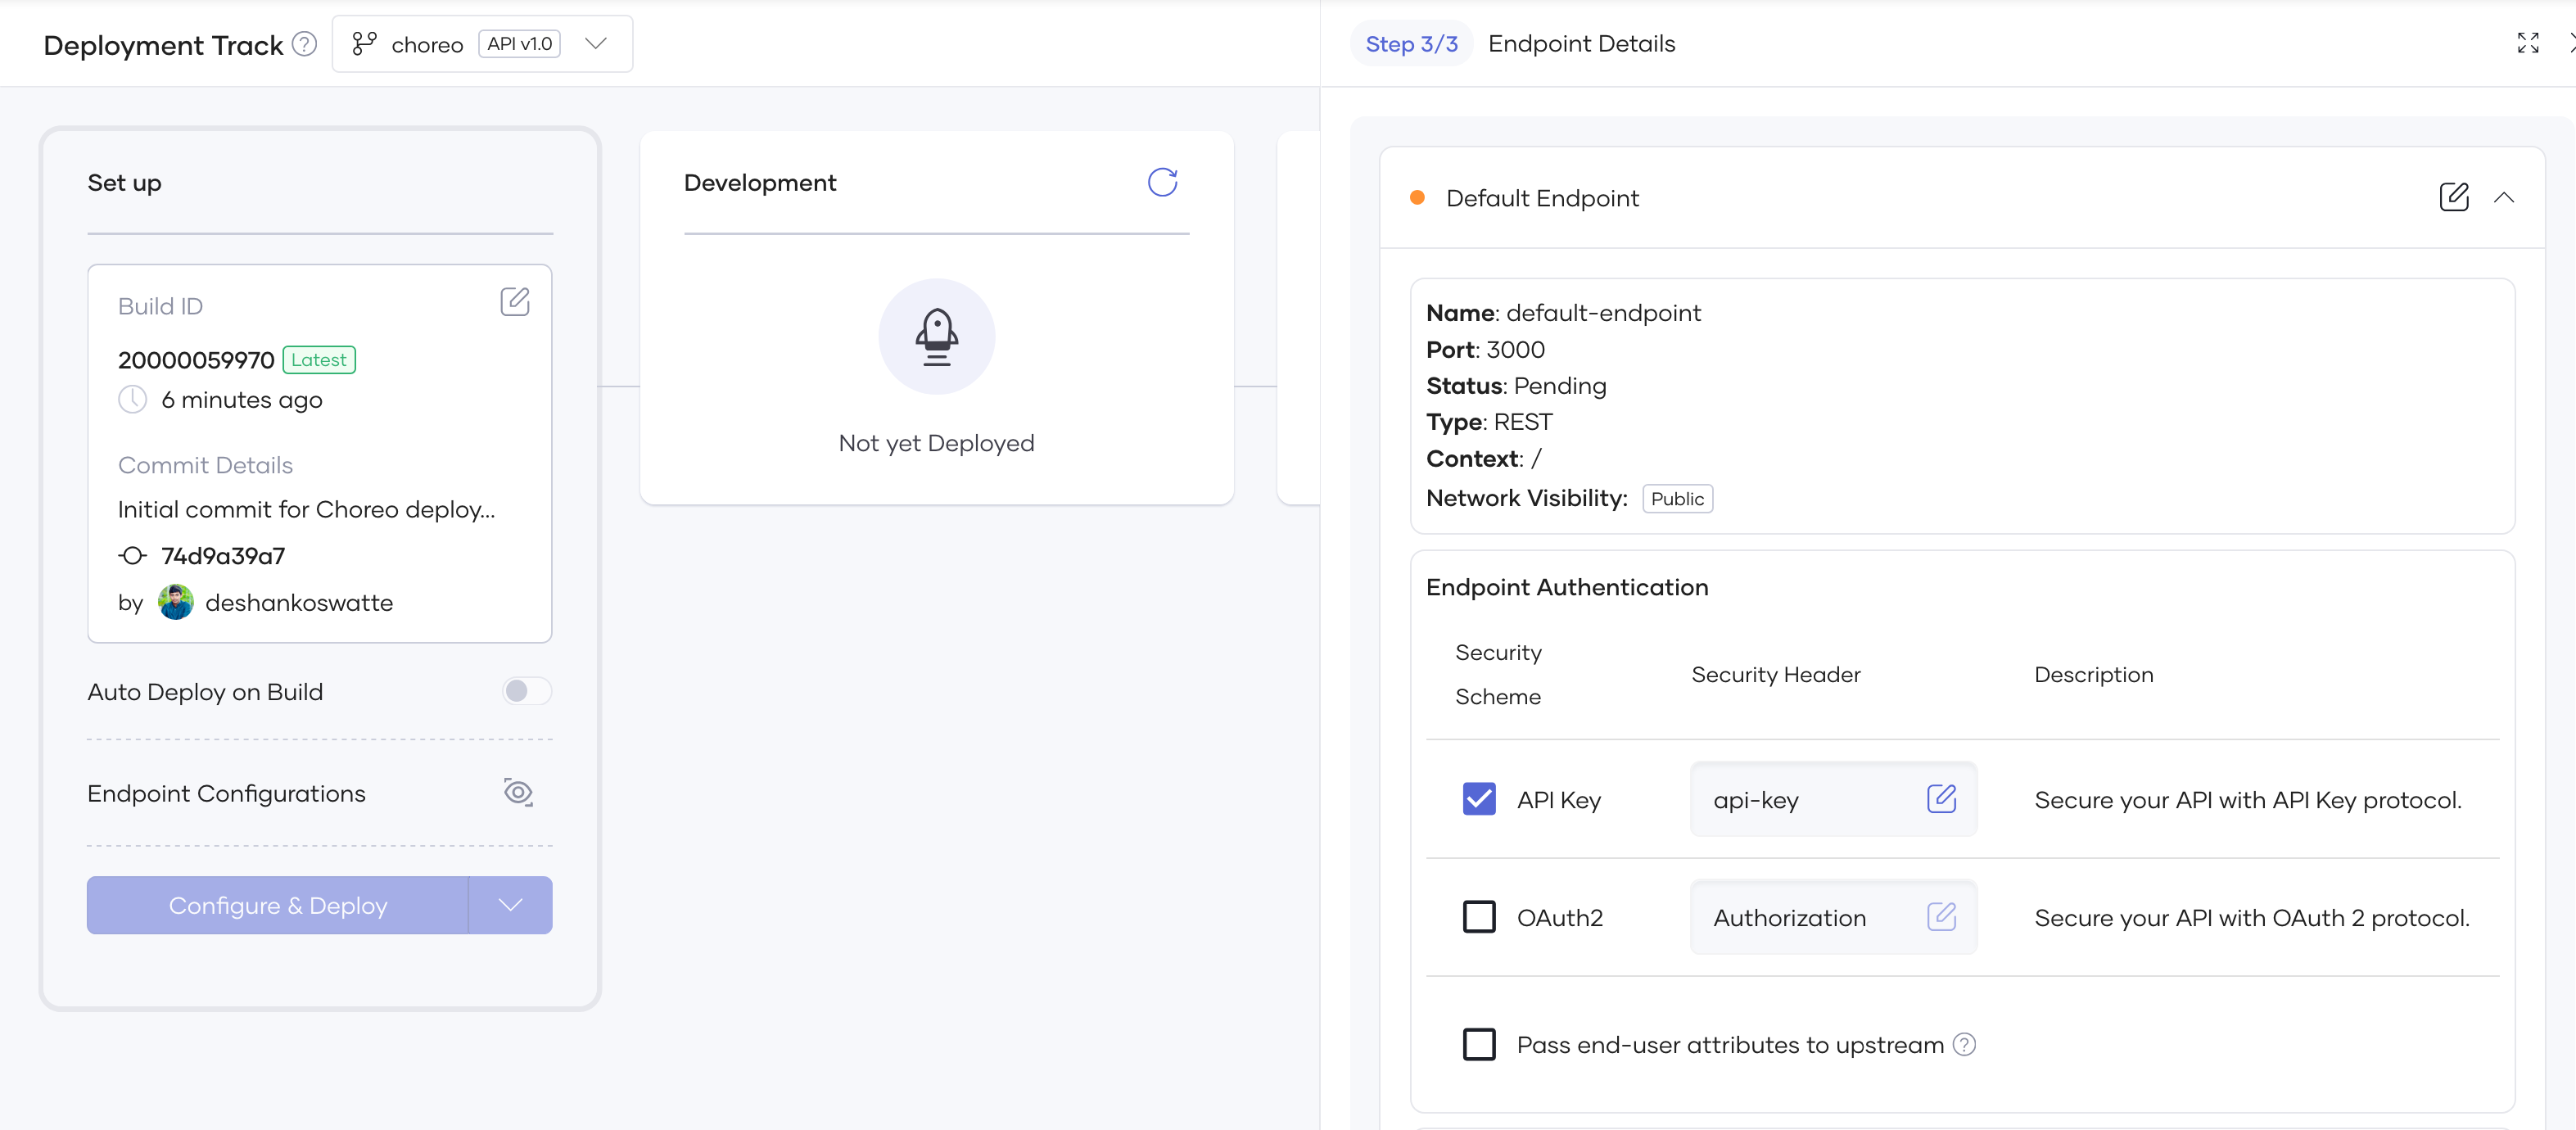
For security, make sure to enable the API Key protection mechanism. This will ensure that only authorized users can access your API.
After the deployment is complete, Choreo will provide a 'Public URL' for your API under Endpoints > Endpoint Details. Be sure to copy this URL for future reference.
Additionally, Go to Manage > Lifecycle and click 'Publish' to move your API from the "Created" state to the "Published" state.

Once the API is published, navigate to the Dev portal (via the "Go to Devportal" link in the top right corner). In the Dev portal, go to Credentials > Sandbox and generate a new API key. This key is required for accessing the API securely.

The API key will be generated along with an application in WSO2 Identity Platform. Copy and save the key securely for later use in your API calls.
Test Deployed Service
To test the deployed service, you will need the public URL and the API key. A sample request for a successful scenario is shown below.
curl --location '<public_url>/passwordcheck' \
--header 'Content-Type: application/json' \
--header 'api-key: <api_key>' \
--data '{
  "actionType": "PRE_UPDATE_PASSWORD",
  "event": {
    "tenant": {
      "id": "2210",
      "name": "testwso2"
    },
    "user": {
      "id": "18b6b431-16e9-4107-a828-33778824c8af",
      "updatingCredential": {
        "type": "PASSWORD",
        "format": "HASH",
        "value": "ec4Zktg/dqruY3ZHVjwTCZ9422Bu0Xi3F56ZcFxkcjU=",
        "additionalData": {
          "algorithm": "SHA256"
        }
      }
    },
    "userStore": {
      "id": "REVGQVVMVA==",
      "name": "DEFAULT"
    },
    "initiatorType": "ADMIN",
    "action": "UPDATE"
  }
}'
Configure WSO2 Identity Platform for Pre-Update Password Action Workflow
First, sign in to your WSO2 Identity Platform account using your admin credentials, click on "Actions" and then select the action type Pre Update Password.
Add an action name, the endpoint extracted from the deployment, and the appropriate authentication mechanism. For
Choreo, append the endpoint name defined in the source code to the generated Choreo URL, and set the authentication
mechanism to use an API key with the header name api-key and the value generated through the Dev Portal. For the
password sharing mechanism, you can use either SHA-256 hashed or plain text, as the implementation supports both
formats.
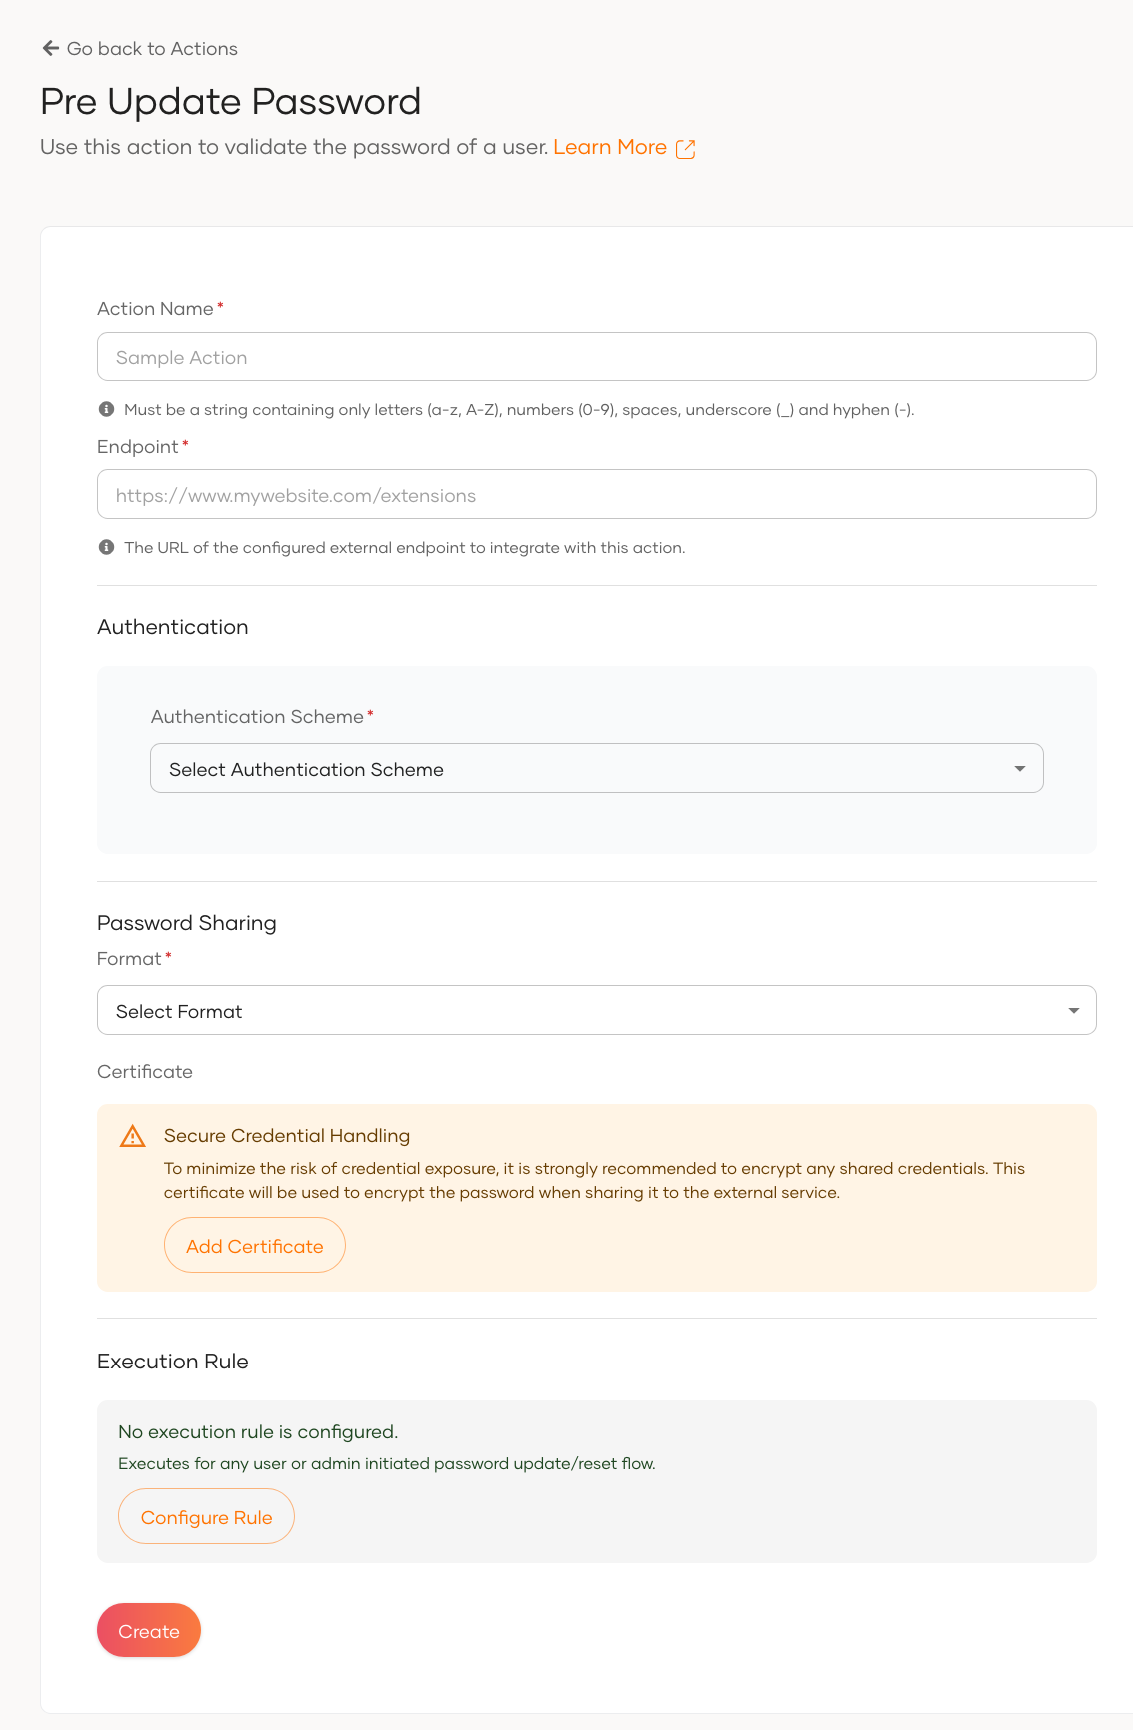
Once the action is configured, make sure it is marked as active to ensure it is triggered during relevant operations. Then, log in to the Console application using the administrator account, navigate to the User Management > Users section, and add a new user with a predefined password. This user will be used to test the configured pre-password update action.
Validate Pre-Update Password Action Workflow
To test this scenario, attempt to update a user's password using both compromised and uncompromised passwords, verified through Pwned Passwords. The update can be performed via either the Console ( administrator action) or the My Account application (user self-service) to ensure that only uncompromised passwords are accepted.
Console (administrator update)
- Log in to the WSO2 Identity Platform Console application using an administrator account.
- Navigate to User Management > Users.
- Select a user and reset their password.
My Account (self-update)
- Log in to the WSO2 Identity Platform My Account as a user.
- Go to Security > Change Password.
- Attempt to update the password.