Add federated login
WSO2 Identity Platform lets you add and configure external Identity Providers (IdP) so that users can bring their identities in these external IdPs and log in to applications. Follow the guides below to learn how you can integrate the external IdP of your choice with WSO2 Identity Platform.
Create a connection
You can register an external IdP in WSO2 Identity Platform by creating a connection. WSO2 Identity Platform supports a variety of connections for your convenience. Select your preferred connection and follow the guide to learn how to configure it.
Configure JIT provisioning
When a user logs in with an external identity provider using the same email address registered in a local account, JIT-provisioning overrides the attributes of the local account with the attributes received from the external identity provider.
WSO2 Identity Platform, by default, enables Just-In-Time (JIT) user provisioning for your external identity provider.
To disable JIT-provisioning,
-
On the WSO2 Identity Platform Console, click Connections and select the relevant connection.
-
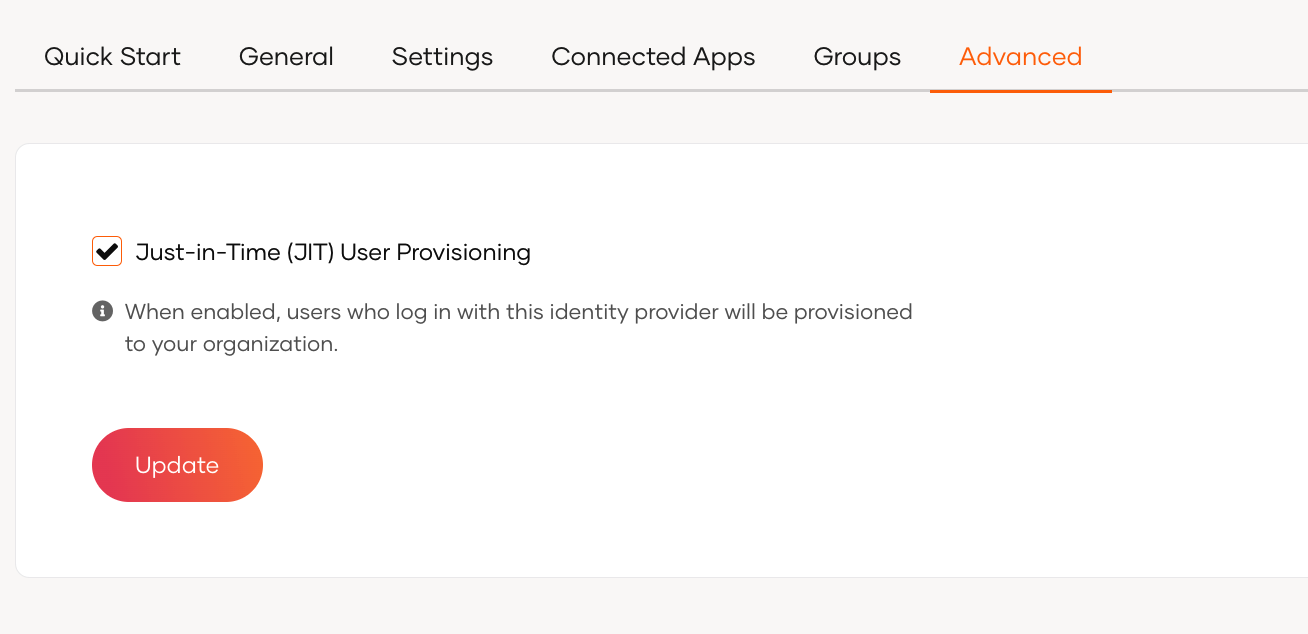
Go to the Just-in-Time Provisioning tab of the selected connection.
-
Check/Uncheck the Just-in-Time (JIT) User Provisioning checkbox to enable/disable it.
-
Click Update to save the changes.
Note
-
Learn more about JIT provisioning configurations in configure JIT user provisioning.
-
You can use the identity provider APIs to customize the attribute syncing behavior between the external identity provider and WSO2 Identity Platform.
Map groups with WSO2 Identity Platform
Map local attributes to external attributes
Follow the steps below to map attributes of WSO2 Identity Platform with that of a connection.
-
On the WSO2 Identity Platform Console, go to Connections.
-
Select your connection and go to its Attributes tab.
-
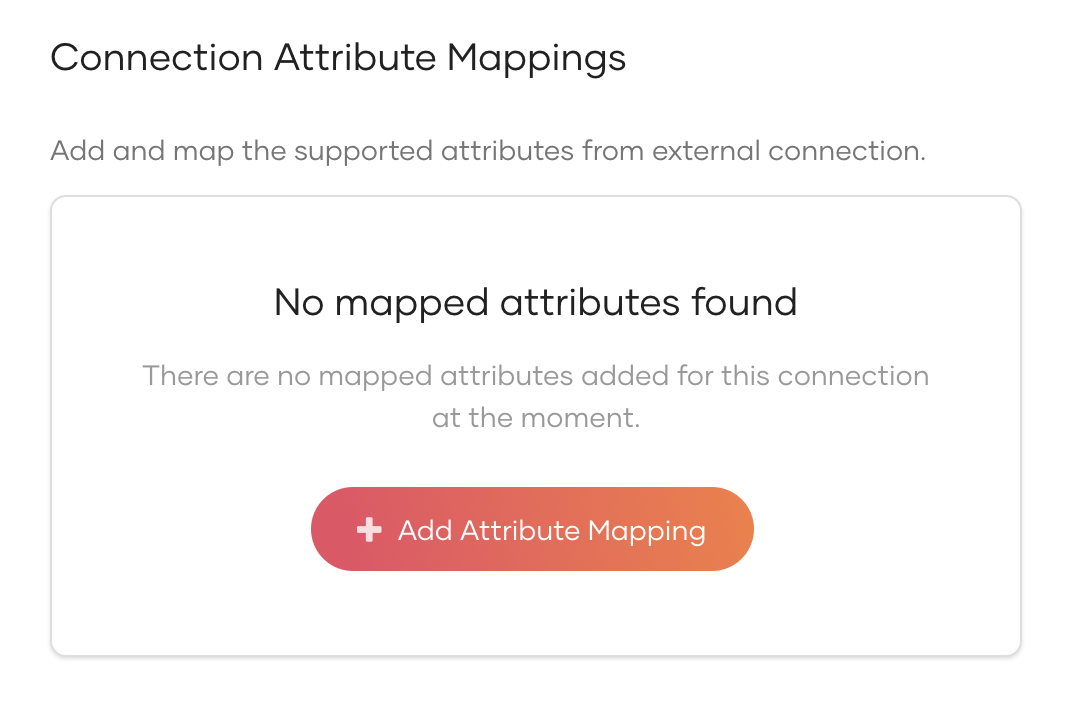
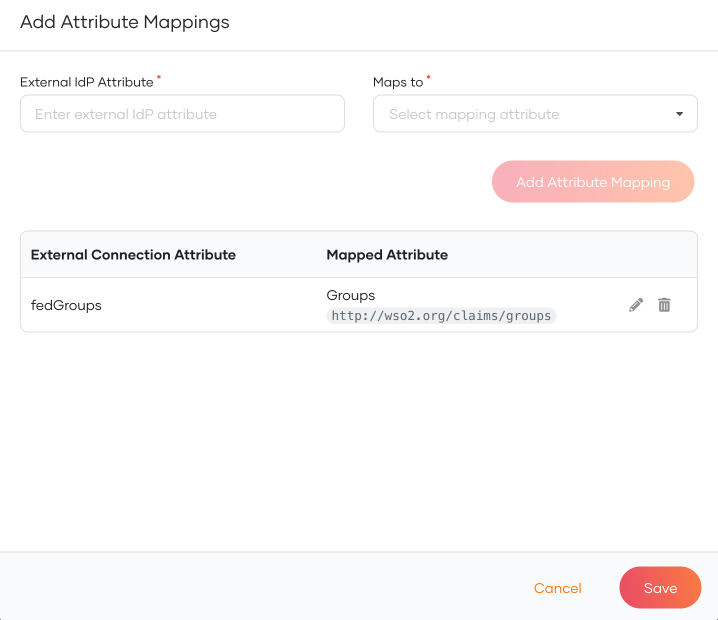
Click Add Attribute Mapping to add a new attribute mapping.
-
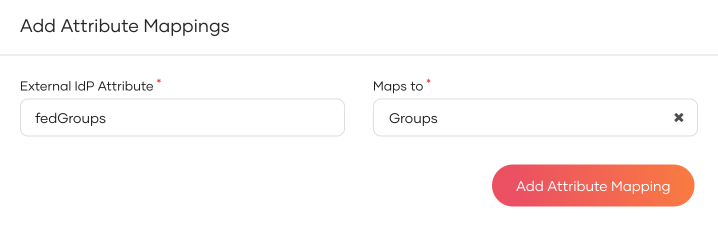
Enter the External IdP Attribute of the connection and map it to the Groups attribute of WSO2 Identity Platform.
-
Click Add Attribute Mapping and then click Save.
-
Click Update to save the changes.

Add groups to connections
Follow the steps below to add the groups from your connection to WSO2 Identity Platform:
- On the WSO2 Identity Platform Console, go to Connections.
- Select your connection and go to its Groups tab.
-
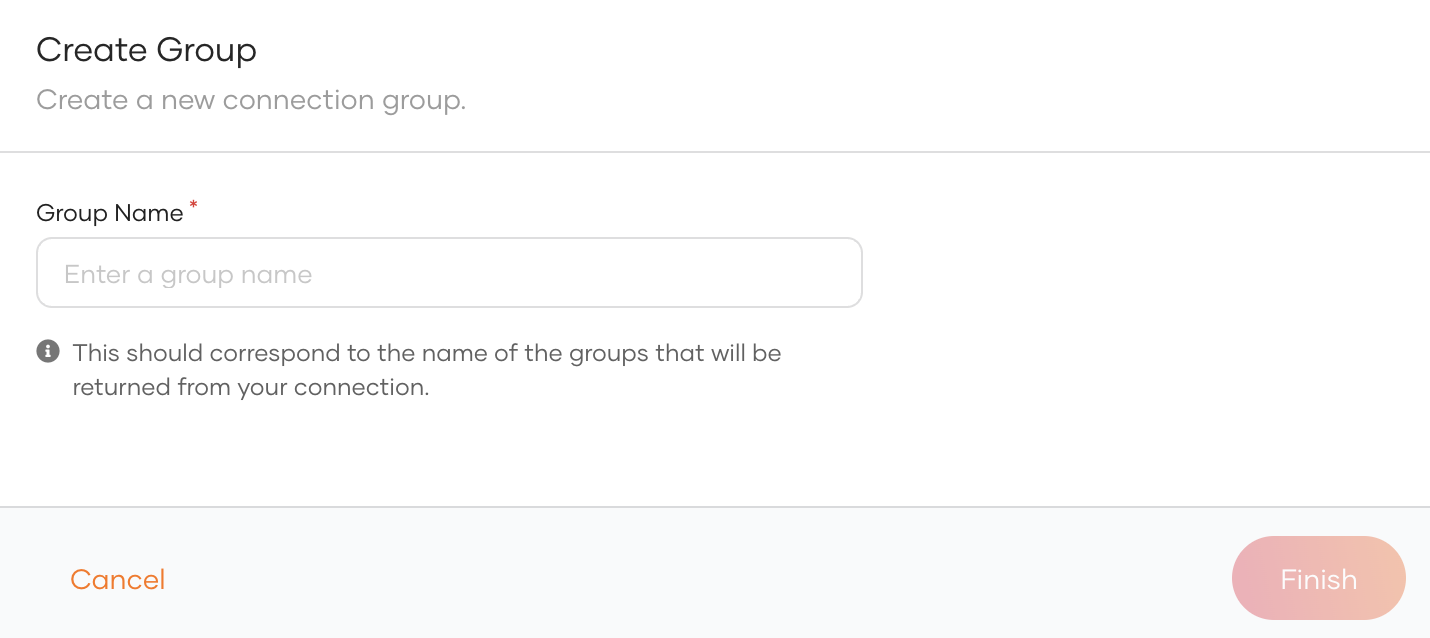
Click New Group and enter the group name. Be sure to enter the exact group name that will be returned from the connection.
-
Click Finish to add the group information.
Configure home realm identifier
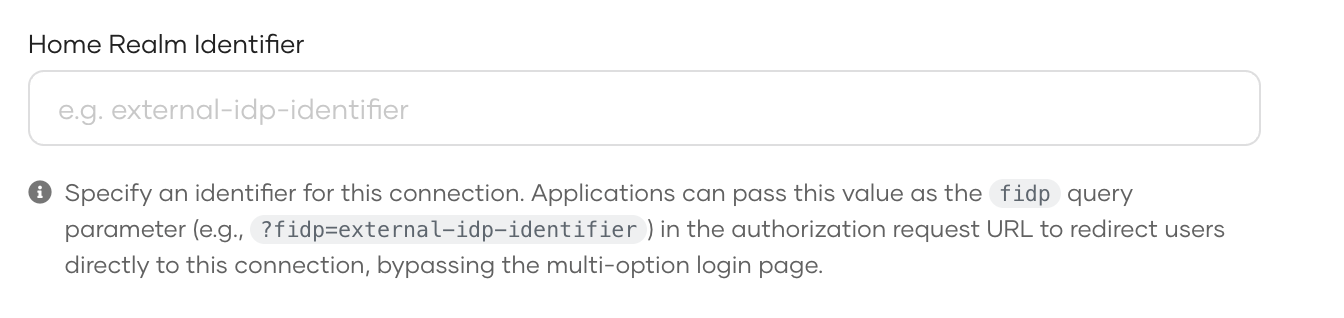
The home realm identifier is a unique value that identifies a connection when routing users directly to a specific external IdP during login. When a user initiates login, your application can include this identifier as the fidp query parameter in the authorization request, which causes WSO2 Identity Platform to skip the login page and route the user directly to the specified external IdP.
To configure the home realm identifier:
-
On the WSO2 Identity Platform Console, click Connections and select the relevant connection.
-
Go to the Advanced tab of the selected connection.
-
Enter a unique identifier in the Home Realm Identifier field.
-
Click Update to save the changes.
Once configured, use this identifier in your application's authorization request as follows:
https://<host_name>/t/<org_name>/oauth2/authorize?
  response_type=code
  &client_id=<client_id>
  &redirect_uri=<redirect_uri>
  &scope=openid
  &fidp=<home_realm_identifier>
Note
When the fidp parameter is provided, WSO2 Identity Platform bypasses the login page and directly initiates the authentication flow with the matching external IdP.
Delete a connection
Before you begin
If your connection has applications associated with it, you will not be able to delete the connection.
Before deleting such connections:
- Check the associated applications from the Connected Apps tab of the connection.
- Click on an application that uses the connection and you will be redirected to the Login Flow tab of the respective application.
- Remove the connection from the sign-in flow of the associated applications.
- Repeat steps 2 and 3 for all listed applications.
- Proceed to delete the connection.
To delete a connection:
- On the WSO2 Identity Platform Console, go to Connections.
- Click Set up and navigate to the General tab.
-
At the bottom of the page, click the button in the Delete connection.
Note
You cannot delete connections that are available by default.
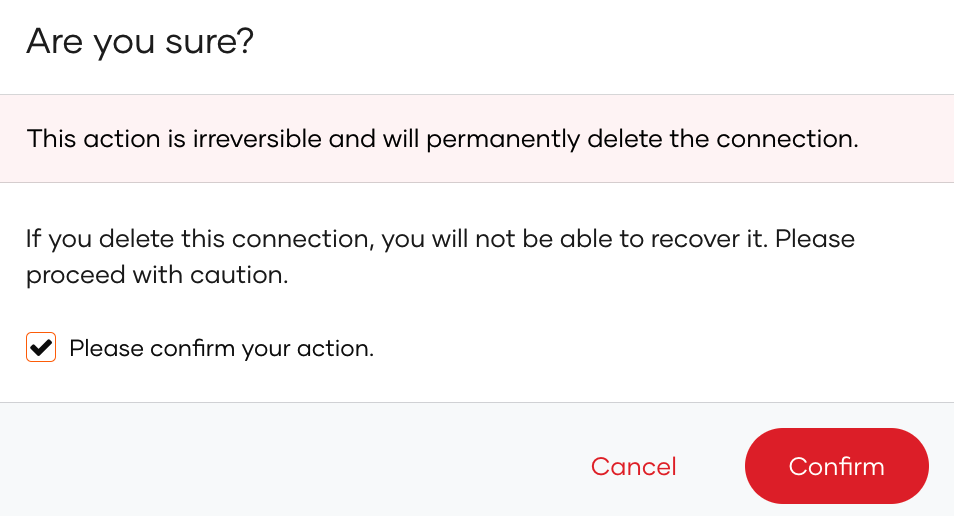
-
Select the checkbox and confirm your action.