Create a .NET app
2 min
Provided that you have already installed the .NET SDK, we will proceed with setting up the development environment. This guide will utilize Visual Studio Code as the text editor and the official C# Dev Kit extension from Microsoft to help streamline the creation of the .NET application, which is of the Blazor Web app type.
There are several other approaches of creating a .NET application. If you need to create a rich, interactive web application, Blazor is a great choice. For cloud-based solutions, Azure Functions or ASP.NET Core are the go-to choices. If you're building a native mobile app, Xamarin or MAUI would be ideal, and for desktop apps, WPF, WinForms, or MAUI would be suitable. For the purposes of this guide we will be creating a server side web app with Blazor since it is a .NET frontend web framework that supports both server-side rendering and client interactivity in a single programming model.
This in turn allows for the following benefits:
- Create rich interactive UIs using C#.
- Share server-side and client-side app logic written in .NET.
- Render the UI as HTML and CSS for wide browser support, including mobile browsers.
- Build hybrid desktop and mobile apps with .NET and Blazor.
Creating a New Project in Visual Studio Code
- Open Visual Studio Code.
- Bring up the command palette by pressing:
Ctrl + Shift + P(Windows/Linux)Cmd + Shift + P(macOS)
- In the command palette, type and select
.NET: New Project…. - From the drop-down menu, select
Blazor Web App. - Choose a suitable directory location for your project.
- Enter a project name.
- Click
Create Projectto create the project in the selected directory.
Creating a New Project via the Command Line
Alternatively, if you prefer creating the application via the command line, you can use the following commands:
Running the Application
Once the application is created, you can compile and run it using Visual Studio Code or the terminal.
Running from Visual Studio Code
- Navigate to the
Run and Debugtab in the Activity Bar on the left side of Visual Studio Code. - Click the
Run and Debugbutton. - Once the launch configurations are loaded, select the default configuration, ensuring that the debugger is set to
C#. - After completing the setup, the application will launch in your web browser.
Running from the Terminal
If you prefer using the terminal, you can execute the following command in the project directory to run the application:
Based on the configurations in your /Properties/launchSettings.json file, you would observe an output similar to the following.
Now listening on: http://localhost:5001
Note
The port number may vary based on the configurations in the Properties/launchSettings.json file. If this is the case, please make sure to update the WSO2 Identity Platform application accordingly that was created in the previous step. Otherwise, you can utilize the following configurations in the Properties/launchSettings.json file.
{
  "$schema": "https://json.schemastore.org/launchsettings.json",
  "profiles": {
    "https": {
      "commandName": "Project",
      "dotnetRunMessages": true,
      "launchBrowser": true,
      "applicationUrl": "https://localhost:5001;http://localhost:5000",
      "environmentVariables": {
        "ASPNETCORE_ENVIRONMENT": "Development"
      }
    }
  }
}
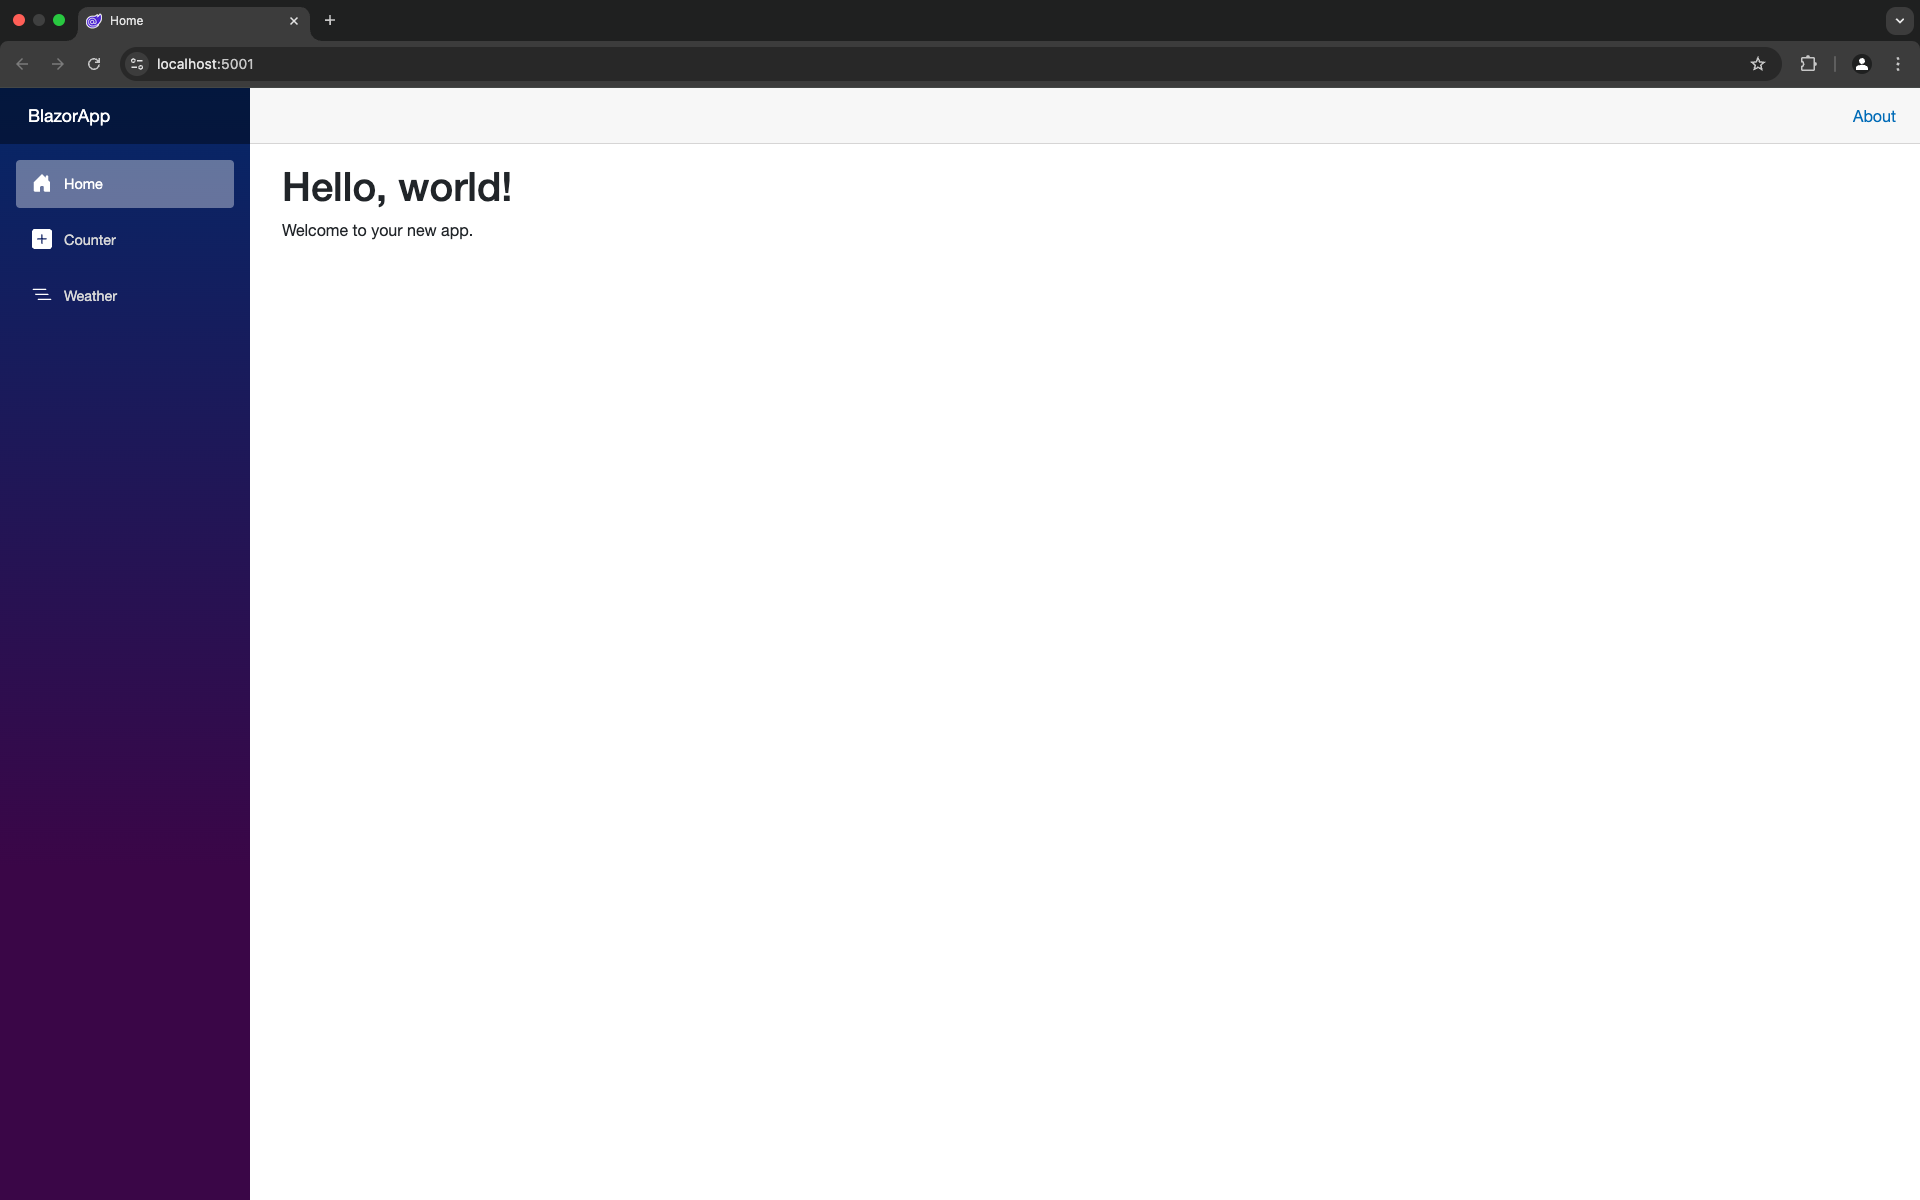
You should now see the default Blazor Web App template running in your browser as shown above. Next we will look into configuring the authentication properties.