Add login and logout to your app
10 min
WSO2 Identity Platform SDK provides SignInButton, SignOutButton components to handle user sign-in and sign-out. You can use these components along side SignedIn and SignedOut components to conditionally render content based on the user's logged in state.
Replace the existing content of the app/page.tsx file with following content.
'use client'

import { SignedIn, SignedOut, SignInButton, SignOutButton, User, UserDropdown, UserProfile } from '@asgardeo/nextjs';

export default function Home() {
  return (
    <>
    <div className="flex flex-col items-center justify-center min-h-screen text-center gap-6">
      <header className="flex flex-col items-center gap-2">
        <SignedIn>
          <UserDropdown />
          <SignOutButton />
        </SignedIn>
        <SignedOut>
          <SignInButton />
        </SignedOut>
      </header>
      <main className="flex flex-col items-center gap-4">
        <SignedIn>
          <User>
            {(user) => (
              <div>
                <p>Welcome back, {user.userName || user.username || user.sub}</p>
              </div>
            )}
          </User>
          <UserProfile />
        </SignedIn>
      </main>
      </div>
    </>
  );
}
This code snippet adds a login button in the application as well as displays user profile and a dropdown when the user is signed in.
However since app native authentication needs to be used, the following can be done to integrate the WSO2 Identity Platform Next SDK with WSO2 Identity Platform. Since you have already enabled app-native authentication in the WSO2 Identity Platform side during step 3, you can add the below logic to the application.
First, create an app route for the sign-in page. Create a new file called app/sign-in/page.tsx and add the following code:
'use client'

import { SignIn } from '@asgardeo/nextjs';

export default function SignInPage() {
  return <SignIn />;
}
Then, update the .env file with the route for the sign-in page. Add the following line to your .env file:
Save the changes and re-run the application in development mode if it is not running already.
Once the application is started, you will see the homepage of the application with the changes we made.

Initiate Sign In
Clicking on the login button will initiate the app native authentication sign in as shown below.
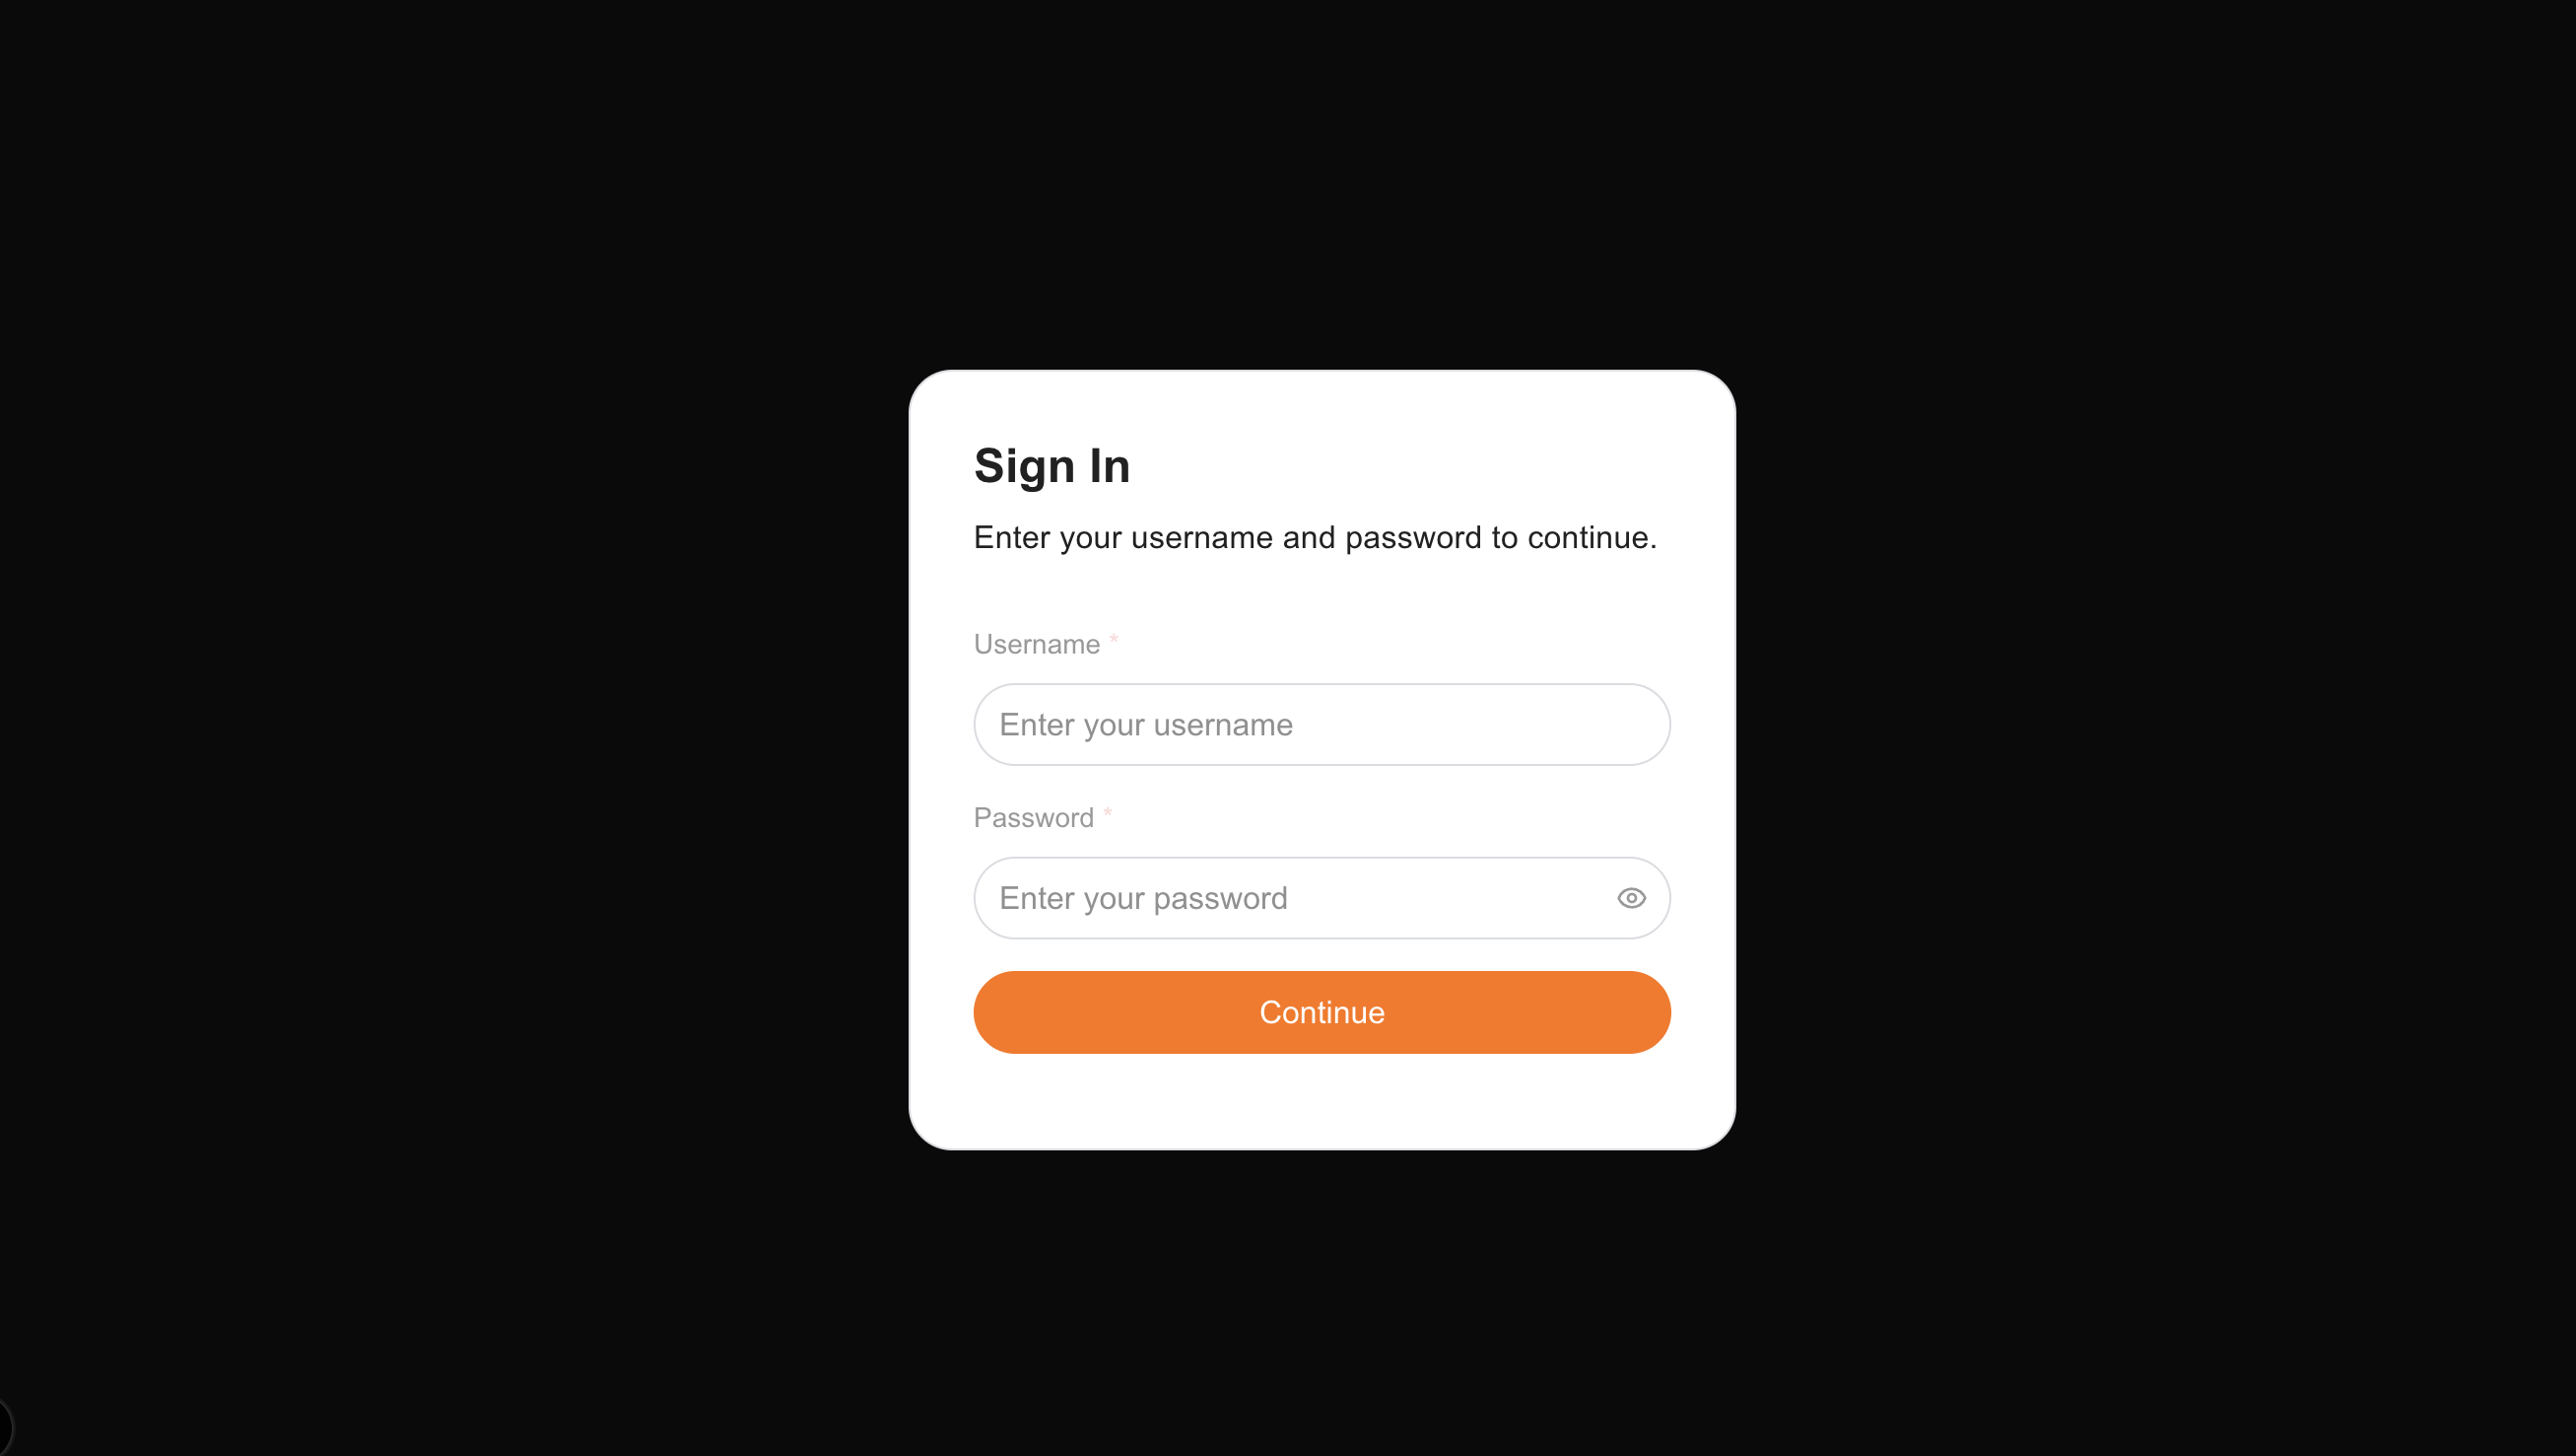
The credentials entered here will be used to obtain an access token from WSO2 Identity Platform
At this stage, you should have already created a test user in WSO2 Identity Platform, as outlined in the prerequisite section. Now can enter the username and password of the test user to the login screen.